
Fidget EDC Magnetic Mechanical Dual Structure Slider
Print Profile(1)

Description
Personal Index No. 65, Build Difficulty: ⭐⭐⭐⭐
Original Creator: 01 EDC
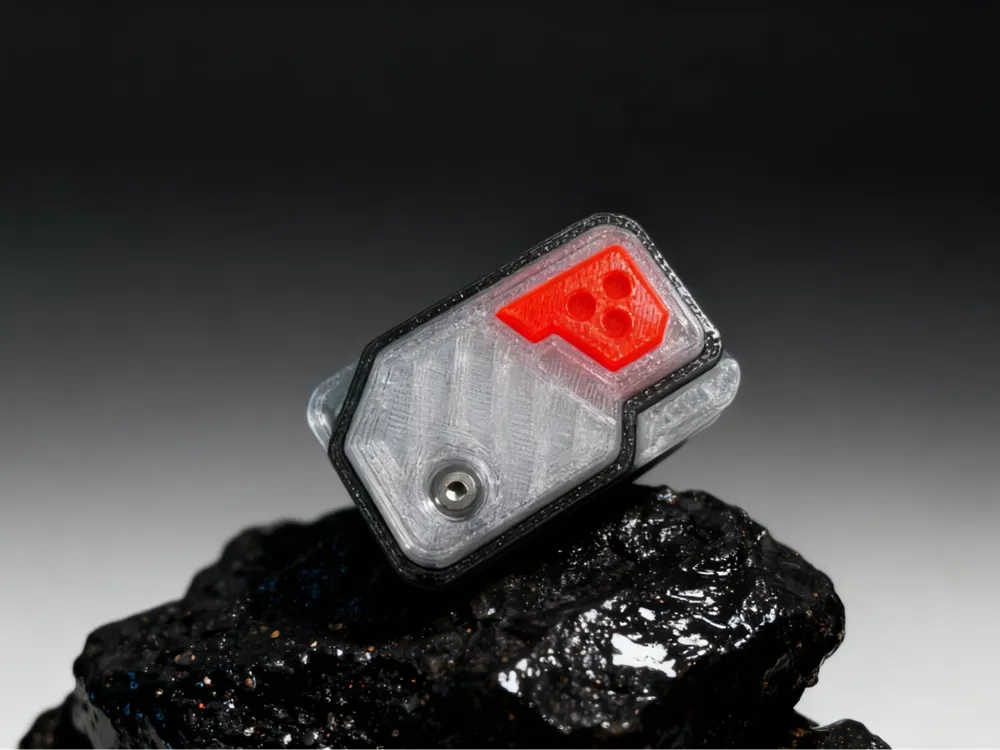
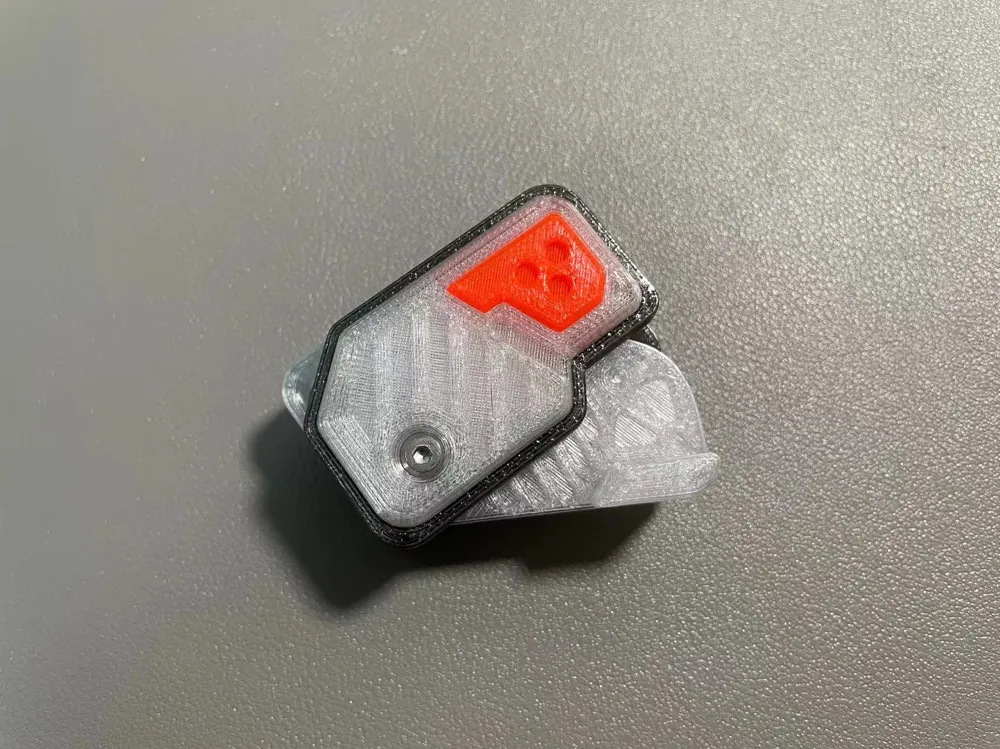
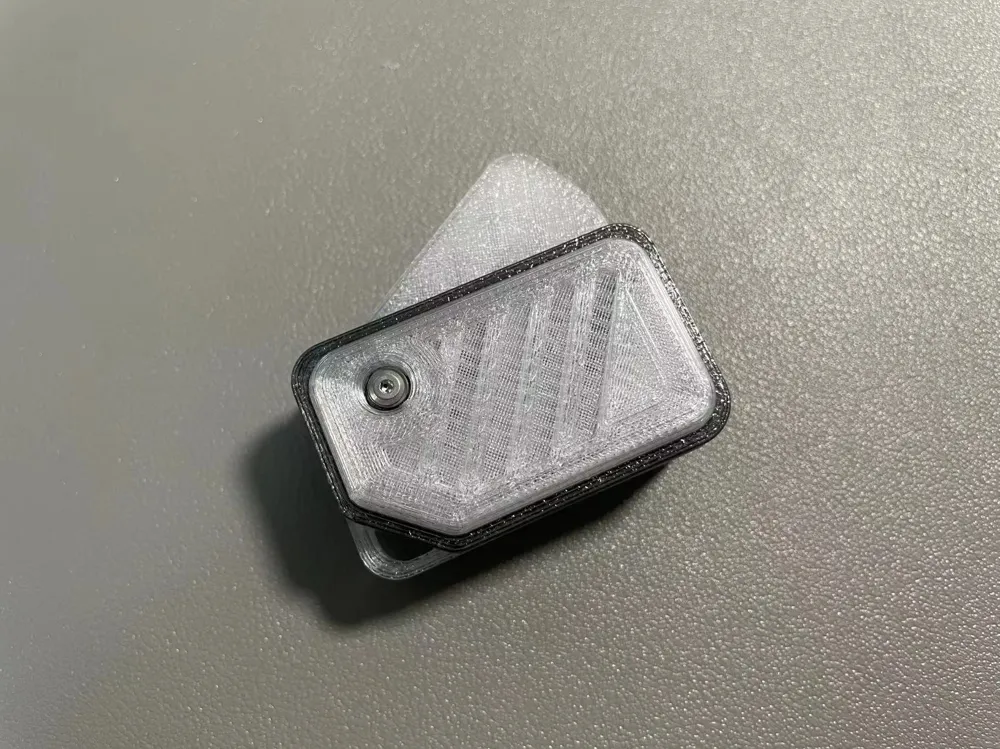

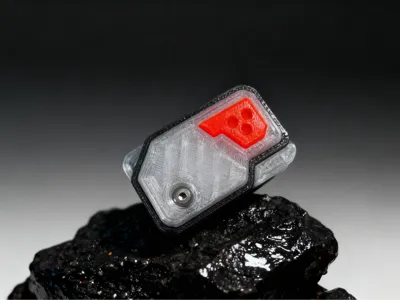
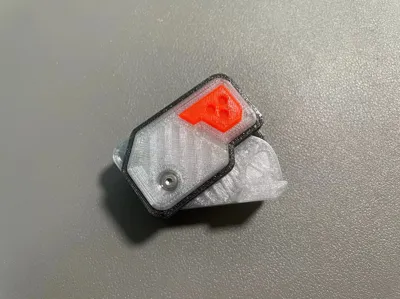
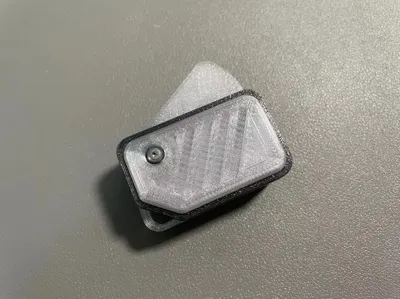
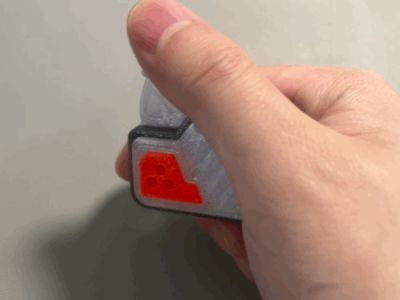
The Flicker has been fully optimized for printing. I personally believe it is an excellent combination of mechanical structure and magnetic toy, along with a good sci-fi design, making it suitable for carrying out or hanging on a keychain. However, overall it is a high-difficulty model, mainly due to the numerous parts and the need for repeated adjustments to the spring's force. Challenging for those with limited dexterity
For PETG printing, adhesive spray is required, otherwise, print failure is highly likely!
Conventional plates 1-3, plate 4 is the patch multi-color AMS version; it can also be used for single-color printing, reducing the need for embedding P-type patches and gluing steps, use as desired
- Accessories needed:
- 1 R188 bearing, no free spin requirement but precise dimensions are needed
- 1 0.3*3*5 spring or 0.25*3*5 spring, adjust according to personal feel
- 2 3mm glass beads or POM beads
- 1 set of M2*16mm mating screws (14mm also applicable)
- Adding M2 washers to the mating screws provides better results
- 2 M2*4 countersunk screws
- 4 3mm*12mm dowel pins
- 6 6mm*3mm magnets
Adhesive, 3M Super Glue or 502 recommended, for P-type patch adhesion
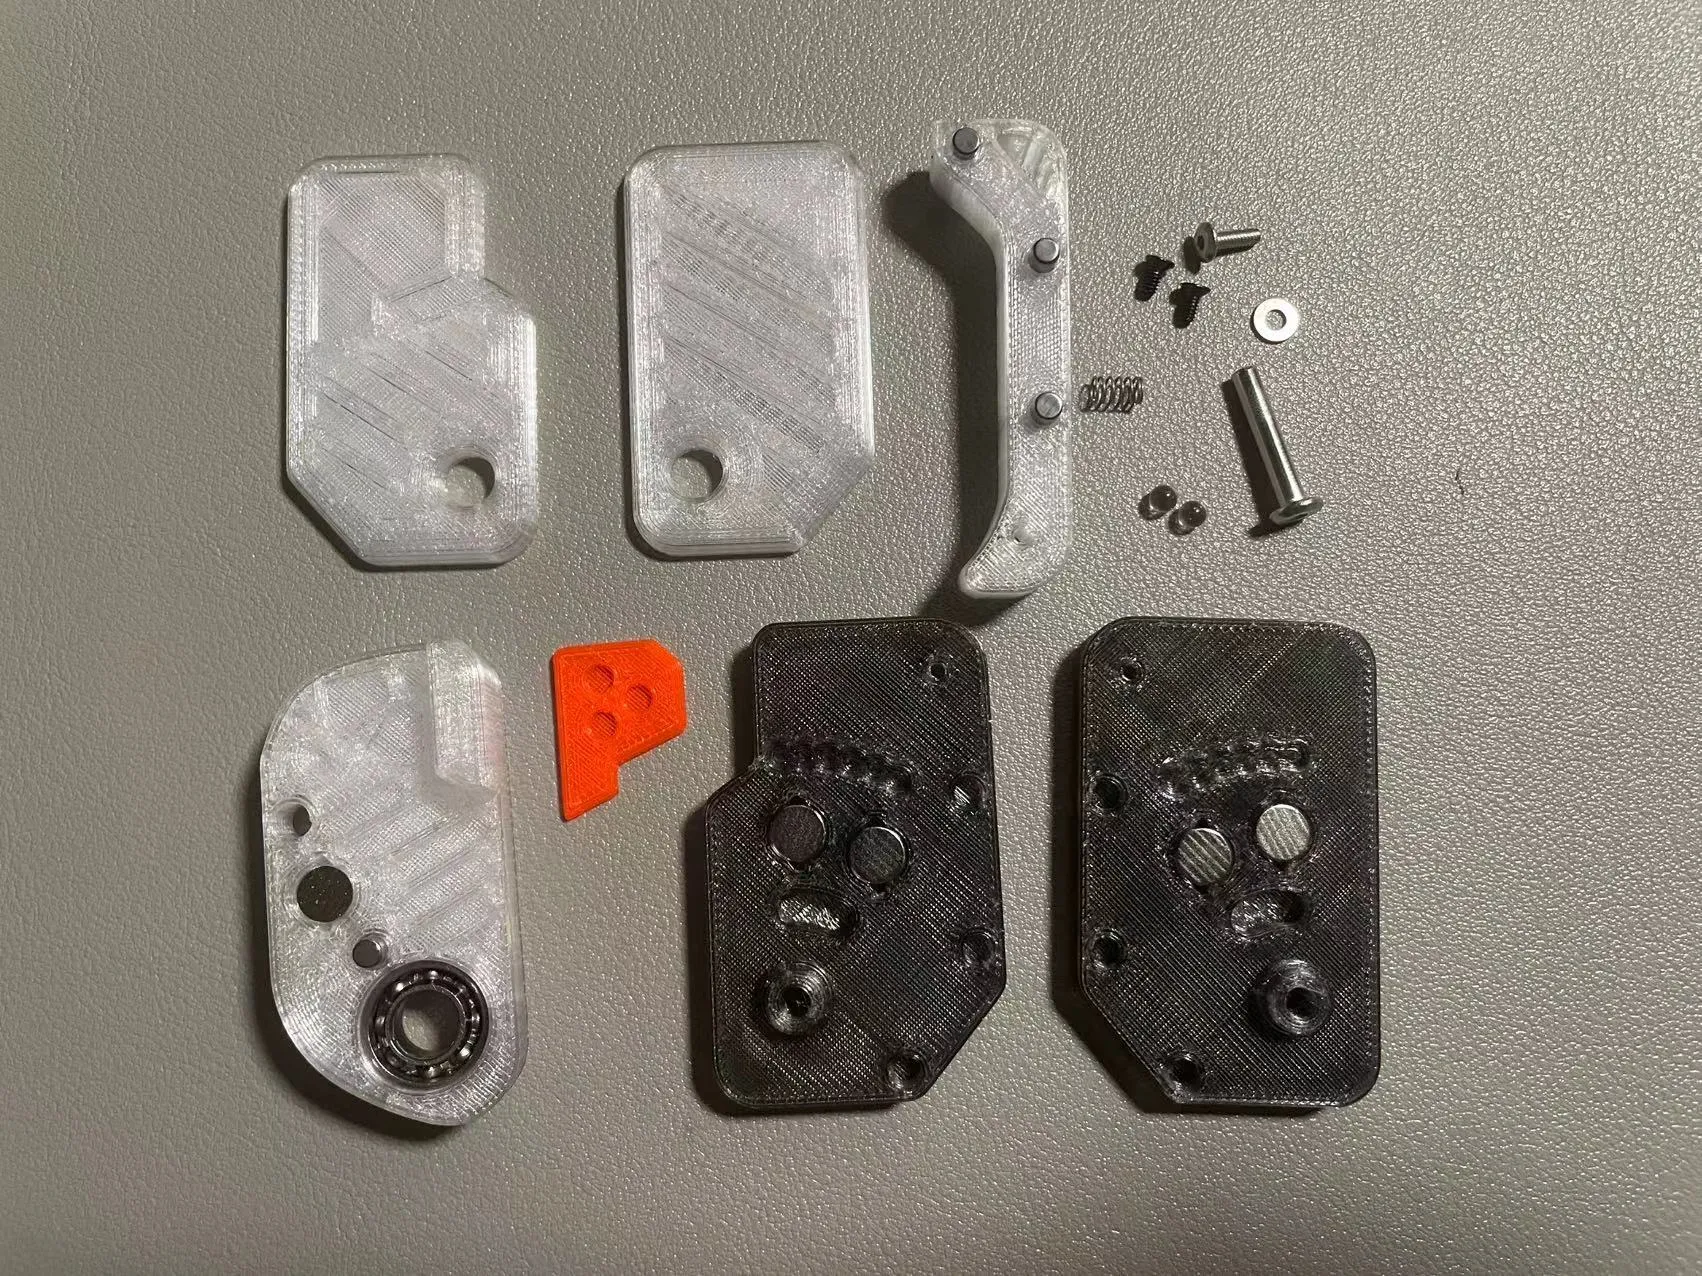
Parts overview (bearings, dowel pins, and magnets are in place)
Optimized new version: The M2 screw holes on the back shell are exposed to provide access for disassembly, without affecting the parts and assembly configuration
Assembly steps
① Prioritize installing the 6 magnets, bearing, and 3mm*12mm dowel pins; refer to the parts overview for hole positions; Note the direction of magnet installation: the 4 magnets in the open state of the flicker should have the same direction, while the 2 magnets on the shells in the closed state should have opposite directions
② Take out one cover plate with accessories installed (bottom right in parts overview), then insert the outer frame support (top right print in parts overview) and rotating part (bottom left in parts overview) for later use
③ Sequentially insert one 3mm glass bead, the spring, and another 3mm glass bead, then cover with the other side's cover plate. Push in the rotating part and flick it to feel the tension; it should be easy to flick open or eject with slight assistance; If too tight, trim the spring; if too loose and it cannot hold, replace with a longer or higher gauge spring
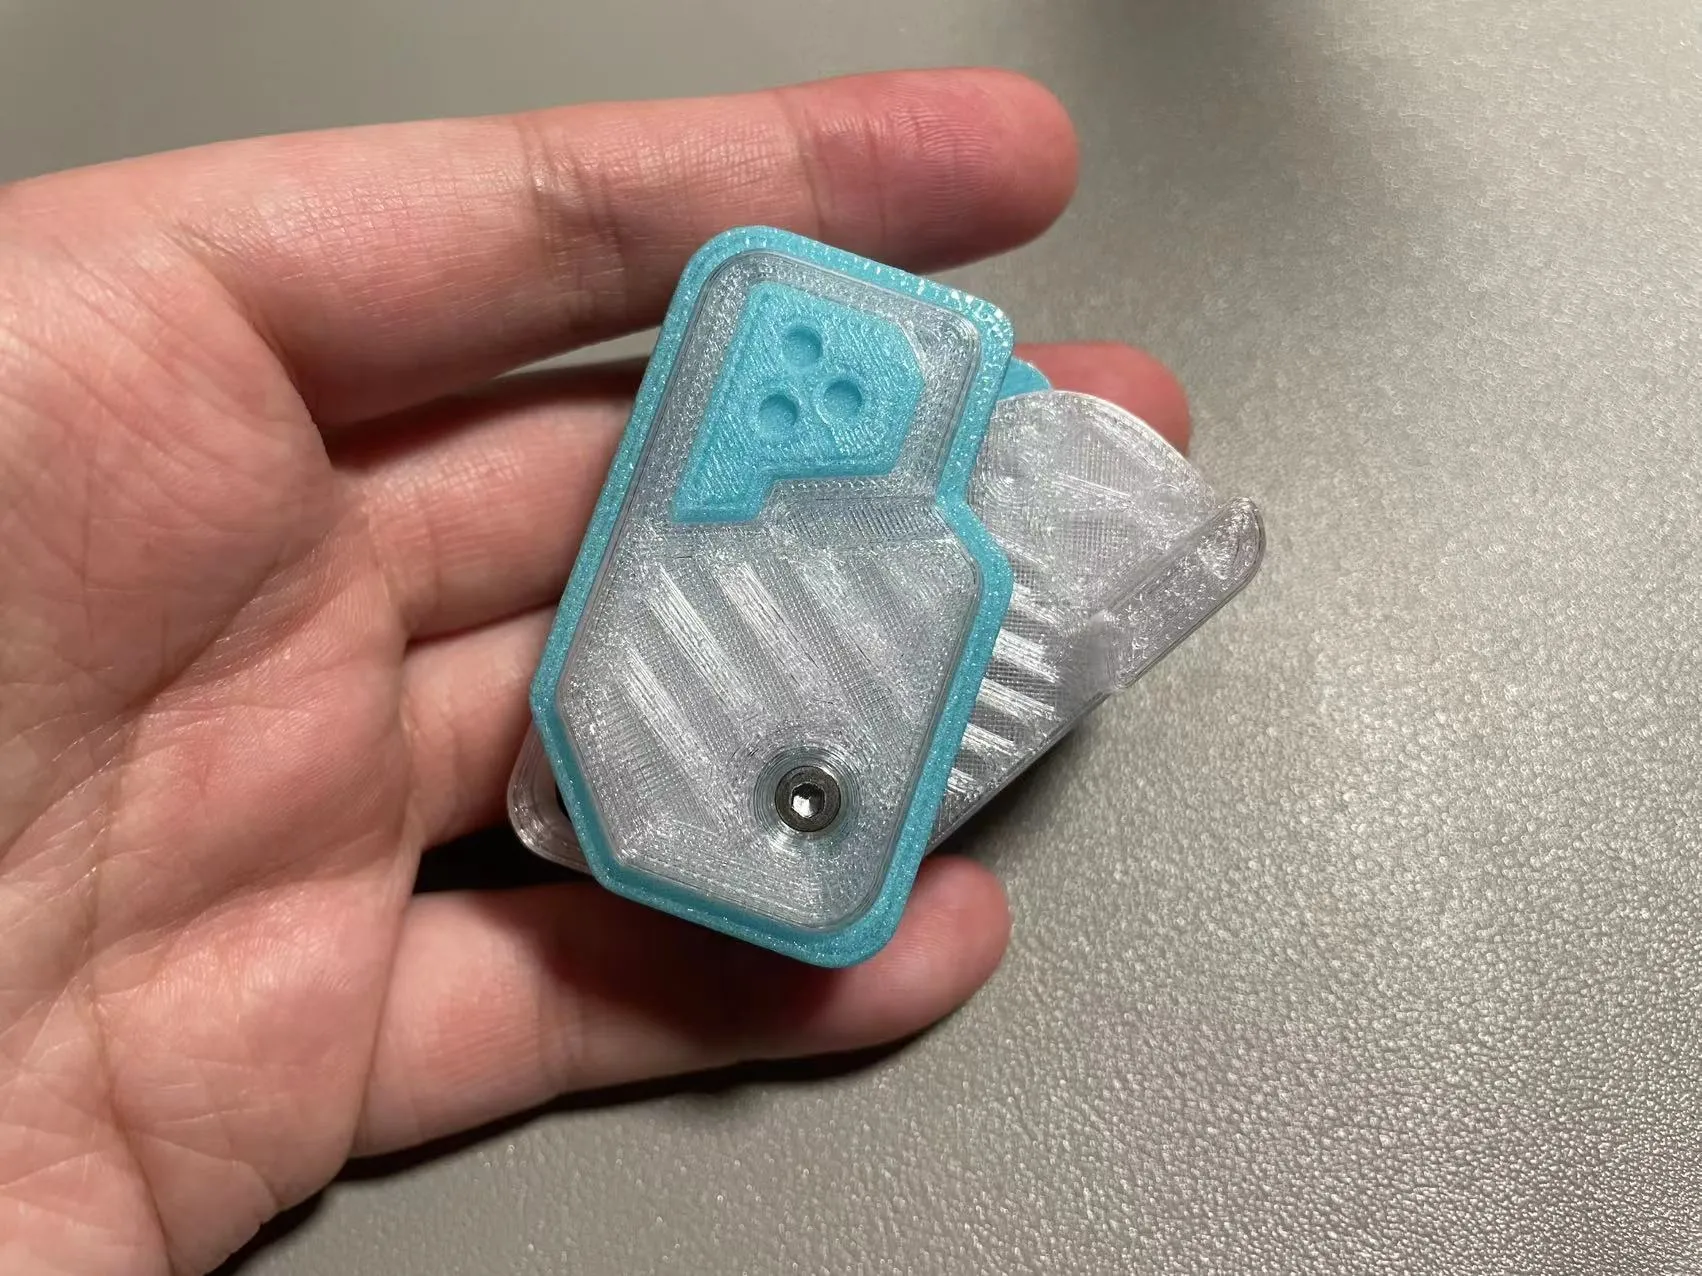
④ After debugging, twist in 2 M2*4 countersunk screws and 1 set of M2*16mm mating screws for fixation, then attach the decorative patches to complete
License

You shall not share, sub-license, sell, rent, host, transfer, or distribute in any way the digital or 3D printed versions of this object, nor any other derivative work of this object in its digital or physical format (including - but not limited to - remixes of this object, and hosting on other digital platforms). The objects may not be used without permission in any way whatsoever in which you charge money, or collect fees.


Comment & Rating (9)