
Print Profile(2)


Bill of Materials


Description
Boost Me (for free)
If you appreciate these ambitious models, lend a hand with a boost!
Membership
For commercial licenses, contact me privately Alternatively, if you wish to buy me a beer for my work, click on this banner!
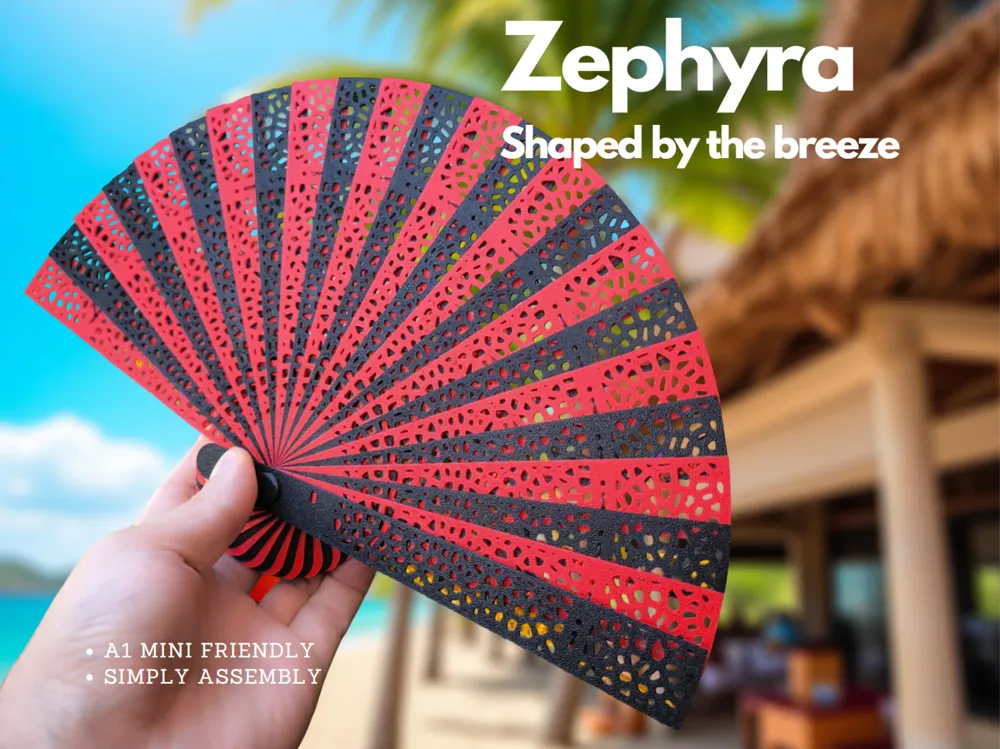
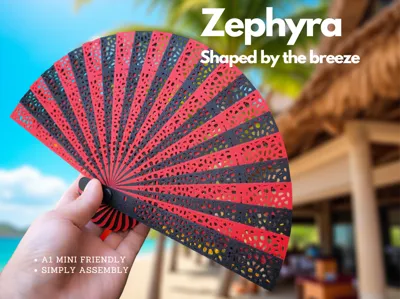
Zephyra - Shaped by the breeze

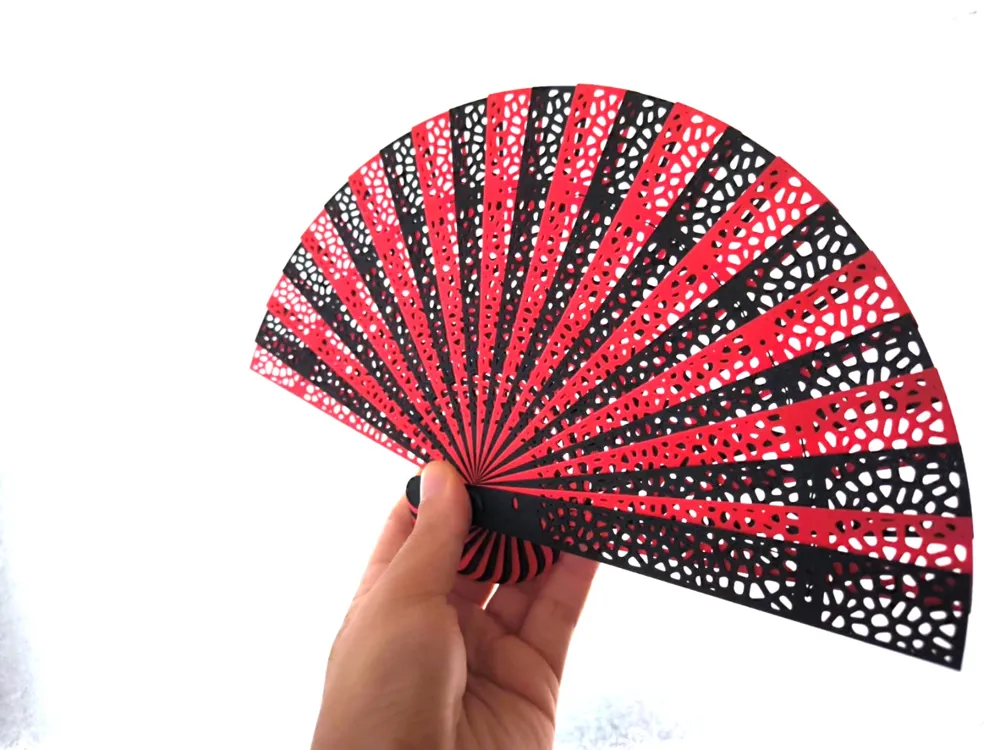
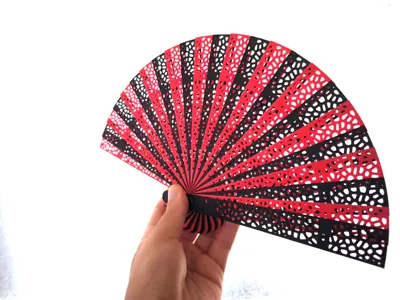
Allow me to introduce Zephyra, the 3D printed hand fan requiring no complex mechanisms or intricate knots.
Assembly takes mere minutes, leaving you ready to beat the heat!
The fan requires no special printing considerations Print with your preferred material; naturally, a higher-quality, more durable material will result in a more resilient and long-lasting fan!
The nylon cord is optional Its purpose is to prevent unintentional bending of the elements, but this fan can function without it!
Should you require a version of the cylinder suitable for super glue adhesion, please let me know in the comments, and I will add a print profile requiring no external accessories!
Assembly Instructions:
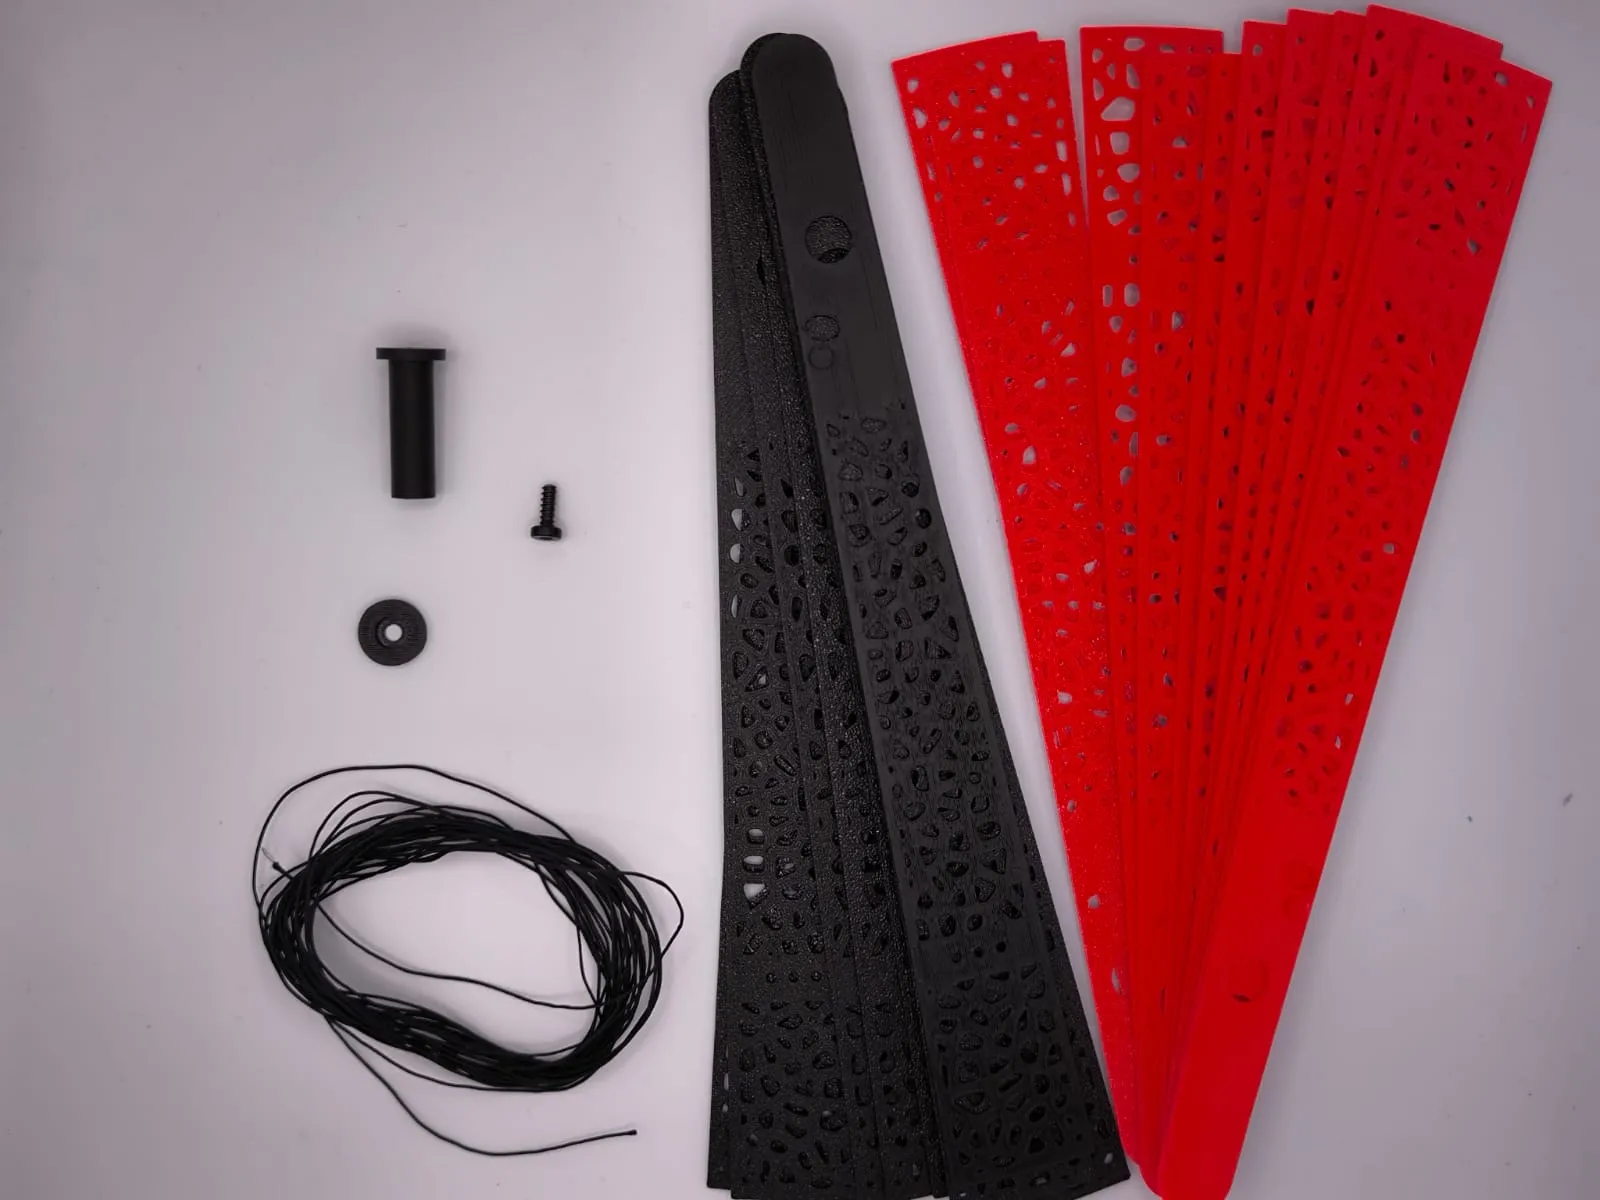 | These are the components required for construction:
|
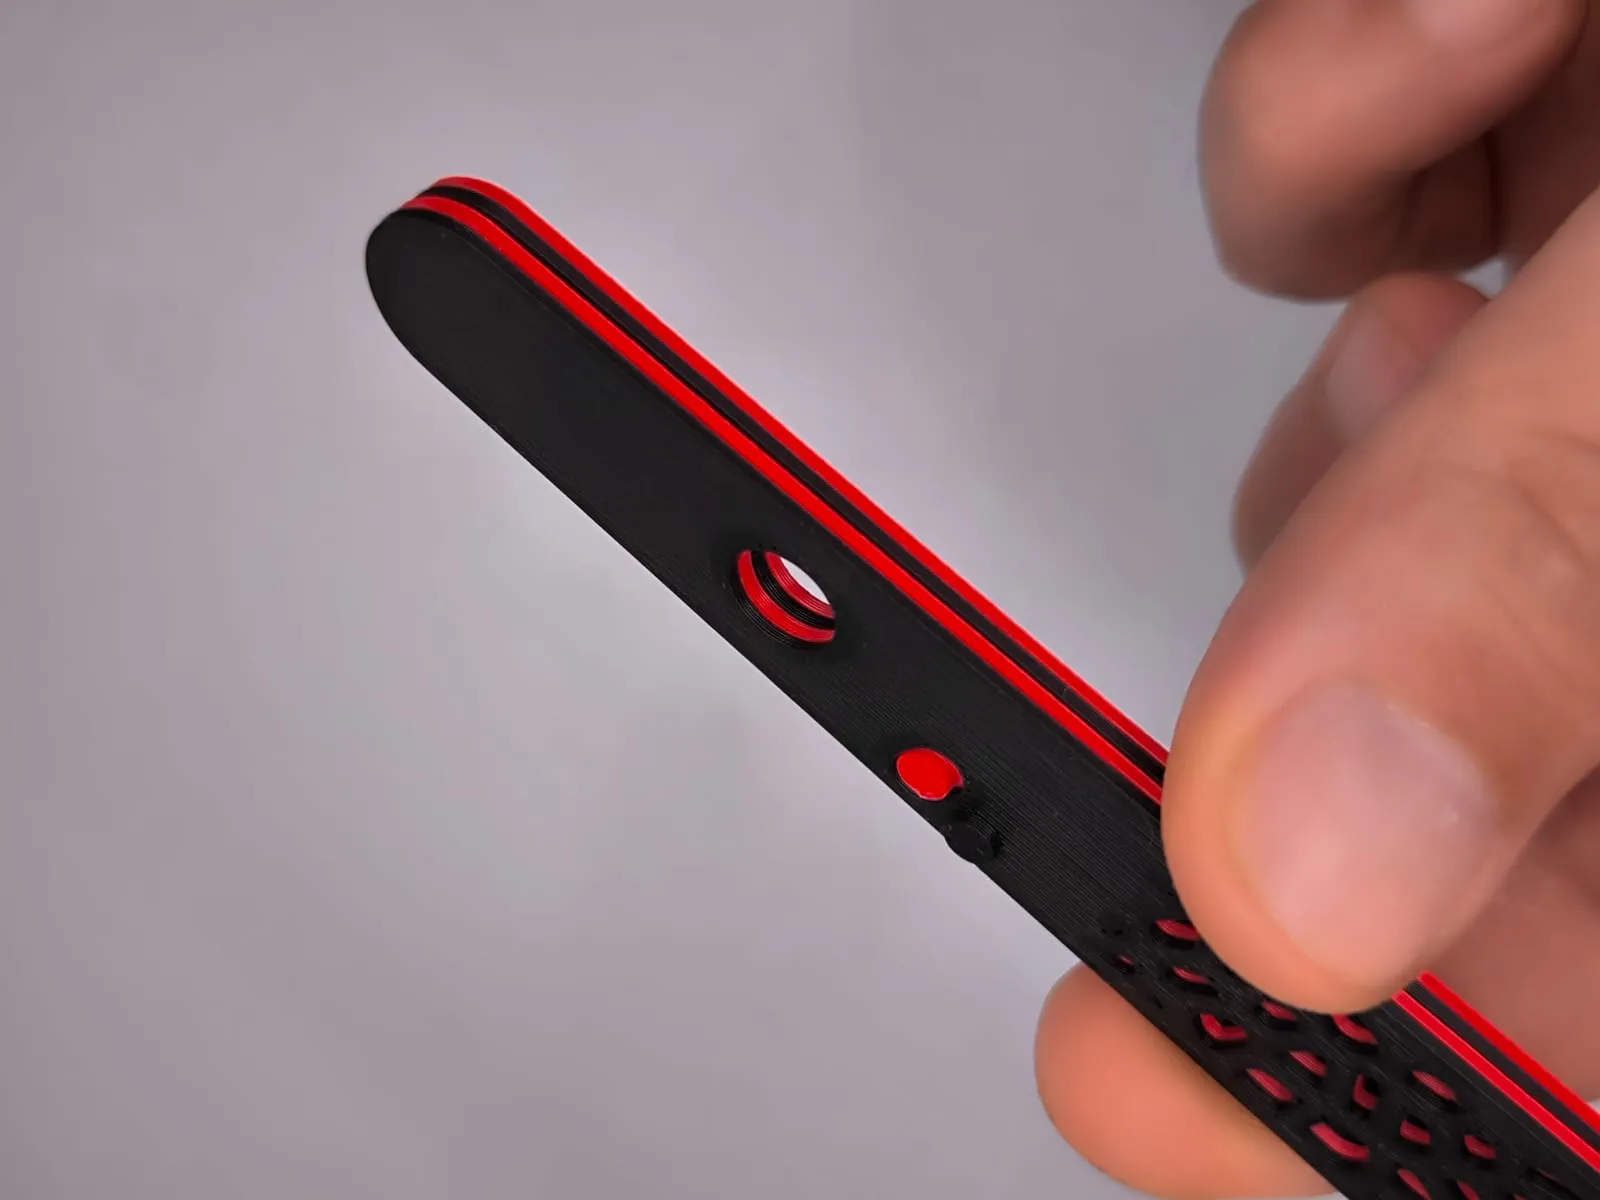 | Combine the black and red elements, alternating colors. |
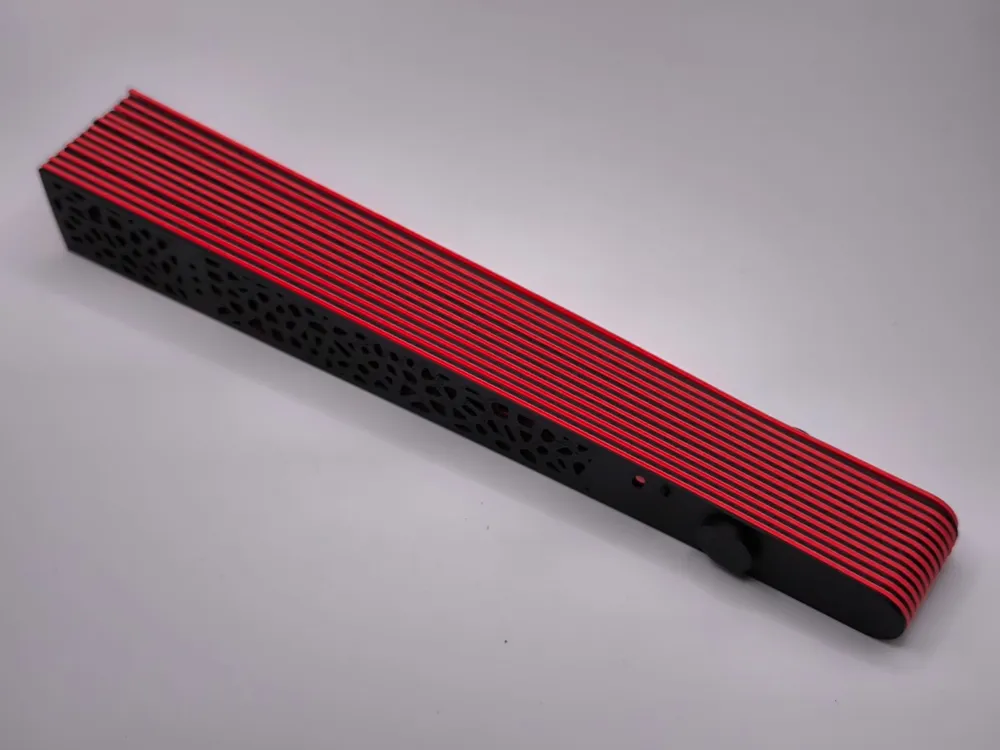
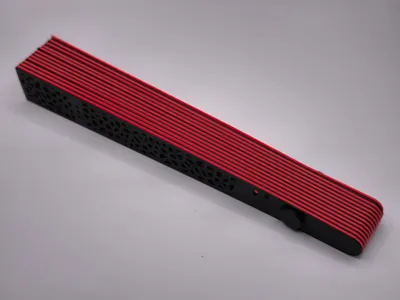
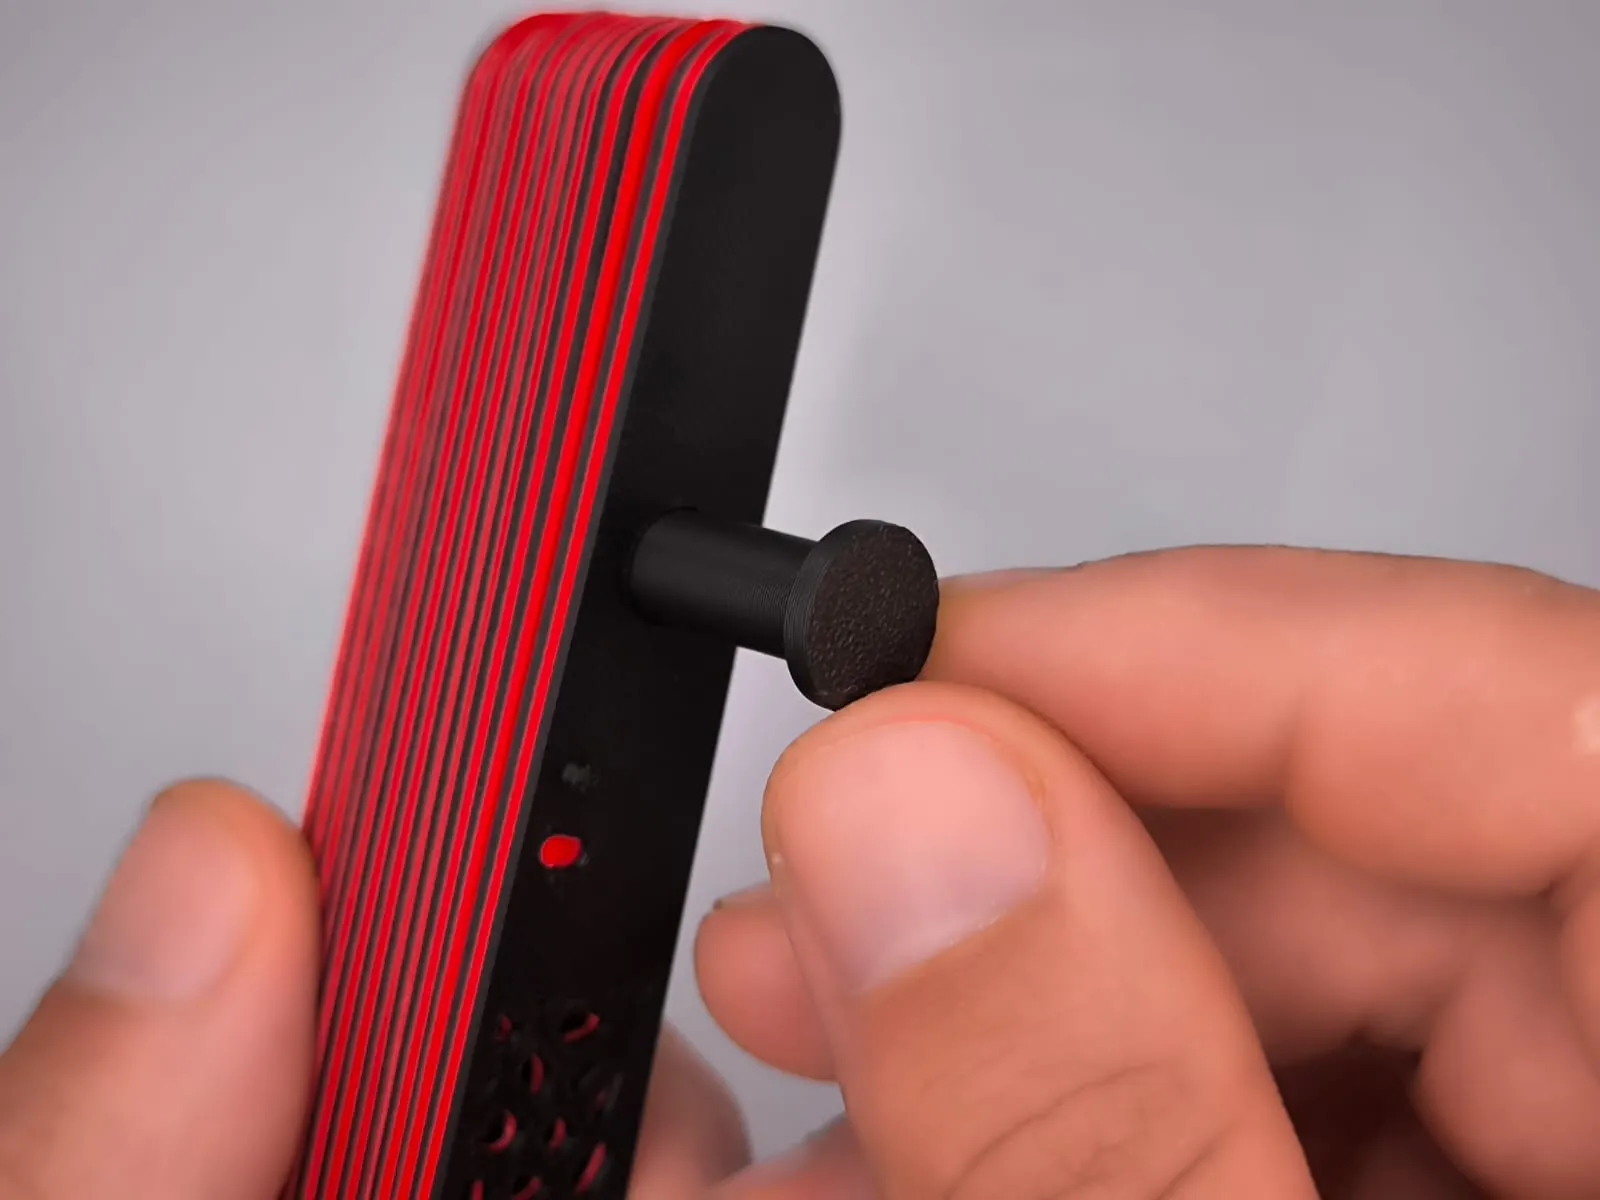 | Once you have 24 joined elements, insert the cylinder, which will serve as the fan's pivot. |
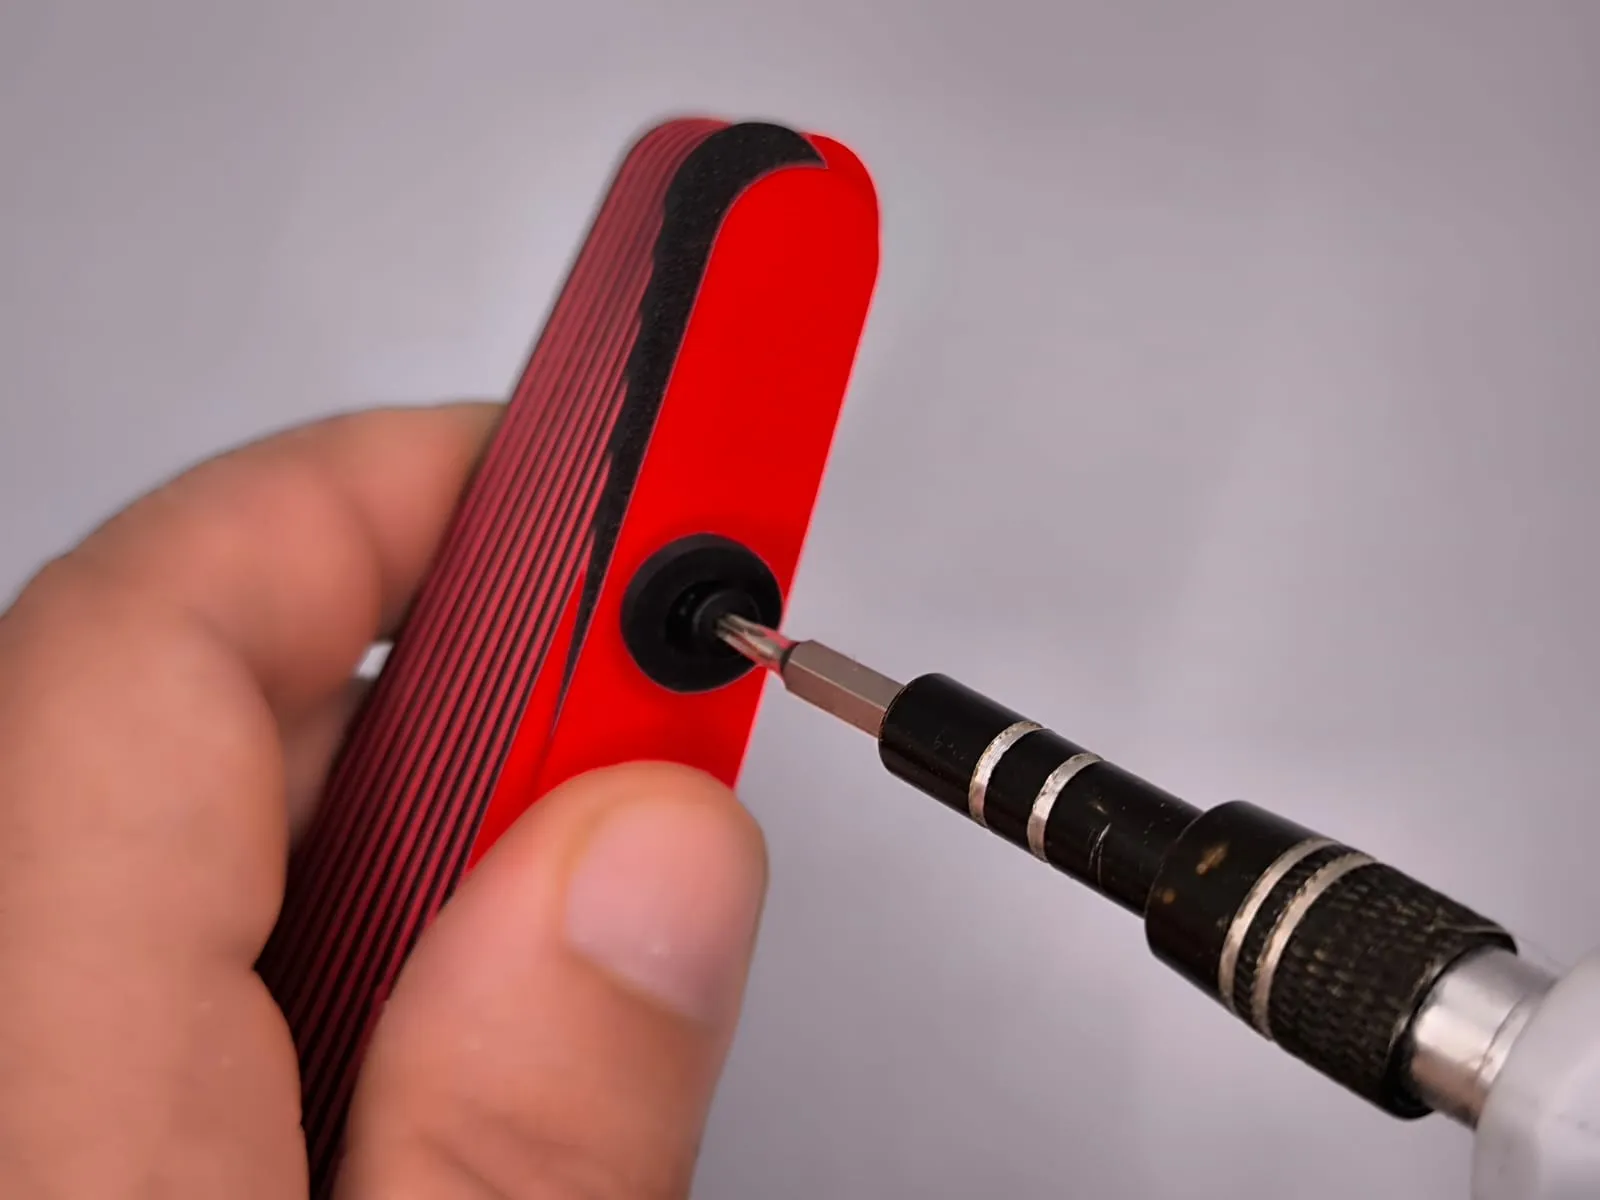 | Insert the screw into the cylinder and tighten. |
At this point, you're done! The fan is fully functional, but for enhanced durability, insert the nylon cord as follows:
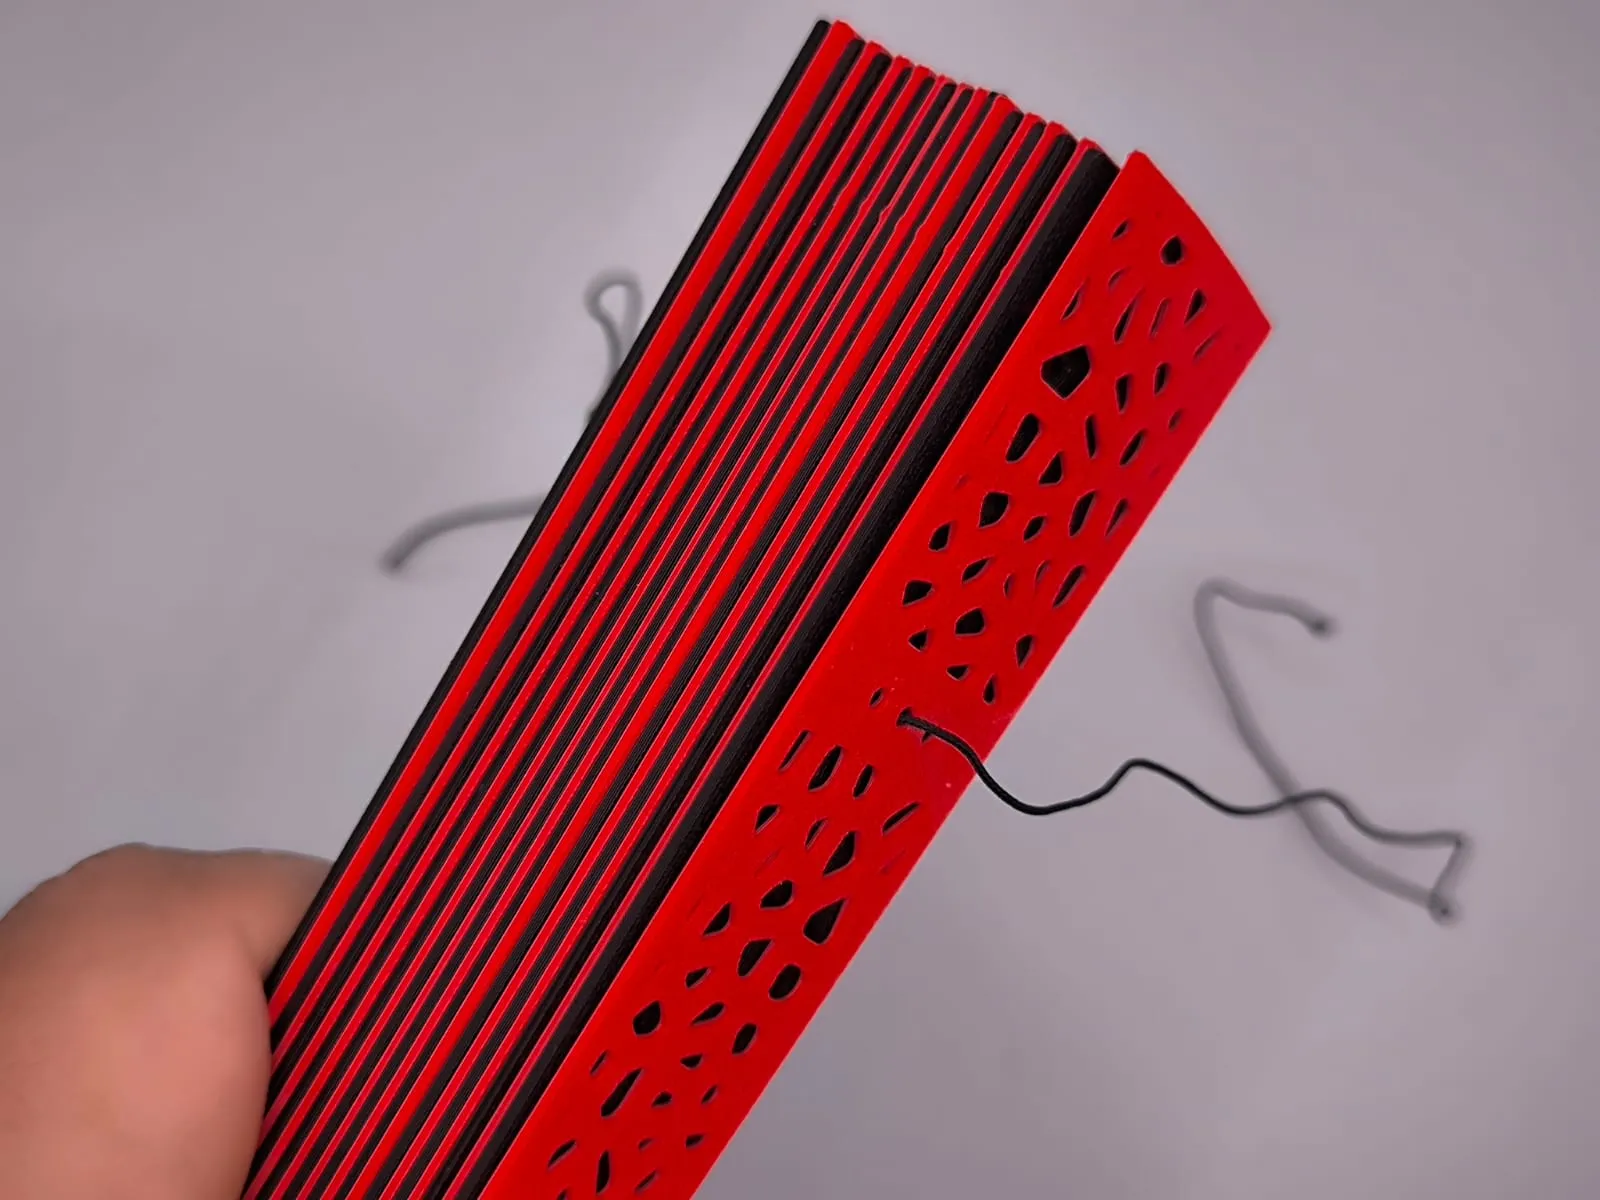 | Cut 50cm of nylon cord and insert it into the central hole, passing through all elements. |
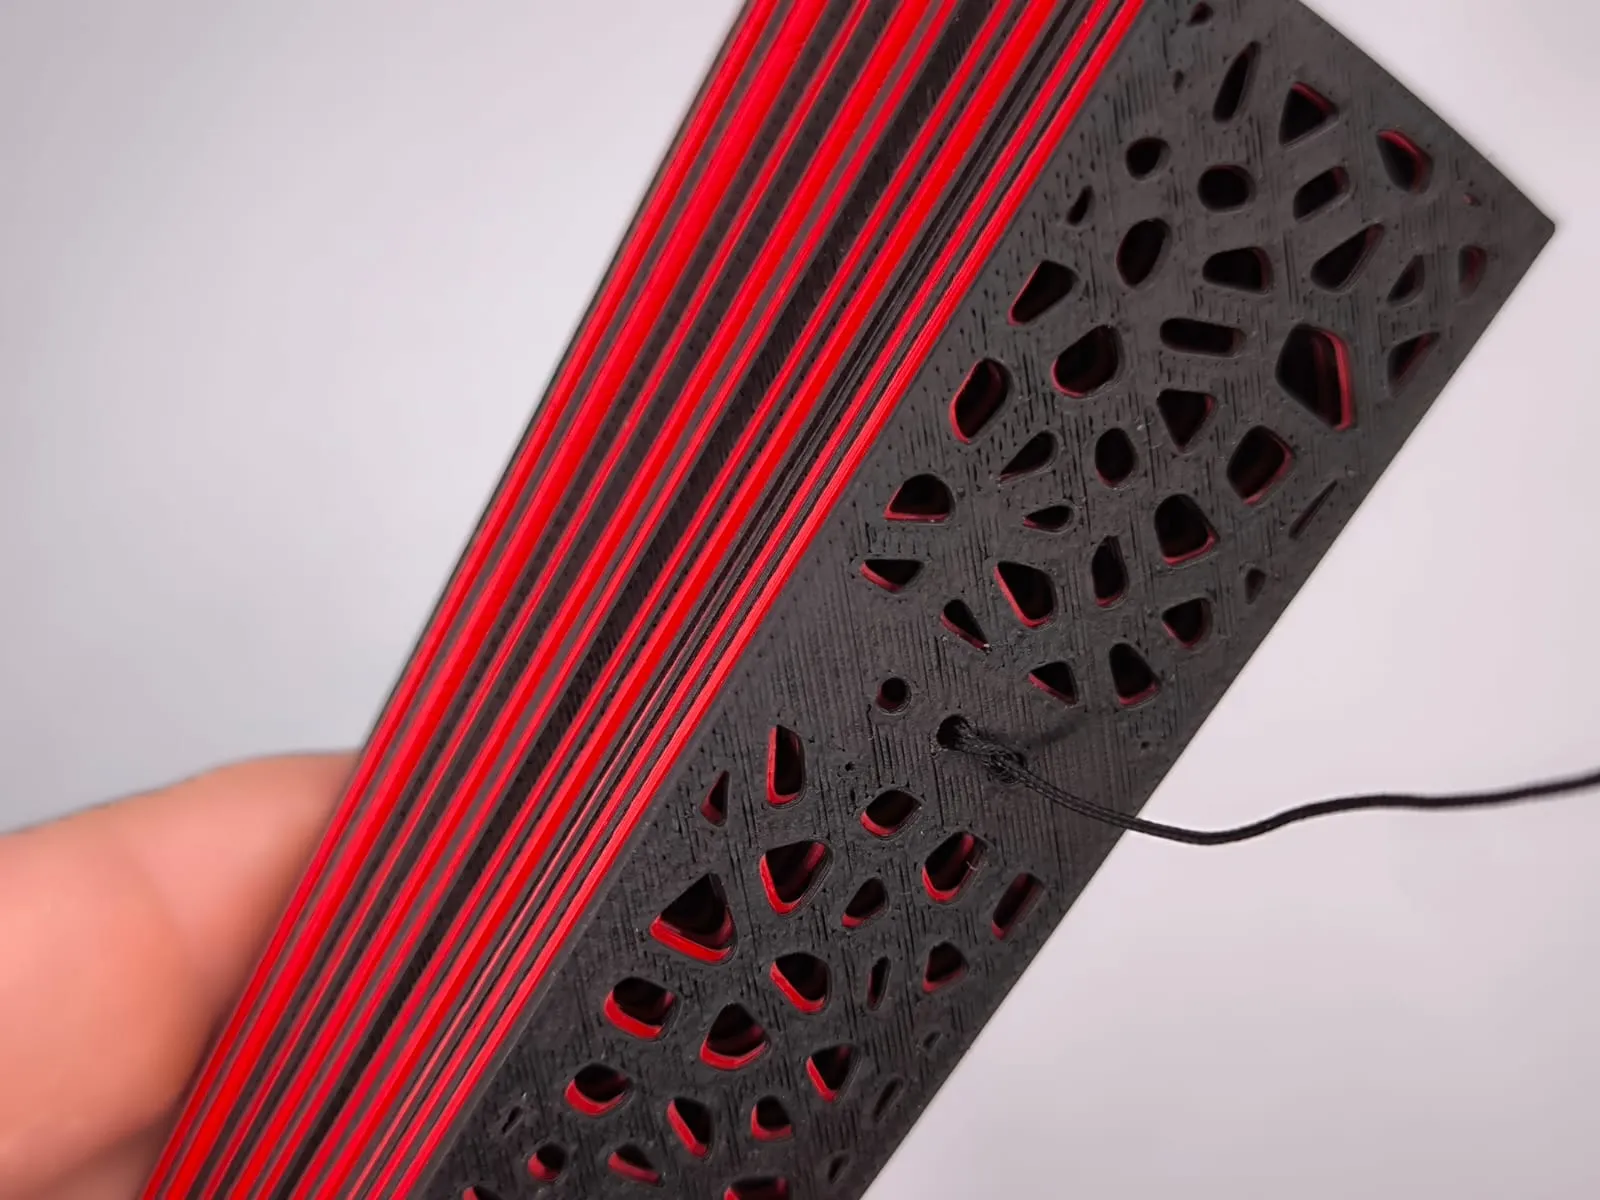 | Permanently knot the cord to the top element. |
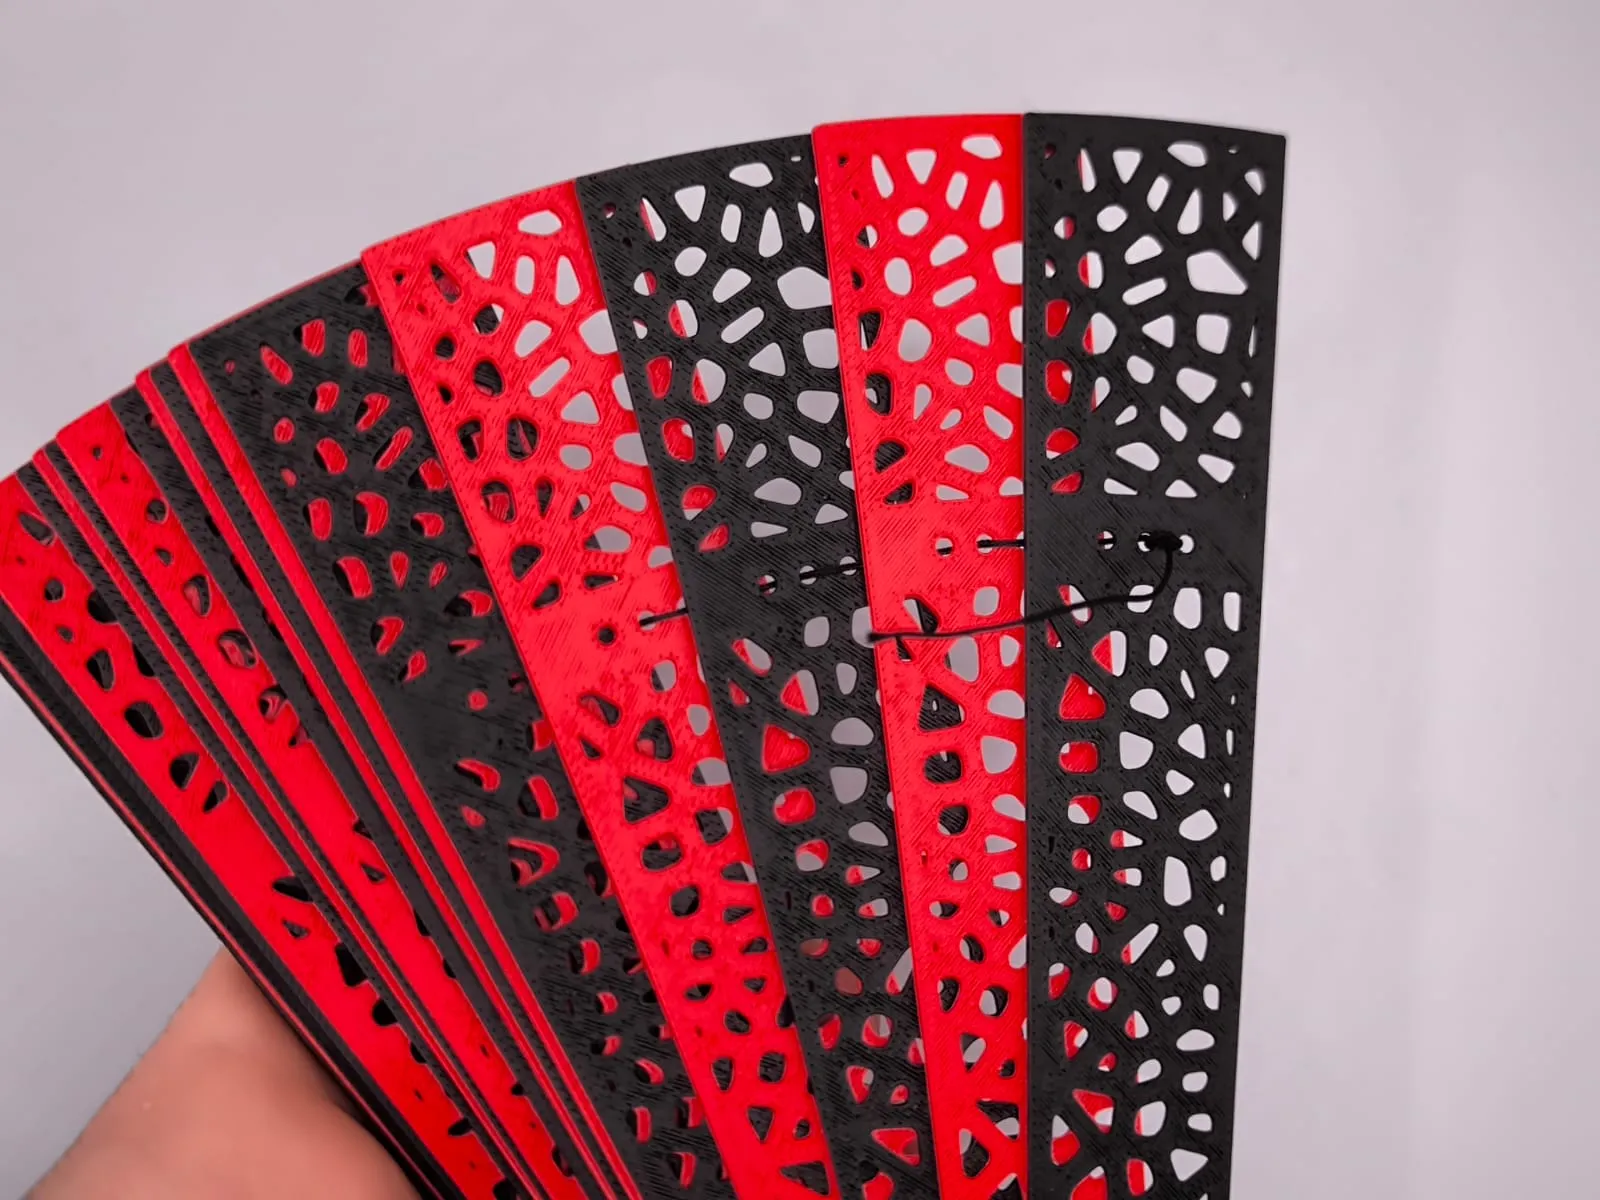 | Gently open the fan to extend the cord to its maximum length. |
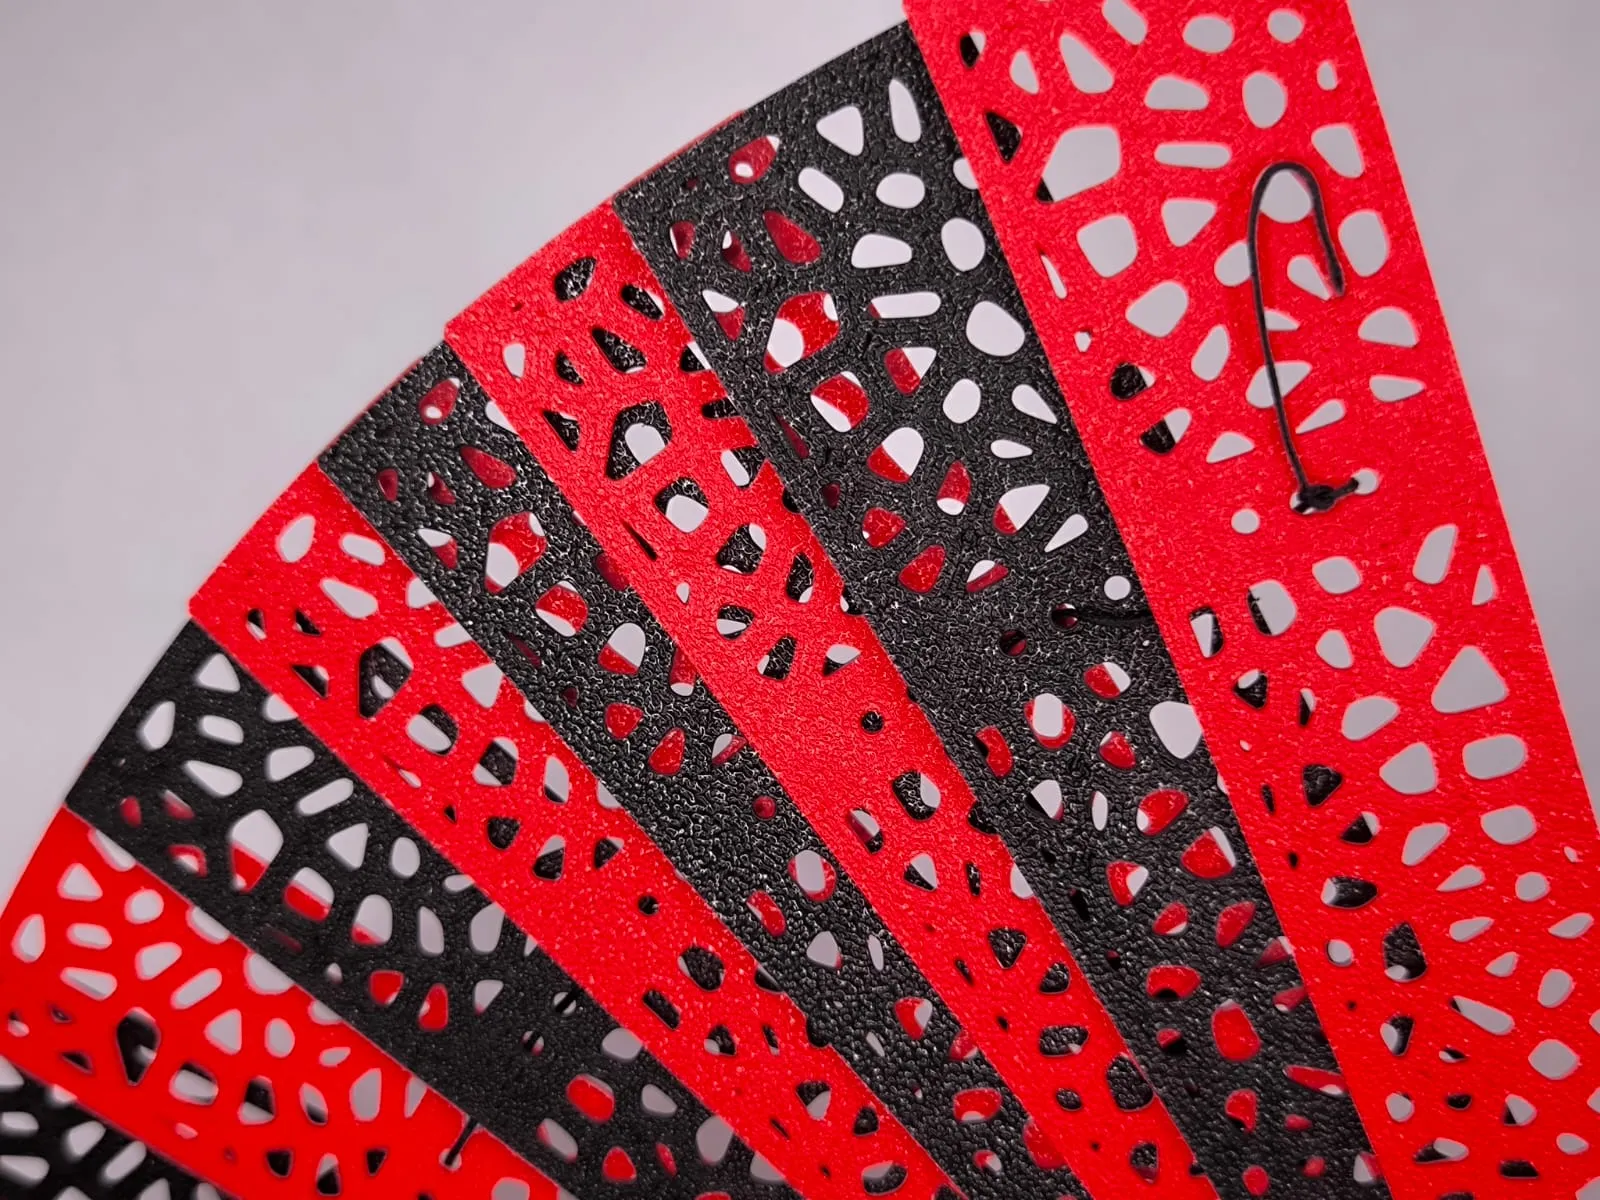 | With the fan fully open, knot the cord to the bottom end. |
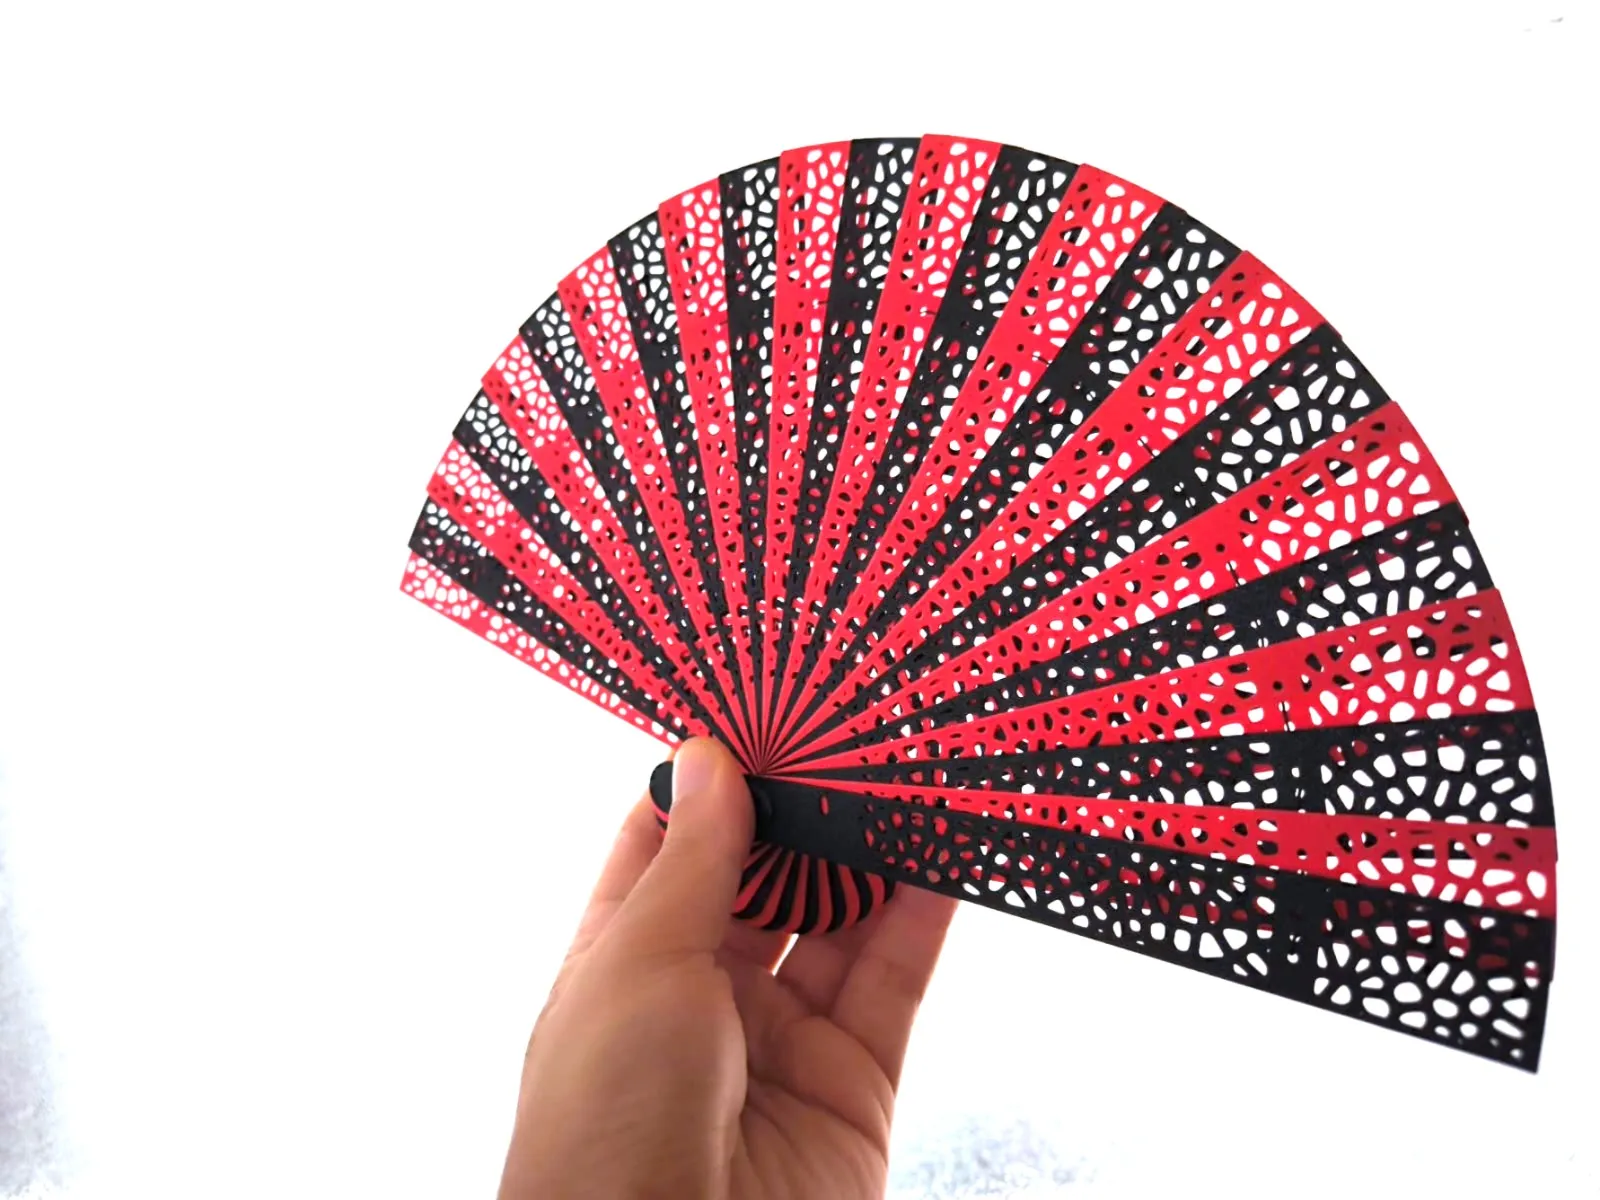 | The final result will look like this. |
Enjoy the refreshing breeze!
License

You shall not share, sub-license, sell, rent, host, transfer, or distribute in any way the digital or 3D printed versions of this object, nor any other derivative work of this object in its digital or physical format (including - but not limited to - remixes of this object, and hosting on other digital platforms). The objects may not be used without permission in any way whatsoever in which you charge money, or collect fees.


Comment & Rating (58)