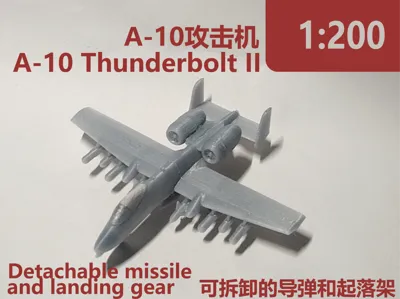
1:200 A-10 Thunderbolt II Warthog


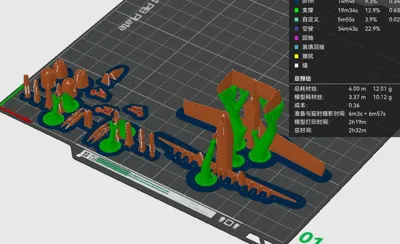
Print Profile(1)

Description
Boost Me (for free)
Hope you like it

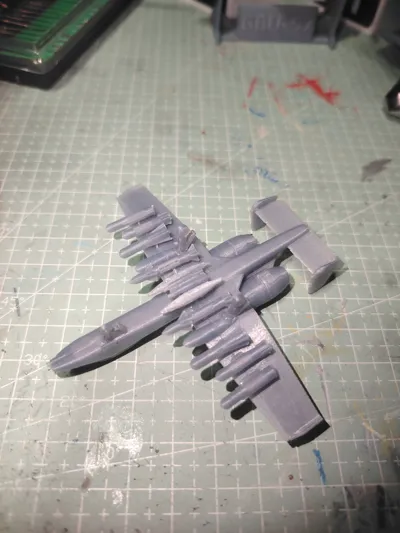
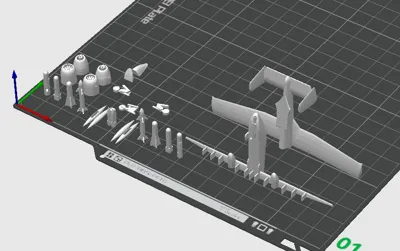
Assembly steps: (Glue is required for assembly to preserve detail)
1.Remove all brim, paint the cockpit, glue the main fuselage, and glue the two engines. When gluing the engines, align them with the horizontal line on both sides.


2.Apply a small amount of glue, attach the small window part of the cockpit, and then add the rear part of the cockpit. Tilt the engines slightly when gluing.


3.The missiles' tolerances allow them to snap directly into place. The central rocket (top left corner of the table in the image below) should be installed after installing the side fuel tanks.


4.The wheels can also be inserted, similar to the missiles, but given their small size, it is recommended to glue them all at once to avoid loss.

Completed:

License
You shall not share, sub-license, sell, rent, host, transfer, or distribute in any way the digital or 3D printed versions of this object, nor any other derivative work of this object in its digital or physical format (including - but not limited to - remixes of this object, and hosting on other digital platforms). The objects may not be used without permission in any way whatsoever in which you charge money, or collect fees.
Comment & Rating (9)