Insulated Can Coolers


Print Profile(5)


Bill of Materials


Description
Boost Me (for free)
Like the model and want to support the designer? Click the button to boost, it's free! 🚀
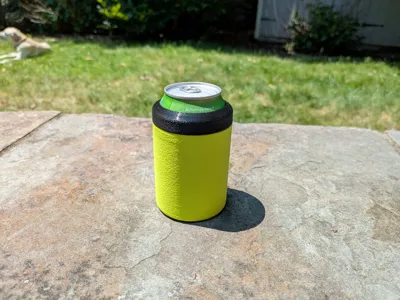
Insulated Can Cooler
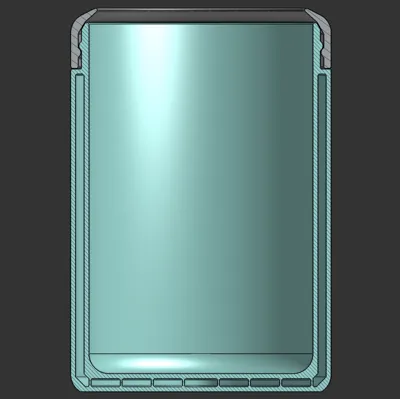
Keep your drinks cool this summer with this easy to print double-walled can cooler! Designed to print in just a few hours on any Bambu Labs printer, this design requires no supports and utilizes fuzzy skin create a textured outer surface. For the absolute coldest drinks be sure to freeze or refrigerate before use!

Interested in selling this design? Join my commercial membership program and get access to this and dozens of other high quality prints!
Membership
Click to learn more about licensing options!
Change Log
- Jul. 9, 2025 - Added print profile for TPU lids
- Jul. 8, 2025 - Improved lid geometry and fuzzy skin print profile settings
- Jul. 6, 2025 - Added print profile for tall 16 oz cans
- Jul. 1, 2025 - Added print profile for slim 12 oz cans
License
You shall not share, sub-license, sell, rent, host, transfer, or distribute in any way the digital or 3D printed versions of this object, nor any other derivative work of this object in its digital or physical format (including - but not limited to - remixes of this object, and hosting on other digital platforms). The objects may not be used without permission in any way whatsoever in which you charge money, or collect fees.
Comment & Rating (205)