
Balanced plumbot uv lamp
Print Profile(5)


Description
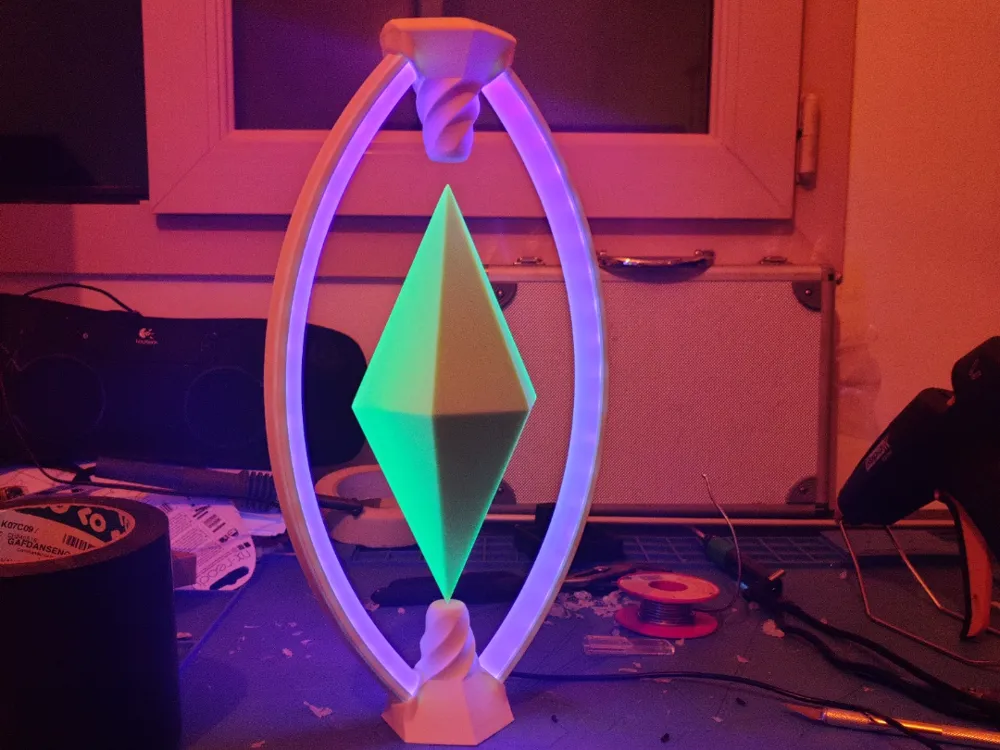
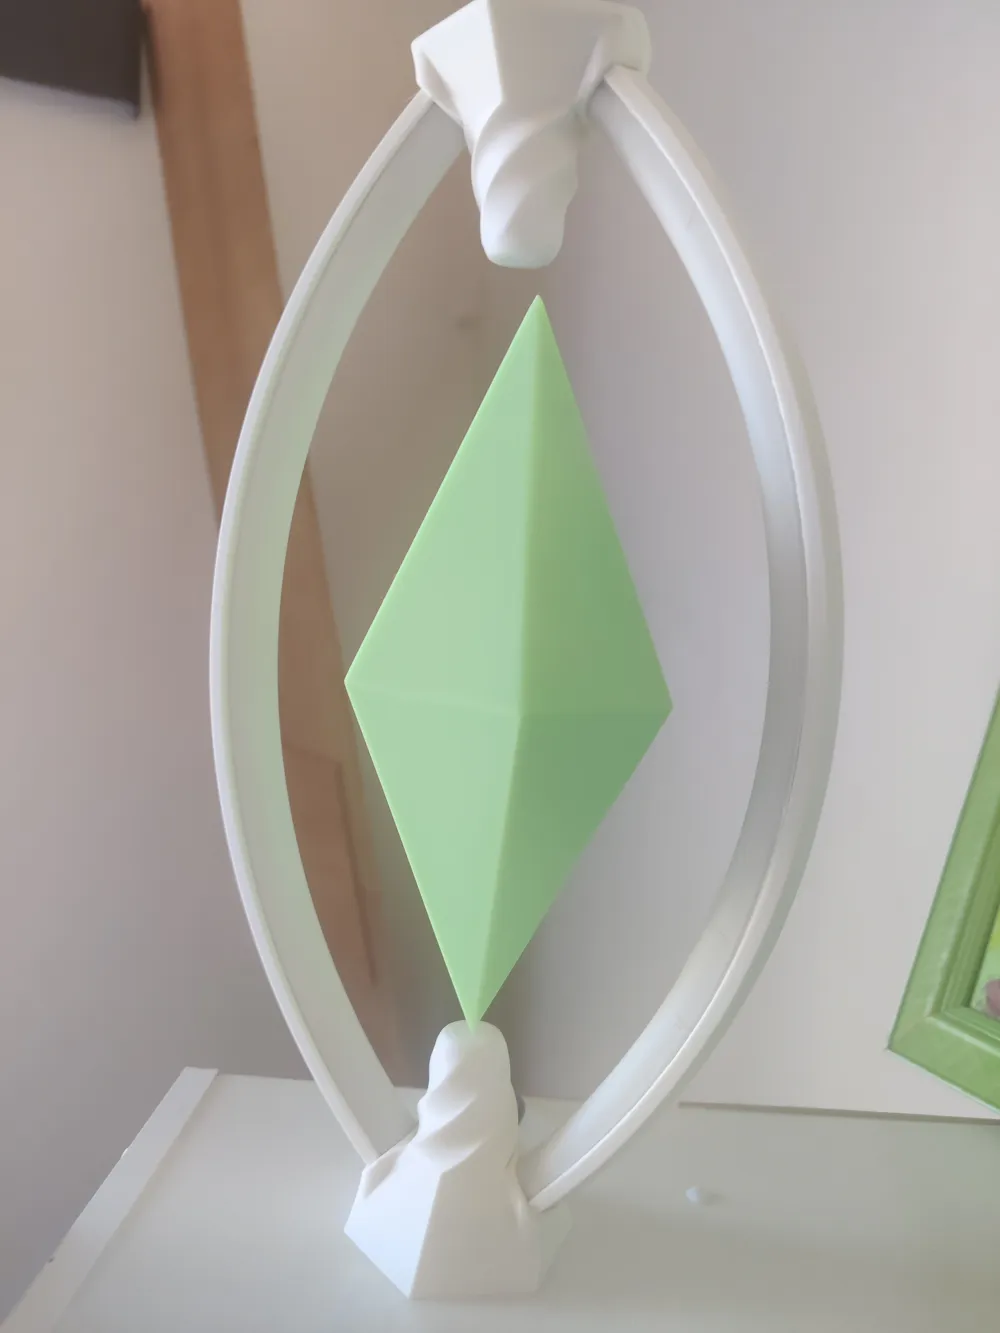
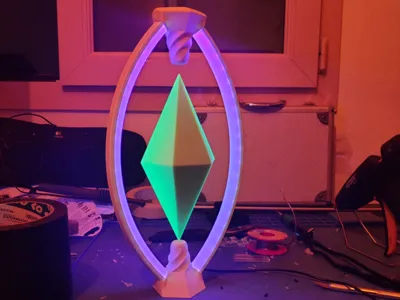
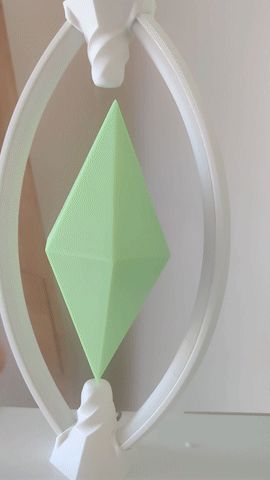
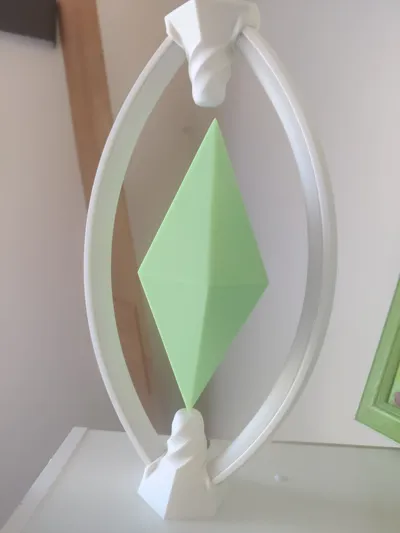
The Sims Plumbob Lamp:
Bring a piece of The Sims into your home with this unique Plumbob lamp, featuring a hidden magnetic design that makes the "prisms" appear to balanced itslef.
Please note: This lamp is designed for ambiance lighting only and does not provide a usable light source due to the low-power LED strip.
What You'll Need
Magnets
The magnet sizes I used are based on what I had available, but they work perfectly for this design. You'll need:
- For the Plumbob Prisms:
- 1x magnet: 24.5mm (diameter) x 3.5mm (thickness)
- 5x magnets: 11.5mm (diameter) x 3.5mm (thickness)
- For the Top Part of the Lamp:
- 5x magnets: 11.5mm (diameter) x 3.5mm (thickness)
Filament
- Plumbob Prisms: Bambu PLA Glow (Green)
- Light Diffuser Parts: Bambu PLA (White)
- All Other White Parts (Base, Shaft Housing, Top Part): Bambu PLA Matte (White)
Lighting
- A cheap USB UV LED strip, 8mm wide. This provides a subtle glow through the diffusion parts.
Printing Instructions
- Print profiles: Each print profile is a part of the model. Download all files or go through each of my print profiles individually.
- Nozzle Size: All parts were printed with a 0.4mm nozzle, except for the two translucent diffuser pieces.
- Translucent Diffusers (Crucial!):
- Print with a 0.2mm nozzle.
- Enable snug supports and Arachne walls.
- Do not lay this part flat on the print bed! Use the orientation and parameters provided in the 3MF file. Laying it flat will cause the part to split along the layer lines during assembly.
- You may need to lightly sand the surface to get a smooth diffussion, personally I got great results with 600 wet sand paper
- Recommended Print Surface: For good adhesion and to reduce wobbling, especially with the tall translucent parts, a smooth high-temp plate or other strong adhesive-featured plate is strongly recommended. The translucent parts are near the maximum height capacity of an A1 printer.
- Estimated total print time: 30 hours, primarily due to the translucent parts, which each take around 13 hours to print with the 0.2mm nozzle.
Assembly Guide
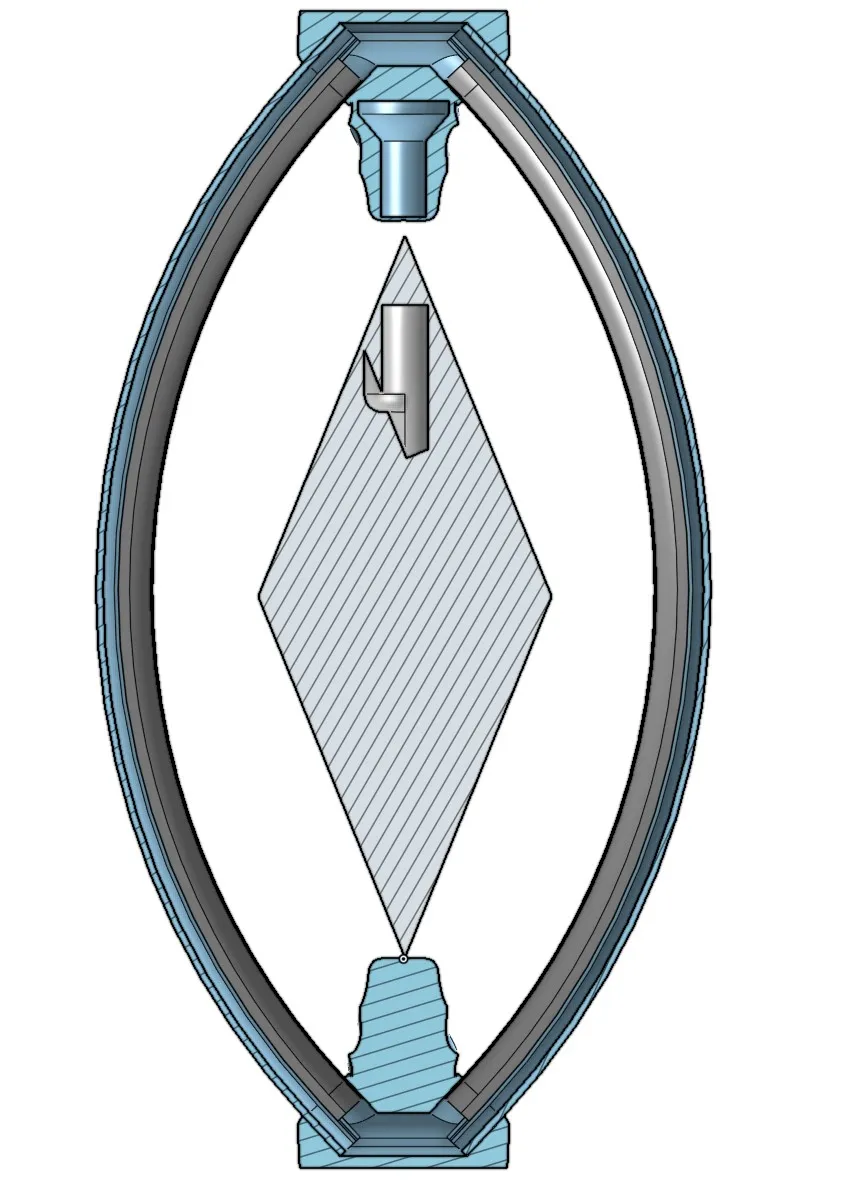
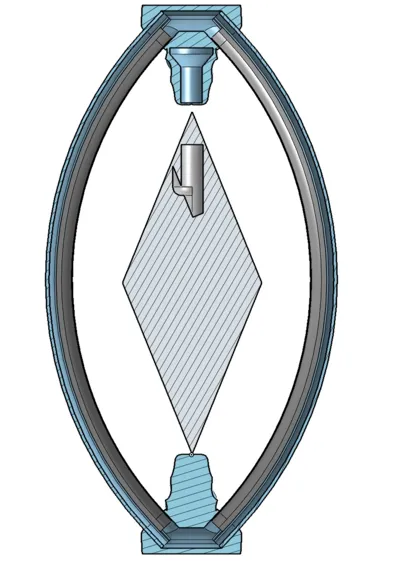
This lamp consists of a base part, two shafts (each composed of a housing and a diffusing part), a top part with magnets inside, and the Plumbob prisms that rest on the base and balance using the magnets in the top part.
- Insert LED Strip: First, feed the LED strip through the bottom of the lamp base.
Assemble Diffuser Housing: Carefully assemble the diffuser housing. Fix the LED strip in place with small, incremental dots of superglue. Patience is key here! (see the top quality schema provided for feeding the led strip.
Do not push the diffuser housing all the way through the bottom yet, leave some room for wiggling when attaching the top part later.
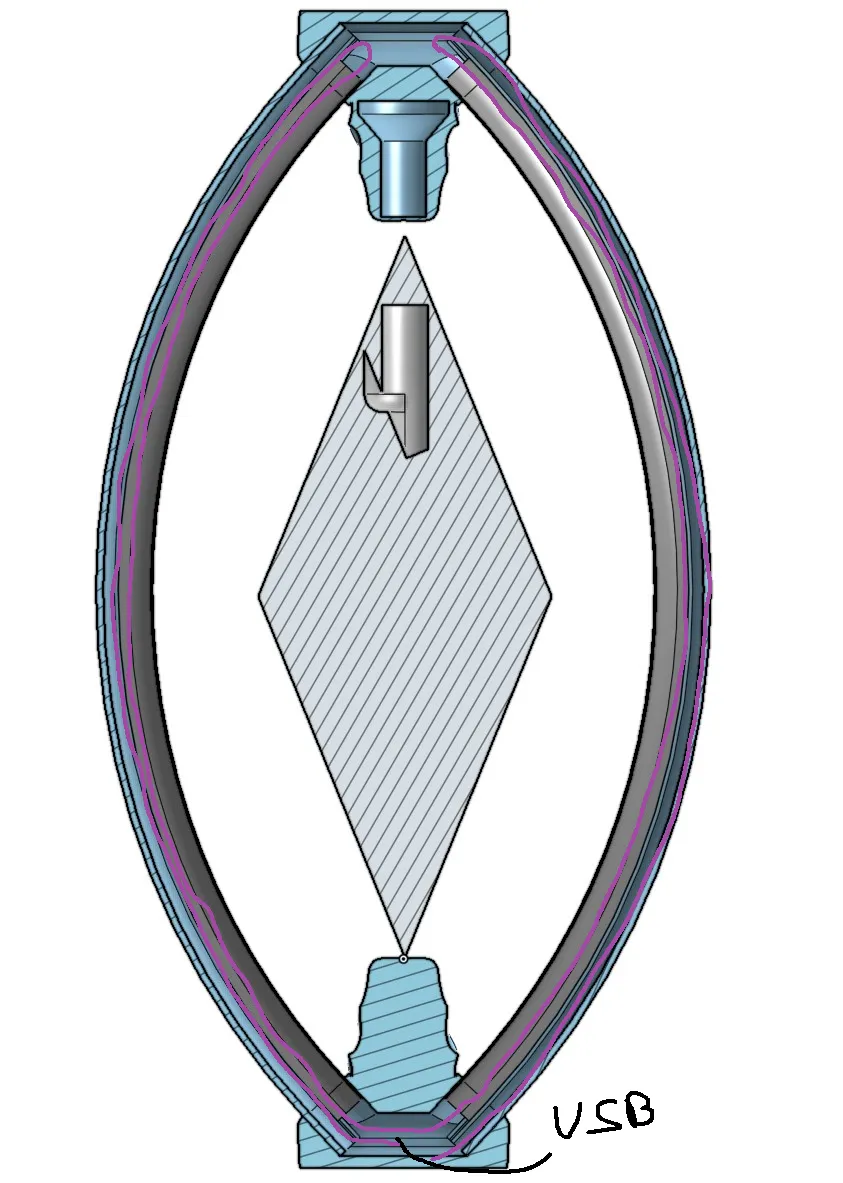
- Attach Diffusion Parts (Handle with Care!): Gently push the diffusion parts into their grooves by flexing them. Be extremely careful, as these parts are delicate and can break easily. Flex the part not along the layer lines to prevent breakage.
- Final Assembly: Push the top part into place, then push the diffuser housing all the way down to secure everything.
Important Notes
- Translucent Material: The material used for the translucent parts might be a bit brittle. A more flexible material like PETG might yield better results and reduce the risk of breakage during assembly.
License



Comment & Rating (0)