
Corsair HS80 / HS80 Max Hinge Buckle Repair
Print Profile(3)


Description
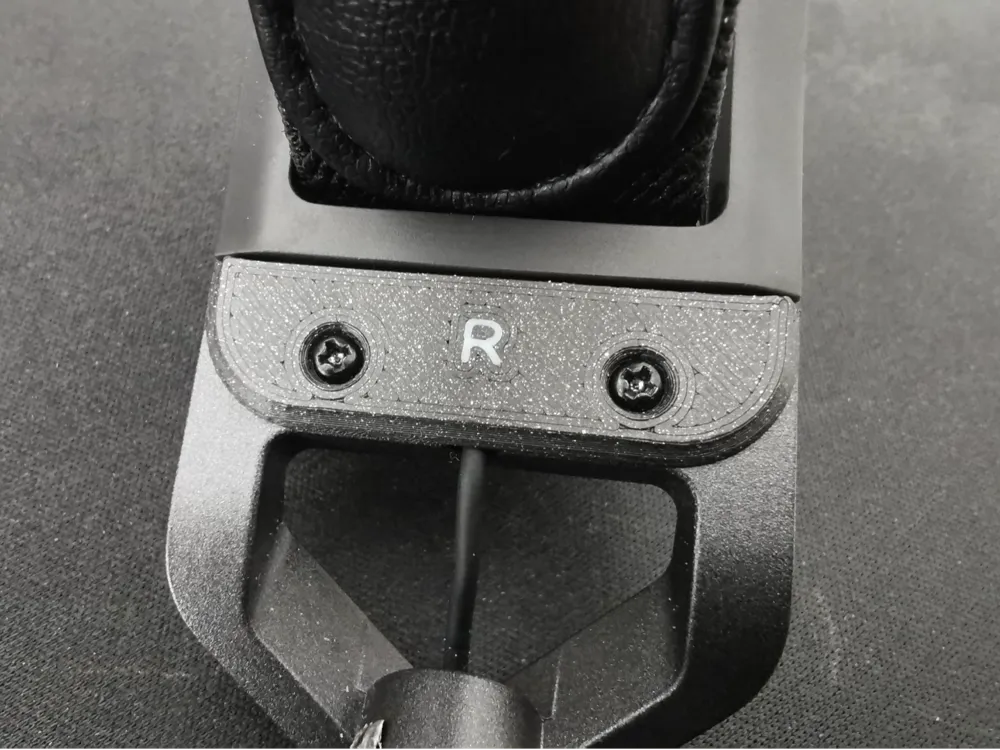
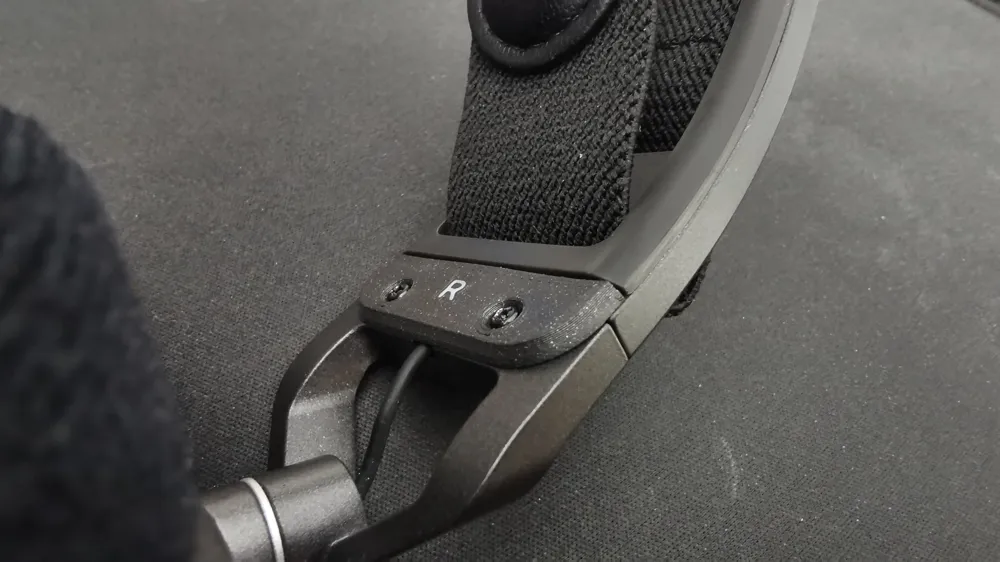
This component is a small plastic hinge buckle plate that fits at the headband-to-earcup joint of the Corsair HS80 and HS80 Max headsets. It provides essential mechanical support. The original part is prone to cracking, but this 3D-printable replacement is a reliable and easy-to-install alternative. While the headset is great, this part is poorly designed and breaks frequently.
Features
- Fully compatible with the original Corsair part — you can reuse the original screws.
- Modified geometry optimized for 3D printing.
- Maintains nearly the same cross-section as the original injection-molded part, but with extra internal thickness for added strength.
- Designed to be durable yet printable using common consumer printers and materials.
- The geometry protrudes a bit over the curve of the part, this is unfortunately needed, to give it a nice surface finish - this can be seen in the macro shots, but you won't notice it when wearing the headset :)
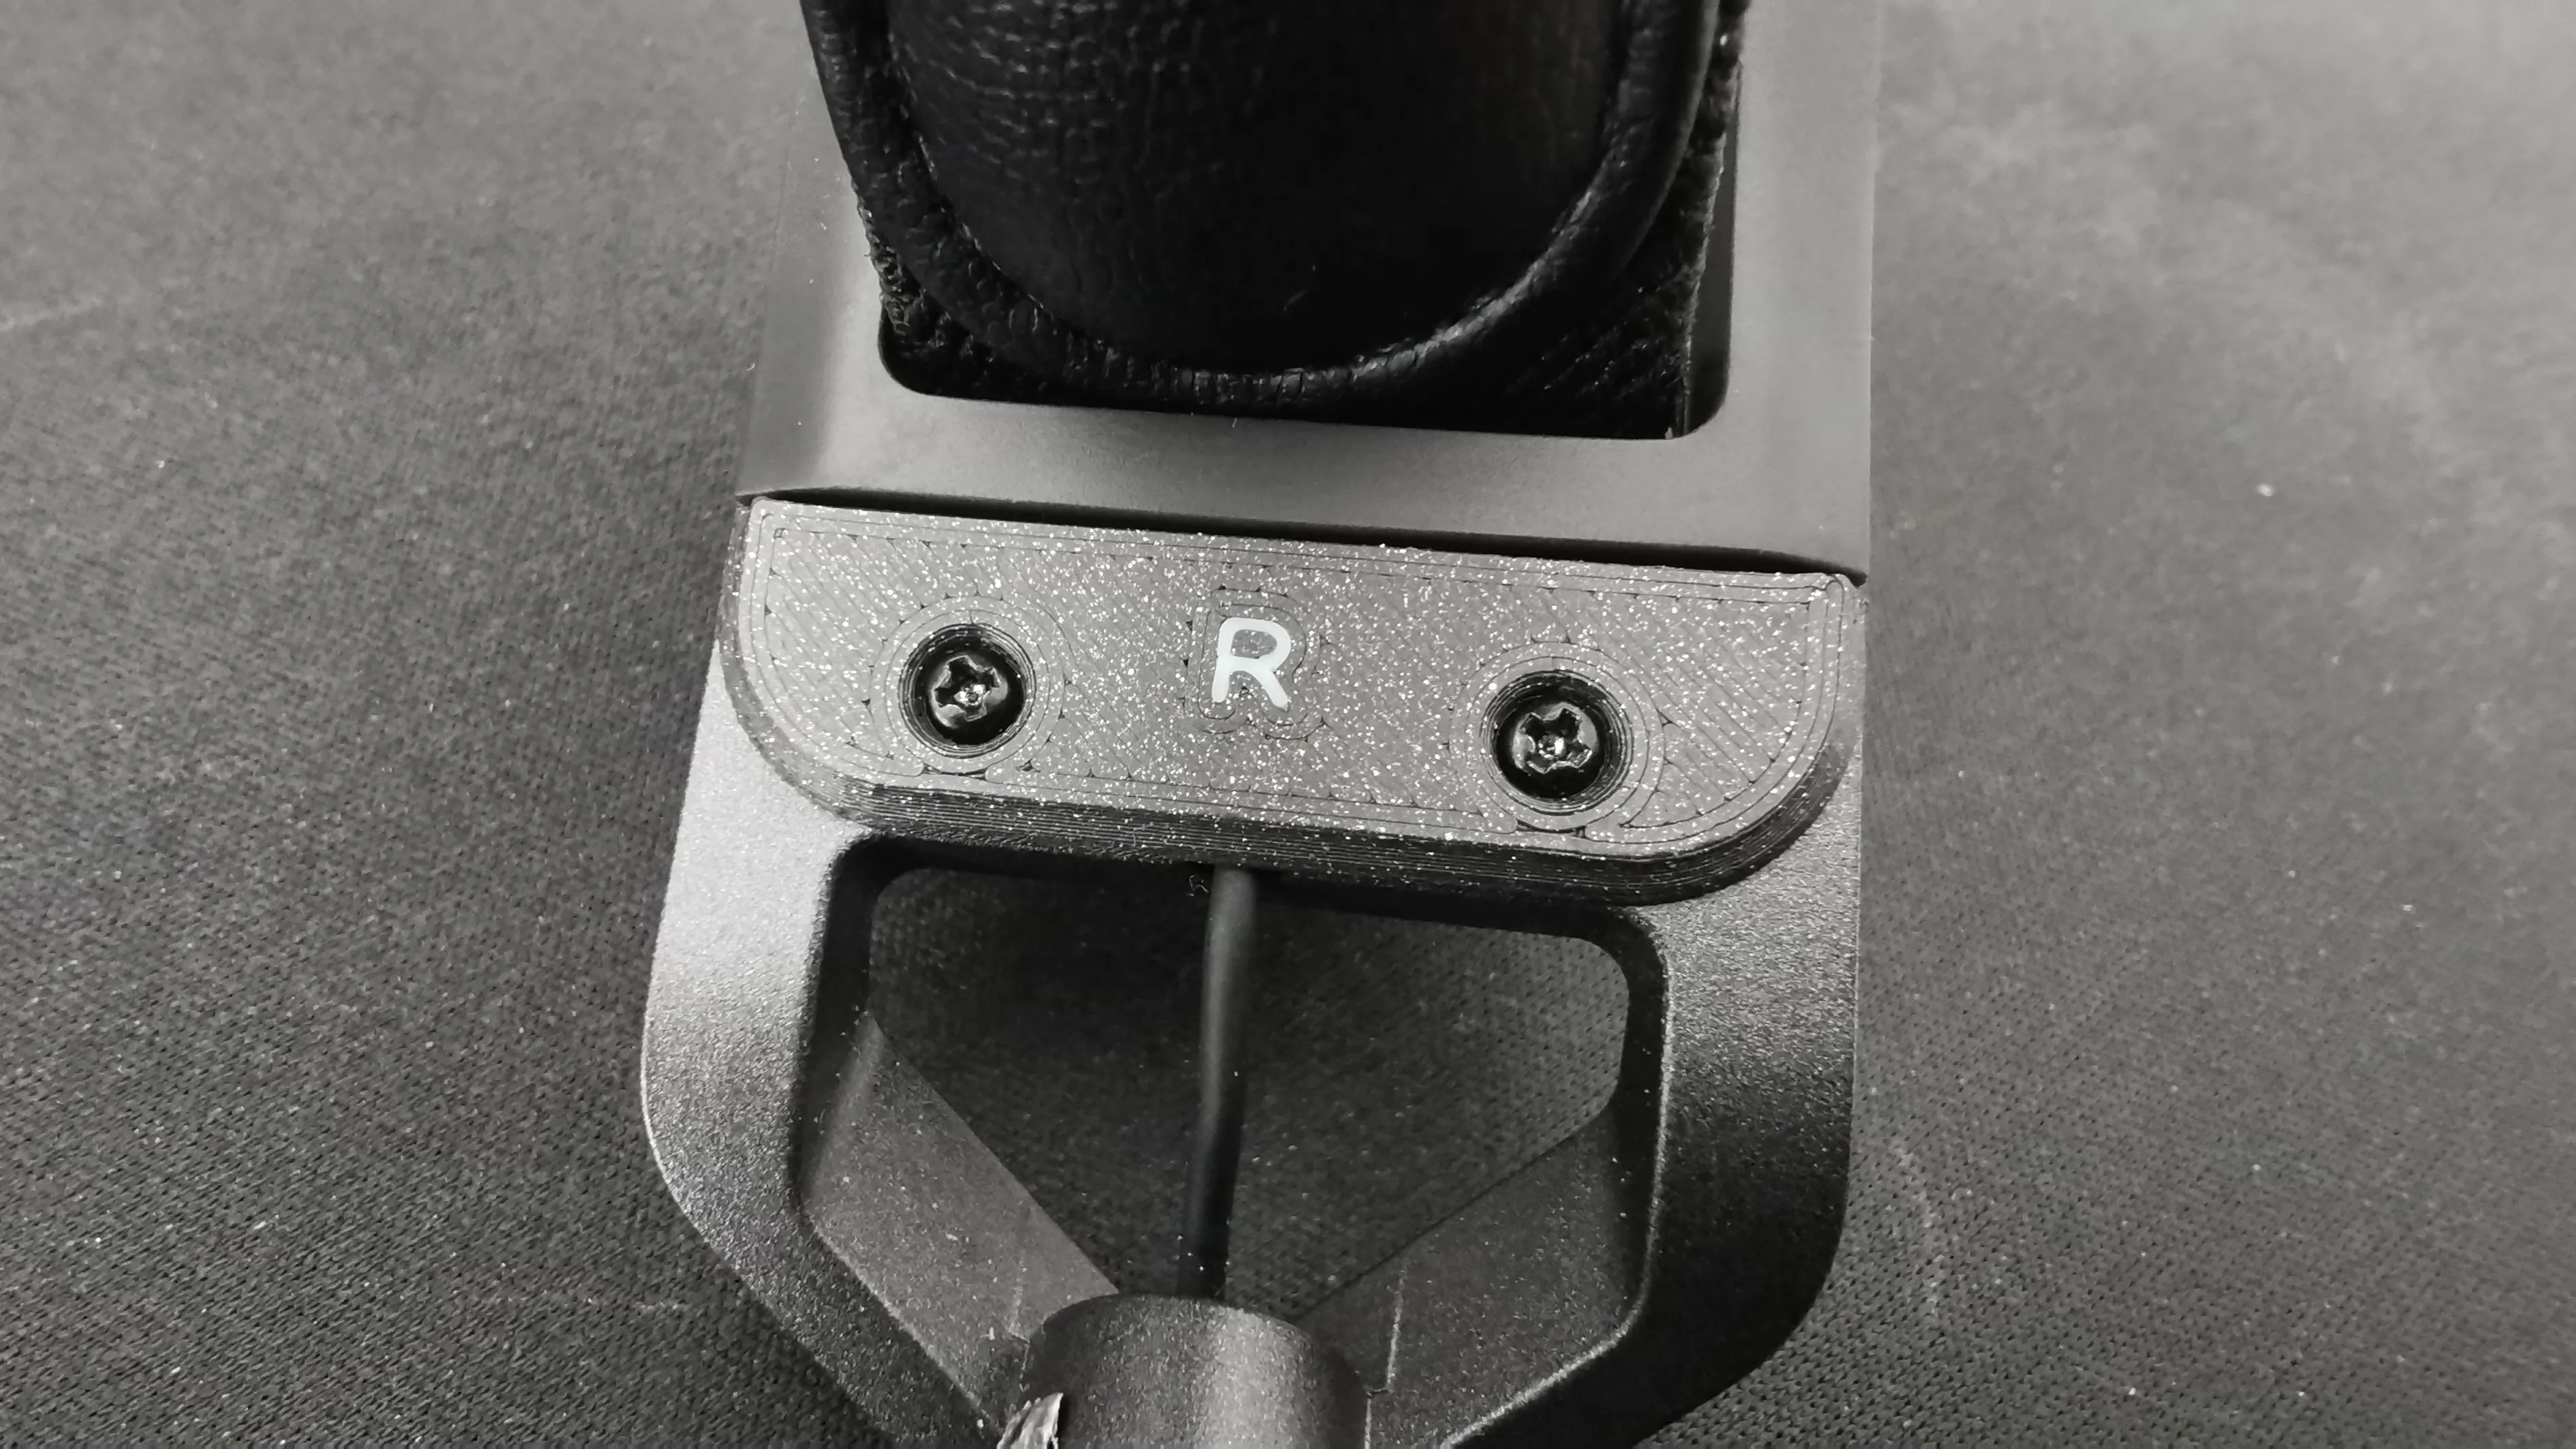
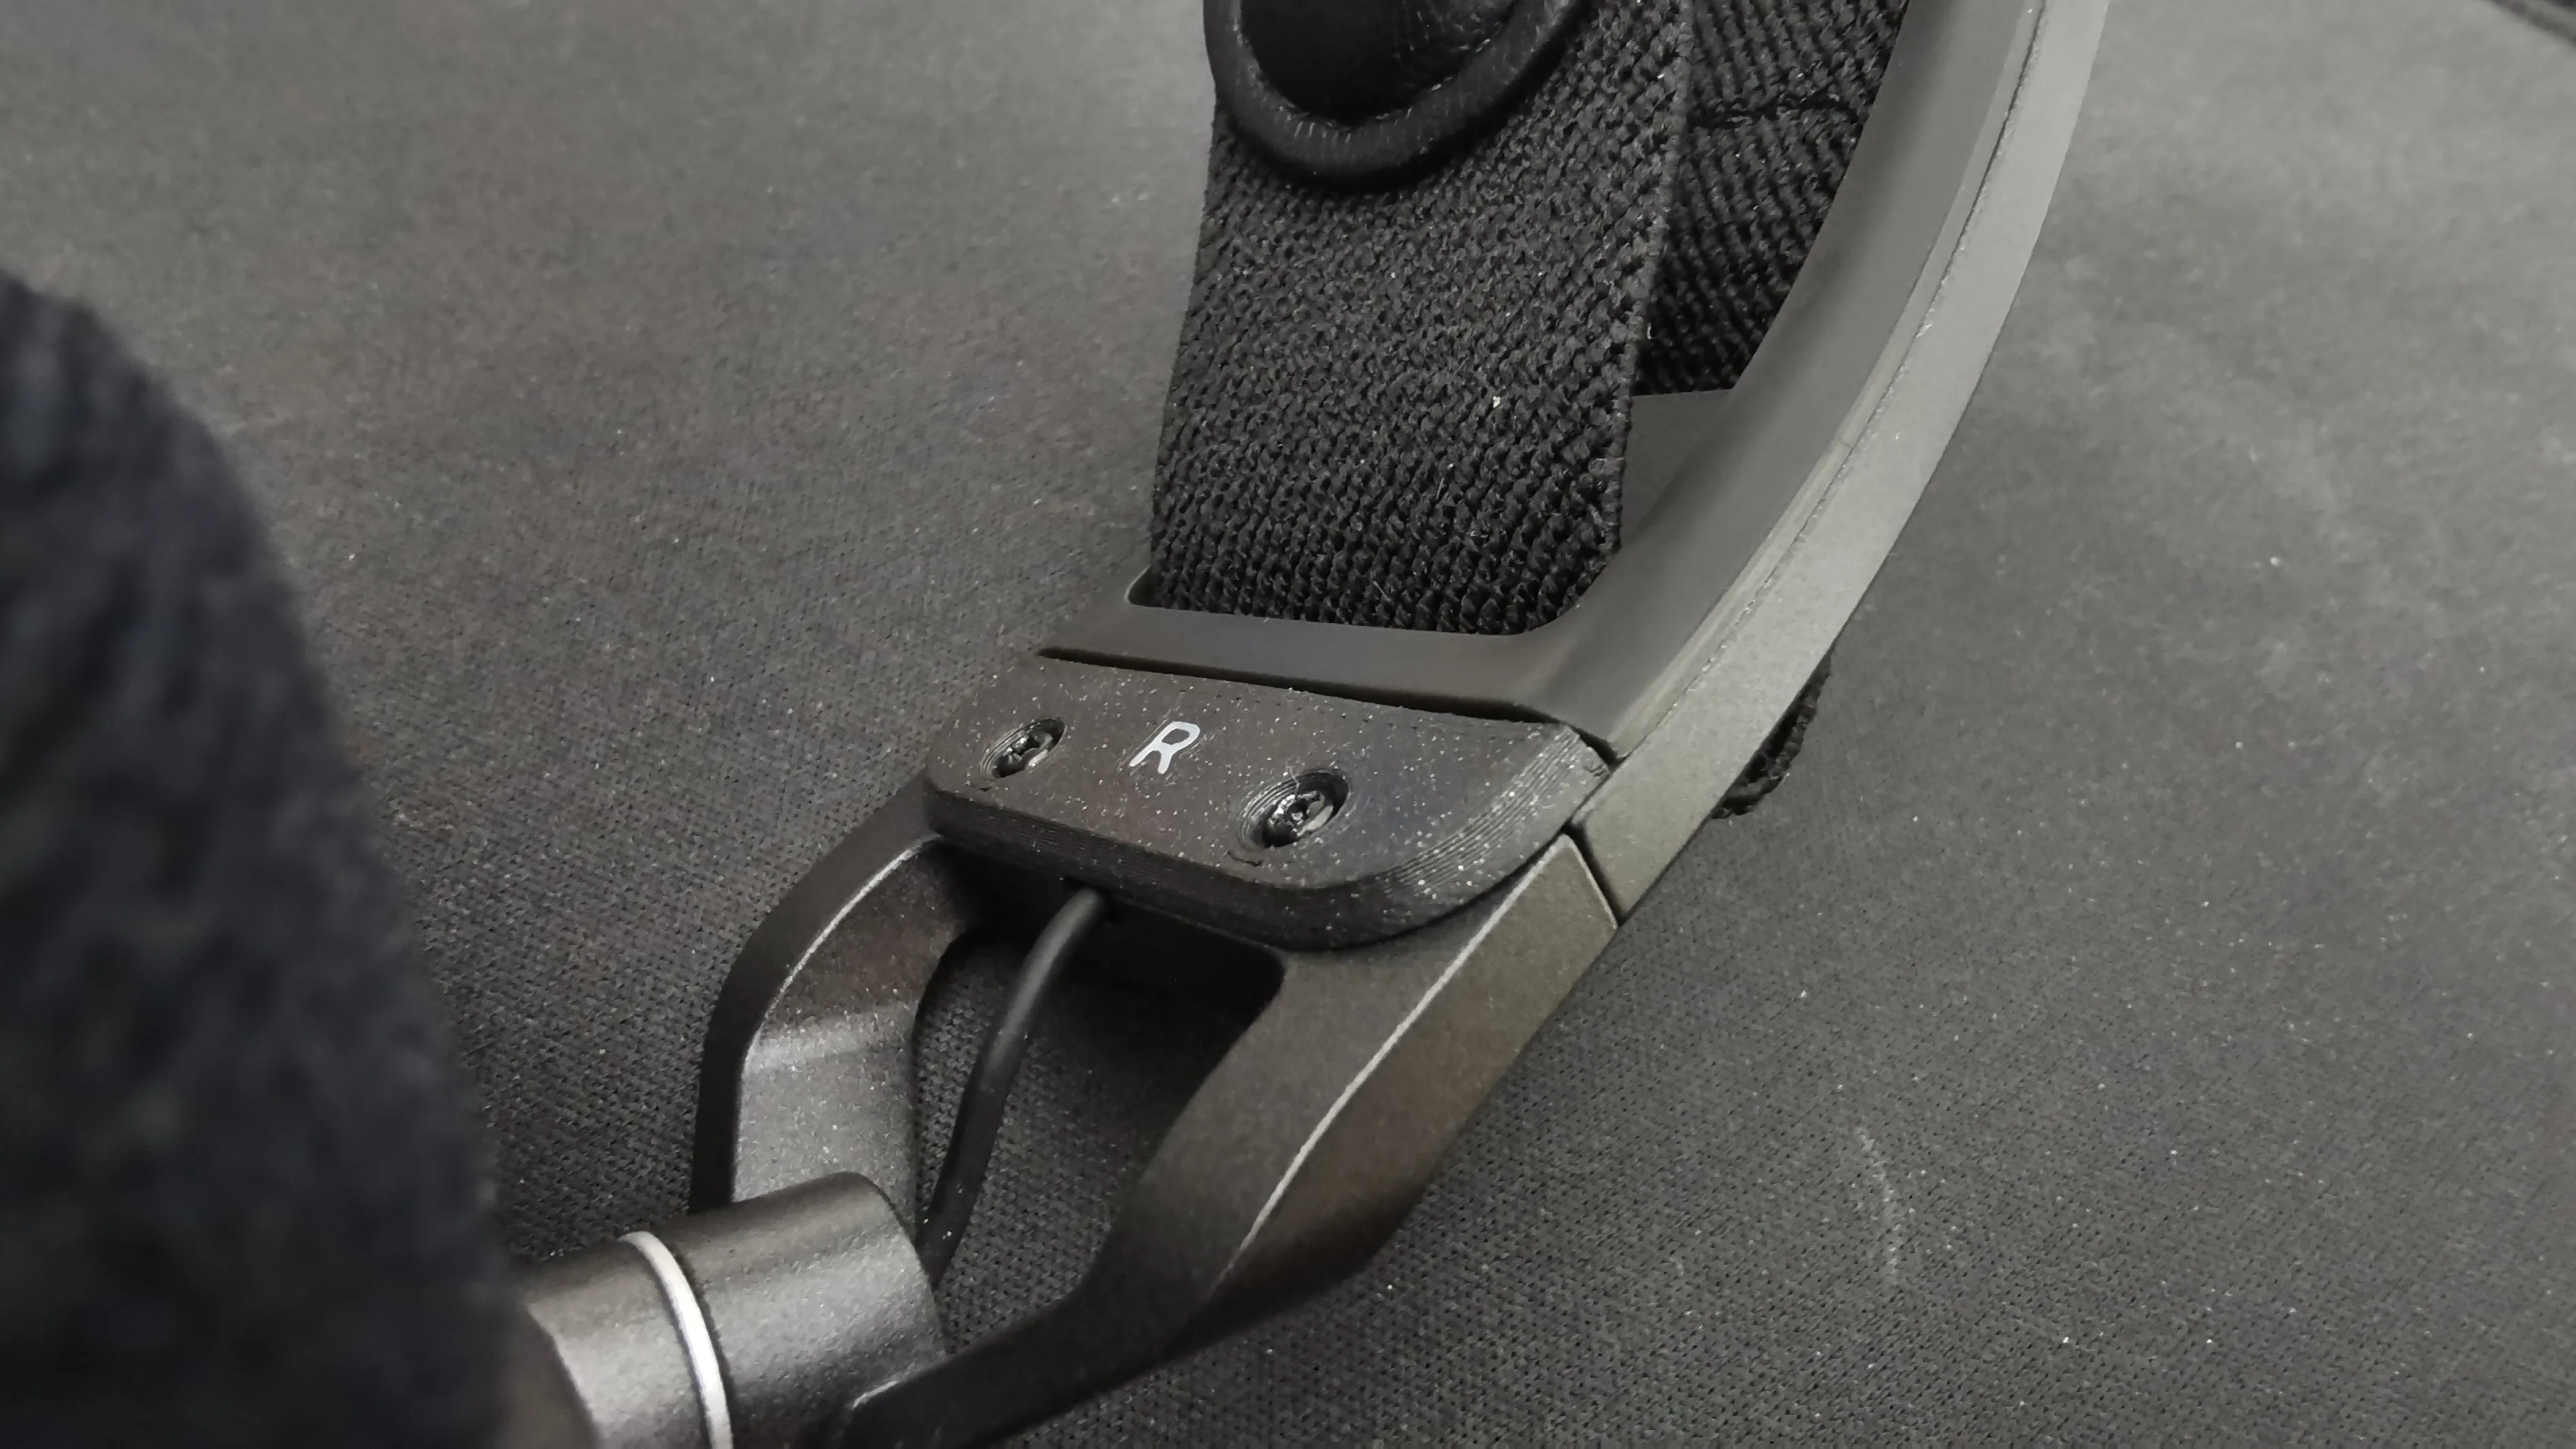
Printing Recommendations
- Material: PETG, ABS, or ASA (rigid but slightly flexible)
- Layer Height: 0.1 mm
- Nozzle Size: 0.4 mm
- Walls & Layers: 2 perimeter walls, 40 top/bottom layers (for a solid, strong part)
- Slicer Settings:
- Disable “Detect narrow internal solid infill” for better strength
- Set seam position to the back side
- Set support direction to the back of the plate
Print Options
You have three choices:
- Blank version (no side indicator)
- Two-color print with left/right indicator — assign a different color to the “L” and “R” bodies
Single-color with indicator — delete the “L” / “R” bodies in your slicer before printing
The included support structures in the .3mf files are essential for clean overhangs due to the part's thin geometry. For PLA or PETG, these supports are optional. For high-temperature filaments, they are recommended - they snap off easily after printing.
Assembly Instructions
- Remove the damaged original part (don't damge the cable) and keep the screws.
- Clean any remaining plastic from the headband slot.
- Align the new part and press it in until it "clicks" into place.
- Gently insert and tighten the original screws.
Boost Me (for free)
Enjoying my models? Show your support with a Boost! Boosting not only adds a few extra points my way - it also helps cover the material costs that goes into prototyping each design. Every bit of support helps me keep creating fresh, high-quality models for you to enjoy! Thank you for helping keep the creativity flowing 💡✨
License



Comment & Rating (16)