Search models, users, collections, and posts

NOTchi Mini Robot Companion Accessory

Print Profile(1)

All
P1S
A1
X1
X1 Carbon
H2D
P1P
X1E
A1 mini
H2D Pro
H2S
P2S
H2C
X2D
A2L

0.16mm layer, 3 walls, 15% infill
Designer
1.7 h
1 plate
5.0(21)

Open in Bambu Studio
Boost
316
621
54
9
548
189
Released 

Description

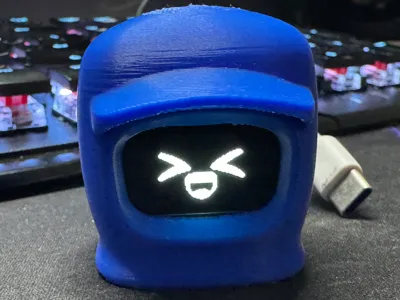
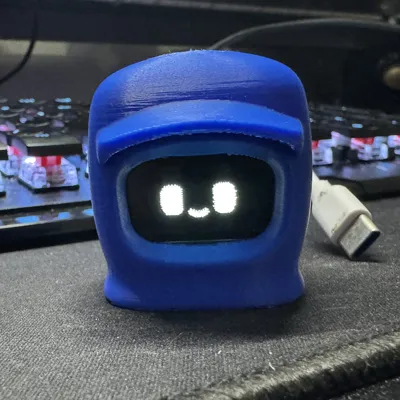
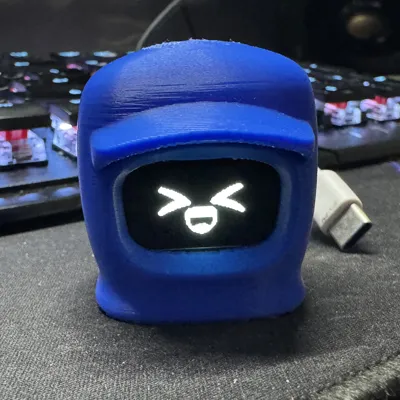
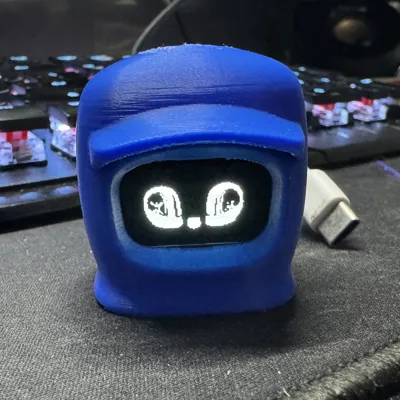
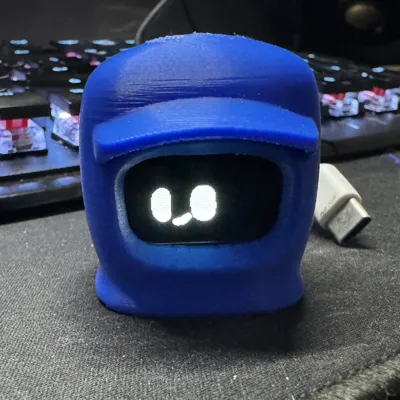
Last year I started seeing a lot of viral videos of the Dasai Mochi along with many clones from other companies.  I decided that $50+ for a Mochi is steep given the cost of the parts to make one so I decided to design something similar.  Presenting the NOTchi.  It runs on an ESP32-C6 powered by a USB-C cable and it displays over 30 gifs at random on a 0.96" OLED screen.  The helmet is inspired by a robot from the series Love, Death, and Robots.


Components:

ESP32-C6 Mini - Amazon  (Use the ESP32-C6 Mini as I cannot guarantee the code will work on other ESP32's.)

ESP32-C6 Mini - AliExpress  (Use the ESP32-C6 Mini as I cannot guarantee the code will work on other ESP32's.)


0.96" OLED Display - Amazon

0.96" OLED Display - AliExpress


Jumper Wires - Amazon

Jumper Wires - AliExpress

(The above two are examples.  You'll just need four Dupont style female to female short jumper wires.)


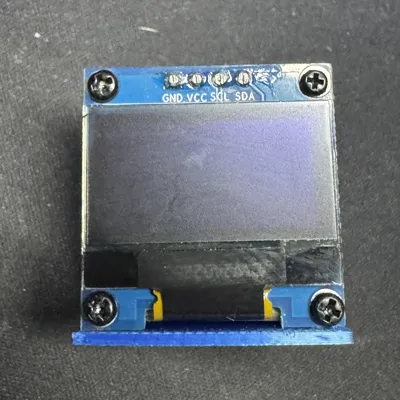
Tiny Screws.  The four I used came off of an old laptop.  Any will work as long as they're about 1.5mm in diameter and less then 5mm long.


Software:

Arduino IDE

Arduino Code

Note: I am not the creator of the Arduino Code, but I did have to make quite a few changes to the original so that it would work with the ESP32-C6 and 0.96" OLED Display.


Programming and Assembly:

  1. Download both folders in the Arduino Code Link above.
  2. Open Arduino IDE (ensure you have all prerequisites listed at the top of the code, and send it to the ESP32-C6.
  3. Push the ESP32-C6 into the frame.
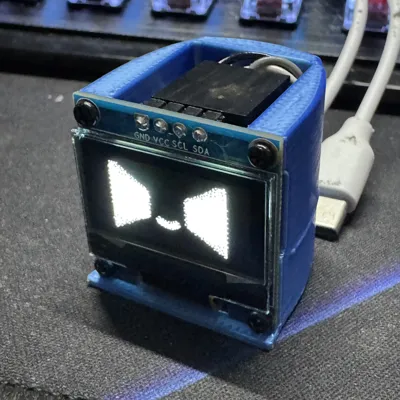
  4. Using Dupont jumpers connect SDA, SCL, VCC, and GND to their corresponding pins on the OLED display. 
  5. Power on the ESP-32 to verify everything is operating as intended. 
  6. Screw the OLED display to the frame.
  7. Tuck in any exposed wires.
  8. Press the frame into the helmet.
  9. Assembly complete


Comment & Rating (54)

(0/1000)

Print Profile
0.16mm layer, 3 walls, 15% infill
Nice design not easy to print, 2 time print the support fold down, make the alternative support to complete print..
(Edited)
2
Reply
if you think this is a mochi helmet NO! my mochi almost got stuck in this piece of crap
The designer has replied
0
Reply
I'm sorry this print was a bad experience for you; however, no where in the description or images do I indicate this is a helmet for the original motchi. The description clearly indicates this a diy project to make a NOTchi.
3
Reply
The title is misleading, and the description lacks clear warnings that this is not compatible with the original Mochi. That is the issue.
0
Reply
Replying to @user_2937180305 :
lol you didnt read past the title... thats your mistake.. this is all on you
(Edited)
6
Reply
супер
0
Reply
nice little Project. thank you
0
Reply
Print Profile
0.16mm layer, 3 walls, 15% infill
Easy and nice print. Cute mini project. All came together well and the instruction are easy to understand. Thanks!
0
Reply
Printed with no issues. Won't let me rate but 5/5. Have zero experience with Arduino but I somehow managed to get it to work lol. So cool!
(Edited)
0
Reply
Print Profile
0.16mm layer, 3 walls, 15% infill
good
0
Reply
cool! question can i add sound effects too? like adding 1w speaker directly on the esp32-c6? is it possible? @Hootis
The designer has replied
designer
1
Reply
I believe after the code is flashed to the C6 theres still free space, but im not sure if it's enough for sound effects. There is enough room behind the display for a small speaker.
0
Reply
Replying to @Hootis :
hoping the esp32-c6 mini can directly produce sound to speaker without using a amp module? hmmm
0
Reply
Replying to @Tikoy :
Maybe use a piezo buzzer. I'm pretty sure the esp should be able to power that easily.
0
Reply
Print Profile
0.16mm layer, 3 walls, 15% infill
0
Reply
Could you please make a tutorial video Thank you
The designer has replied
Show original
1
Reply
I plan to at some point, I just don't have a lot of free time.
0
Reply

License

This user content is licensed under a Standard Digital File License.

You shall not share, sub-license, sell, rent, host, transfer, or distribute in any way the digital or 3D printed versions of this object, nor any other derivative work of this object in its digital or physical format (including - but not limited to - remixes of this object, and hosting on other digital platforms). The objects may not be used without permission in any way whatsoever in which you charge money, or collect fees.