
Print-in-Place Eyeglass Case (No Supports, No Assembly, No Hardware)
Print Profile(4)


Description
Print-in-Place, Support-Free, Assembly-Free, Hardware-Free, Integrated Latches, Direct Print from Phone, PETG & PLA Compatible, AMS-Free Multi-Color Printing
Boost Me (for free)
Thank you for your support
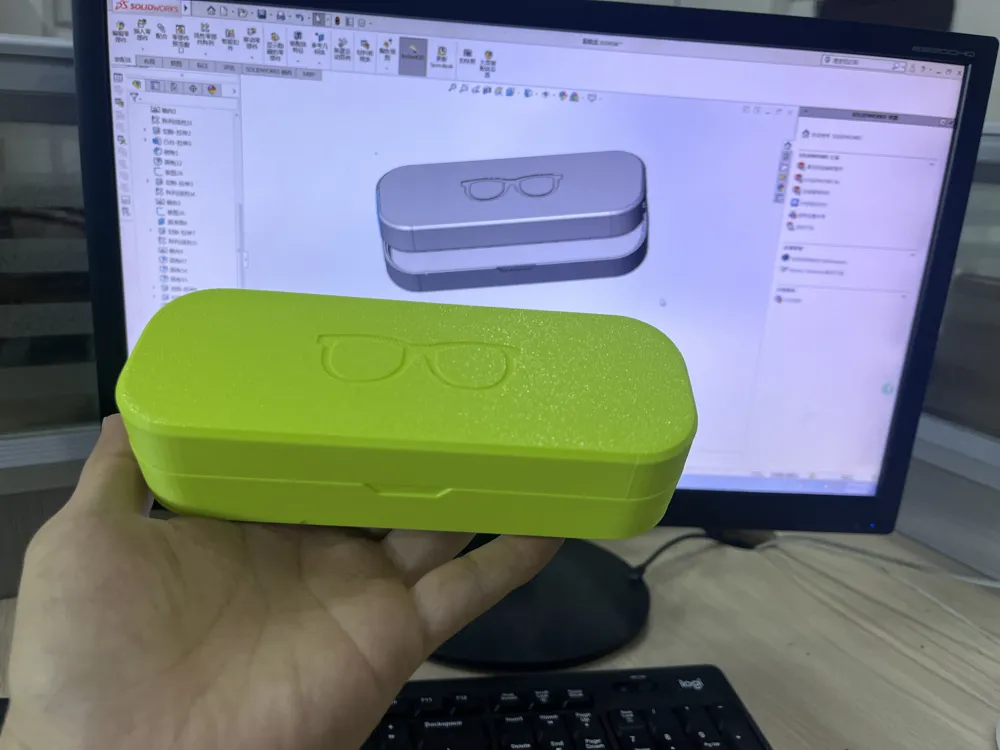
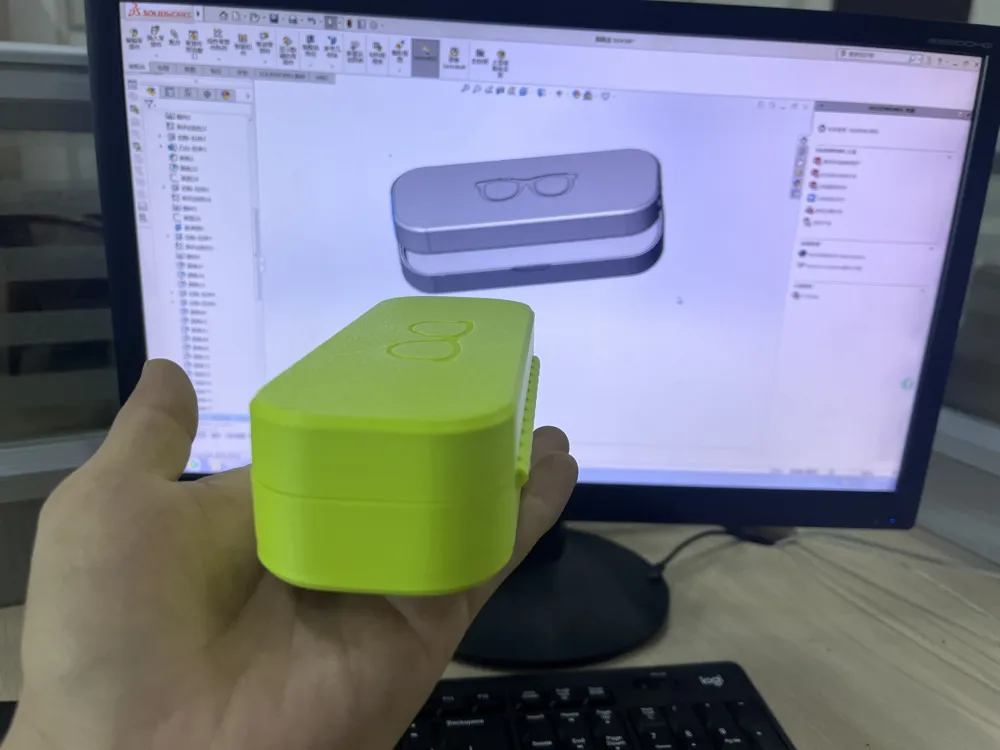
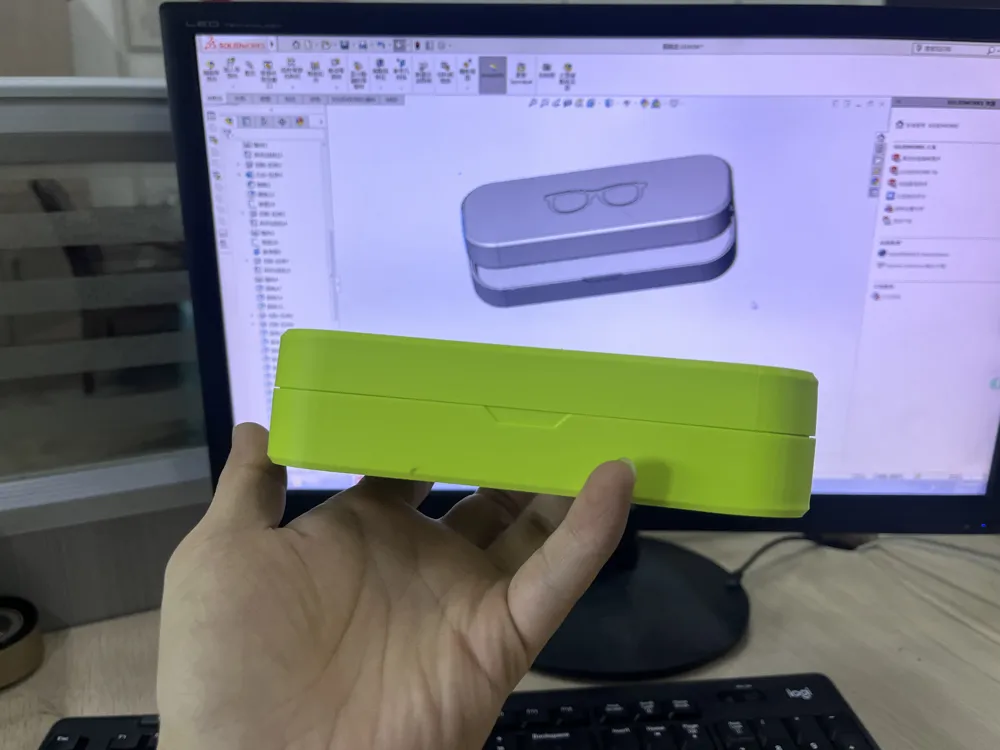
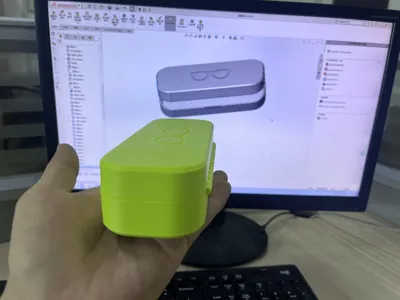
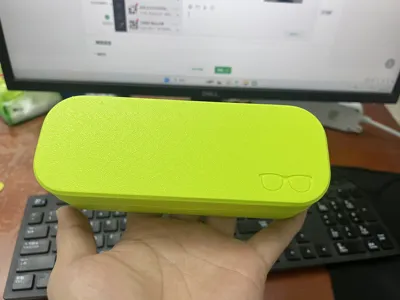
I. Dimensions (mm): External 160*60*40, Internal 154*54*36, compatible with most eyewear;
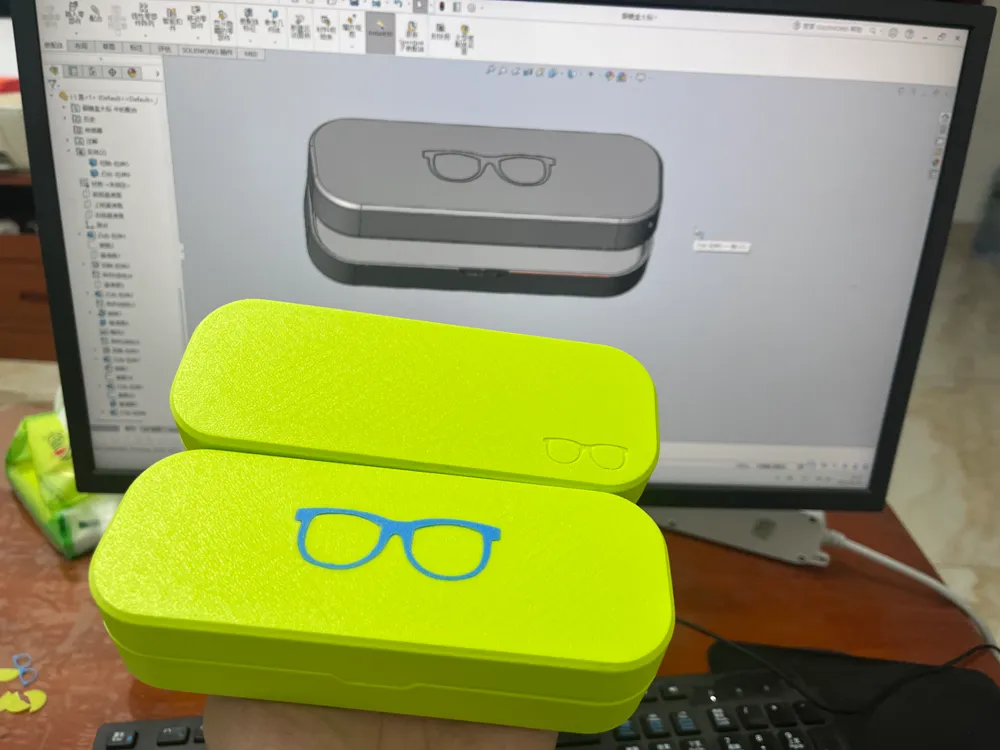
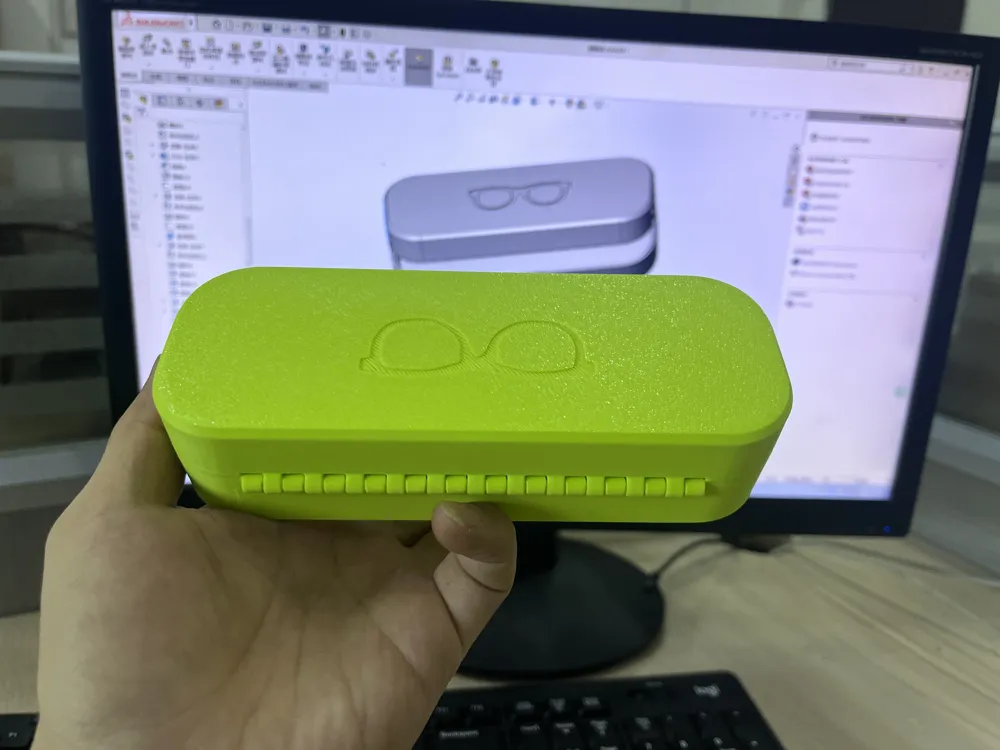
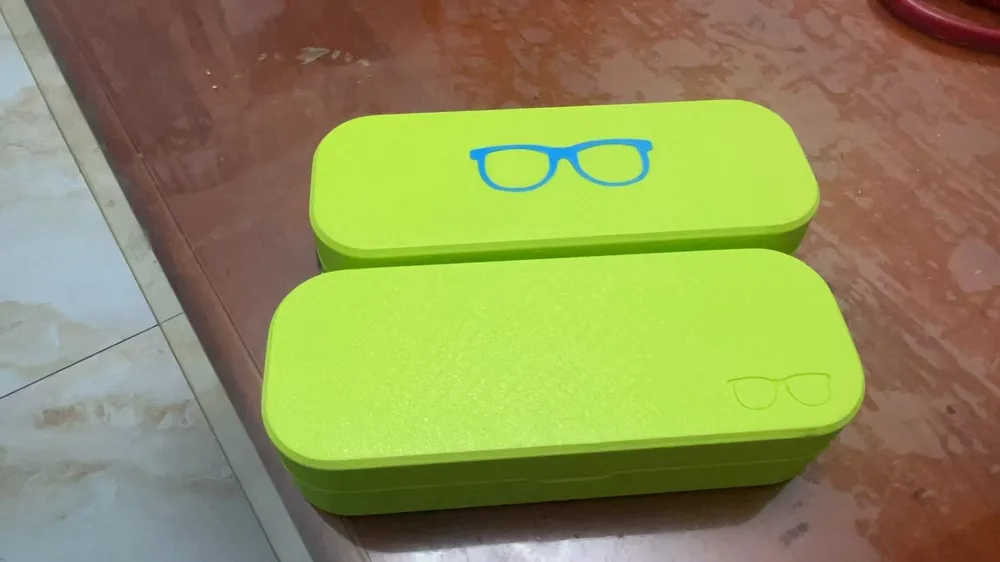
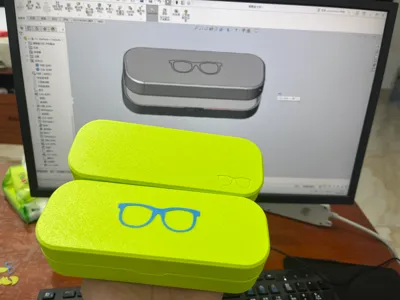
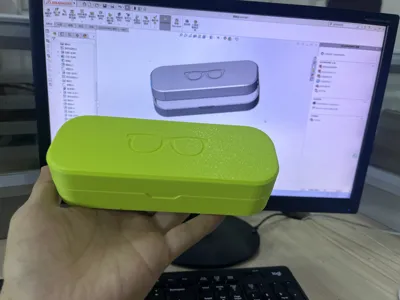
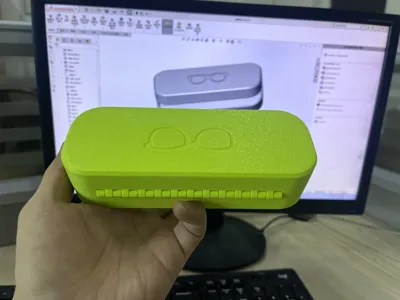
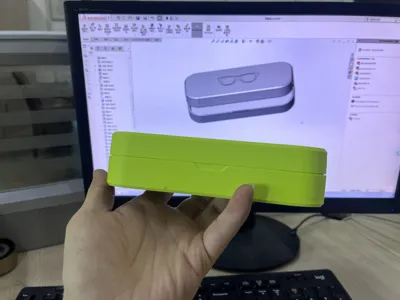
II. Print-in-place, assembly-free, support-free, hardware-free design with integrated latches, exceptionally smooth opening and closing; chamfered edges for comfortable handling; printable with PETG and PLA;
III. I have a severe case of obsessive-compulsive disorder, and although this is just a small glasses case, the model is exceptionally meticulously designed. I have painstakingly optimized for any conceivable flaw. Please adhere strictly to my recommended settings and precautions; do not modify parameters;
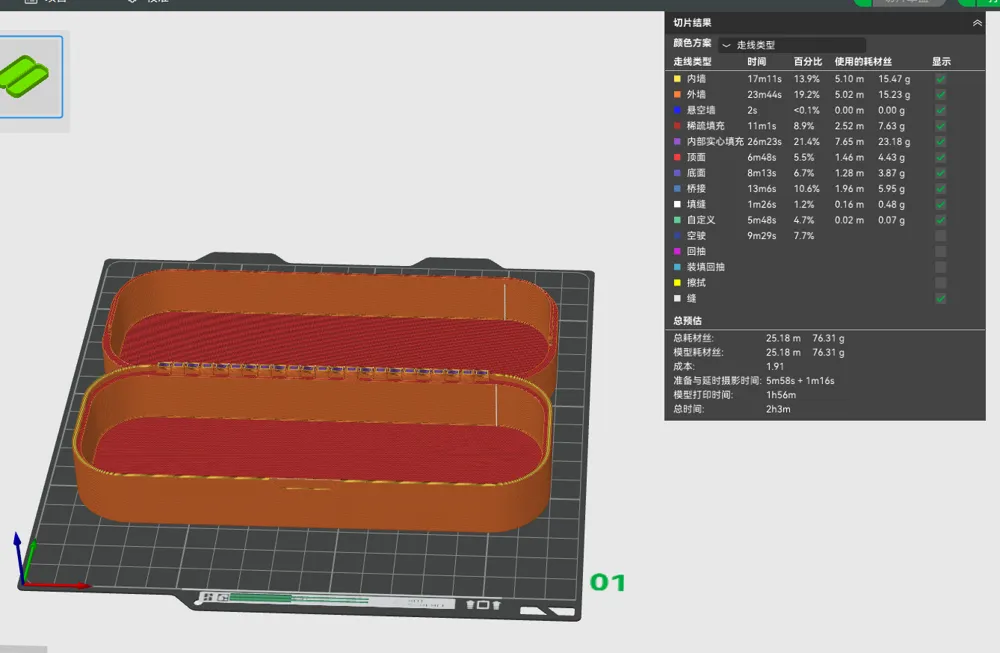
Note: 1. For A1 mini, adding a small raft is recommended to prevent warping; this is unnecessary for other machines;
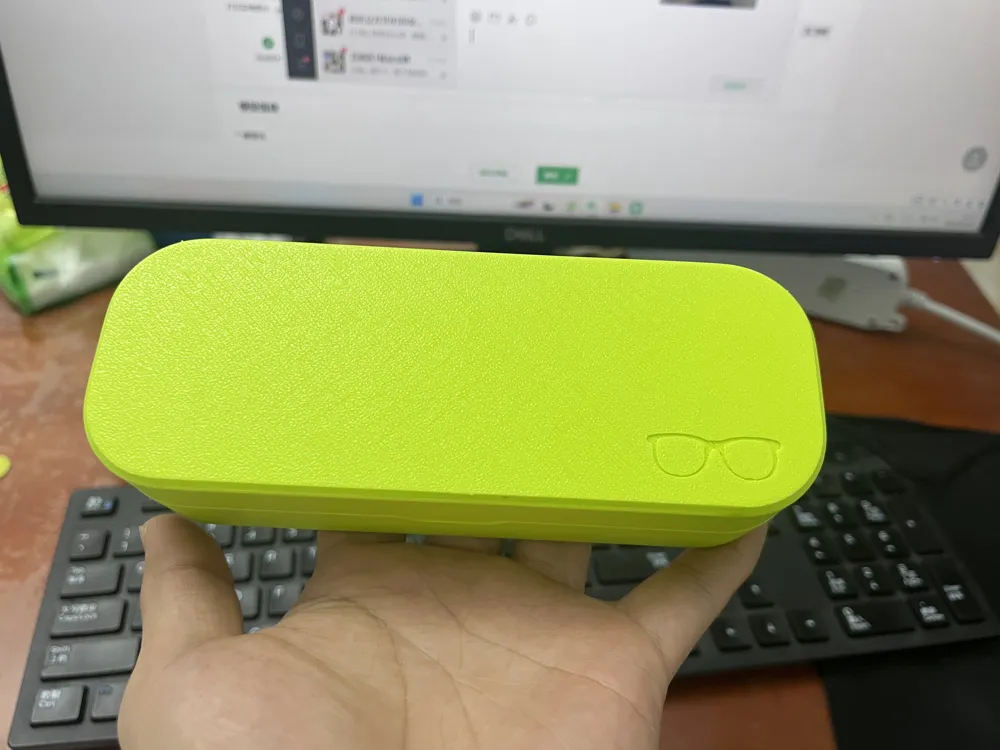
2. PLA was used for prototyping, with excellent results; PETG printing is also feasible;
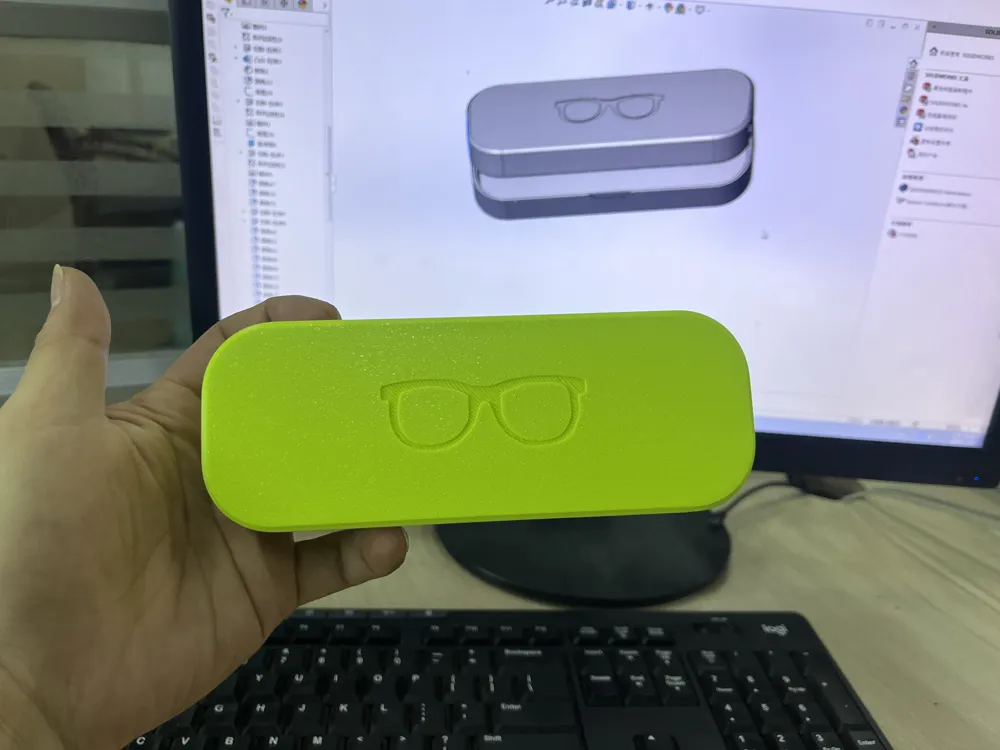
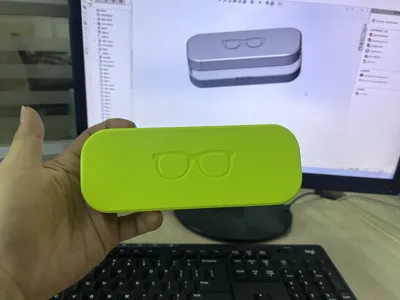
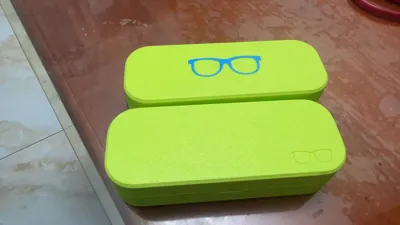
3. A separate upload of the glasses logo is provided; this can be printed in a different color and then affixed to the recess using adhesive;
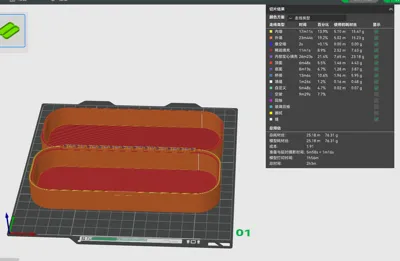
4. If your material exhibits poor overhang performance, use the settings shown in the small icon in the lower right corner. The lower right icon is quite small and does not include an uploaded glasses logo decal;
5. The model is relatively slender; after printing, allow it to cool completely before removal (approximately 5 minutes). Removing it while hot may cause minor warping and prevent proper closure;
6. Avoid positioning your printer directly in front of an air conditioner vent or fan; temperature fluctuations significantly impact print quality. This is crucial;
7. The glasses emblem has designated top, bottom, left, and right sides. Ensure the side contacting the build plate faces outward, and the top faces inward, to maintain optimal surface quality
License

You shall not share, sub-license, sell, rent, host, transfer, or distribute in any way the digital or 3D printed versions of this object, nor any other derivative work of this object in its digital or physical format (including - but not limited to - remixes of this object, and hosting on other digital platforms). The objects may not be used without permission in any way whatsoever in which you charge money, or collect fees.


Comment & Rating (33)