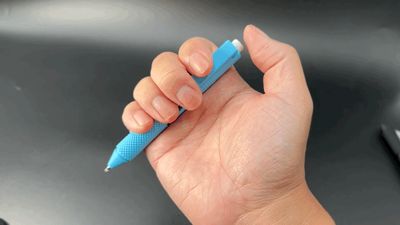
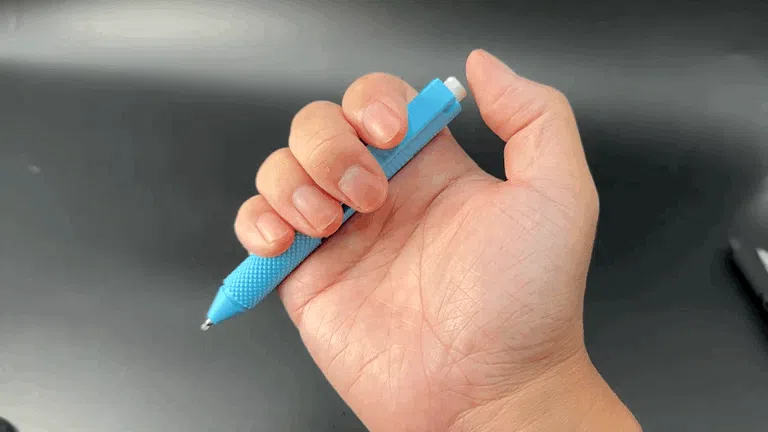
3D-Printed Click Pen


Print Profile(2)


Bill of Materials

Description
Requirements:
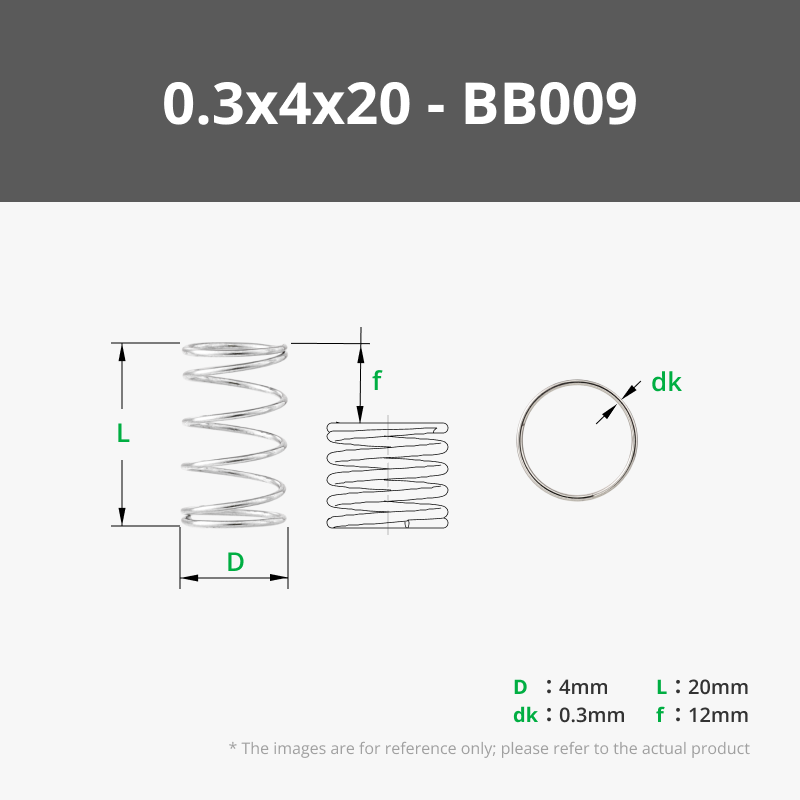
- Spring: 4-5mm diameter, 20mm±1mm length
- One drop of lubricant (mandatory)
- Standard G2 refill (compatible brands: PARKER, SCHNEIDER, SEMIRAMIS; 98mm length)
- Not compatible with PILOT refills (110mm length)
Print Specifications:
- Support-free printing
- Layer height ≤0.12mm
- Variable layer height recommended for speed/accuracy balance
- Provided 3MF file:
- Print time: ≤2 hours
- Material usage: ~16g
Assembly:
- Tool-free assembly
- Post-assembly lubrication required
- 1-minute break-in process (specific method in tutorial)
Test Validation:
- Printers: A1mini & H2D
- Materials: PLA/PETG (Basics/silk/matte verified)
- Optimal material: PLA Basics
Update: Added a new print configuration: Reduced thread clearance in barrel.
After retesting the original configuration, both PLA and PETG perform acceptably. However, some users report excessive thread looseness causing functional failure – an issue I've been unable to replicate. To address this, the updated configuration:
- Increases thread pitch diameter
- Decreases mating thread clearance

Tutorial:
Video Guide: (Break-in method at video end)
Step-by-Step:
Internal Structure Diagram

Internal Component Photo

Apply Lubricant: Small amount on blue surface (arrow-indicated)

- Break-in Method:
- Press and rapidly release button
- Utilize spring recoil to eject button
Repeat 10 times

Functional Test
My similar projects, click on the picture

The strength of 3D-printed knives cannot be guaranteed and they are suitable only for light-duty tasks, such as cutting paper or opening Amazon packages. Unless otherwise specified, all of my knife designs are intended for light-duty use only.
My similar projects, click on the picture

Membership
License
You shall not share, sub-license, sell, rent, host, transfer, or distribute in any way the digital or 3D printed versions of this object, nor any other derivative work of this object in its digital or physical format (including - but not limited to - remixes of this object, and hosting on other digital platforms). The objects may not be used without permission in any way whatsoever in which you charge money, or collect fees.
Comment & Rating (38)