
Print Profile(2)


Bill of Materials



- Superglue x 1:
Description
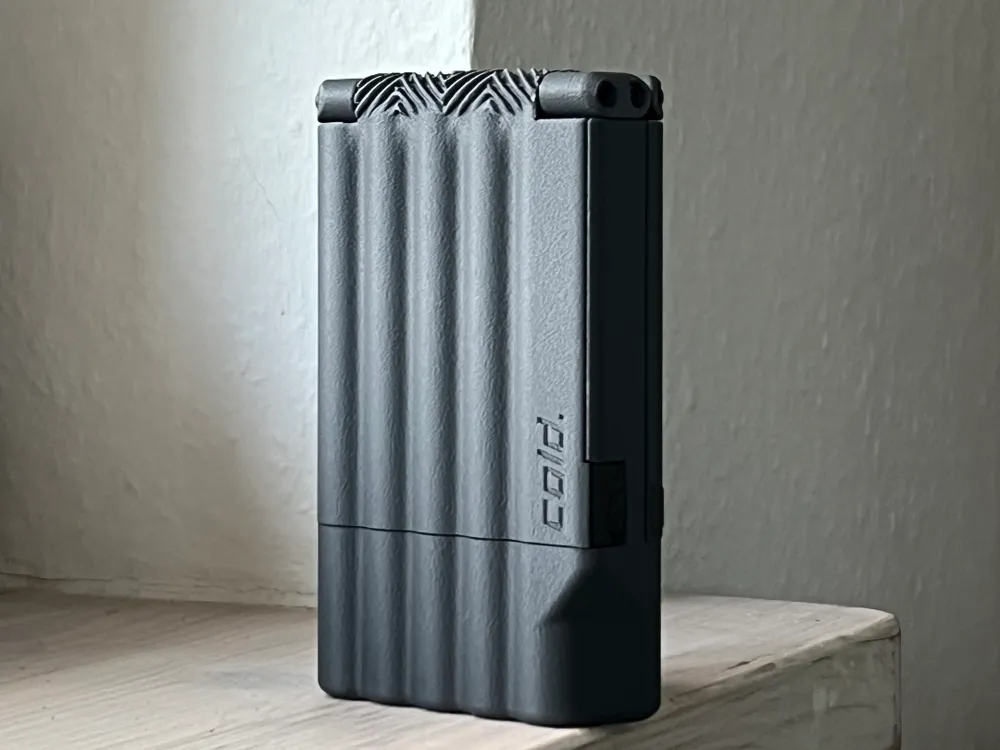
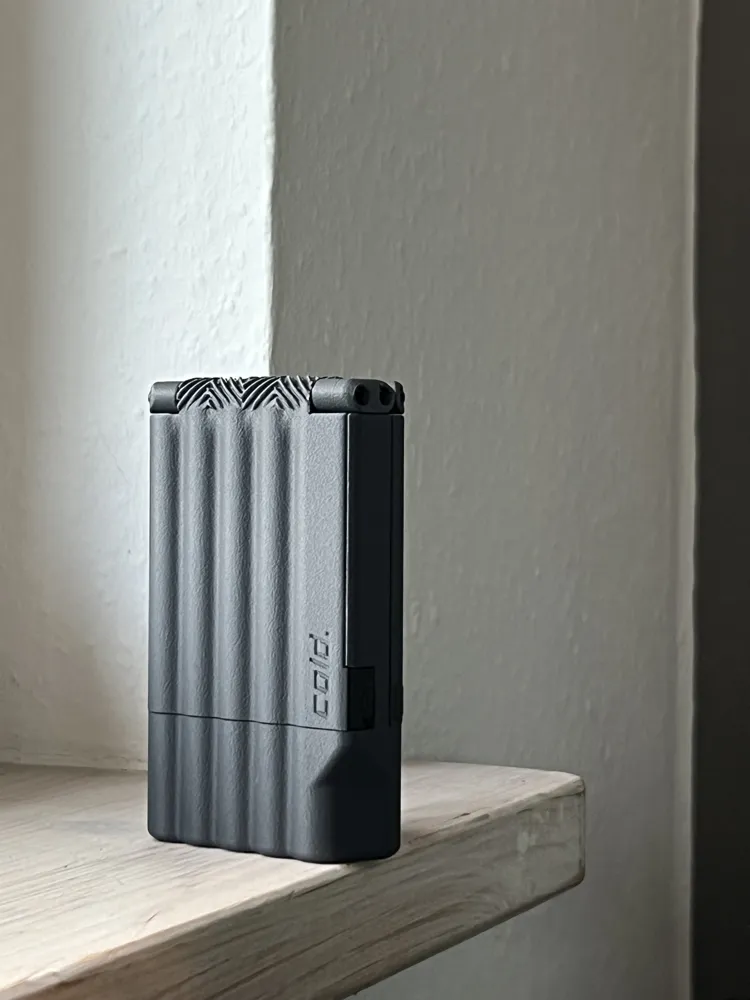
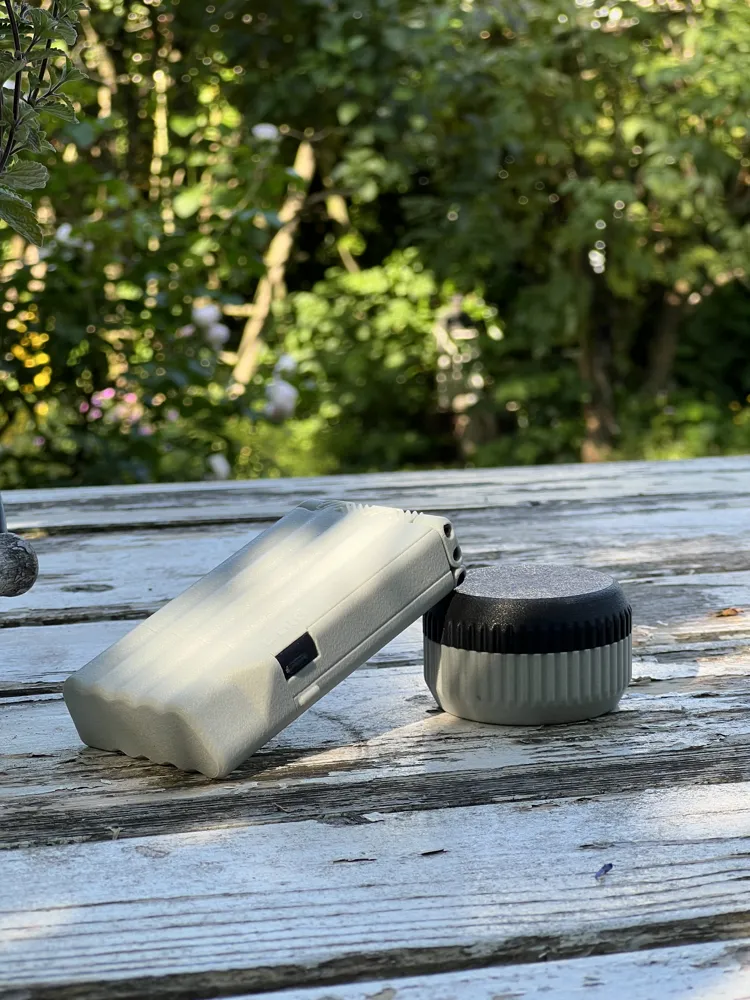
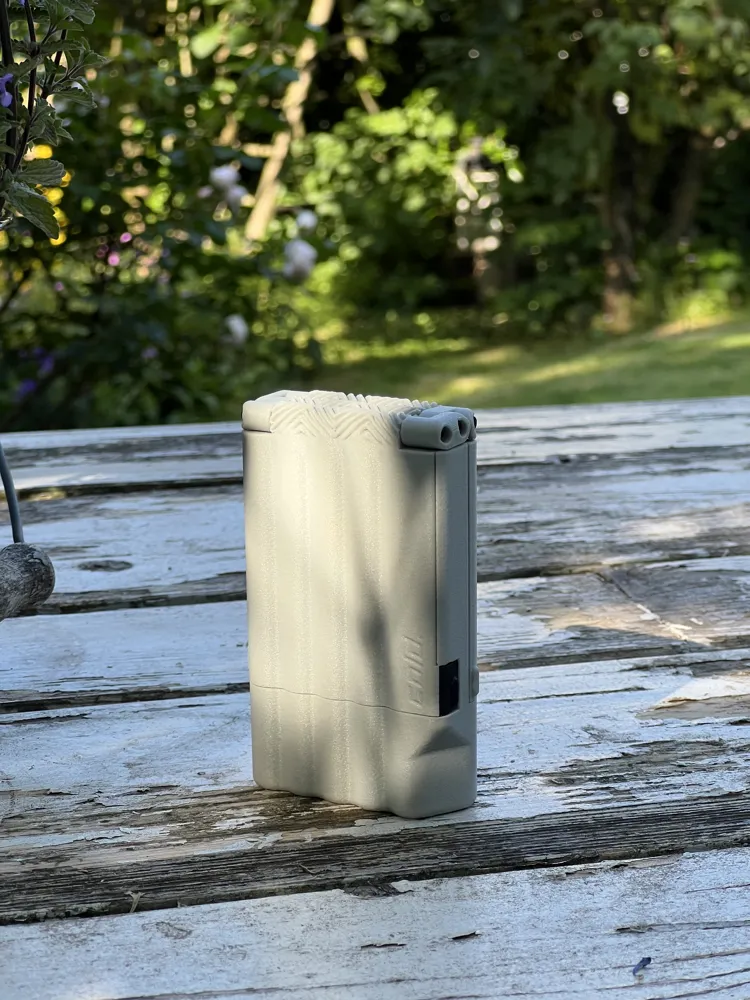
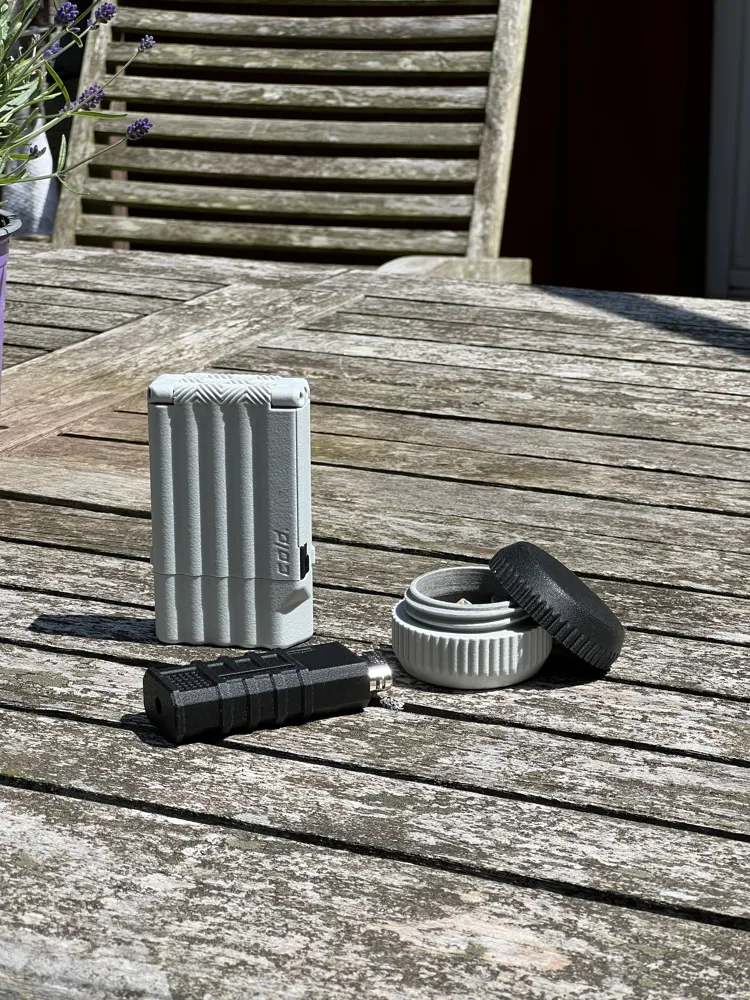
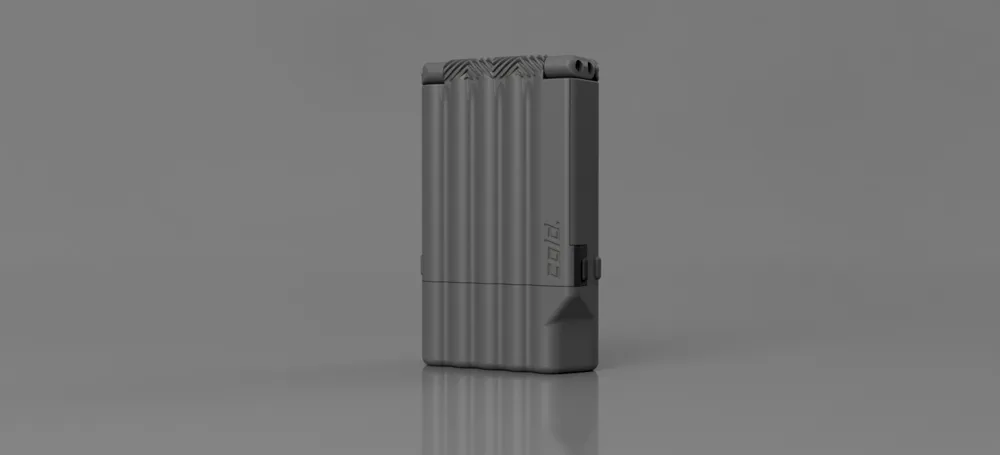
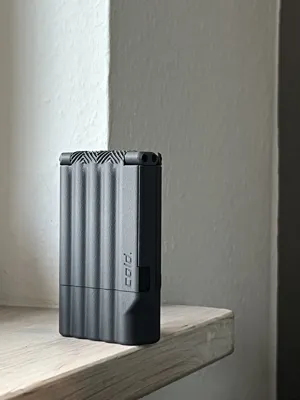
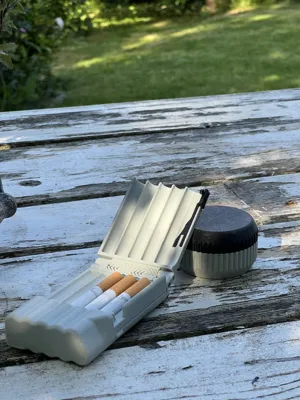
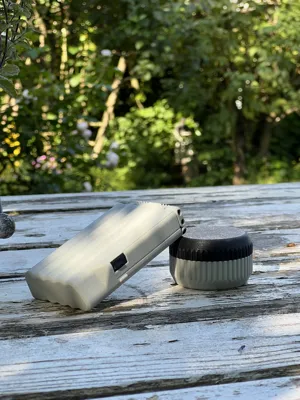
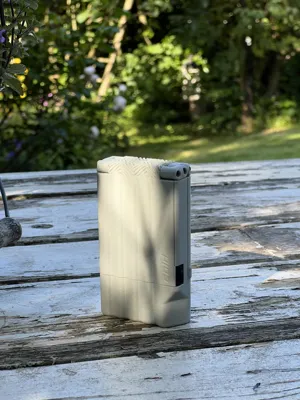
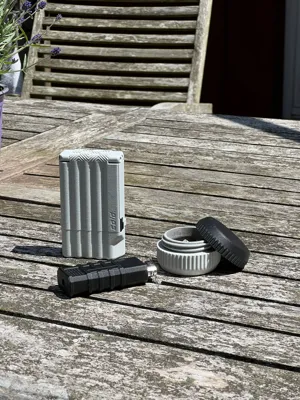
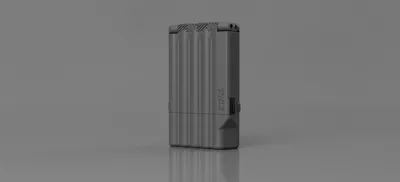
Cigarette Case Version 2
This is the tweaked version of my favorite project.
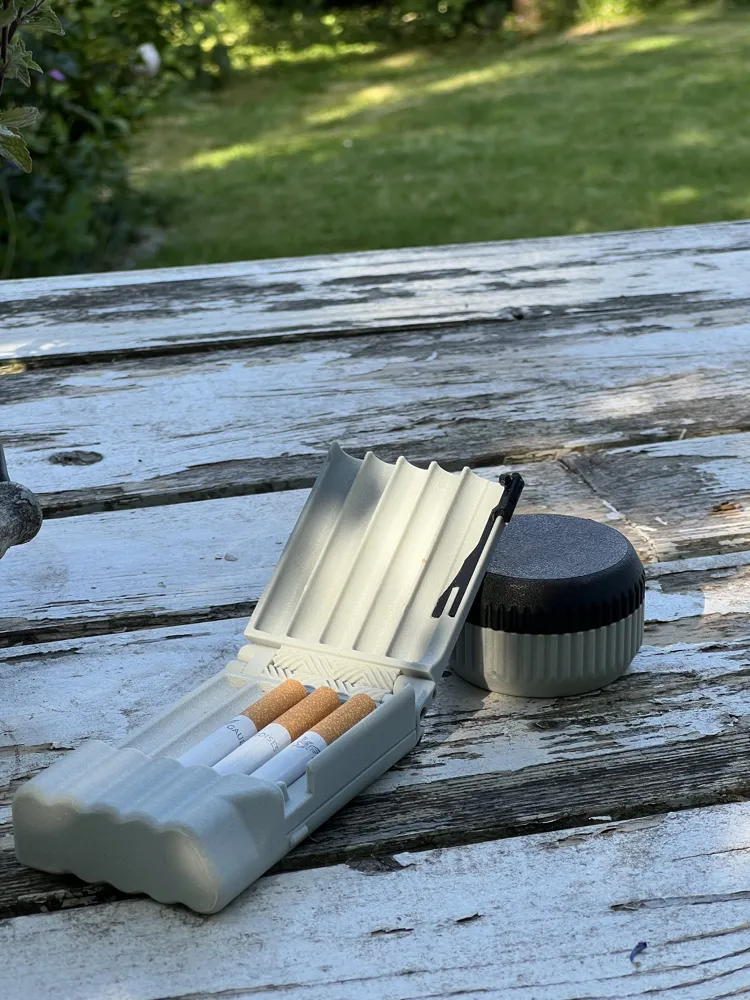
The case holds 10 standard sized cigarettes. ( ~ 84x8mm)
Five in the front compartment, and five in the back.
It is now easier to assemble, features only standard components (M2 screws instead of some random nails i had lying around), is less complicated to print and requires less post-processing.
What you need for the assembly:
- few drops of superglue
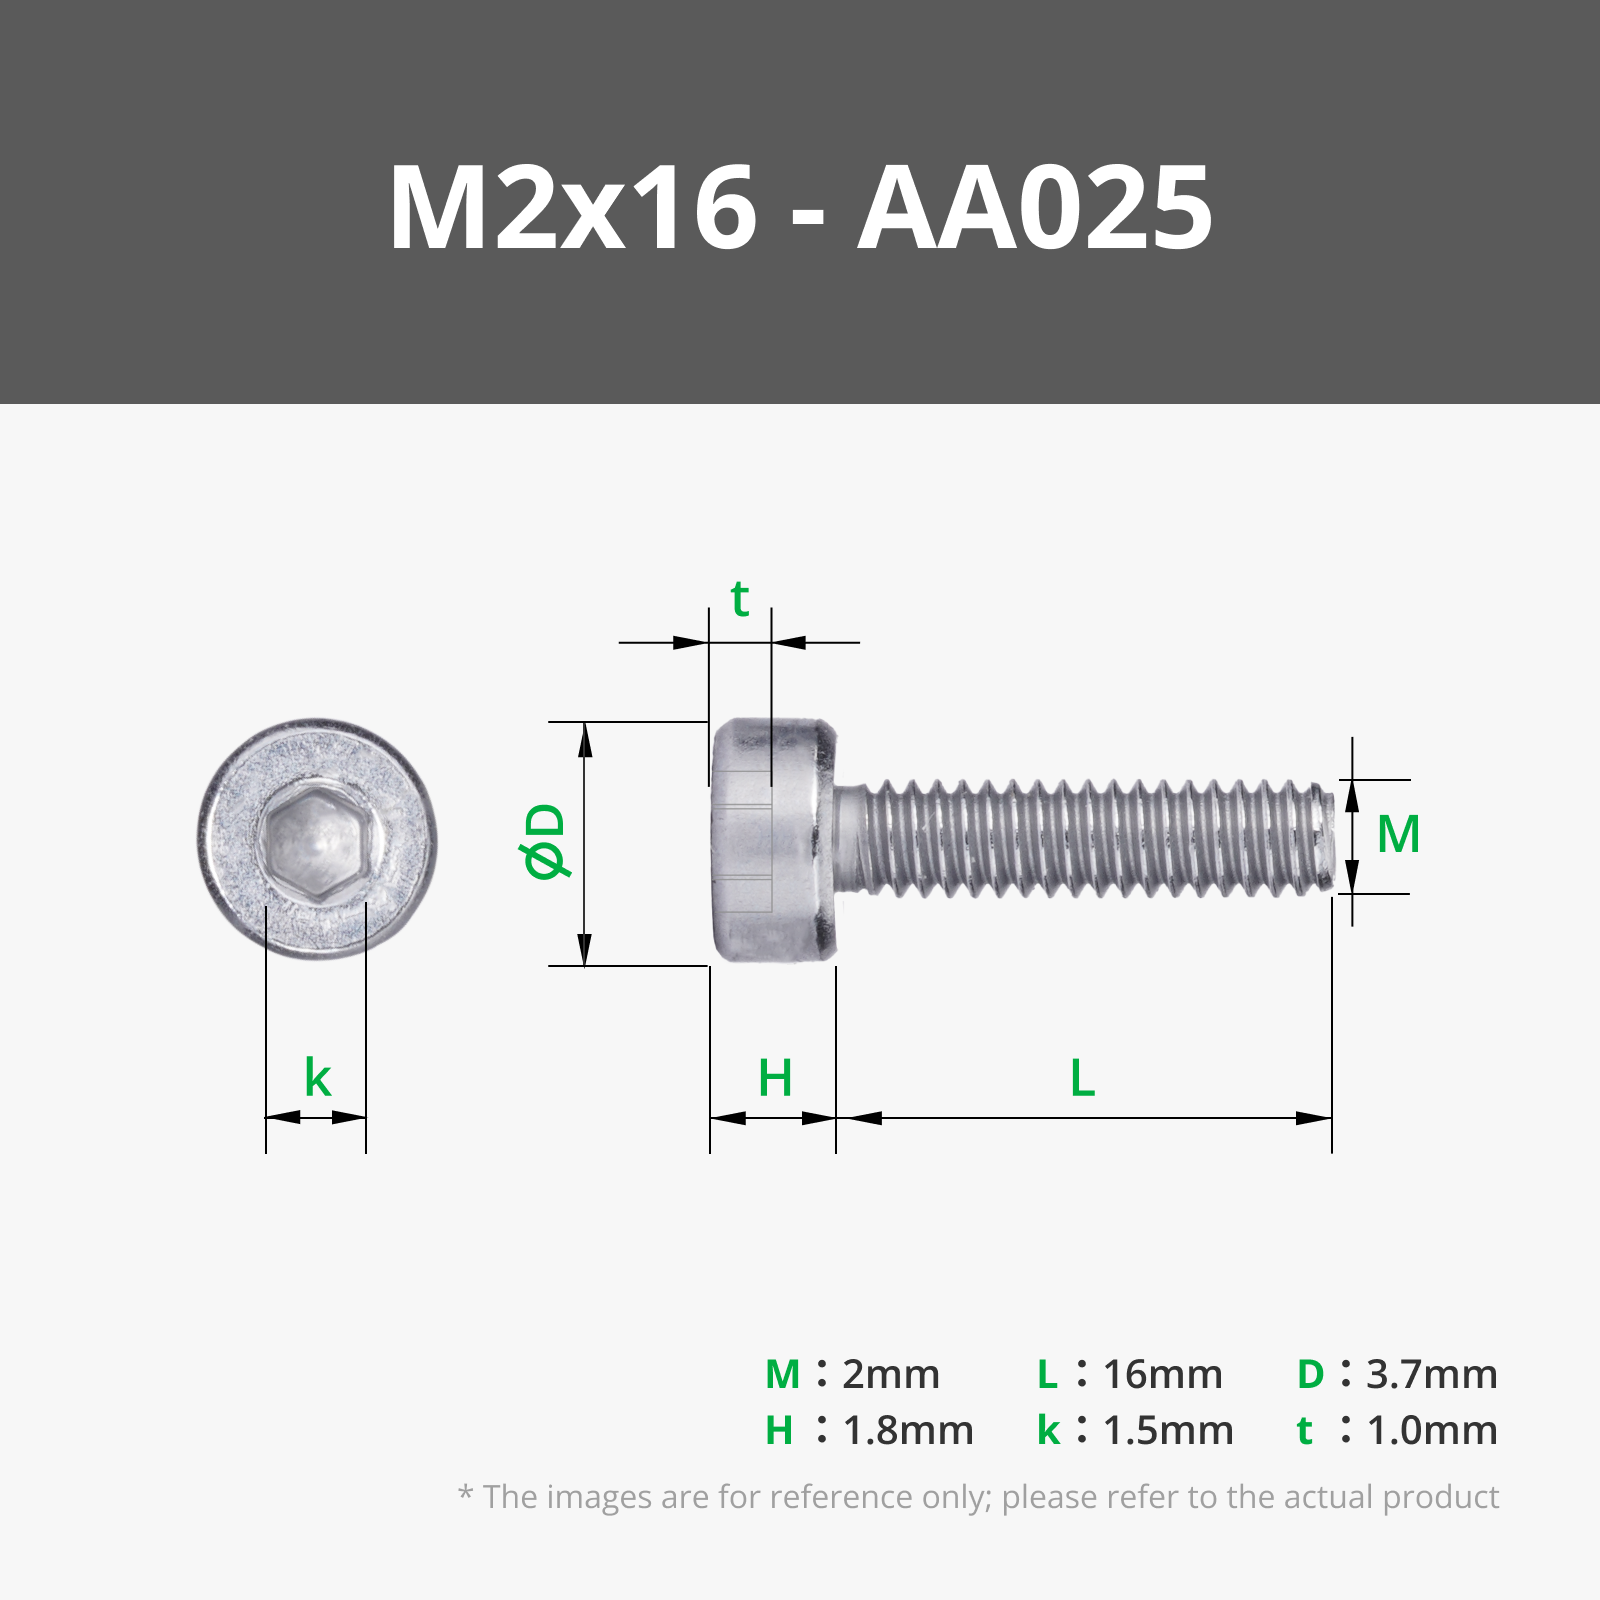
- 6x M2x16 cylinder head screws (DIN 912 / ISO 4762)
Tips for printing:
- The different components are pre-oriented for optimal results
- I strongly recommend printing the hooks with PETG, or something similar flexible!
check if the layer adhesion of your PETG is good.
I encountered some issues in which the little arm of the hook broke off when closing the hatch.
Please print a test hook and try to put some force onto the little arm to see if it holds up. (has to flex like max. 0.5 - 1mm)
I increased the nozzle temp by 5-10°C, and reduced printing speed. This solved my issue.
And of course make sure your filament is dry :)
Tips for assembly:
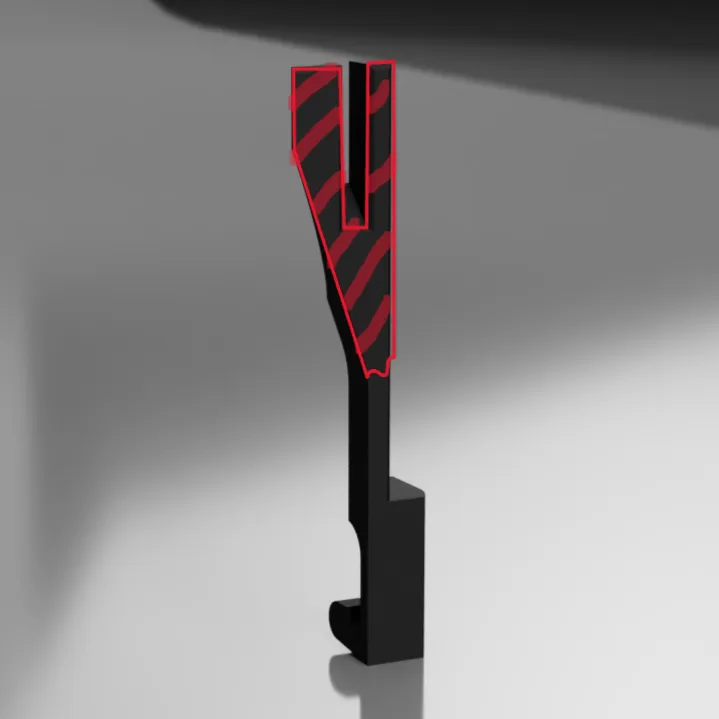
- Glue the hooks into the hatches like this:
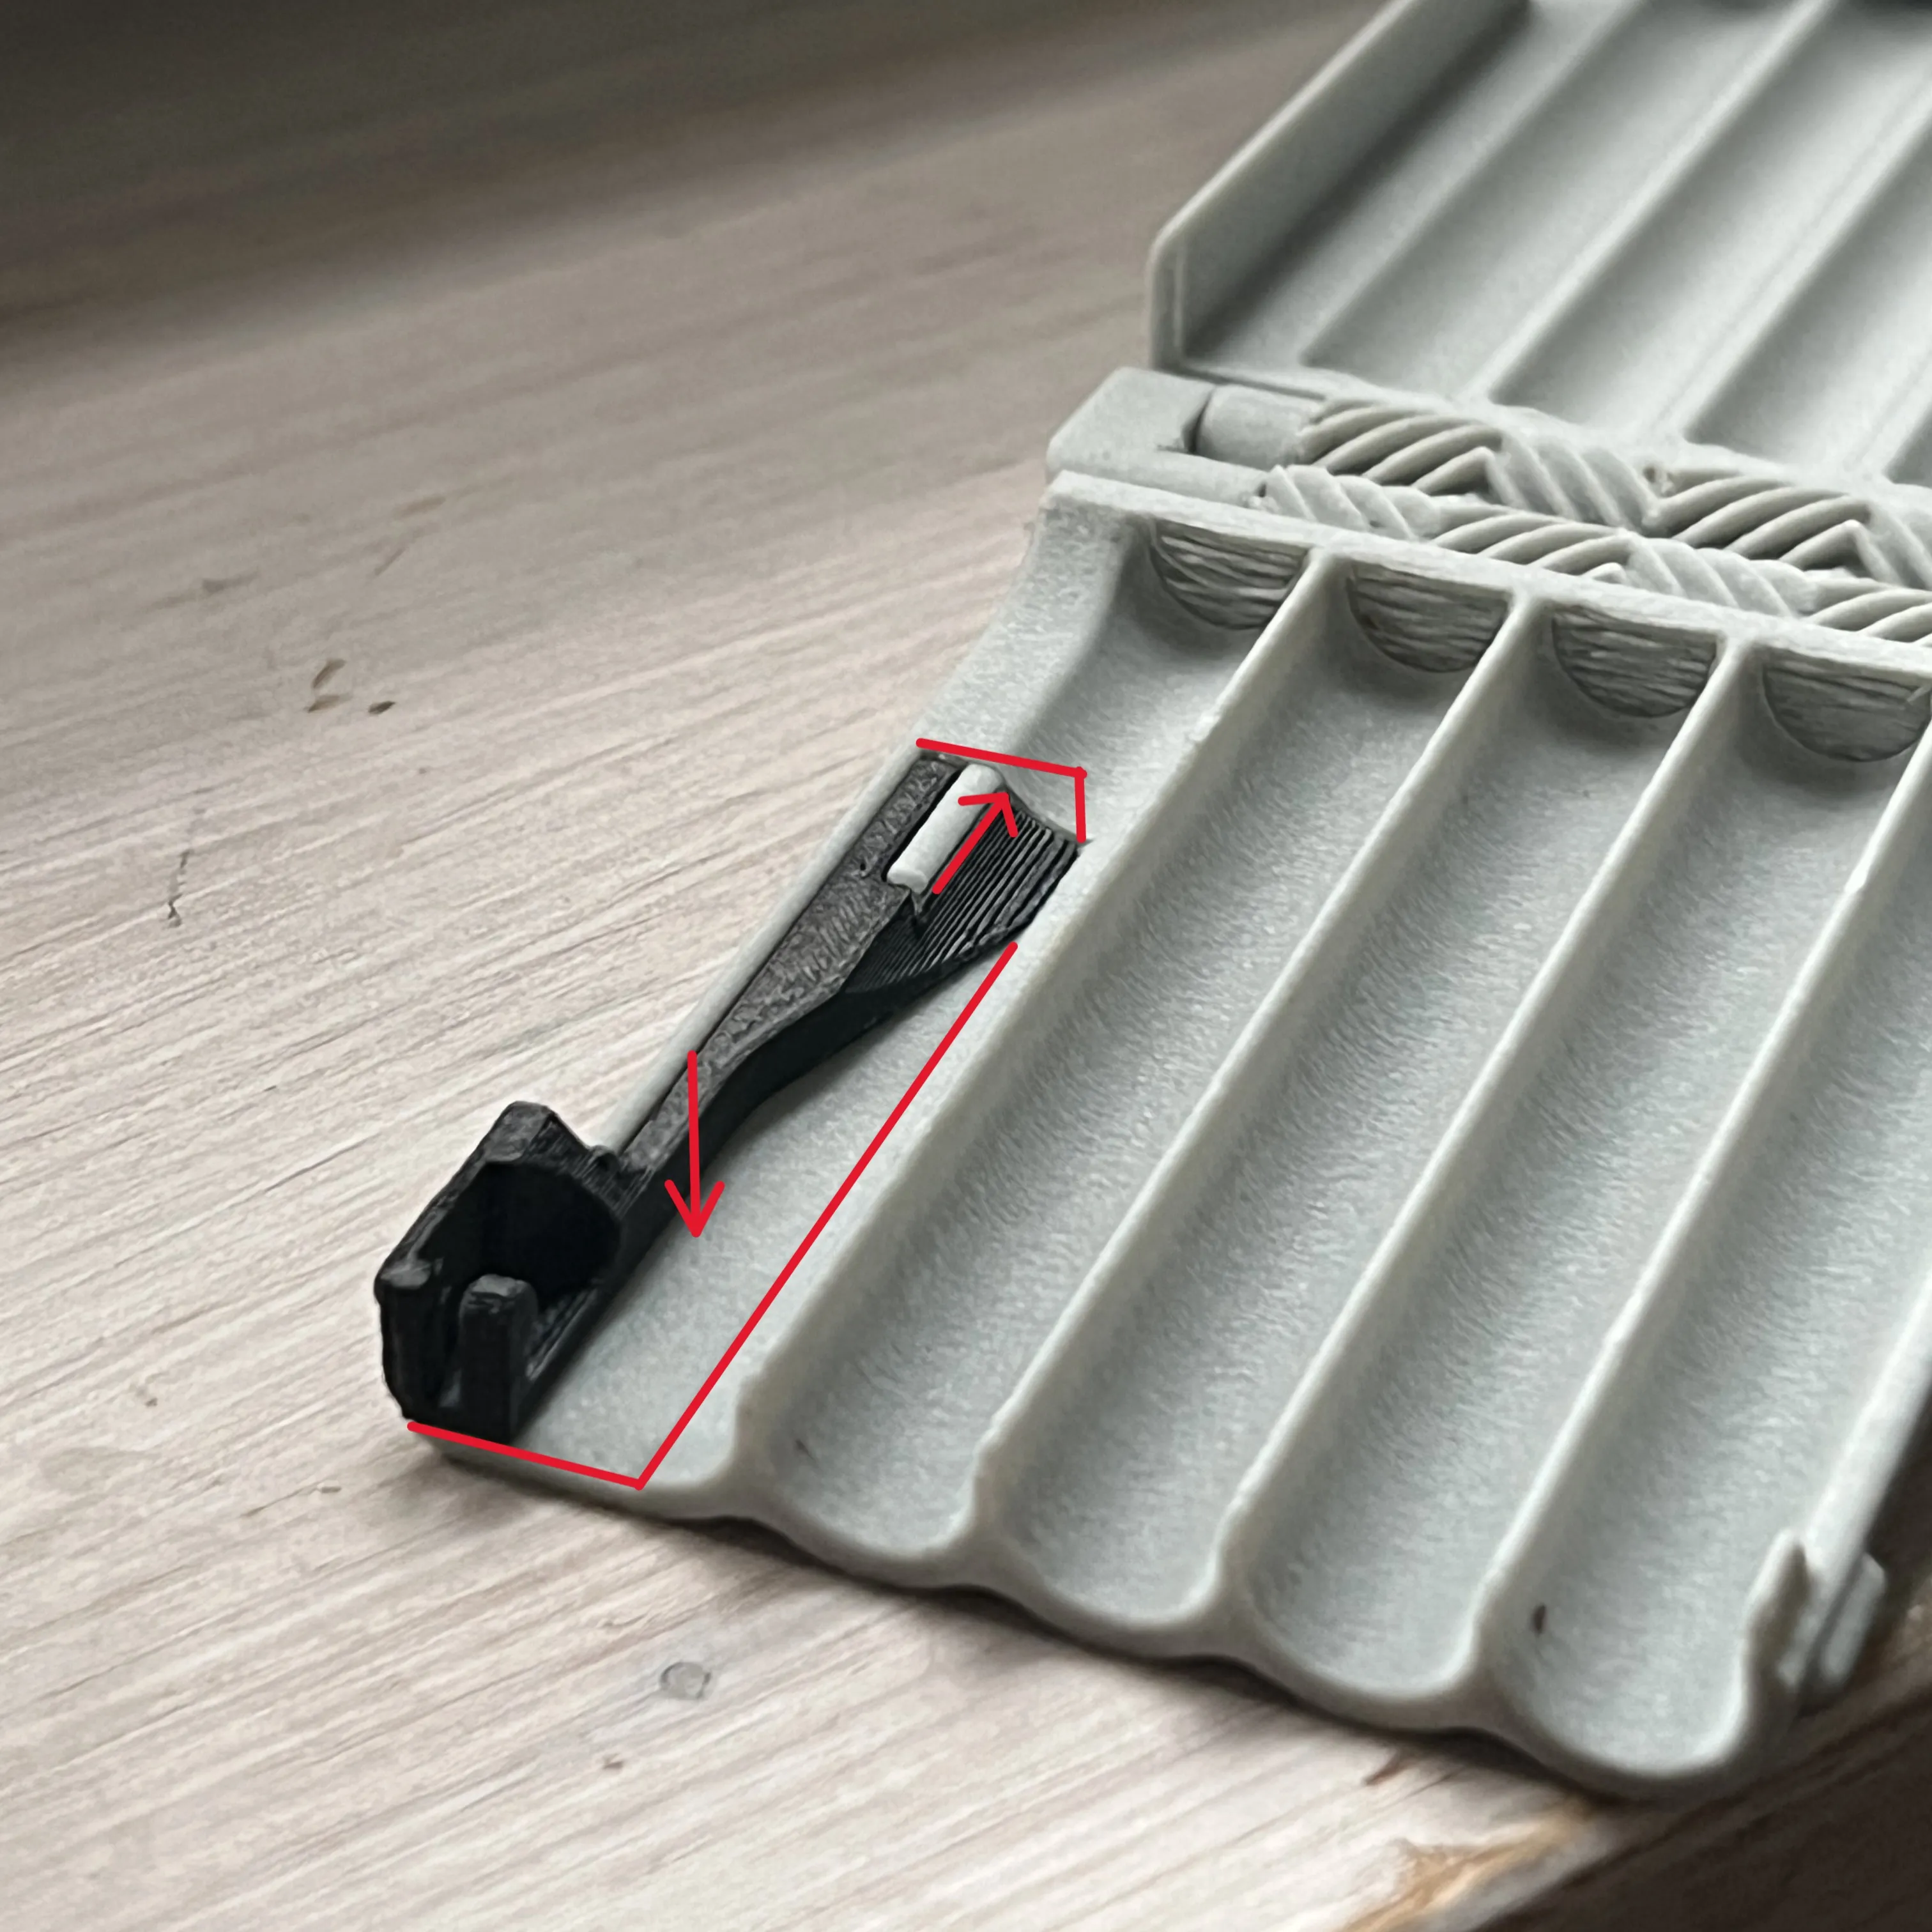
- Make sure the hooks lie flush with the surface (as indicated by the arrows)
- Apply glue only in marked area:
- The hinges are mirrored and get assembled like this:
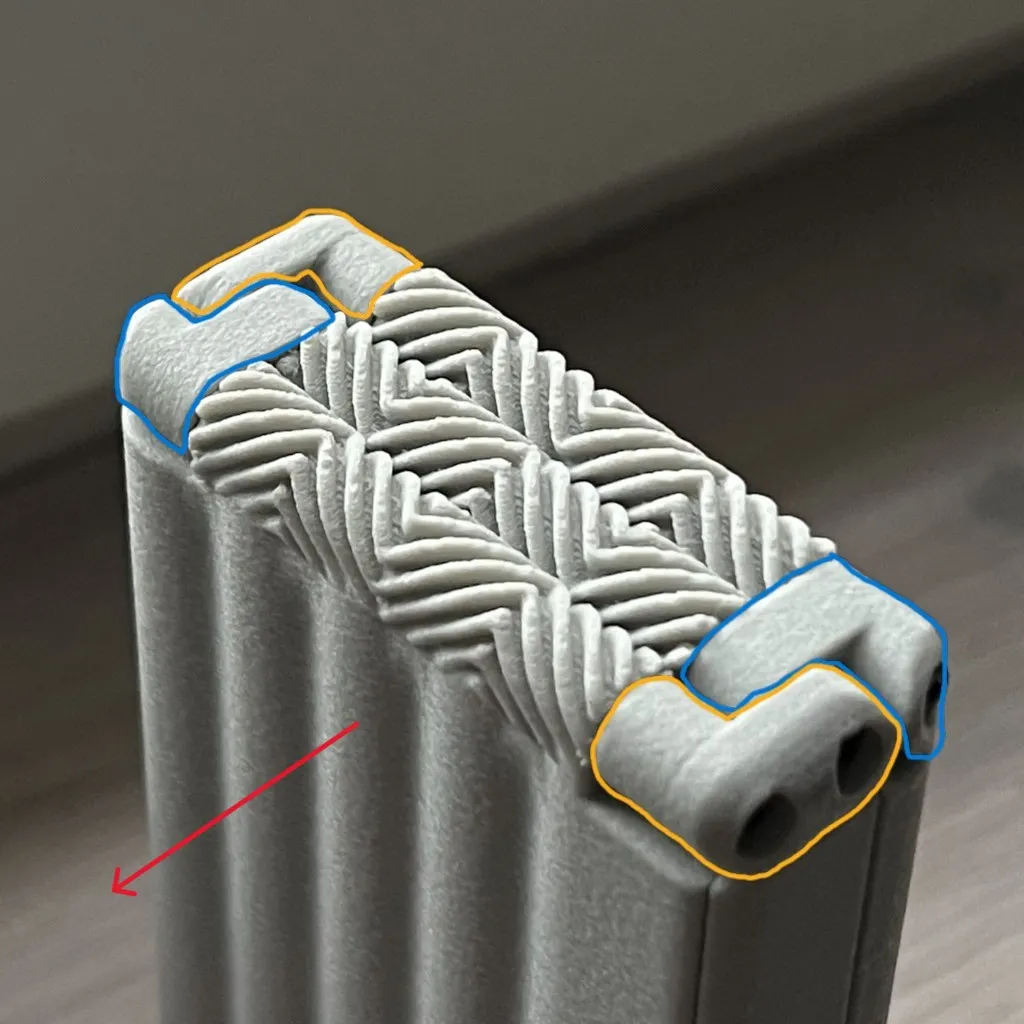
- (red arrow → front of the case)
Tighten the screws carefully, try not to strip the plastic :)
Stop tightening once the resistance becomes too high or when the hinges have about 0.5mm of play.
Boost Me (for free)
I hope you will have fun with this little device, its definitely a conversation starter :) If you want to reward my work, you can boost me here! Thank you many times :)
A little Bonus:
In general I recommend to print the case from PLA or PETG. But I quite like the Bambu ABS-GF, so I created a second print profile for the ABS version.
The model in the ABS Profile is slightly scaled up (~0.3 - 0.5%), to compensate the shrinkage. This makes sure that the PETG hook will still fit with the rest.
I had to support the hatches with a custom support structure, because the model warped and got loose during the print. (see in ABS print profile)
And make sure to pre-heat the build chamber. like 90°C for 20-30min.
License

You shall not share, sub-license, sell, rent, host, transfer, or distribute in any way the digital or 3D printed versions of this object, nor any other derivative work of this object in its digital or physical format (including - but not limited to - remixes of this object, and hosting on other digital platforms). The objects may not be used without permission in any way whatsoever in which you charge money, or collect fees.


Comment & Rating (50)