X-34 Landspeeder - Futuristic Remix


Print Profile(5)


Description
These are not the droids you're looking for.

Boost Me (for free)
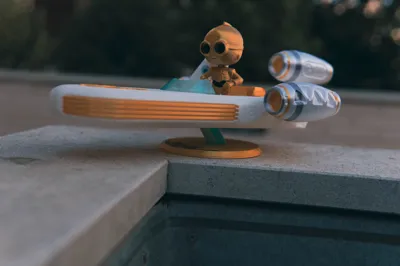
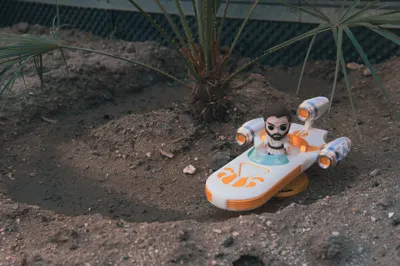
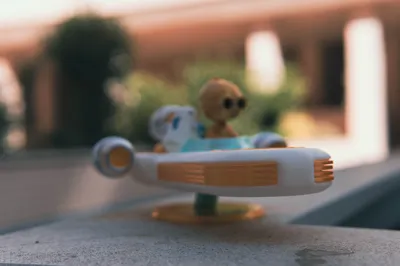
I made this alternate universe diorama by combining models I previously made, and chose this iconic moment when Obi-Wan plays a magic trick on the feeble minded Stormtroopers. Luke went to the bathroom, it was those darn cantina tacos.
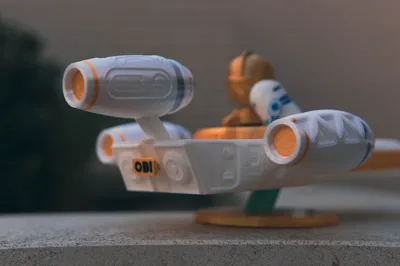
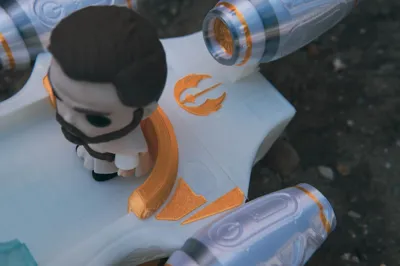
The diorama consists of my minis and this reimagined X-34 landspeeder manufactured by SoroSuub Corporation. Unlike Luke's junky version, this one is pimped out and ready to go. Featuring vanity plates, customized engines with silk finish, emblem of the jedi order and a base you can personalize.
X-34 "Golden Saber" Custom Landspeeder

The assembly is fairly easy. Print everything out and… assemble!

The only tricky part is the front end, it is quite tall and you will need either super tack plate or some glue on the plate. I also increased the number of walls due to the transmission distance of white filament. The layer lines look very dramatic, but in normal lighting they are barely visible.

The two halves are joined by hexagonal pins.

Print the fins and you may need to lightly sand the curved end. It should fit the holes just right and require no glue

Engines have some filament changes, if you dont like them, remove them. If you dont have ams, put pauses where the filament changes occur.


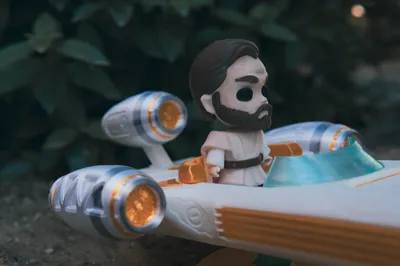
Print the visor and carefully glue it. Use images as reference.

Next is the backrest. There is a pause placed, when it happens use a sharpie to contaminate the support structure (grid like mesh) so you get a nice clean result. Be careful not to go too crazy like I did, and I had a little adhesion problems. One or two passes are enough.


A drop of glue and apply.


Same goes for the decals, a drop of glue and glue them. Use the images as reference on where to glue them.
Boost Me (for free)


If you want to support me, you can join my Patreon page to support me and sell physical prints of my models with a clear conscience :D
License
You shall not share, sub-license, sell, rent, host, transfer, or distribute in any way the digital or 3D printed versions of this object, nor any other derivative work of this object in its digital or physical format (including - but not limited to - remixes of this object, and hosting on other digital platforms). The objects may not be used without permission in any way whatsoever in which you charge money, or collect fees.
Comment & Rating (14)