
AmbiCharge LED KIT MH001
Print Profile(1)

Bill of Materials

Description
Boost Me (for free)
Every boost and follow motivates me to design more :)
AmbiCharge – Your Wall, Your Style, Your Charge!
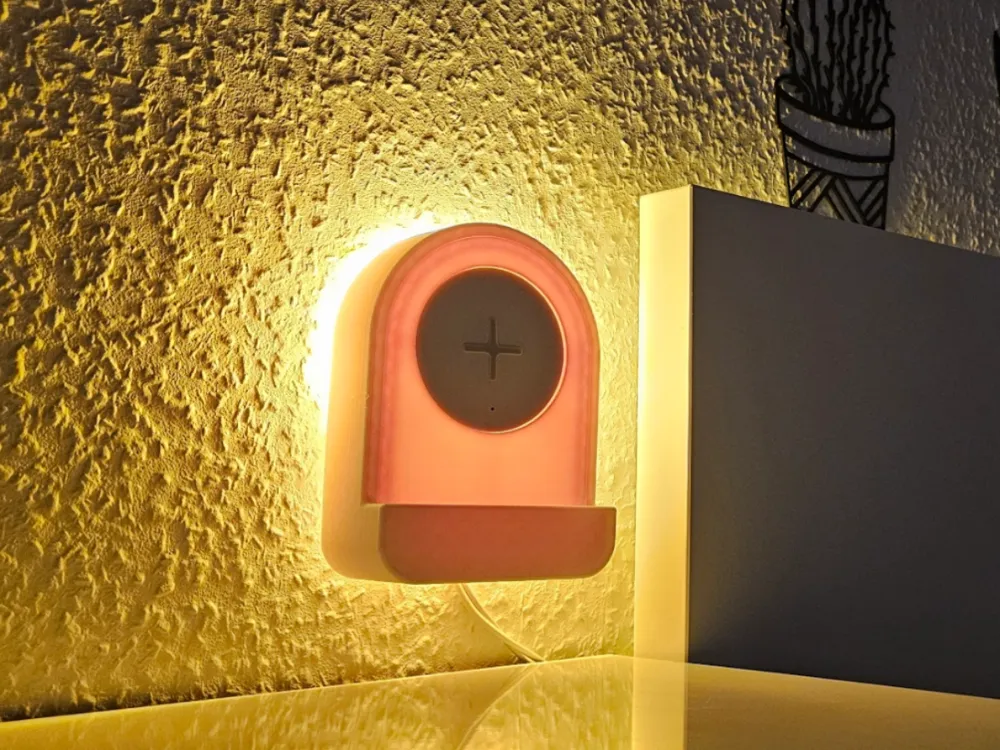
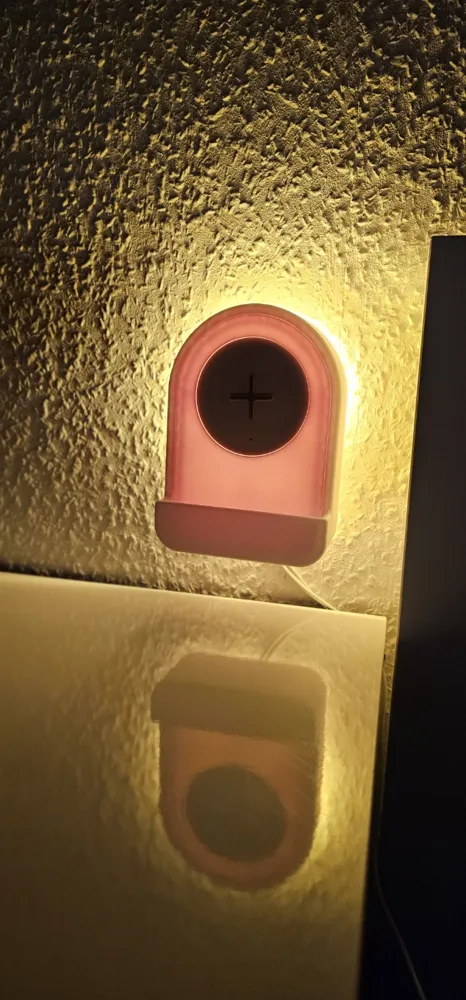
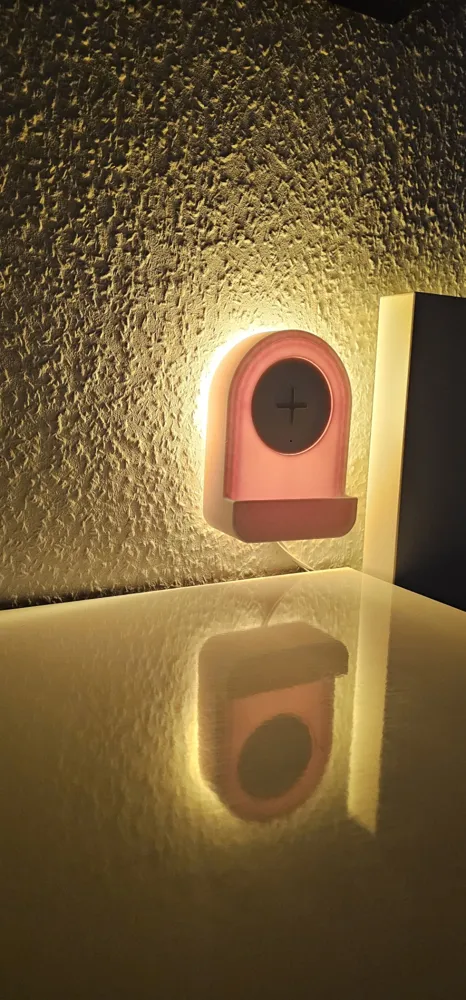
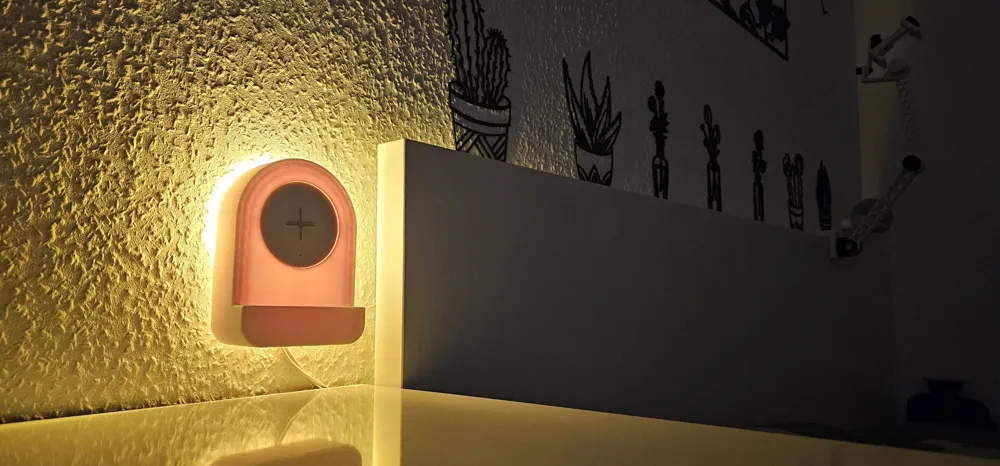
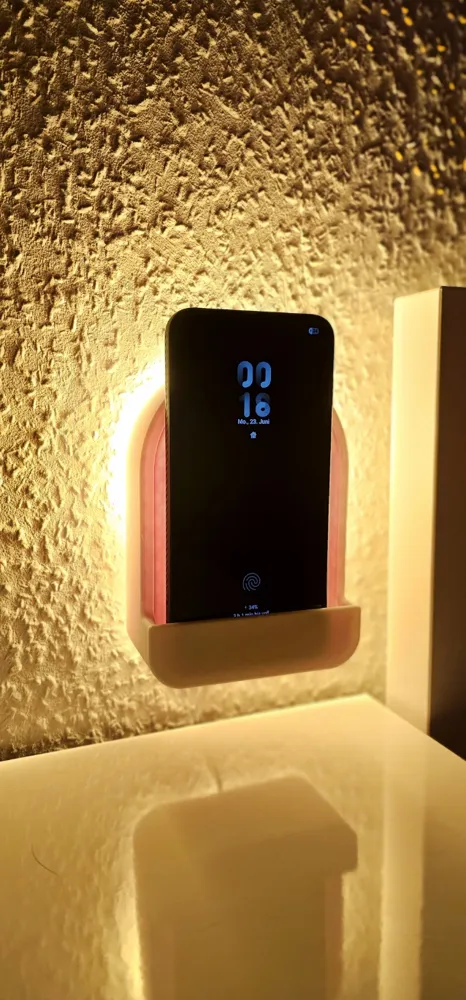
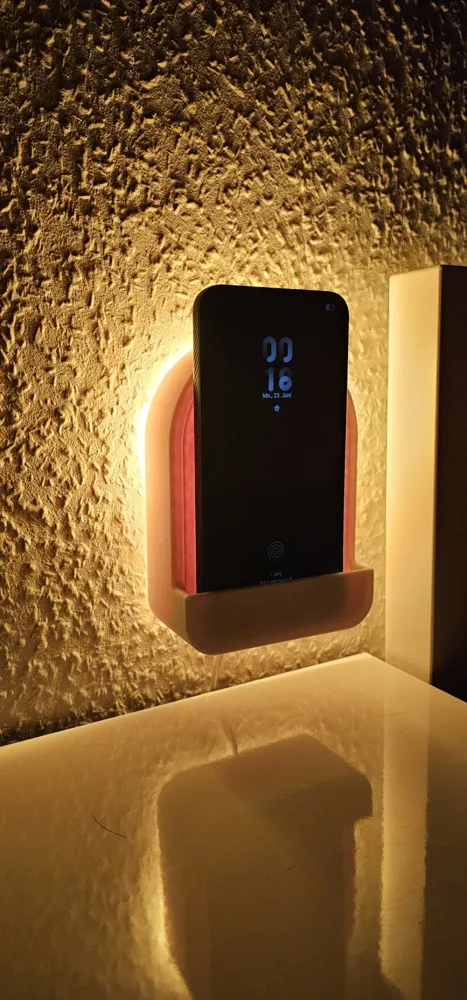
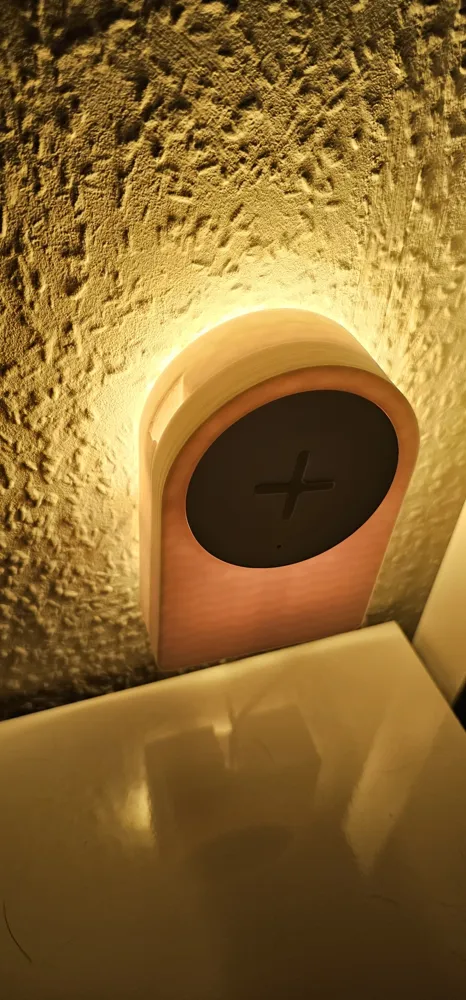
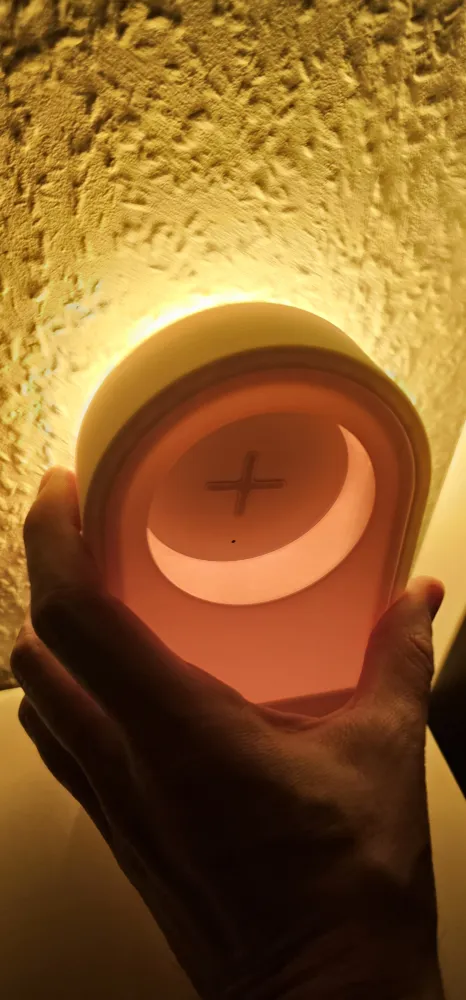
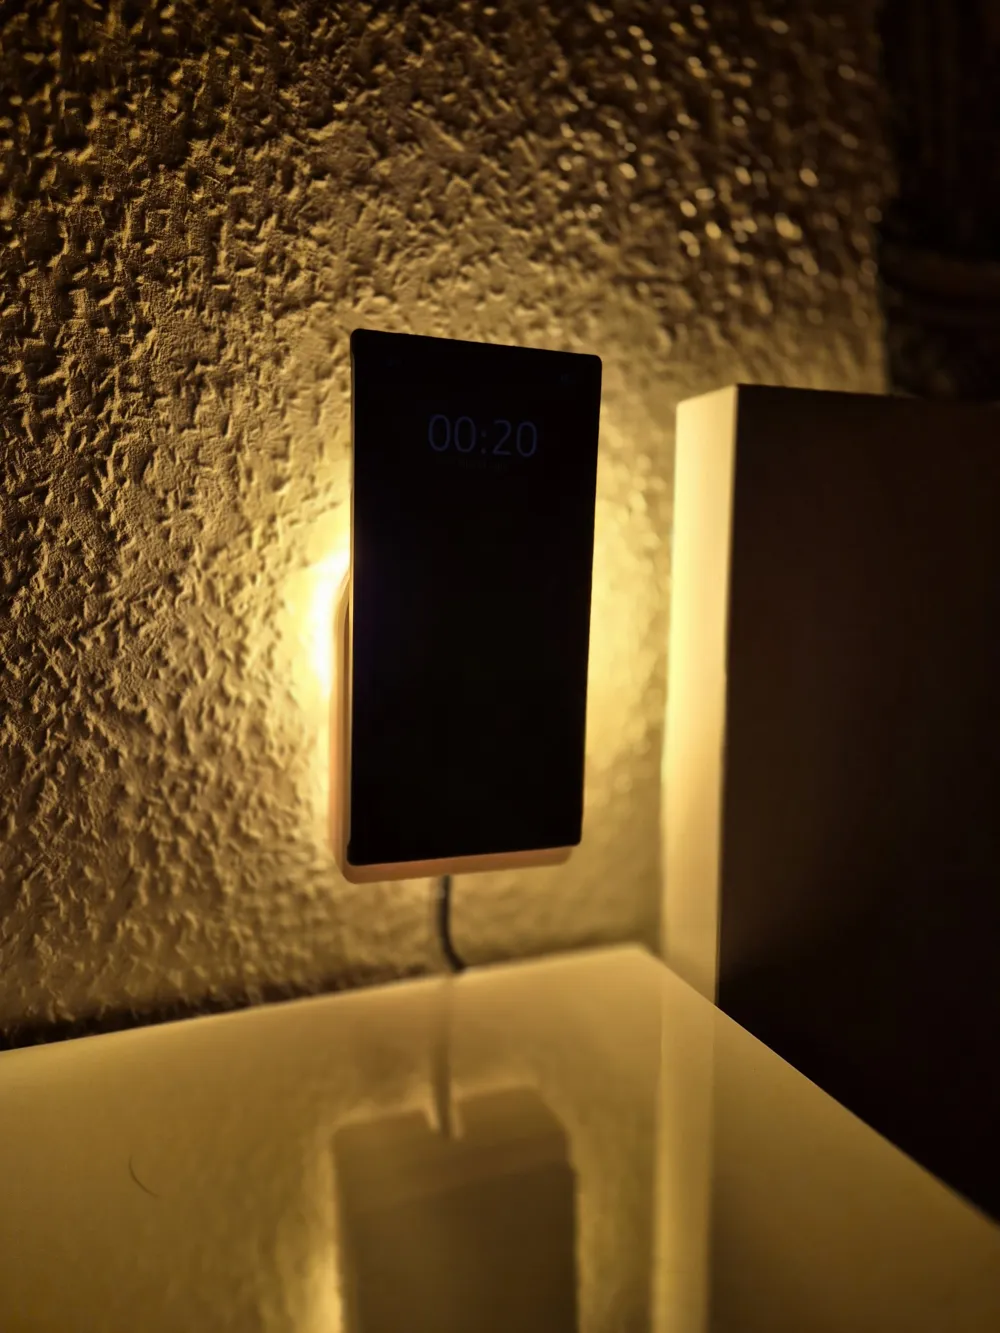
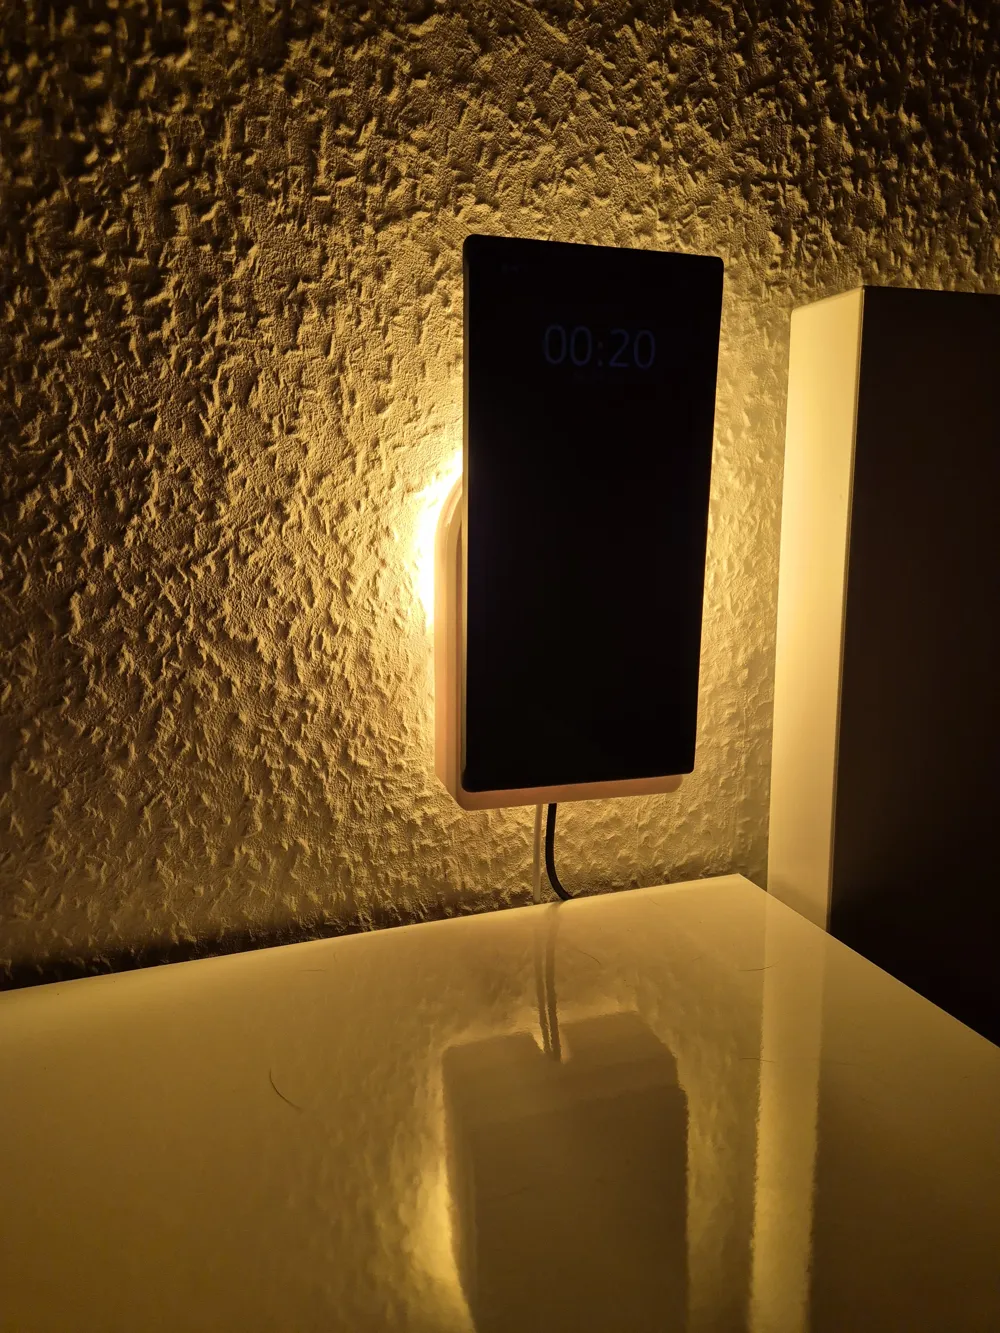
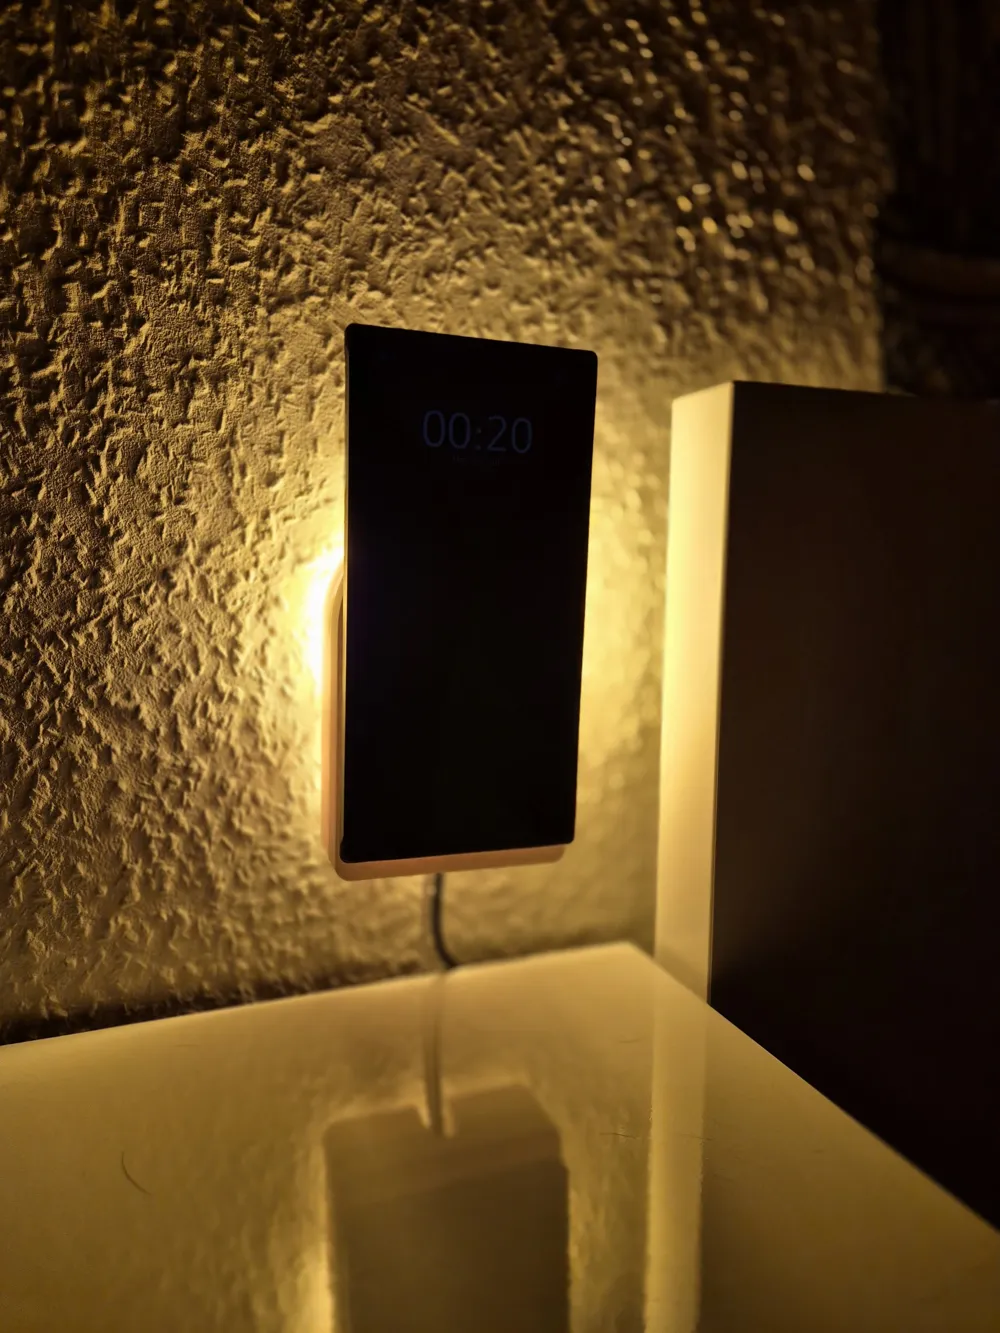
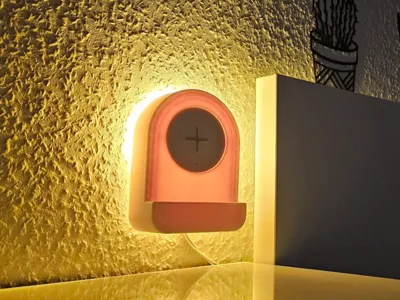
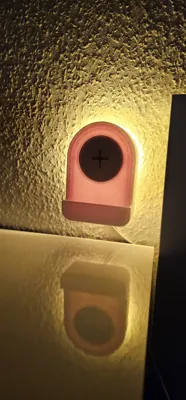
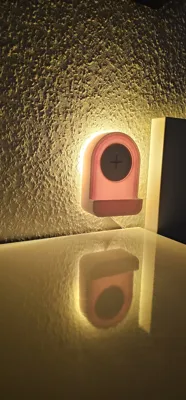
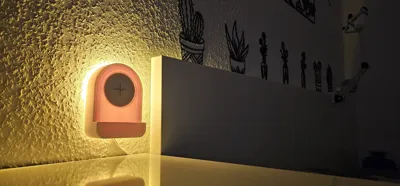
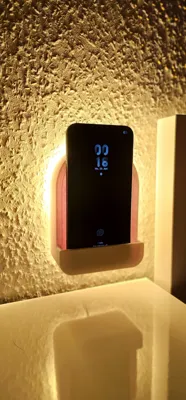
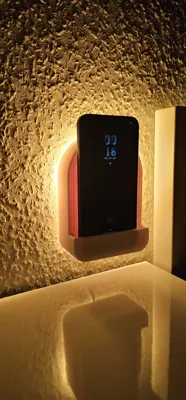
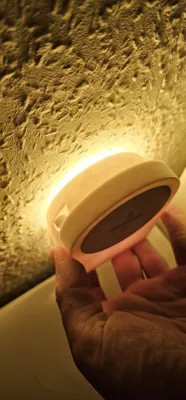
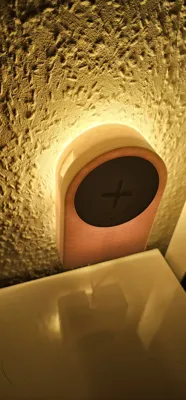
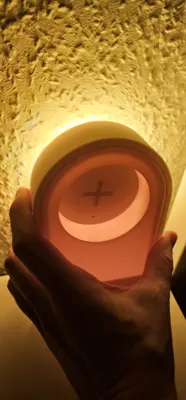
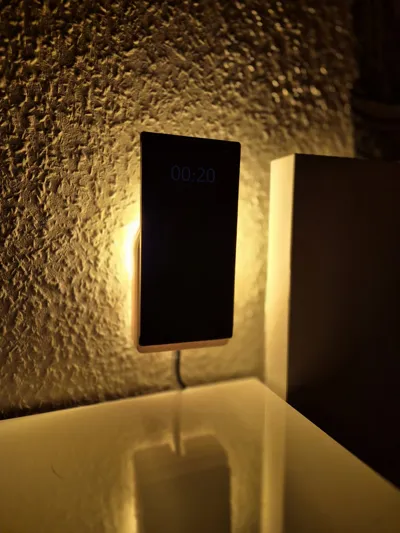
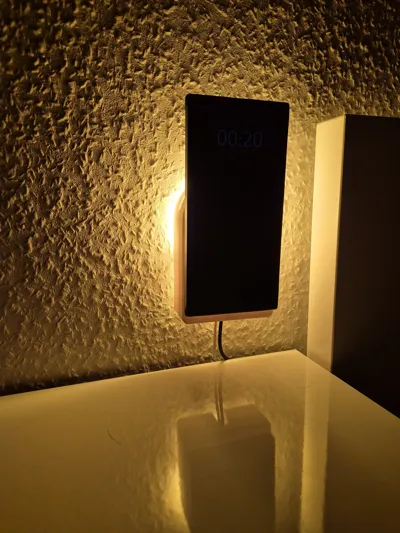
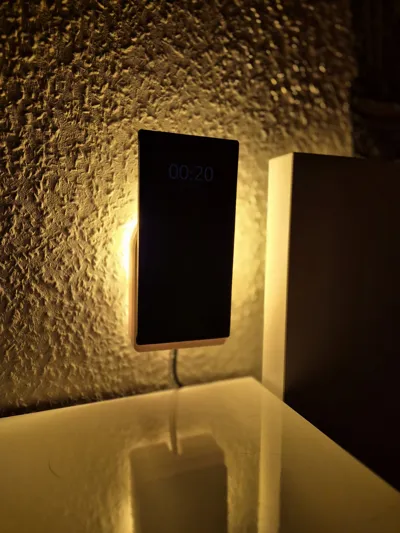
Illuminate and power your wall: AmbiCharge is a stylish wall charging station with soft backlighting and a wireless charging pad – compatible with the IKEA NORDMÄRKE or MagLock charger.
Best of all: AmbiCharge is as individual as you are! Design the faceplate to your liking – minimalist, colorful, patterned, with logos, or your favorite design. A Fusion file is included so you can get started right away and let your creativity run wild.
✨ Features:
Indirect LED lighting for a cozy ambiance
(Adjust the light color with this small disc https://makerworld.com/en/models/1228242-color-changing-disk-led-lamp-mh001#profileId-1246542 )
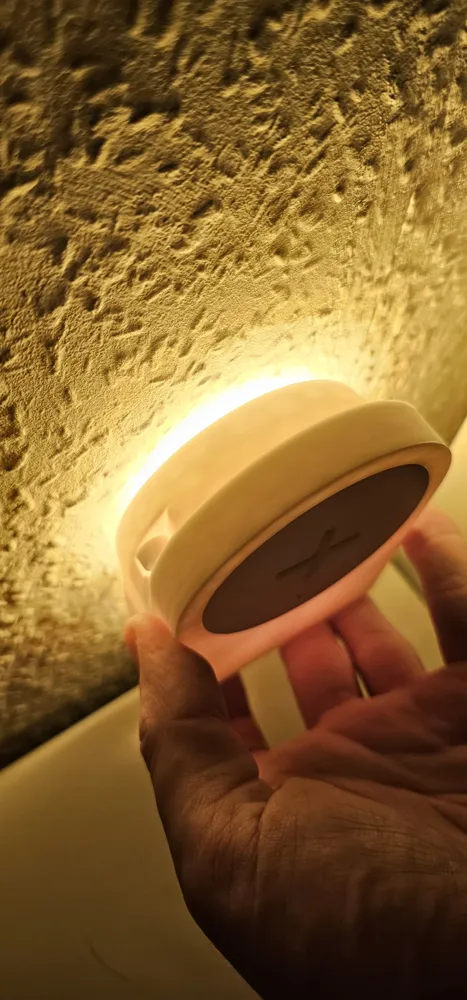
- Wireless charging via IKEA NORDMÄRKE or MagLock
- Wall mounting saves space and adds style to your home
- Flexibly adaptable faceplate – personalize your AmbiCharge! (for personal use only, no sharing or sale of adapted files in any form)
- Easy to print and assemble (super glue is required)
- Tested with Samsung Galaxy S24 and Galaxy S23 Ultra, smaller models should also work
- MagLock version works with all MagLock-enabled phones
Whether in the living room, hallway, or bedroom – AmbiCharge provides a modern look and keeps your smartphone always charged. Make it your project!
Dimensions:
107x150x55
Required Parts
Super Glue
IKEA NORDMÄRKE ( https://www.ikea.com/de/de/p/nordmaerke-ladepad-weiss-kork-80472114/ )
Alternatively:
MagLock charger ( https://amzn.eu/d/7moByXv )
Assembly:
1: Glue the adapter to the front part with super glue.
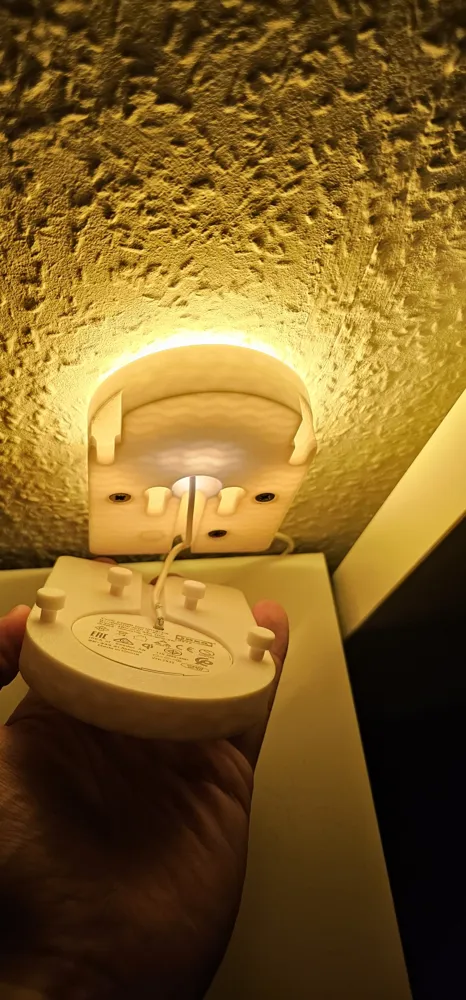
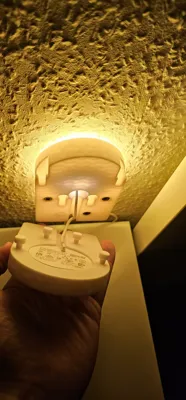
2: Insert the charging device and LED kit into the corresponding recesses and insert the cables into the channel.
3: Slide the front and back parts together.
4: Glue the spacers into the corresponding recesses.
5: Slide the combiner over the assembled front and back parts.
6: Press the faceplate onto the combiner.
7: Attach to the wall and enjoy :)
License

You shall not share, sub-license, sell, rent, host, transfer, or distribute in any way the digital or 3D printed versions of this object, nor any other derivative work of this object in its digital or physical format (including - but not limited to - remixes of this object, and hosting on other digital platforms). The objects may not be used without permission in any way whatsoever in which you charge money, or collect fees.


Comment & Rating (1)