Surface-Mount LED Strip Light Solution


Print Profile(1)

Description
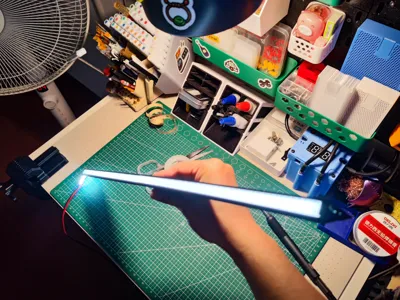
This solution offers a superior alternative to existing surface-mount LED strip light aluminum profiles, compatible with most 8mm and smaller LED strips on the market. It uses light control to achieve a 'light visible, fixture invisible' effect within a certain range.


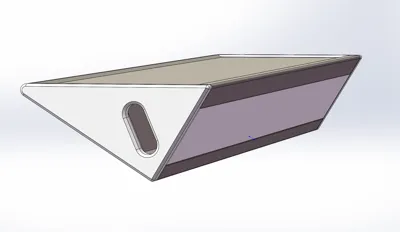
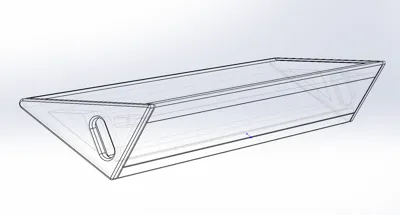
1. Model Introduction:
The model comprises four components: a diffuser, a light shield, and left and right end caps. The end caps feature an offset design, allowing for pressure-fit installation without adhesive.

2. Custom Dimensions:
The default configuration is 150mm in length (excluding the 2mm end cap thickness). You can choose to connect multiple units or extend a single unit by scaling, stretching, and tilting to achieve the desired length. Testing shows that a 256mm build plate can handle up to 330mm in a single print. Scale up the model (uncheck proportional scaling) then rotate it for printing. The diffuser and light shield can be infinitely extended along the X-axis. Ensure both are of equal length. The end caps do not require scaling.

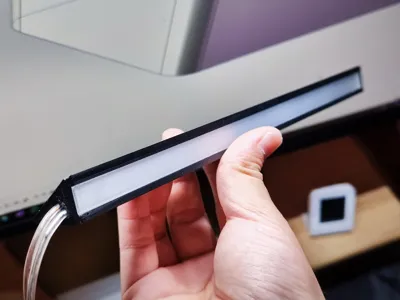
3. Diffuser Installation:
The side of the diffuser that contacts the print bed faces outwards. Two installation methods are available:
- Directly slide into the slot. PETG exhibits a relatively loose fit, while matte PLA provides a satisfying resistance.

Align the protrusion with the slot and press to install.

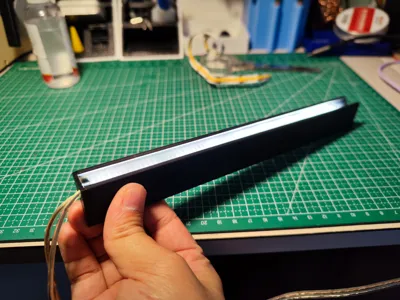
4. Surface-Mount Light Channel Securing: We recommend using 1mm thick double-sided nano-fiber adhesive tape.

Printing Recommendations:
- Print the light cover using a transparent material. To ensure light transmission, adhere to the specified settings. We recommend using a glossy print surface.
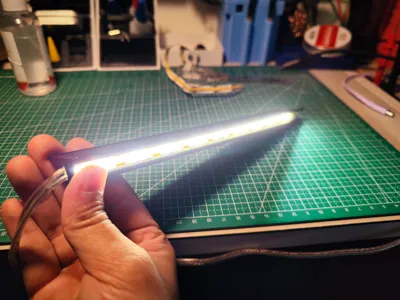
- The light shield directly contacts the LED strip. I used PETG for my own print, with a 12V LED strip. During testing at full brightness, the light shield did not soften or deform, and heat dissipated normally.
- When printing long objects, always clean the print surface beforehand and carefully monitor the first layer.
- A brim is incorporated into the light shield to minimize warping. After printing, use a trimming tool for a clean finish.

Happy Printing!
Boost Me (for free)
Thank you for your support!
License
You shall not share, sub-license, sell, rent, host, transfer, or distribute in any way the digital or 3D printed versions of this object, nor any other derivative work of this object in its digital or physical format (including - but not limited to - remixes of this object, and hosting on other digital platforms). The objects may not be used without permission in any way whatsoever in which you charge money, or collect fees.
Comment & Rating (4)