
Print Profile(4)



Bill of Materials


Description
Update 03.07.2025
yet another fandesign in the files section wich is still not perfect but I would say approximately double the air movement.
Update 01.07.2025
In the file section is a new fan rotor with better air moving capabilities
Indroduction
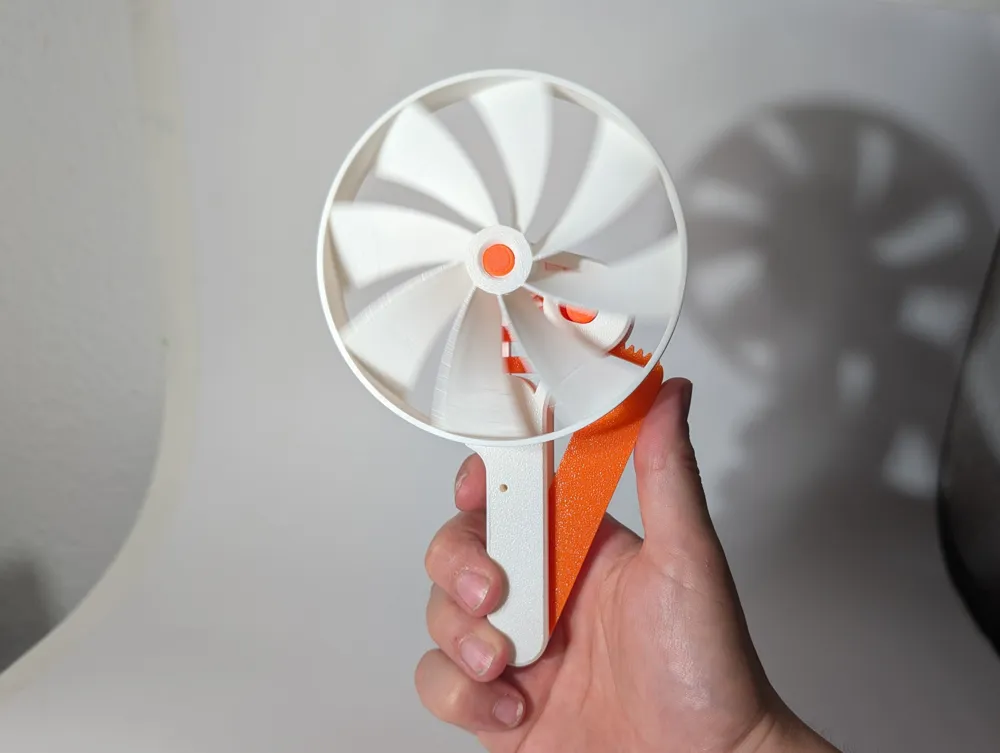
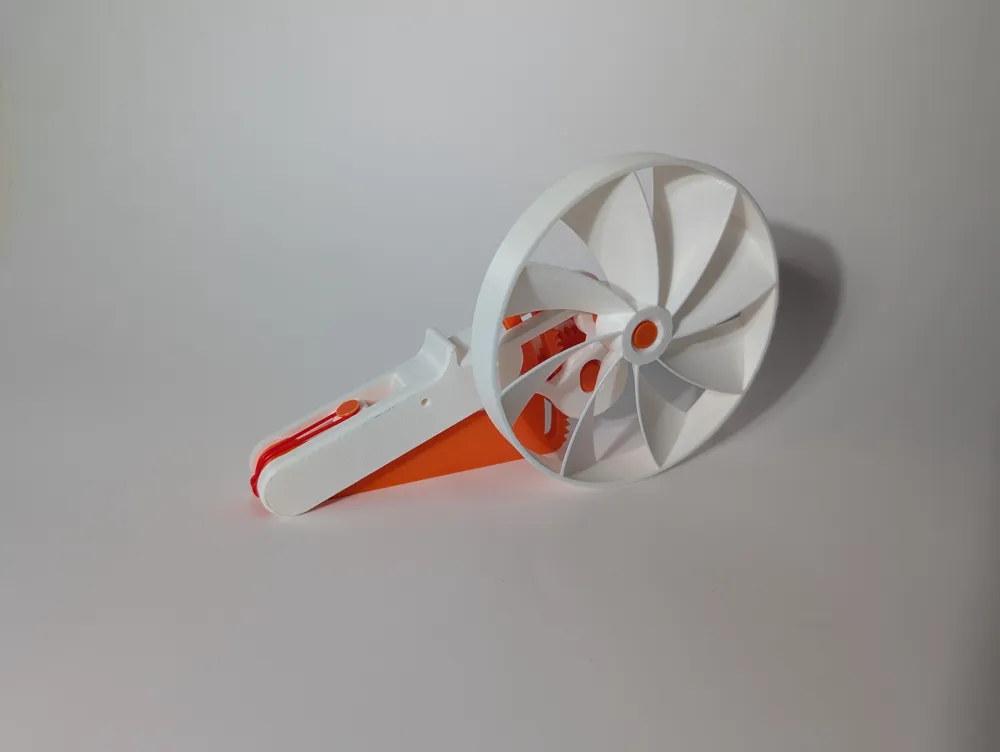
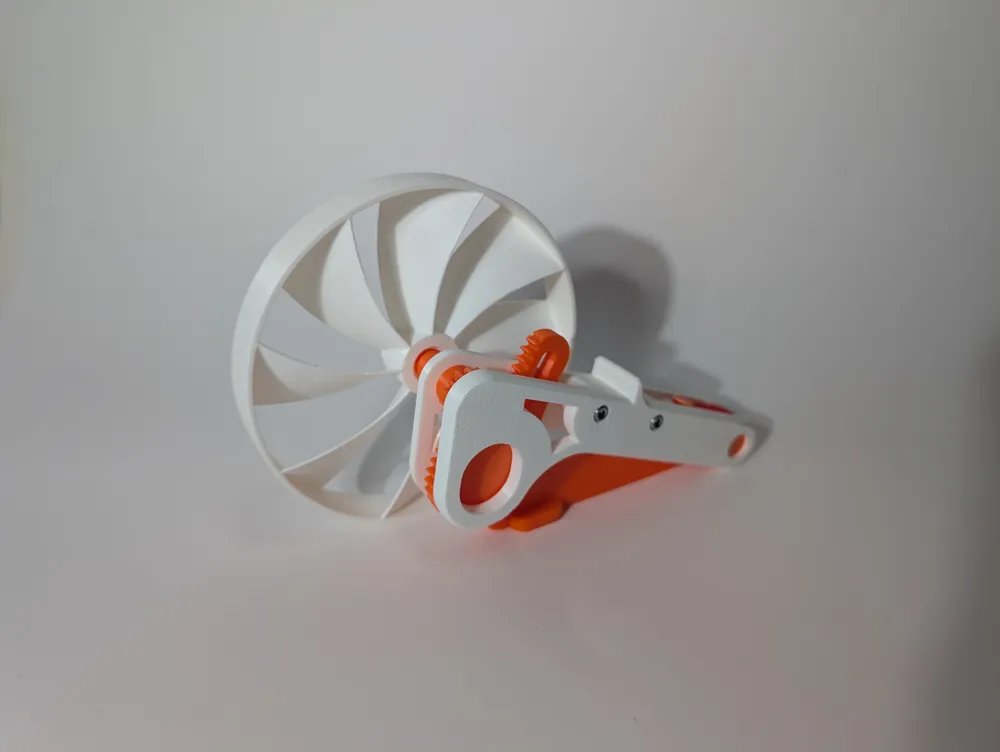
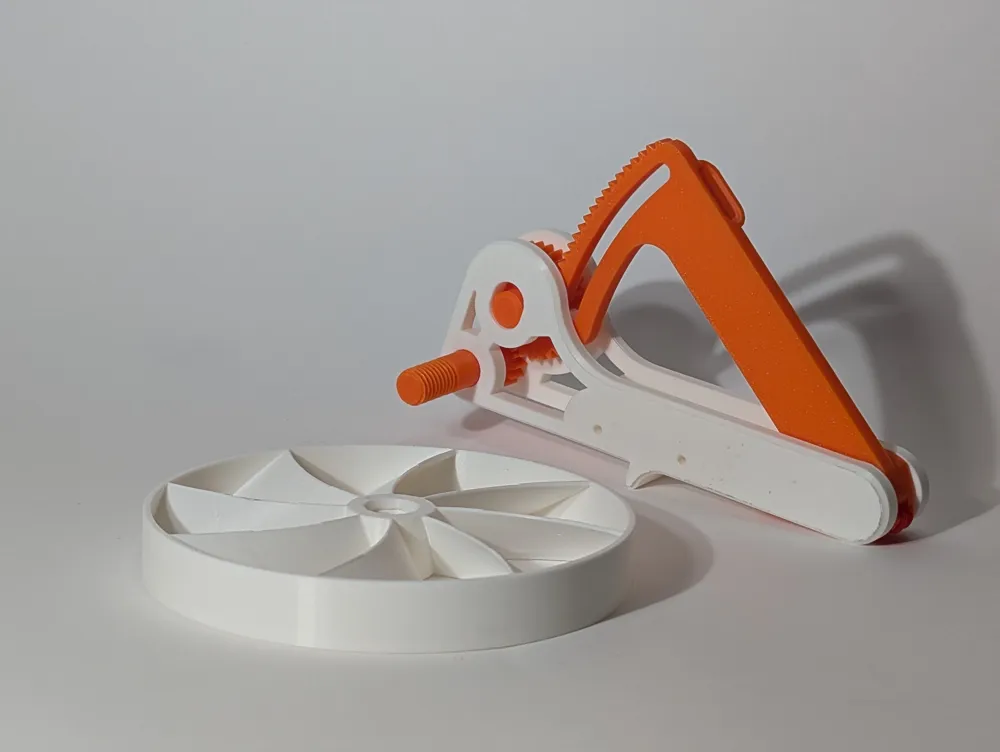
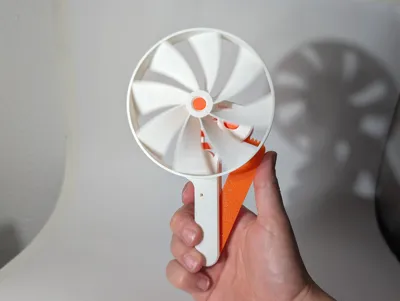
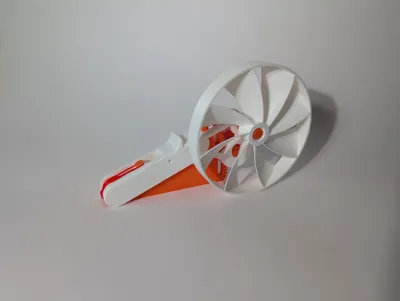
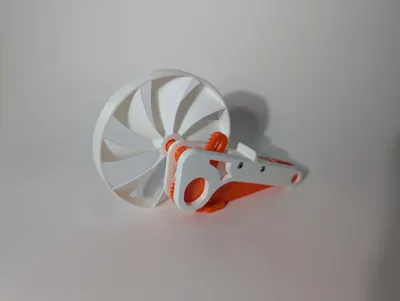
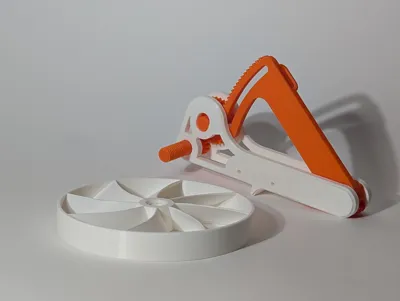
This is a 3D-printable fan that uses a rack and pinion mechanism. By pushing the rack into the gear, the gear turns and drives the fan. A rubber band return system allows the rack to slide back freely without stopping or slowing the fan. This enables repeated squeezing to gradually increase the fan’s speed. The fan continues to spin regardless of when the rack is stopped or reversed.
The Fan attaches through a thread on the axle this allowes to easily switch or remove the Fan from the handle. if you want to get creative with the fans blades I leave a step file with the bare fan hub in the files section to remix.
This is a gif of the working principle:

The big gear immediatly disenganges the small gear as soon as there is no more torque on it.
Printing and Assembly
The model prints in separate parts and can be assembled without glue. You will need aditionally to the 3D Printed Parts:
- 2x M3x10 (or longer up to 18)
- Ruber Band
Follow these instructions to assemble
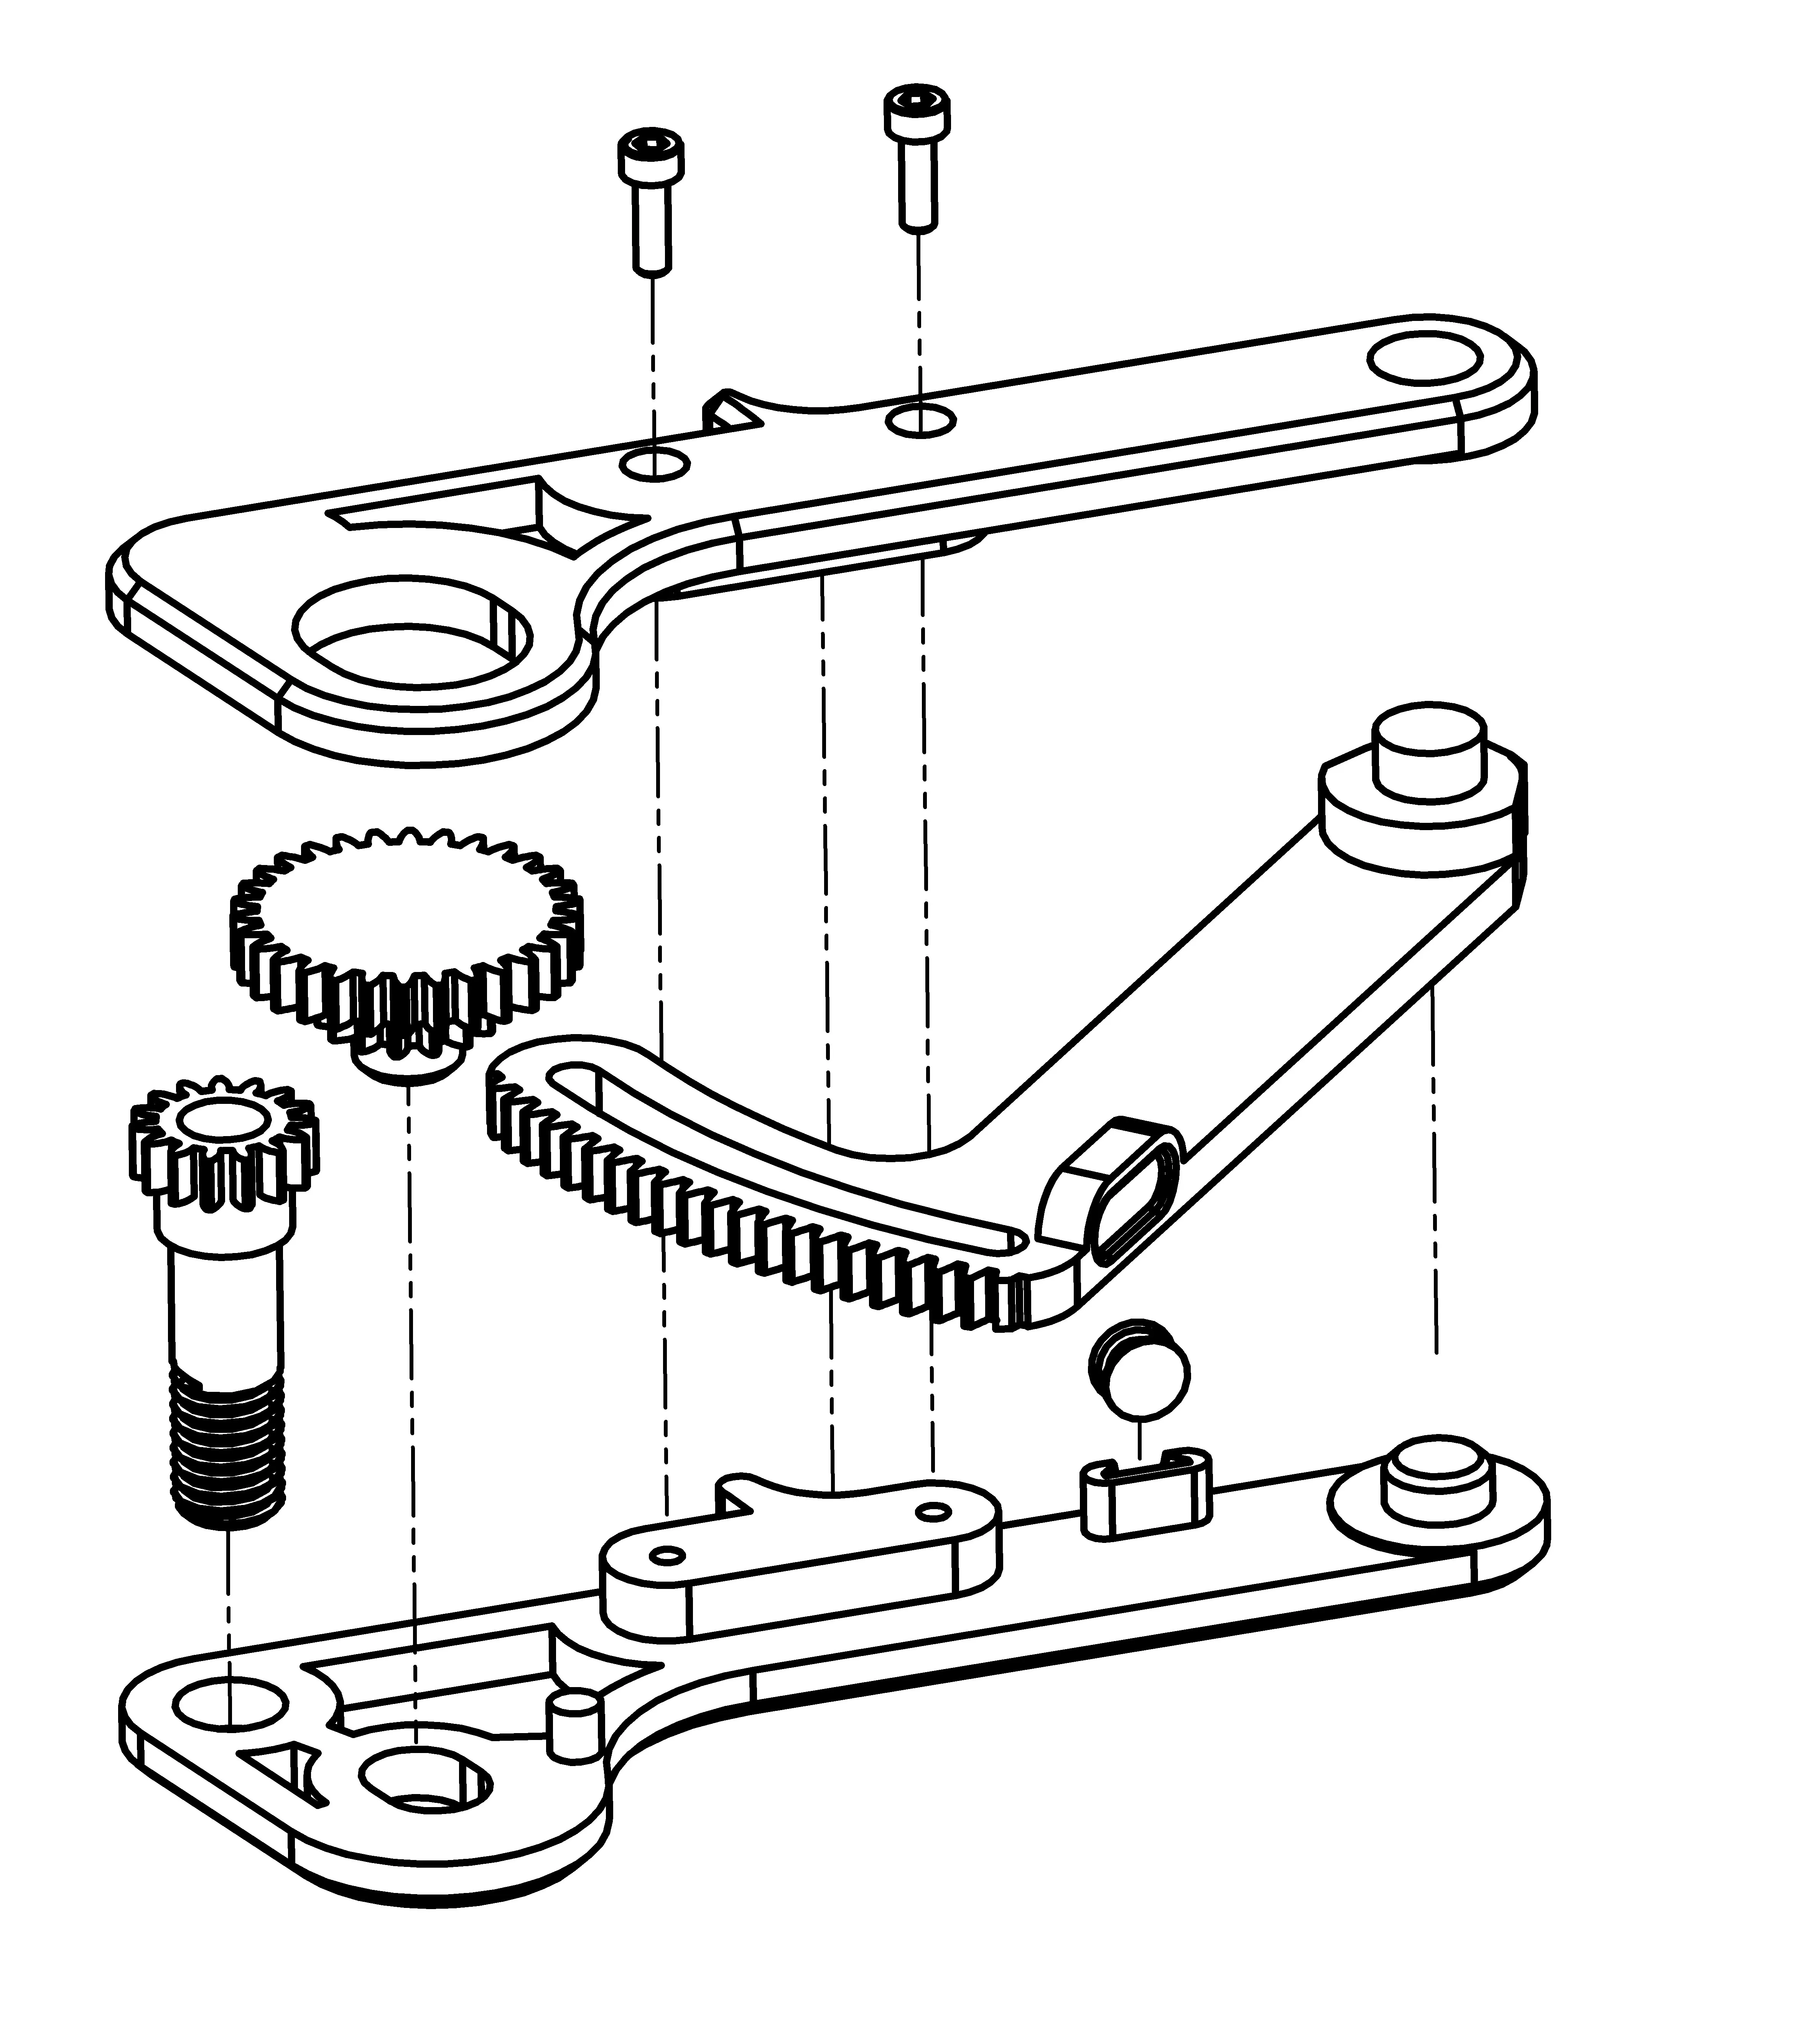
This is how you assemble the rubber band
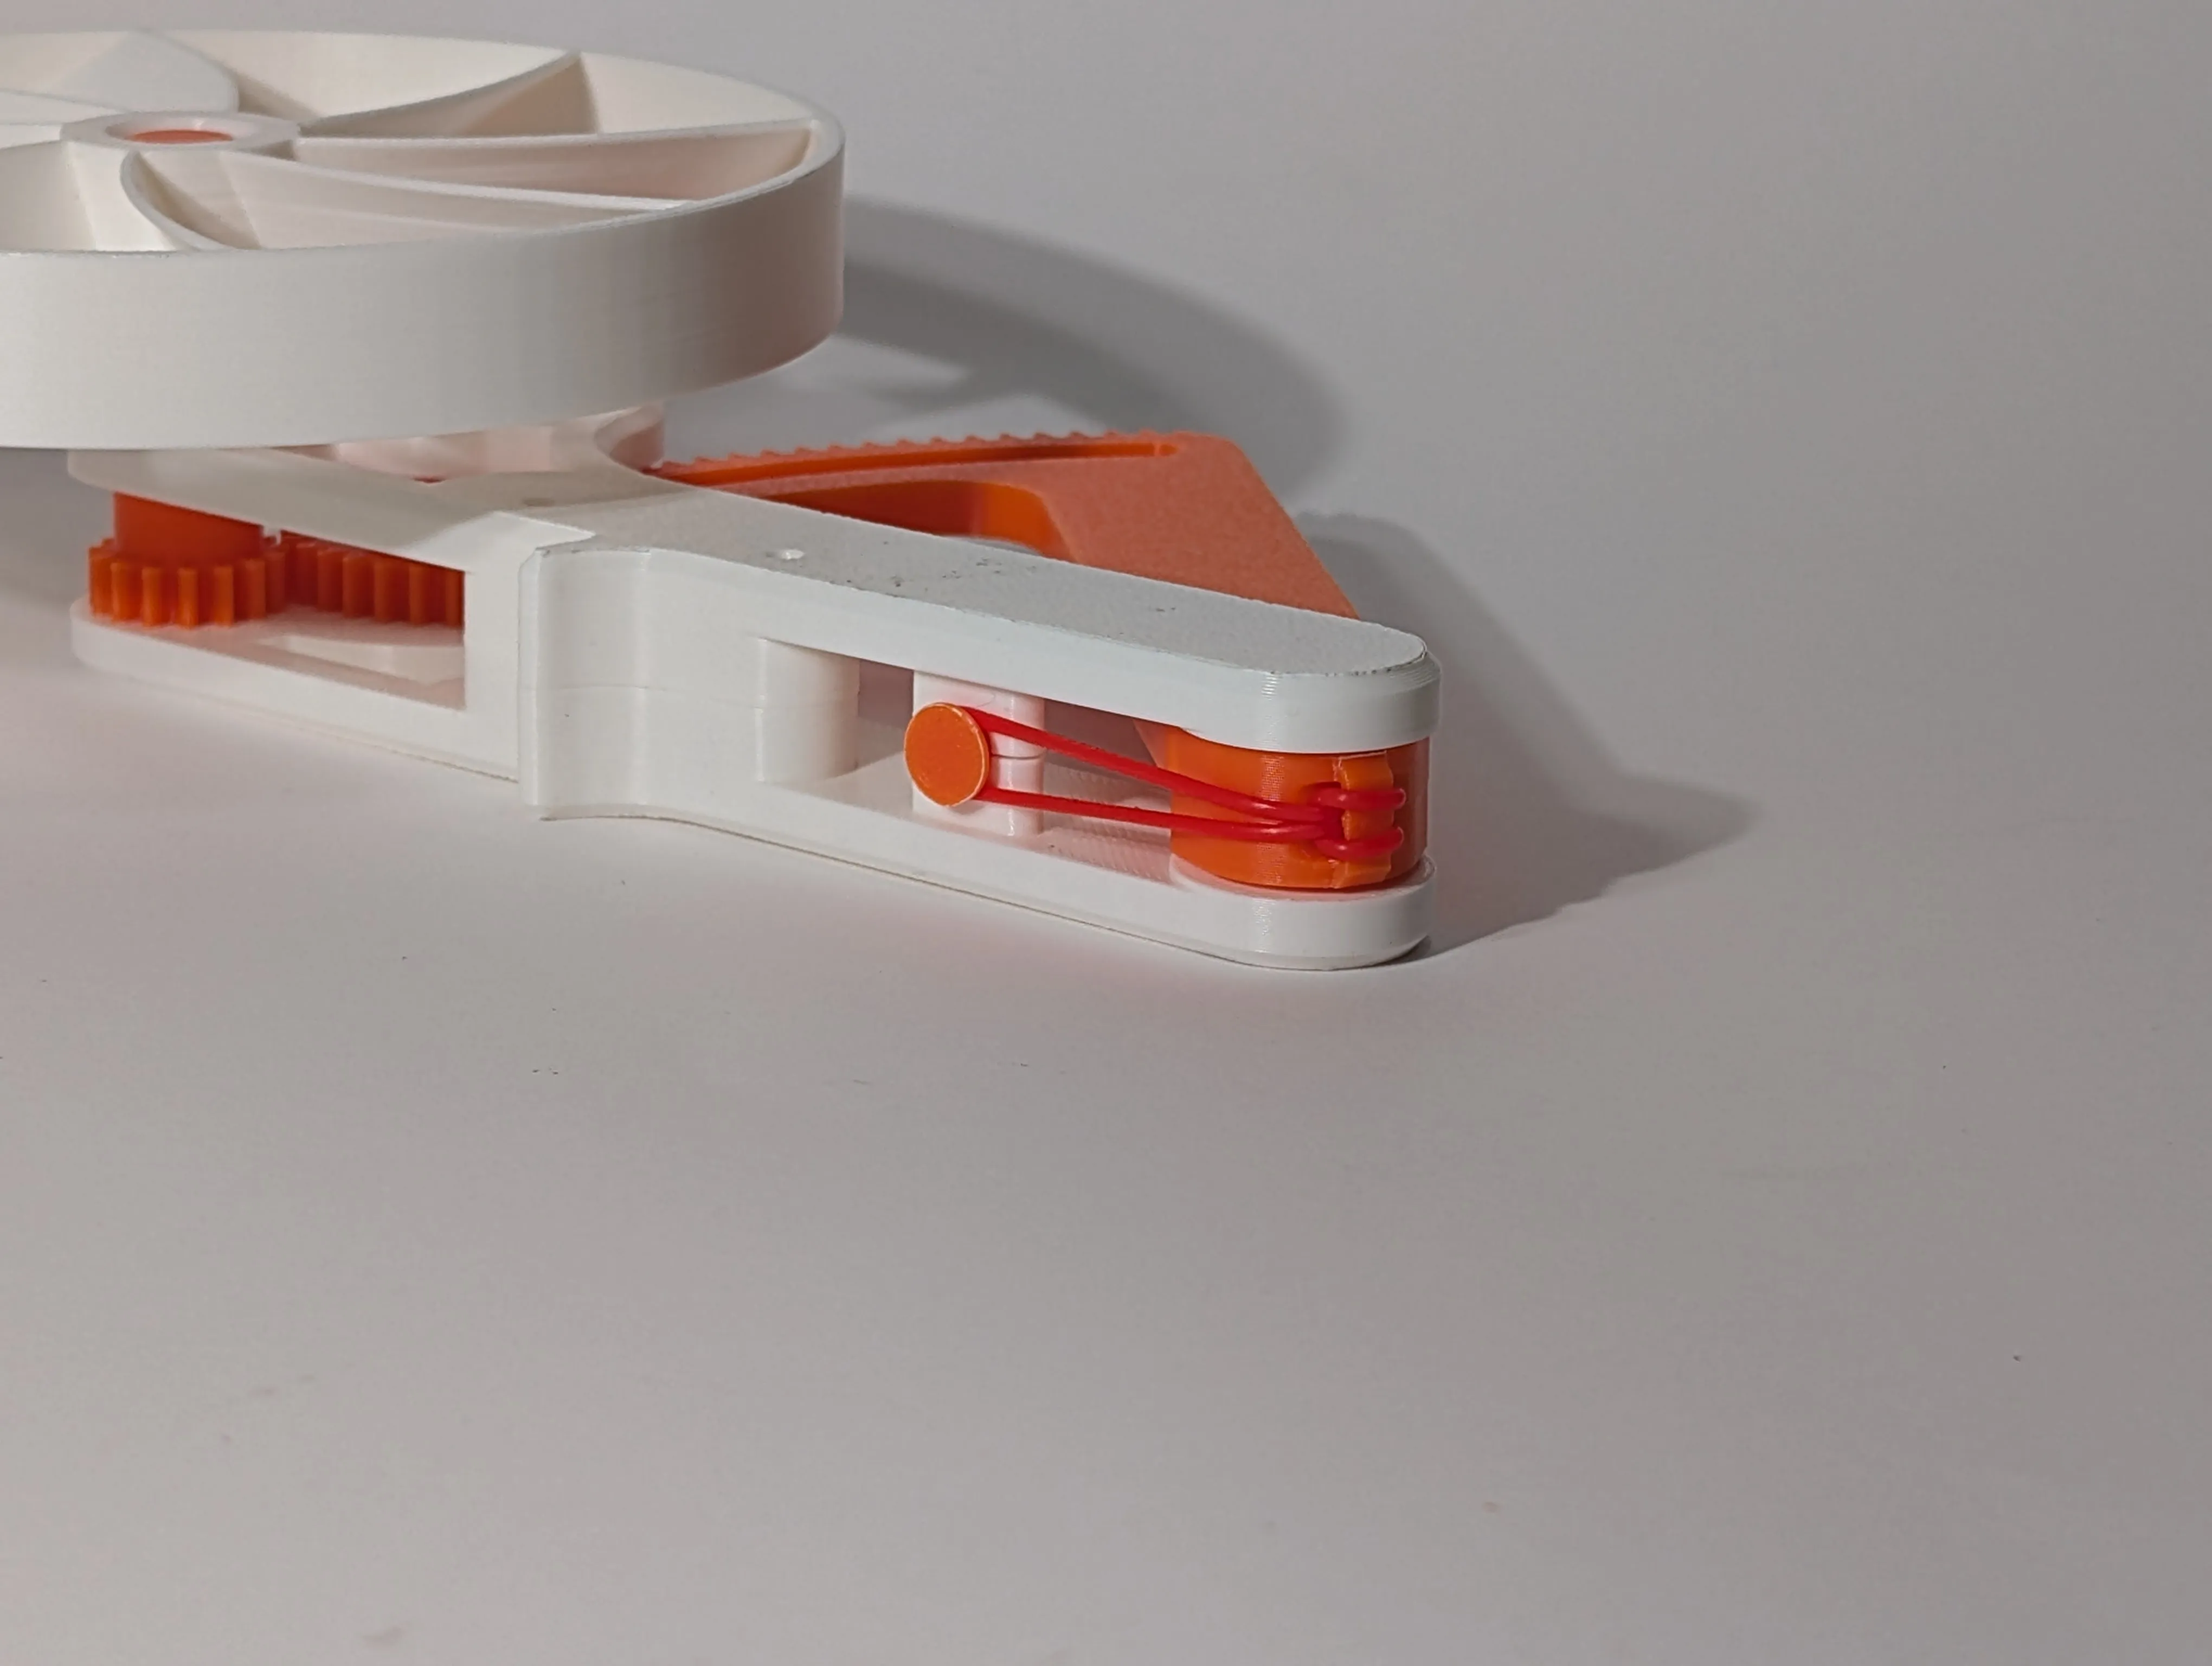
I printed my Fan in ABS Plastics White and Orange. I used brim for better adheason and less warping. I found that ABS glides very well which is ideal for these plain bearings.
I would assume the next best material would be PLA.
PETG probably needs a bit of grease.
I’ll be honest with you, the breeze doesn’t exactly blow you away (pun intended), but you can definitely feel it, and the speed is there. I think with a different fan design (which is a pretty complicated topic), there’s definitely a lot of potential.
License



Comment & Rating (300)