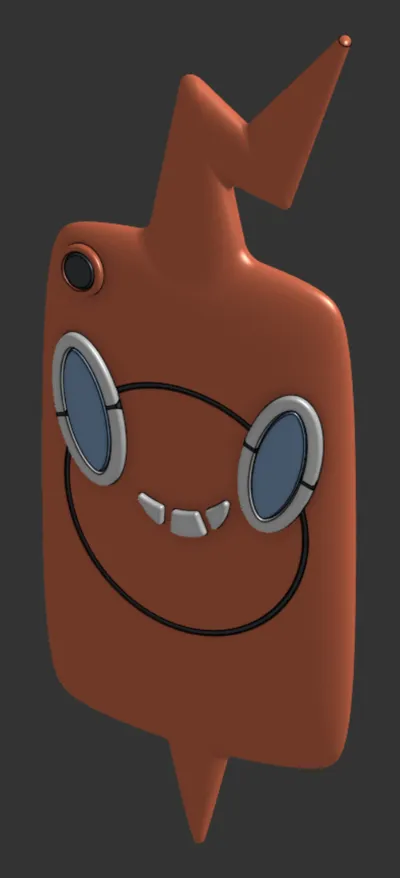
Pokémon Rotom Phone Pokédex - Card Holder


Print Profile(2)

Description
| what is it | https://pokemon.fandom.com/wiki/Rotom_Phone |
| original model | https://cad.onshape.com/documents/800d4aa854c6bdf32d6fe882/v/d1437301897f4df326665a40/e/cc38d6ba7e24574d33d25e1d |
| size | 125mm/5in body - 225mm/9in tip-to-tip |
| filament used | 100g |
| print time | 6 hours on X1C |
What Makes This Model Special?
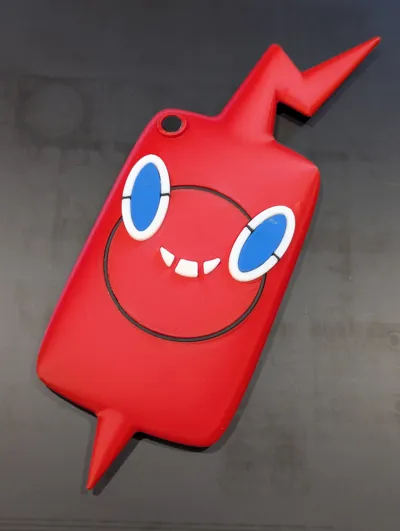
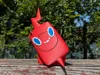
- Authentic Pokémon Experience: Step into the shoes of a real Pokémon trainer with this faithful recreation of the iconic Rotom Phone from the animated series. Just like Ash and his friends used theirs as a high-tech Pokédex, your printed version captures that same magical feeling of discovery.
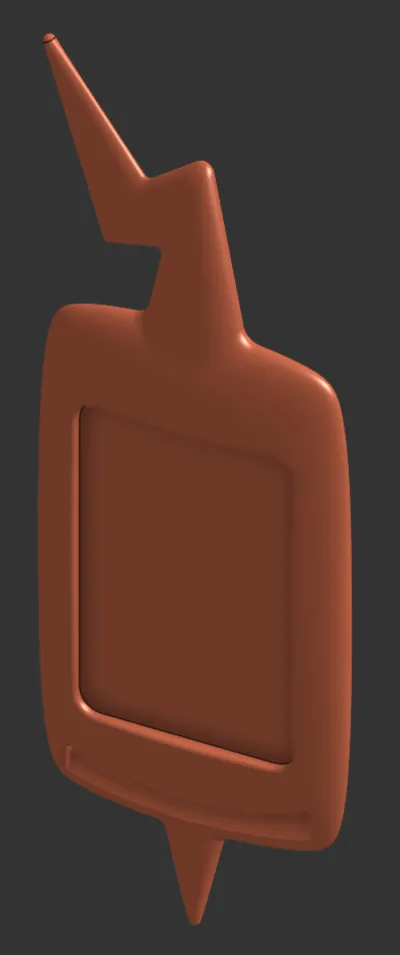
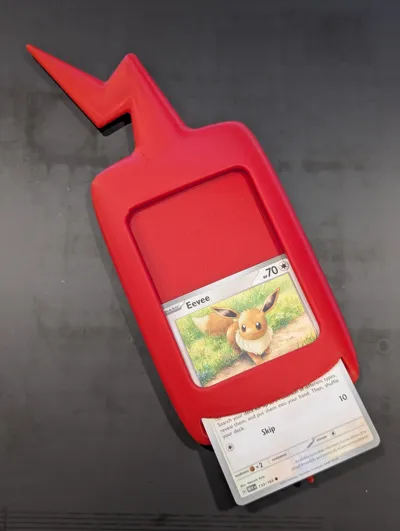
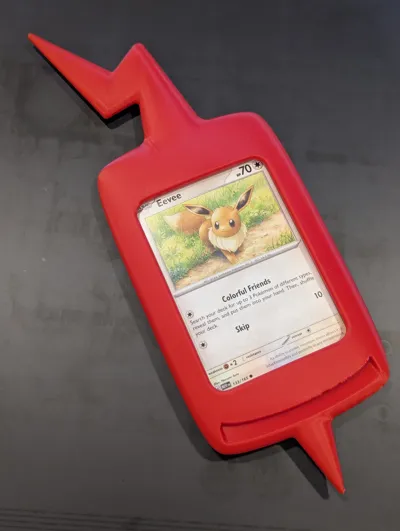
- Card Display System: Here's where the magic happens – a specially designed slot on the display side lets you insert actual Pokémon cards! Watch as your favorite Pokémon "appear" on the screen, creating an immersive experience that bridges the physical and fantasy worlds.
- Perfect for Adventures: Turn any space into a Pokémon hunting ground! This model has already proven itself as the ultimate tool for creating unforgettable scavenger hunts. Kids (and adults!) go wild searching for hidden Pokémon cards, then racing back to slide their discoveries into the Rotom Phone and dramatically reveal their catch to everyone.
Printing
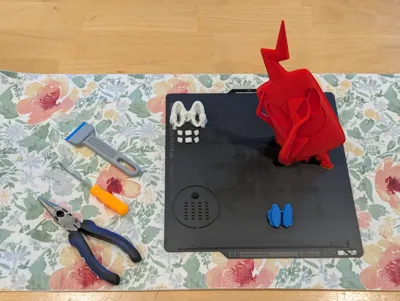
- Please clean your build plate. The orientation of the parts were chosen for maximum surface quality but they do depend on the supports having good bed adhesion, especially the main red body of the Rotom phone.
- All plates are for 0.4mm nozzles and 0.2mm layer height.
- Four colors are used without support-interface material. Each part is a single color. The profile includes plates for both sequential printing of all colors on one plate as well as separate plates for one at a time.
- BLACK: The small black eye inserts are provided in multiple sizes with six of each size. Use whichever size you like the fit of. Six are included in case of any print problems or accidentally losing pieces. They are small enough I concluded this was a worthwhile ‘waste’. Still, be wary when removing the plate and the parts to attempt not to lose any. You can always go ahead and lose a couple later…
- WHITE: An extra set of the white mouth insert pieces are included as well.
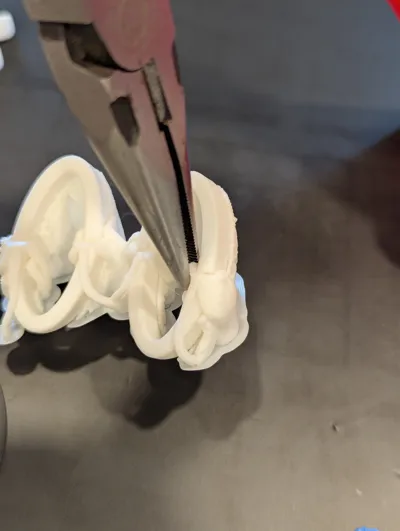
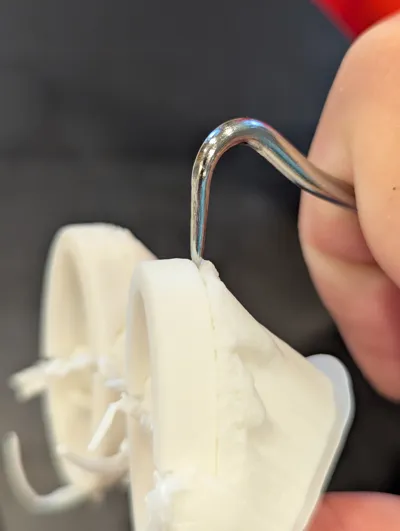
- WHITE: For the white eye pieces, first use needle nose pliers to crush the support pieces reaching around to the front. Bend them out of the way. The back side of the white eye pieces have a deep groove. This poses a risk when removing them from their support structures. I suggest using a tool such as a pick between the part and the support to crack free first the top half of each piece and then the bottom half.
- BLUE: Use similar care when removing the blue eye pieces.
- RED: The supports for the red body are on both the front and back of the body and are fairly sturdy. This makes it a bit difficult to start removing them. I suggest using needle nose pliers to crush larger portions of support branches so that smaller pieces can more comfortably be removed individually.
Assembly
I have been using cyanocrylate (super) glue for assembly. Consider the set time of your glue when deciding if you will combine multiple steps below or be patient and do one at a time. Apply pressure to the pieces if appropriate for your glue. Foaming glues, such as Gorilla glue, are unlikely to work well as the foaming action may press the inserted parts back out from the body.
The larger pieces all have cuts removing some portion you might expect to be present. Along with providing for improved bed adhesion during printing, that cut indicates the back side of the part during assembly.
All parts work in only a single location and orientation except for the smallest black pieces which are assembled into the white eye rings. Those black pieces are interchangeable with each other.
- Check the back side of the white and blue eye pieces for the clearance for the black ring to identify which will be assembled into each of the eye recesses in the red body.
- Test fit the blue eye pieces into the white eye pieces, then remove.
- Test fit the white eye pieces into the eye recesses in the red body, then remove.
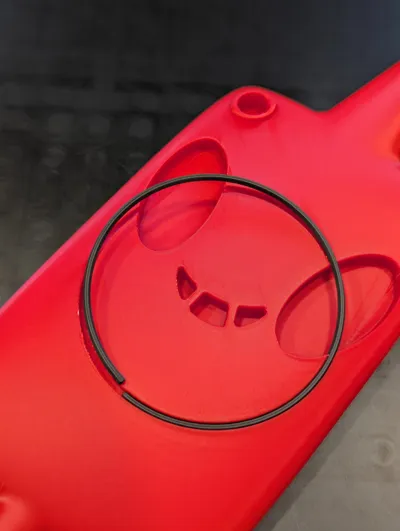
- Slide the black ring into the ring slot in the red body. Note that the sides are tapered and the thinner face points out from the body. Slide the black ring around until the gap in the ring is in the middle of either eye recess.
- Slide the smaller black pieces into the white eye rings. Looking at the largest face of the small black pieces, the edge with the chamfer is to be located towards the center of the eyes. As with the black ring, the narrower face points out from the eyes. It is preferably for these pieces to have a snug fit. Given their size, it can be difficult to push them in with our squishy fingers and you may have better luck holding them against a table with needle nose tweezers and then putting a finger in the middle of the white eye ring pressing it down onto the black piece. Use whichever size gives you the fit you prefer.
- With the black solidly attached into the white eye rings, as necessary, gently trim the white edges over the black slightly to create a clean look.
- Apply glue to the inside of the small circular camera lens hole in the red body. Insert the circular black camera lens part into the hole.
- NOTE: All black pieces should have been assembled before continuing.
- Apply glue to the inside of one eye recess in the red piece. Assemble the corresponding white eye ring.
- Apply glue to the inside of the assembled white eye ring and the inner portion of the red body eye recess. Assembly the blue eye piece inside.
- Repeat for the white and blue eye pieces on the other side.
- Apply glue to the recesses for each mouth piece and insert them.
Comment & Rating (31)