
Volkswagen T4 Bus Active Ventilation Side Windows
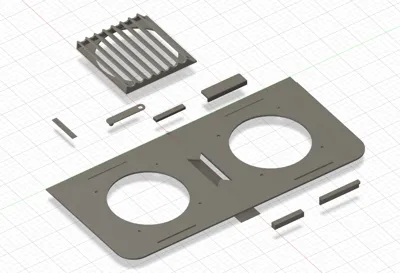
Print Profile(1)





Description
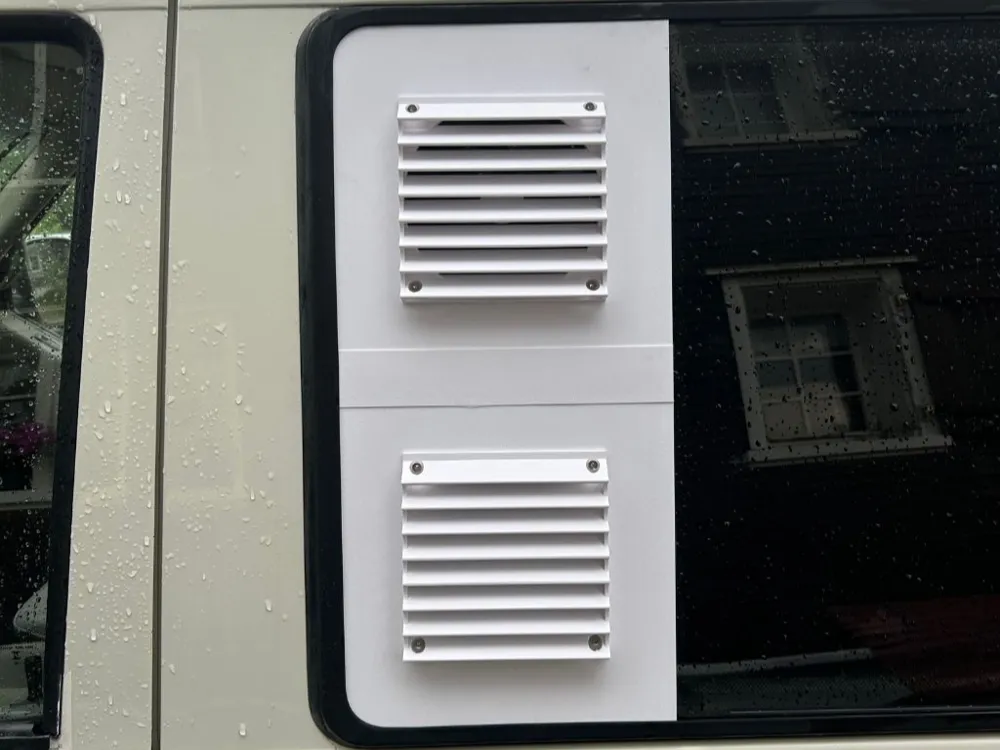
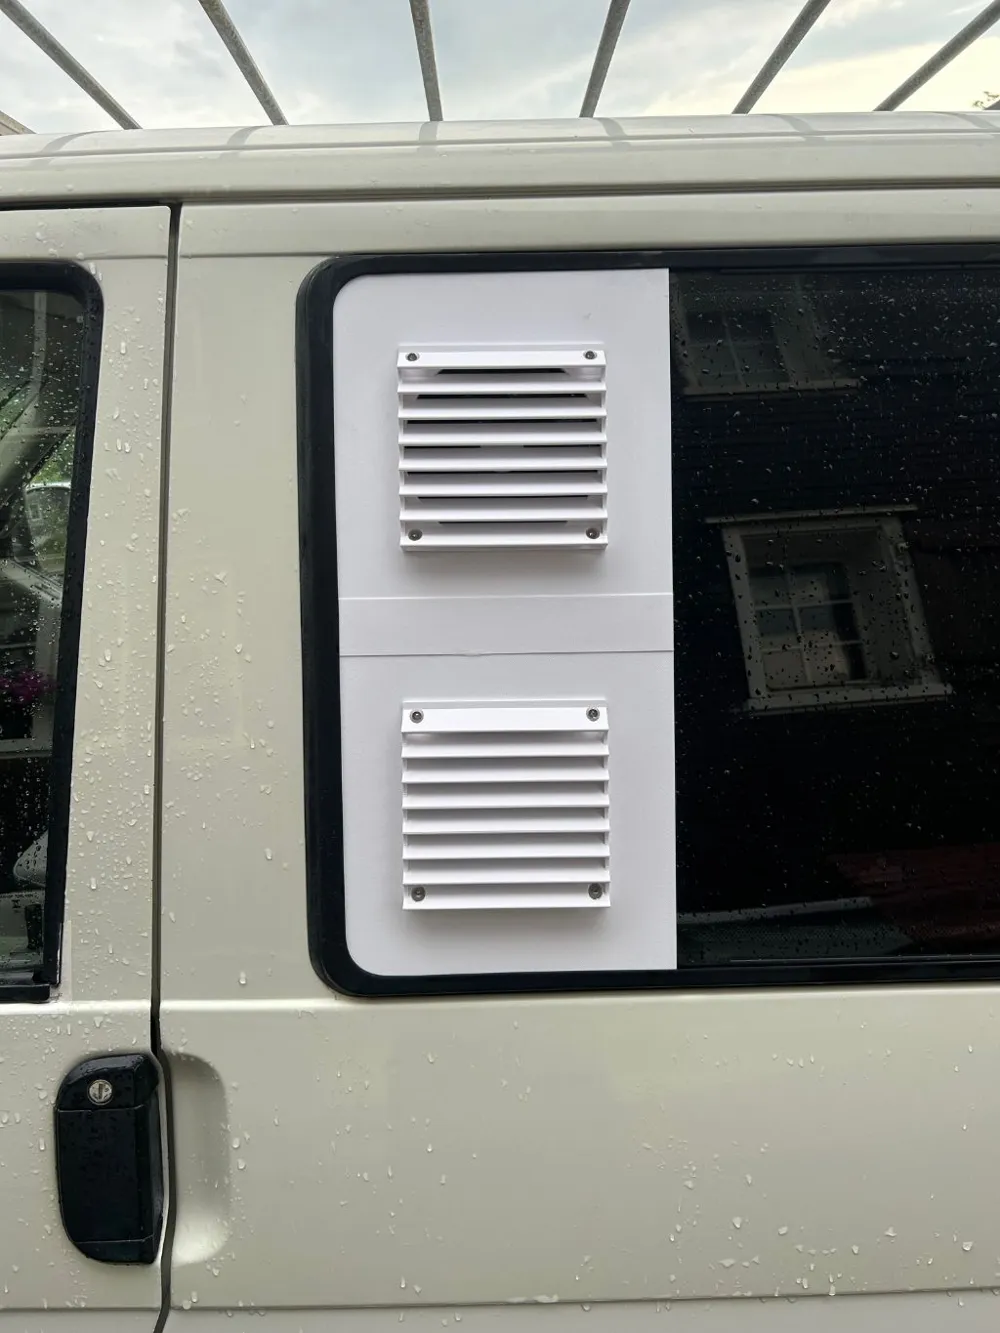
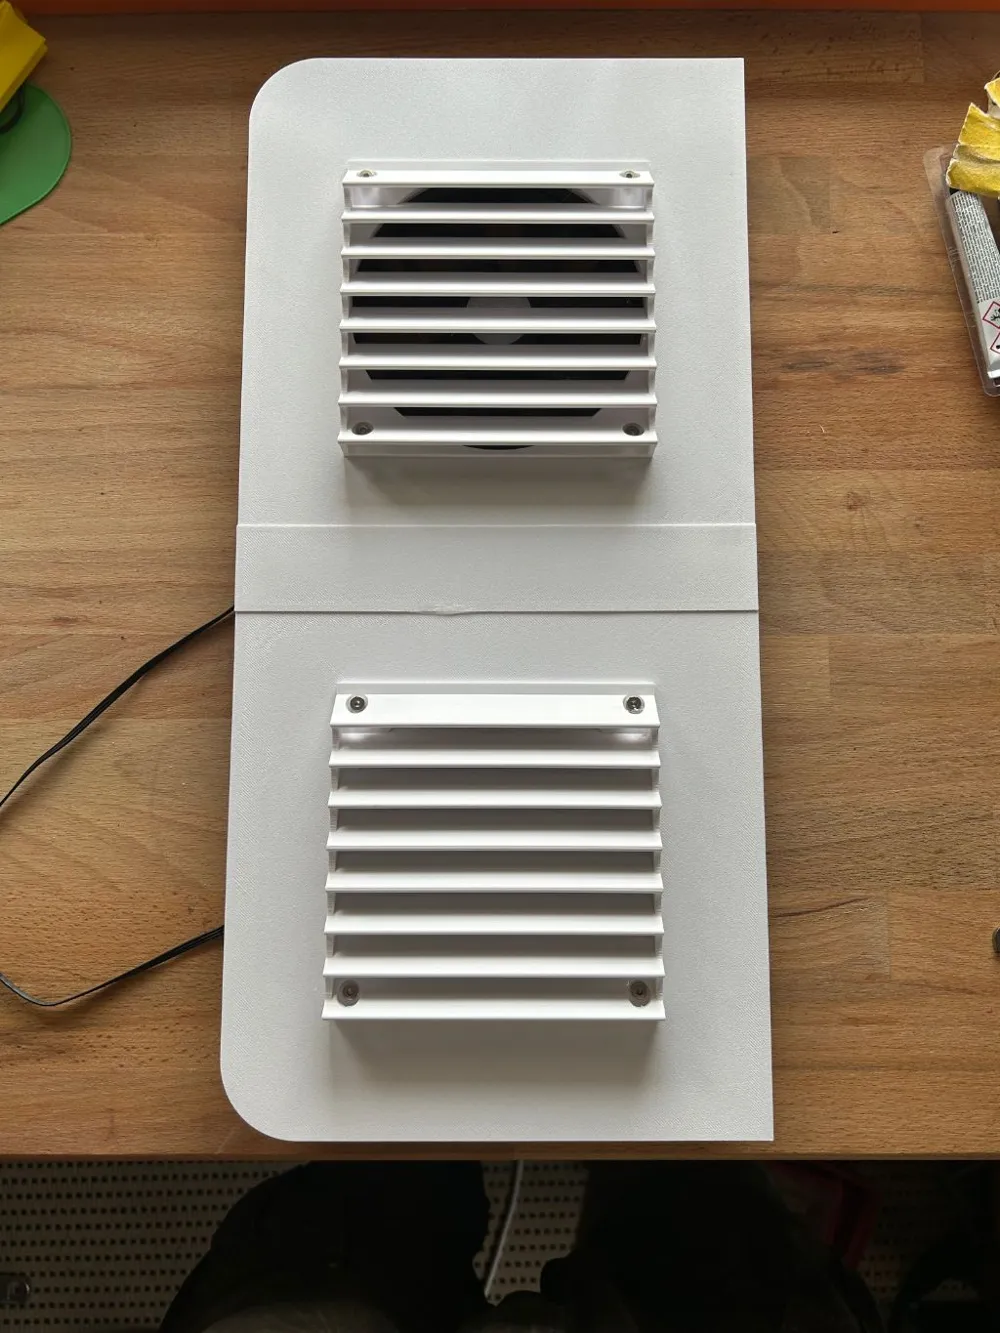
T4 active ventilation grille for the sliding window left or right
Update 10.07.2026:
Do you know my passive ventilation window for air outlet on the other side of the vehicle or for people who don't want active ventilation? No, then click on the link:
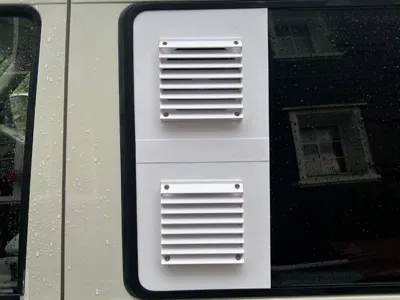
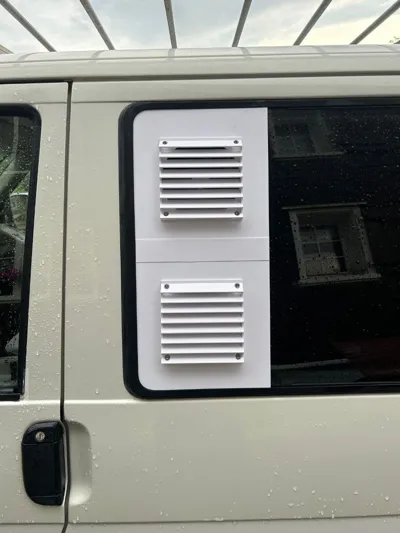
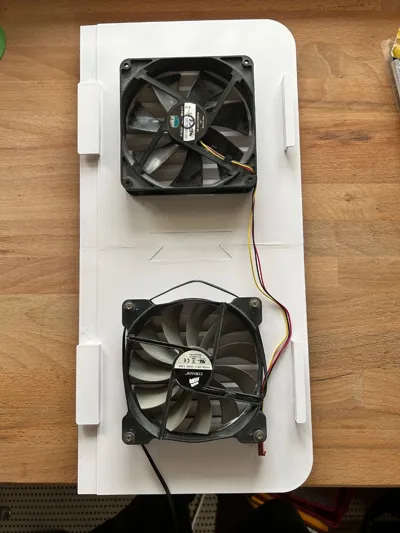
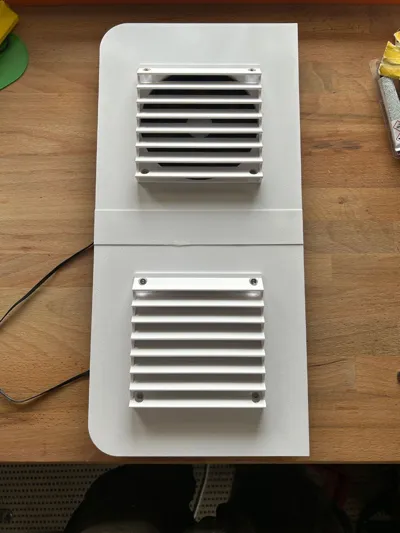
Which camper doesn't know it. During the day it was warm and in the camper van you can't get the heat out despite the ventilation grilles because there's no wind outside. To counteract this, I built a ventilation grille with active ventilation for the Volkswagen T4, for the side screen windows. Depending on the installation, it can be built individually for the left or right window. Two 140mm PC fans are used for active ventilation
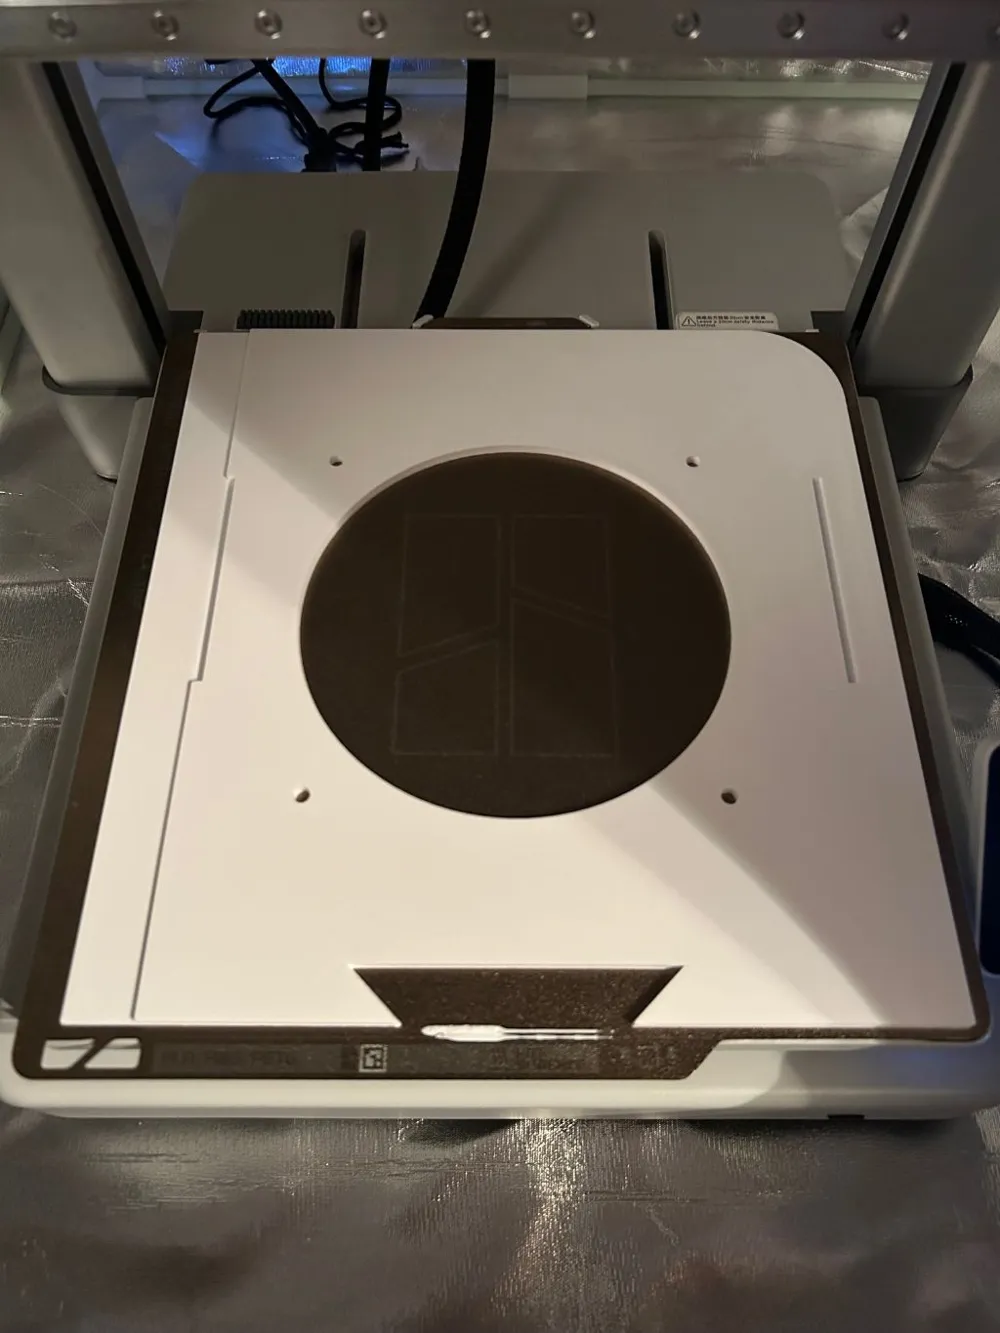
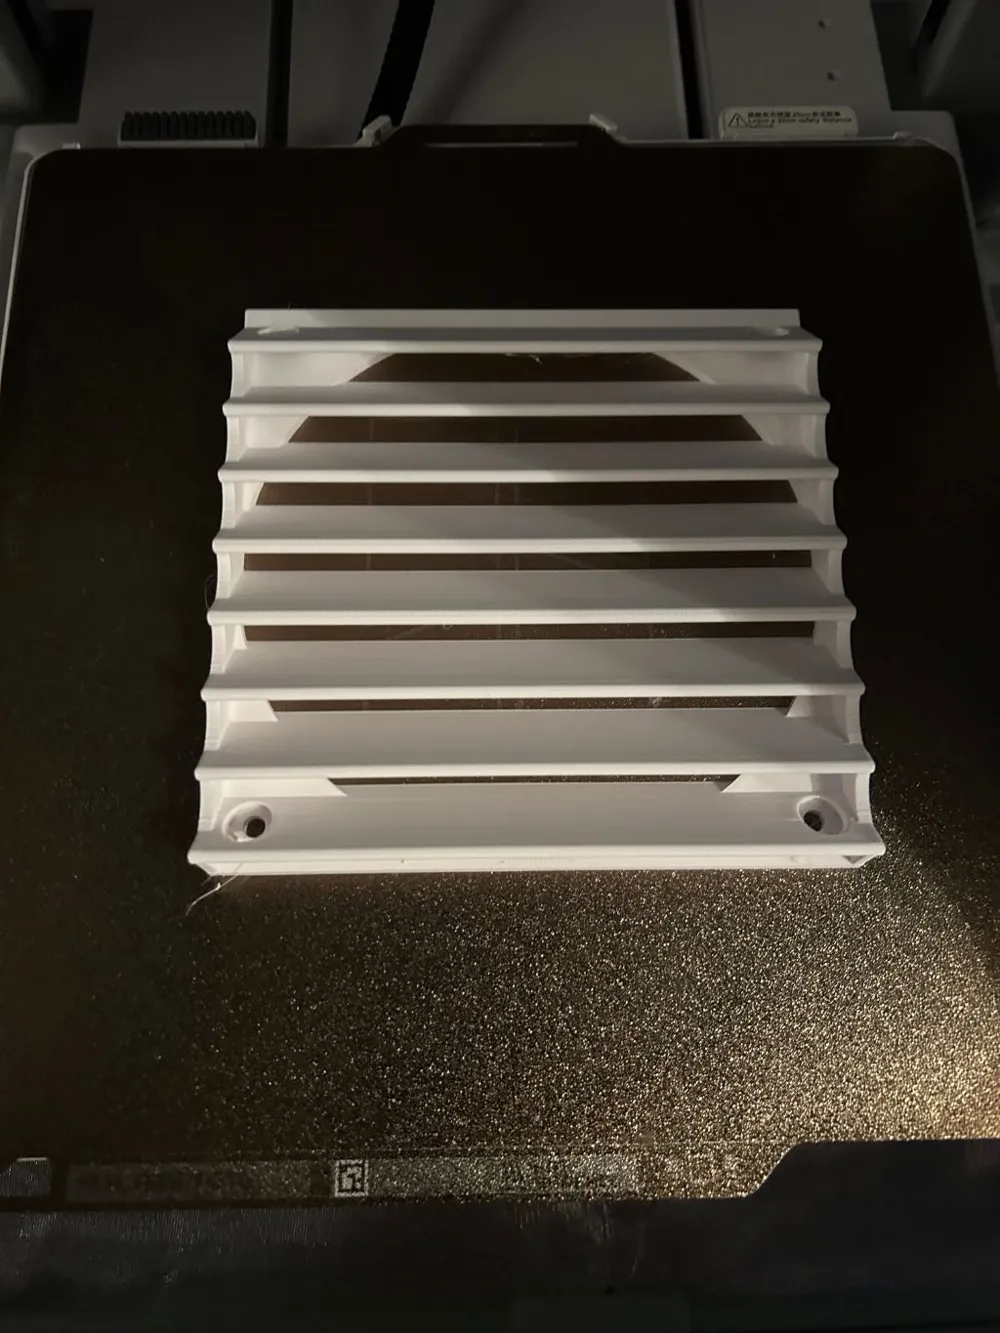
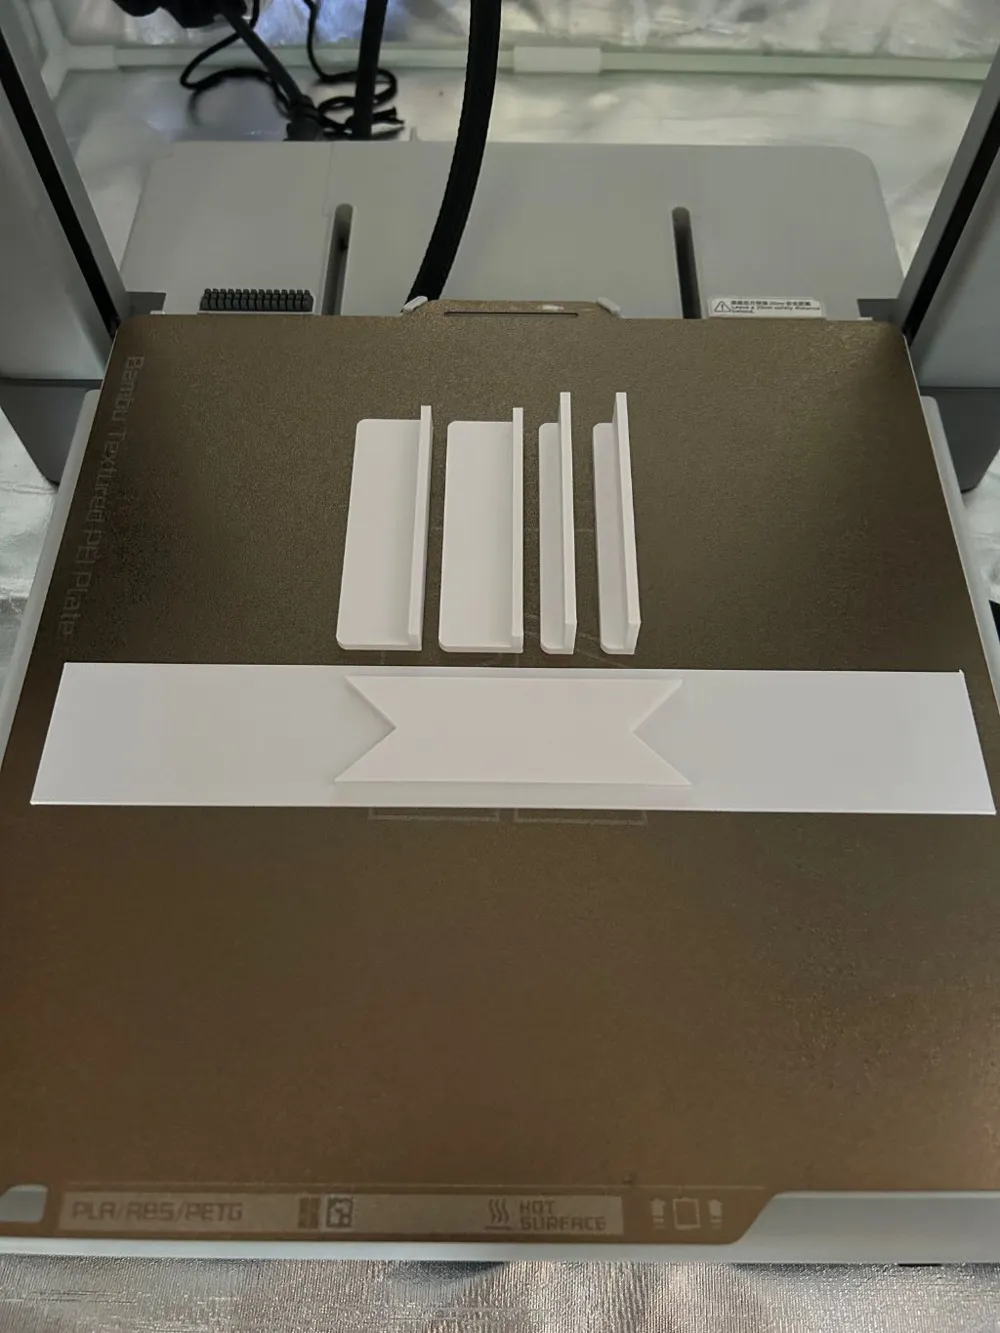
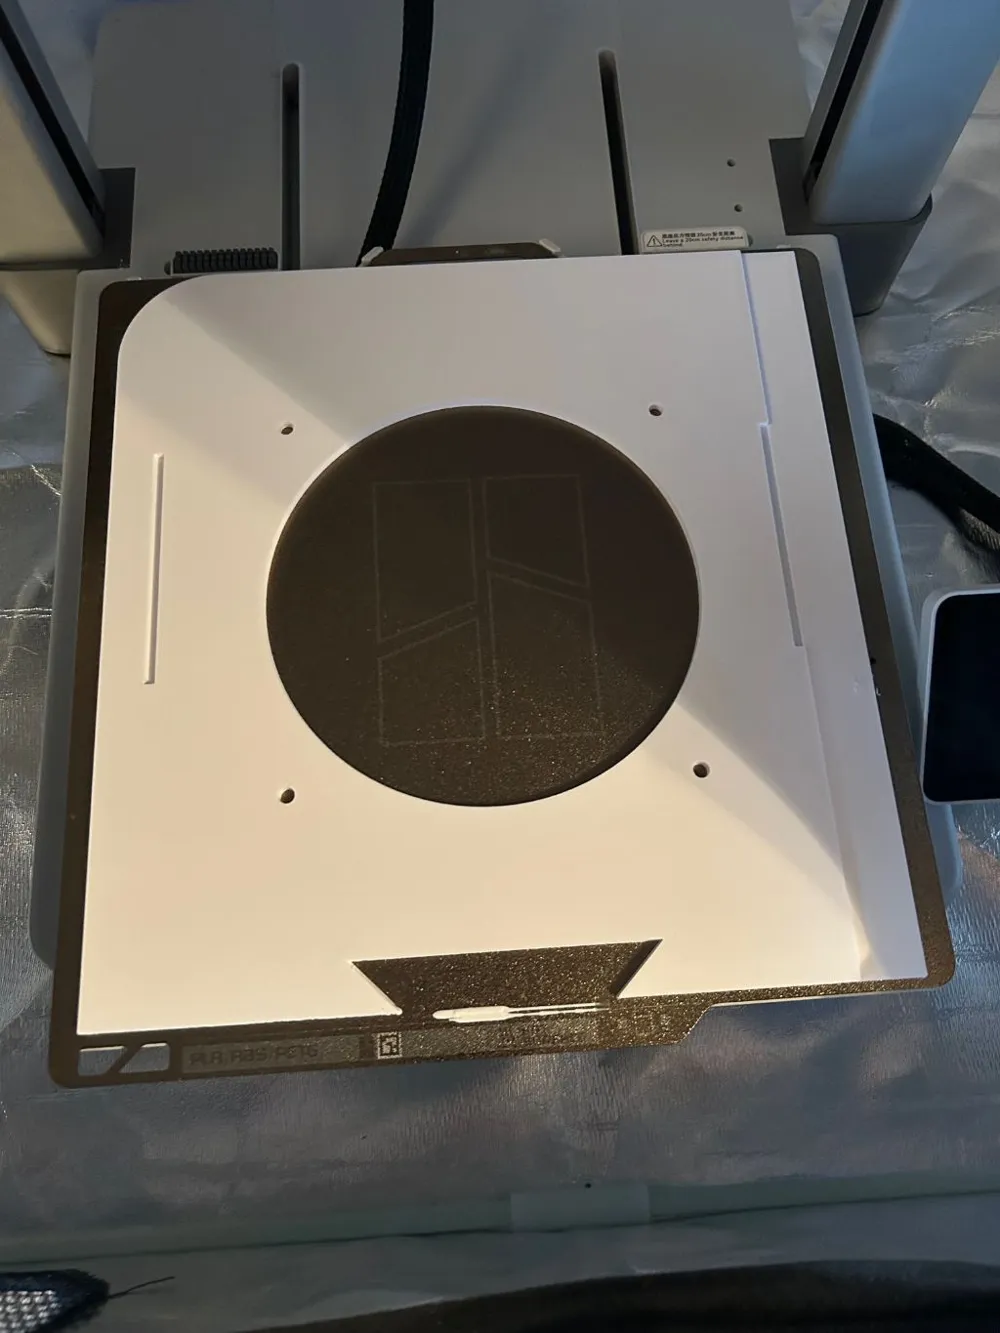
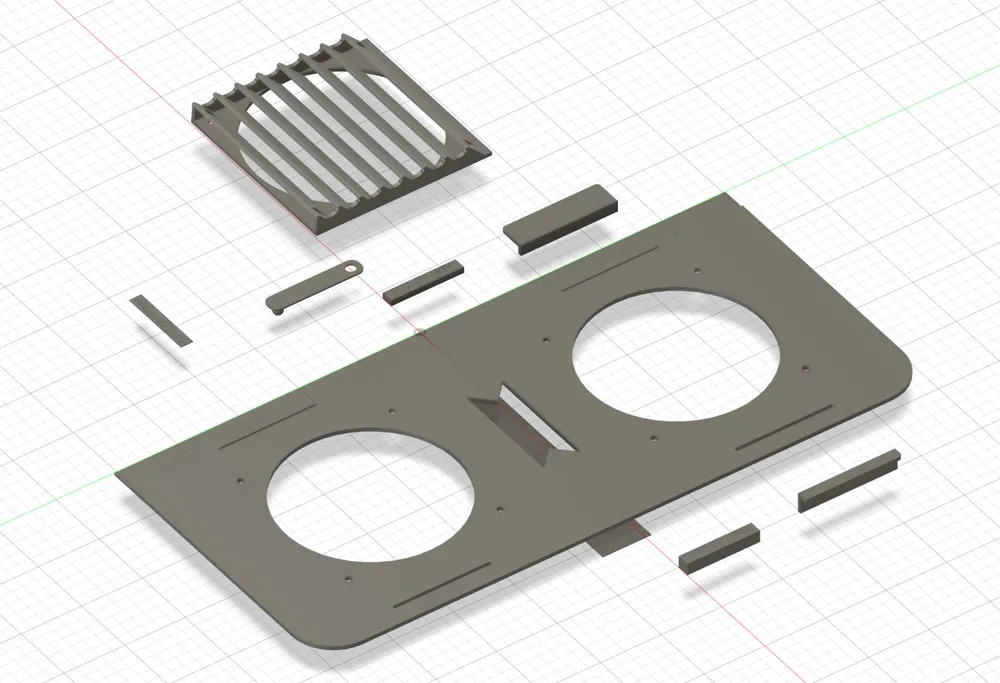
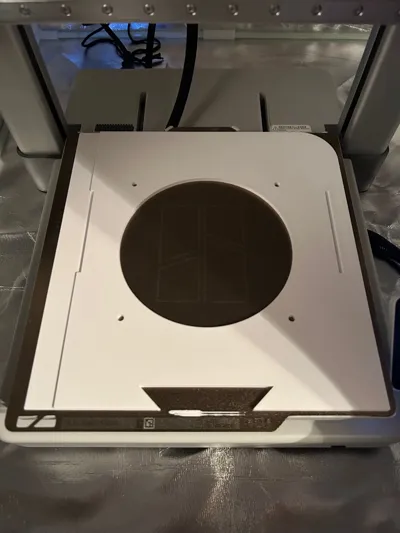
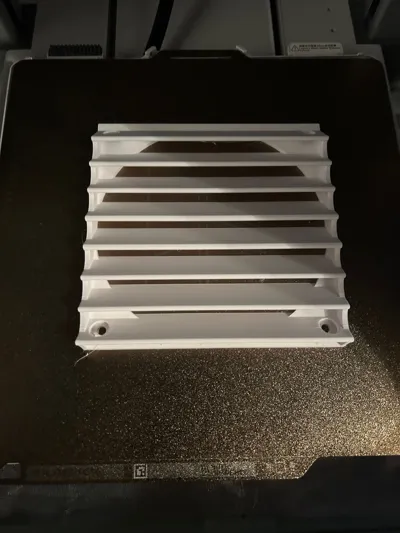
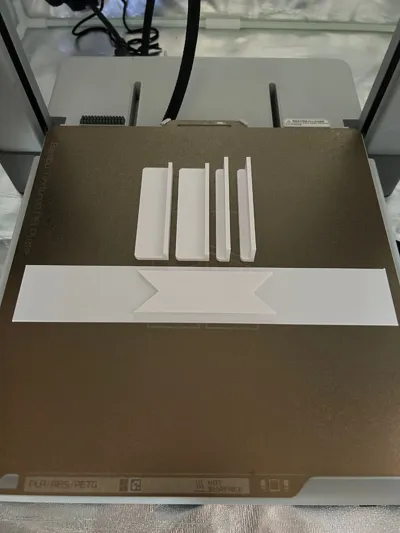
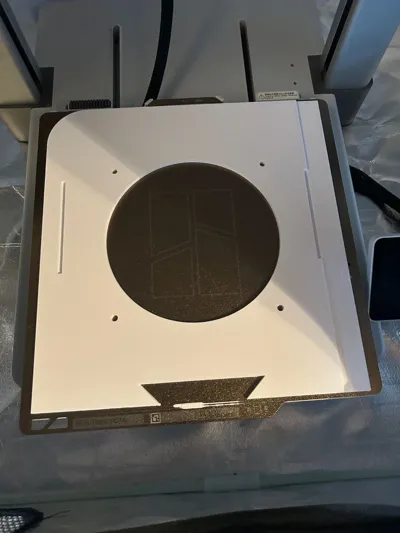
I had no problems printing with the Bambu Lab A1 and the settings used in the profile. I printed everything with Bambu Lab PETG-HF. Since high temperatures are to be expected in vehicles in summer, I do not recommend printing in PLA. Otherwise, other filaments would certainly work. Please ensure a well-aligned print bed. Especially for the first two plates. The two parts use almost the entire plate space of an A1 printer
Boost Me (for free)
I would be very happy to receive a booster, especially for things related to older cars that don't get many downloads anymore. I'm publishing this for a small fan community. :)
Assembly
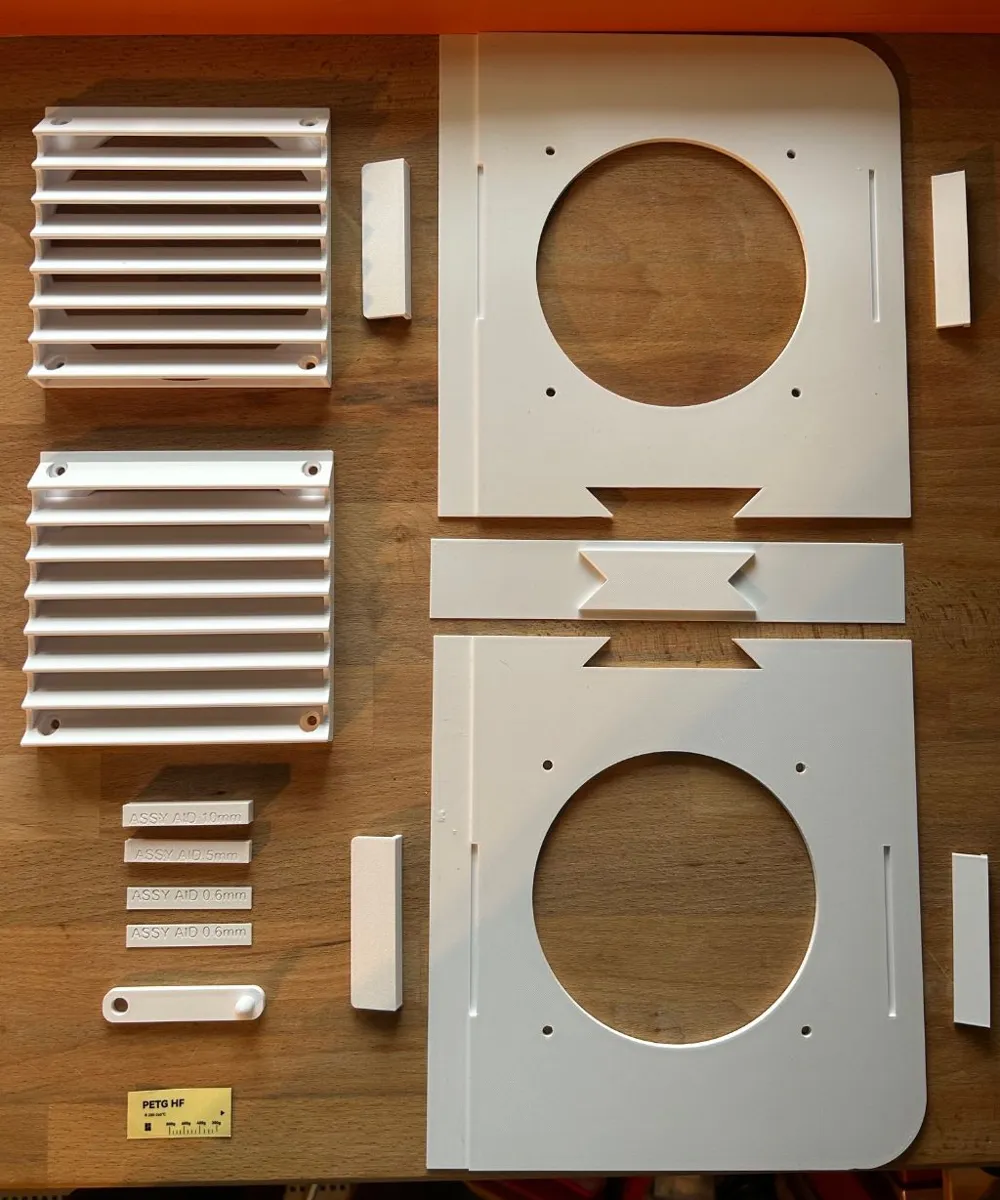
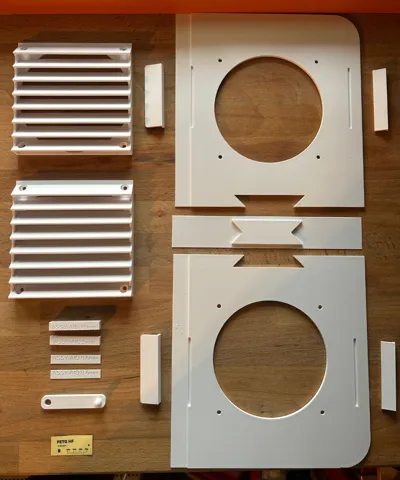
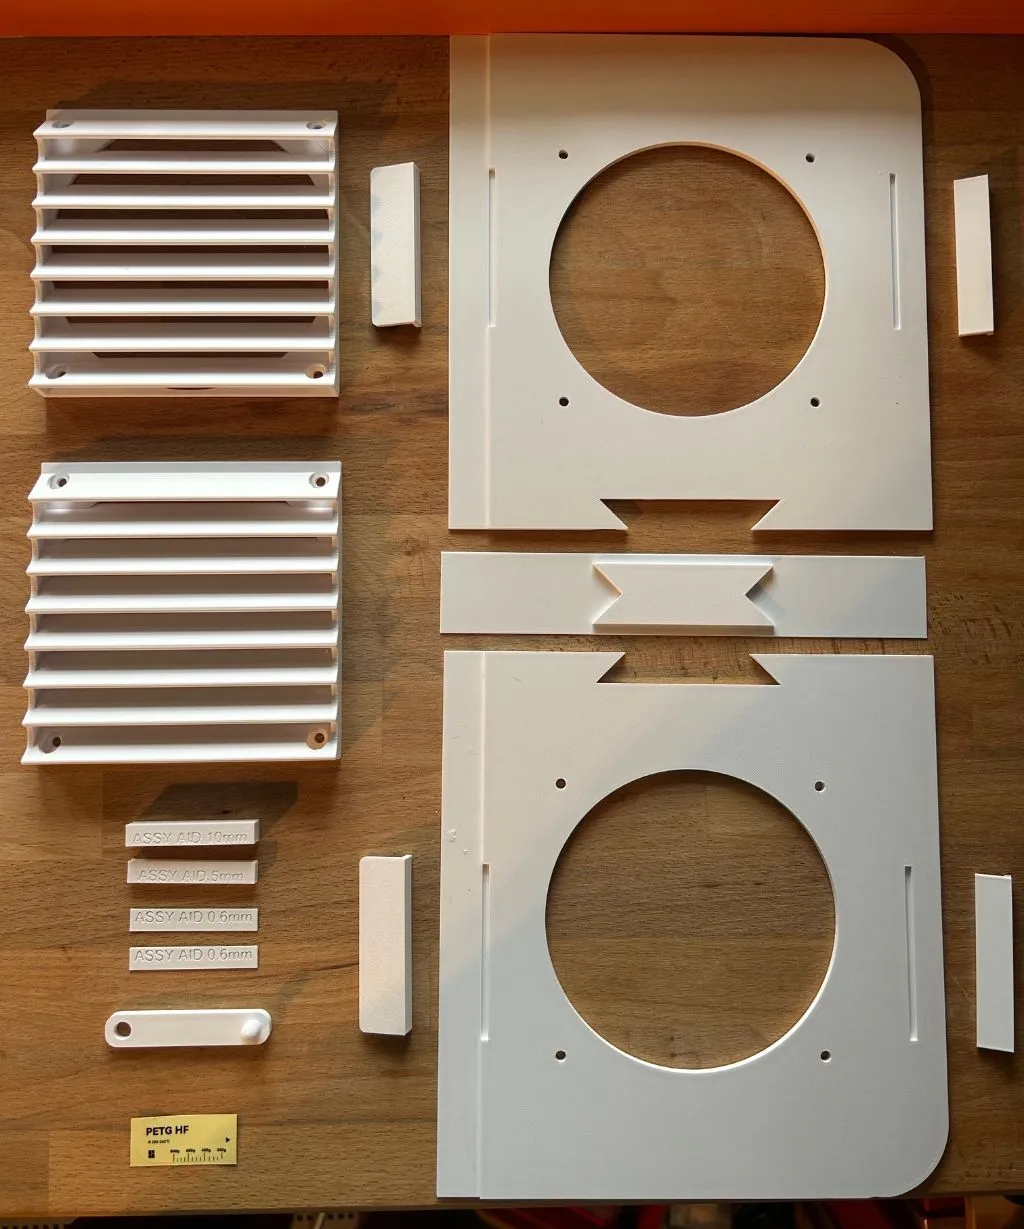
Print all 6 plates from my print profile. As an interim step, please read these instructions once before you begin assembly
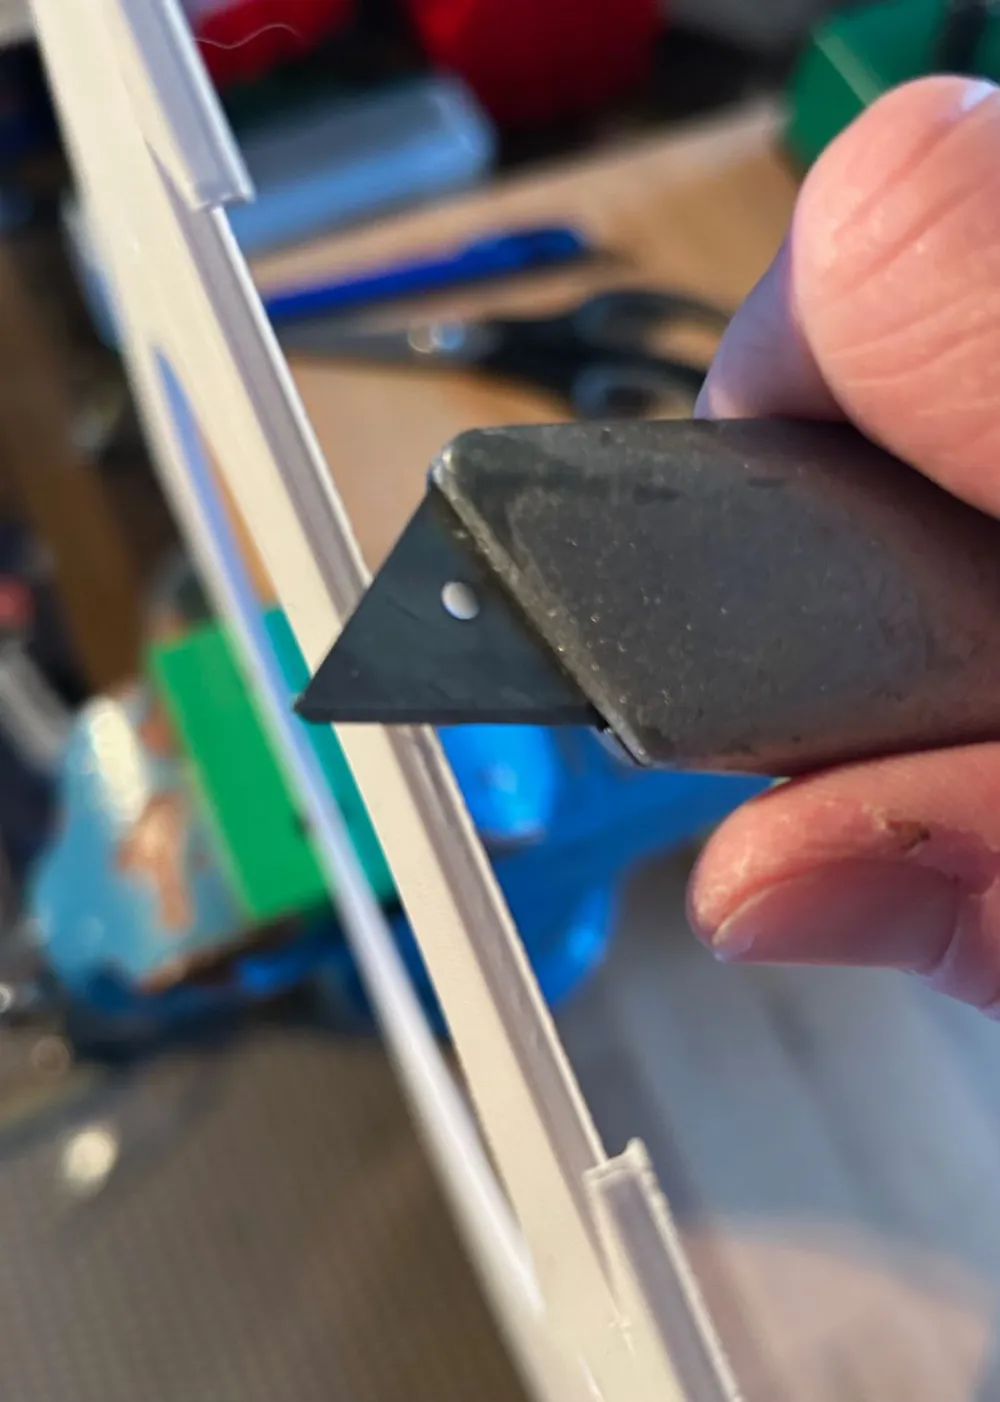
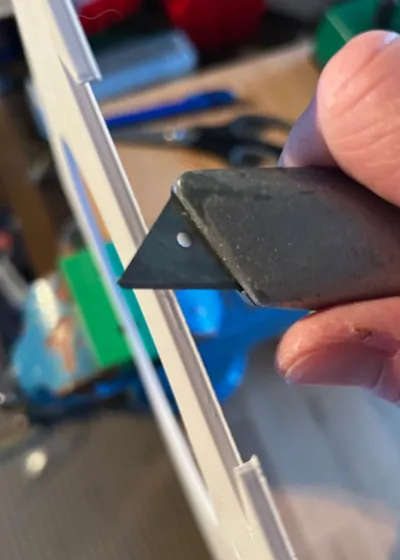
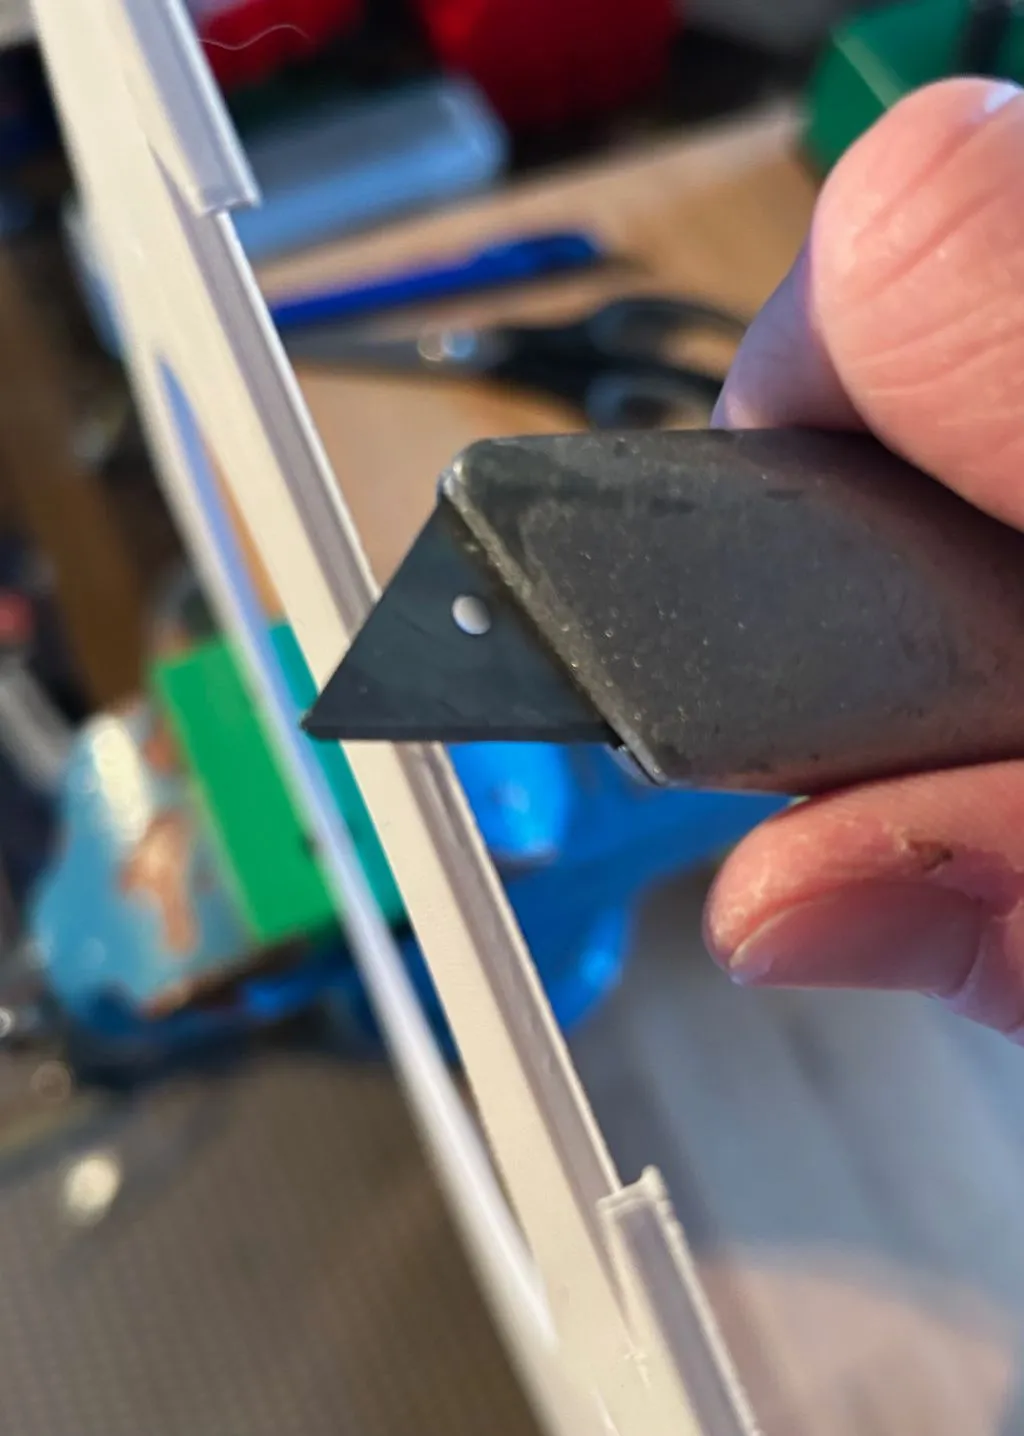
General: Roughen the surfaces to be glued with some sandpaper. This creates a stronger bond. Press the parts together once before gluing. If something doesn't fit, you may need to remove brows, edges or similar with a utility knife. This was necessary for me but quickly done. The play for gluing is 0.25mm, which should fit well and easily. I use 5min epoxy adhesive. You can also use another adhesive with which you have good experience. However, I do not recommend using superglue (CA). For large, thinner components, I find superglue too brittle and the tolerances of this design are too large for a low-viscosity adhesive like CA
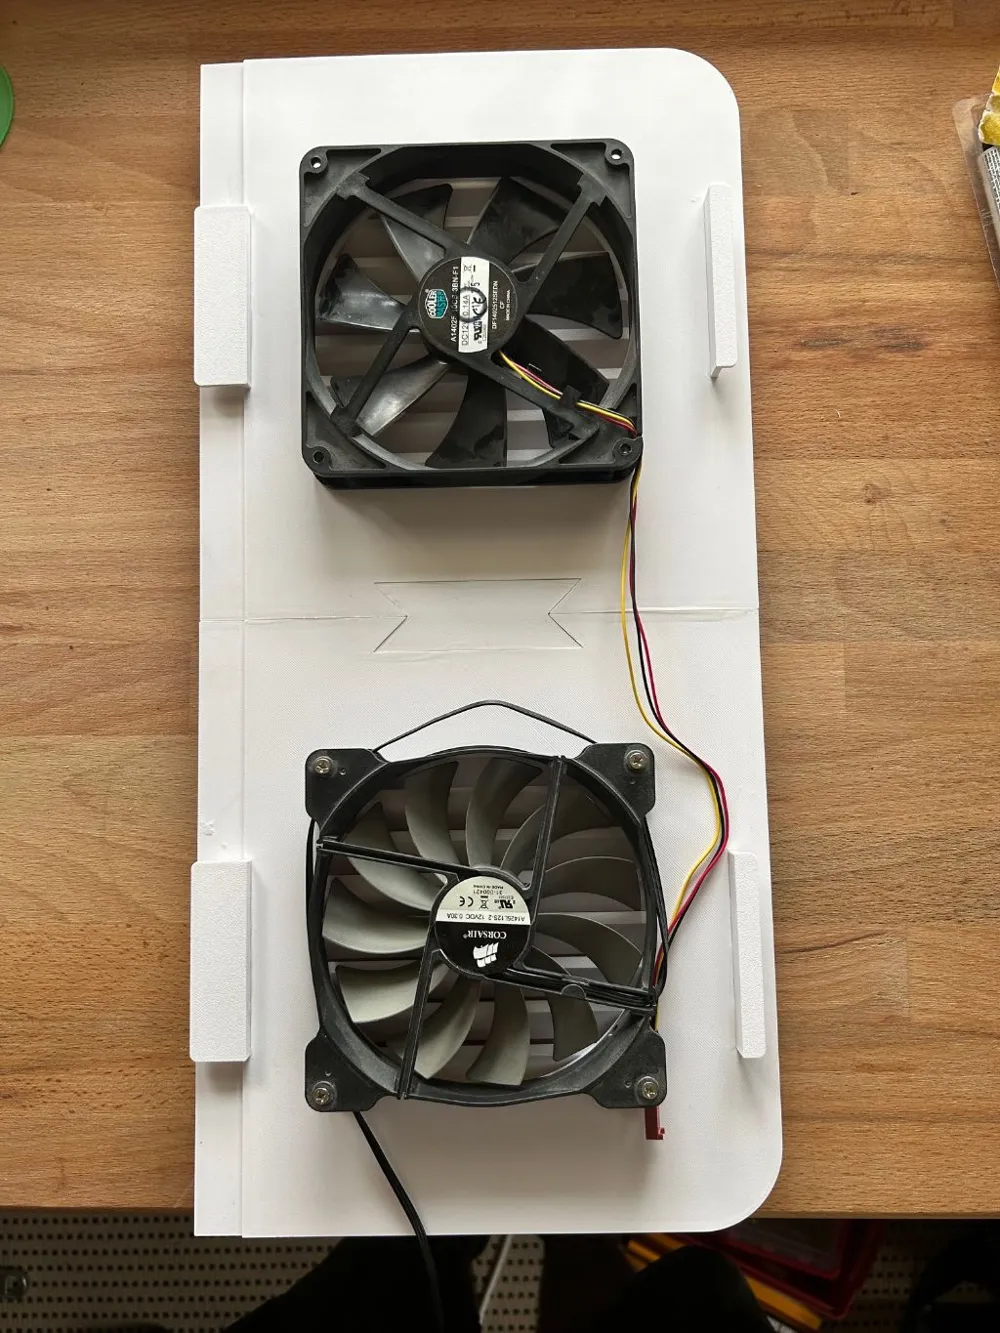
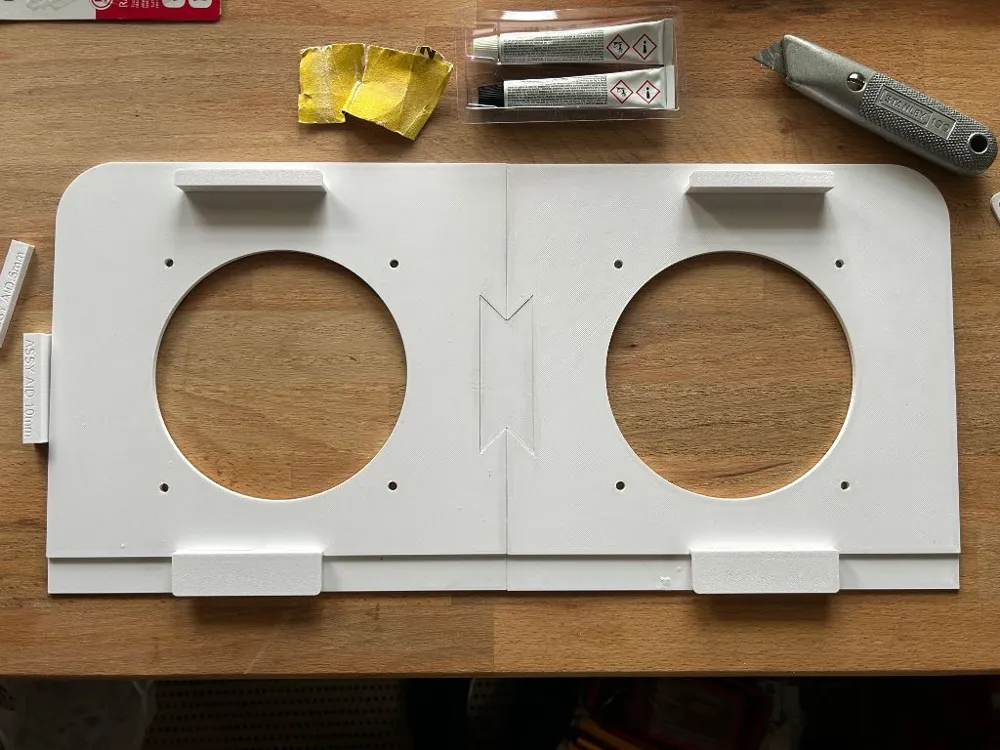
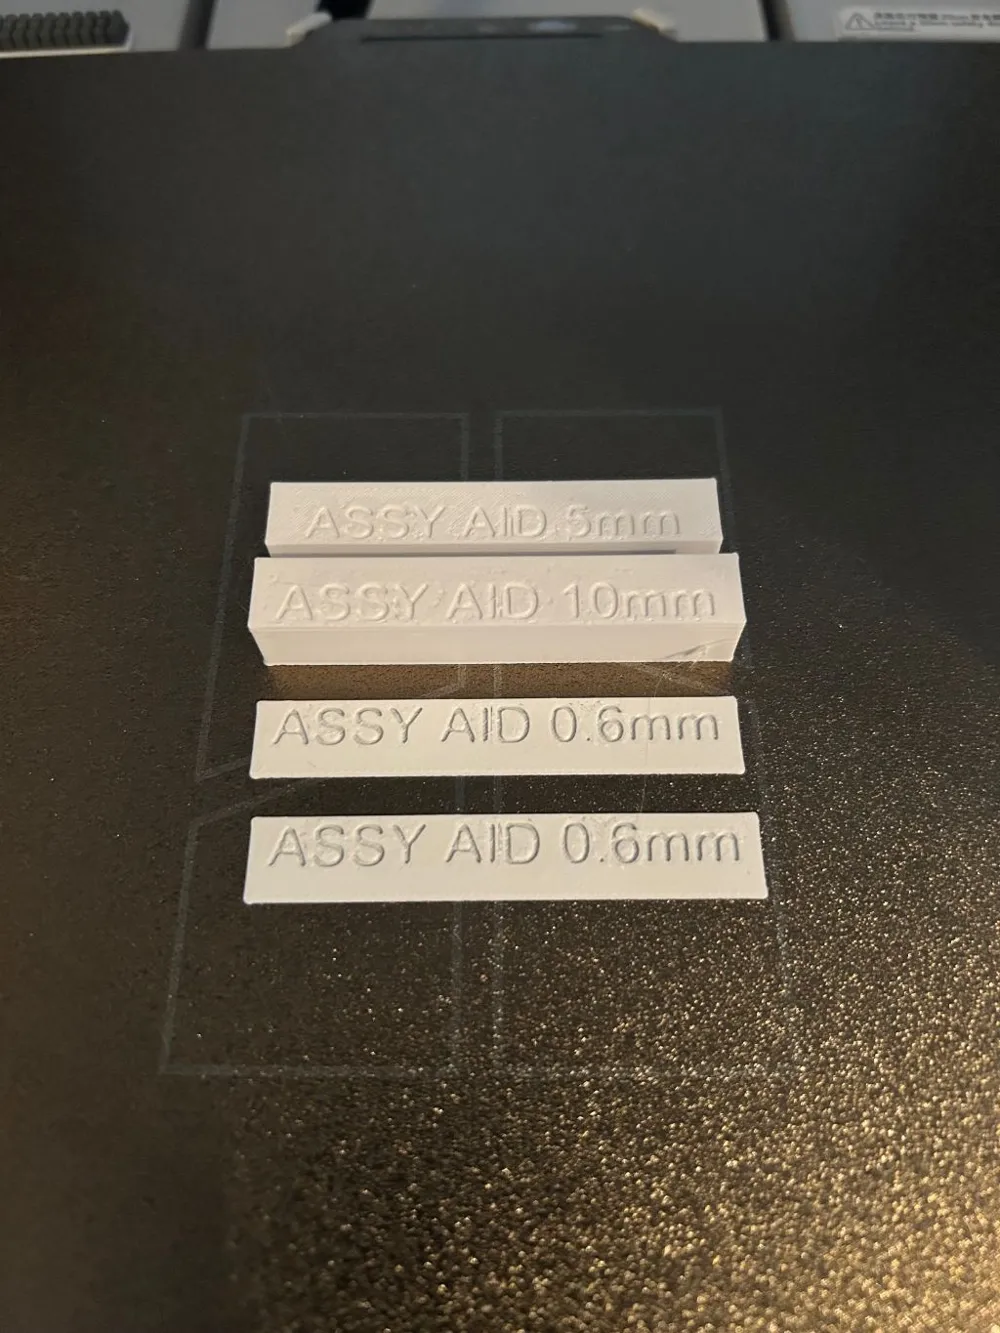
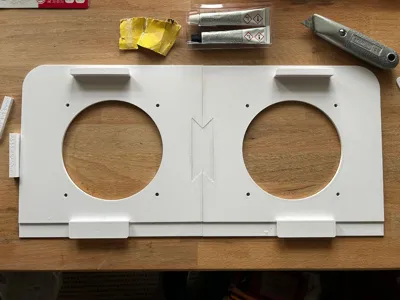
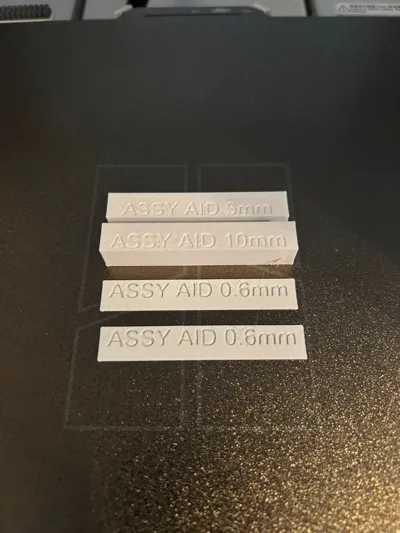
Begin with the assembly of the two base plates. For this, you need the two base plates themselves, the middle piece, and the two 0.6mm assembly aids. Place the middle piece on a flat surface. Now glue the two plates, with the outside (smooth side) facing down, into the dovetail of the middle piece. For the plates, now place a 0.6mm assembly aid at each outer end to ensure it is straight. Let it dry
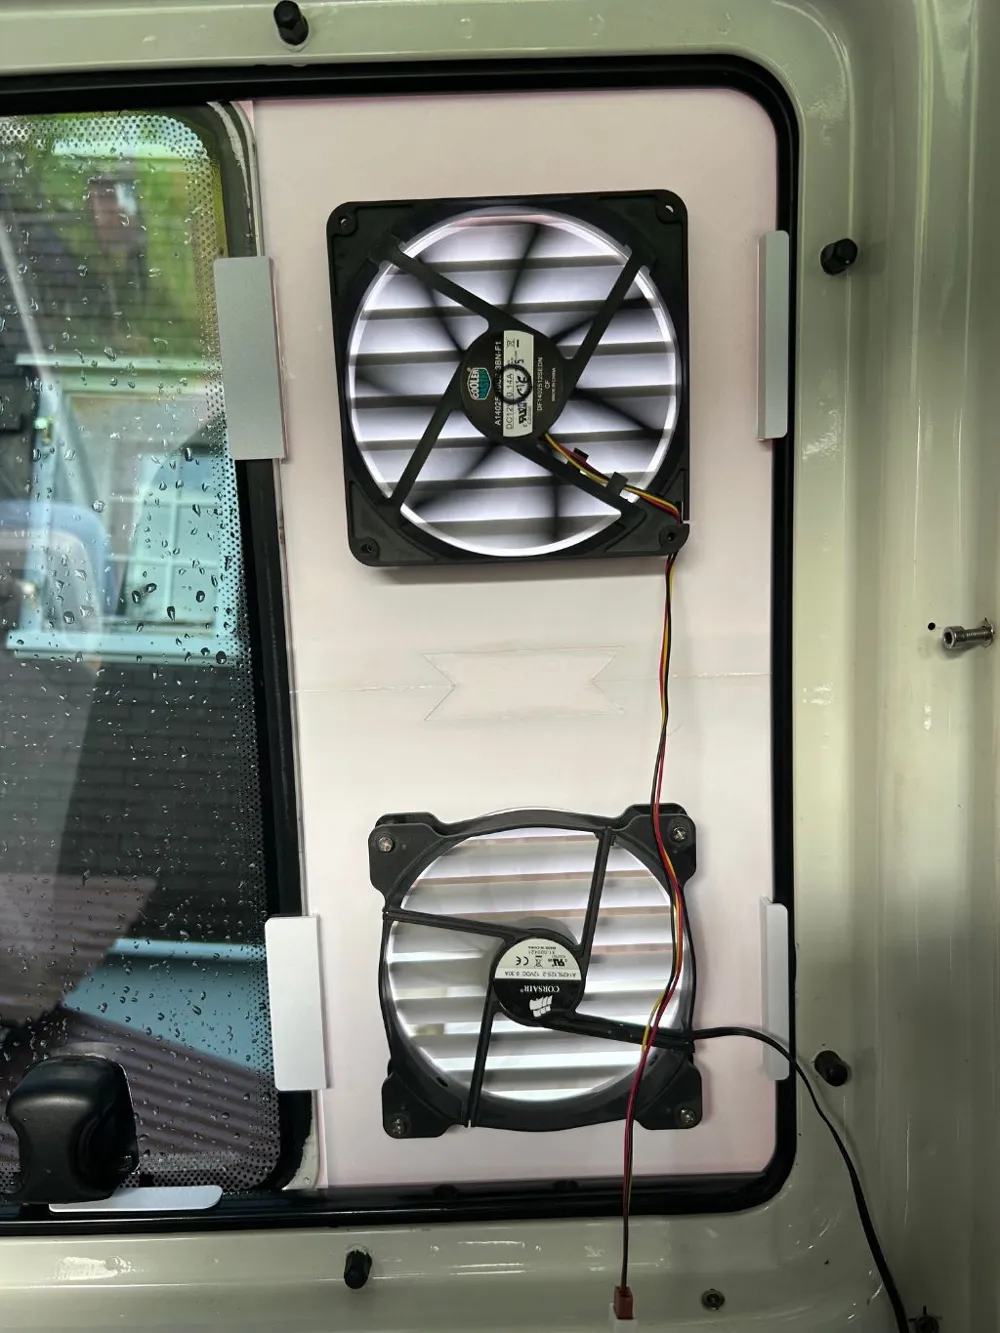
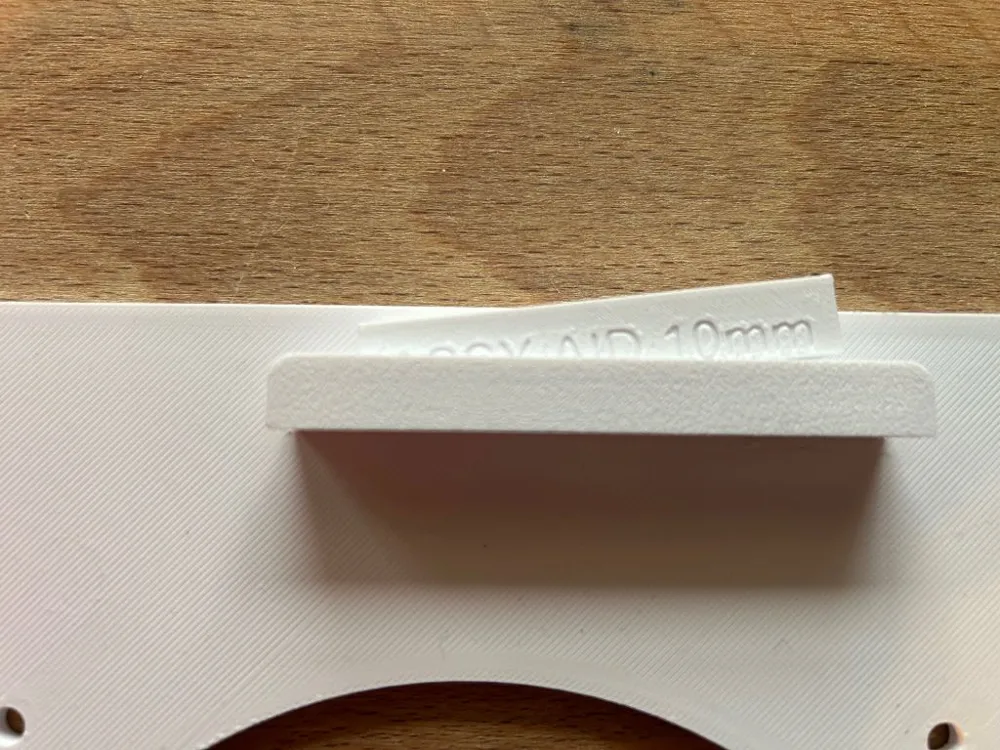
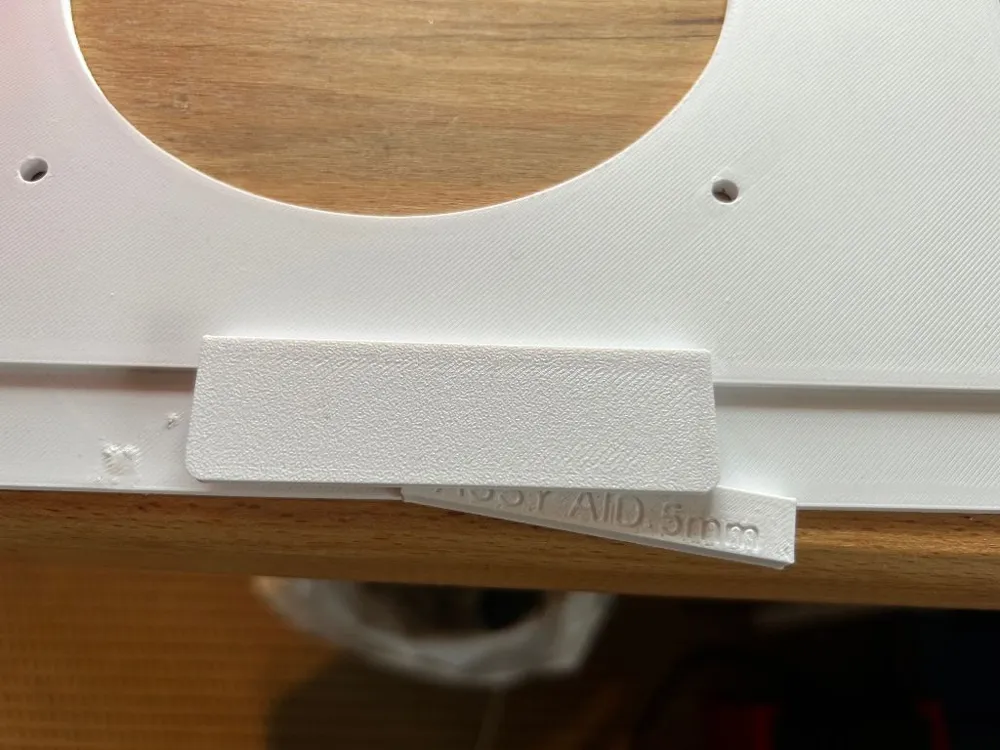
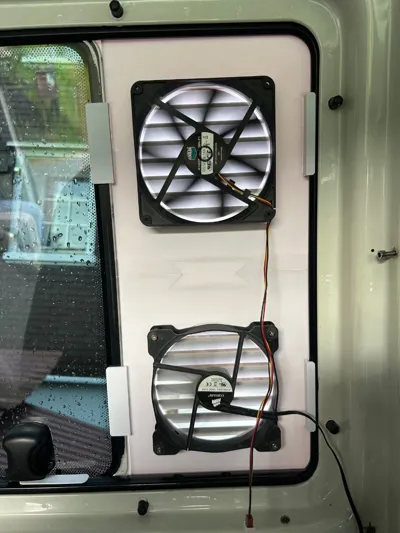
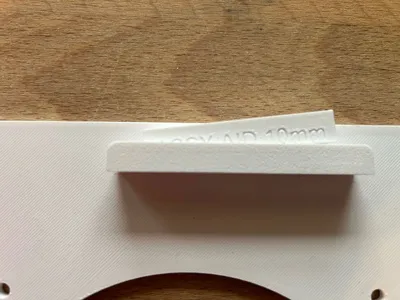
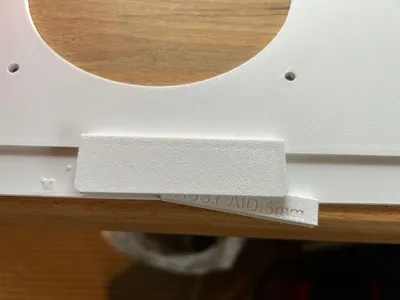
Now glue the four hooks to the (vehicle) inside of the plates. There are cutouts on the plate for this. The rounded sides of the hooks point outwards. The longer part goes on the window side, the shorter part on the window frame side (front, in driving direction). Again, use the assembly aids to ensure it is straight. 5mm for the window side (rear), 10mm for the frame side (front in driving direction). Before gluing, make sure you glue the correct parts the right way around and in the right place. Otherwise, it won't fit in the end; if in doubt, look at my photos. Let it dry before continuing
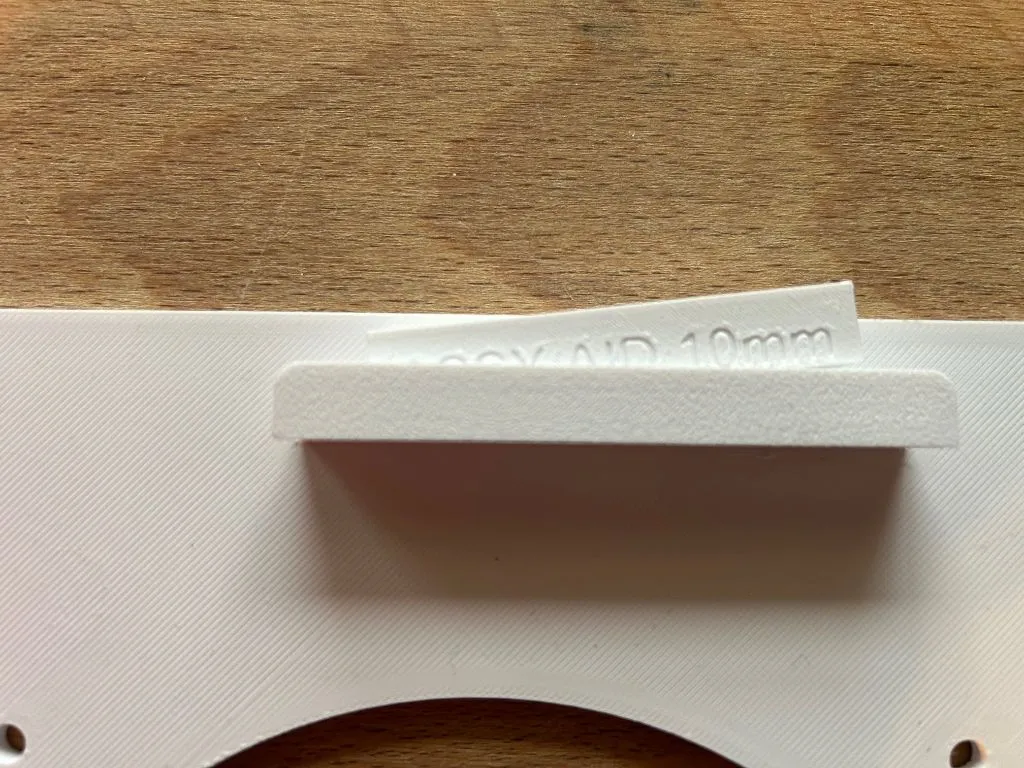
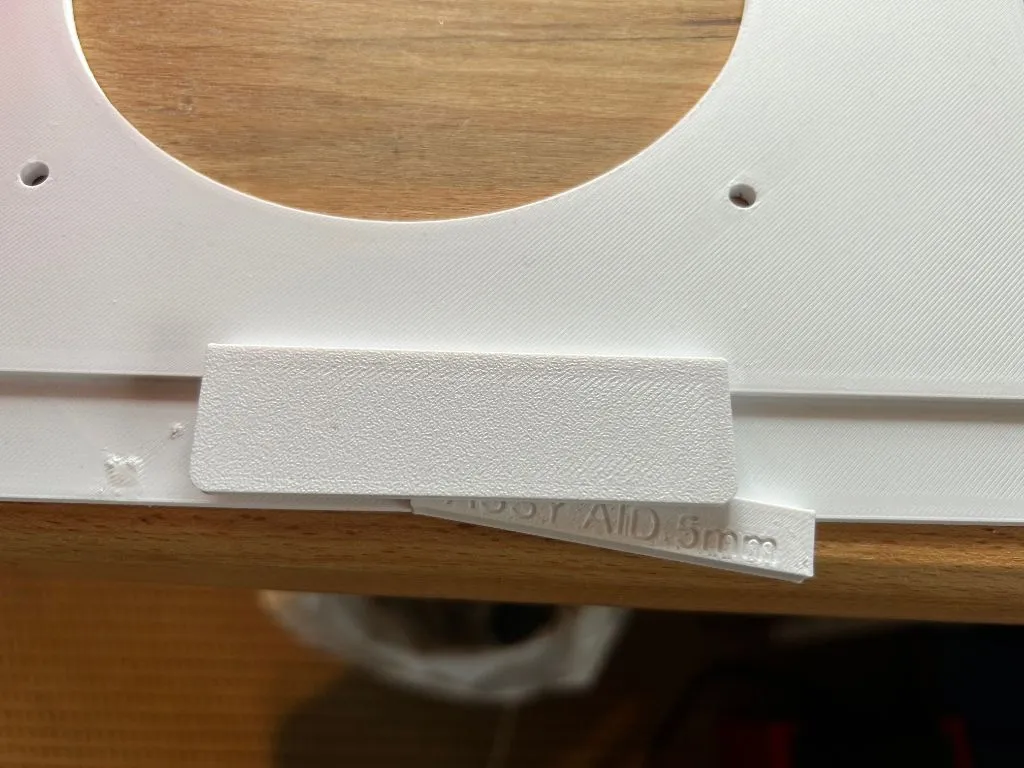
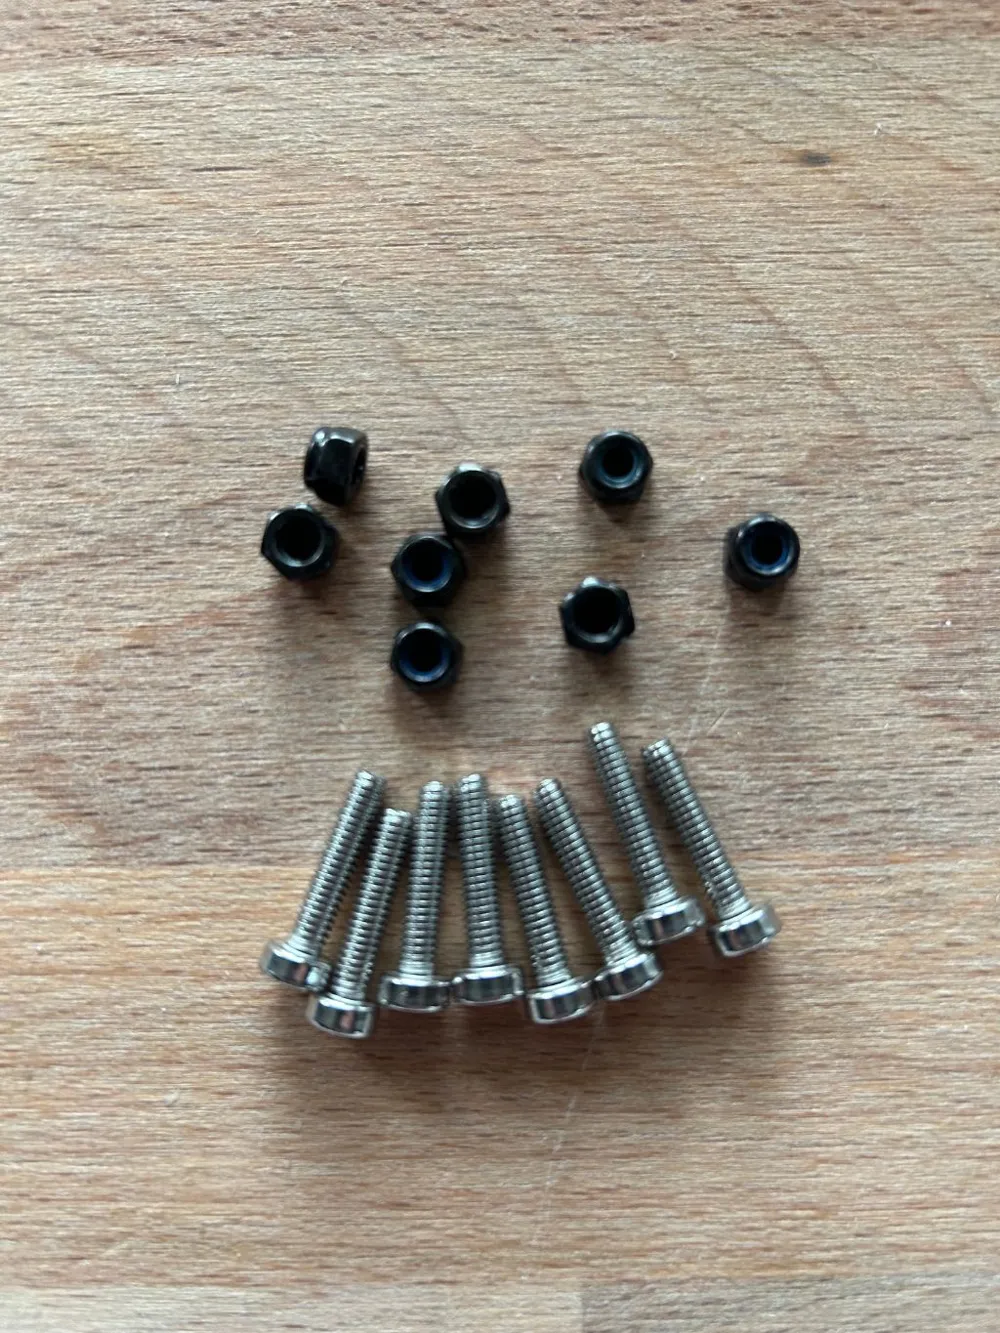
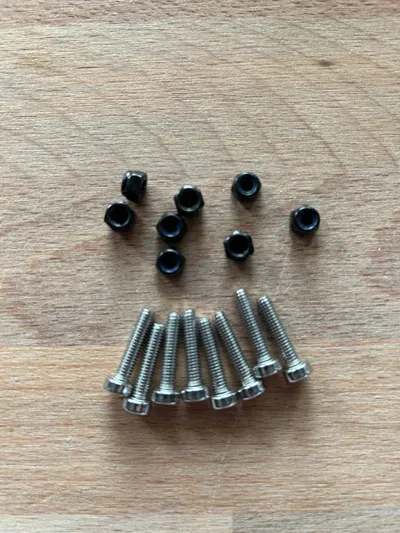
Now mount the louver grilles on the outside of the plates, the fans on the inside of the plates, and screw them together with 4 M4x20mm screws. Do not overtighten. It is not necessary.
Please note, depending on how you mount the louver grilles now, you will build ventilation for the left or right side of the vehicle
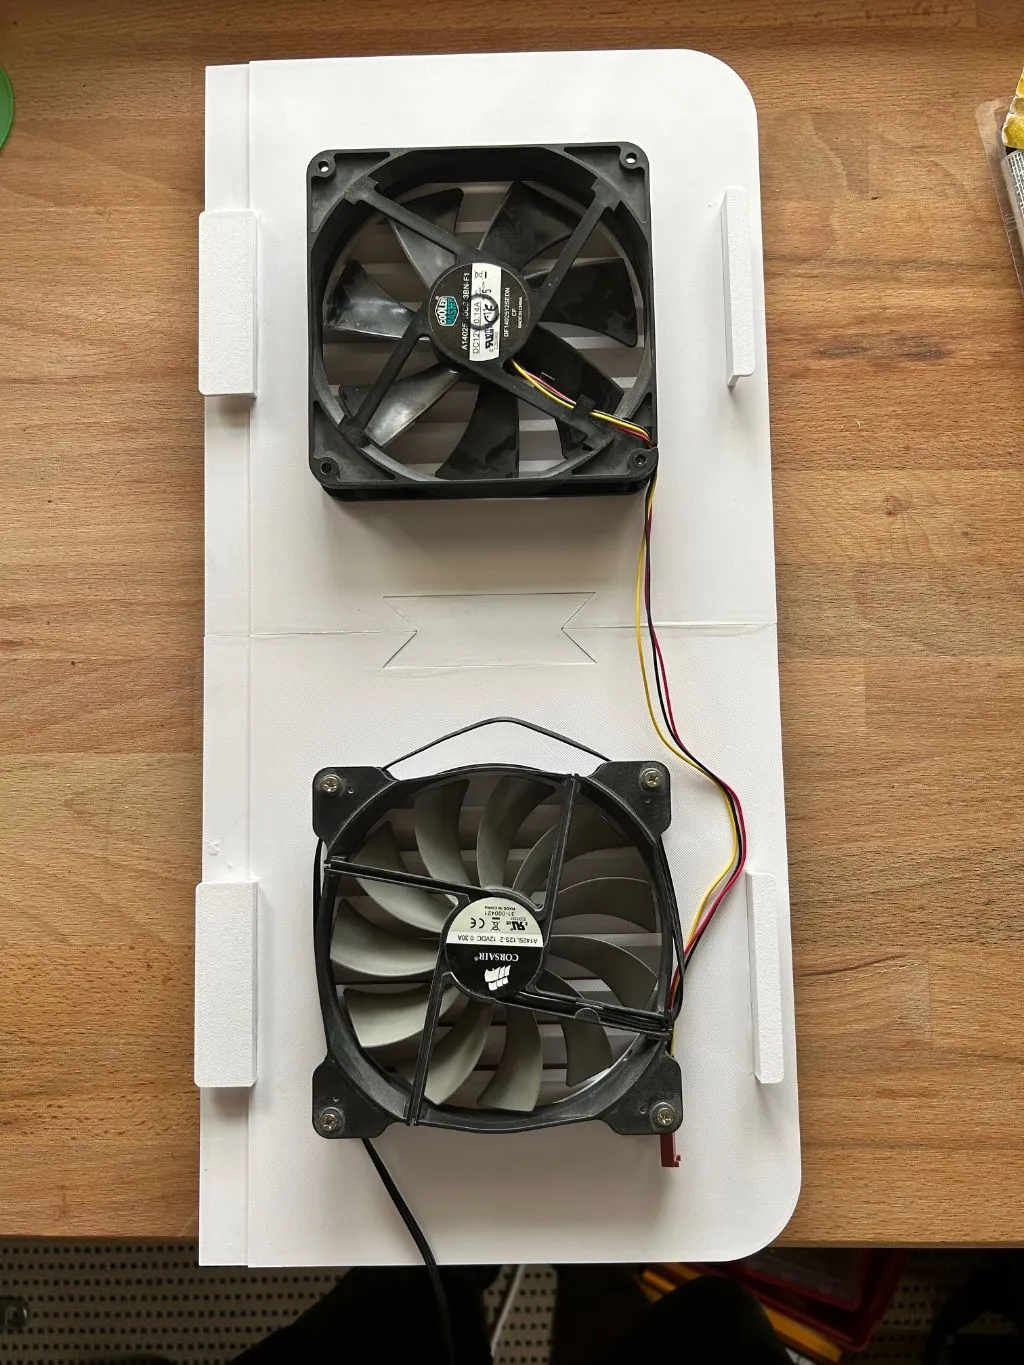
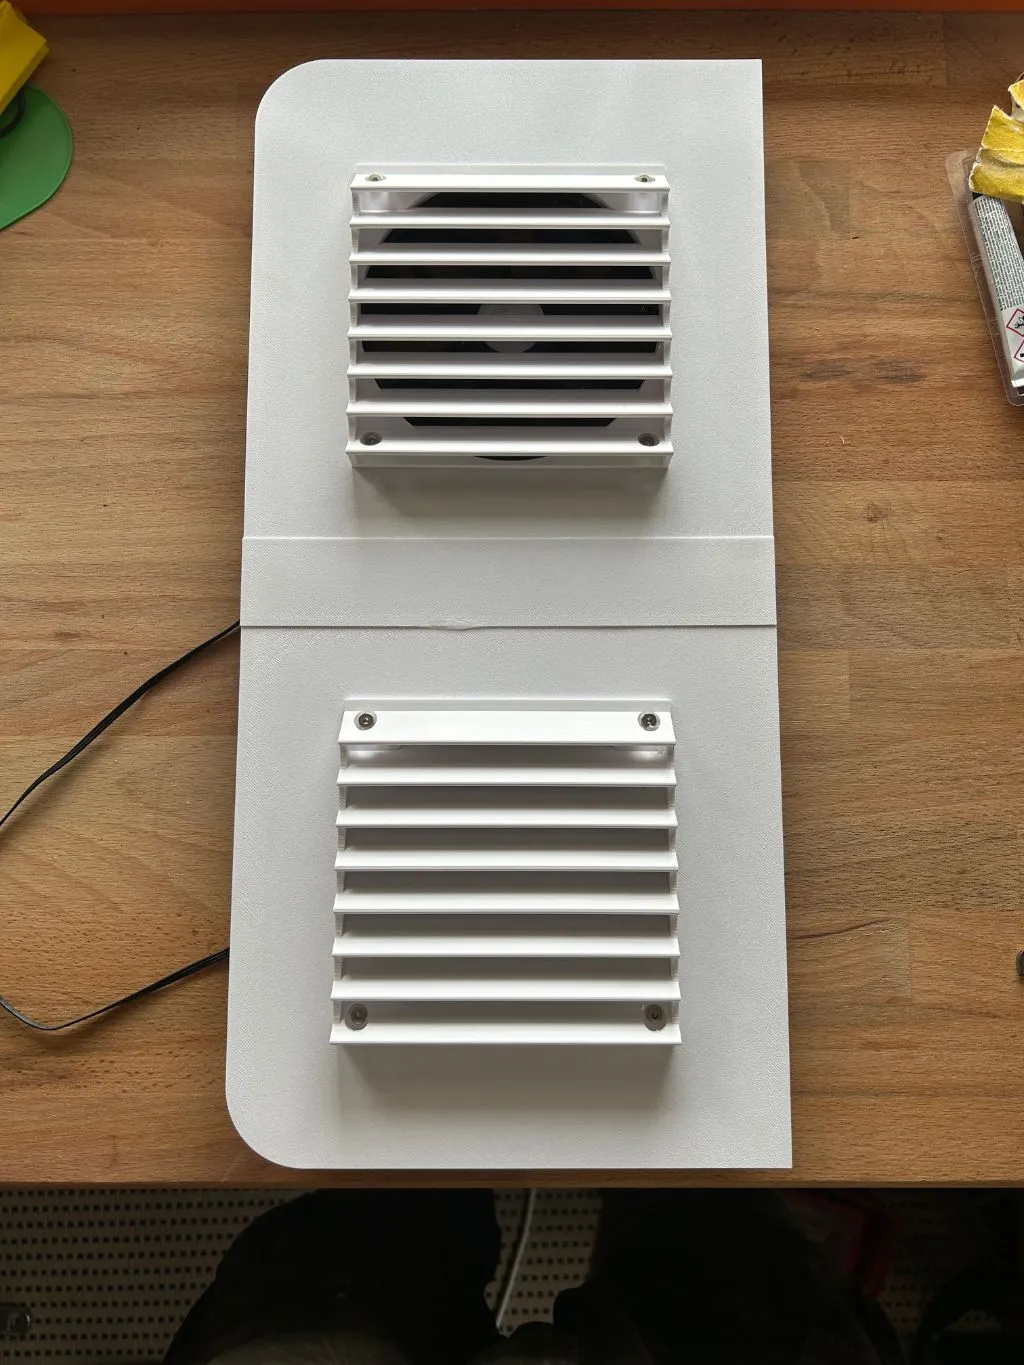
You are now almost ready to start. I will not go into connecting the fans. This is very individual depending on which fans you use and whether with or without control. If you are not familiar with connecting them, there are more than enough instructions on the internet
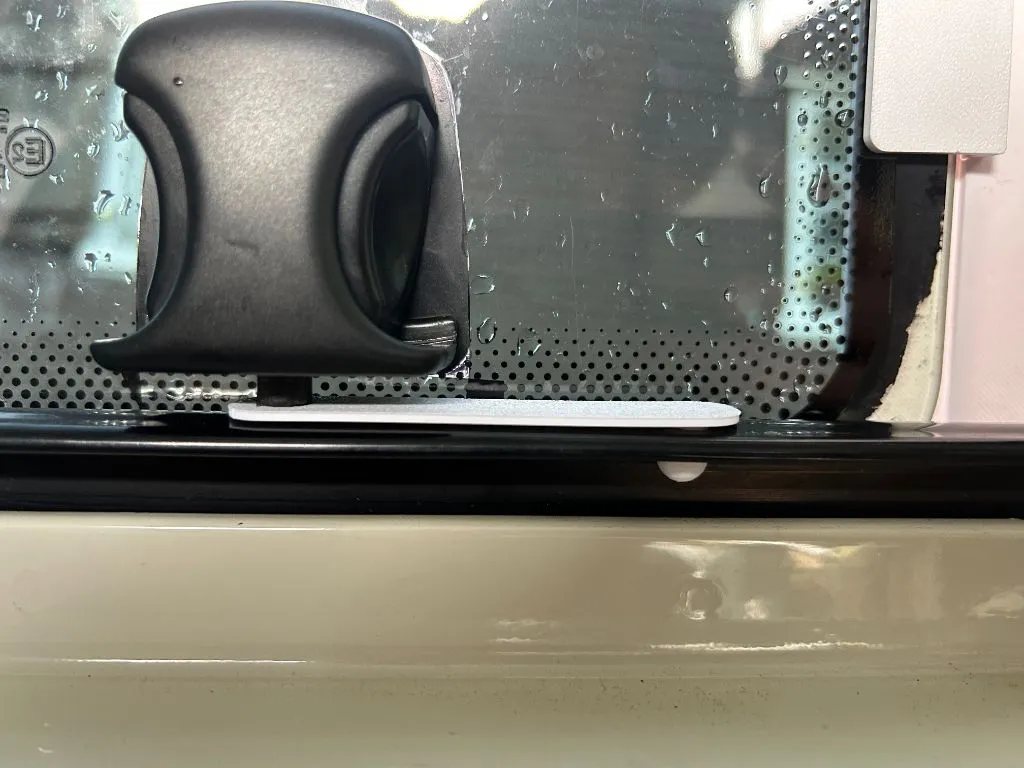
To mount the active ventilation grille, open the T4 window completely. Slide the ventilation grille to the front of the frame. Make sure it is neatly under the rubber seal of the window frame at the front, top, and bottom. Then close the window, between the ventilation grille and the hooks, until it stops, without force. The window can now be secured from the inside with the latch (see photo). I hope the holes for the latch are in the same place on all T4 models. My latch has a 60mm hole spacing. If the latch does not fit for you, please give me feedback and the hole spacing you need. I will then make a custom latch
Modifications and Updates
- If you don't want mosquitoes in the bus, then buy the thin grilles matching the 140mm fan from PC accessories and mount them under the louvers
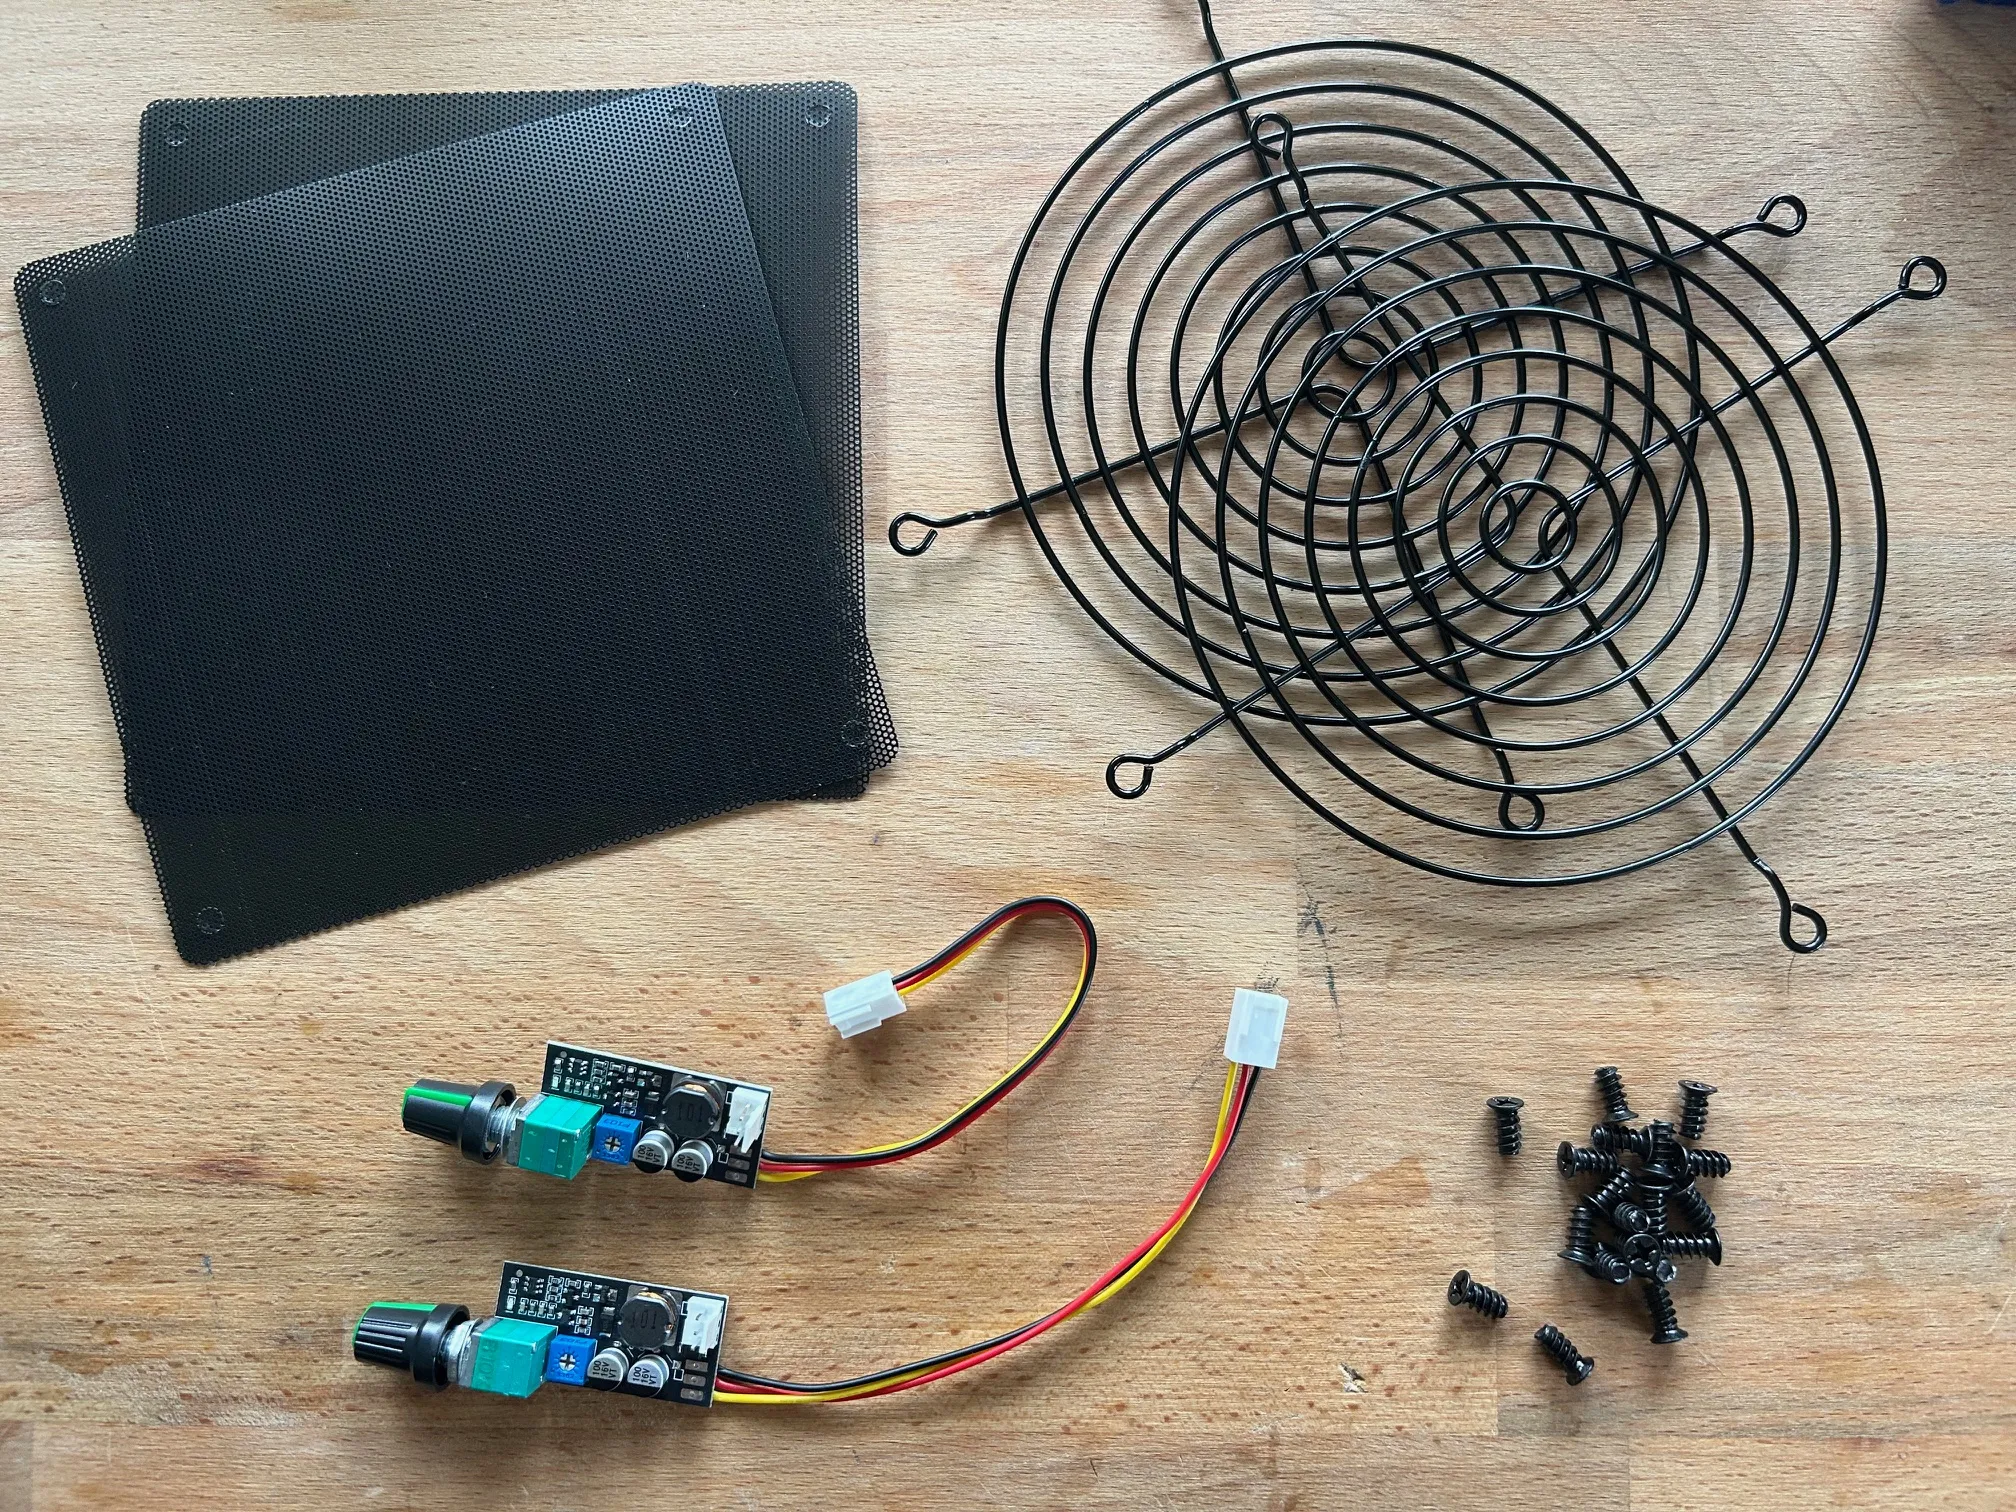
- Especially if you have children, I strongly recommend installing a PC fan grille on the inside of your fans. This prevents finger injuries. It also provides a clean look
- If you want to adjust the fan speed individually, use adjustable fans with 3 or preferably 4 phases. Get a suitable speed controller. These are available almost everywhere for little money
Parts list
- 2 standard 140mm PC fans
- 8 M4x20 screws with nuts
- Cables and connectors for the fans
- Epoxy adhesive
- 2 internal fan grilles with matching screws (Optional)
- 2 fine fan grilles insect protection (Optional)
- Fan controller (Optional)
Optional parts:
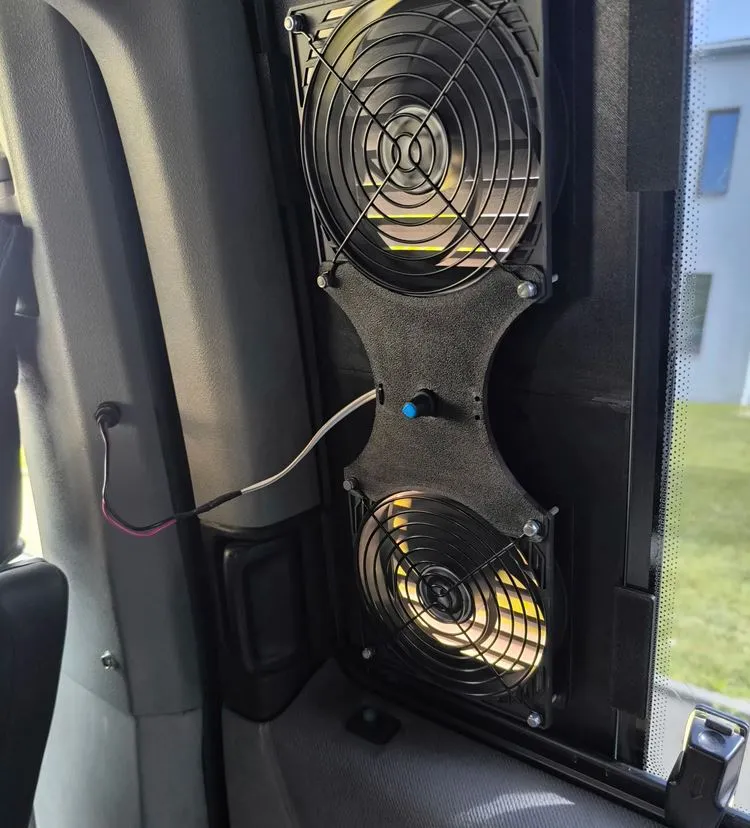
I'd like to point out an upgrade. @moe_pfussel created a slim and beautiful solution for a mini controller. It integrates well into my design. The adjustment is in a good location. It also adds stability to my entire construction. Many thanks to Moe
be sure to check him out
https://makerworld.com/en/models/1621789-fancontroller-mount-for-t4-active-vent#profileId-1712070
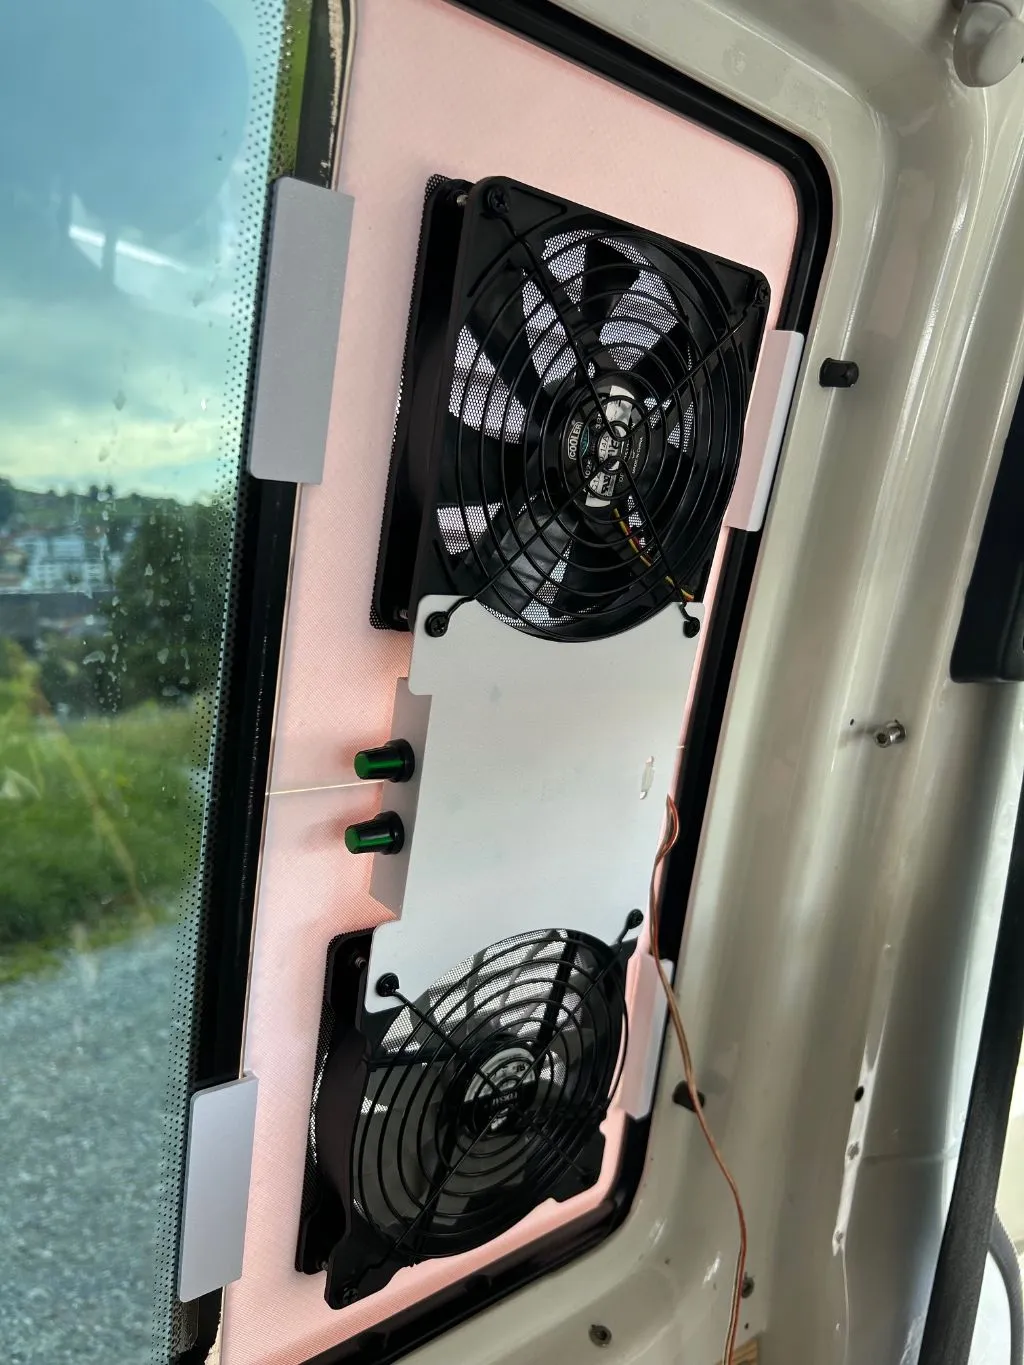
Inspired by Moe, I have now developed my own fan control. My control is for longer modules and for two modules, where the two fans can be controlled separately from each other
https://makerworld.com/en/models/1626259-fan-control-vw-t4-active-ventilation#profileId-1717094
Concluding remark: The ventilation grille does not offer sufficient protection against break-ins. Only use it when you are with your vehicle. Driving with the fan grille has not been tested and may be prohibited in many countries. Therefore, only use your ventilation grille when the vehicle is stationary. Whatever you do - you act at your own risk, I assume no liability or responsibility
Then I wish you a pleasant breeze at night on your next camping trip
License

You shall not share, sub-license, sell, rent, host, transfer, or distribute in any way the digital or 3D printed versions of this object, nor any other derivative work of this object in its digital or physical format (including - but not limited to - remixes of this object, and hosting on other digital platforms). The objects may not be used without permission in any way whatsoever in which you charge money, or collect fees.


Comment & Rating (42)