

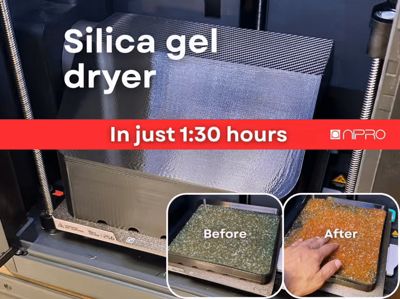
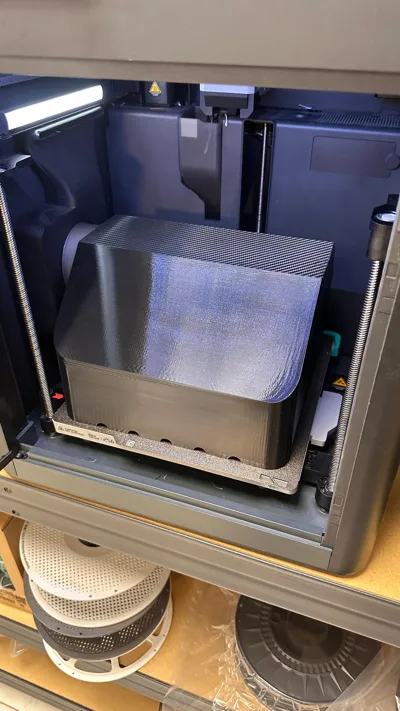
Silica gel dryer | In just 1:30 hours, FastFast
Print Profile(6)


Description
UPDATE (02/17/2026):
Thanks to the contribution from @VaGosPtr We know that it works great with the Bambulab A1. Set the bed to 70°C and let it run for 2 hours
UPDATE (09/10/2025):
Thanks to the recommendations from @chdeimos I have redesigned the dome with several structural ribs that will provide rigidity during printing. I recommend printing this dome instead of the original one. I also recommend printing the grid thicker to prevent it from breaking when removing it from the bed
UPDATE (08/26/2025):
Some of you have told me that the grid is too fragile and breaks. I have published a print profile for the reinforced grid at 0.6mm height instead of 0.4mm and added two crossed ribs to increase its rigidity. Please let me know how this update worked for you. Thanks
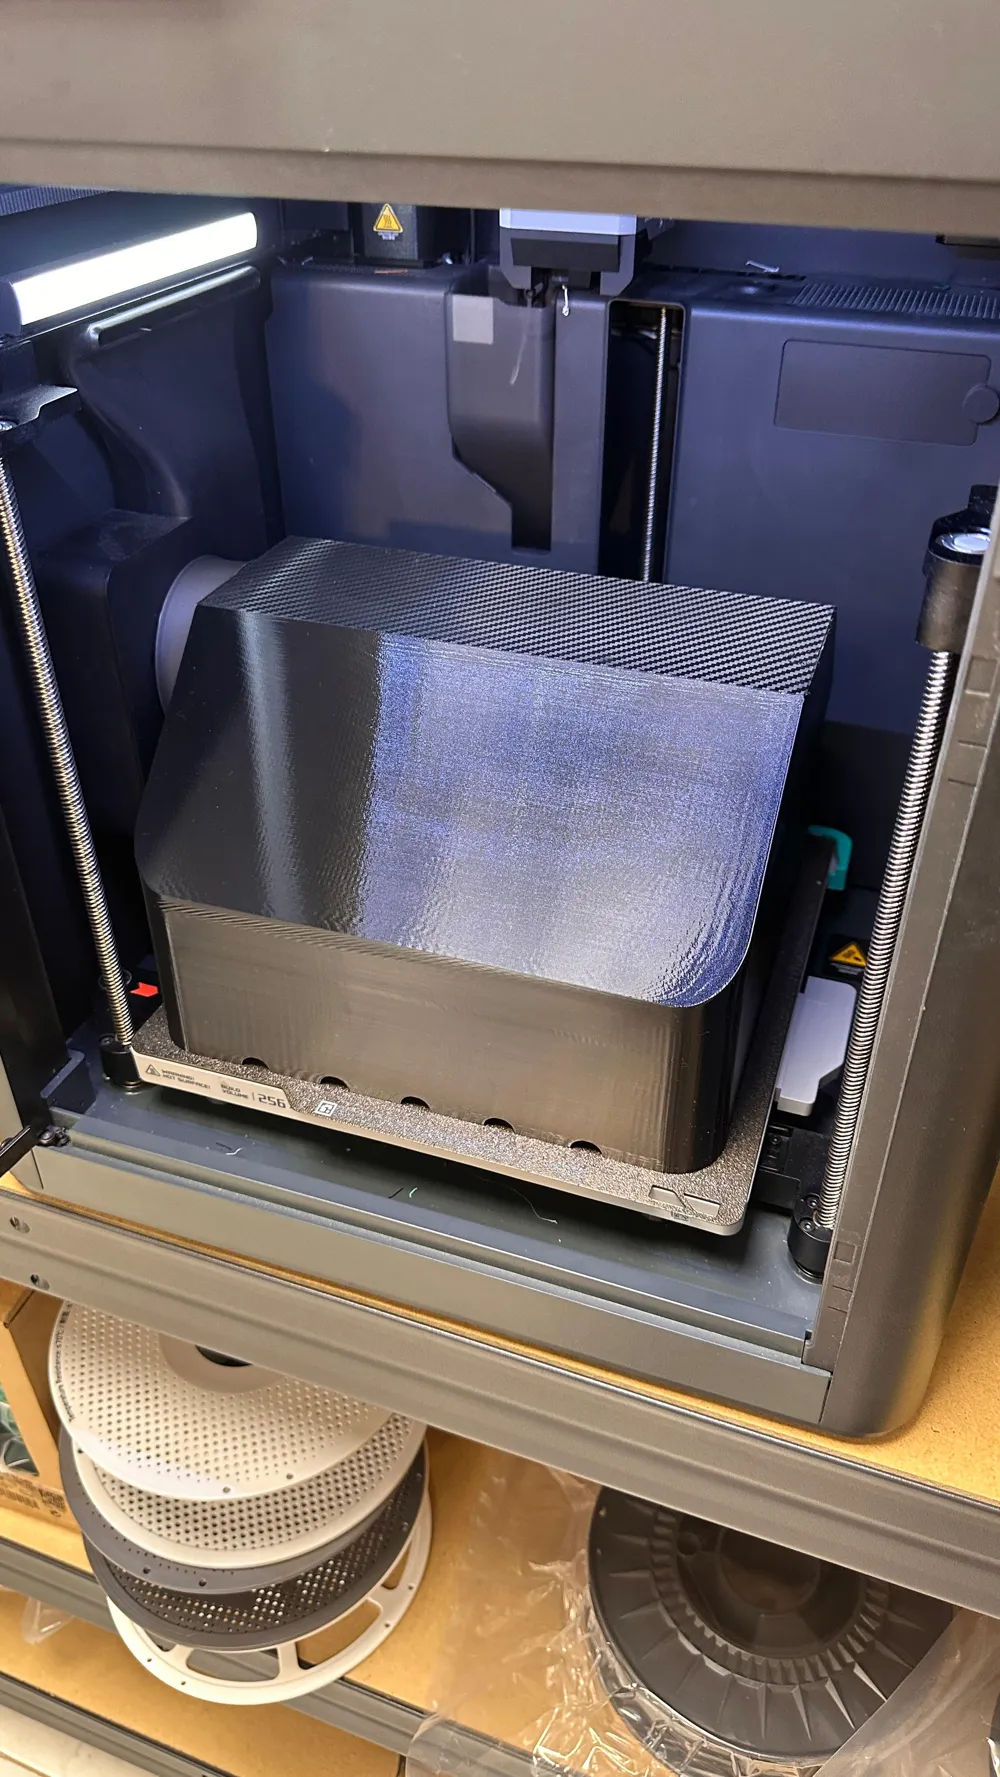
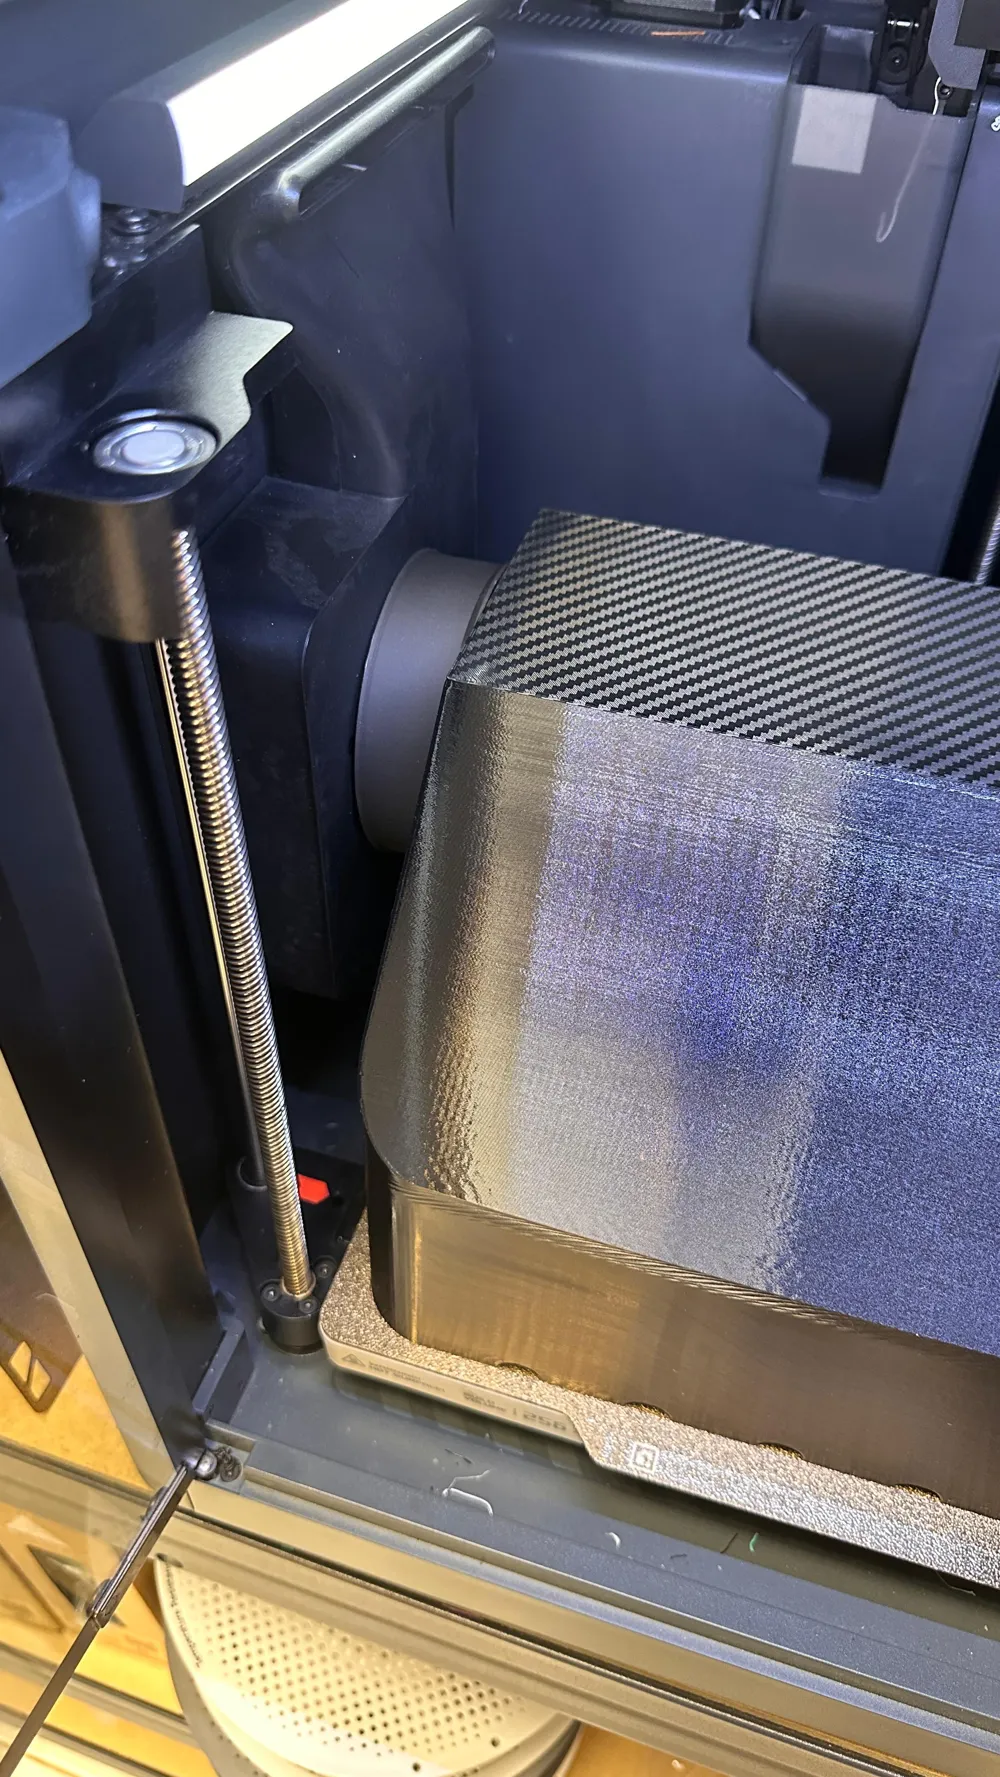
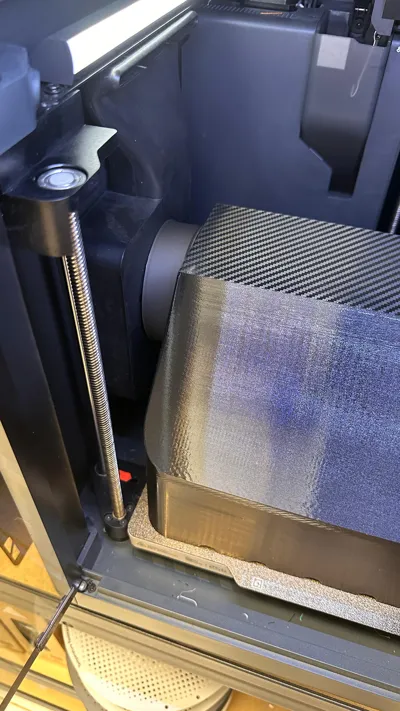
I was looking for a way to dry silica gel beads and couldn't find a definitive design. I ventured to design this magnificent oven-shaped dome that allows for a controlled ventilation flow while heating the bed to 90 degrees
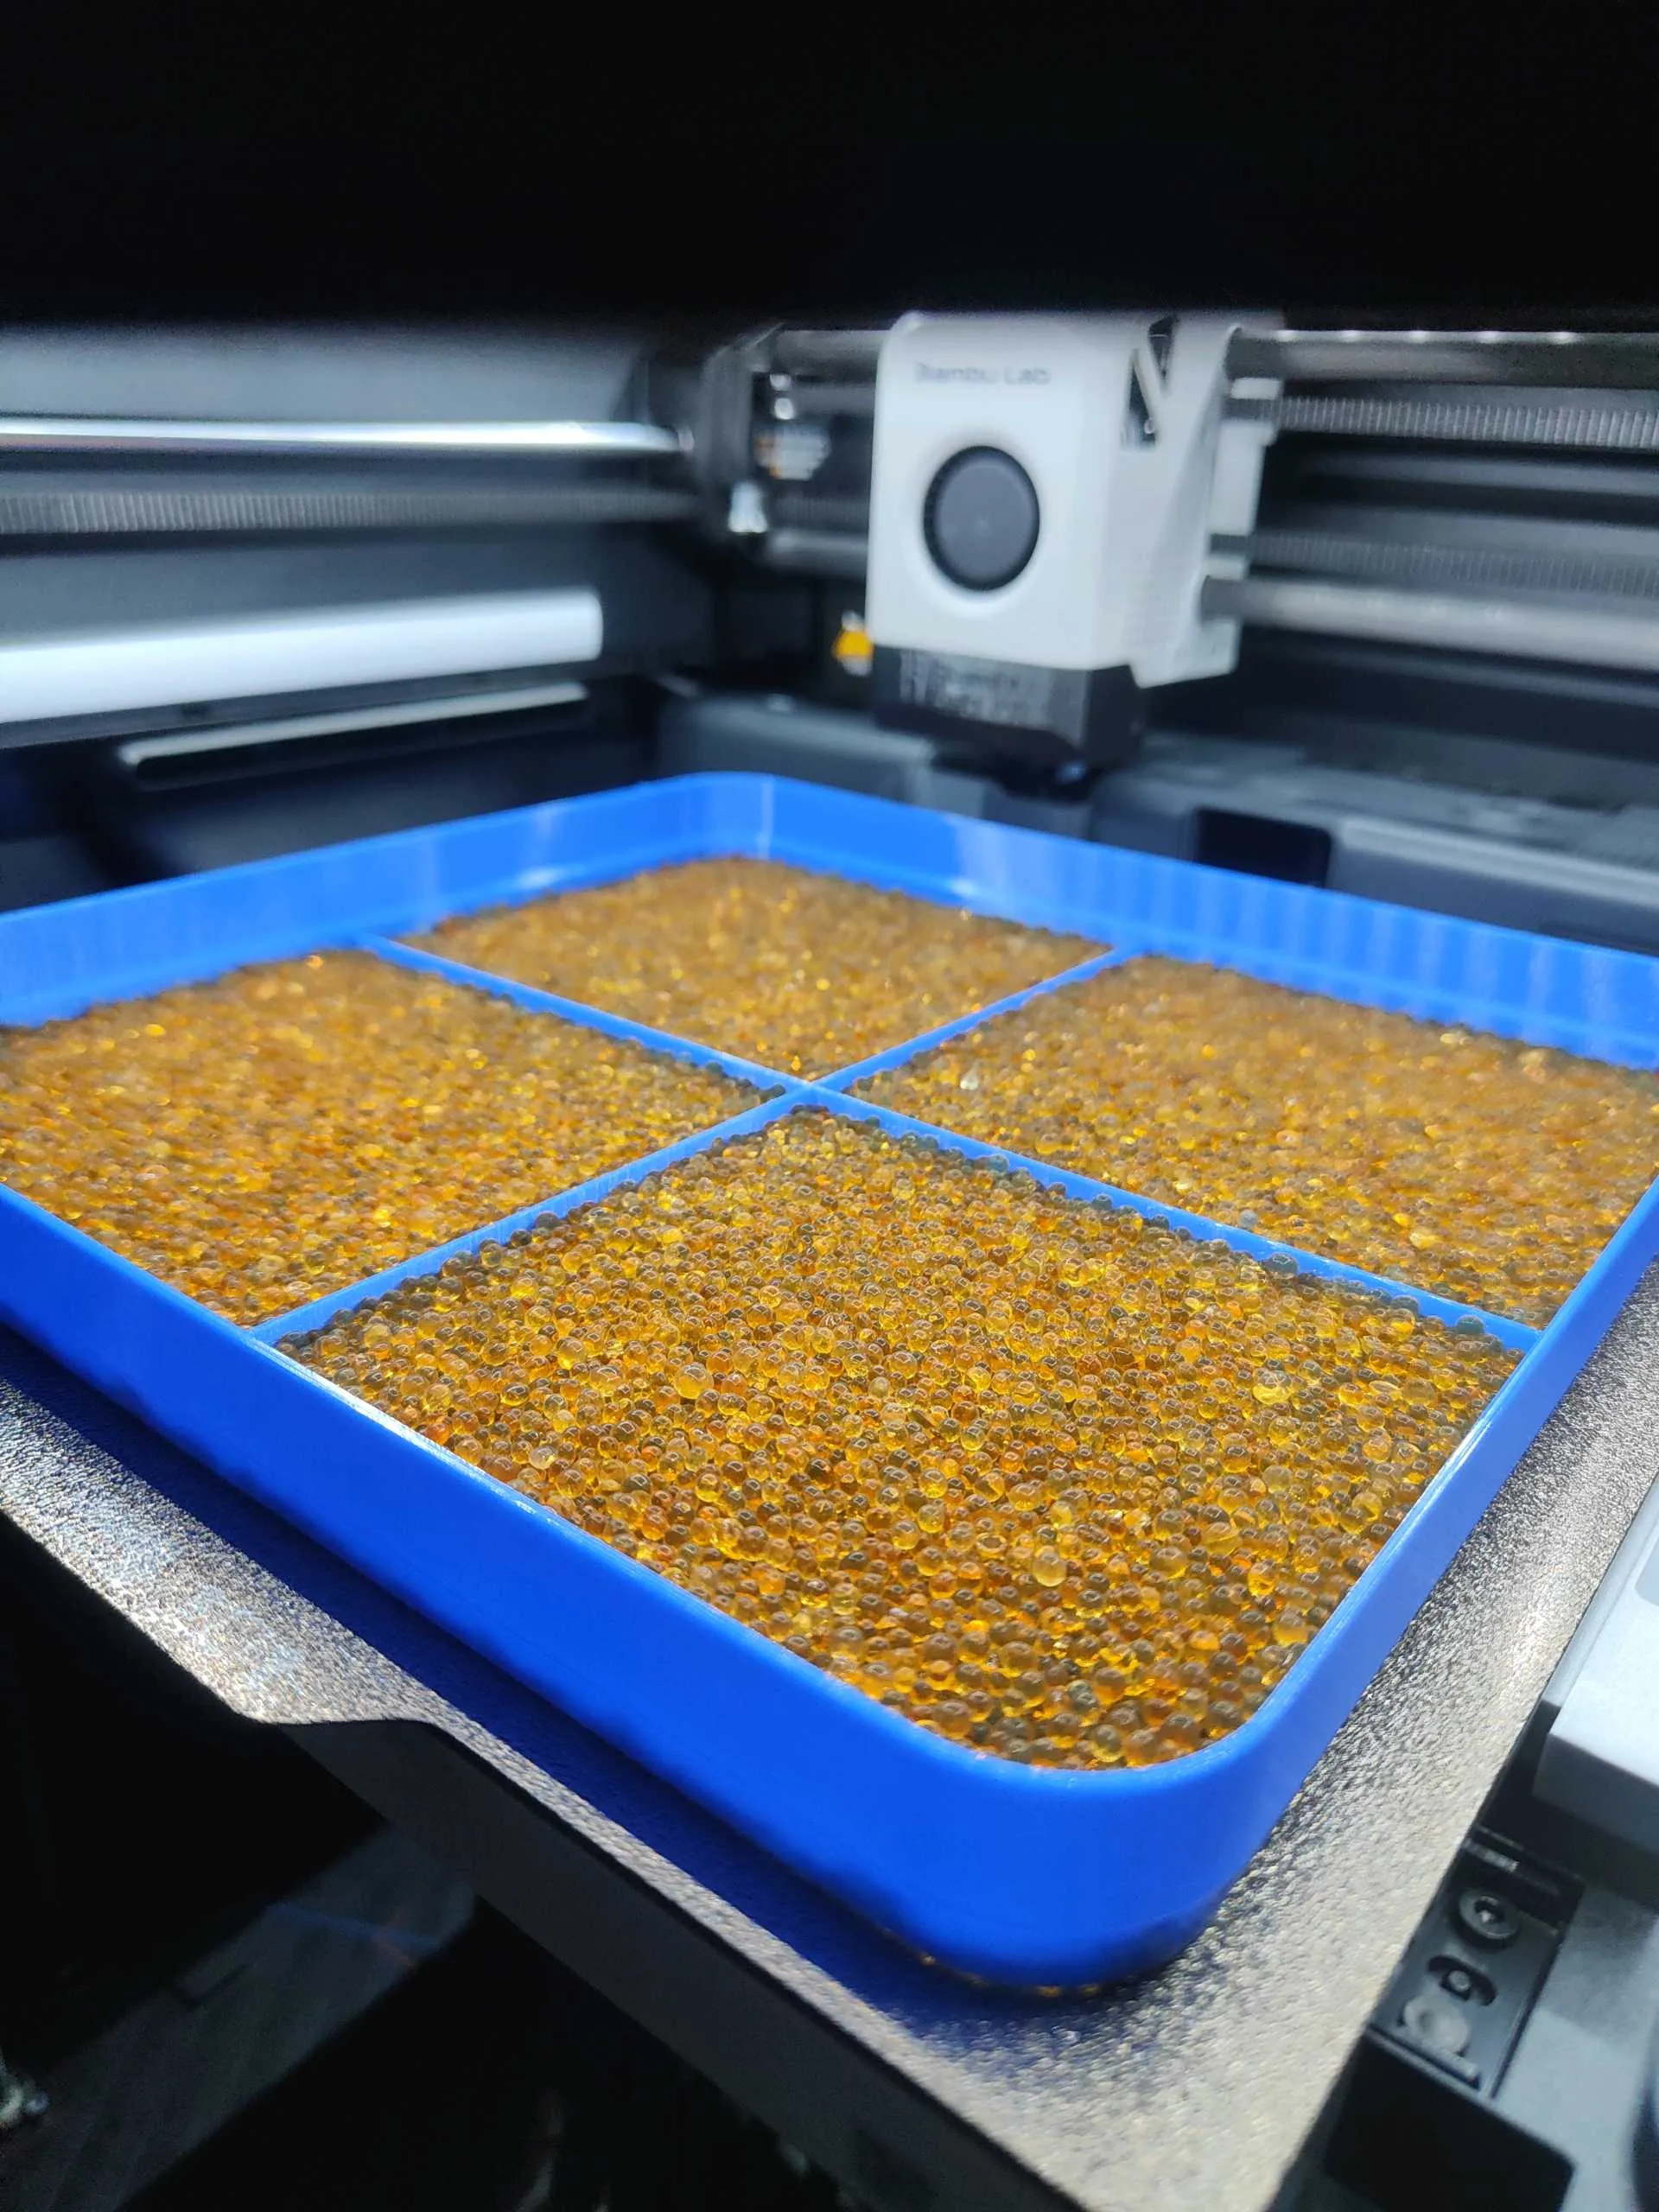
In just 1 hour and 30 minutes, your silica gel will be completely dry
KEY PRINTING POINTS:
It is ESSENTIAL to print it in PETG. Or any other material that does not deform with heat. I have tried with PLA, and after one use, it becomes completely deformed. I printed it with PETG, and it works great. It has been reported to me that when printing it with ABS, it deformed due to thin walls. But BE CAREFUL, printing in ABS is complicated and can delaminate. (thanks @3D_AB for the report)
You will see that it is not perfectly square. I have done this to maximize the printing surface
You will notice that the elbow fitting for the hot air extraction inlet is slightly cut. I don't know if it's an issue with my P1S, but when placing a straight elbow, it was separated by 5 mm at the bottom and didn't fit well. Since the elbow will not heat up, it can be printed in PLA or whatever you prefer
I have tried to minimize material consumption, so depending on the print speed you use, the dome might not be perfect, but it is functional. If it doesn't work well for you, I can add more thickness. I don't think it will be necessary, but please give me feedback
USAGE RECOMMENDATIONS:
This is an applicable system that allows for two or three trays. I recommend that the filling height does not exceed 1 cm. I have included a central crossbar to prevent the tray from deforming towards the center
The process is as follows:
- You must turn on the Auxiliary fan to 100%
- Heat the bed to 90 degrees
- Lower the bed completely
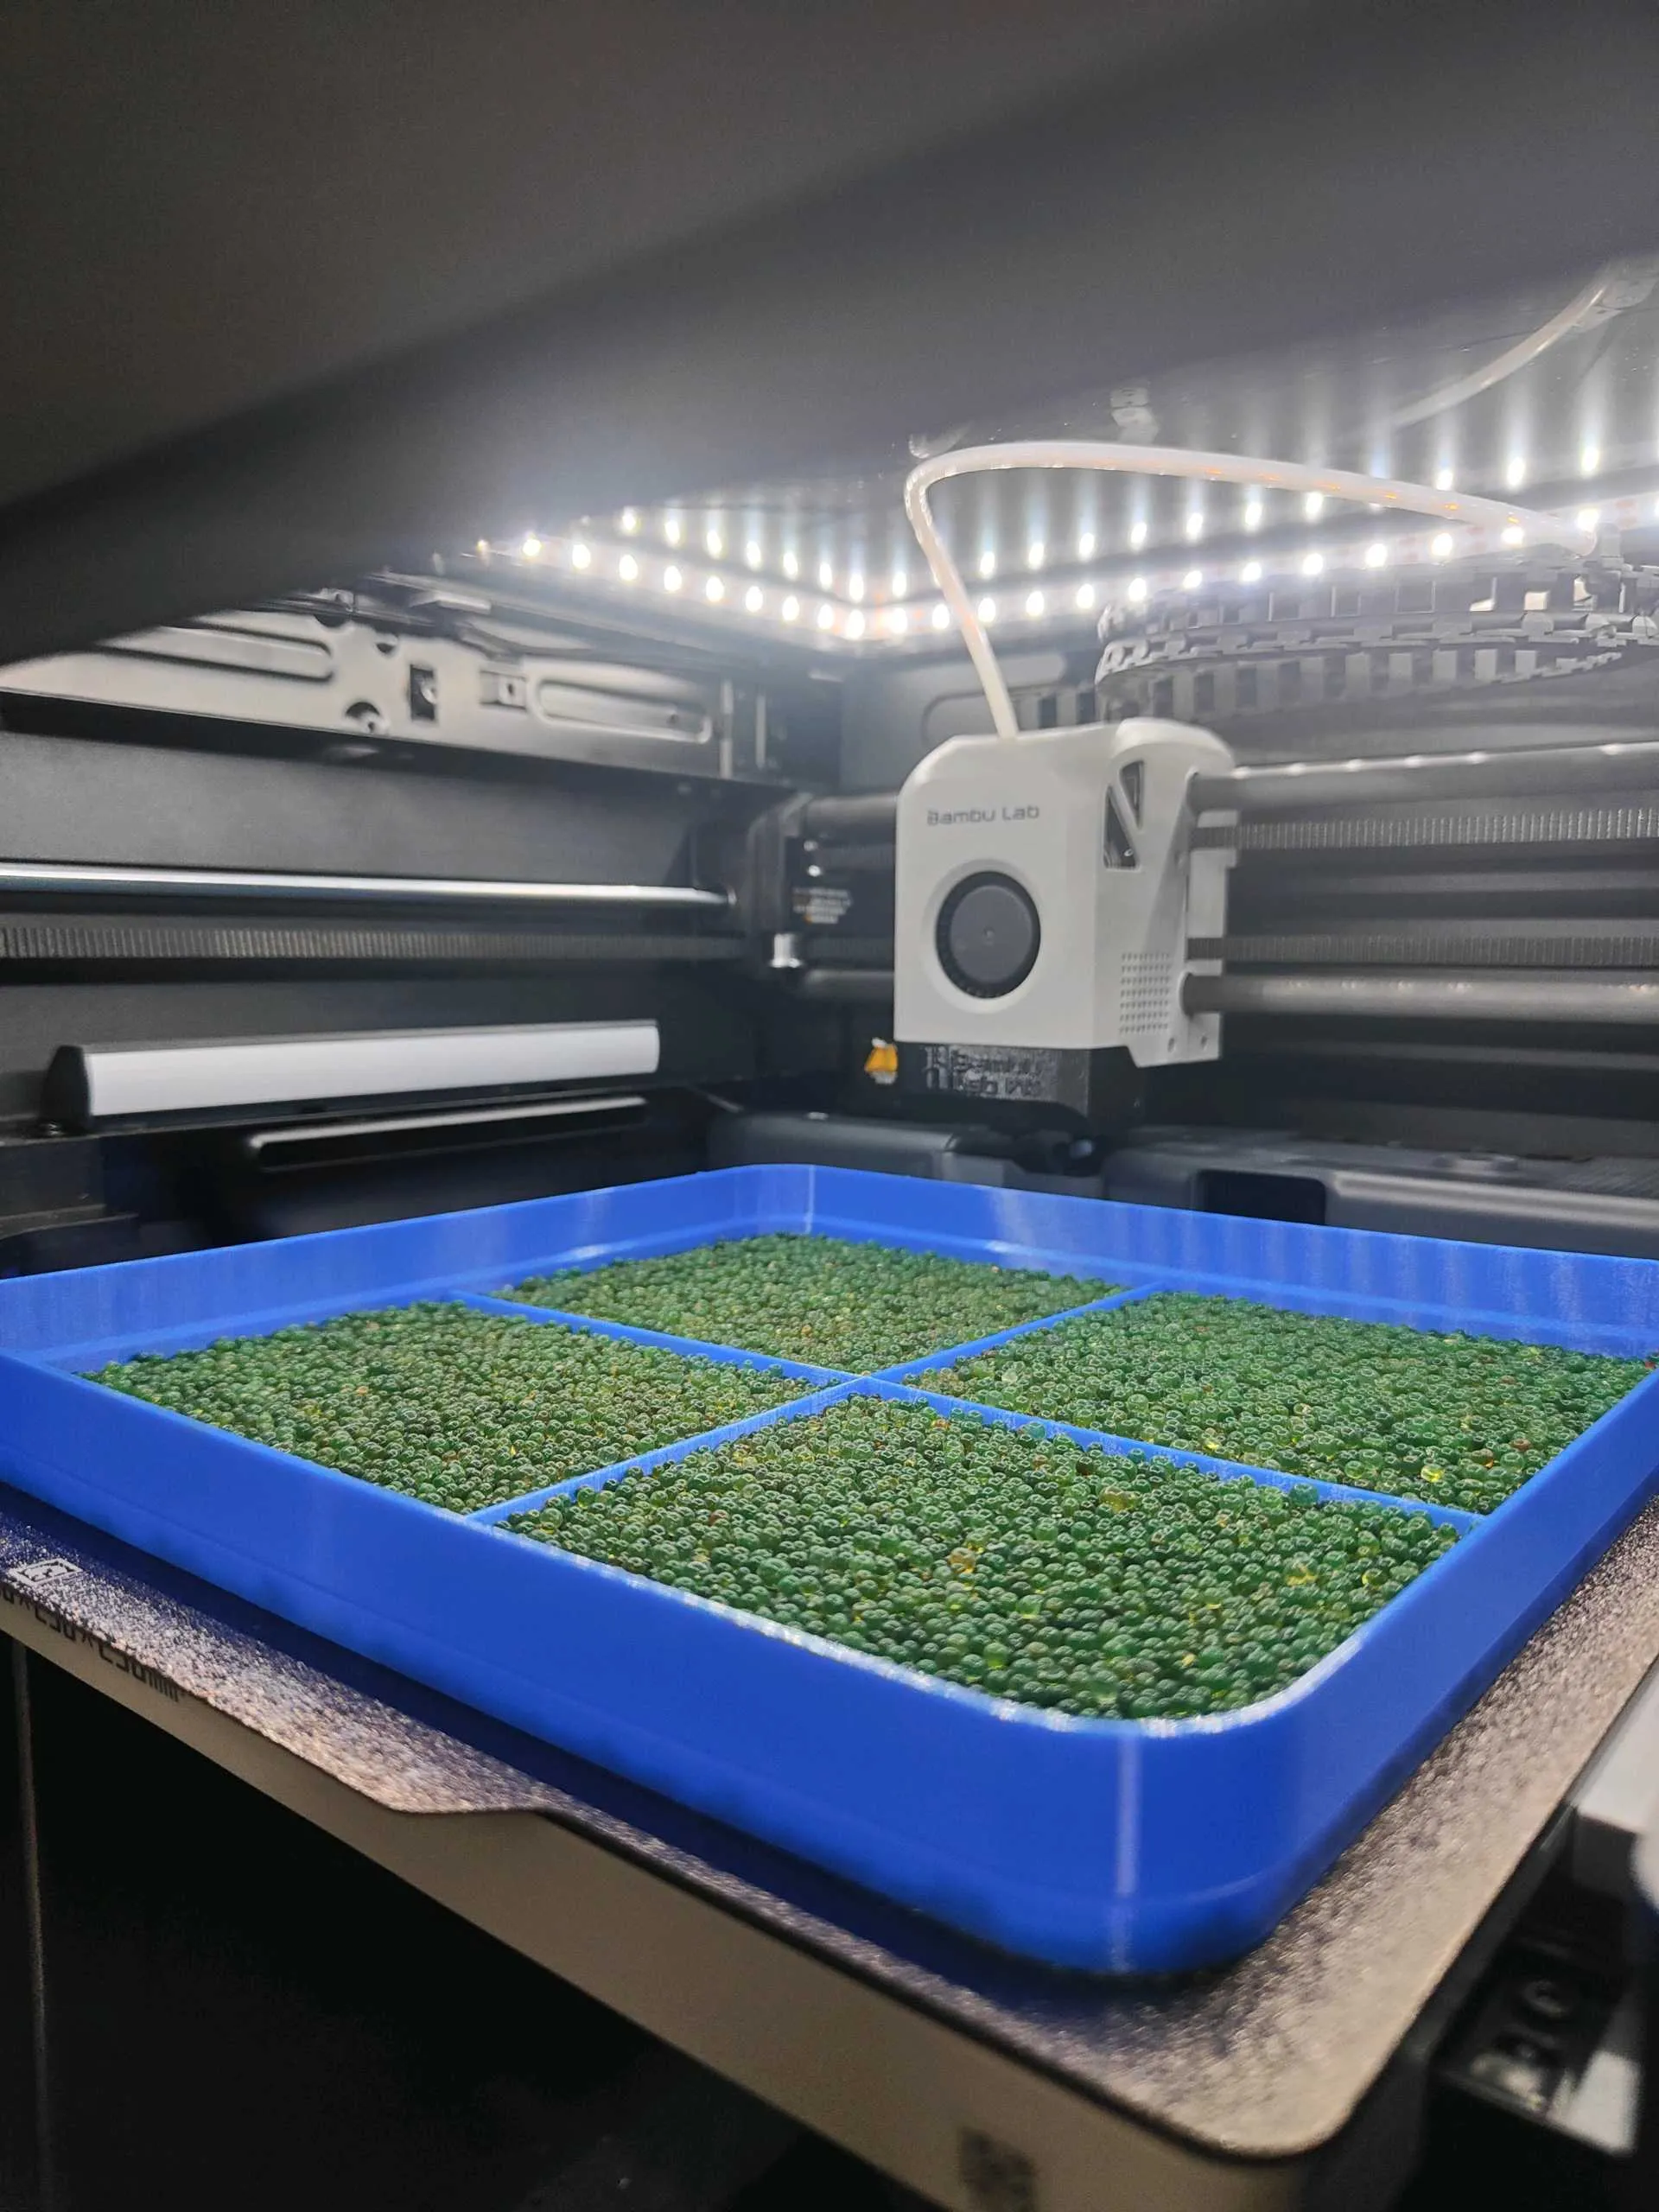
- Place a spacer, the crossbar, and the tray with the silica gel well distributed
- Optionally, place another spacer with more silica gel trays
- Place the cover and raise the bed until it is perfectly centered with the ventilation inlet
Why do I think my design is the best on MakerWorld?
With the air inlets in the lower part of the dome, we will control the air intake, forcing it to pass through the plate. With the crossbar, we will uniformly distribute the airflow. With the corners of the dome, we create a controlled flow of hot air
I like to constantly improve my designs. If you want to suggest improvements, I would love to hear from you
If you feel the same, please help me with a BOOST, comments, and likes
Boost Me (for free)
Performance guarantee (by @monkey_d_lex)
Layer temperature: 90°C
Aux fan: 90%
Chamber fan: 40%
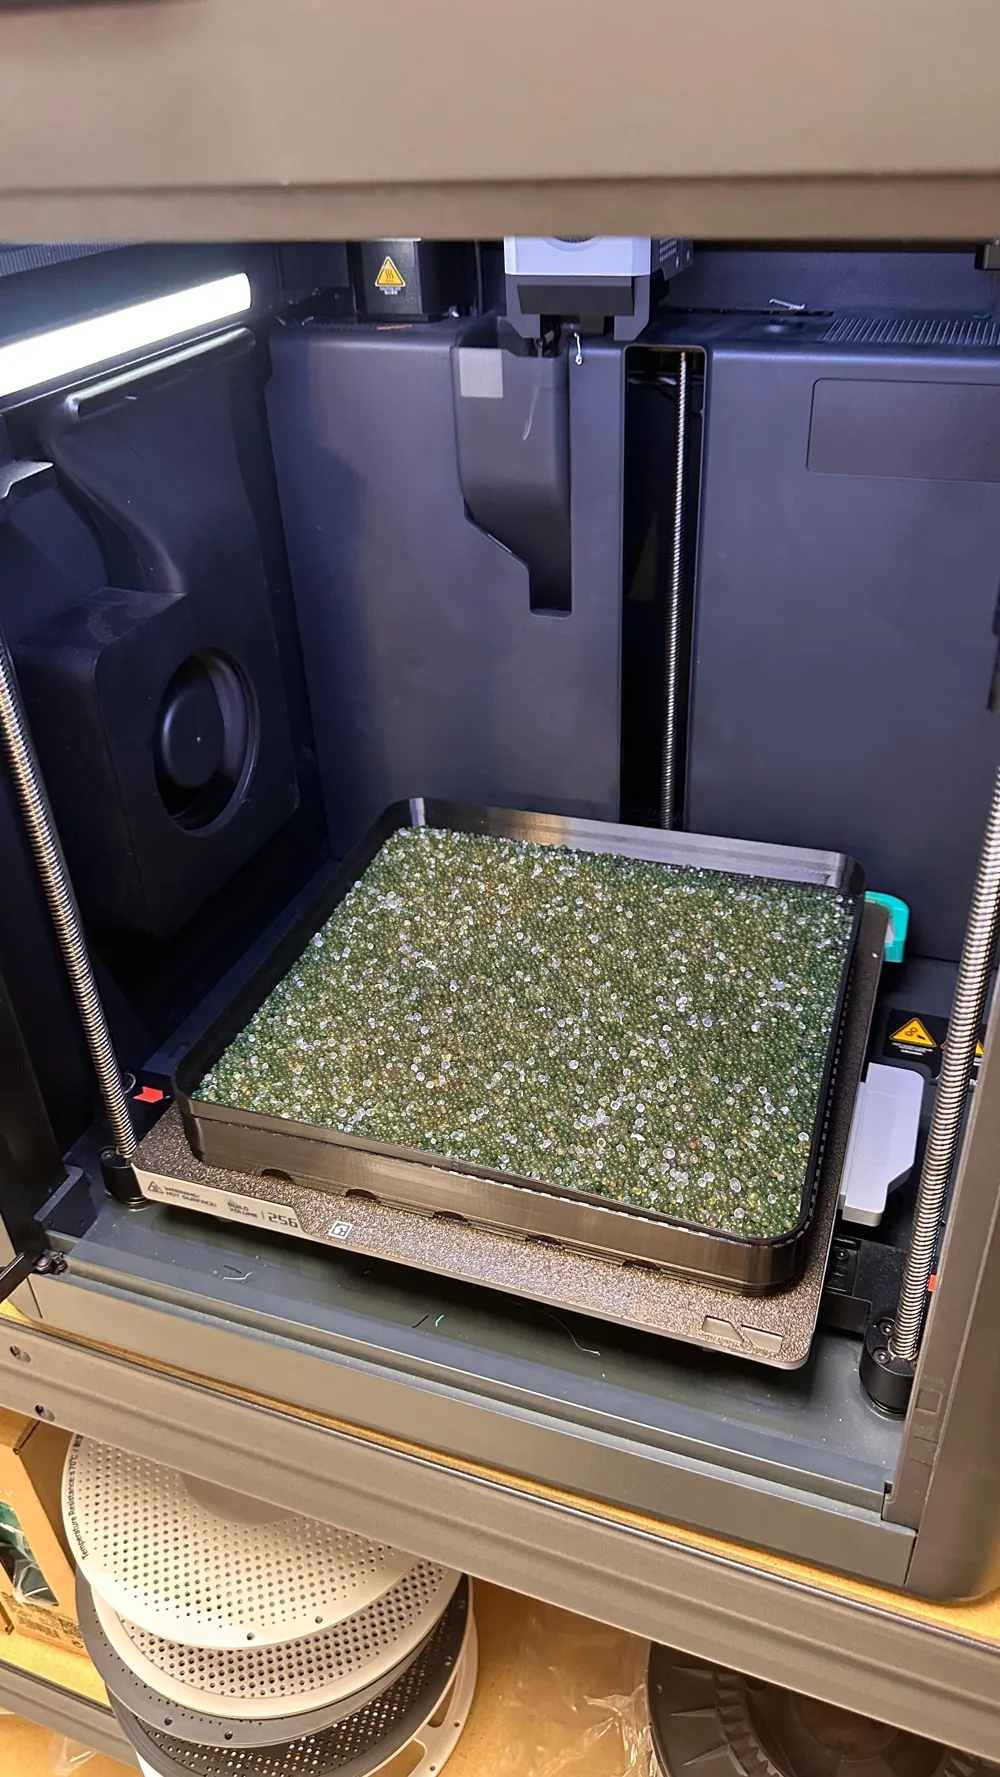
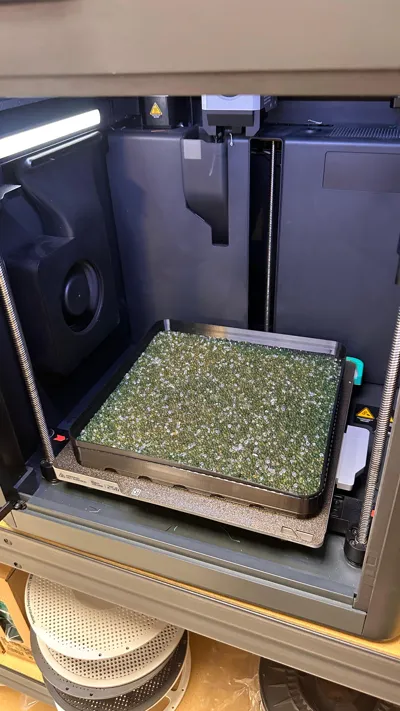
BEFORE:
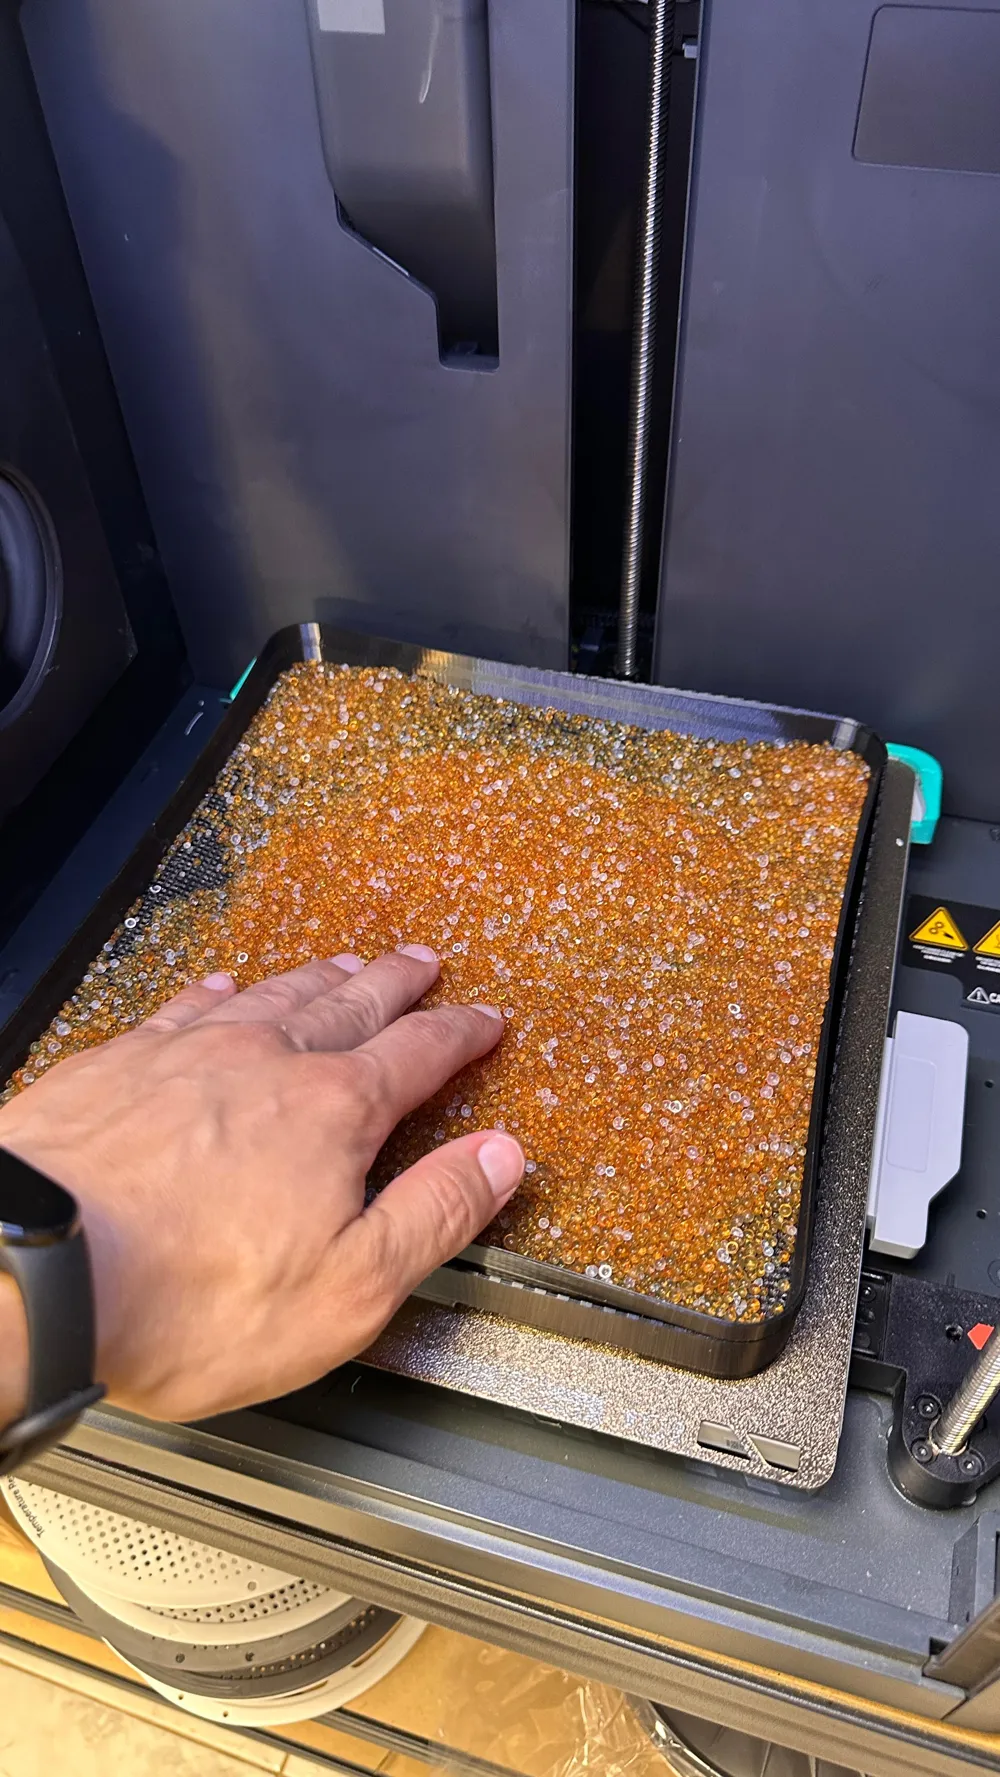
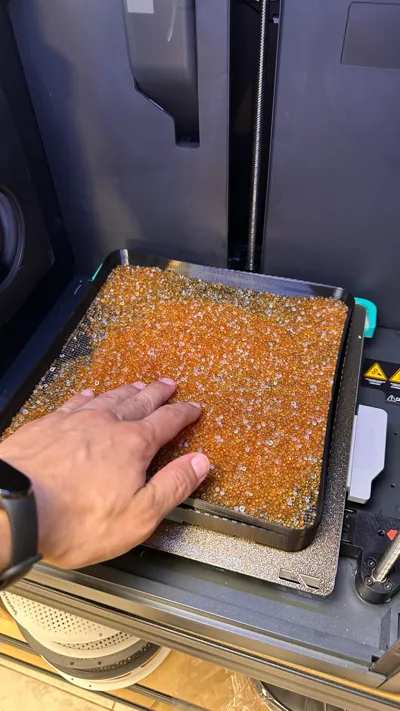
AFTER:
Thanks
Membership
License

You shall not share, sub-license, sell, rent, host, transfer, or distribute in any way the digital or 3D printed versions of this object, nor any other derivative work of this object in its digital or physical format (including - but not limited to - remixes of this object, and hosting on other digital platforms). The objects may not be used without permission in any way whatsoever in which you charge money, or collect fees.


Comment & Rating (464)