A1 Sewer Line - Poop Chute


Print Profile(2)


Description
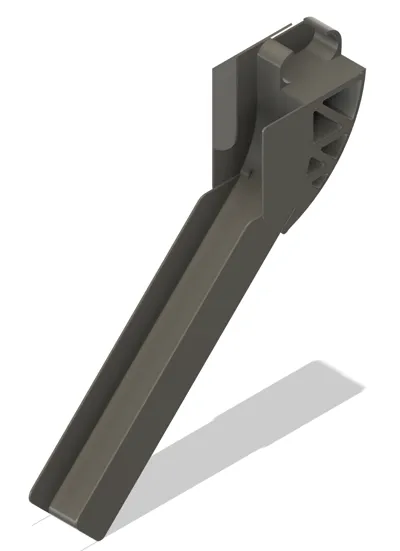
Introducing the Bambu A1 Sewer Line! Your front-disposal solution.
I got tired of either needing to empty out a poop container or cleaning up stray poop flingers. Since my A1s are placed on the front of a long table, I figured the best way to take care of the poop would be to route it off the front and into a wastebasket. This system drops the poop onto a ramp which carries the poop forward and off the front edge of the table. The ramp even has a hinge mechanism, to allow for the dropping of the z-axis. So far, the system has worked flawlessly for me; The Z-axis is either high enough to gravity-accelerate the poop directly to its destination, or the motions from the machine gently vibrate it down the track.
Update (11/24) : After using this for a little while now I've found that raising my printer (on top of a storage system, for a nice storage solution) made this work significantly better. I also think that a software solution of raising the z-axis to something like 100 after every filament change could get around this, but I haven't tested it.
Assembly Instructions
Assembly is relatively simple and requires just 2 M3x10 screws with socket heads (or something similar - M3x8s also work).
- Start by snapping the ramp together
- Insert the ramp into the holder.
- Screw two M3x10 screws into the holes to capture the ramp.
- Set the mechanism on its side and gently tap the associated side shroud on with a mallet or similar tool.
- Flip it to the other side and gently tap the other side's shroud on.
- Now that the assembly is complete, simply press-fit the entire device onto your A1's filament ejection mechanism.
Note: It's definitely possible to create a hardware-less version of this, where you print your own press-fit hinge hardware. I just personally prefer the rigidity and reliability of the M3 screws, and I have a ton of them (If you're designing for 3D printing it's good to have a box of them, because they have infinite uses). If someone wants to take that on, have at it, but I probably won't.
Printing
I printed these in PLA (Specifically Prusament Galaxy Black), but I'm sure any rigid filament type would do. It takes around 1 hour in ludicrous mode.
Comment & Rating (24)