GMKtec G2 Plus vented bottom cover - LEDs optional


Print Profile(2)


Description
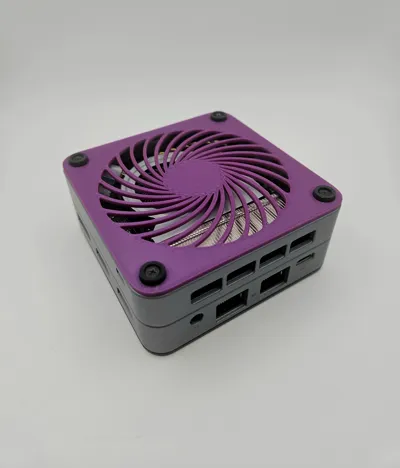
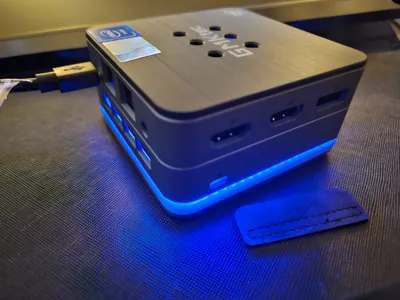
The G2 Plus is a great little PC, especially with modification to increase airflow. I didn't find any models out there so designed a replacement bottom cover with a couple different grill options. The LEDs can be kept with a few small printed pieces or left out entirely, if you're keeping them you need to either use the spacer (included in the first profile) or use the second profile which integrates the spacer.
Either way, when you remove the stock bottom panel you'll immediately run into a ribbon cable connecting the motherboard to the LED daughterboard, which you will want to disconnect. Pull up on the black locking mechanism to release the ribbon cable.


The LED board and plastic vent/light diffuser it's attached to are not critical, so if you don't want to use them you can simply replace the entire bottom with your printed one and you're already done.
If you want to keep the LEDs, you'll need to detach the original bottom from the LED board and vent by removing the four small screws - don't lose them, because next you need to use them along with the tiny printed tabs to latch the LED board to the vent. It's really simple when you have all the parts in front of you, and the photos below along with the finished photo with the yellow arrow at the bottom should help.
Note that you can optionally use the vent without the LED board, a little more airflow is always good.


After that, just reattach the ribbon cable, stack your parts back together, and put your printed replacement bottom on with the original screws. If you're using the spacer you'll need a bit of a gentle touch to get it aligned just right, it's easy to overtighten one screw and push it out of alignment. The bottom with the integrated spacer makes it super easy, but once in place both work great.

That's it! Enjoy your well-cooled tiny PC.

It's also recommended that you replace the thermal paste on the CPU, it's not always done well on these little computers. The top portion of the PC houses the SSD which should not run into temperature issues, but I added a few holes to the top because I already went this far, may as well be a bit extra.
License
You shall not share, sub-license, sell, rent, host, transfer, or distribute in any way the digital or 3D printed versions of this object, nor any other derivative work of this object in its digital or physical format (including - but not limited to - remixes of this object, and hosting on other digital platforms). The objects may not be used without permission in any way whatsoever in which you charge money, or collect fees.
Comment & Rating (2)