
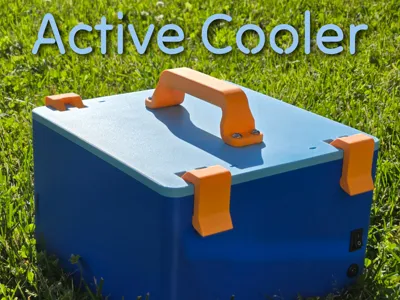
Active Camping Cooler with Peltier Cooling
Print Profile(1)

Description
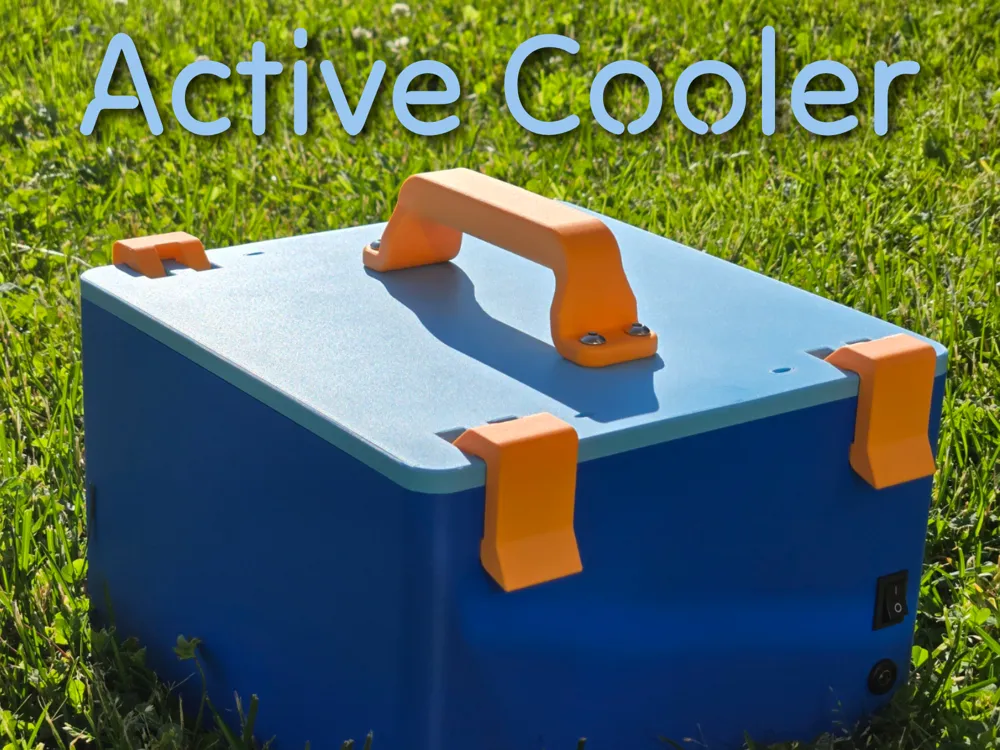
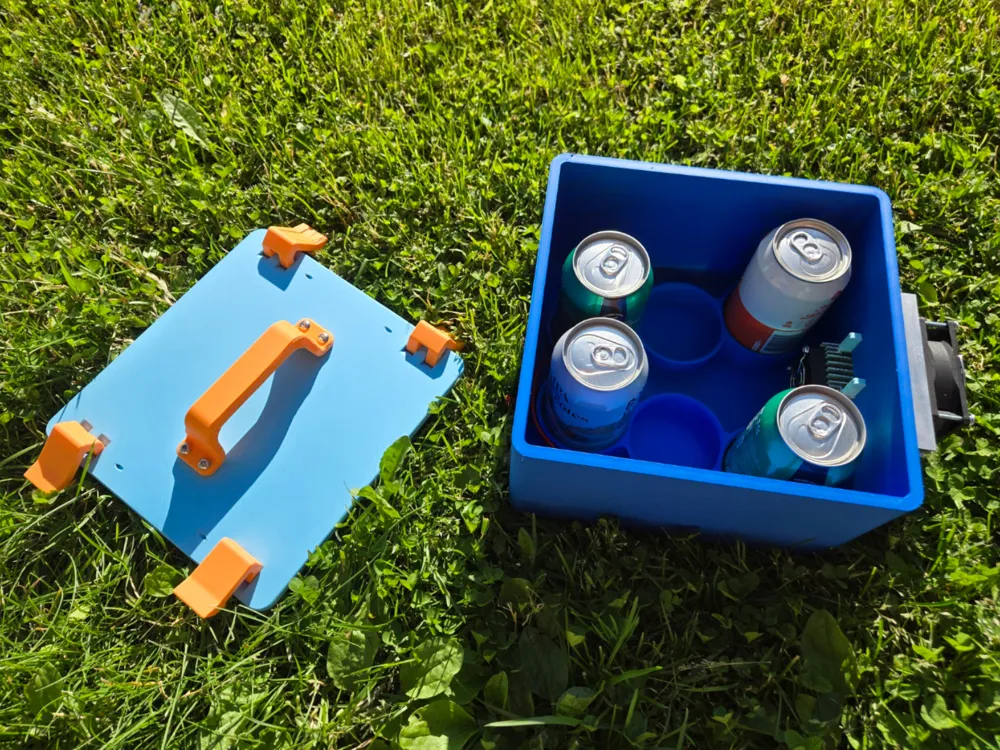
6-Can Active Camping Cooler with Peltier Cooling (12V) 🧊
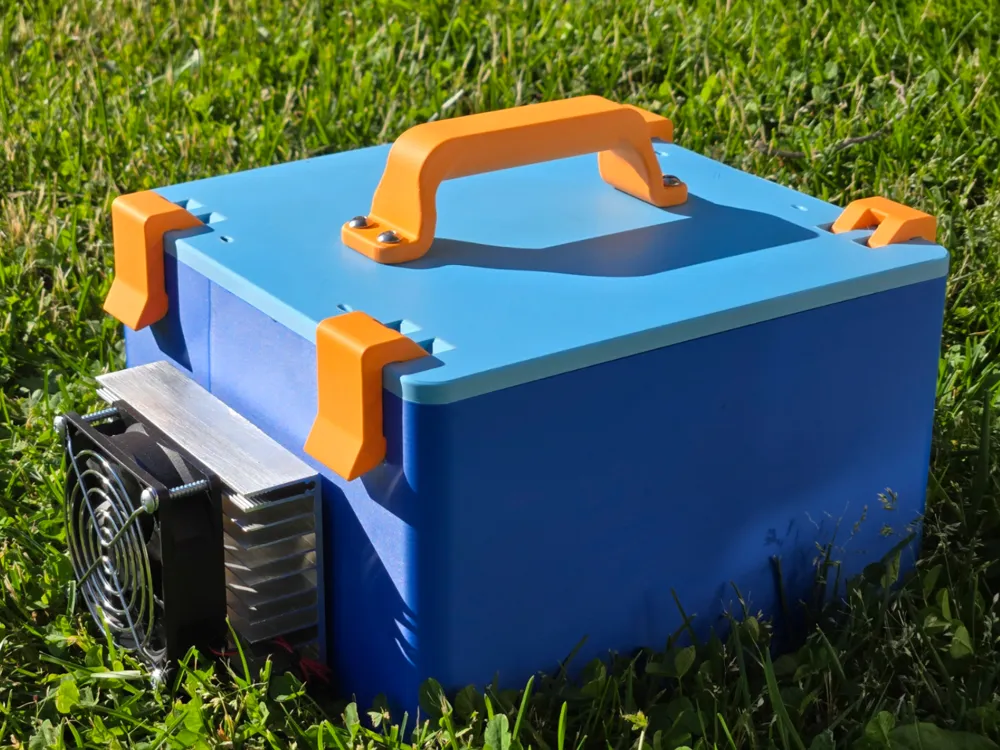
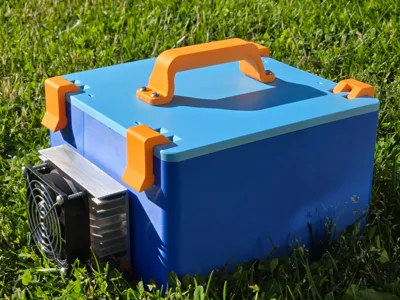
This is a compact, portable active cooler designed for camping. Powered by a 12V Peltier module, it can be plugged into a camping battery station (e.g., EcoFlow) or a standard wall power supply.
Features:
- Actively cooled with a 12V Peltier module
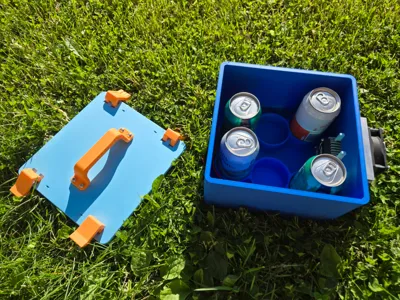
- Holds up to 6 standard cans in a layout optimized for heat distribution
- Alternate version available without can slots for general-purpose storage
- Integrated on/off switch and DC barrel jack for easy connection
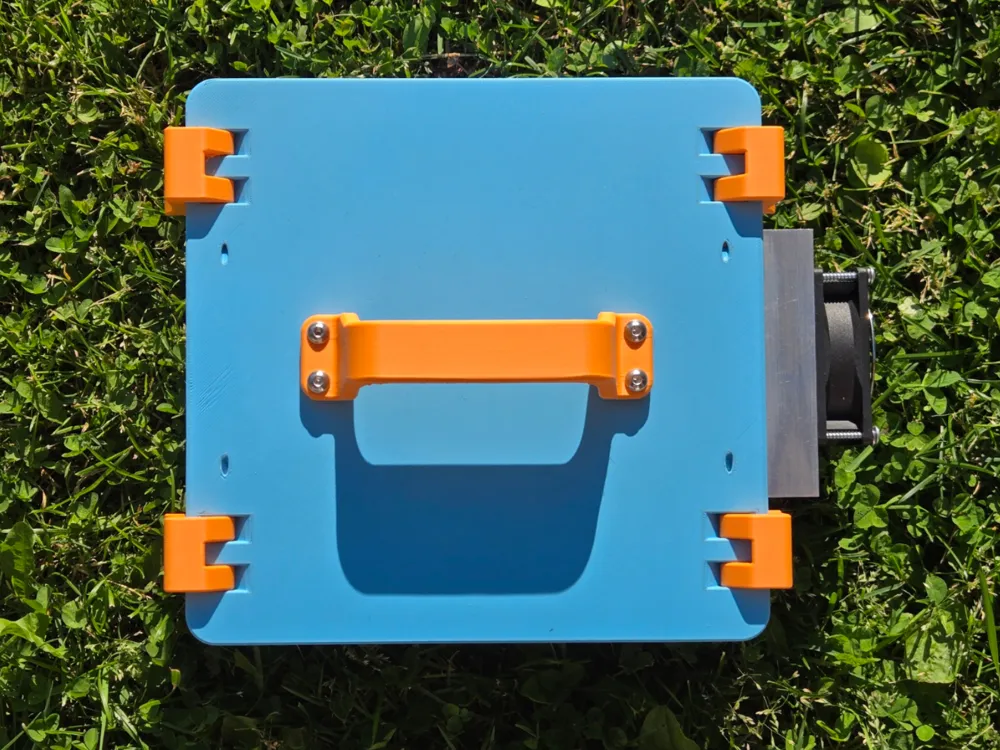
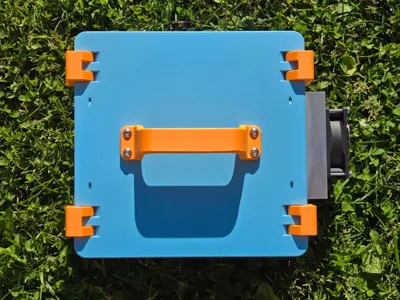
- Sturdy top handle and secure latching system
- Designed for simplicity, reliability, and DIY assembly
Just plug it in, flip the switch, and keep your drinks cool — no thermostat or complex control required.
Bill of Materials (BOM)
| Component | Unit price (CAD$) | Notes |
|---|---|---|
| 12V Peltier module | 30.70$ | The box is designed to work with this assembly |
| Barrel jack connector | 3.40$ | Any that handles 6A and 12mm of diameter to fit the hole |
| ON/OFF switch | 1.20$ | Any SPST that handles 6A and has similar dimensions (19.2x13.2mm) |
| Power supply 12V@6A | 17.09$ | Any that support 12V@6A with a 5.5x2.1mm standard barrel jack |
TOTAL = 52.39 $CAD + printed parts
These parts can probably be found cheaper on other platforms, but I opted for Amazon for convenience and fast shipping.
🔌Wiring
The wiring is very simple. Just solder the switch in series between the Peltier and the power input to control current flow.
Peltier + (red) ───── Switch ───── Power + (red)
Peltier - (black) ───────────────── Power - (black)
🔧 Assembly Steps
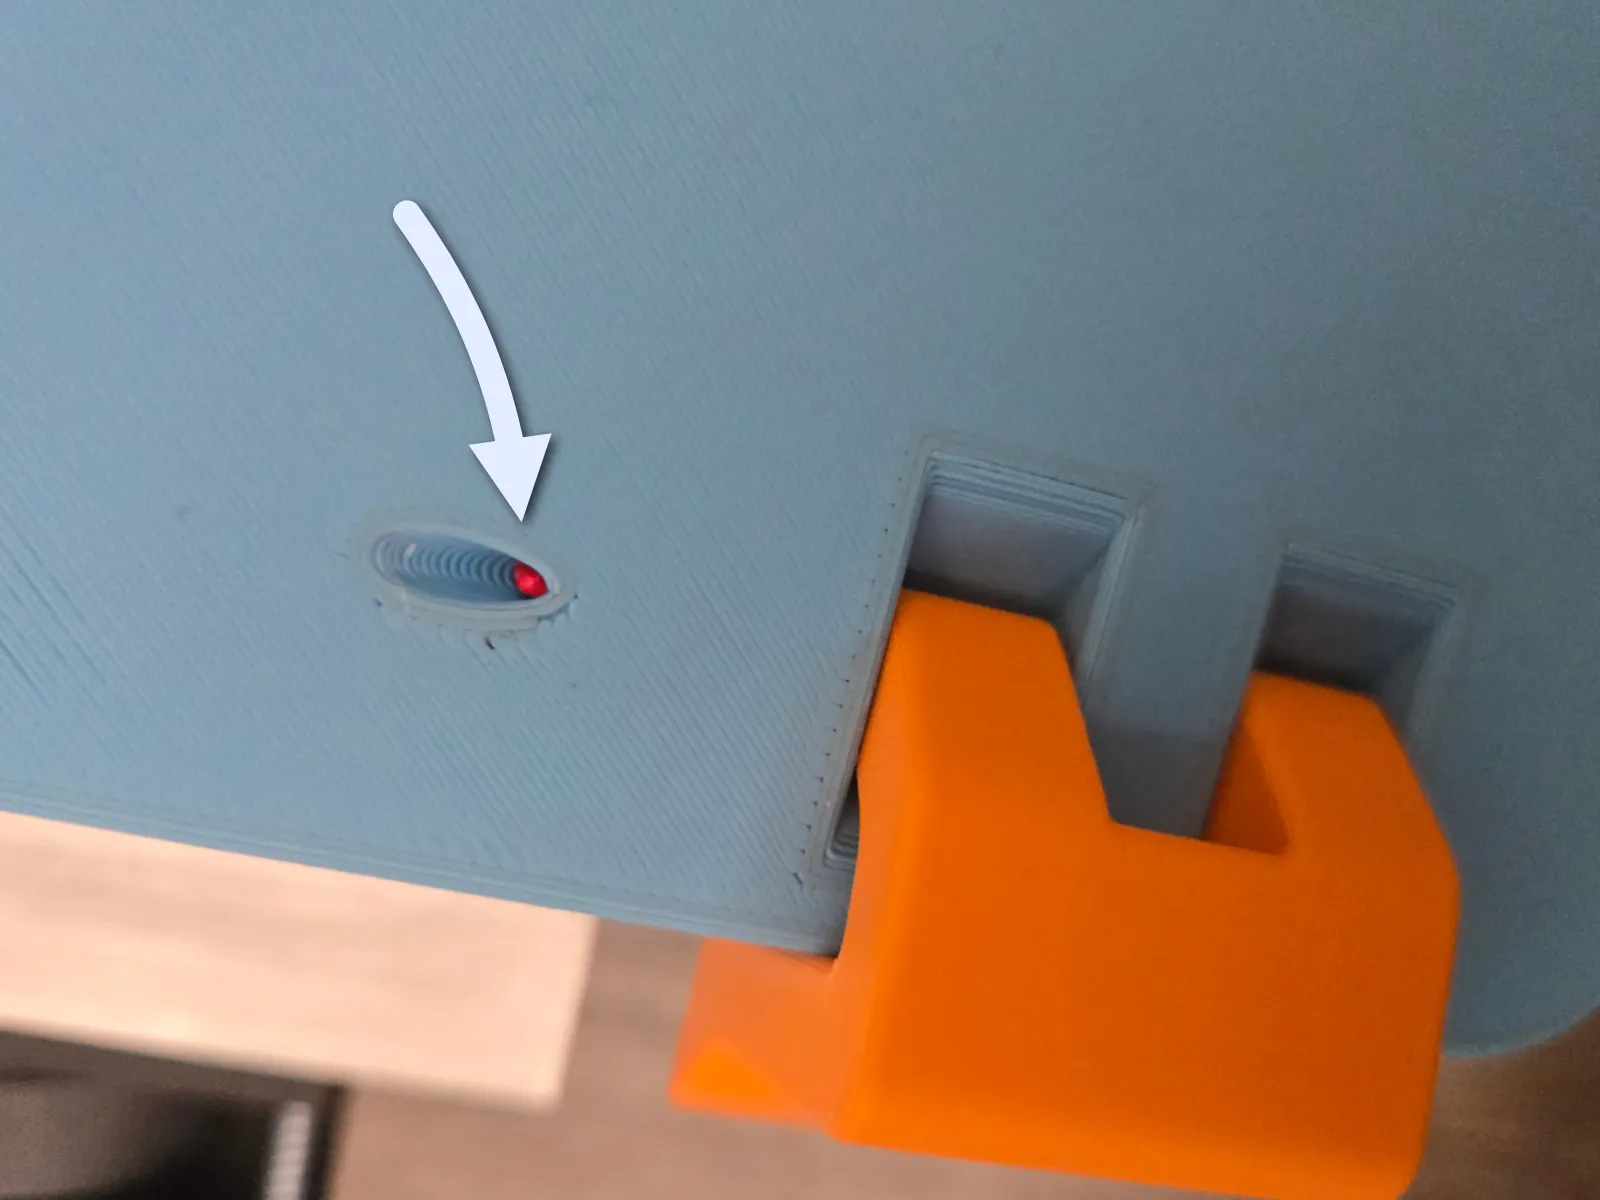
1. Filament pin (latch retention):
Insert a piece of filament into this hole. Cut it ~5 mm shorter than the channel, then push it fully into place using another piece of filament or a small rod.
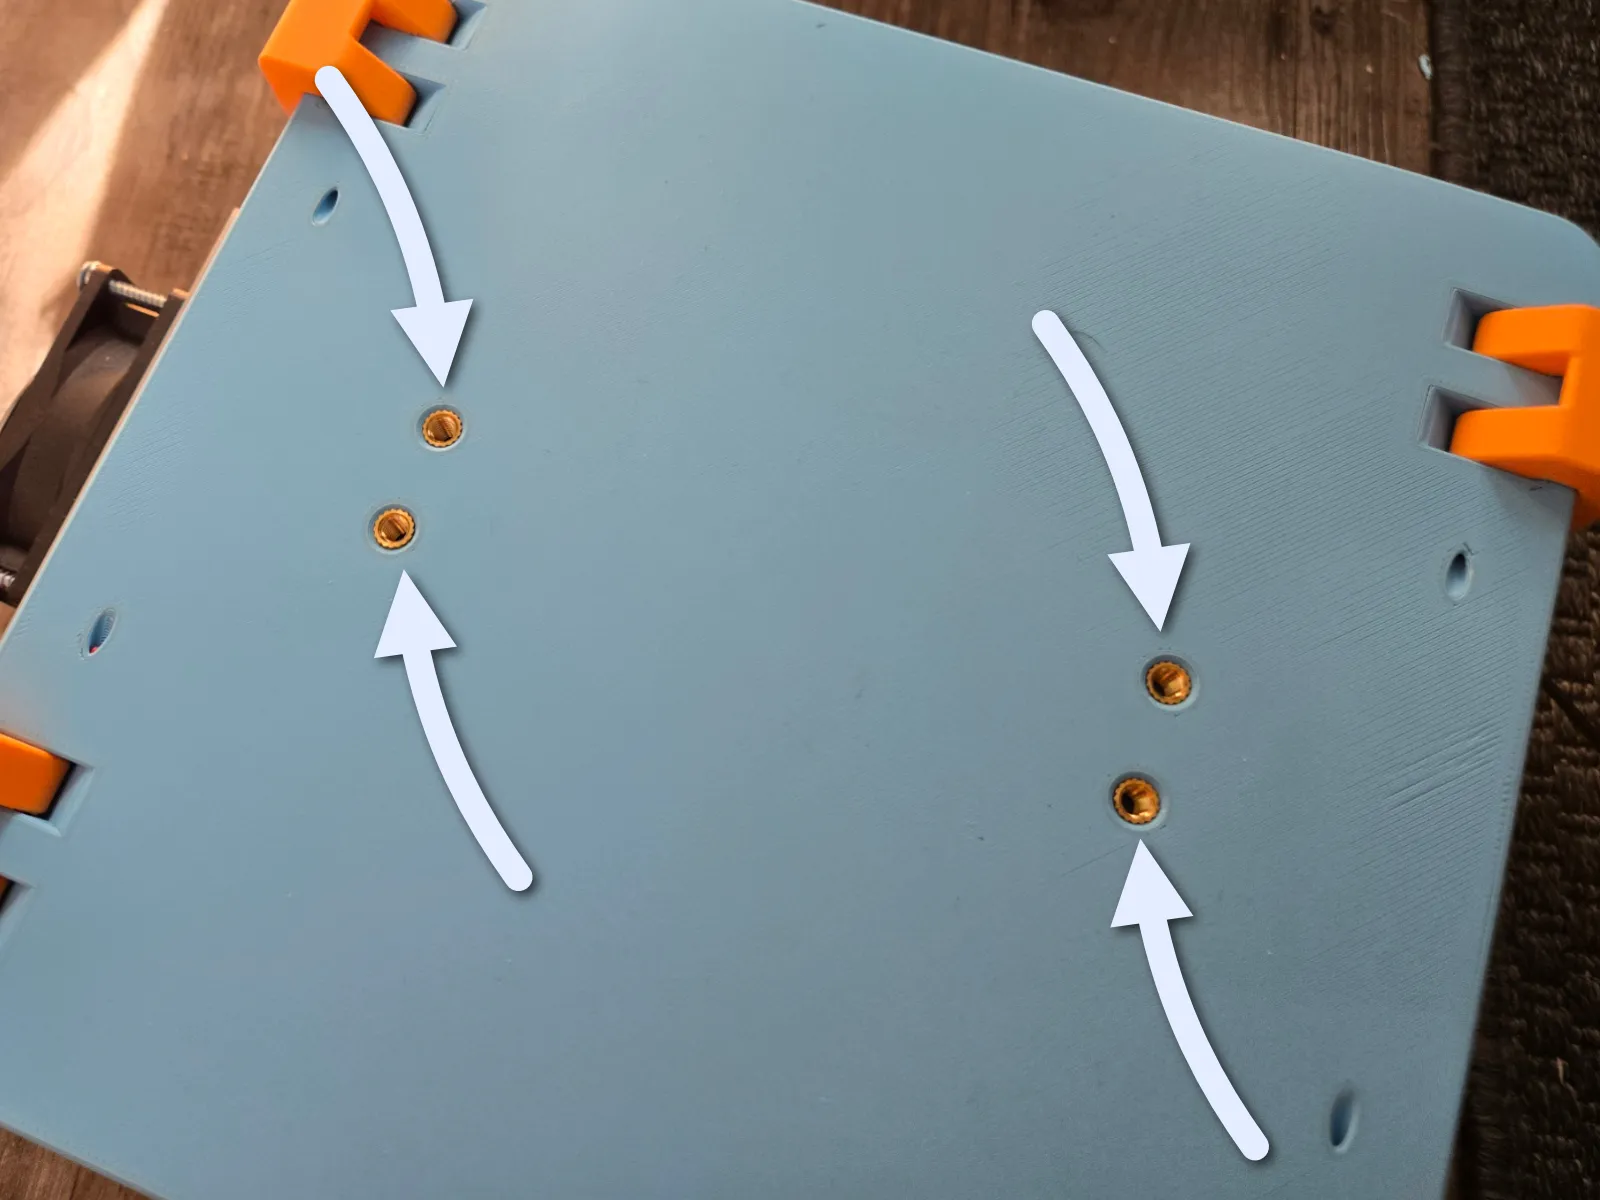
2. Handle installation:
Add four threaded inserts (M5 × 9.5 mm) into the marked holes. Then mount the handle using four M5 × 12 mm screws.
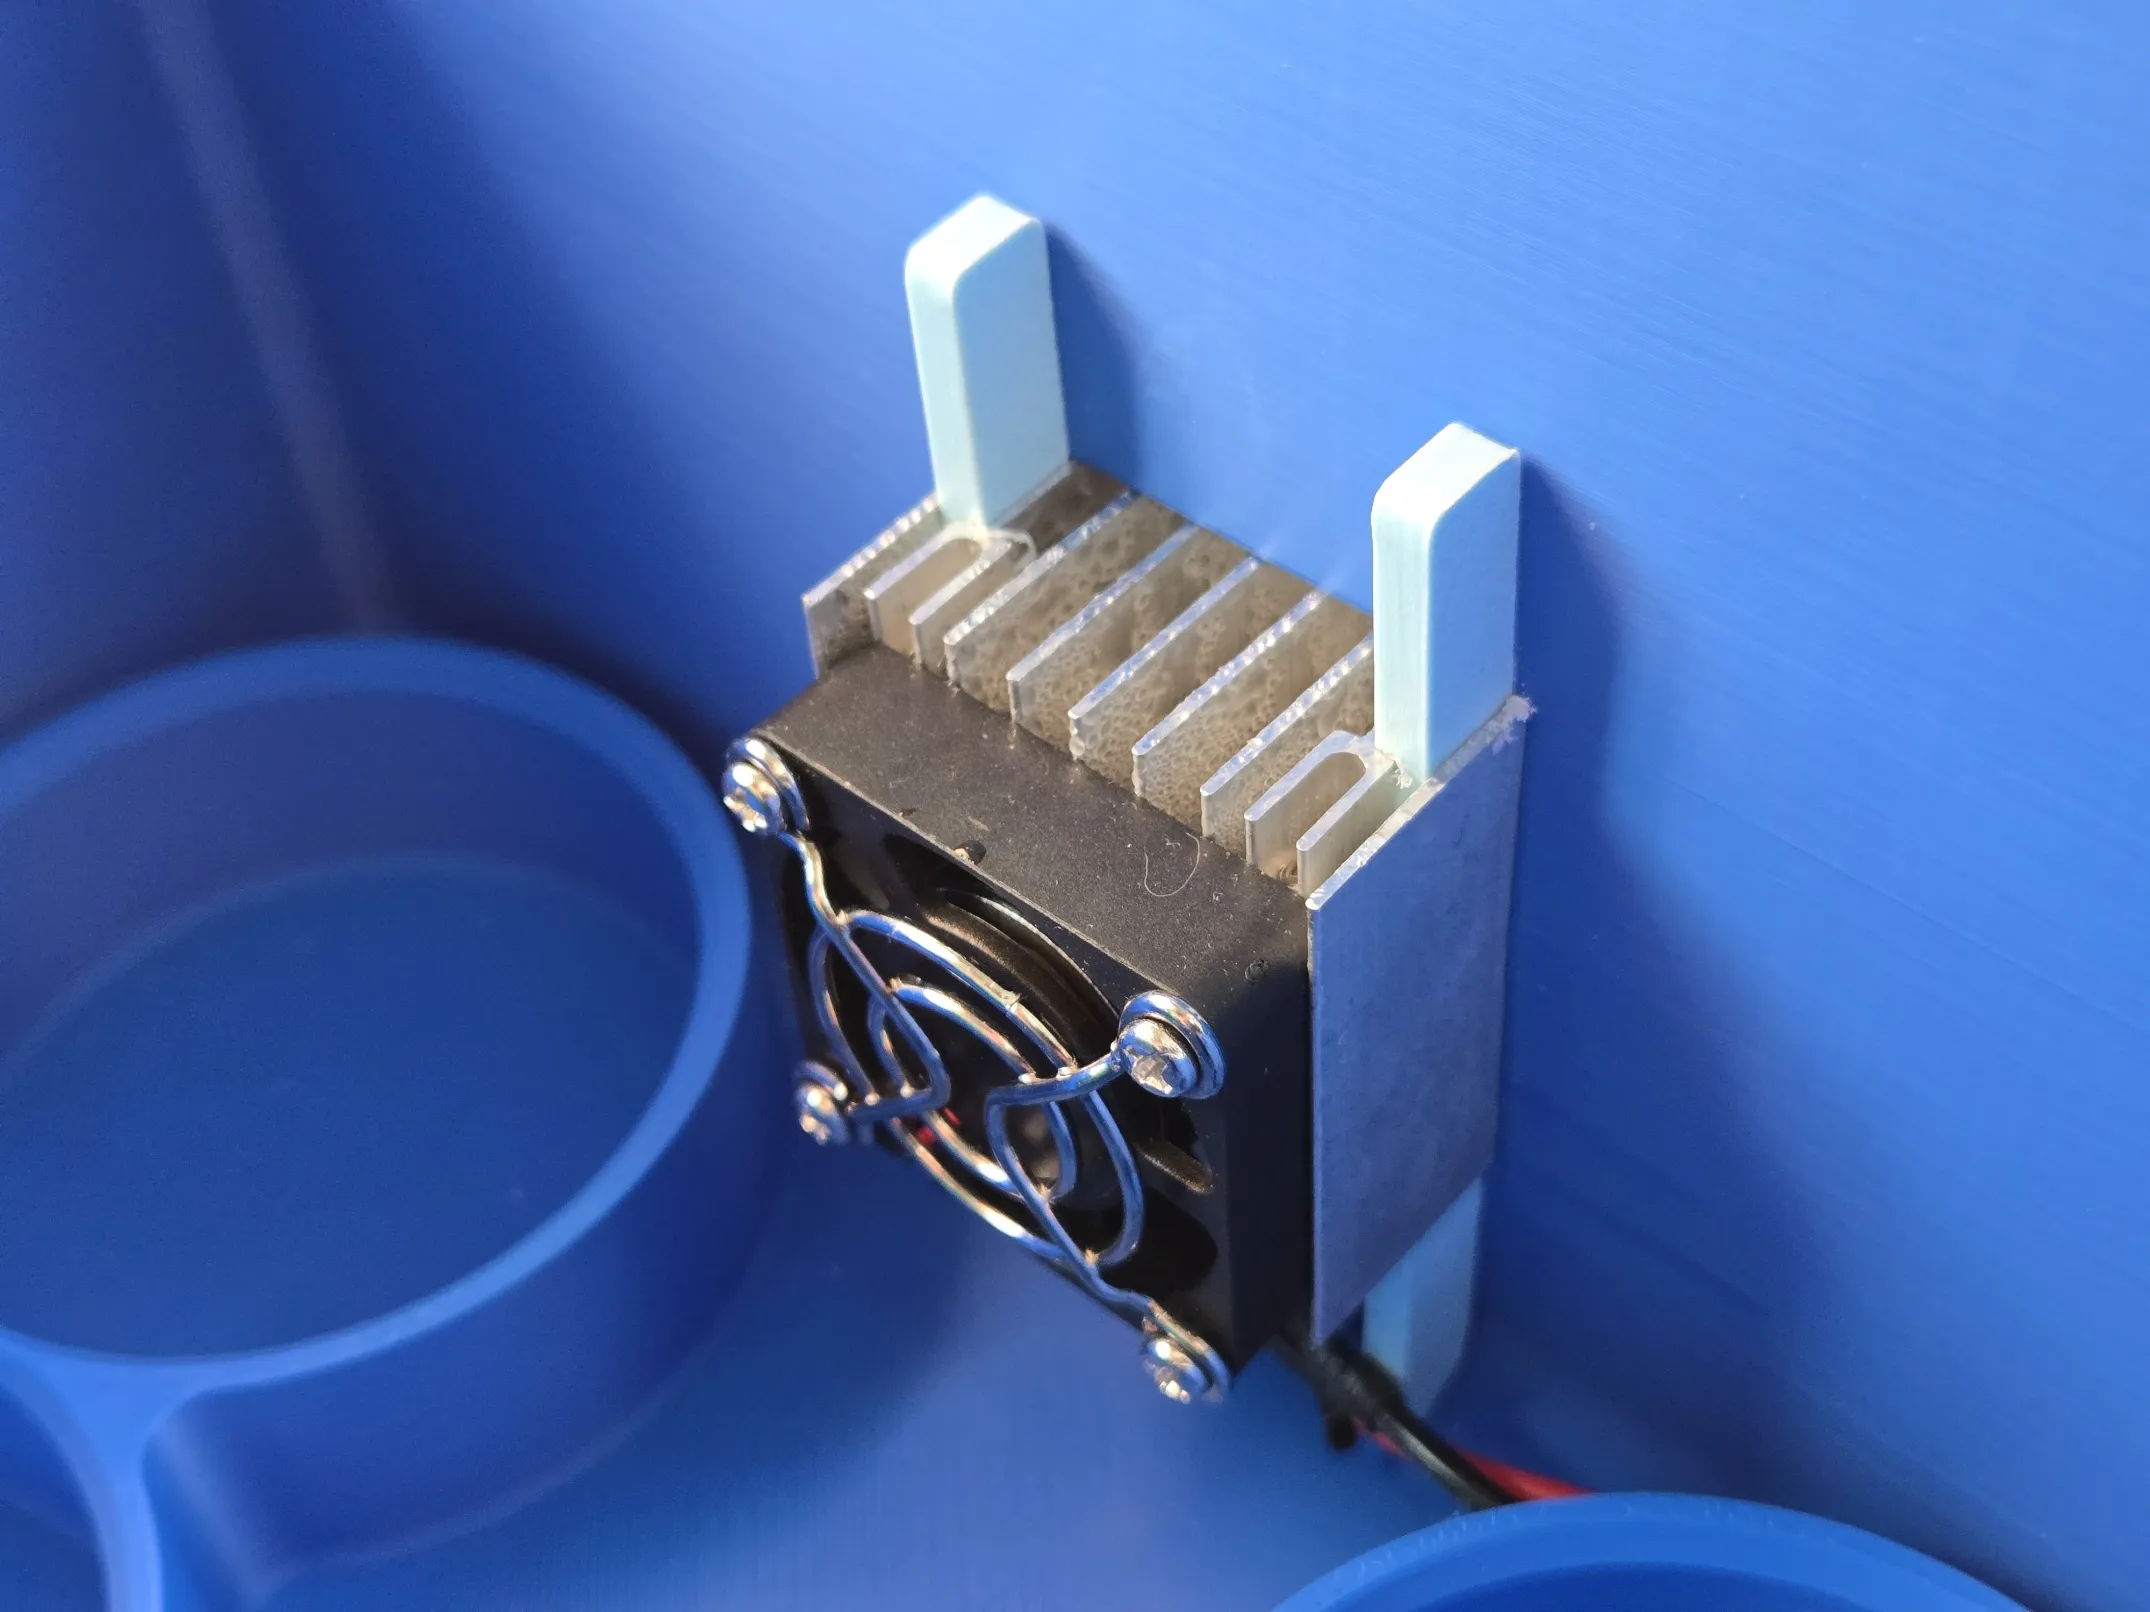
3. Peltier module installation
Place the fully assembled Peltier module (heatsink + fan + cold plate) into the dedicated slot in the wall of the cooler. Make sure the fan wire points downward for proper routing.
To hold the module in place, insert the two printed plastic rods vertically as shown in the photo. These act as clips to keep the module securely seated against the wall.
No screws or glue required — the fit and rods provide sufficient retention.
Feel free to reach out if you have any questions. Enjoy your making journey! 🛠️💬
Boost Me (for free)
If you like this model, a boost is always appreciated ! 😊 Thank you very much !
If you really like what I do, you can also buy me a beer🍺! Happy printing!
License

You shall not share, sub-license, sell, rent, host, transfer, or distribute in any way the digital or 3D printed versions of this object, nor any other derivative work of this object in its digital or physical format (including - but not limited to - remixes of this object, and hosting on other digital platforms). The objects may not be used without permission in any way whatsoever in which you charge money, or collect fees.


Comment & Rating (7)