
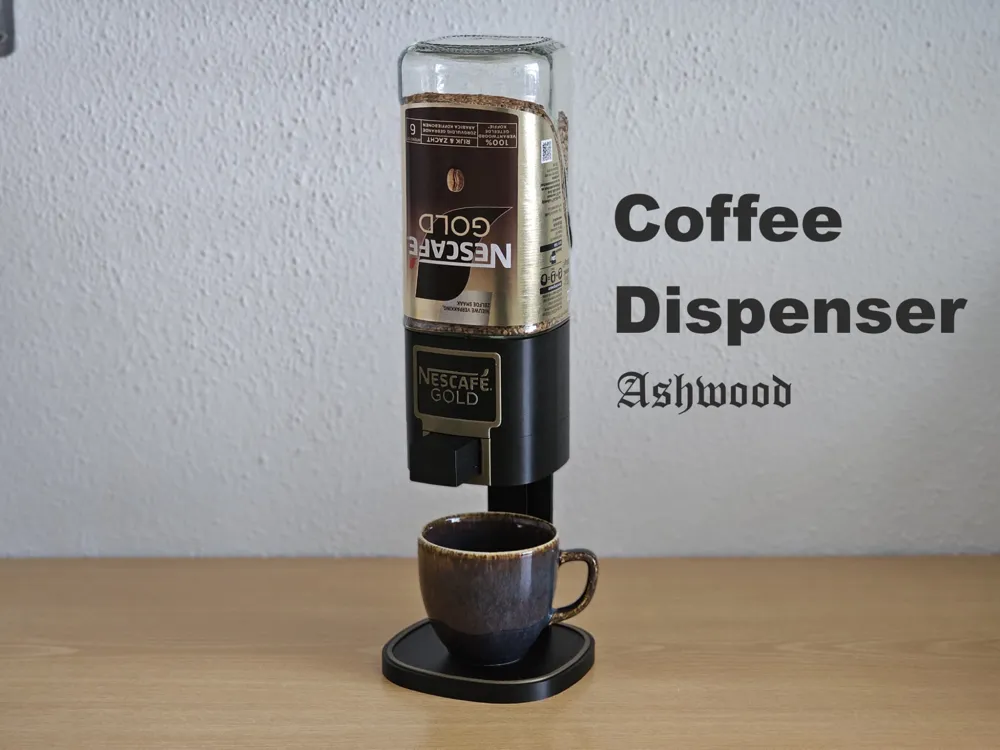
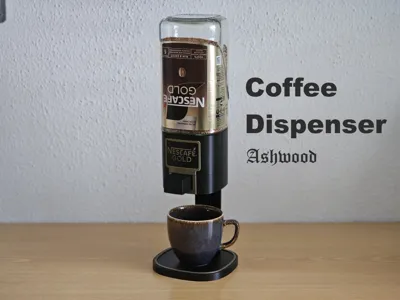
Nescafe Gold Coffee Dispenser
Print Profile(10)


Bill of Materials


Description
If you want to use another brand, please look at this model, which uses an Ikea bottle: https://makerworld.com/en/models/1555470-instant-coffee-dispenser-for-ikea-citronhaj-bottle#profileId-1634246

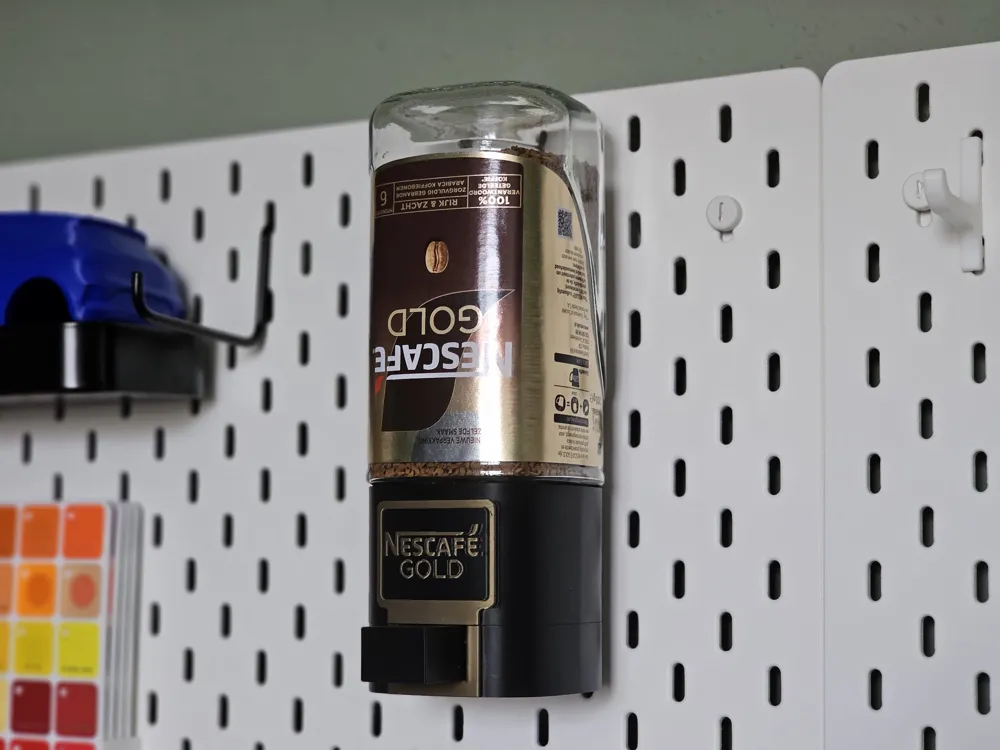
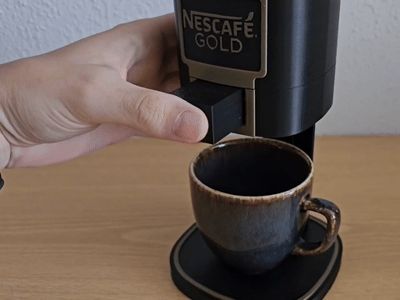
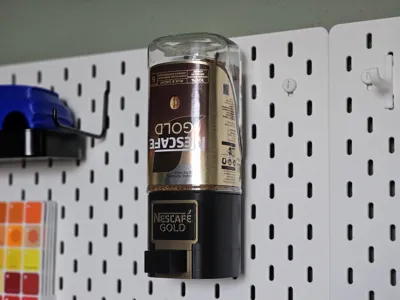
I wanted to optimize the process of making Nescafe Gold in order to further my instant coffee addiction. My goal was to make a dispenser that dispenses one cup worth of coffee each time you press the button. I tried to use minimal non printed parts, all you will need is 6 springs and 2 screws (Linked below)
- Dispenses ~2,5 grams, the reccomended amount for one cup.
- Easy to assemble.
- Multiple ways to store the dispenser:
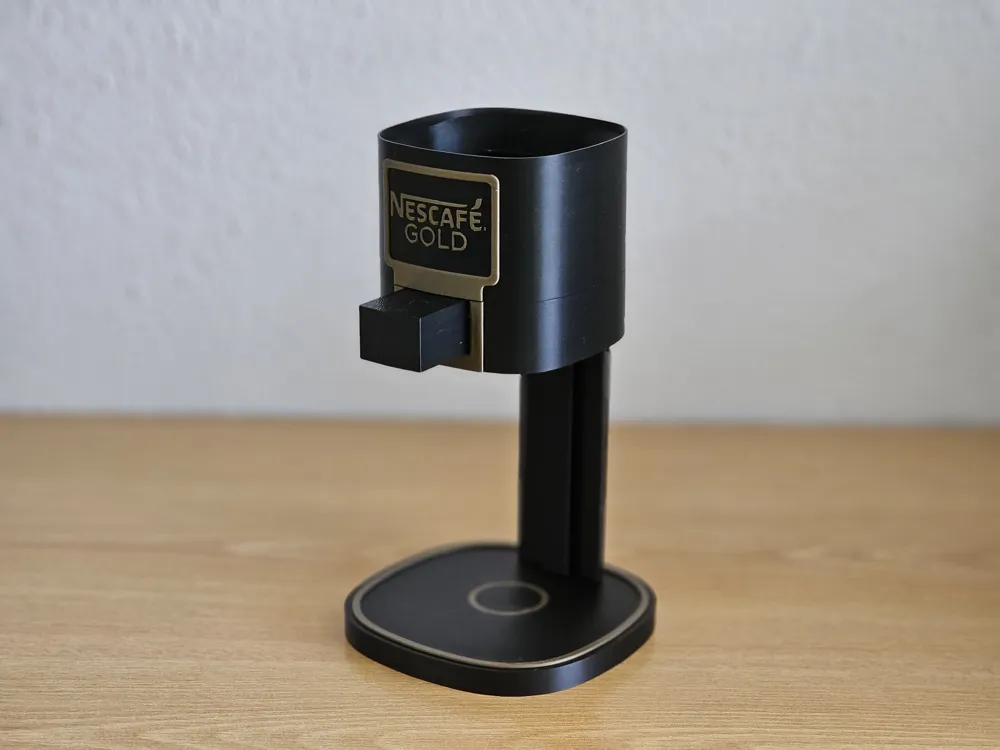
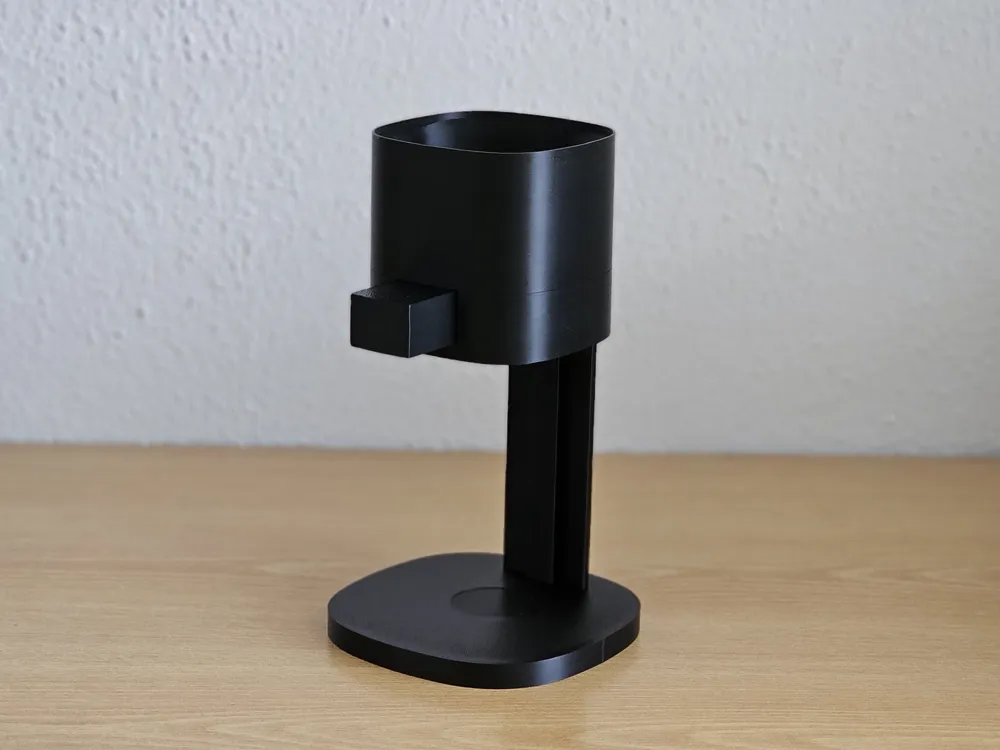
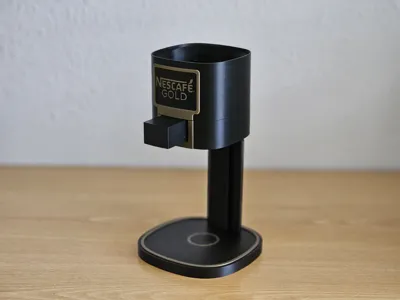
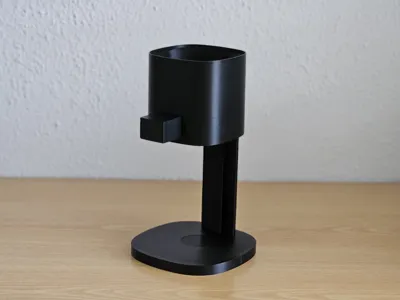
- With a stand.
- Hanging from the wall with the wallhook.
- Hanging on an IKEA Skadis board with the Skadishook.
- Without a stand or hook.
- Two designs available:
- With Nescafe Gold branding.
- Minimalistic design without branding.
Assembly
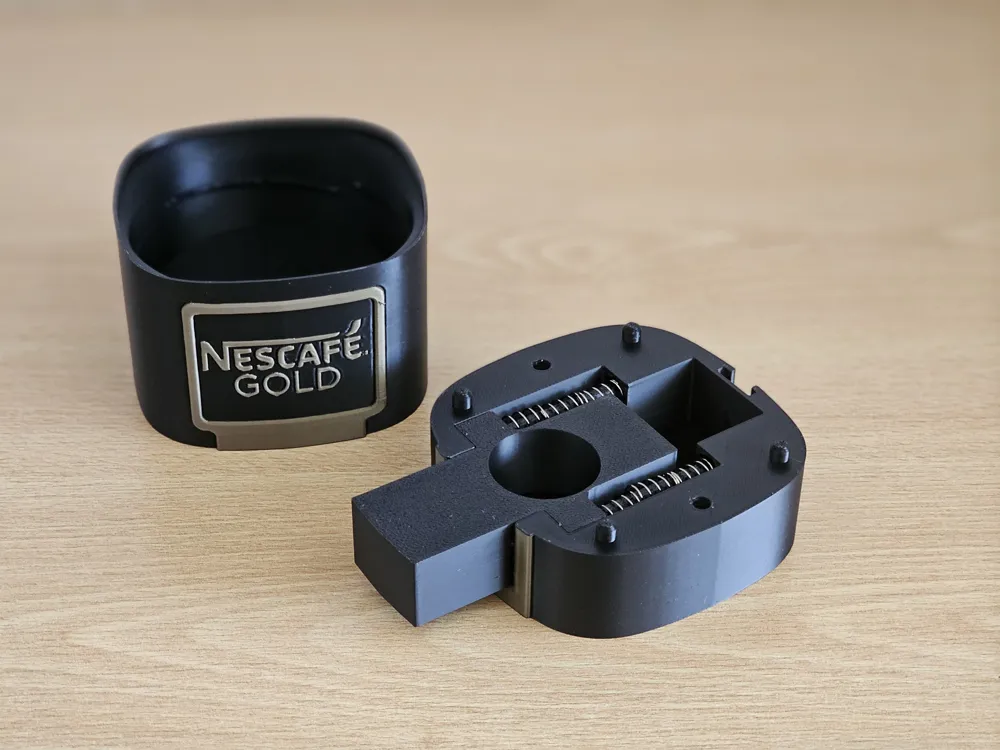
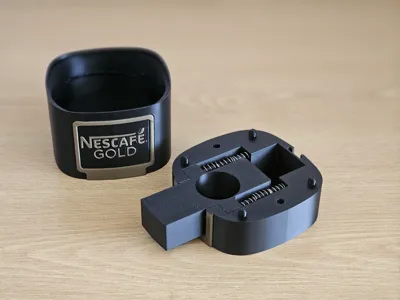
- Check the orientation of the button. Both the button and the base have a triangle on them, when assembled these triangles should match and touch eachother (When the button is pressed in).
- Leave the button out of the base for now, but set it down in the correct orientation.
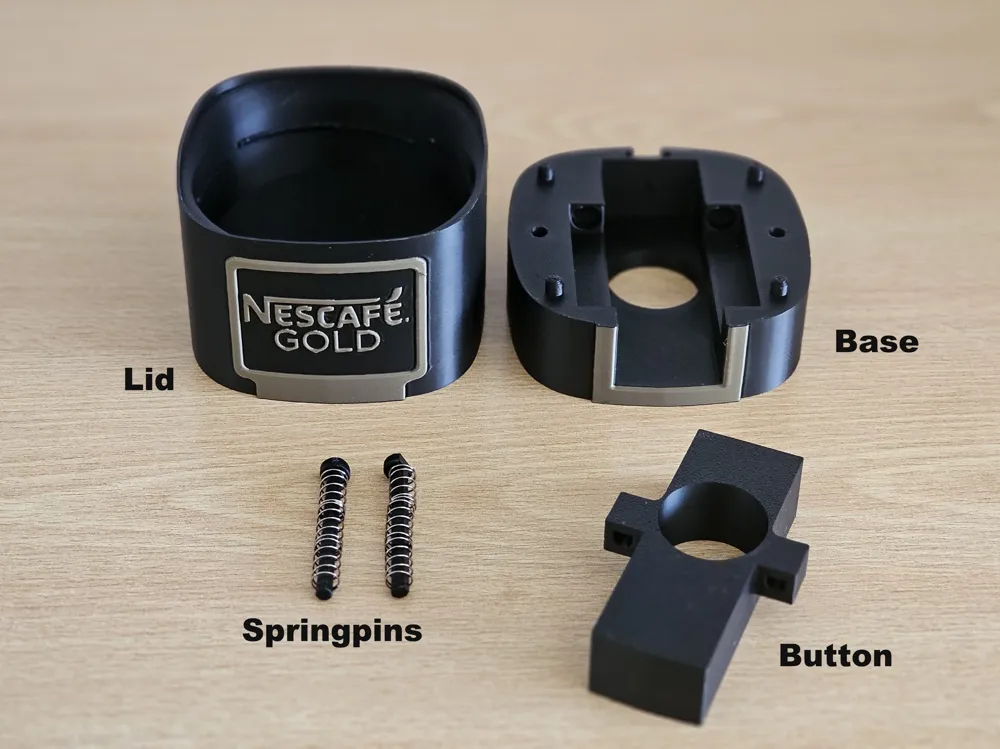
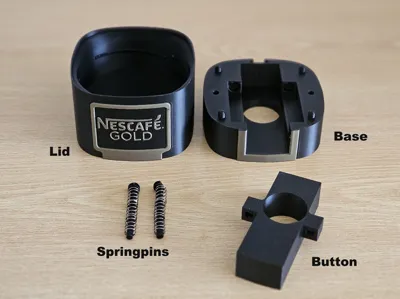
- Put the springs on the springpins, 3 on each.
- Put the end op the springpins in the holes in the button, at the side of the triangle. The pins and holes have a flat spot, so there is only one orientation in which they can go in. Be carefull to not launch the pins across the room
- push the pins in slightly and drop the button inside of the base.
- Let go of the pins, they should both go in their round cavity, keeping them in place.
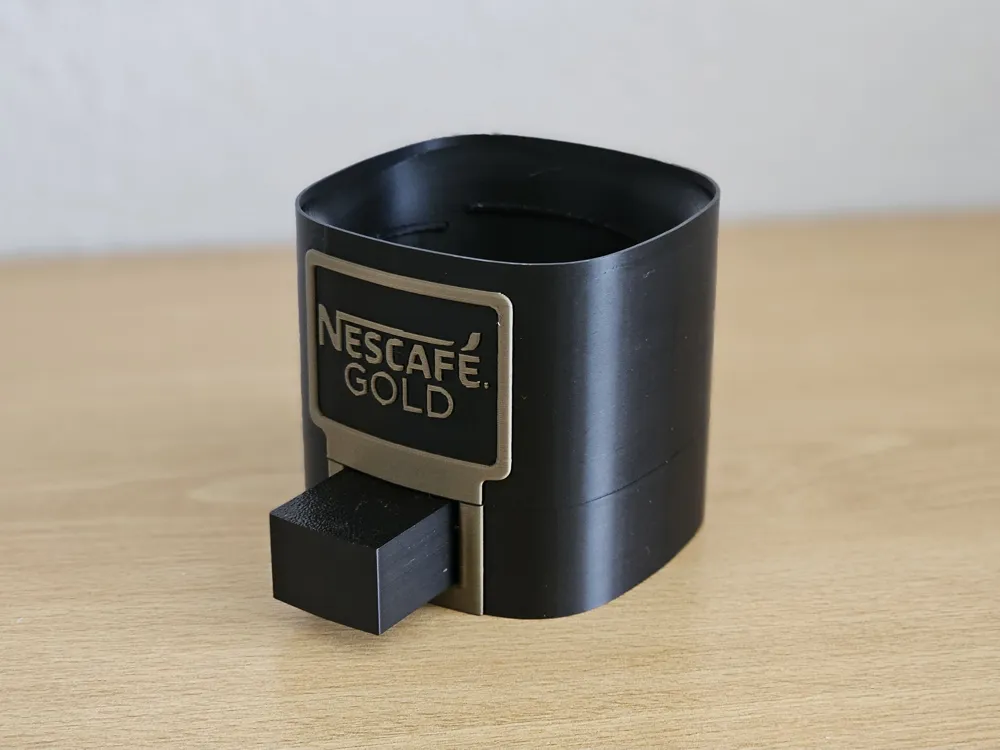
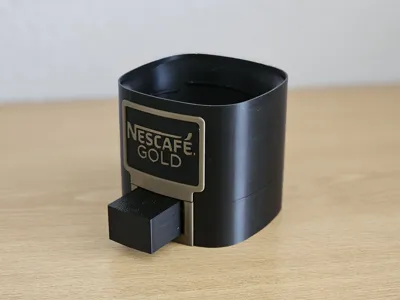
- Place the lid on the base.
- Screw the two screws into the two holes in the bottom of the base.
- Screw the dispenser onto the Nescafe Gold Bottle.
License

You shall not share, sub-license, sell, rent, host, transfer, or distribute in any way the digital or 3D printed versions of this object, nor any other derivative work of this object in its digital or physical format (including - but not limited to - remixes of this object, and hosting on other digital platforms). The objects may not be used without permission in any way whatsoever in which you charge money, or collect fees.


Comment & Rating (698)