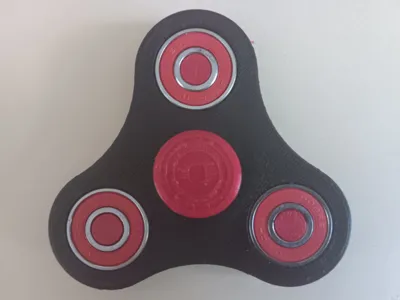
Tri Finger Spinner


Print Profile(1)

Bill of Materials


Description
A three-finger spinner designed for effortless assembly and use, requiring no adhesive.
Assembly Instructions:
After 3D printing the spinner, press the bearings into place while the body is still warm from the print. As it cools and contracts, the bearings will be securely held.

Next, press the three bolts into the axles of the three outer bearings.

Finally, press the two end caps into the central bearing. Optionally, after inserting the first end cap, add one or two drops of gel superglue before pressing in the second. Adhesive is unnecessary if the end caps fit snugly.

Once assembled, the three-finger spinner is ready for immediate use.

NOTE: Due to variations in printing processes across different printer models, components may be marginally too small or too large. Adjust the X & Y dimensions (NOT Z) in your slicer in 0.2mm increments until a snug fit is achieved.
For those who find the bearings from the Bambu store overpriced or subpar, consider these (also used by me) ABEC-11 ceramic bearings. These ABEC-11 ceramic bearings are high-speed bearings used in skateboard wheels.
If you like my print profile, I would be very happy to receive a "⭐⭐⭐⭐⭐" rating.
Boost Me (for free)
Thank you for your support!
License
You shall not share, sub-license, sell, rent, host, transfer, or distribute in any way the digital or 3D printed versions of this object, nor any other derivative work of this object in its digital or physical format (including - but not limited to - remixes of this object, and hosting on other digital platforms). The objects may not be used without permission in any way whatsoever in which you charge money, or collect fees.
Comment & Rating (1)