
Bumblebee House
Print Profile(1)

Description
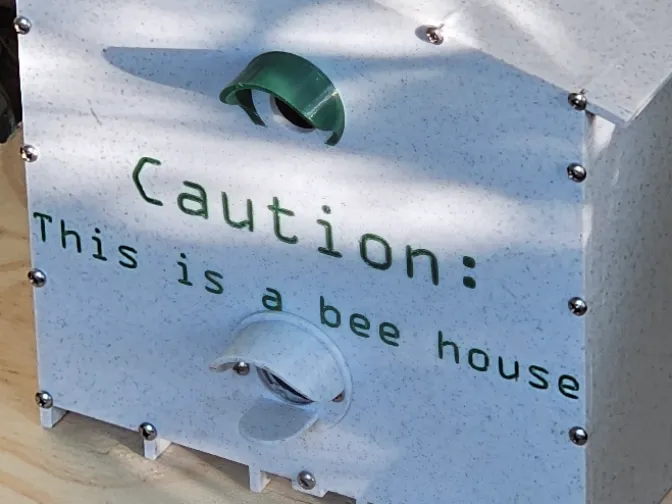
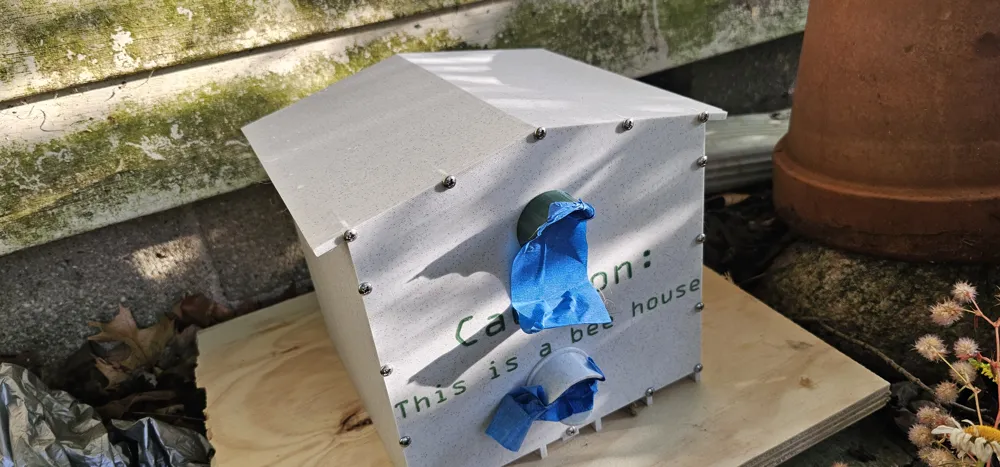
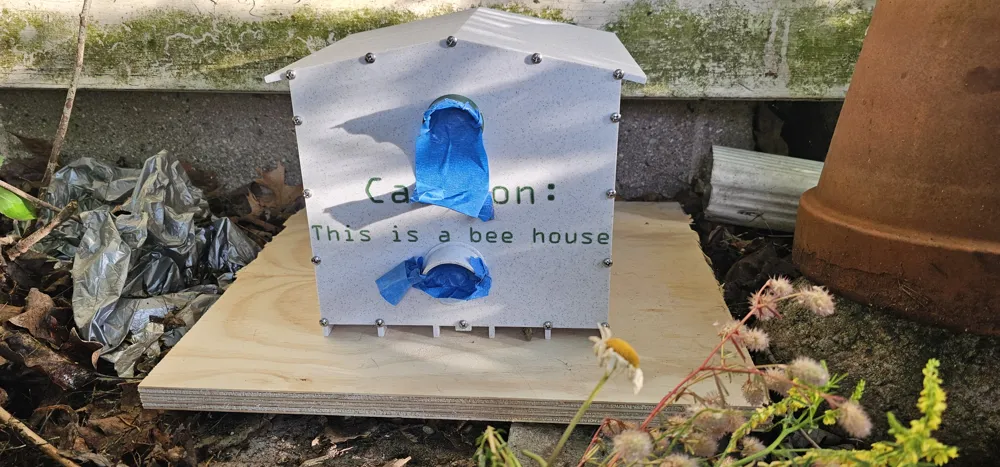
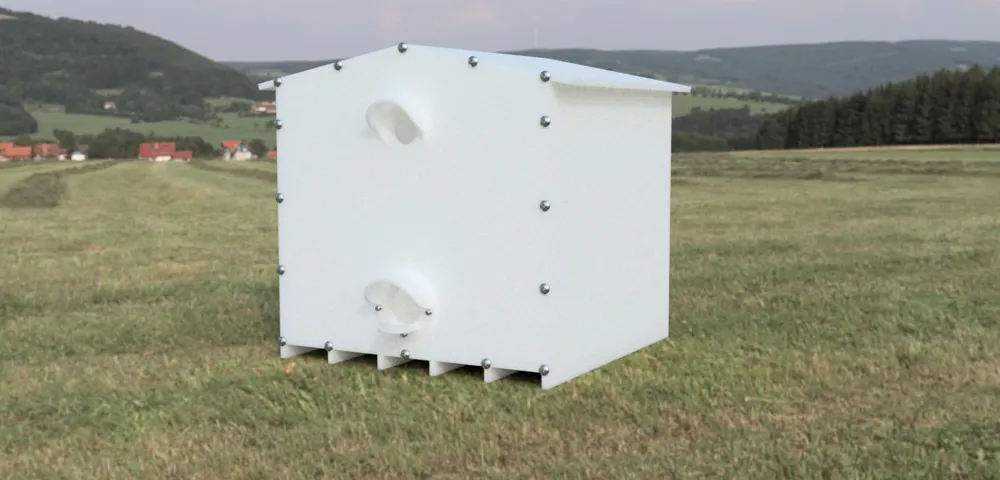
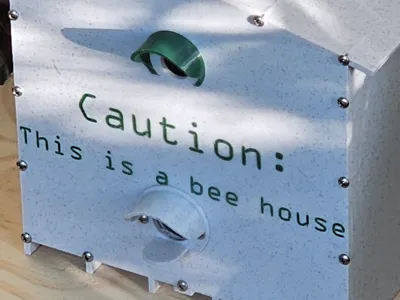
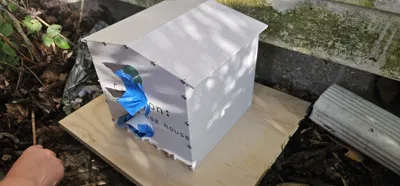
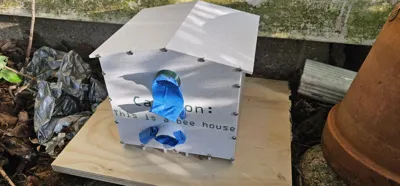
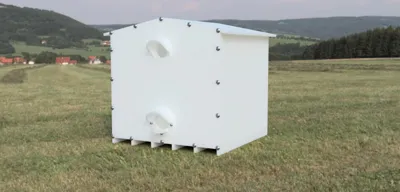
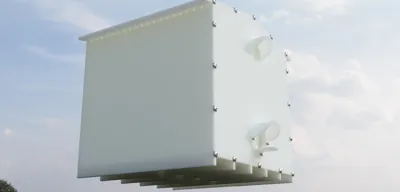
This is a bumble bee house. They can either go into it in the wild or in my case, for the ones I have placed in there from hive relocation.
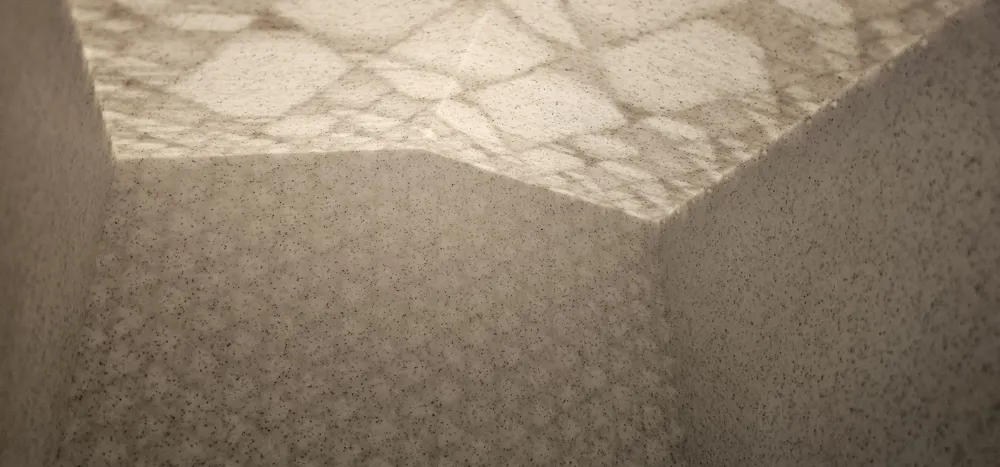
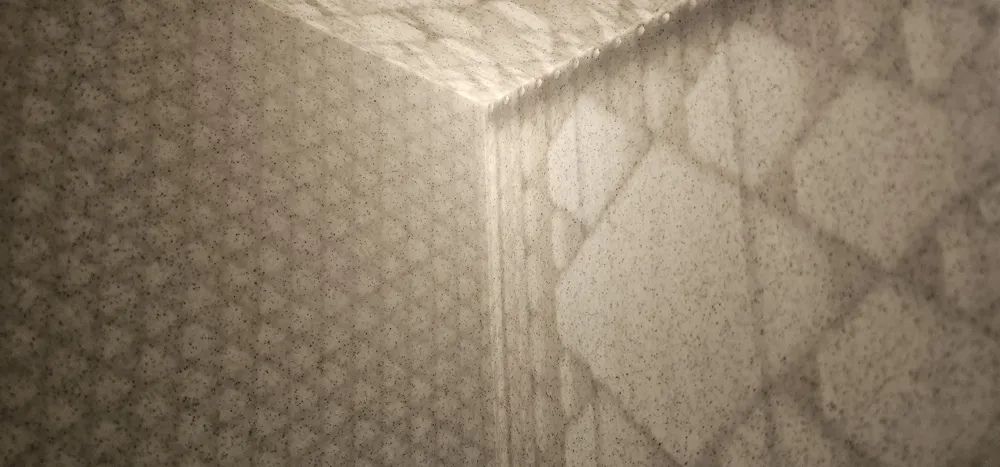
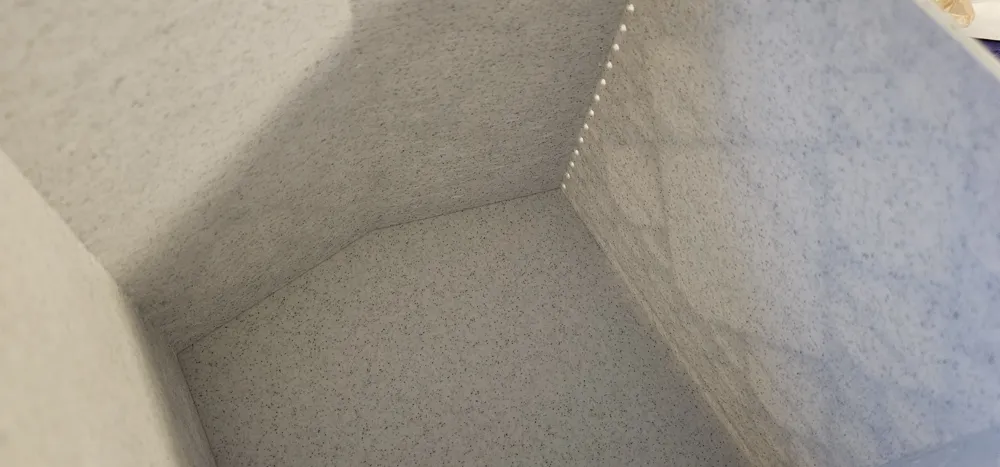
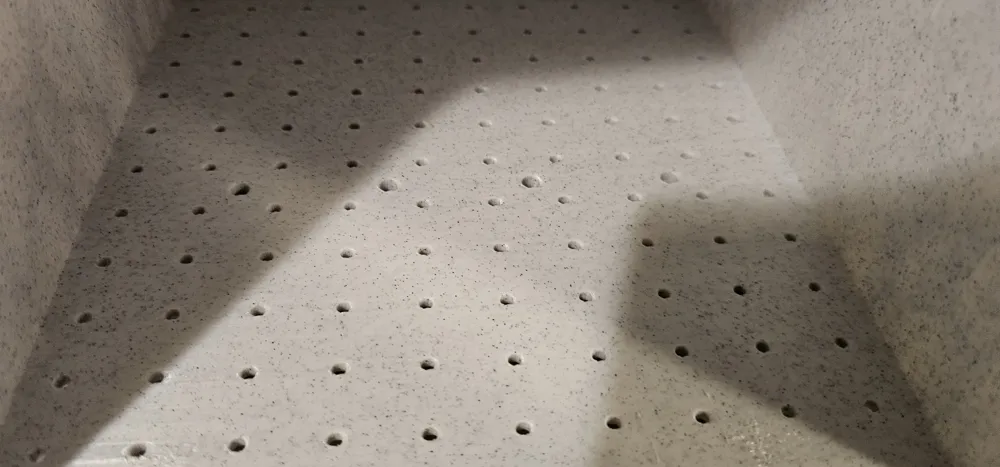
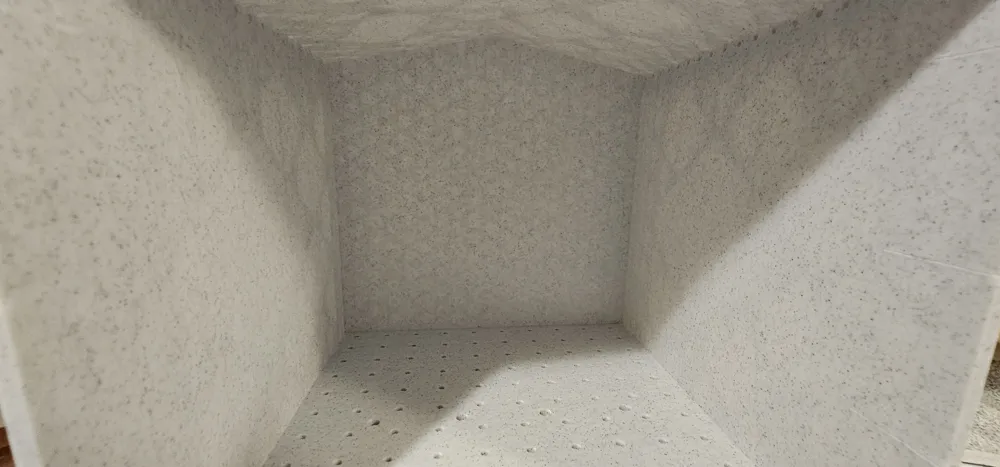
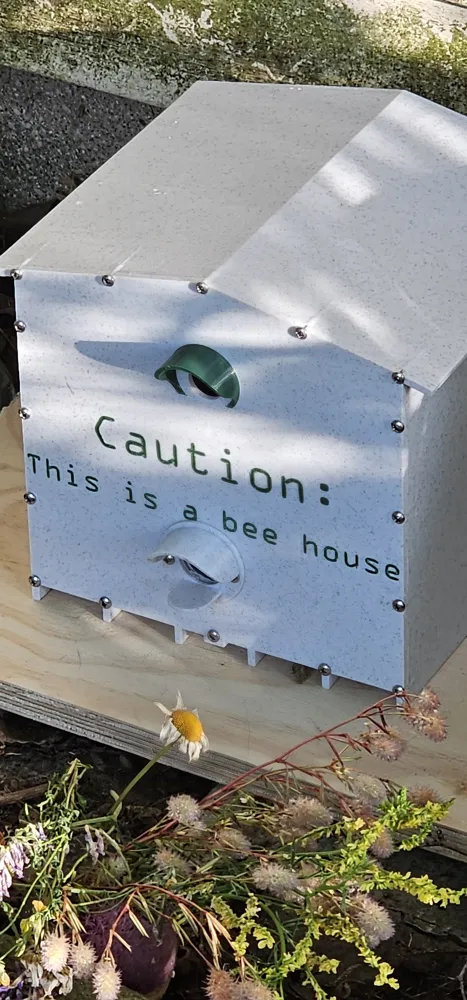
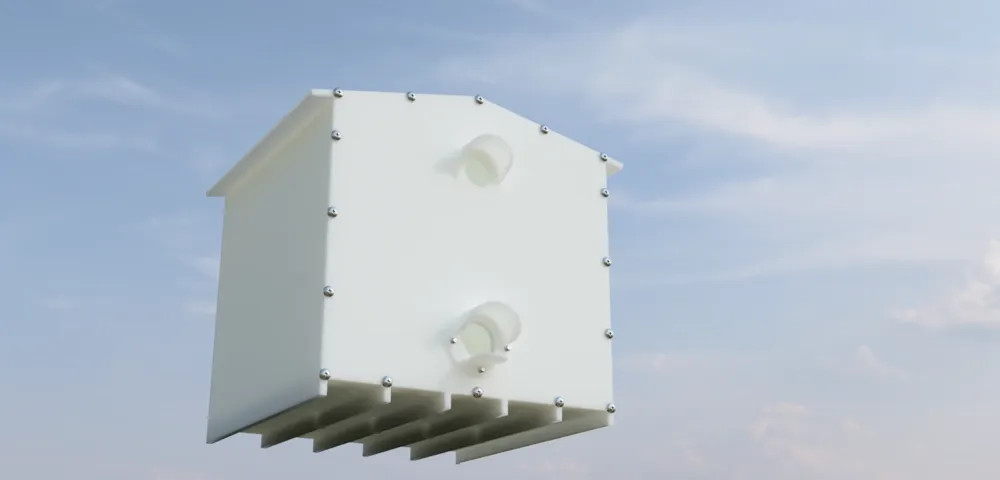
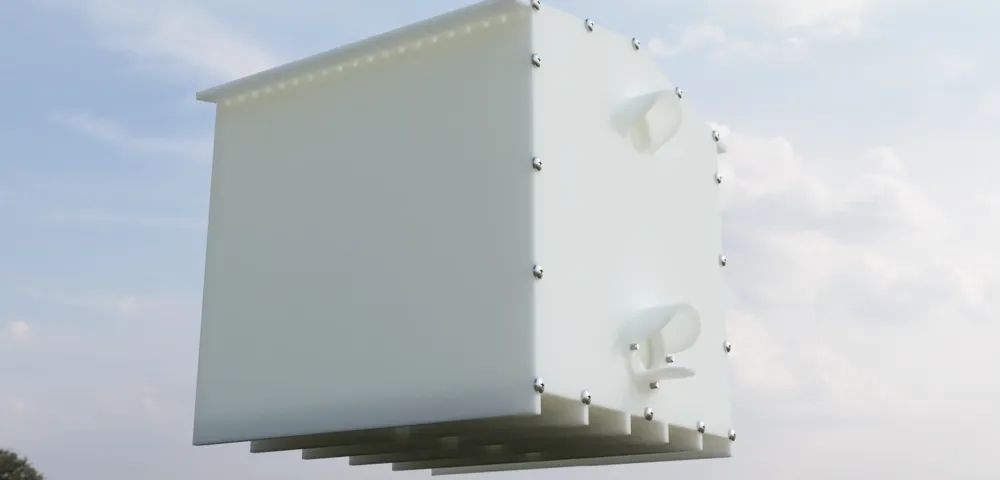
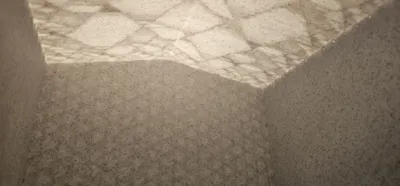
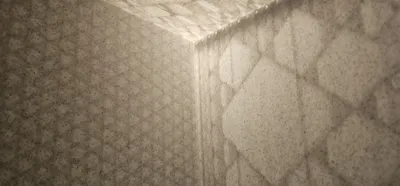
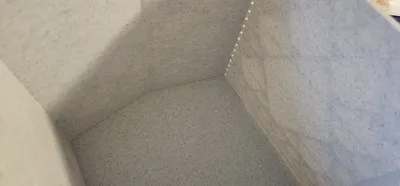
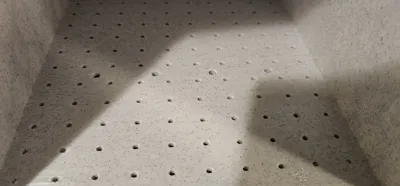
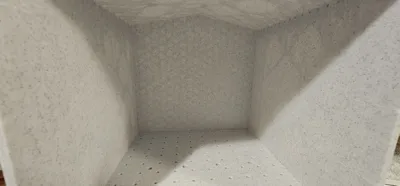
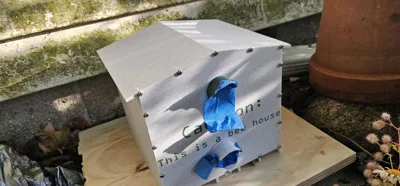
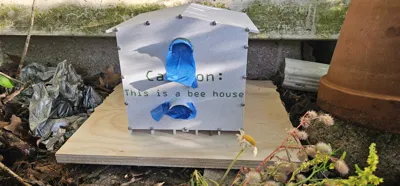
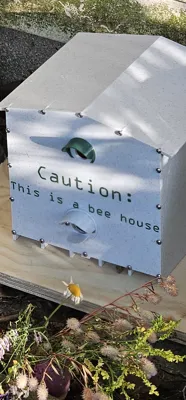
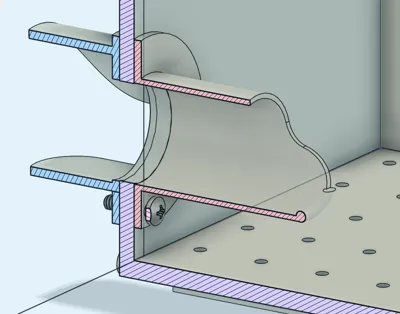
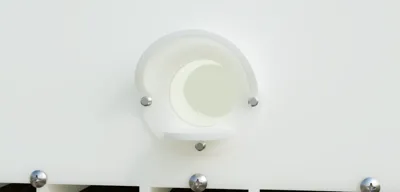
The opening hole is 1 inch; and the roof line has vent holes along with plenty of drain holes at the base. This was laid out to have an exterior and interior wall with an air gap between them to help insulate and keep cool in the summer. See photos for light transparency, this does not leave them in complete dark, but dim light.
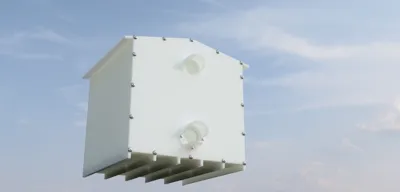
I am sure people can find several ways to secure this down, but the designed is intended to be screwed down to sturdy natural wood. Do not attach to pressure treated or ceder. The house itself is meant to be secured down by 1" #10 pan head screws or truss head. I would not use tapered screws as this will easily damage it. The underside has built in scaffolding to allow for ventilation and isolate rows to help keep pest away and manage air flow.
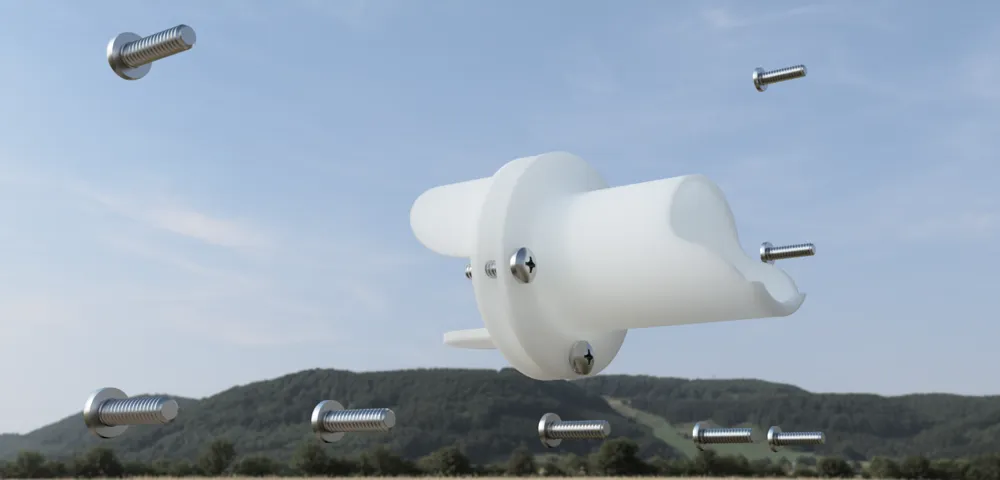
Front is held on with 16 #6 6-32 screws that can be 7/16 to ¾ inch long. The house has the thread printed in, but its really fine and small so I wouldn't expect this to print well; it will cut the imperfections as you screw it in. The face itself has the hole open larger to accommodate the shank of the screw and help keep it all aligned. Obviously be careful when screwing this a thin plastic shell. With the screws securing the face, the plastic should seal for the most part against rain. Then after the season, maybe very early spring, dissemble and remove the old hive so its available for the next years batch (presuming its occupied by a single year species).
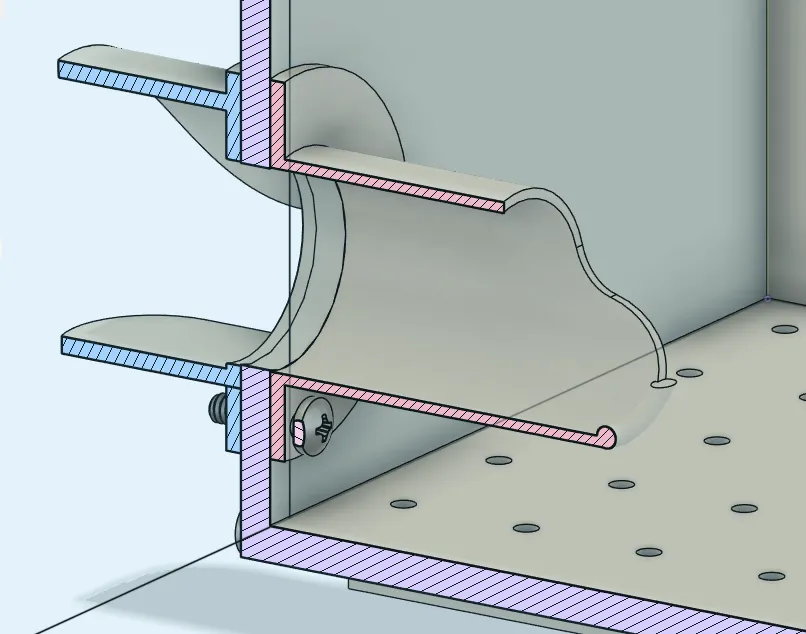
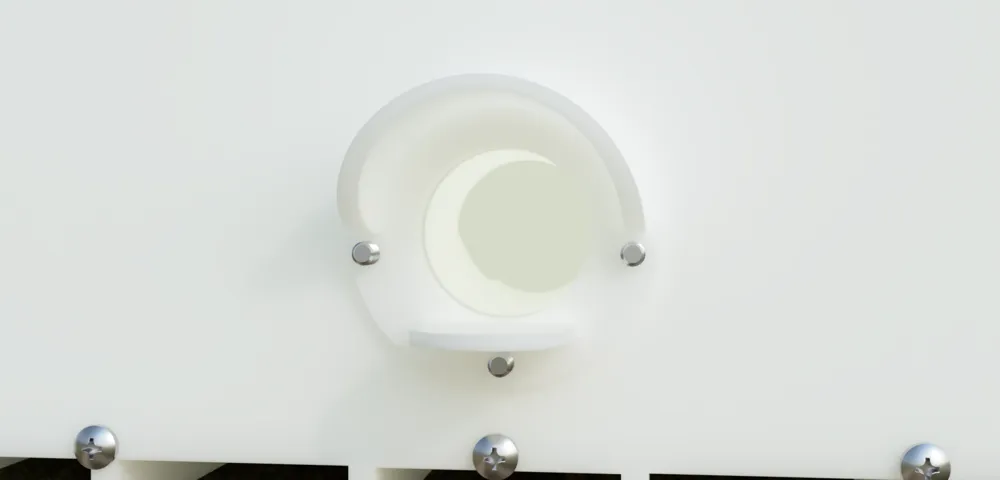
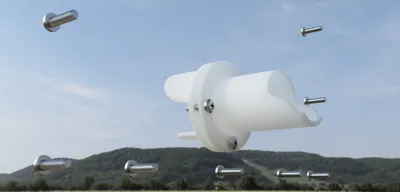
The internal part is uses 3 #6 6-32 screws to fasten it to the face. The long part on the bottom. It has a drip edge built into it to reduce water ingress. The tunnel should help mimic what they like in nature.
Remember, bee nest box's are normally placed in an area that would not have a direct sun light. You should also not use PLA. PETG or better only.
Parts List to Assemble:
19 - #6 6/32, 7/16 or ½ or max ¾ inch. (stainless steel or brass is recommended)
4 - 1" #10 pan head wood\metal screws. (stainless steel is recommended)
Internal Dimensions:
W = 7.87 inches
H = 7.40 inches (averaged)
D = 7.87 inches
Approximate volume: 458.12 in³
This housing has vent holes at the roof line, and the larger ¾ at the top. The entrance is at the bottom.
Assembly:
- I printed this in rock PETG from Overture; if you use this filament, follow their print settings, but change the nozzle temperature to 270C . You should not use PLA. Additionally, you must use a white or near white color, as a dark material will cook them off.
- After printing all 3 plates….
- The “internal” entrance gets screwed to the face plate. Long part to the bottom; its clocked by the screws so it only goes one way. See rendered photos if you need more help..
- Screw the face on, start on the roof line to maintain a good sealing surface.
- Place in a shaded area. The placement should never get exposed to direct sun; make sure its that way throughout the season(s).
- Hope she takes up residency here and not some where that you have to relocate or kill them.
Notes:
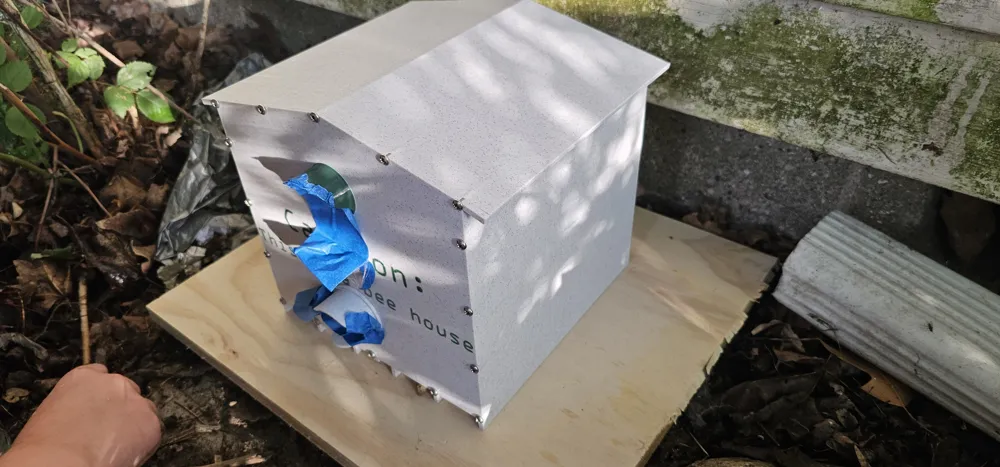
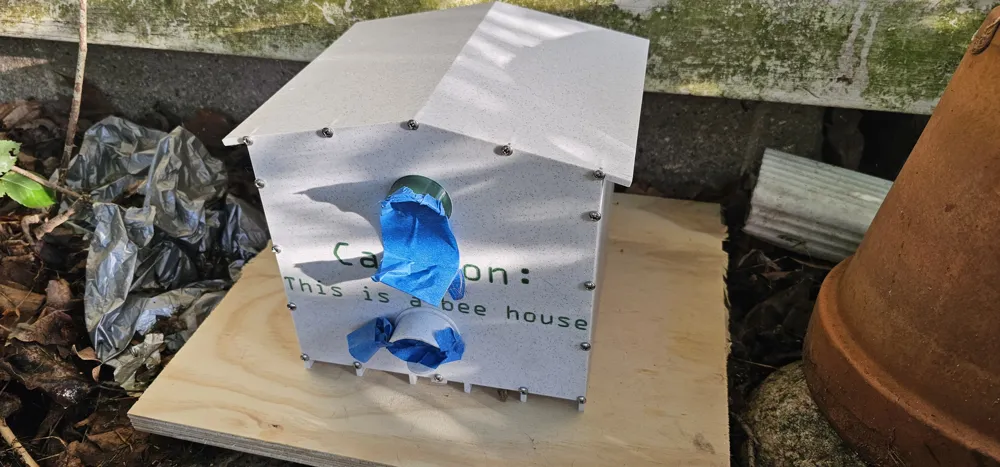
In the photos is my first revision, so it may be slightly different like color, and screw location on the entrance; as I forgot to take into account of the pan head clearance and nobody wants 100 million filament changes.
Should also point out to those who are relocating, the masking tape has tape on the sticky side of the holes to prevent the bees from getting stuck to them, should they have crawled to to them while setting up. Do not put sticky areas on the holes wile setting up, I am sure this is self explanatory.
Reminder, again:
- Print in a light color in PETG or other nature resistant plastic, not PLA.
- Do not secure to pressure treated wood or ceder.
- Do not place in direct sunlight, make sure its indirect during the seasons. Or you will cook them.
- Do not place in a high traffic area, or near periodical disturbances like a lawn mower or dog run.
License

You shall not share, sub-license, sell, rent, host, transfer, or distribute in any way the digital or 3D printed versions of this object, nor any other derivative work of this object in its digital or physical format (including - but not limited to - remixes of this object, and hosting on other digital platforms). The objects may not be used without permission in any way whatsoever in which you charge money, or collect fees.


Comment & Rating (8)