
Phantom Plastic Printing Press V2.0
Print Profile(1)



Description
UPDATE 5/31/26:Dusty Press has Launched!I want to share some exciting work that I've been up to, in designing my own printing press from the ground up. My new model has now launched and can be found here: https://makerworld.com/en/models/2873918-dusty-press-lino-intaglio-plastic-printing-press
If you like my Phantom Press Remix, but you're looking for something more stylish, more retro, something that requires ZERO* additional hardware… Check this out! 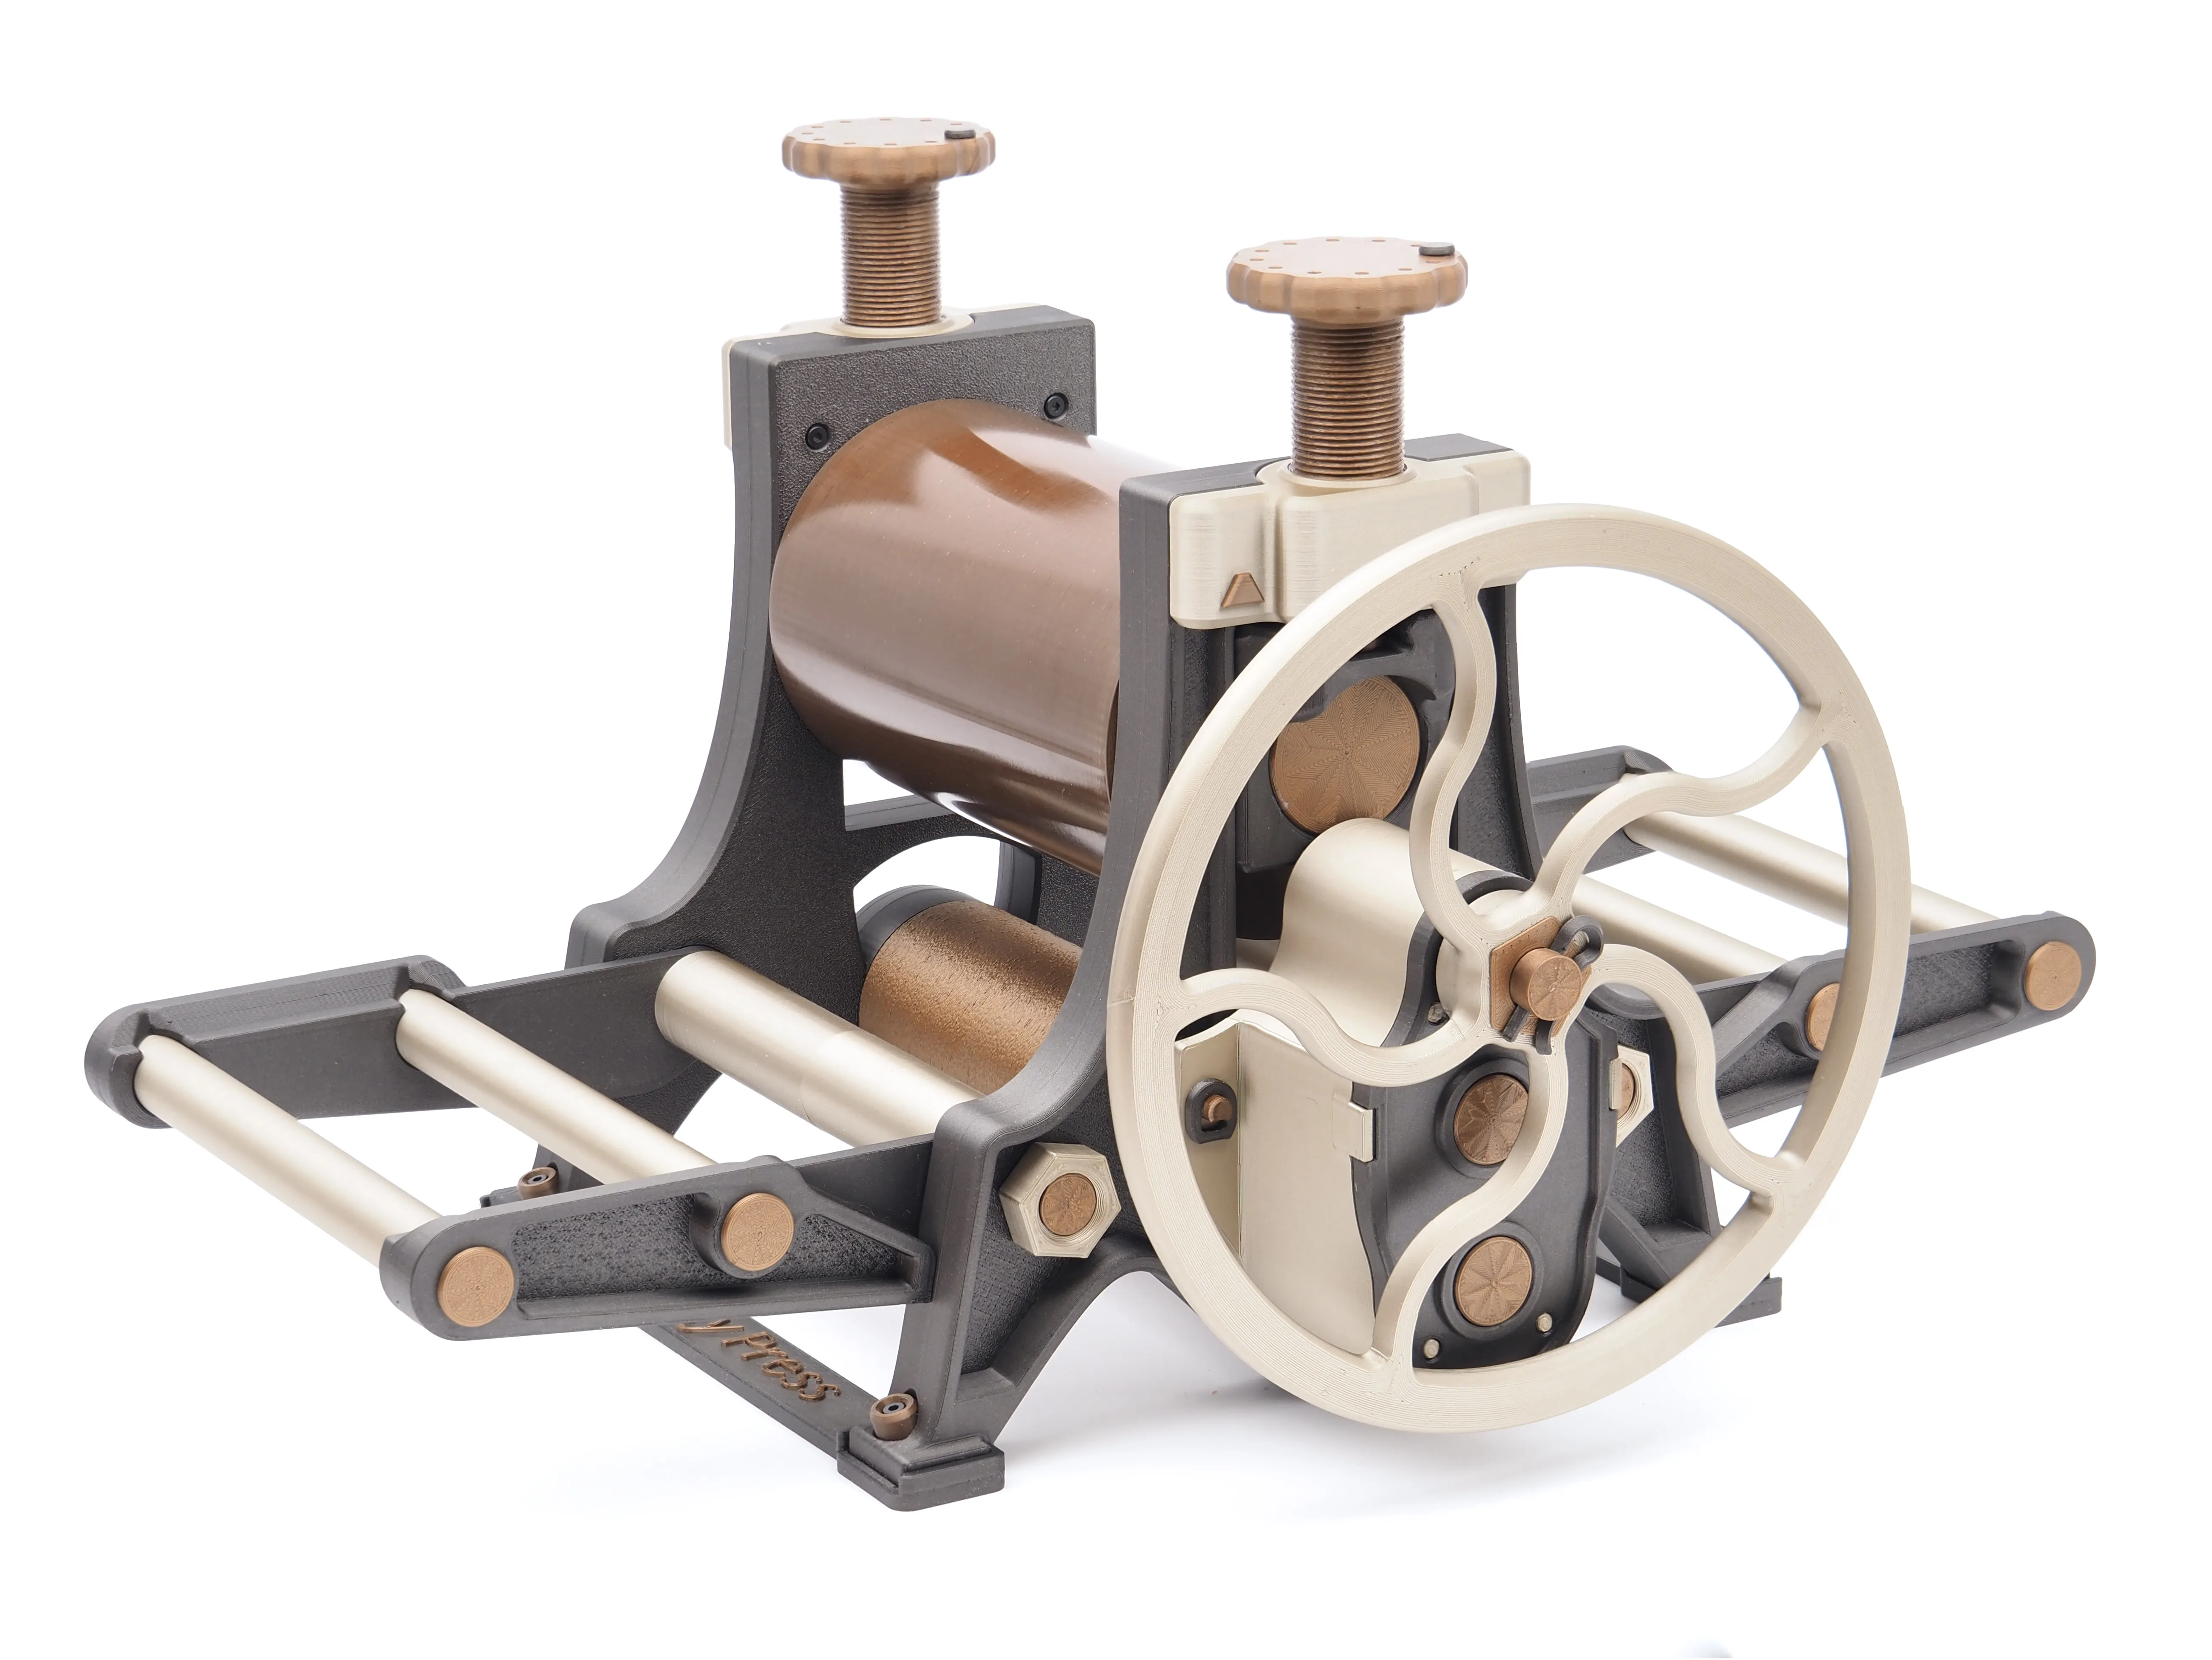
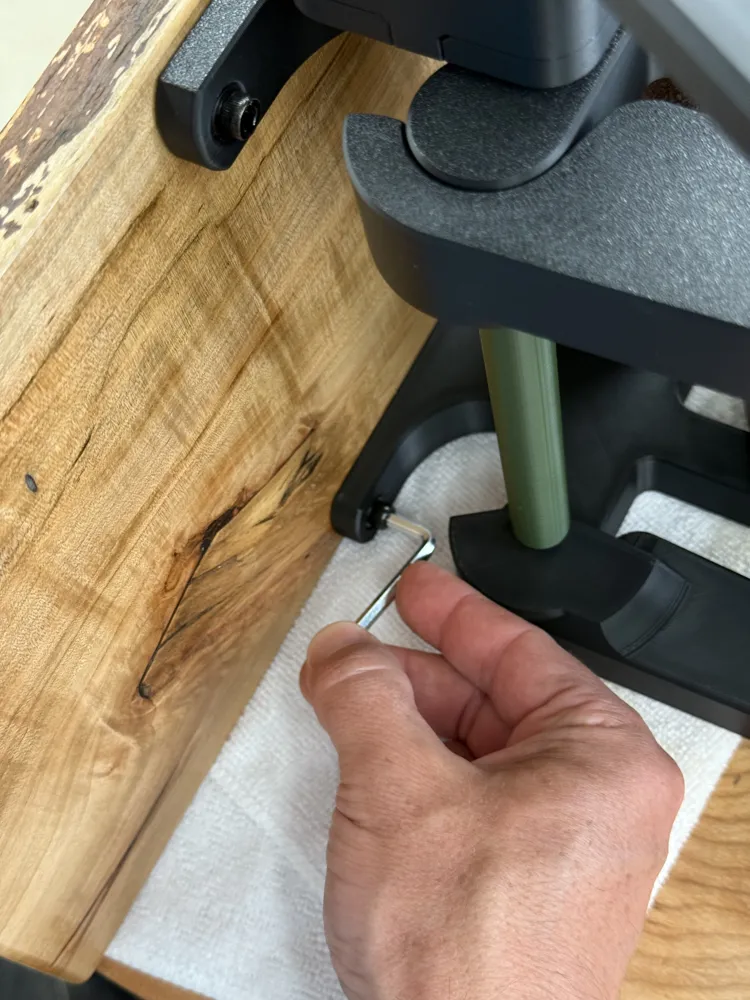
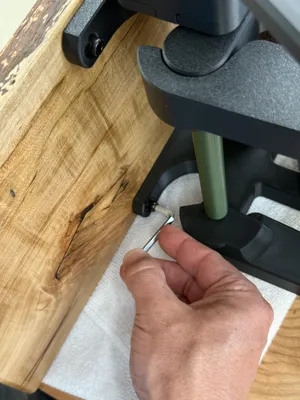
*The goal of this model was to require zero hardware to the fullest extent possible. All parts including the height adjustment screws, crossmembers with threaded ends and nuts etc, are 3D printed. This removes yet another barrier that may hold someone back from creating a printing press of their own! *There are 4 (optional) small screws to secure the screw brackets to the frame. These aren't entirely necessary but make it easier to remove the brackets in case a part needs to be replaced. There are two different options of easily accessible screws for this, with one that should be at any local hardware store.
|
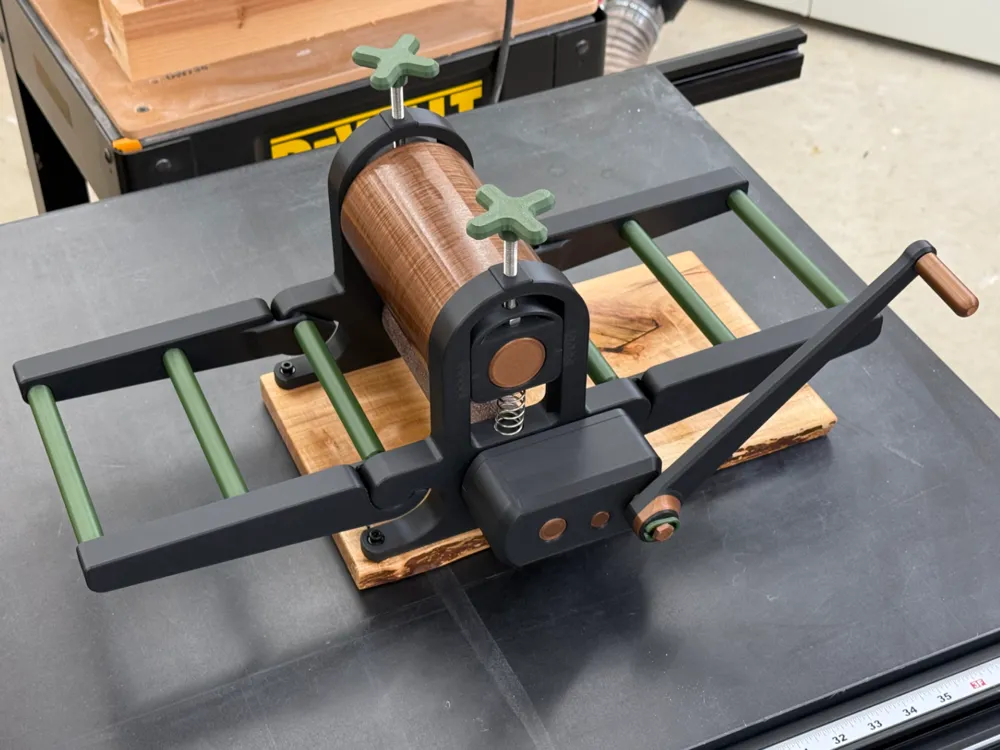
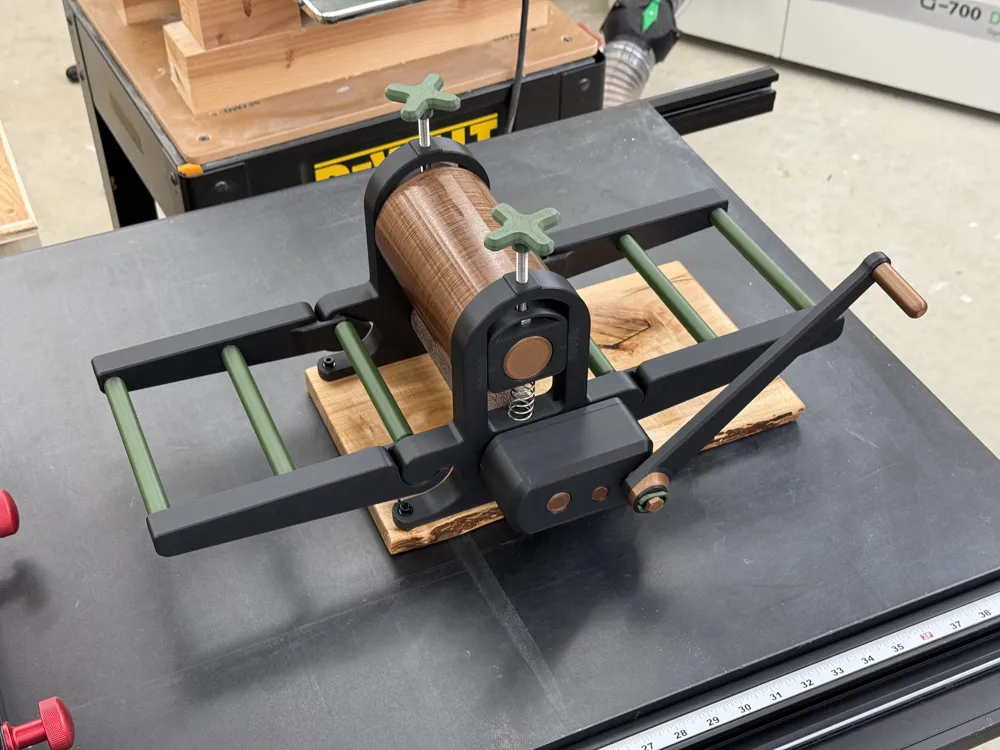
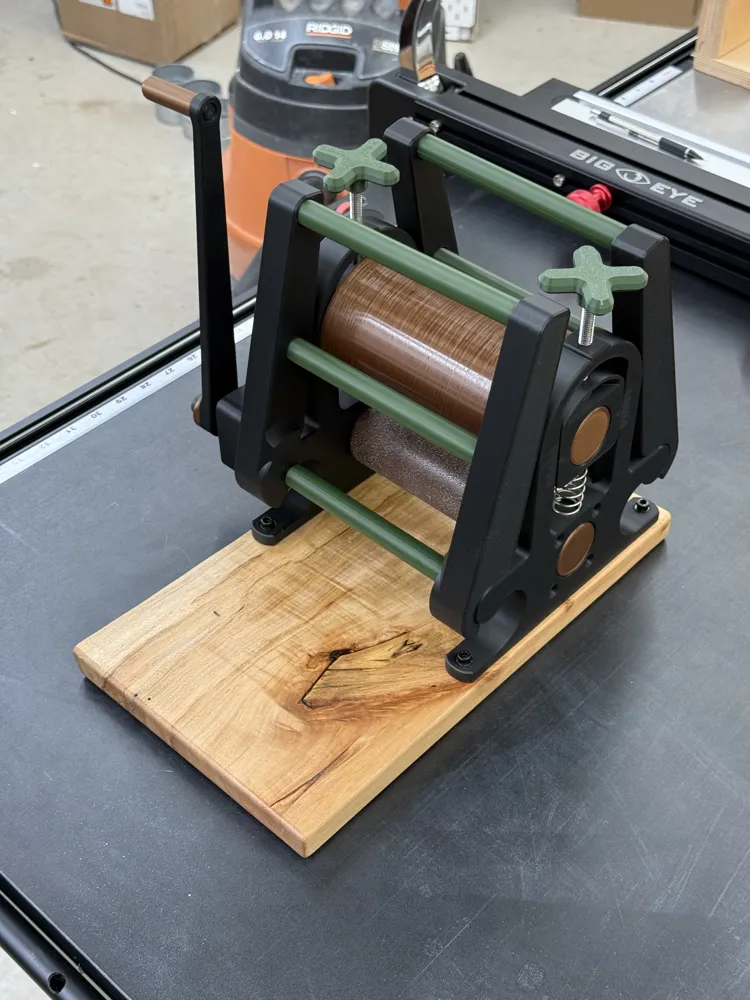
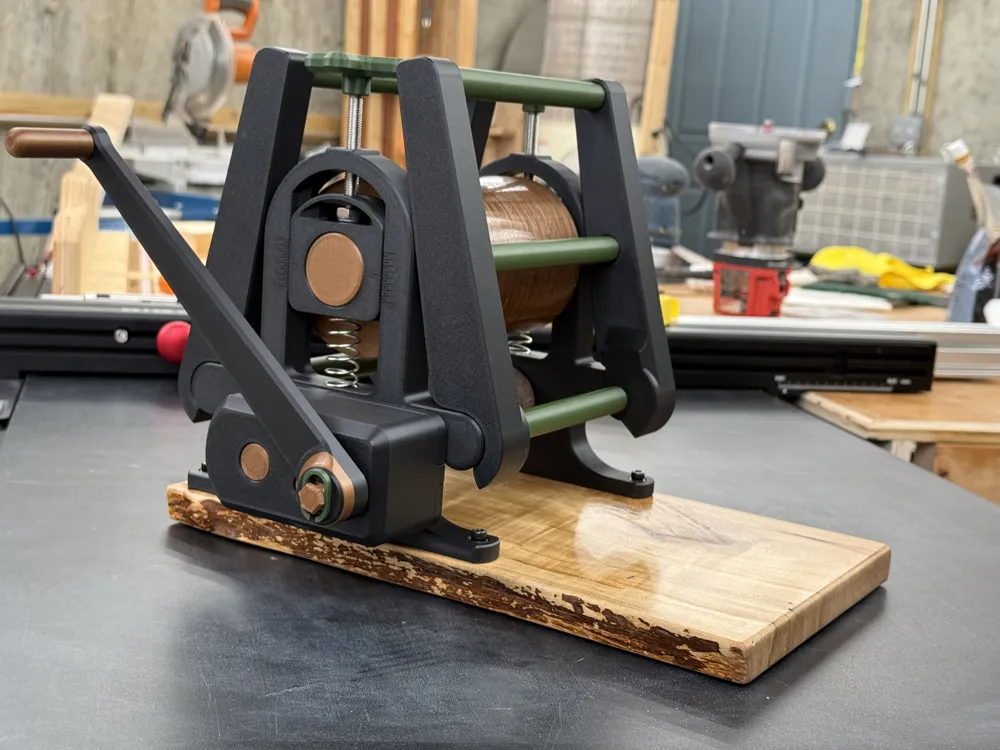
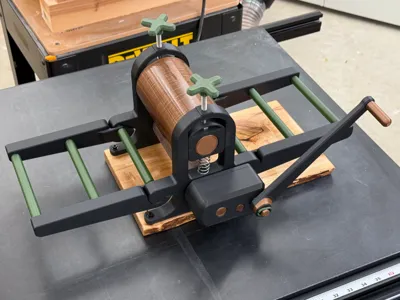
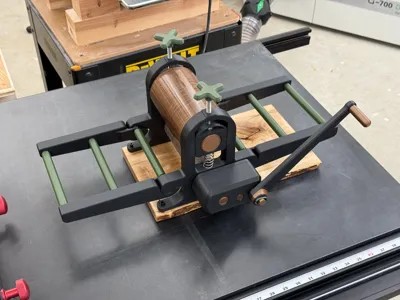
From SomePrintDude on Printables, I bring you the Phantom Plastic Printing Press V2.0!
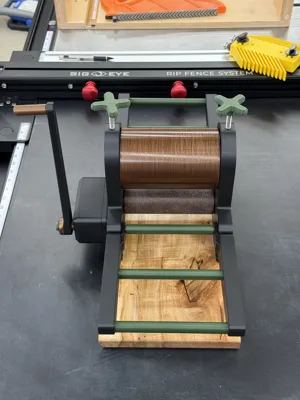
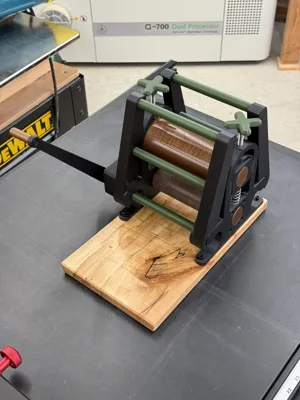
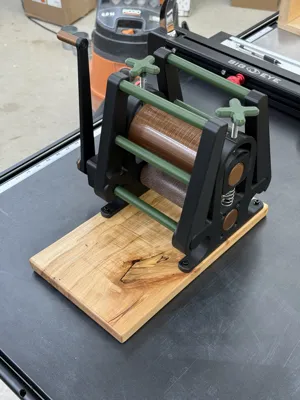
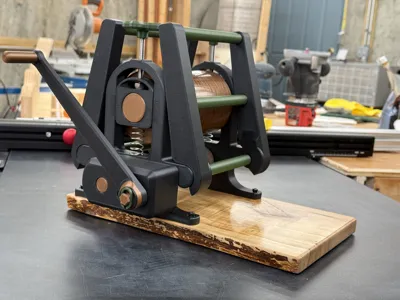
Fully set up remix on a single 3MF, split across 6 separate plates with attractive colors. The settings for each part have been crafted for success. This print takes quite some time to complete, but on a properly calibrated printer with a properly cleaned bed and quality/dry filament, each plate should print without issue. This is a great and functional model, that obviously had a lot of time put into design and testing. My goal is to just make it slightly better but more importantly, ACCESSIBLE for anyone with a Bambu Lab or comparable printer to make. This is a pretty big 3D printing project, and the time to set up each print from raw STL is no small feat. Commercially produced printers like these are also quite expensive to buy! So hopefully this helps at least a handful of people to make a dream a reality.
Boost Me (for free)
If you have a successful "Printing Press" print, I would greatly appreciate a boost to help me create and remix more cool things in the future!
Total print weight: ~1.5kg
Total print time: ~1d, 17h
Filaments used:
Elegoo Metal PLA Bronze - 663g - (Highly recommended for look, Bambu Bronze PLA should work nicely too)
Elegoo Matte PLA Black - 746g - Any good PLA will work here.
Bambu Lab PETG HF Forest Green - 134g - Any good PLA/PETG is fine to use for these parts.
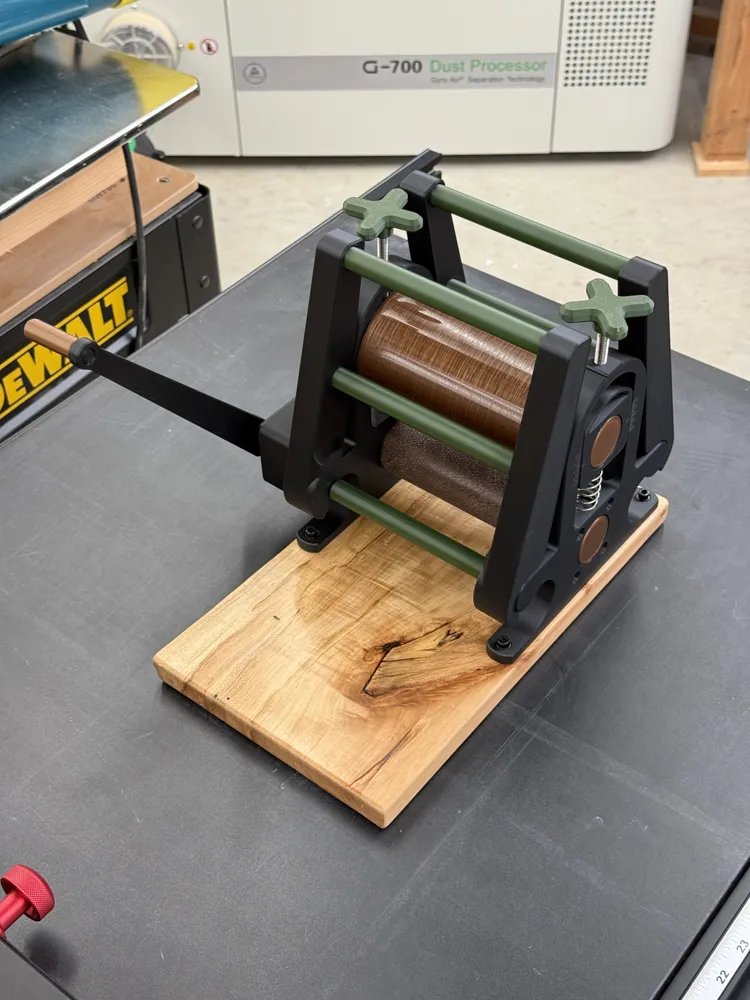
I have more pictures to come, but this roller press comes out beautifully especially if you use 2-3 different colors. This remix uses 3 different colors. For strength, you need to use PLA for the frame and rollers as it doesn't flex as much as PETG.. however, I did use PETG HF for the bed support rollers, connector rods, handles and lock pin. This was really just to use the color that I wanted, and for these parts, PETG is fine if not optimal.
Please see the assembly guide PDF for more information on assembly and a few other hardware parts that are needed. If you are looking for a printing press that requires little or even no hardware, please check out my Dusty Press instead.
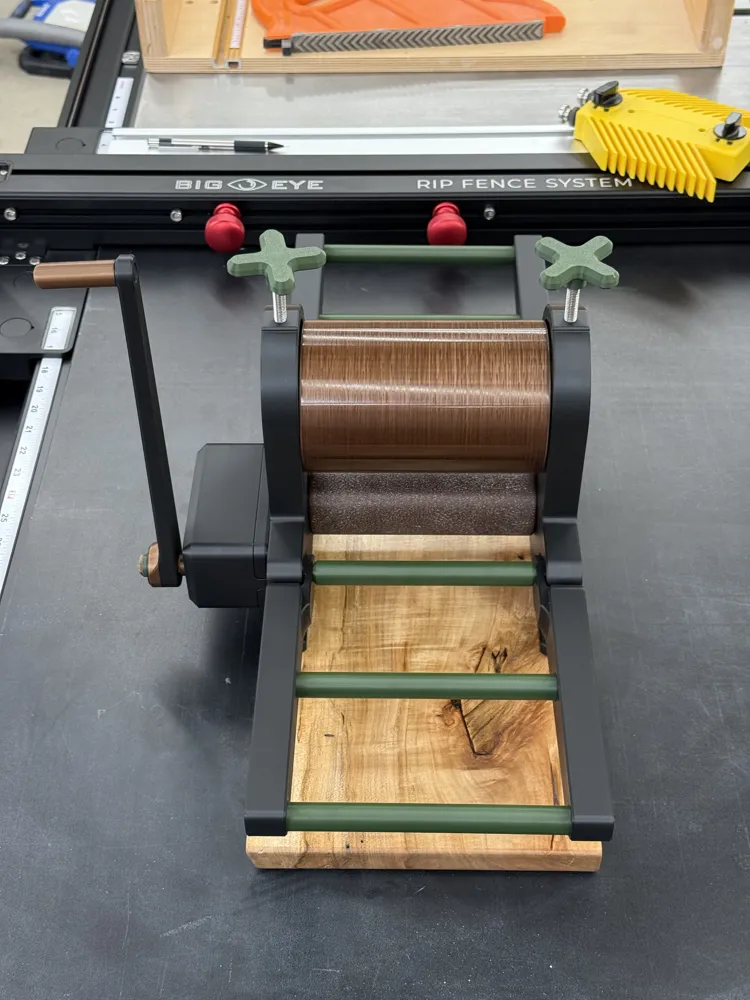
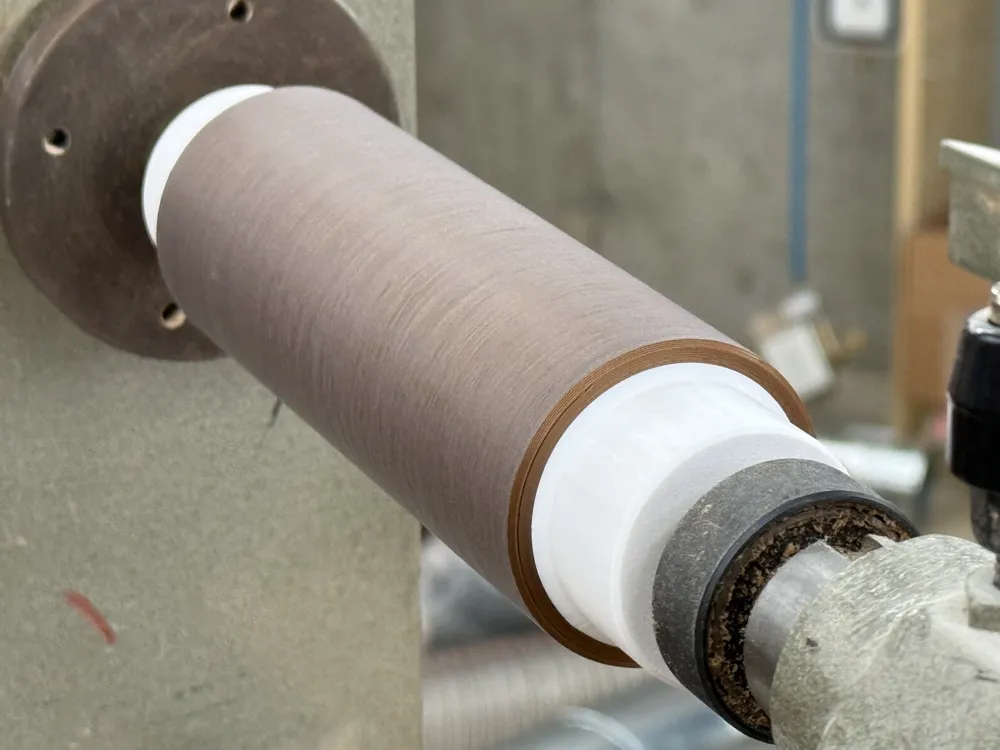
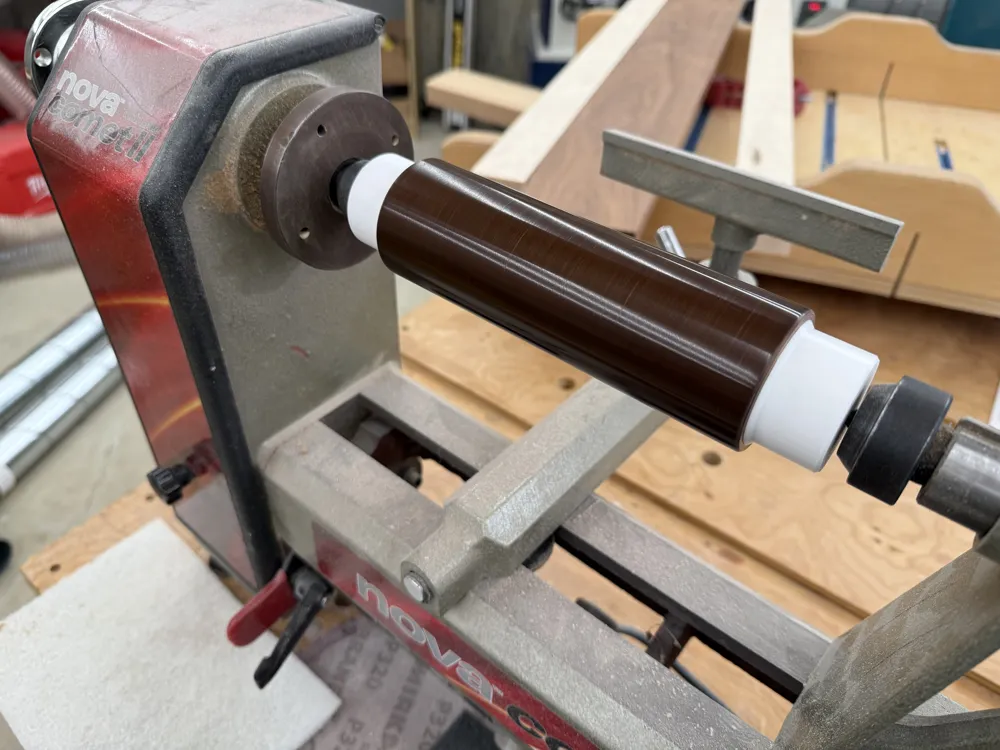
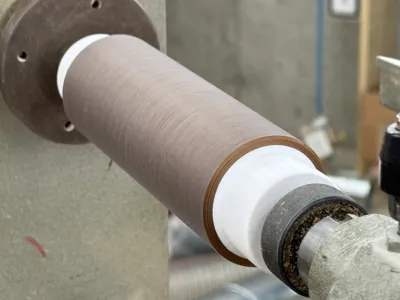
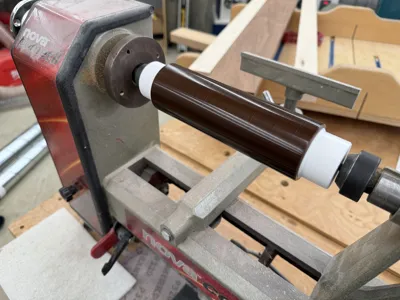
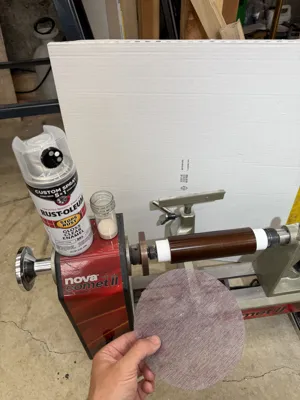
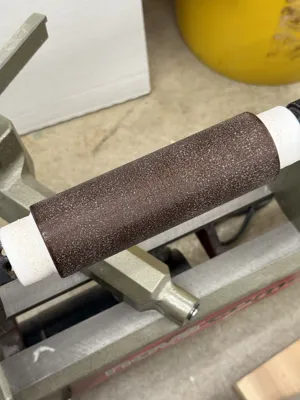
The press rollers are printed with a random seam to prevent lines showing up in your linocut/block prints. Do not change this setting. The rollers will need to be sanded to work properly. (but don't sand the lower roller too smooth, it needs to have some grip.. more on this below) This can be done entirely by hand, or you can use the lathe adapters I made (plate 7) to mount each roller on a lathe to make sanding much easier. On the top roller, I went from 120g all the way to a white scotch-brite type polishing pad and they turned out glossy!
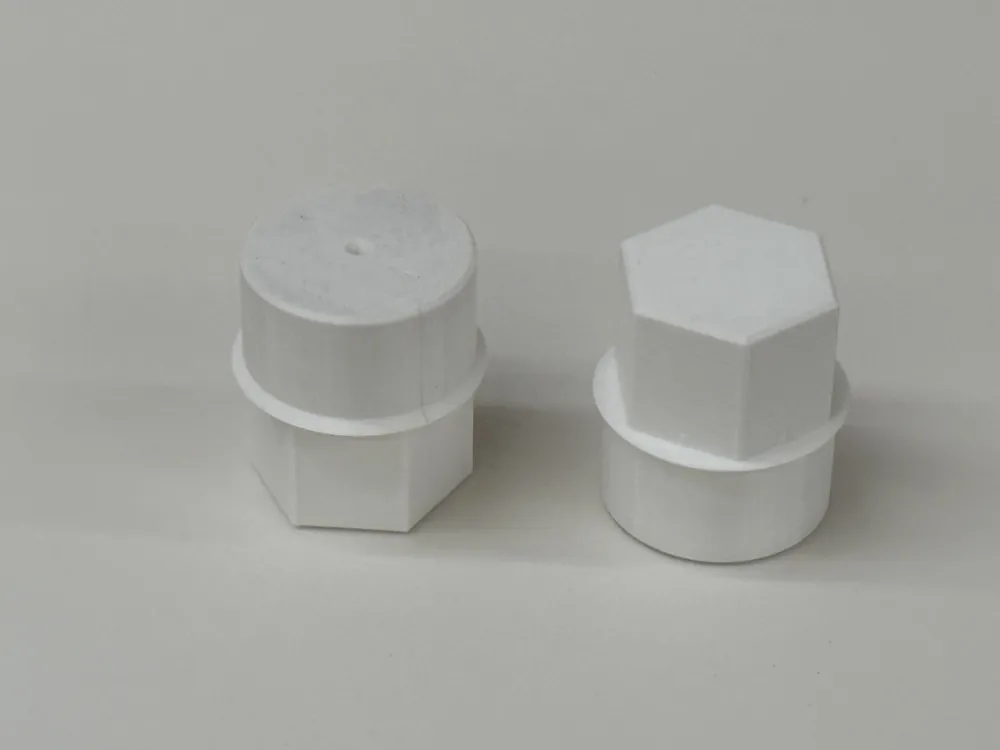
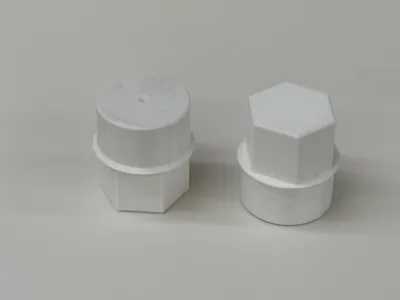
The lathe adapters have simple centering cone shapes that work with the basic drive center/live centers on my lathe. I made these in PETG for flexibility as the centers press into them. These take about 44g to make. Source file is included so you can modify them to fit your lather better if needed.
Geometry changes and other notes:
- -This print is done using the ‘split roller’ setup which is done with separate parts to connect the rollers to the frame. The other option is to print the main rollers as one piece but with supports, which I wanted to avoid for aesthetics, and also allows use of lathe adapters for sanding the random seam bumps.
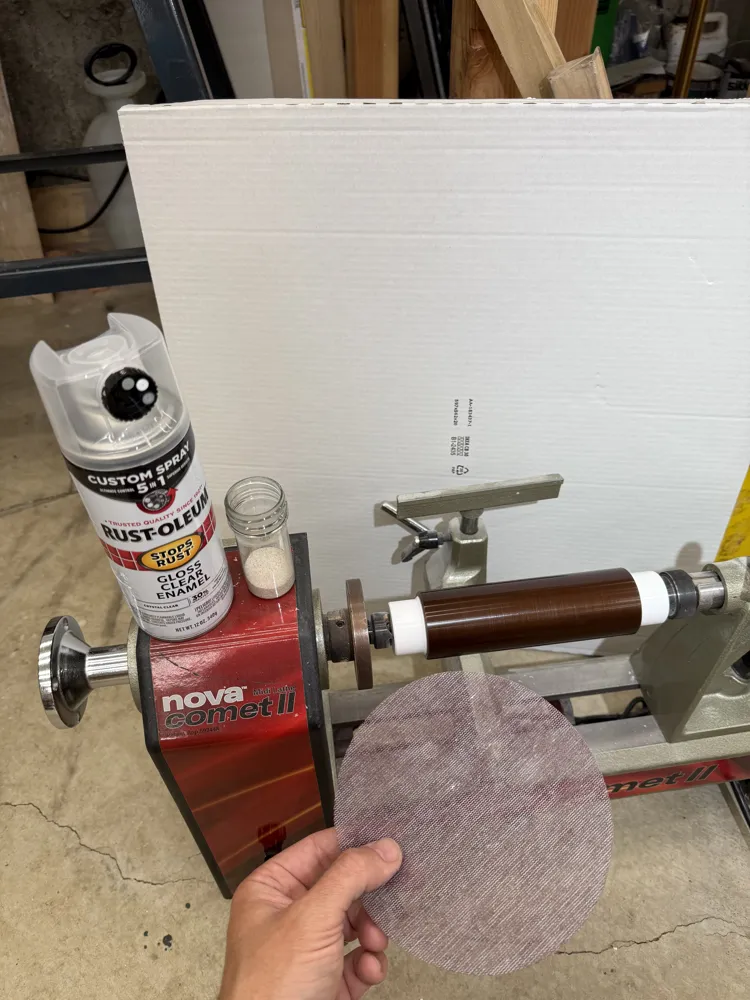
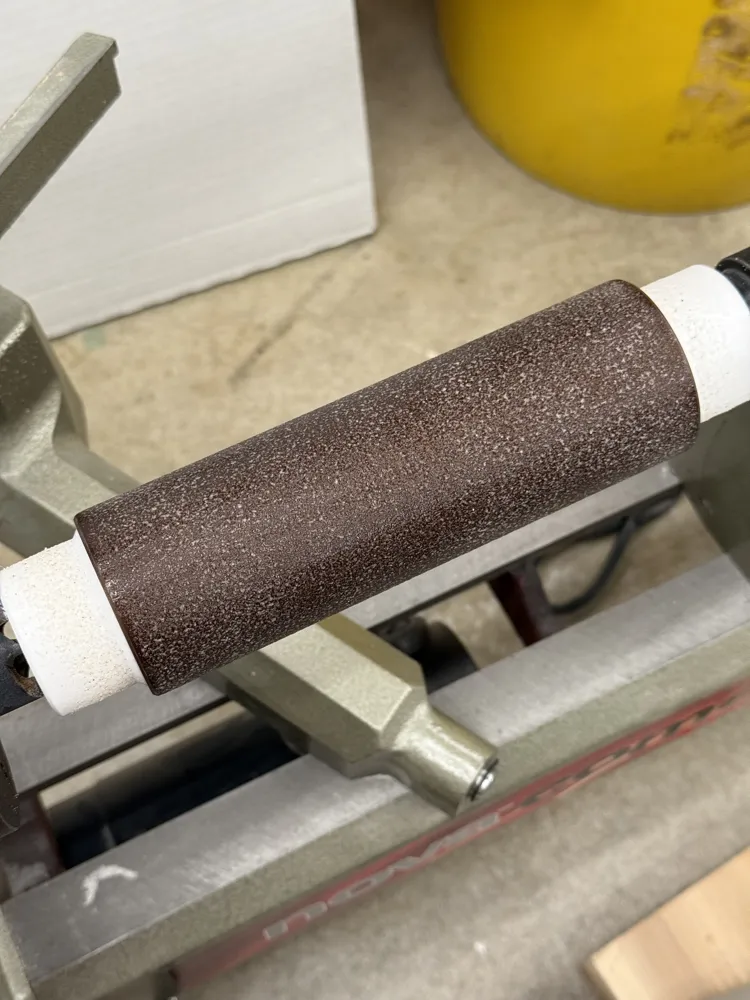
- After sanding, I sprayed the lower roller with clear spray paint, and then sprinkled fine sand into the wet paint, then another quick coat of paint over that to lock the sand in. After it dried I used 220 grit sand paper and lightly sanded the now “sandy” surface, just to knock down any of the high grains. Then I cleaned the roller with compressed air and gave it another fairly light coat of paint to “clear up” the surface. This was my method for making the lower roller grippy, which will help send the workpiece through. The other method is to use skateboard grip tape as shown in the assembly guide pdf. These are both optional steps but recommended for performance and ease of use. If you have a lathe I think my method might be the easiest way. I also had the sand laying around so the only thing I had to source was the spray paint.
- The roller ‘keys’ insert into the ends of the main rollers, and the keys go through the holes in the main frame pieces during assembly. I have modified these keys so that the chamfer of them now acts as a bearing surface between the rollers and the frame. This prevents noisy rubbing of the roller ends and allows for a tighter assembly.
- The extension wings require a support for the hollow pin that inserts into the frame. The original model used a geometrically modeled support, while this 3MF has a slicer generated support for more guaranteed success.
- The connector rods have been adjusted slightly to allow for a tighter assembly (in conjunction with the modified roller keys) and to allow for the assembly to be lightly clamped together, aligning the frame and rollers parts precisely. This should allow you to secure the frame to your desired base material more easily.
- The crank handle hex opening has been slightly enlarged for fit clearance.. On that note I will be working on a crank handle that will use hardware and small ball bearings for the knob assembly. It will require some assembly but the separate parts will work better for filament changes/color customization and should be smooth as butter in operation.
Please send feedback and questions. Enjoy!
Documentation (1)
This remix is based on

License



Comment & Rating (56)