
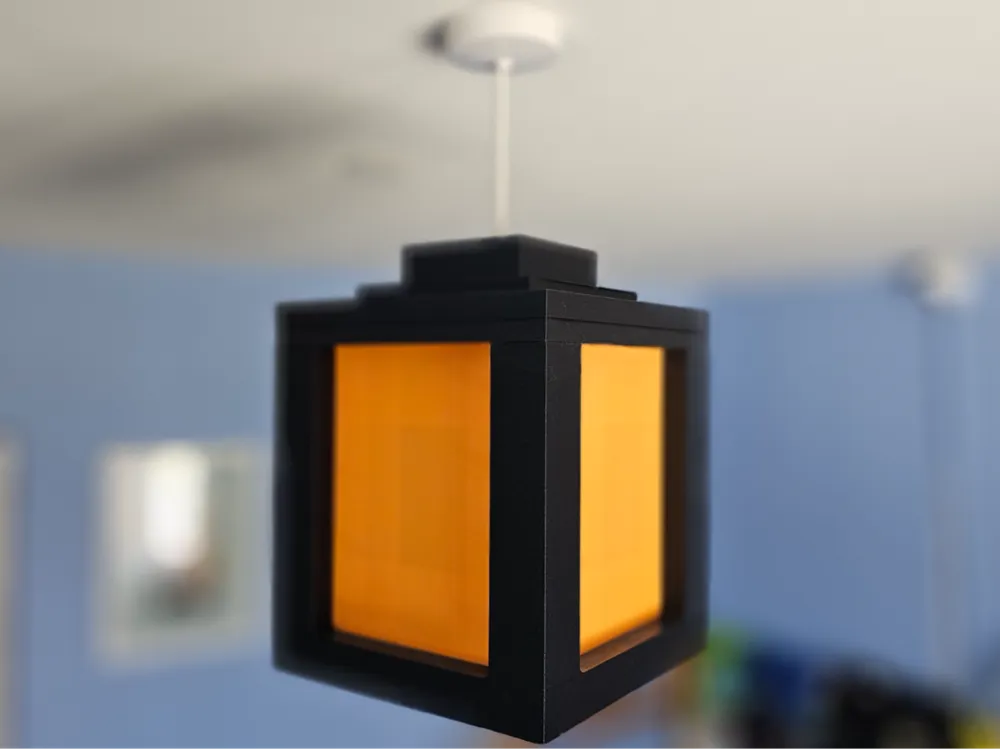
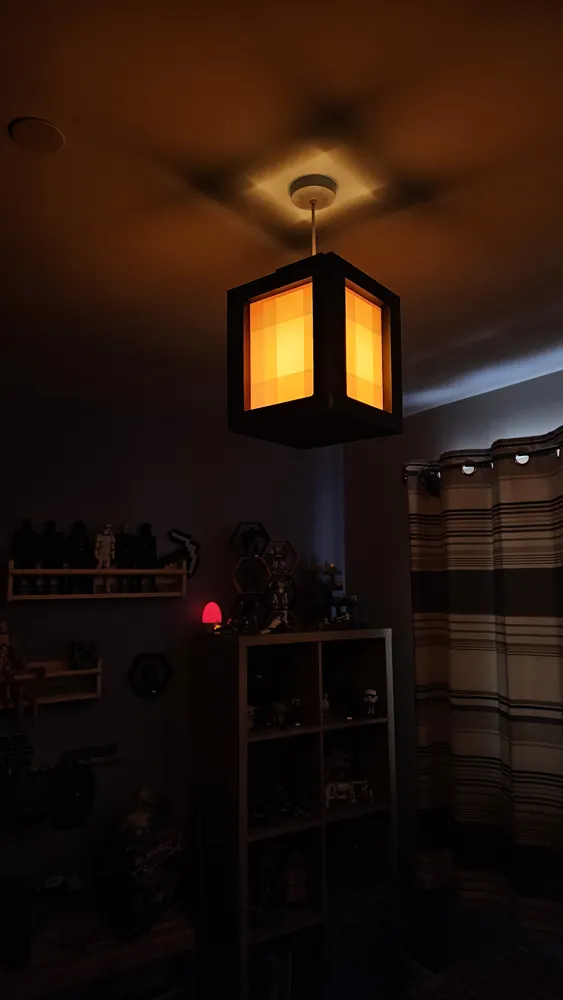
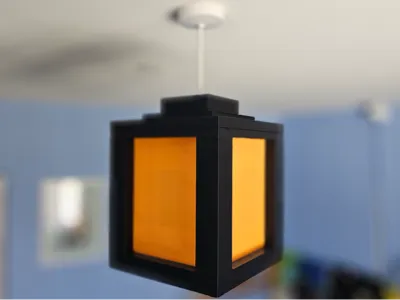
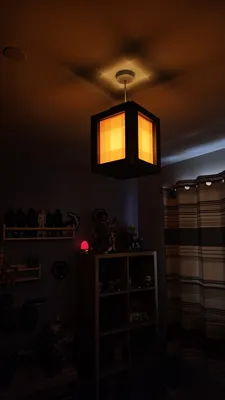
Minecraft Ceiling lantern Lampshade, light shade
Print Profile(2)


Description
Boost Me (for free)
If you like this model consider a boost, rate and comment, it helps me out
V3 version. I have added rounded edges and fillets to the sharp corners as there was a lot of warping being experienced. Up to now I have not had any warping when printing on the P1S. I have Also changed the infill type and % as it wasn't actually saving much weight and for certain filaments it was creating shadow effects on the surface.
I've also rounded off the top of the glue holes in the bulb holder so no processing is required in these parts now, they used to sag and need deburring but not anymore.
I suggest printing the large parts with the Brim Ears to help with Warping.
I have also changed some of the dimensions where the lenses fit in so they slide in easier now.
Please give me a comment, rating and boost if you like it, I considered making this private as I also sell these but would rather everyone had the benefit.
Boost Me (for free)
If you have used this file and like it please give me a boost, like and comment, helps me make more
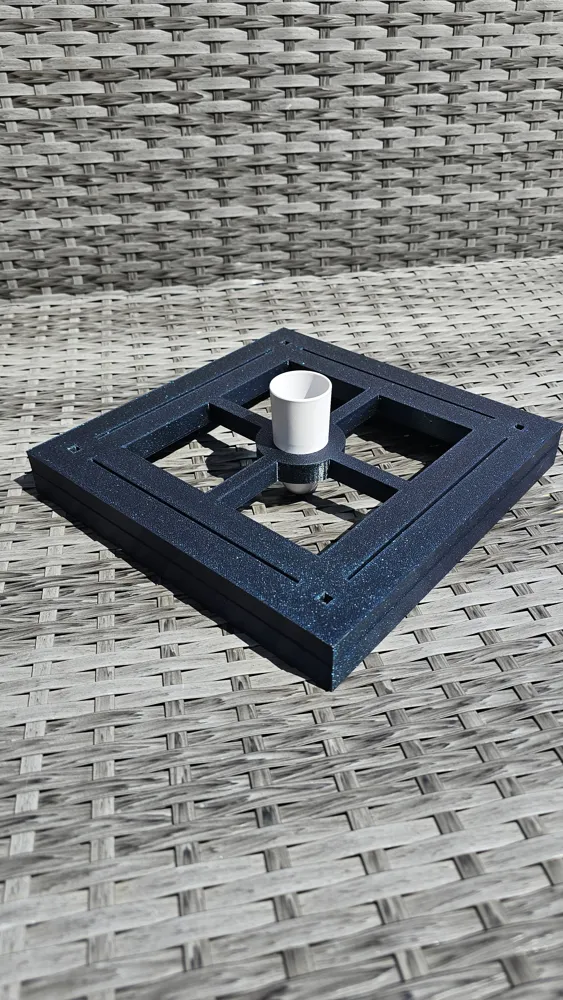
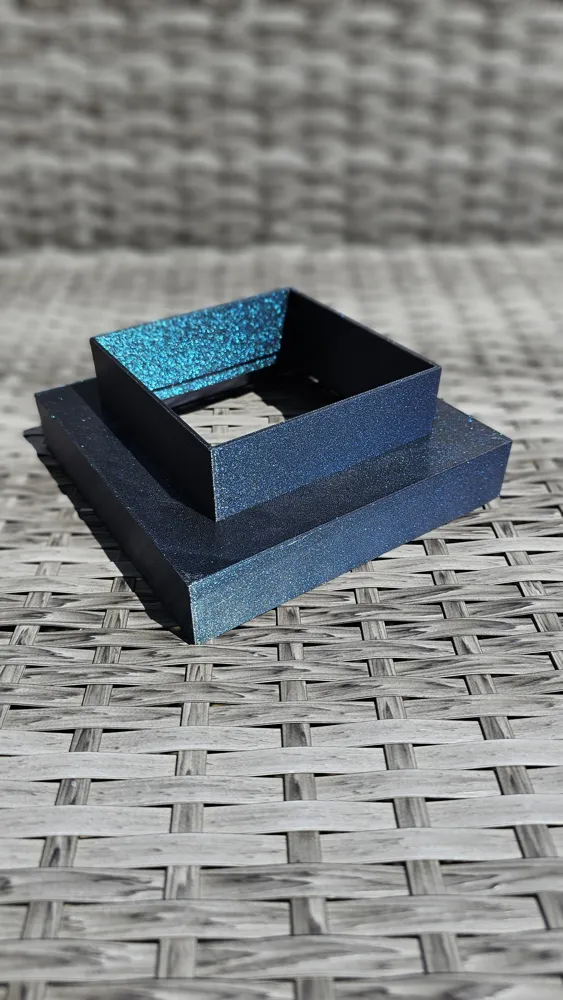
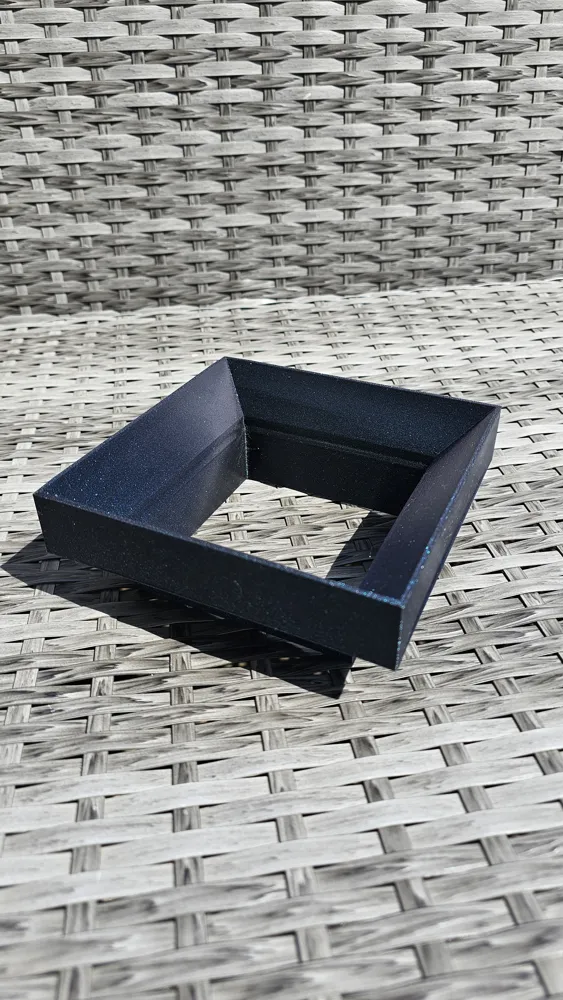
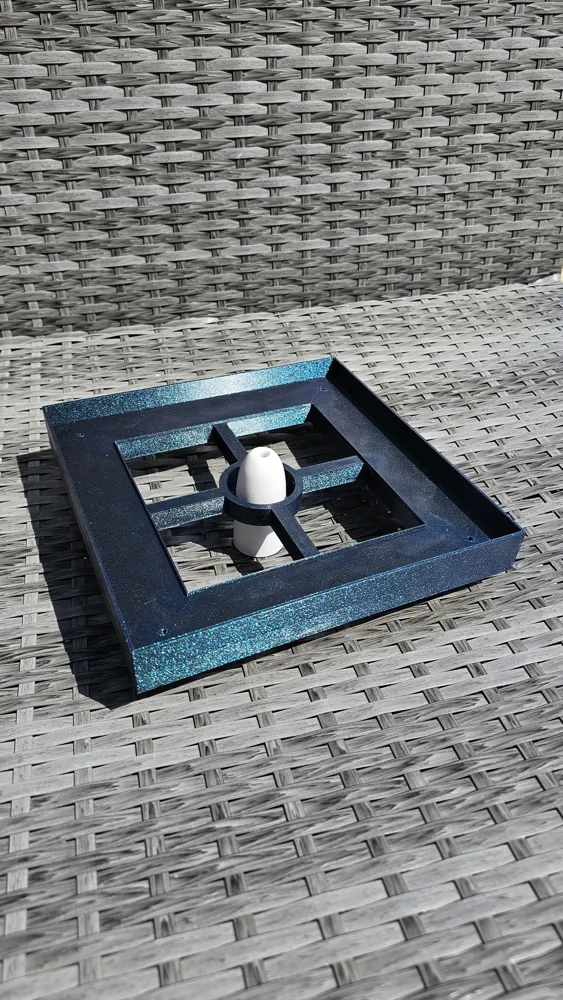
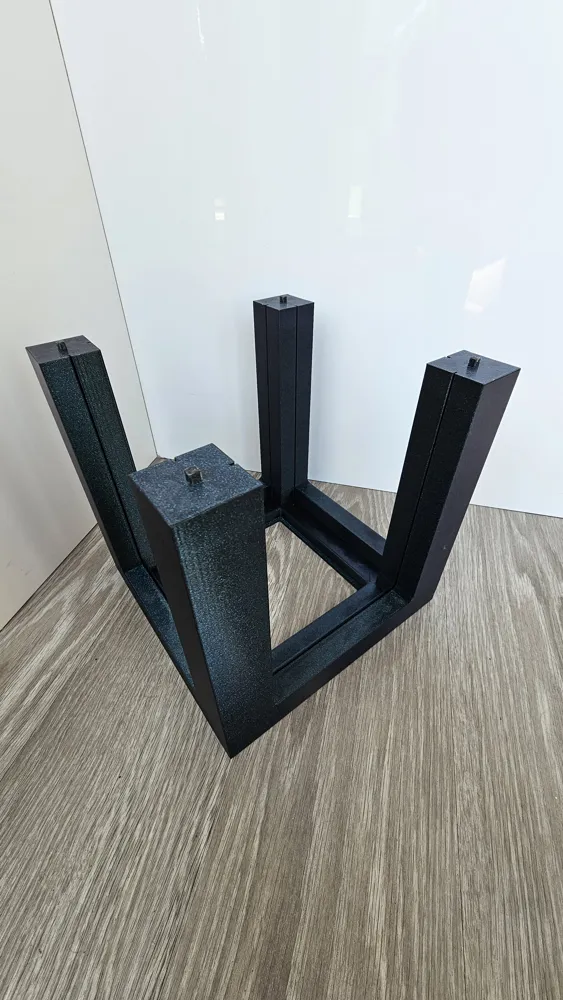
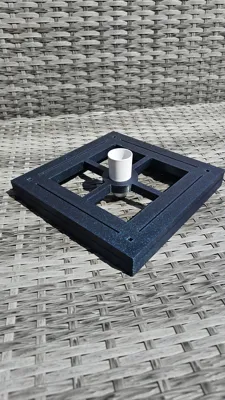
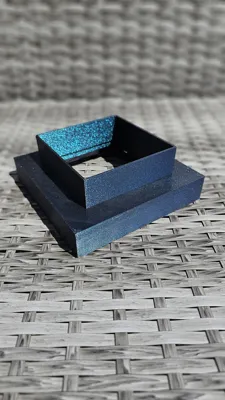
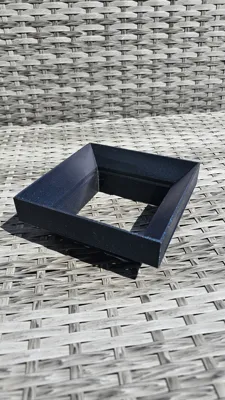
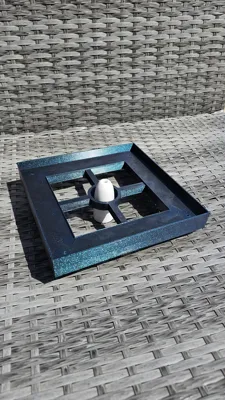
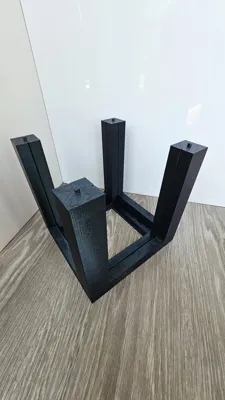
This model is made up of several parts.
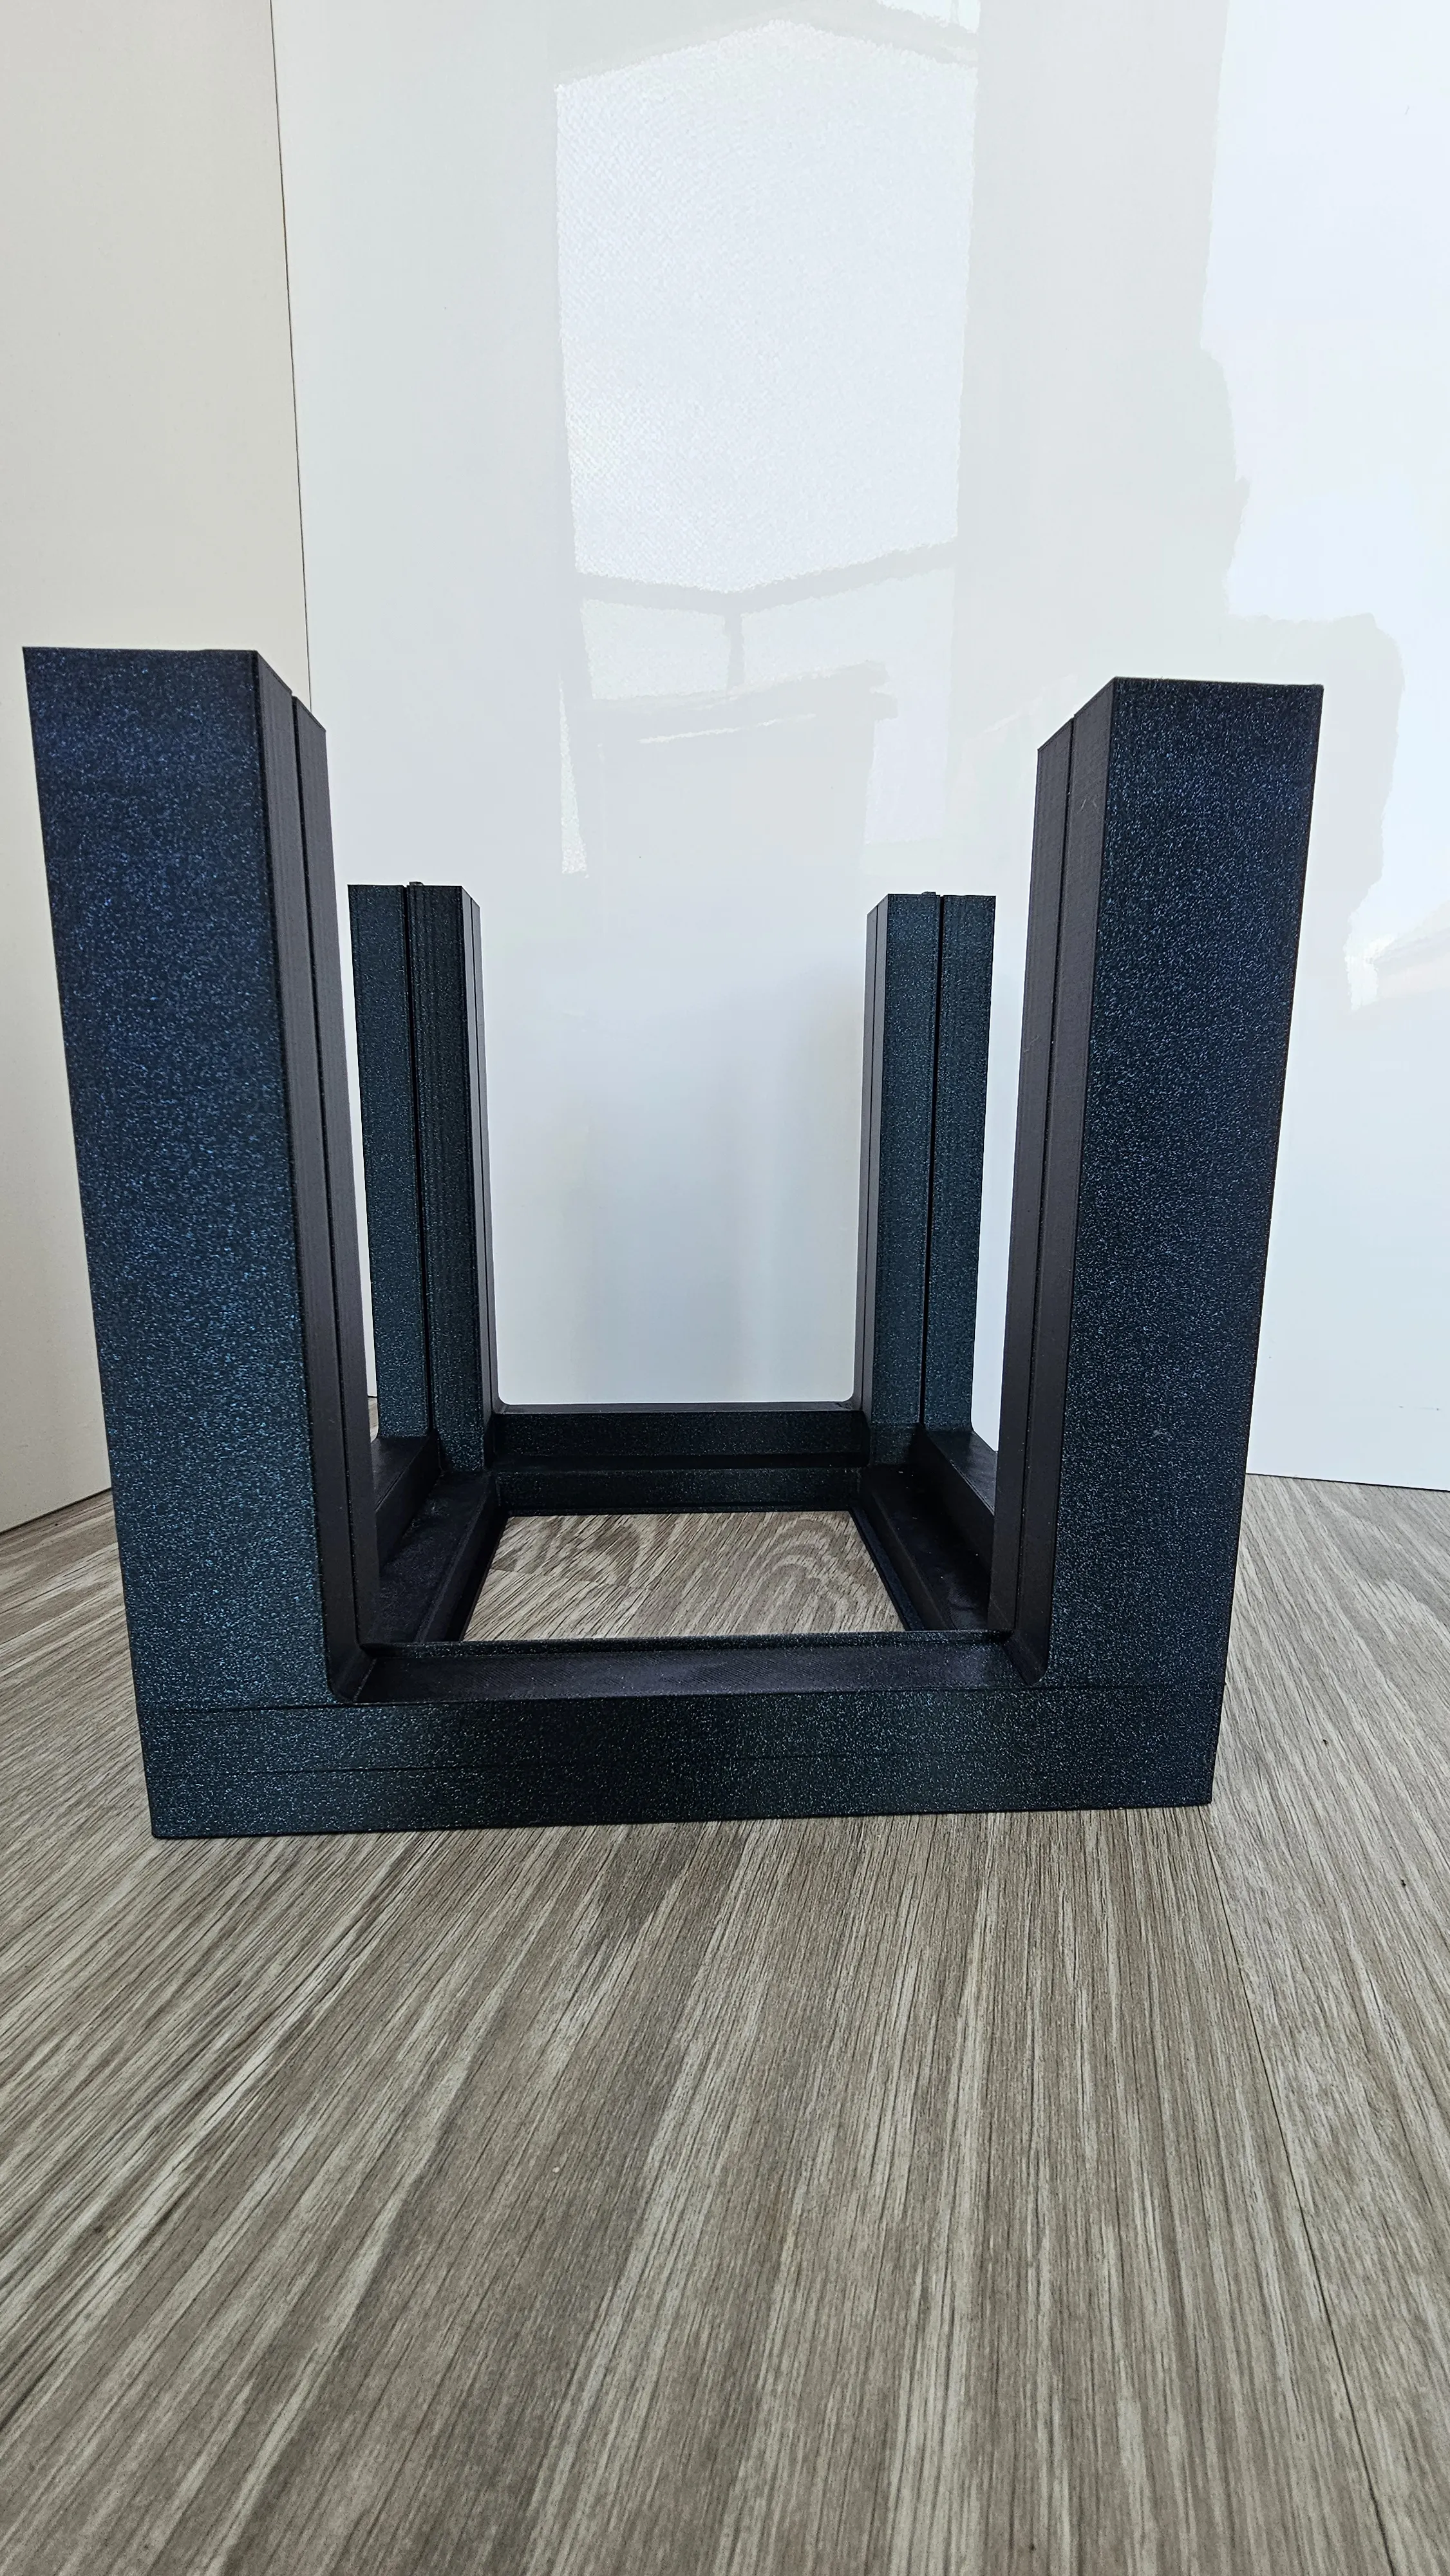
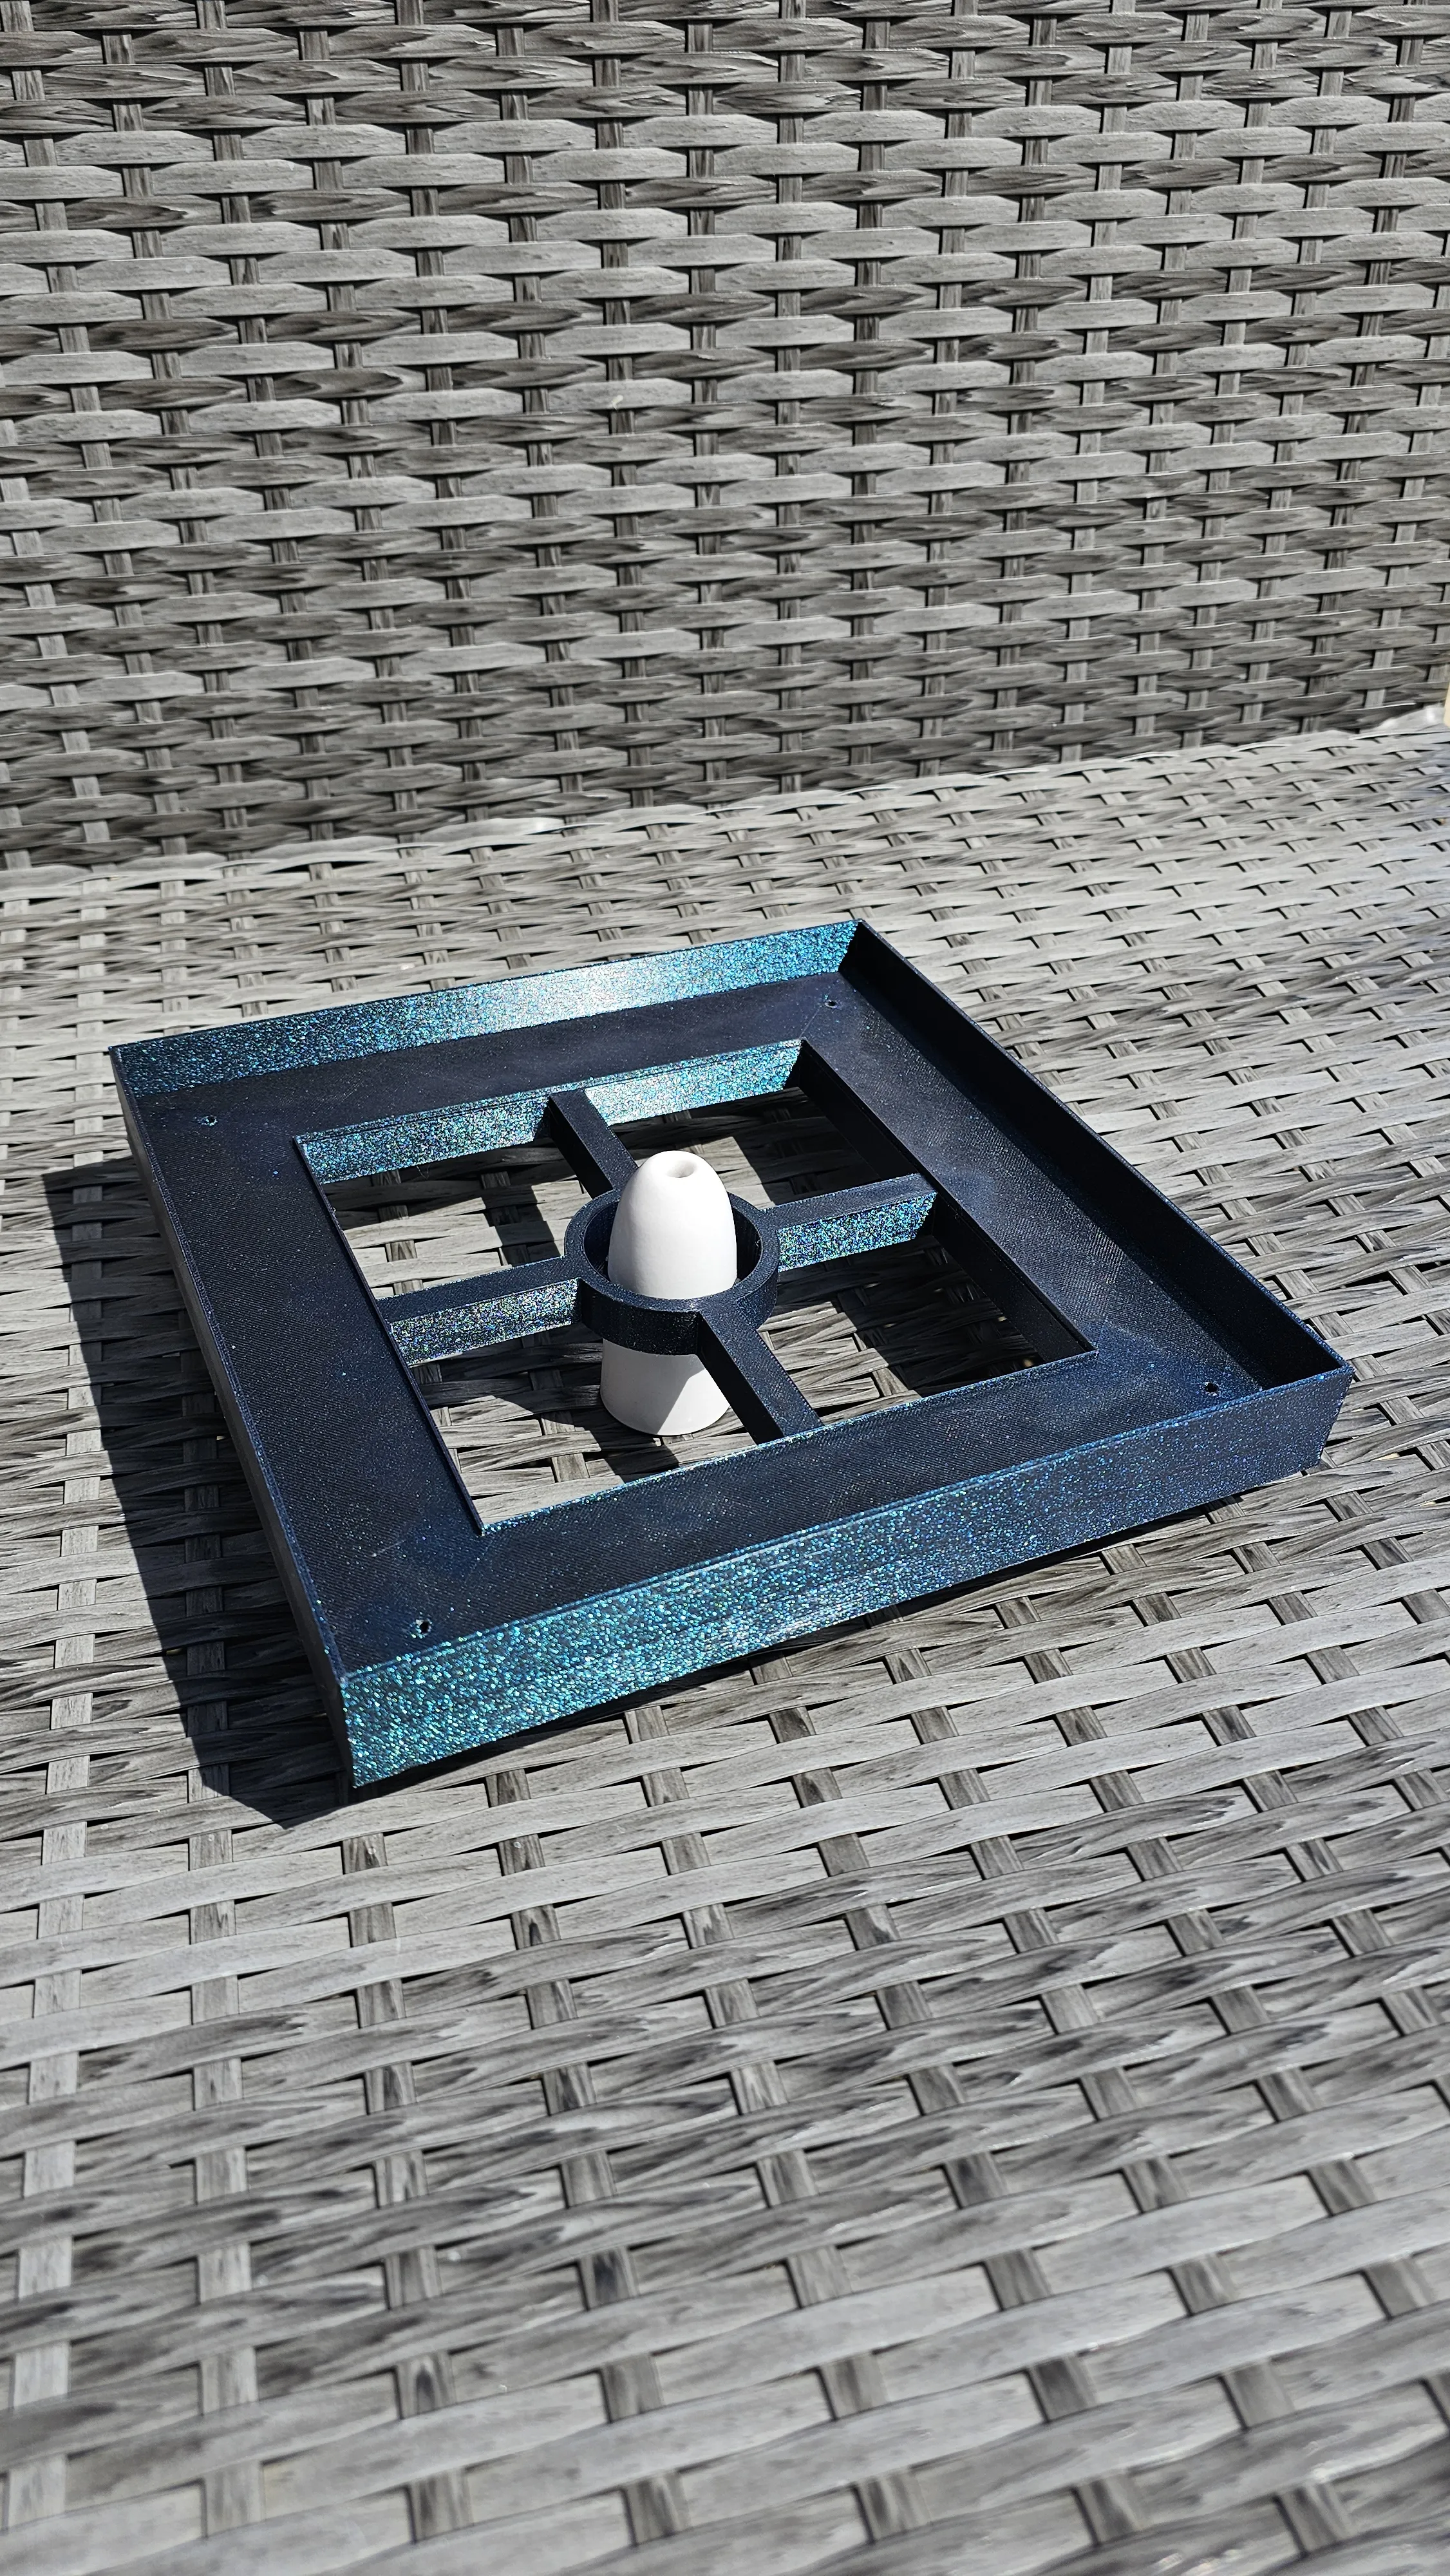
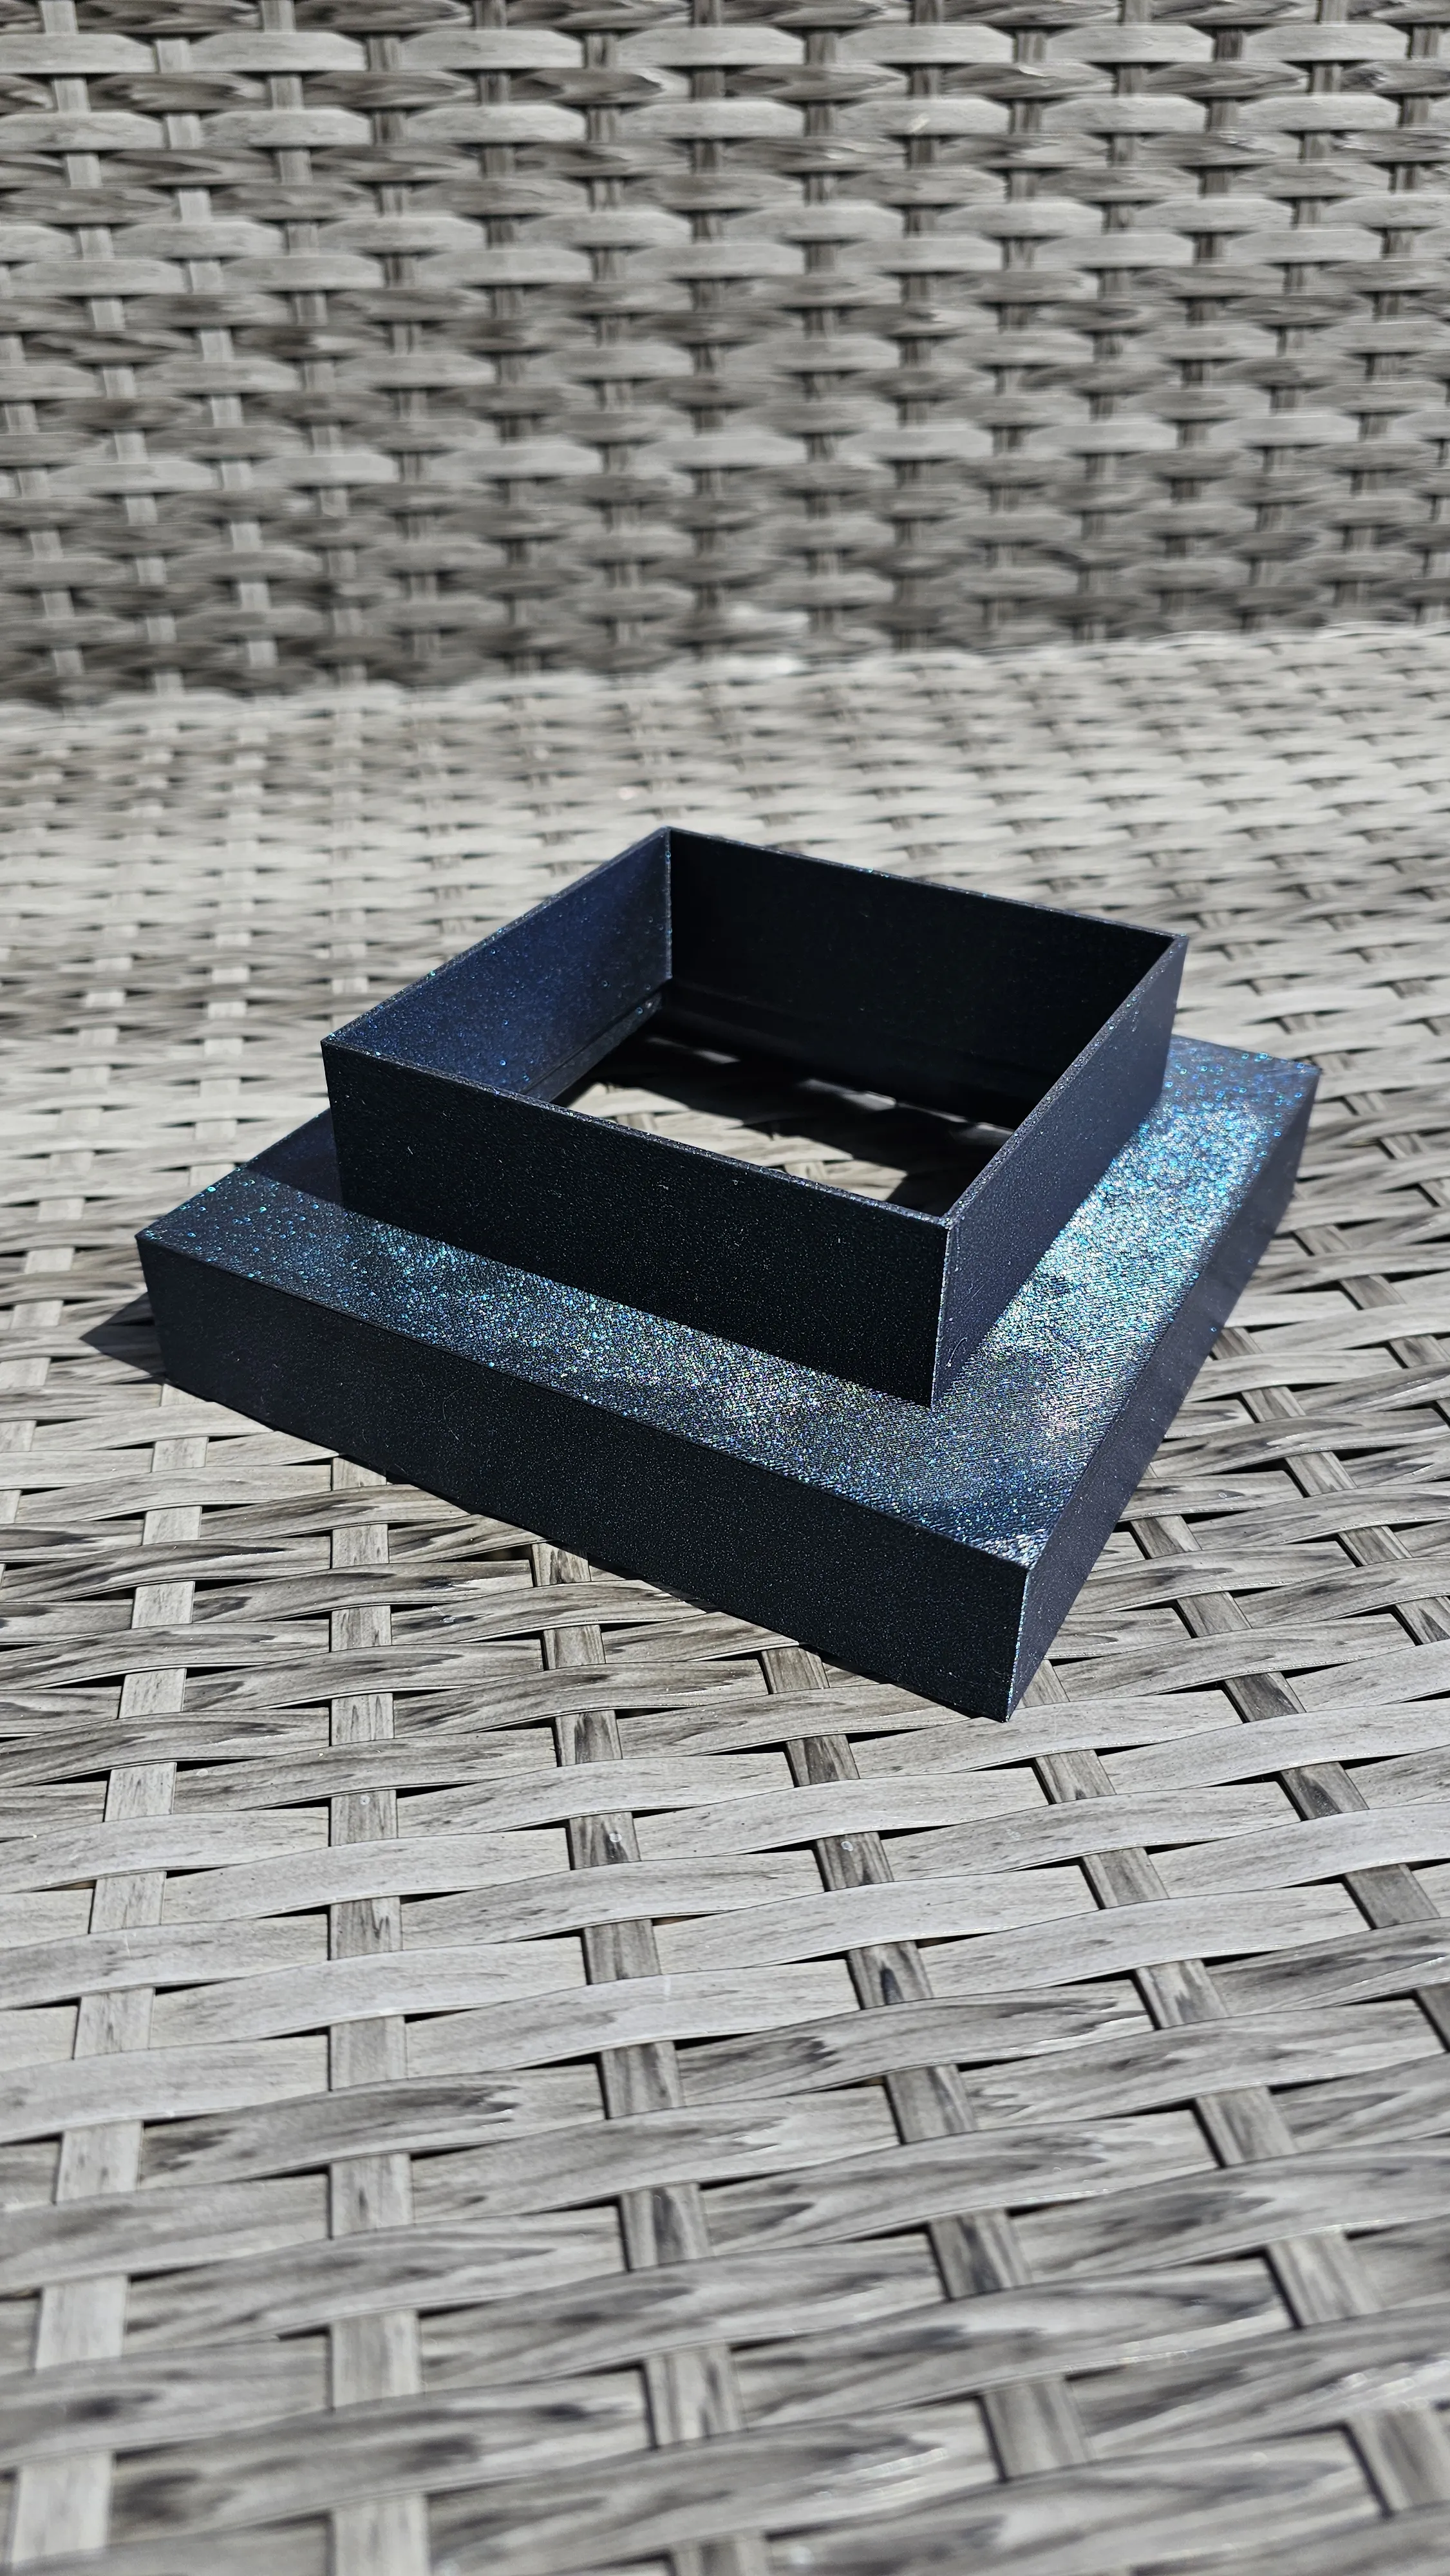
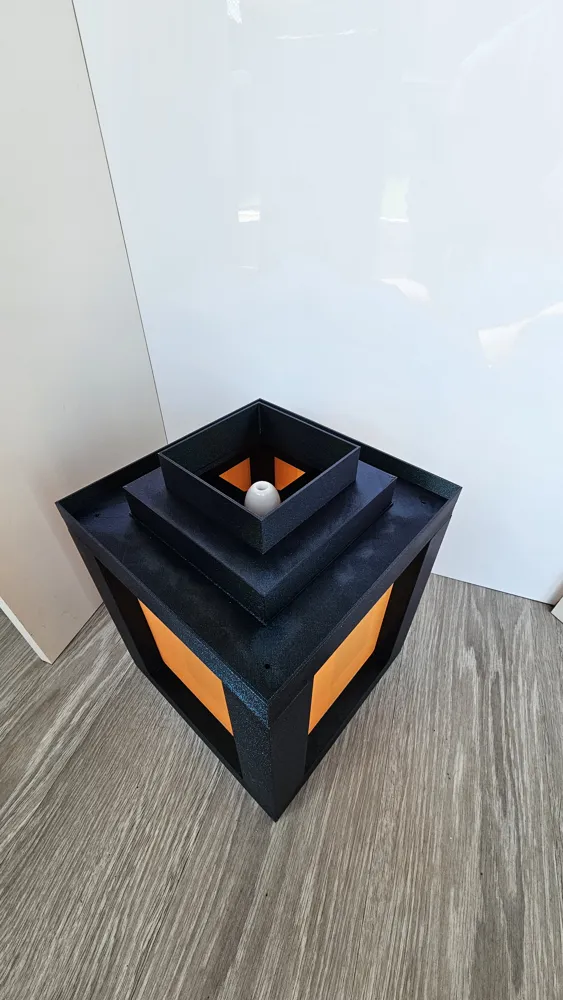
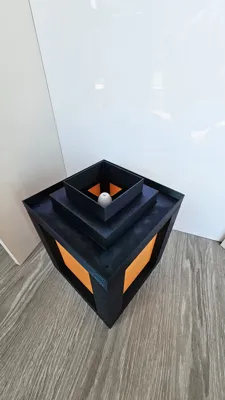
The top hat
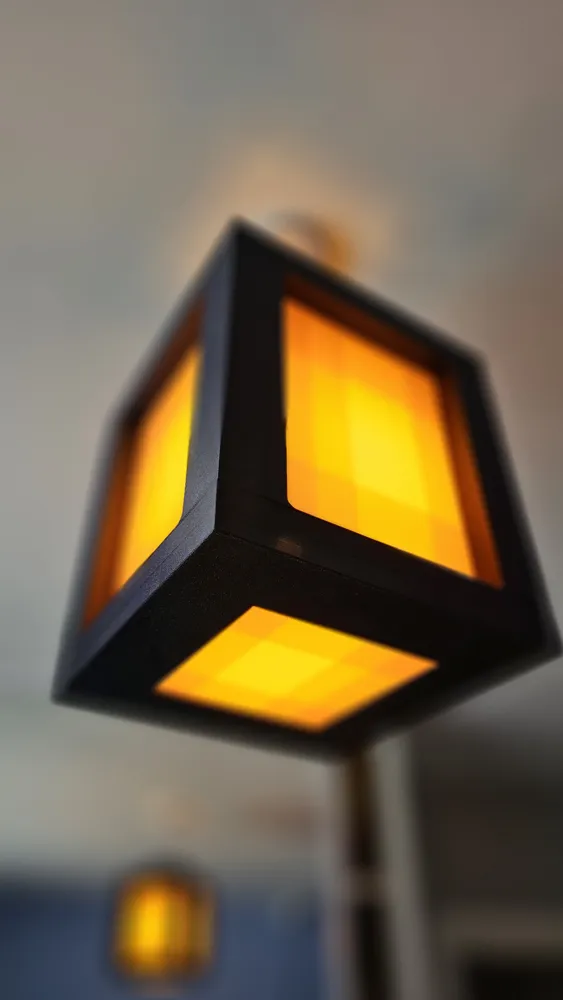
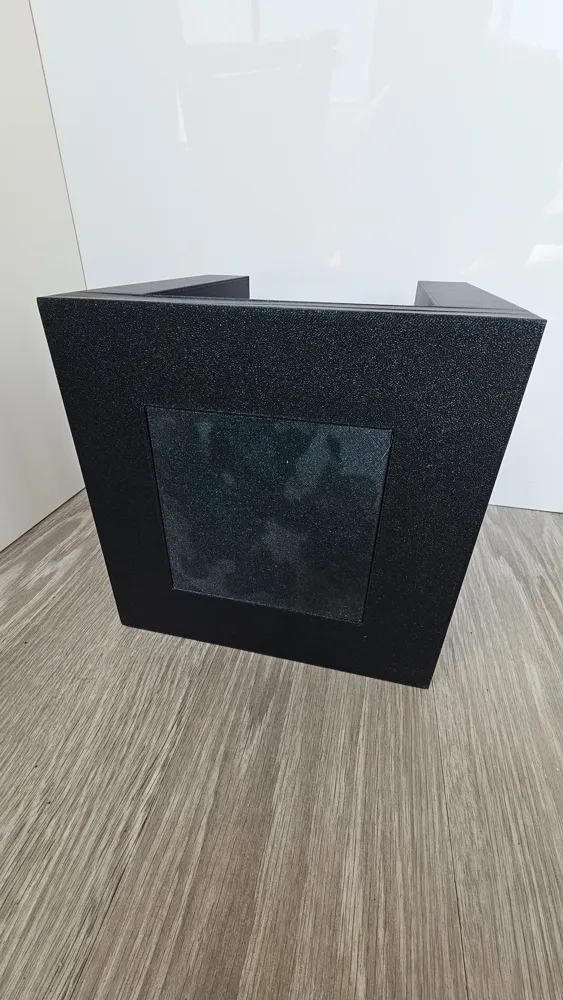
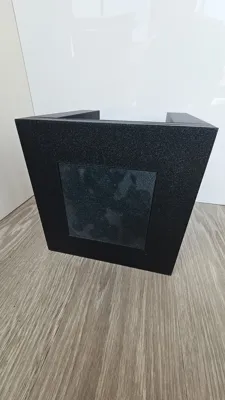
The side inserts
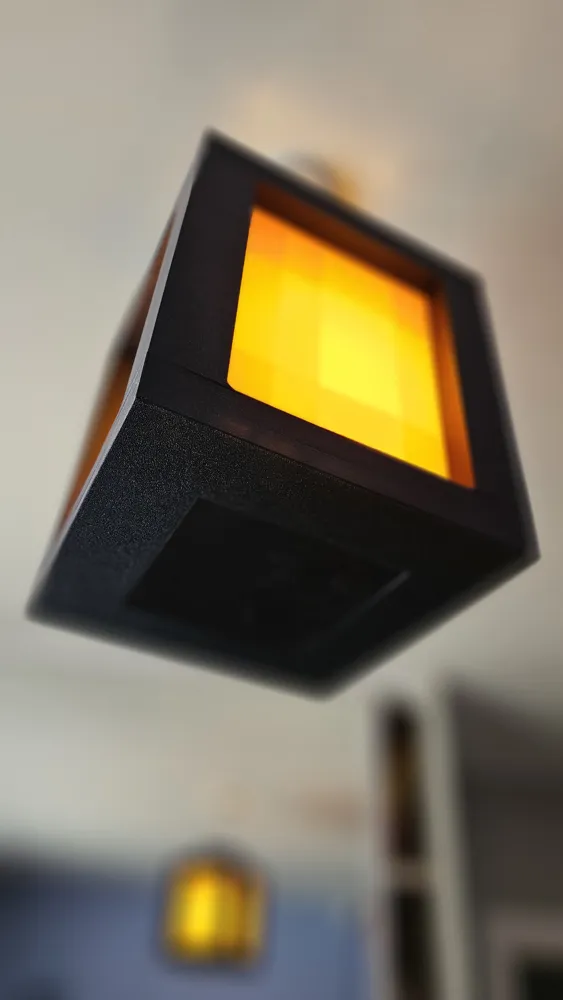
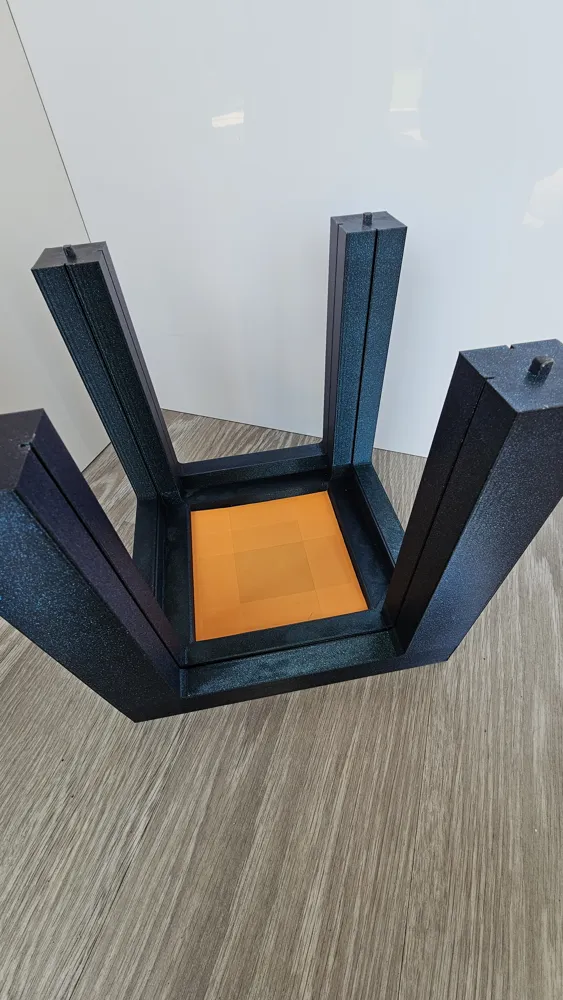
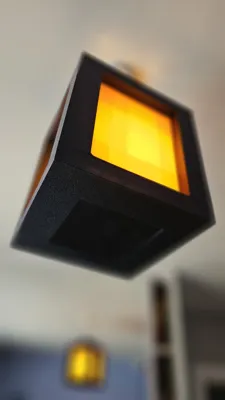
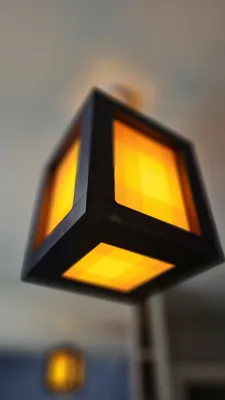
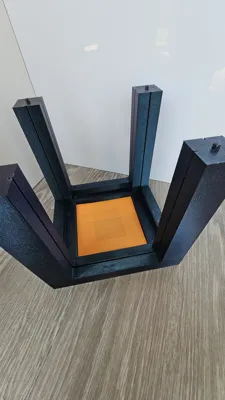
Base insert (Thick)
The base coloured insert
Depending on how you intend on using the lampshade you may not need to print the base insert or the coloured lenses insert. Use the lens insert if you want more light in the room. This can be placed in position after the shade is attached to the ceiling light fitting and dropped into place. This is sized to drop in but you may need to reduce the size slightly subject to your own printers/filament settings tolerance settings.
The bulb holder currently fits a standard b22 light fitting and I suggest only using LED bulbs due to the heat.
Once the base is printed place the side lens panels into the slots on the sides. Ensure they are dropped as low as possible into the slots. Test the top part first before gluing any parts together. they should slot fully into the top part slots and there should be no space in-between the top and bottom.
The small circular holes in the top part (the bulb holder) are there to add additional glue once everything is in place.
Before screwing in the b22 bulb fitting into the bulb holder ensure the top hat part is fed through and this will sit in place on the top part once its all connected.
Boost Me (for free)
If you think this is good please leave me a boost.
License

You shall not share, sub-license, sell, rent, host, transfer, or distribute in any way the digital or 3D printed versions of this object, nor any other derivative work of this object in its digital or physical format (including - but not limited to - remixes of this object, and hosting on other digital platforms). The objects may not be used without permission in any way whatsoever in which you charge money, or collect fees.


Comment & Rating (13)