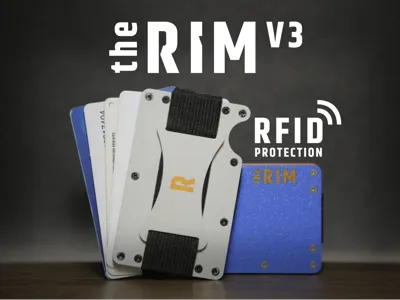
The RIM Wallet - RFID Blocking Minimalist Wallet


Print Profile(5)


Bill of Materials
Description

Membership
Want to sell The RIM Wallet or just support my work? Join my comercial membership!
The third and (Probably) Final instalment into The RIM Wallet. The RIM is a minimalist wallet. The wallet uses elastic to expand to hold more than 12 cards. The typical leather wallet gets packed with crumpled receipts and unnecessary cards, and coins, resembling something more like a brick rather than a wallet. The RIM is minimalist without being limiting. It’s about spending less on a ridiculously overpriced wallet, but always having what you need.
The RIM was made for easy printing and assembly with NO sewing and just a few screws. The model uses barbs to catch the elastic straps and secure them without having to sew anything!
V3 Updates
- Stronger Design
- RFID Blocking Capabilities
- Optional Ergonomic Chamfer
- Smaller Screws
Why More Screws?

After using some of the previous versions for a while, I started to notice a small problem. The forces of the elastic were starting to warp and bend the plastic. I decided The the only way to combat this was the add more screws in strategic locations to minimize the problem for this version.
RFID Blocking
RFID blocking on a 3D printed wallet? Yes, it is possible and quite simple. while doing research into the topic, I found that many metals will block RFID signals by themselves. In fact, that is how the real Ridge wallet blocks RFID. It's just made of metal, no special tech. So I tested out some aluminum foil to see if it would do anything. But when I tried to scan the card when a single layer was either in front or behind the chip, it couldn't scan. If you wish to test this effect for yourself, I used the free NFC Tools app. DISCLAIMER: I can not guarantee this to block everything, and it may not be completely foolproof. It will offer some defense against theft through RFID, and it worked perfectly when testing through my iPhone's scanner.
Bill Of Materials
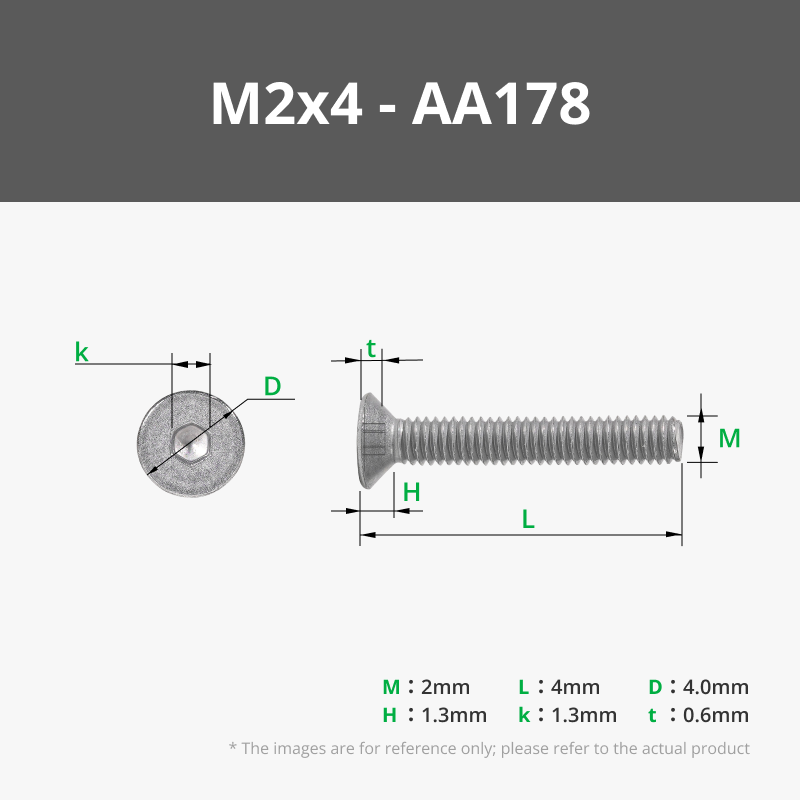
- Screws M2 4mm Flat Head| x22 (You can also use the maker supply ones)
- Elastic 1in Thick| 5in(125mm)x1 2in(50mm)x3
- Aluminum Foil | 4in(100mm)x6in(150mm) sheet
- Probably going to want some superglue
- Make sure you have a hex key/screwdriver small enough
Assembly
 | 1. Insert 125mm long elastic through the Cash Strap |
 | 2. Wrap elastic with Cash Strap around Top No Logo and secure the elastic in the barbs |
 | 3. Secure all 3 50mm long elastic straps onto the barbs of the Bottom Strap |
 | 4. Screw Top No Logo and Bottom Strap together with all elastic between them |
 | 5. Wrap the ends of the 50mm elastic around Bottom and secure into barbs |
 | 6. Fold The Aluminum Foil in half 3 times to Get a 1"x 3" rectangle |
 | 7. Insert and glue the foil rectangle into Top Logo |
 | 8. Screw Top Logo and Bottom together |
Yes, I finally got my terminology correct; it is a Cash Strap, not a Money Clip. The actual Money Clip that I was hoping to add to this version failed. The plastic by itself is too weak and puts your money in danger of falling out, so I had to scrap that. If I ever find a method that works well for my design, I will incorporate it into this model.
Want Something Thinner?
Do you want to try a thinner wallet or just a quick and easy model to test if you like this kind of wallet? Take a look here.

Printed Too Many Wallets?
Do you have more of these than you know what to do with? Print out this nice display and organizer.

Boost Me (for free)
Enjoy my work? Give a boost to show your support!
License
You shall not share, sub-license, sell, rent, host, transfer, or distribute in any way the digital or 3D printed versions of this object, nor any other derivative work of this object in its digital or physical format (including - but not limited to - remixes of this object, and hosting on other digital platforms). The objects may not be used without permission in any way whatsoever in which you charge money, or collect fees.
Comment & Rating (469)