
GlacierBreeze – Cooling DeskFan Lamp
Print Profile(1)

Bill of Materials





Description
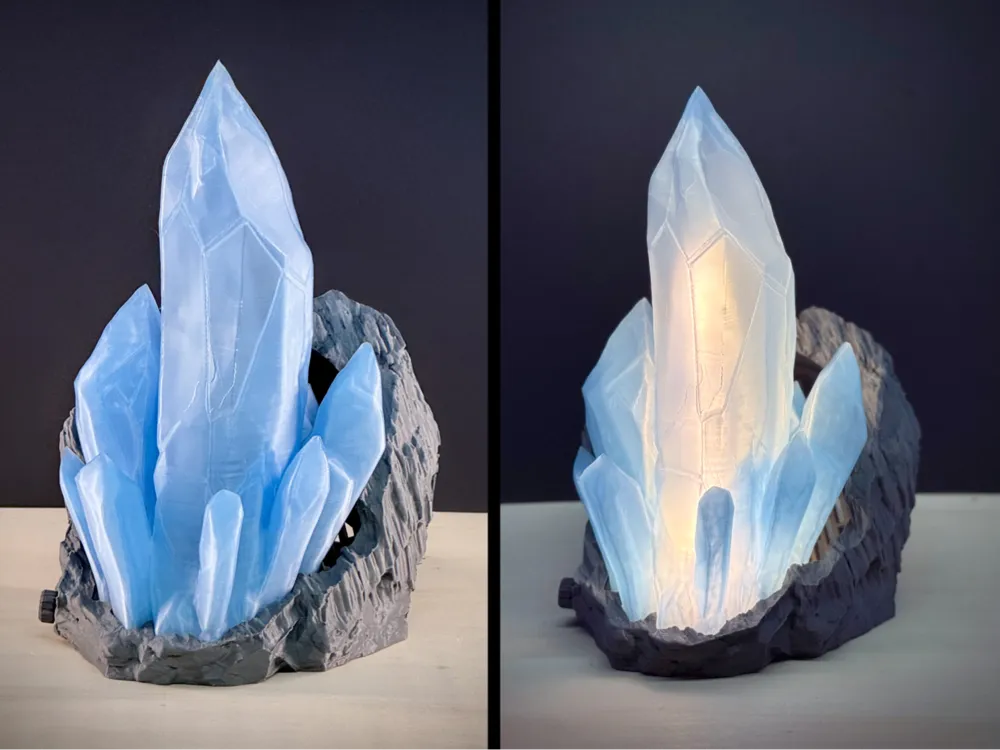
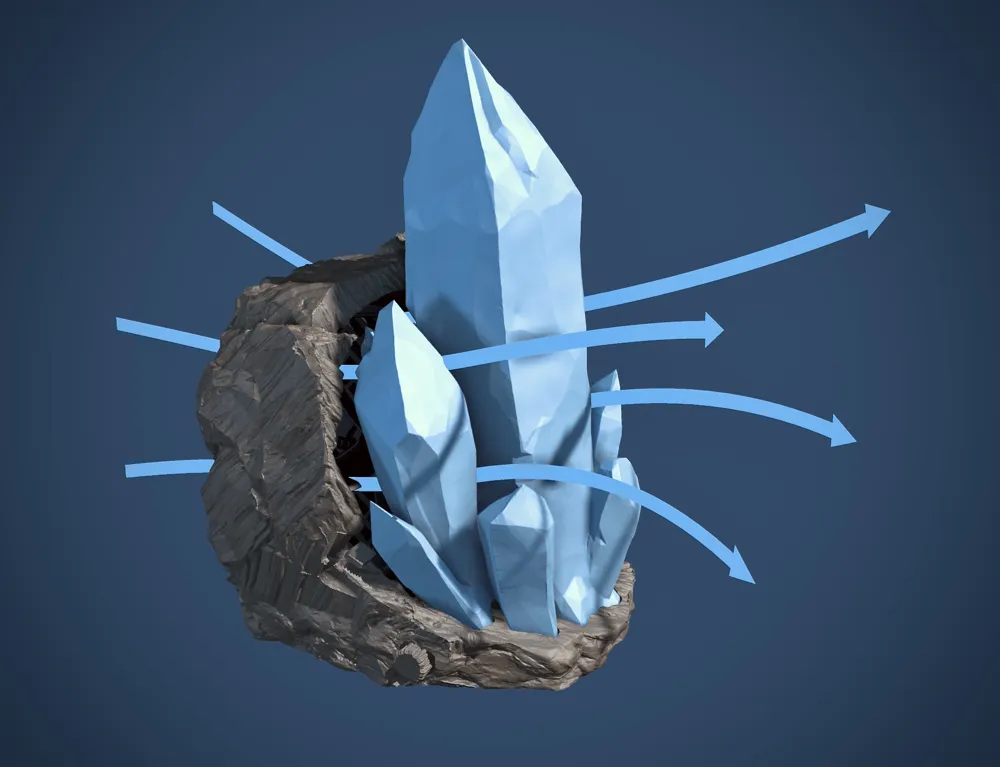
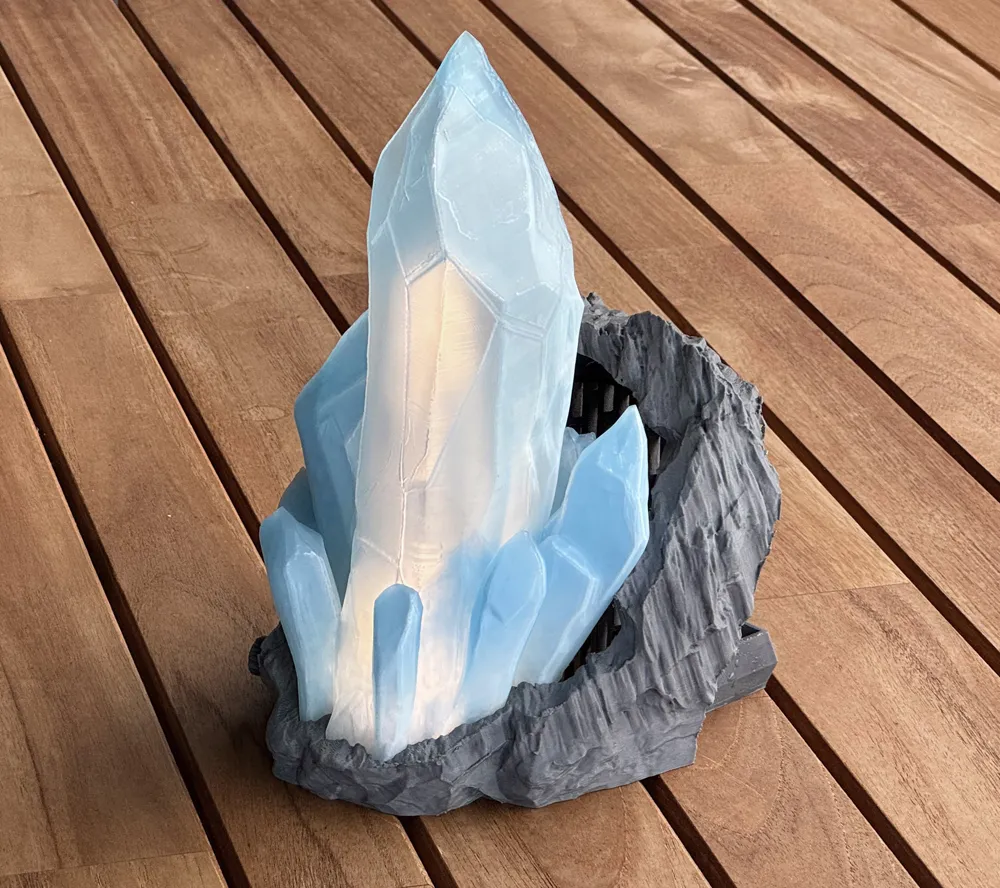
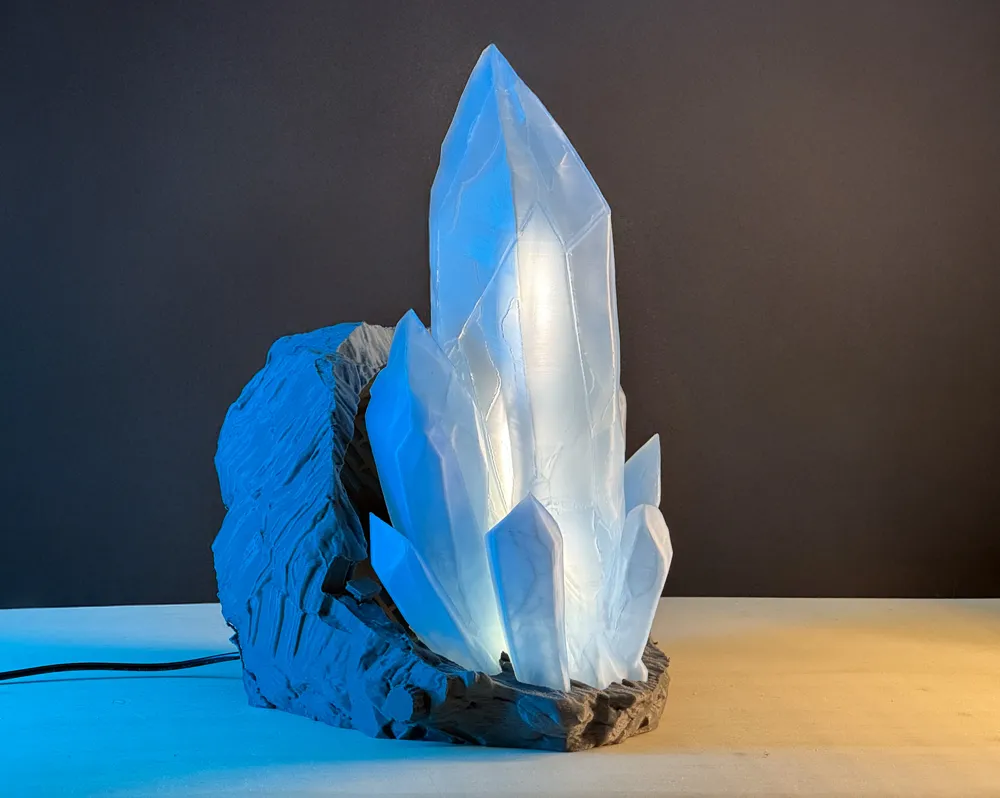
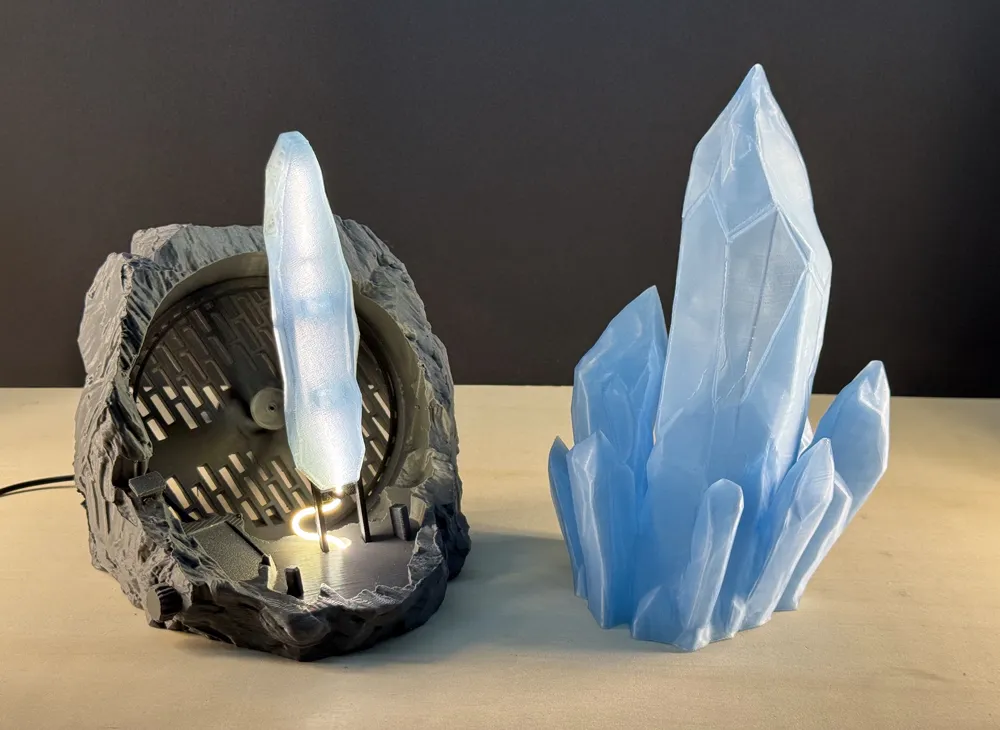
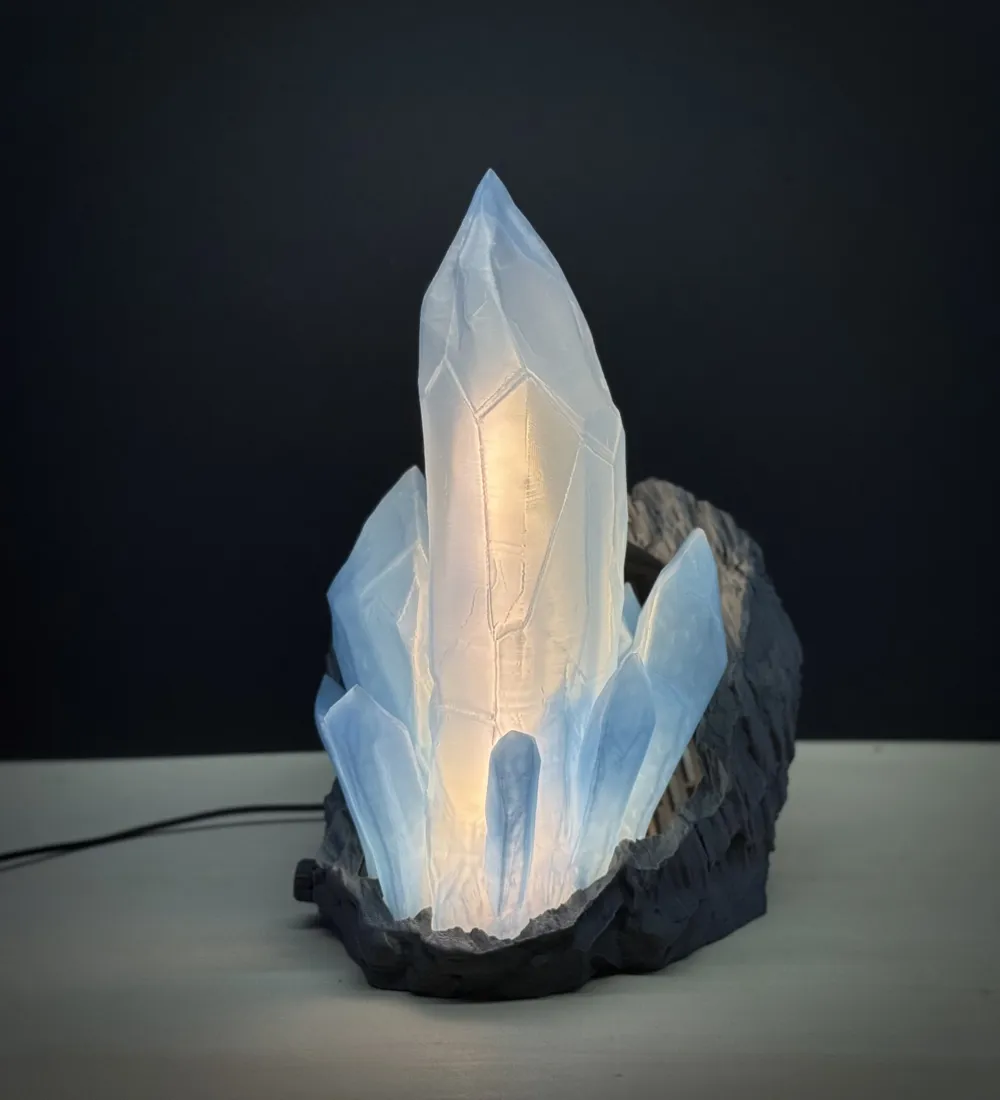
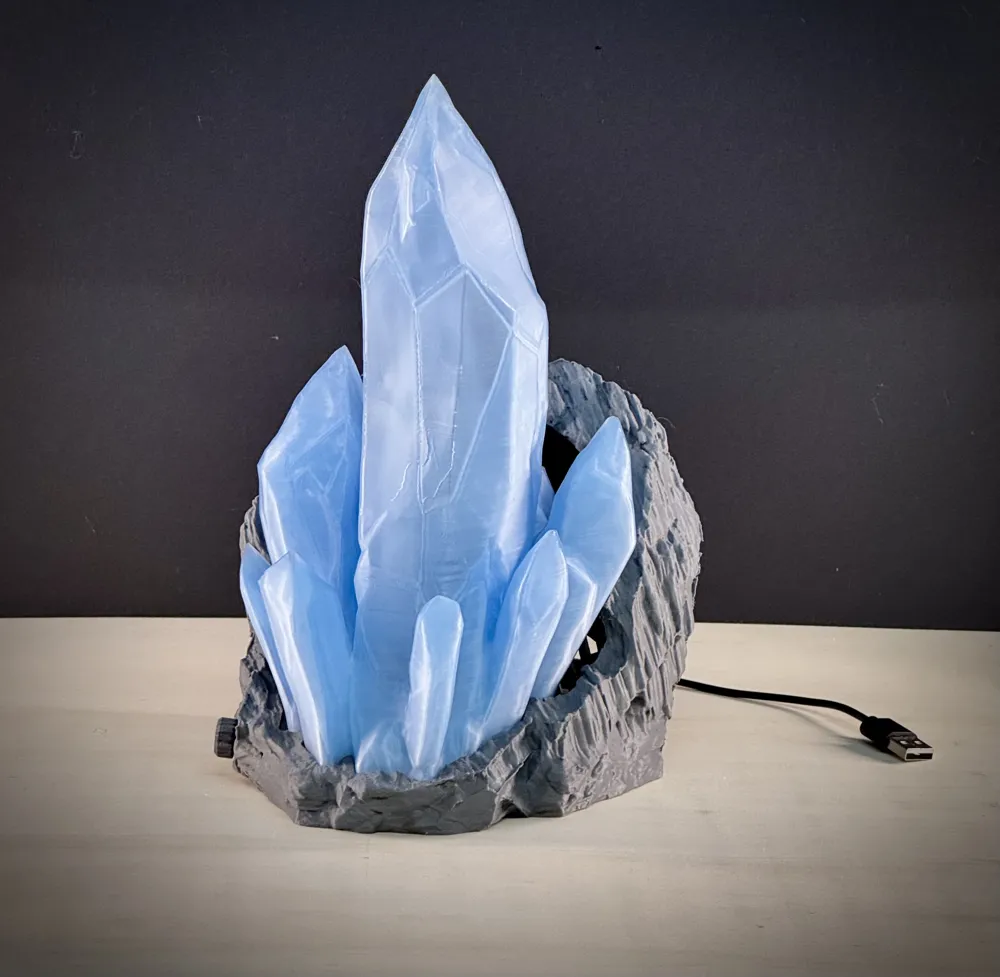
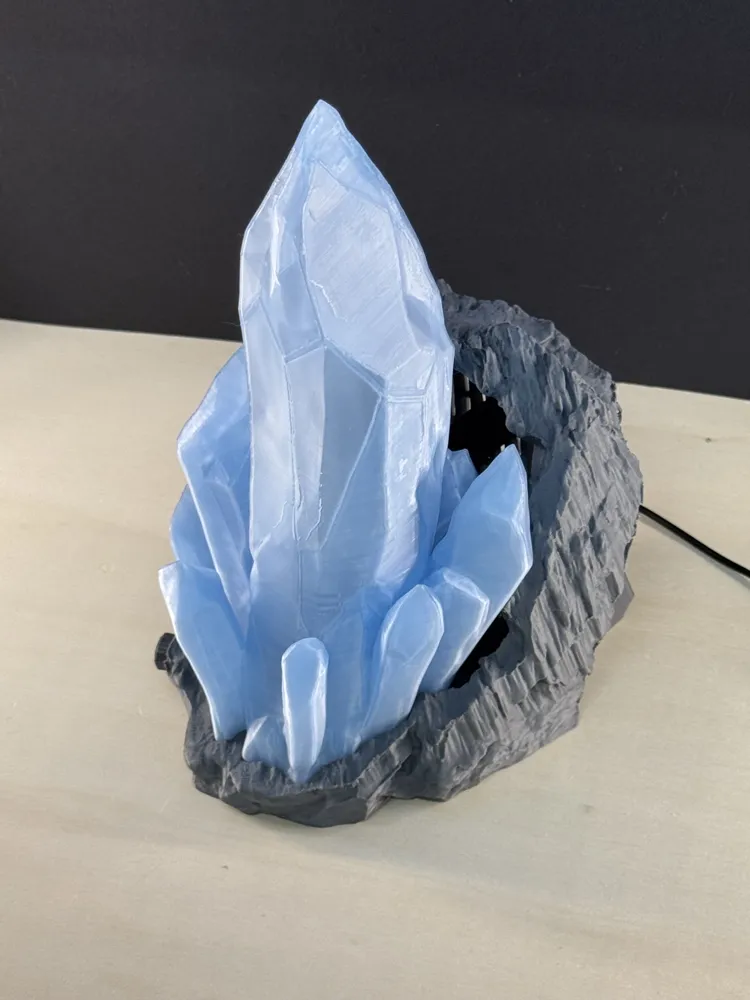
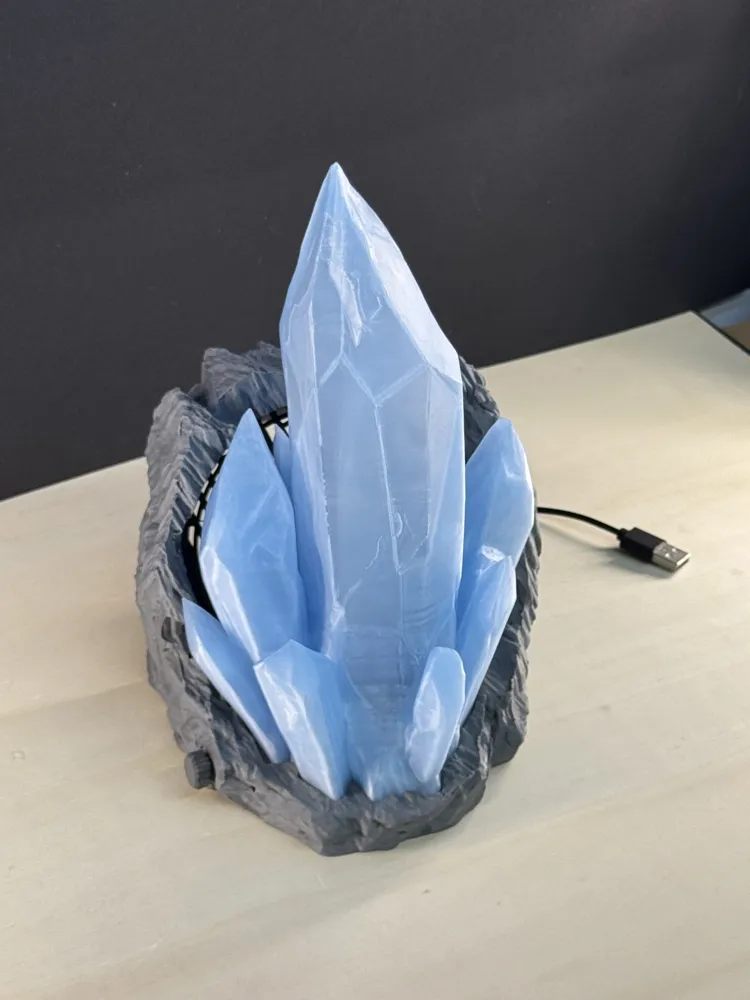
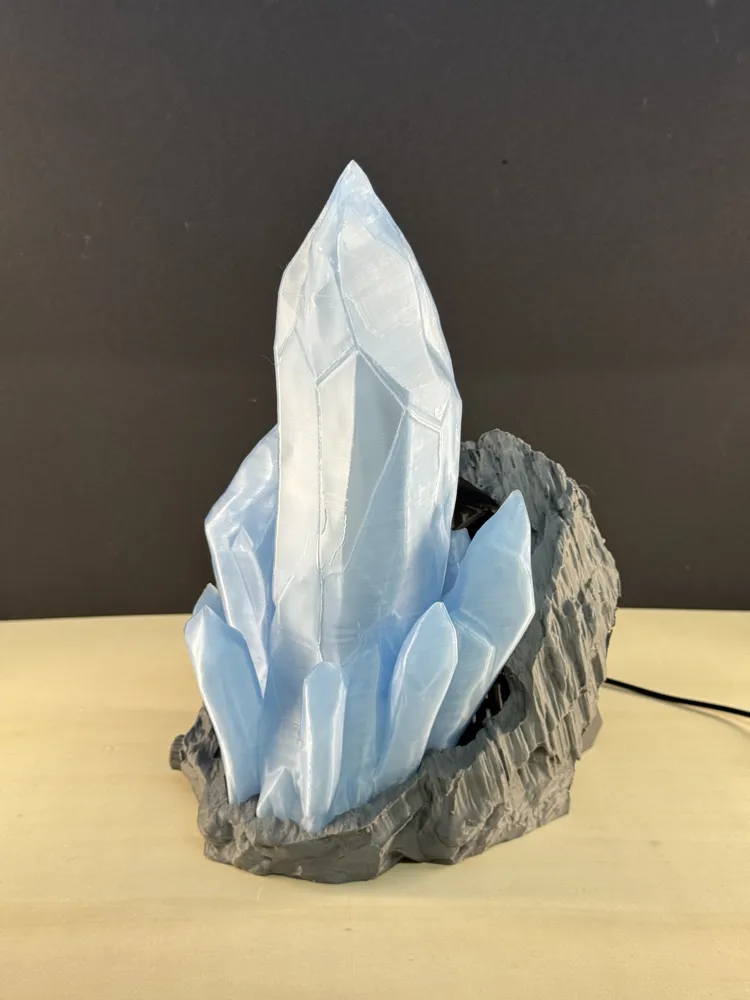
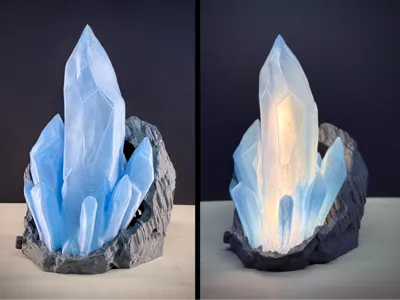
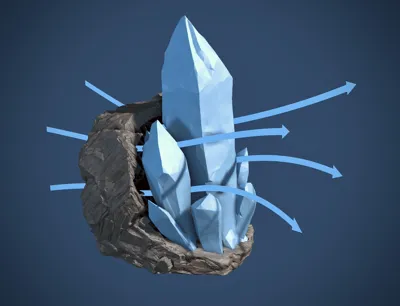
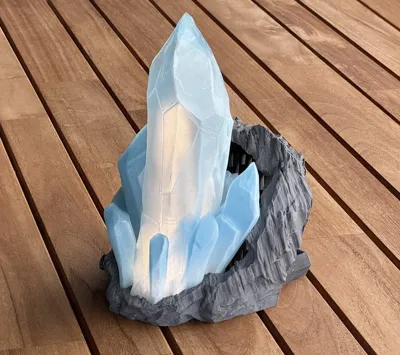
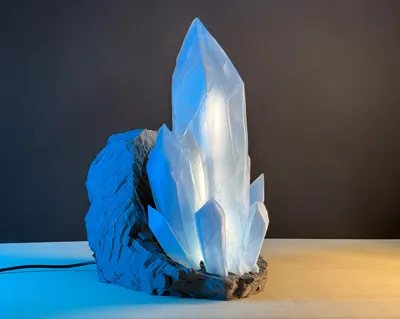
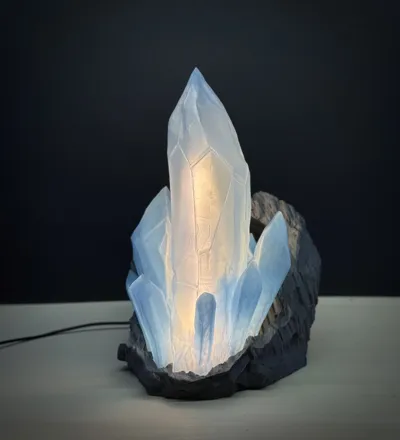
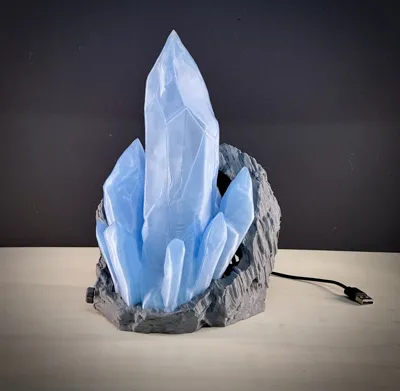
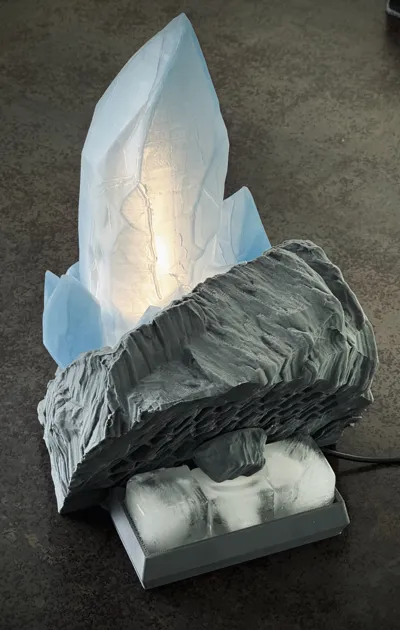
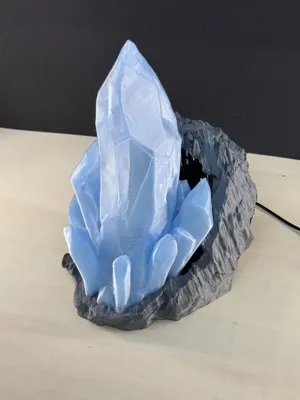
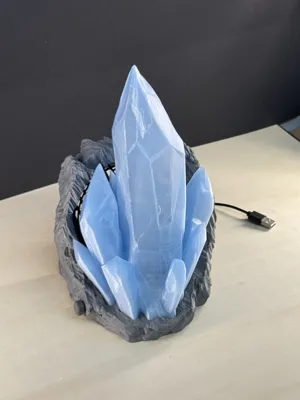
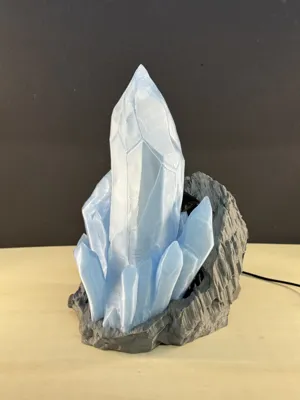
GlacierBreeze is a 3D-printed desktop fan and ambient lamp in one — a sculptural object inspired by icy landscapes and glowing crystal formations. Its faceted surface casts a serene blue ice glow, while soft air flows through the crystal’s gaps to gently cool you down — perfect for hot summer days.
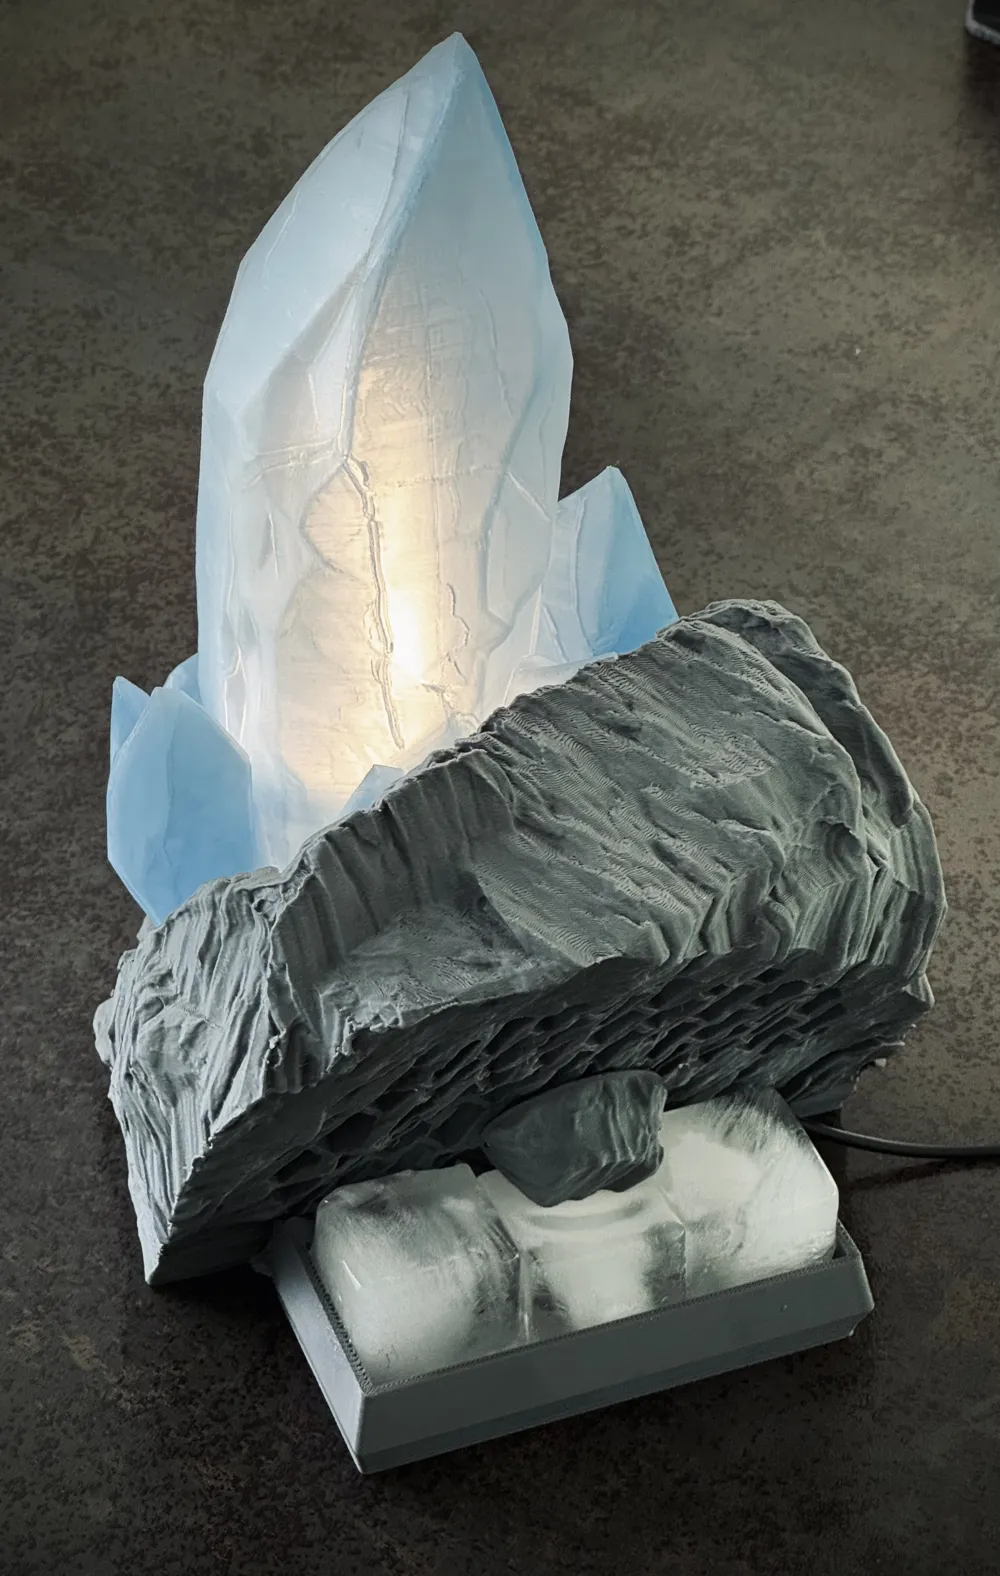
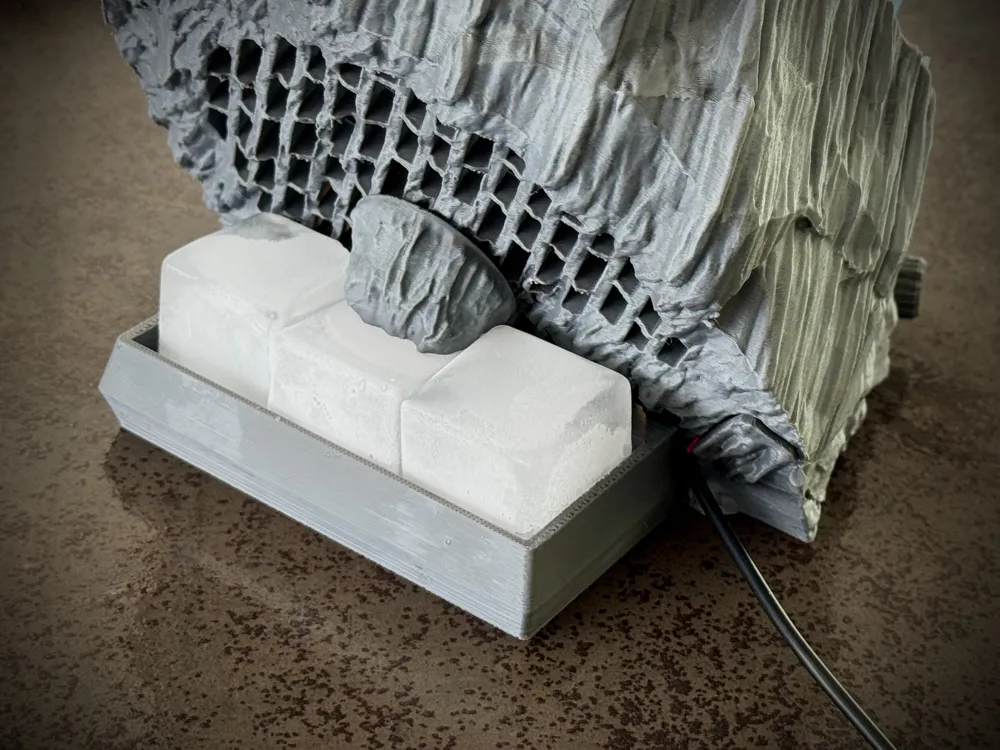
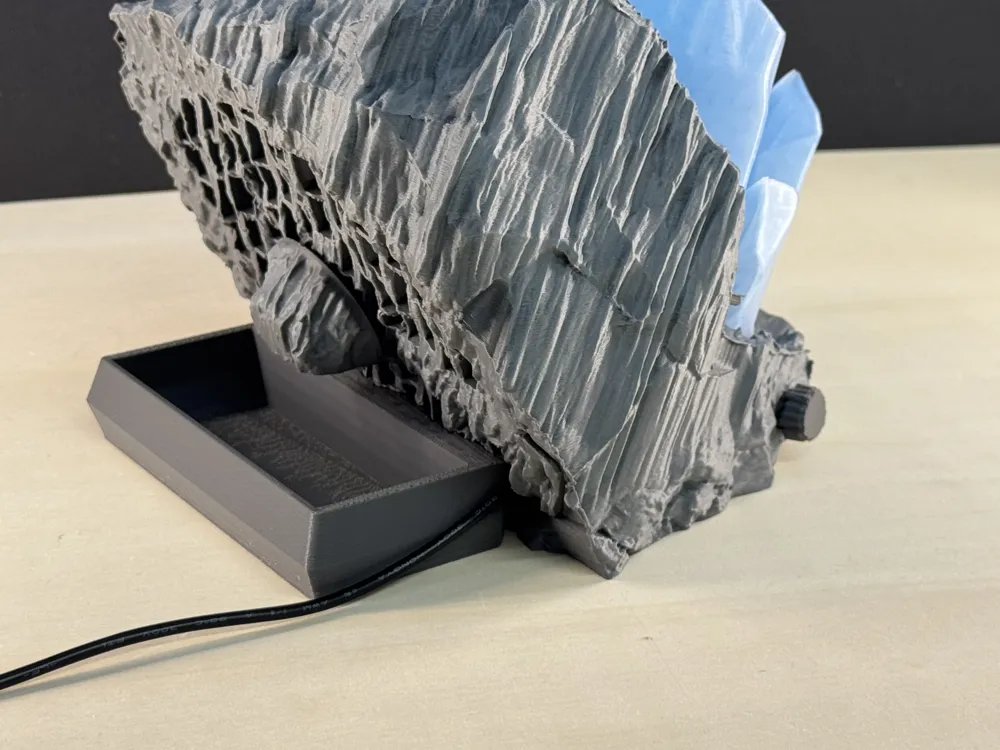
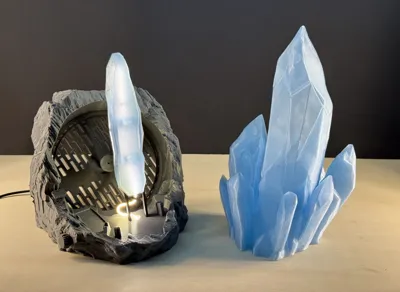
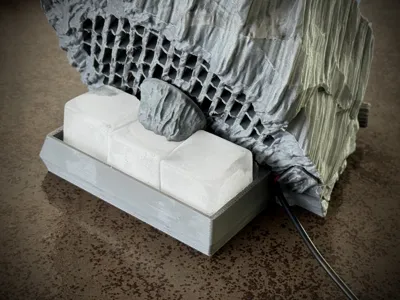
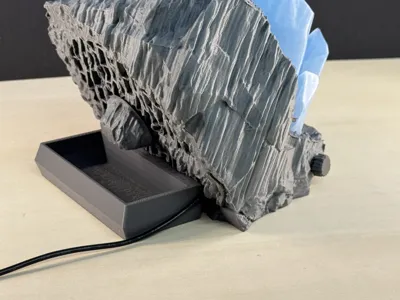
Add up to 3 ice cubes into the hidden rear chamber for an extra chill, transforming the fan into your own personal glacier breeze. Compact, quiet, and USB-powered, GlacierBreeze is made for modern desks, nightstands, and creative spaces.

- 💨 Gentle Airflow – Soft breeze flows through the crystal’s organic structure (note that the wind is very subtle)
- 🧊 Optional Ice Chamber – Add up to 3 ice cubes for enhanced cooling
- 💡 Blue Ice Glow – Built-in LED casts a calming ambient light
- 🔘 Two-Button Control – Power + fan speed toggle
- 🔌 USB Powered & Quiet – Desktop-friendly and low-noise
Boost Me (for free)
Boost This Model – Support the Cool Craft
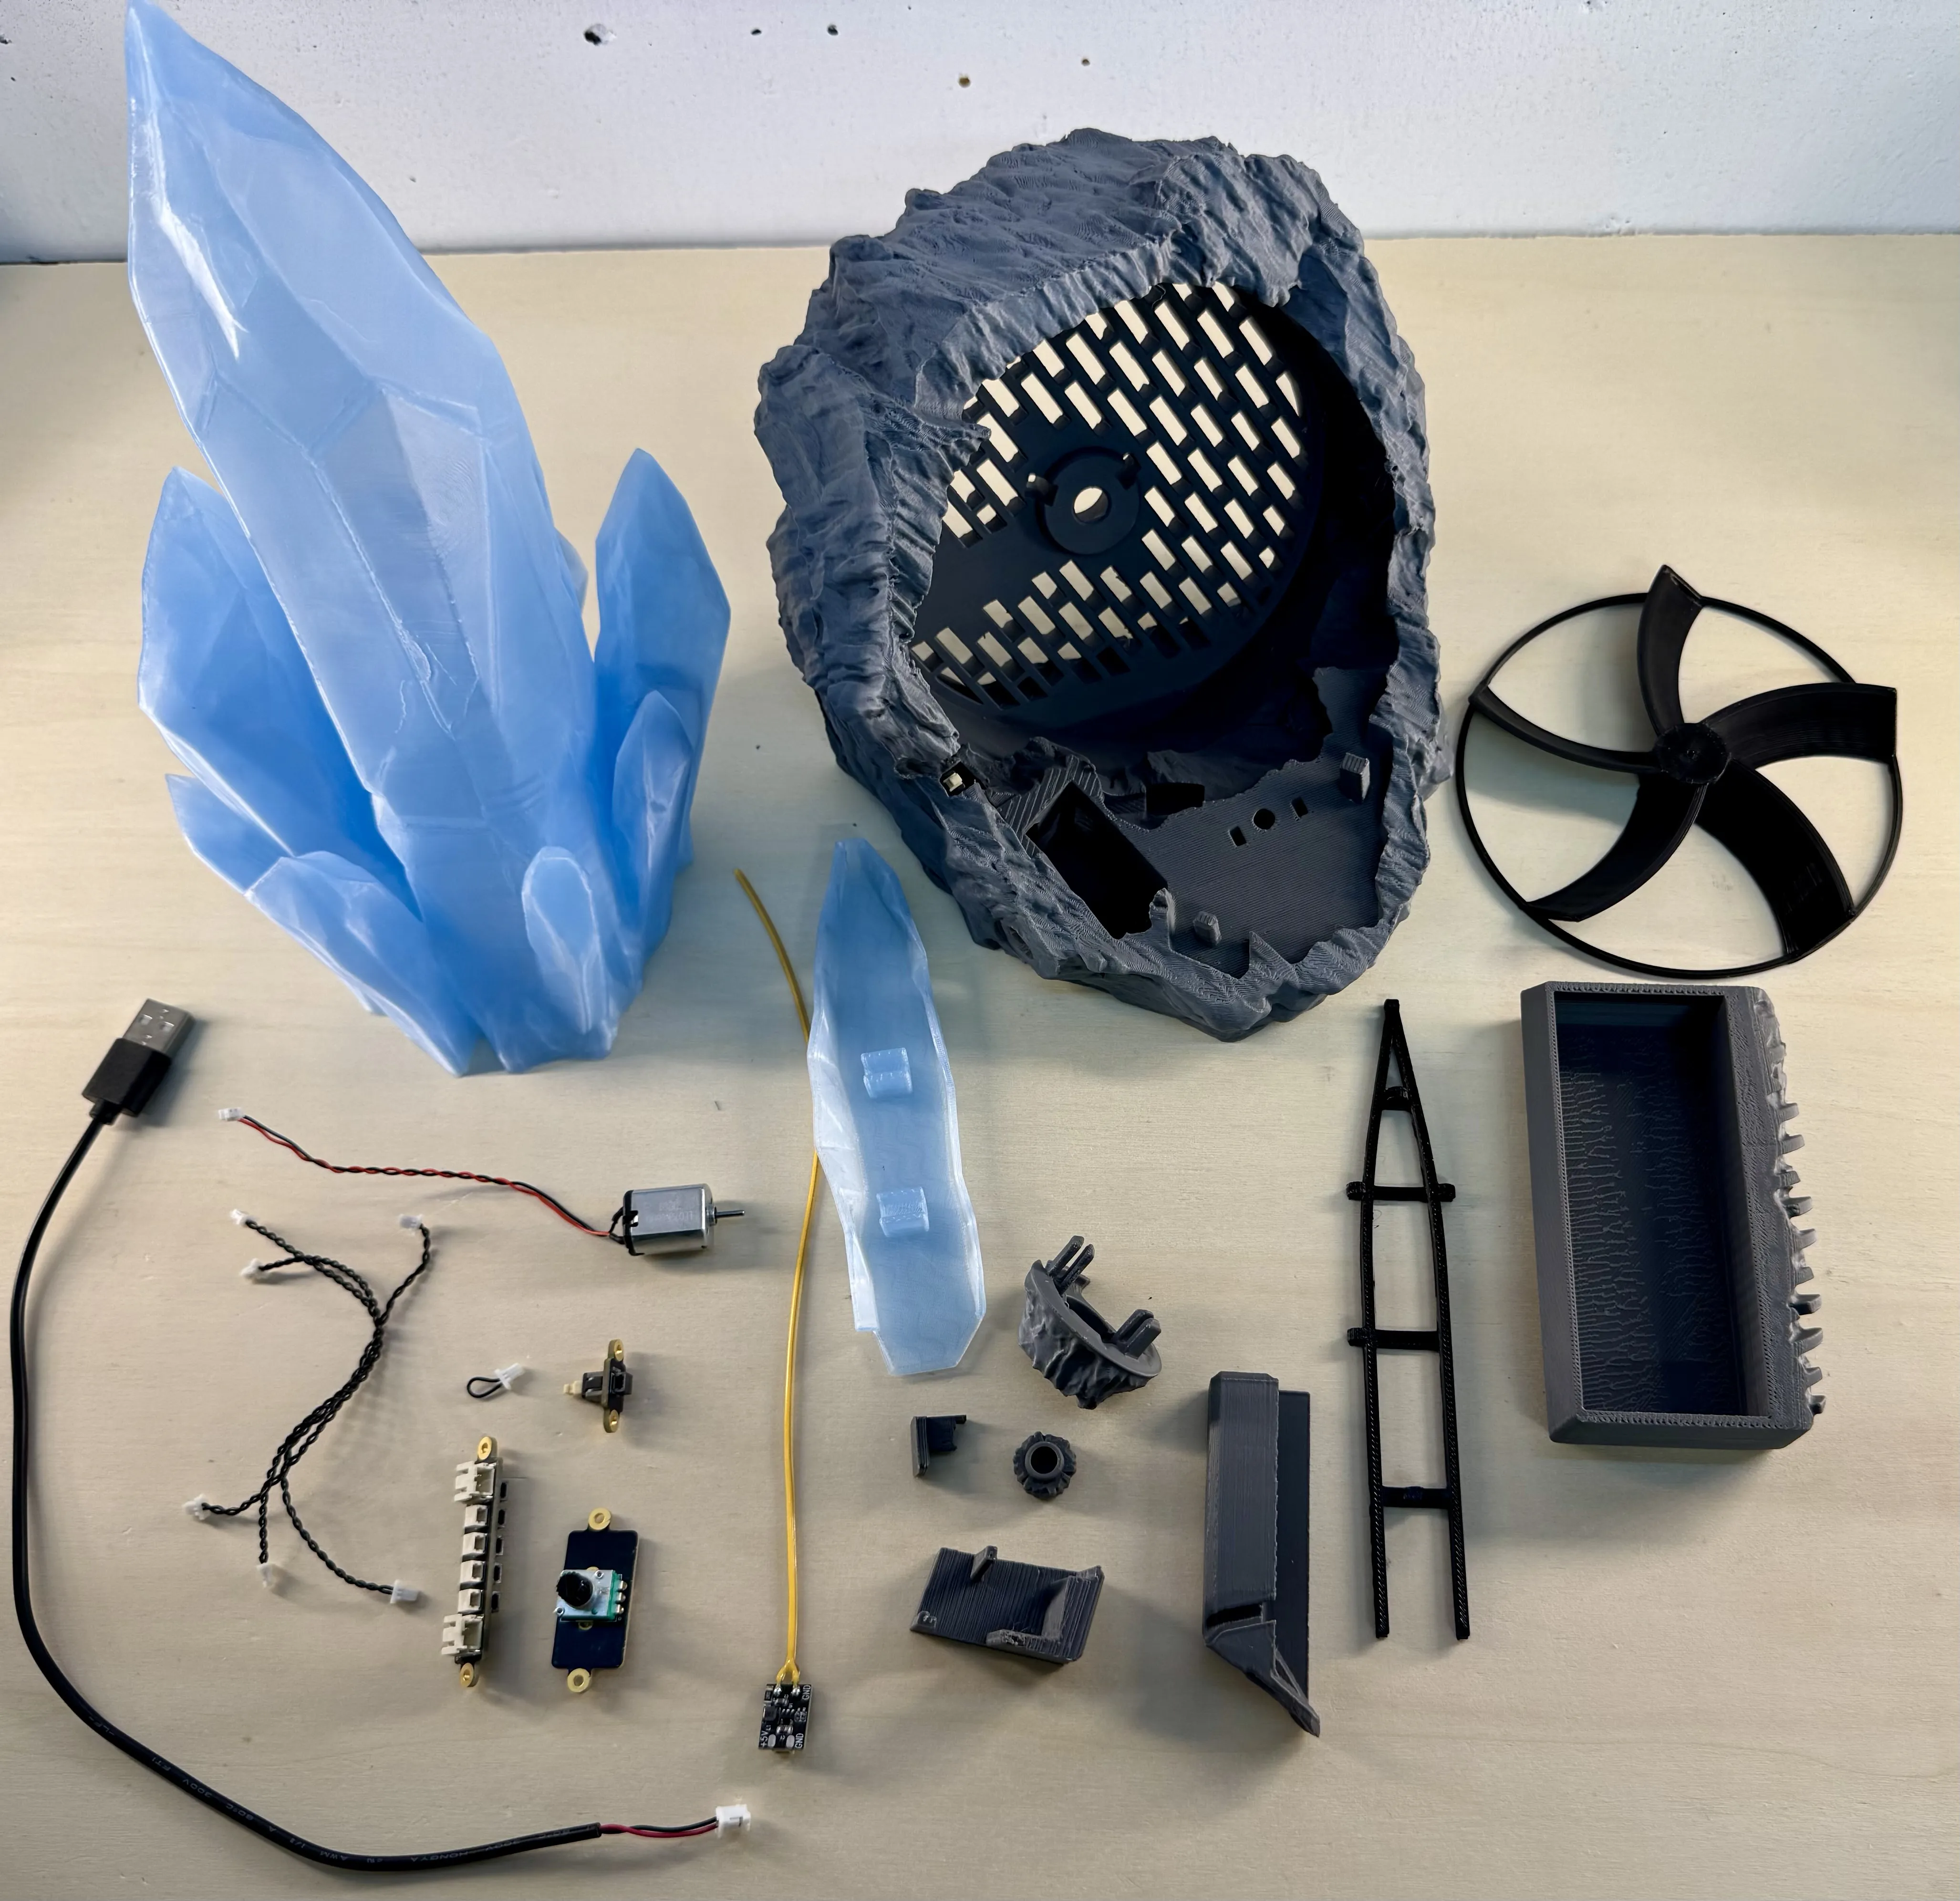
Additional Parts Needed (besides the 3D-printed components). With the BOM at the bottom you have anything you need.
- Micro DC motor
- Power distribution board
- COB LED strip 100–300 mm (tested with 200 mm)
- Potentiometer and self-locking push button
- 3 × 100 mm SH 1.0 cables (included in the kits)
- 1 × jumper cable (included in the kits)
No screws required. Some electrical insulation tape is recommended.
Assembly Instructions
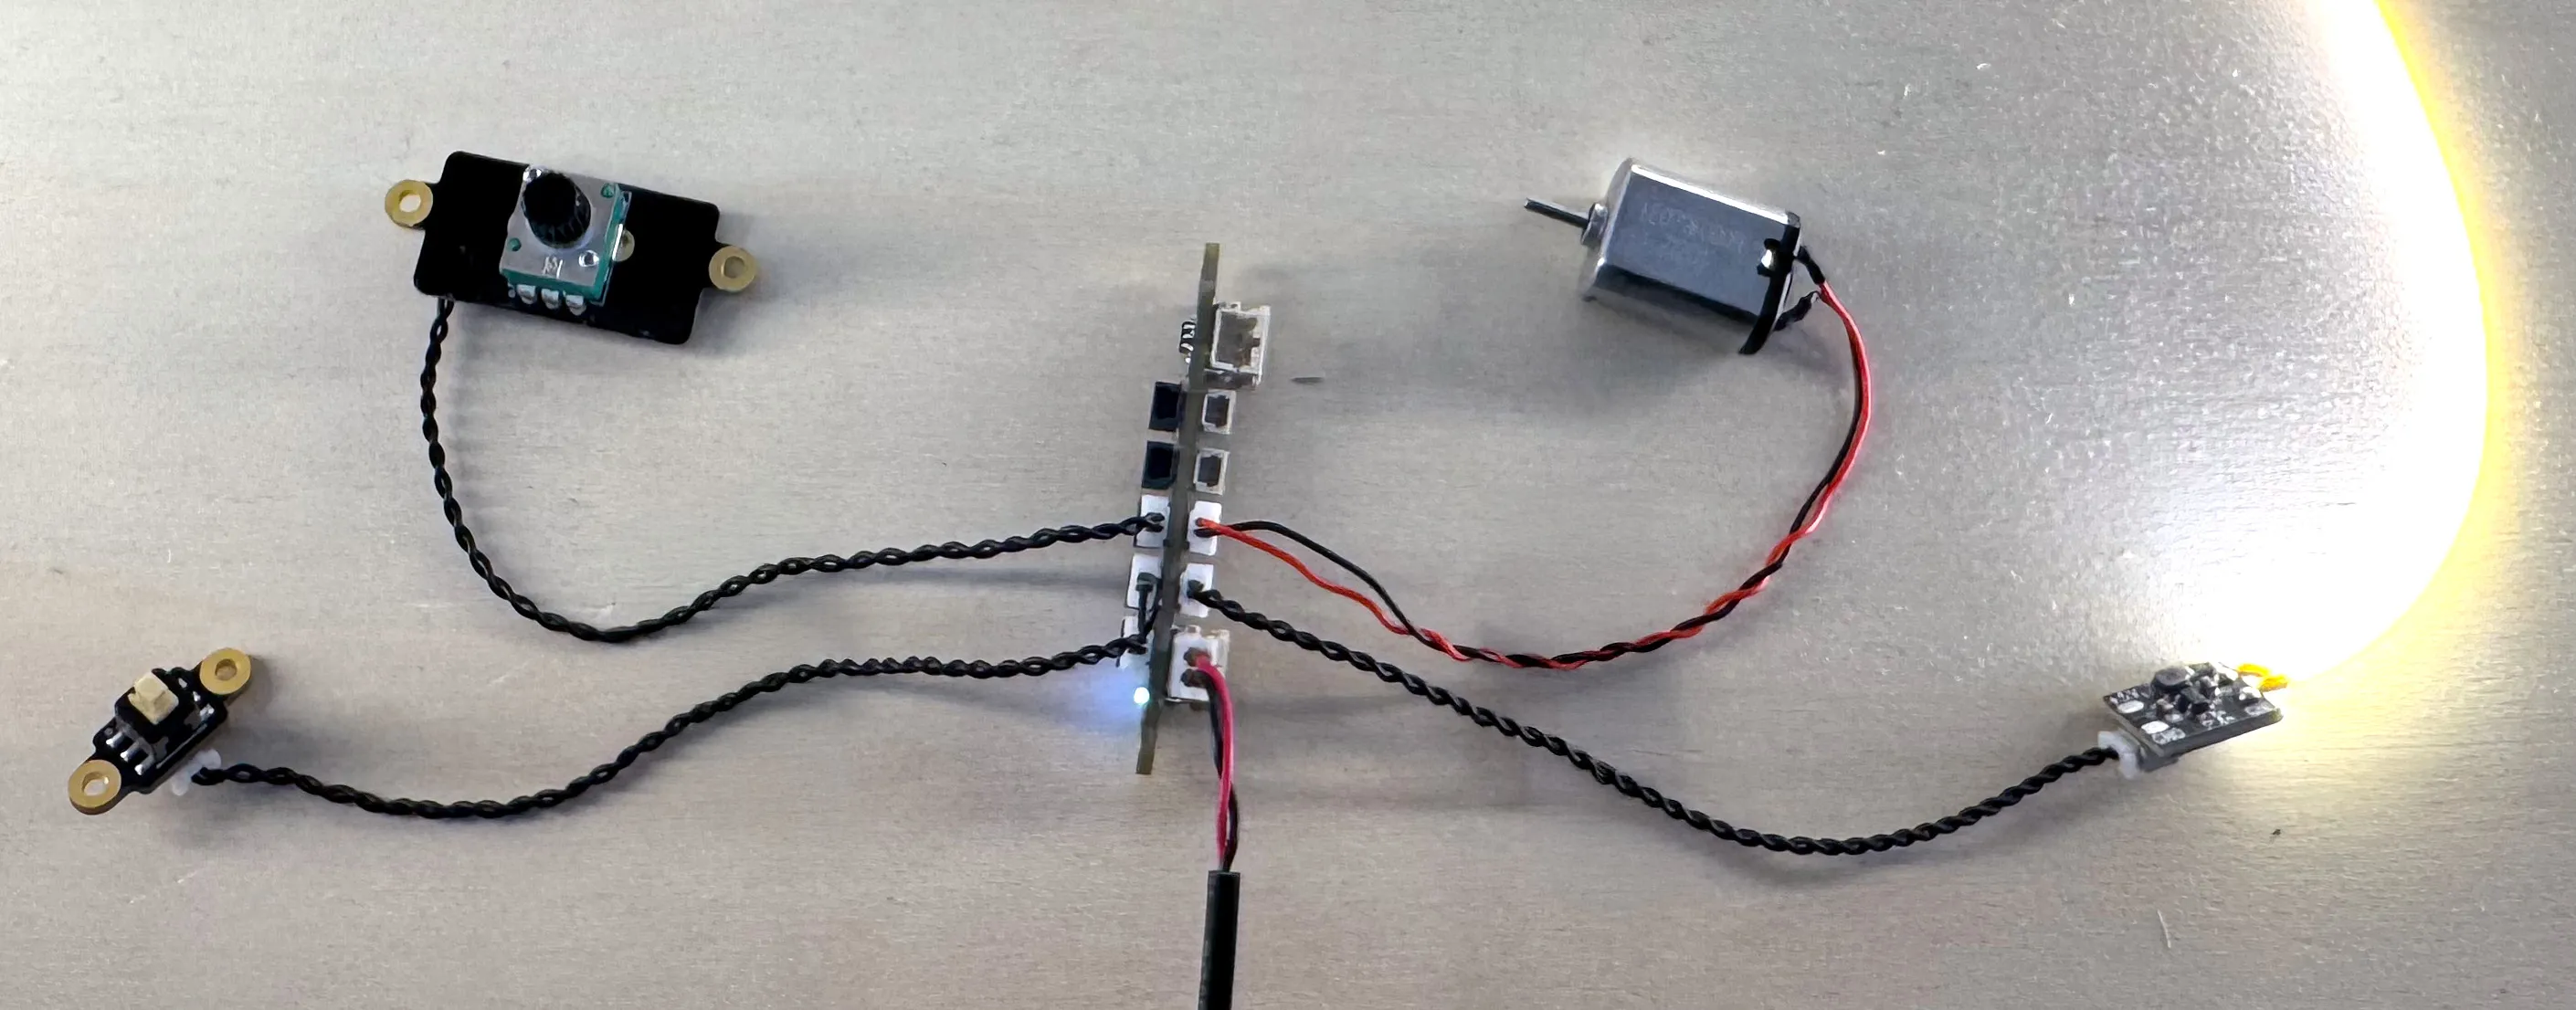
Note: This is the technical layout for a quick function check. Disassemble the parts again after testing.
Step 1: Install the Motor
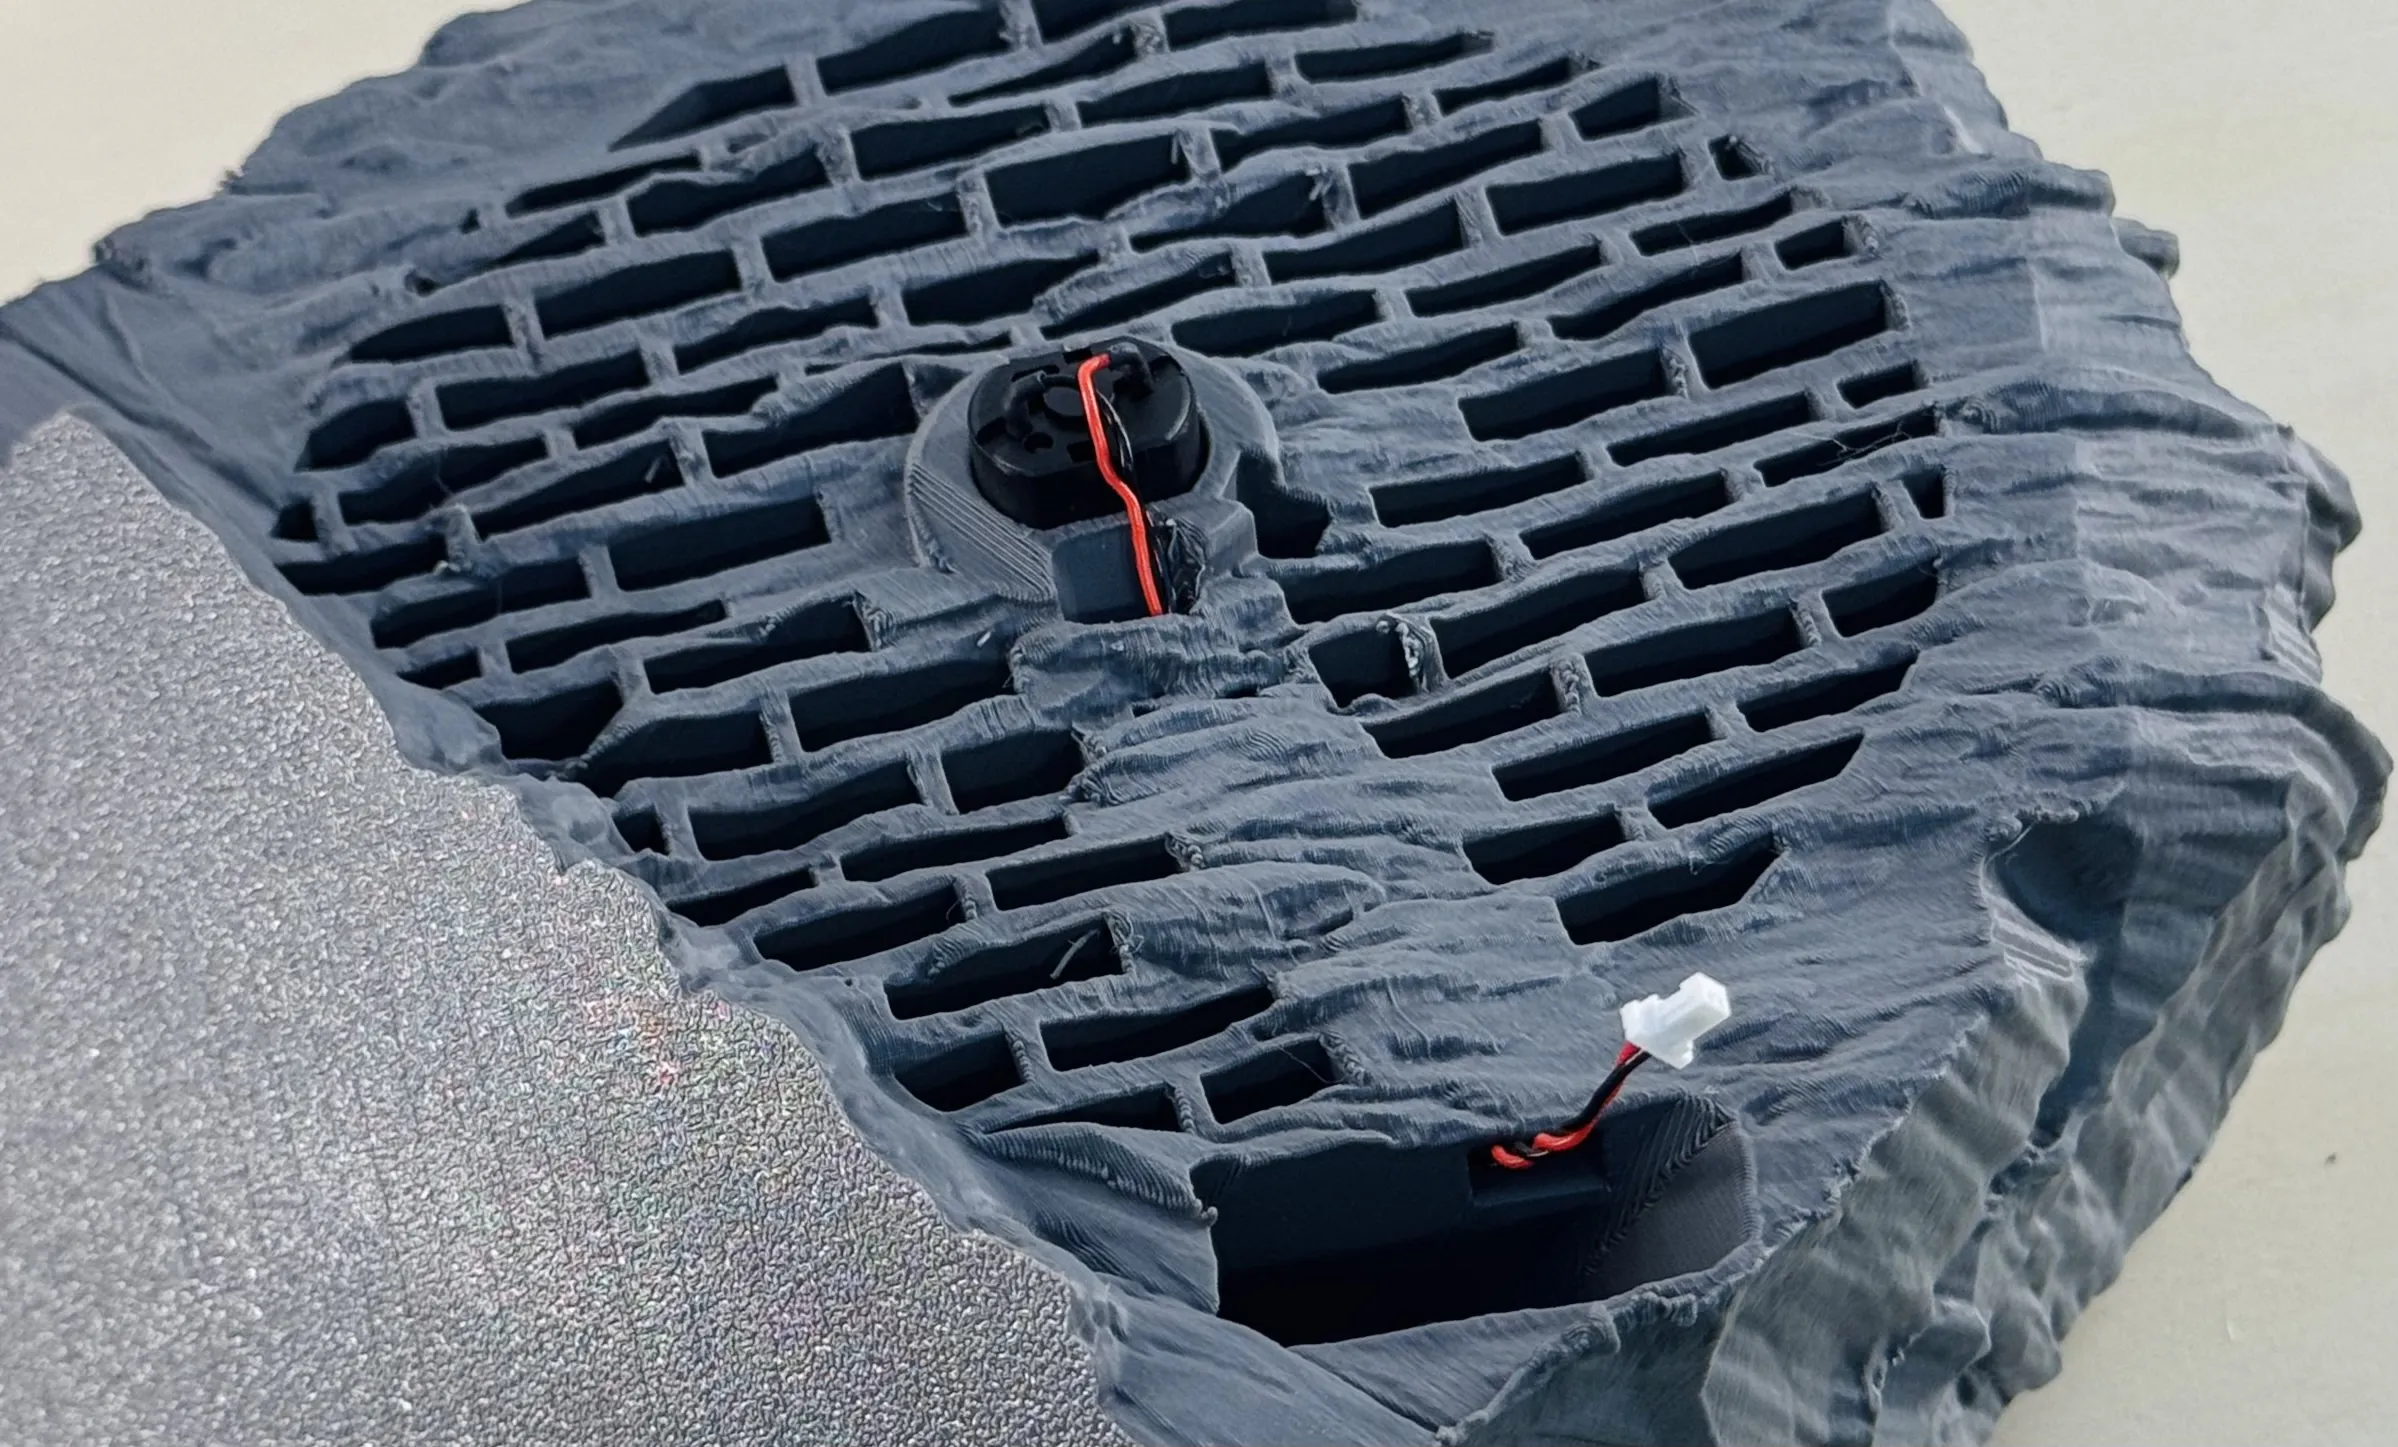
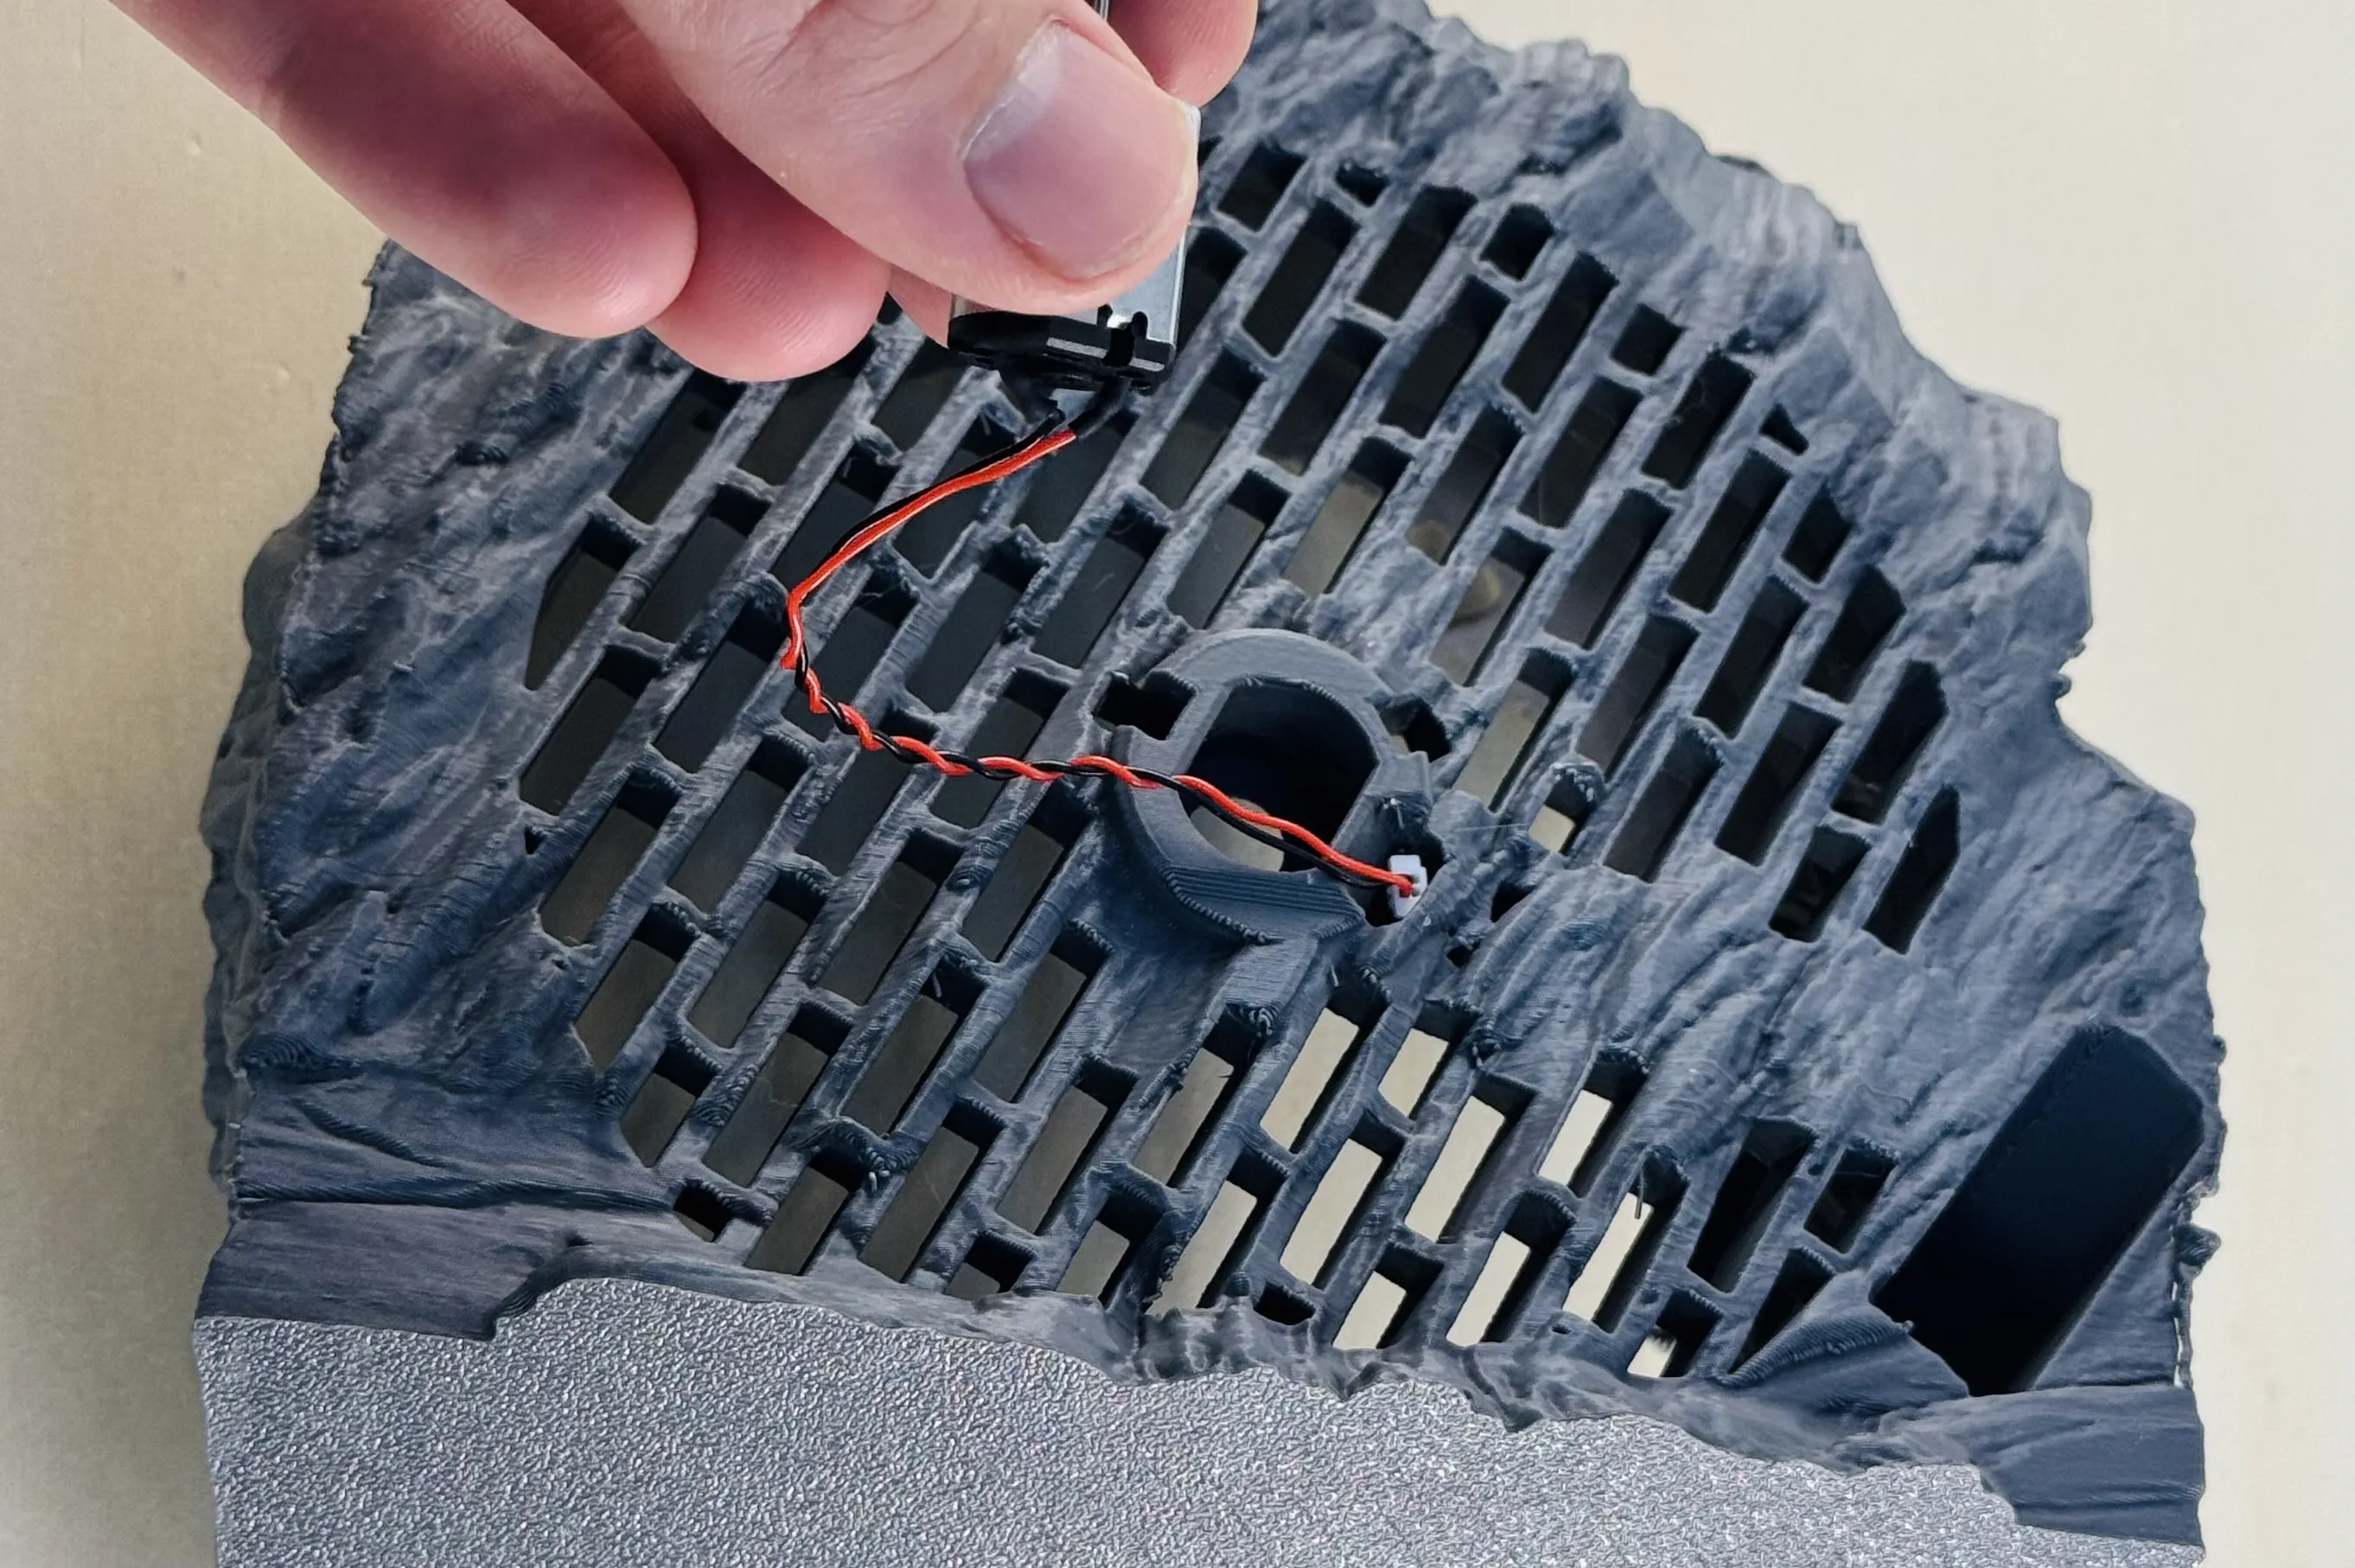
- Route the DC motor cable through the designated channel.
- Place the motor into the hole.
Tip: If the motor feels loose, wrap a bit of tape around it for a snug fit.
Step 2: Buttons & LED Strip
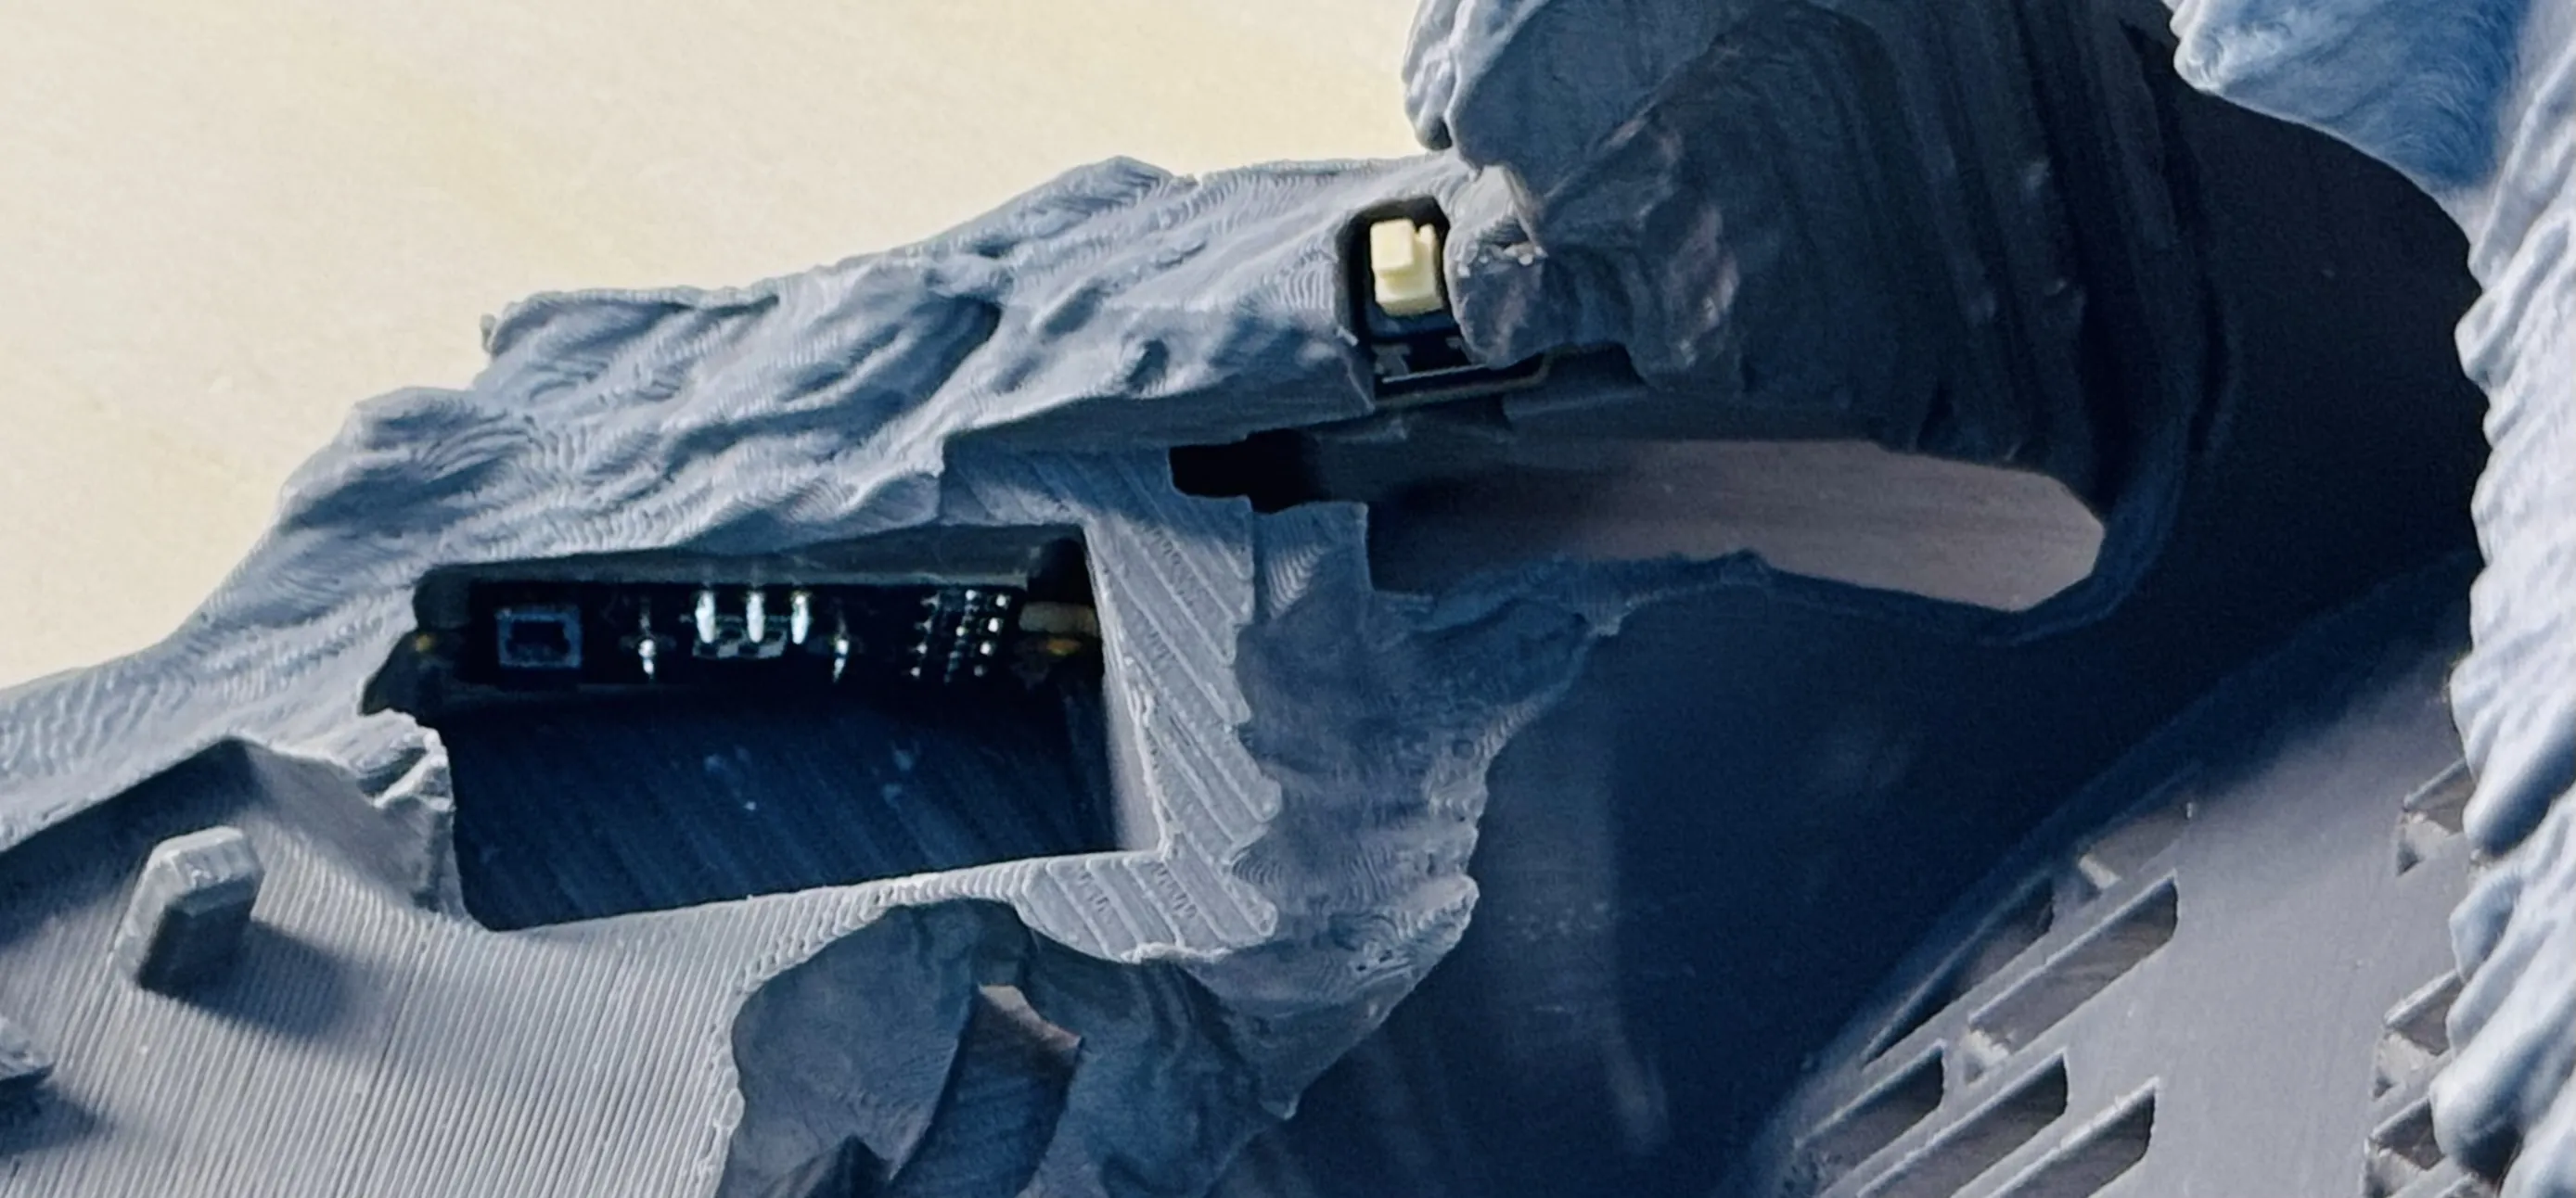
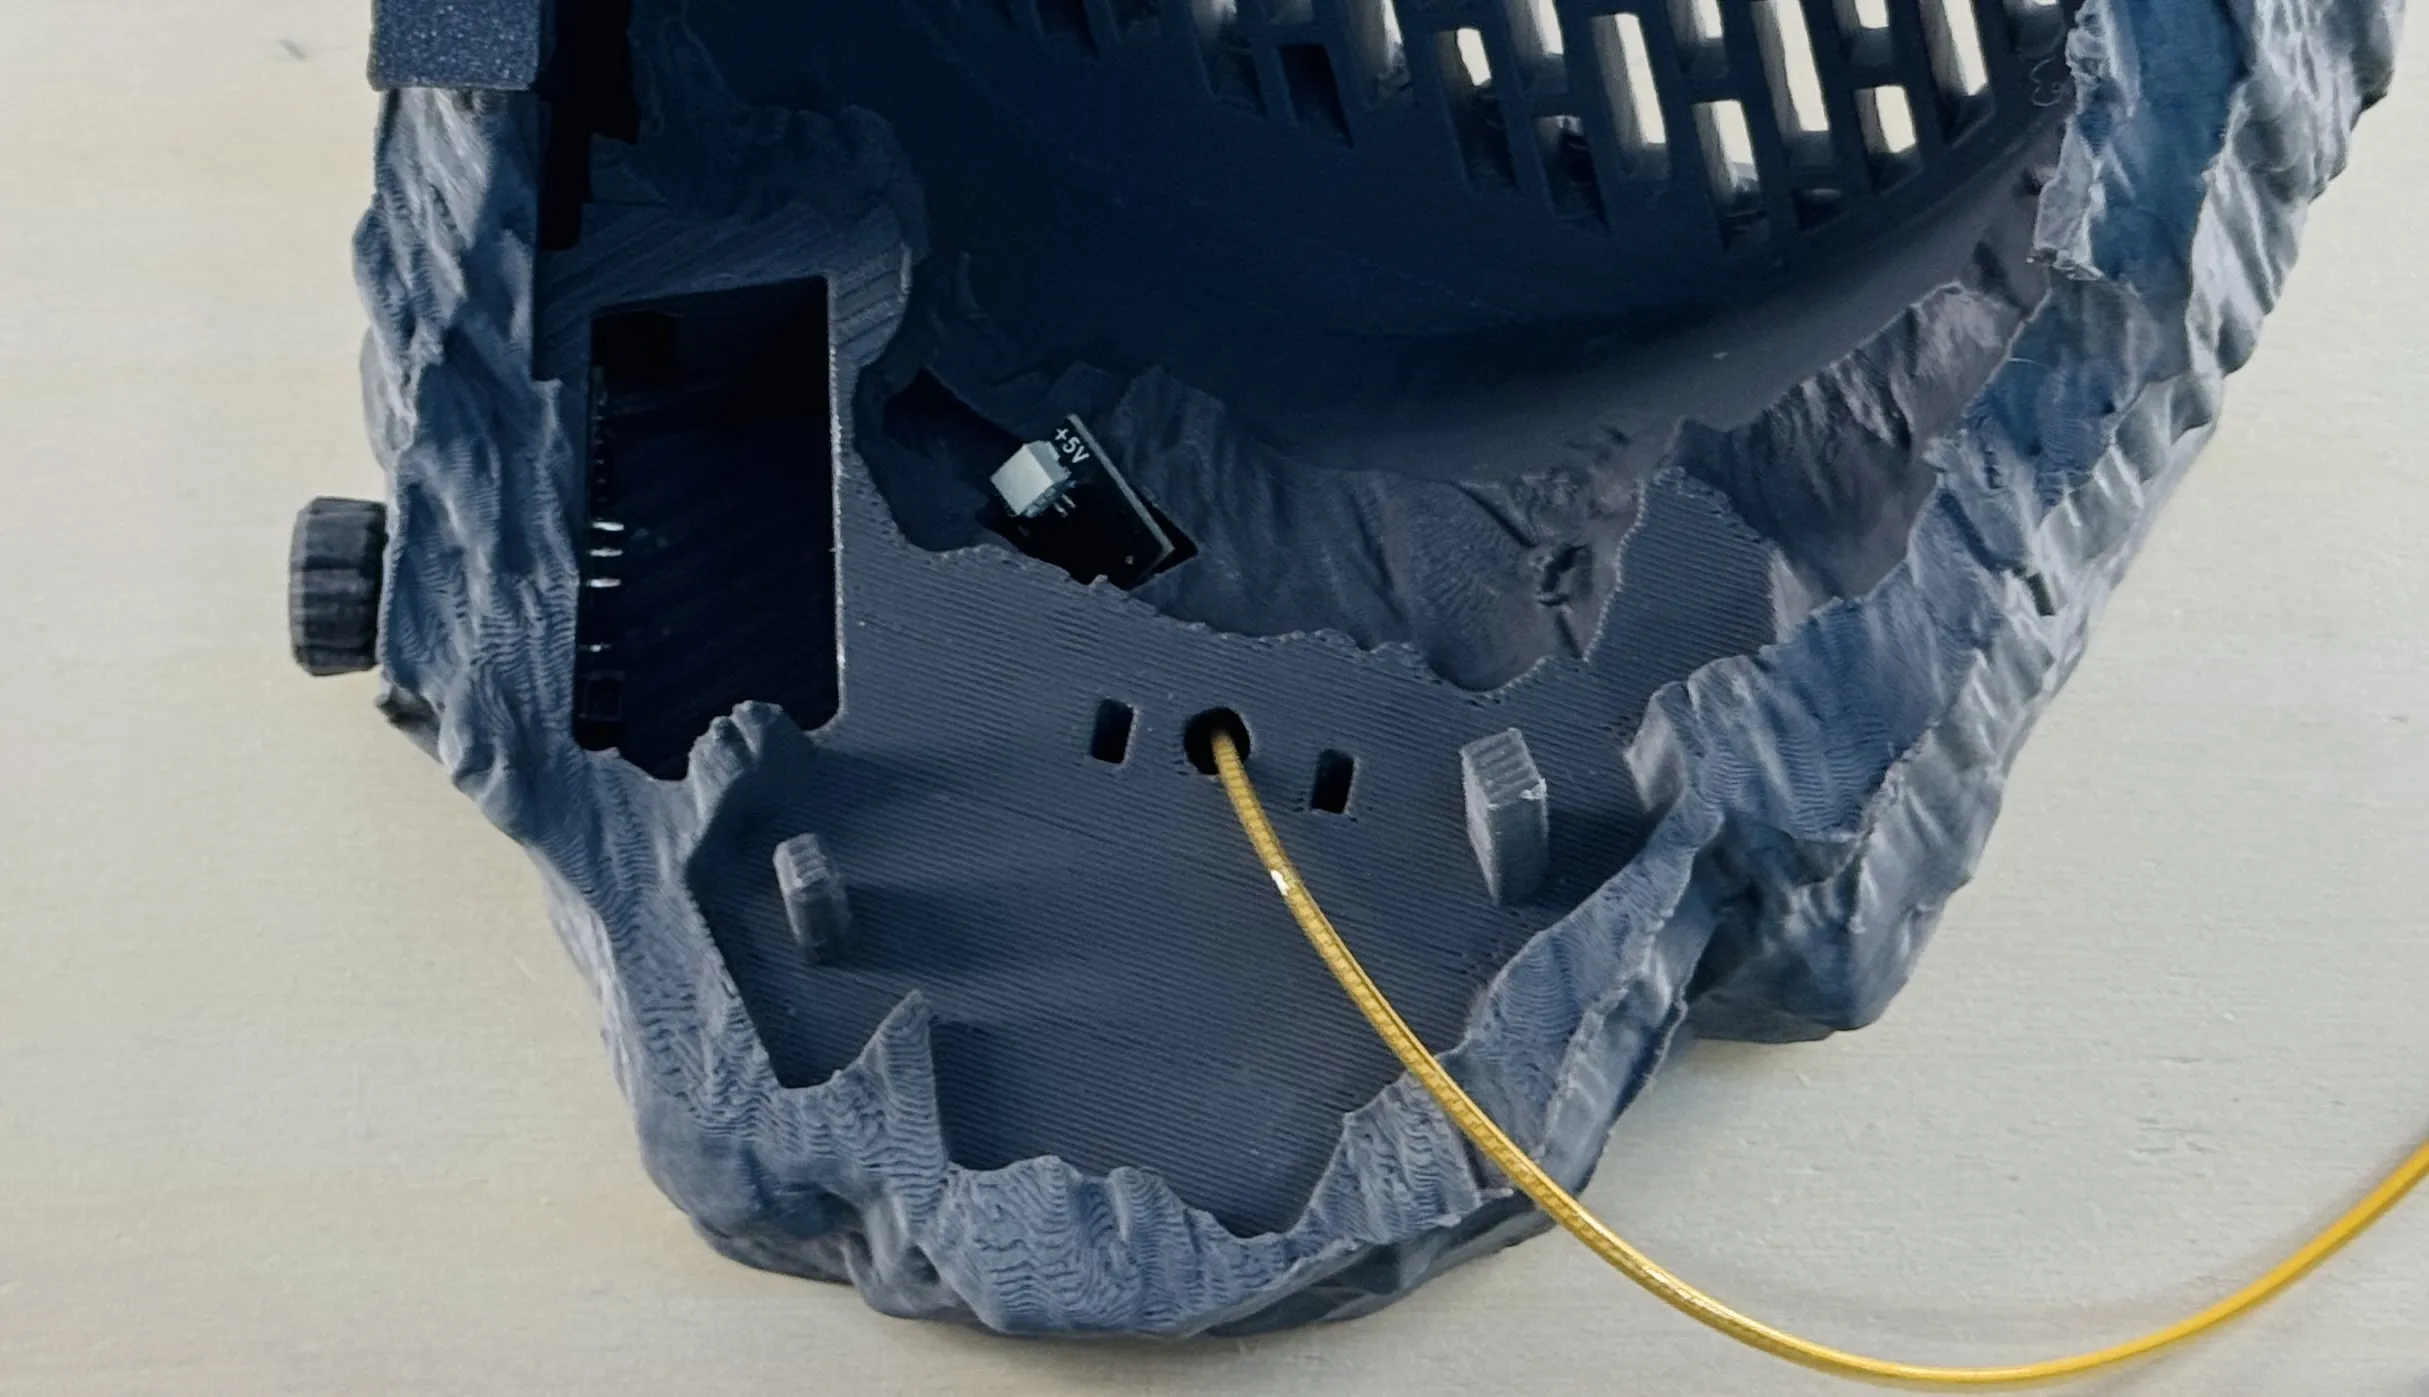
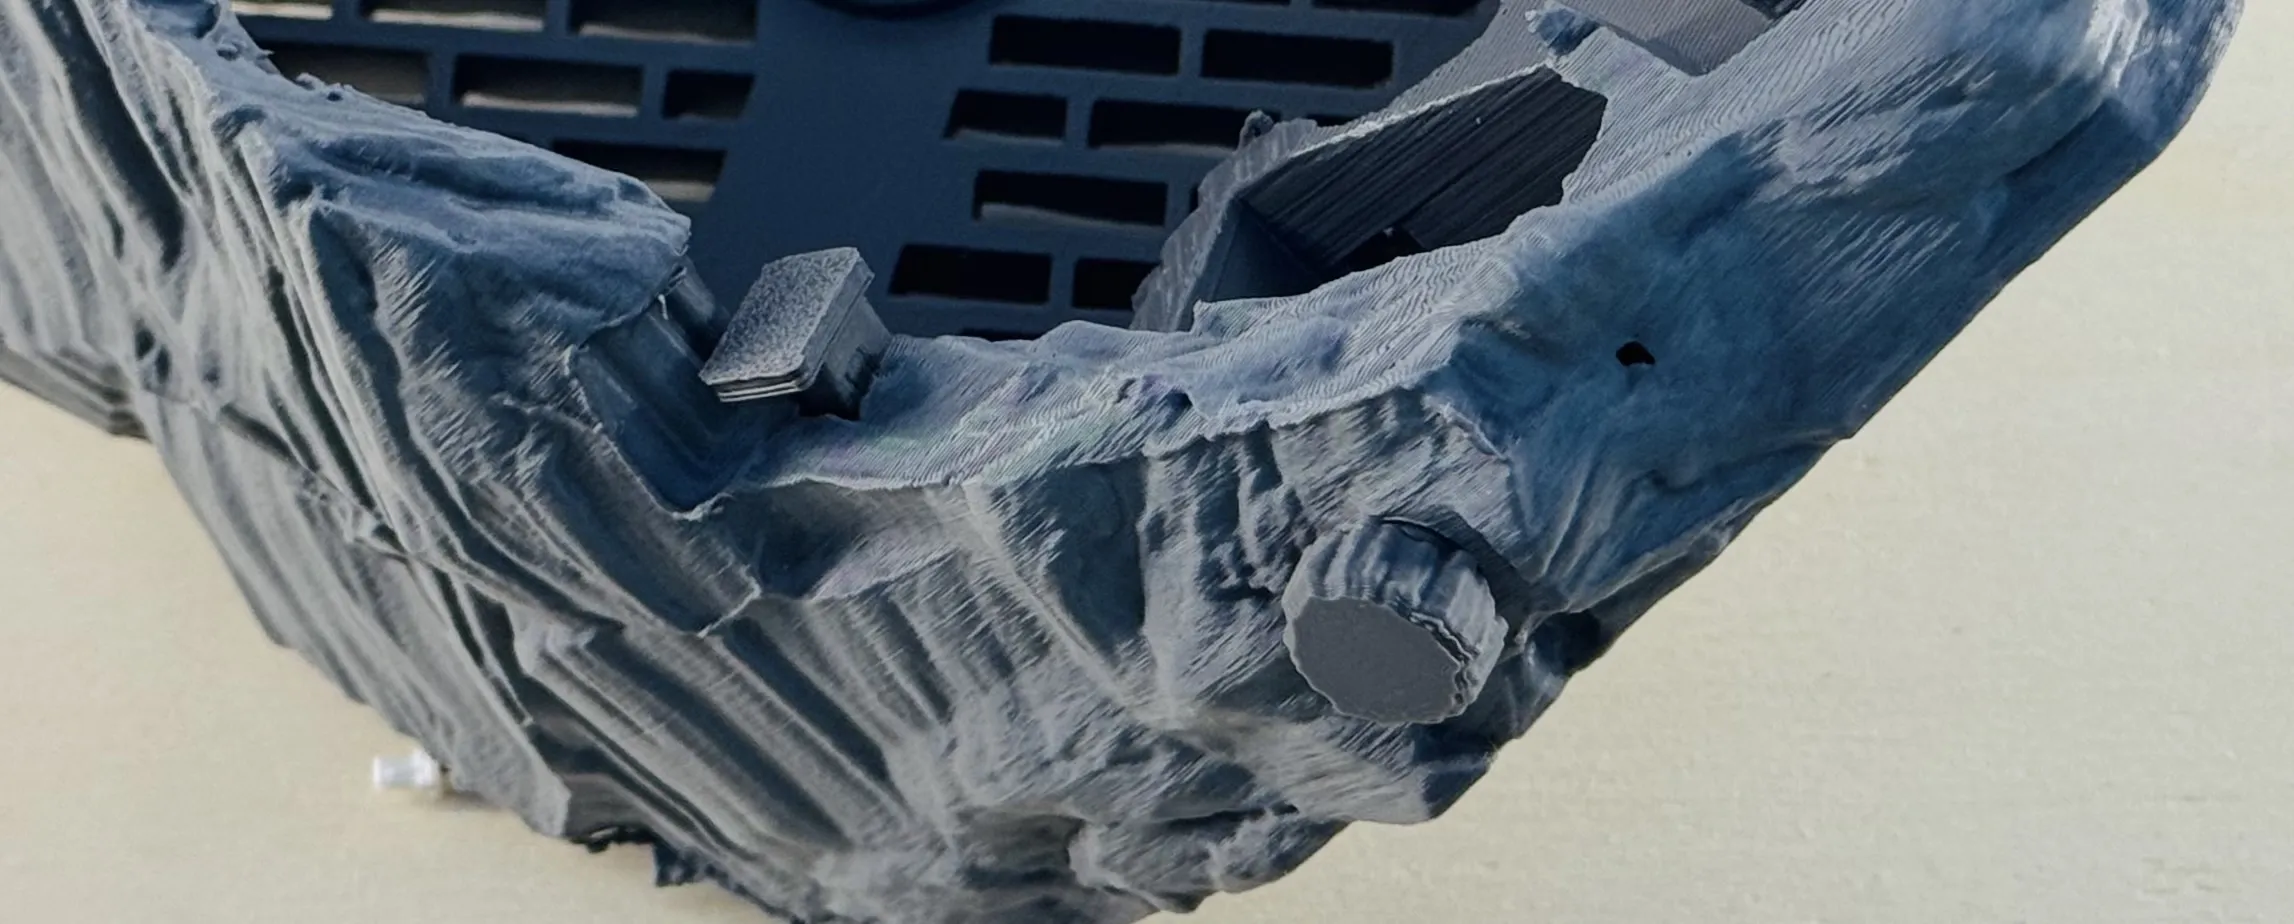
- Insert the two buttons as shown in the layout.
- Snap the 3D-printed button covers into place.
- Carefully feed the LED strip through the hole and position it as illustrated.
Step 3: Connect the Electronics
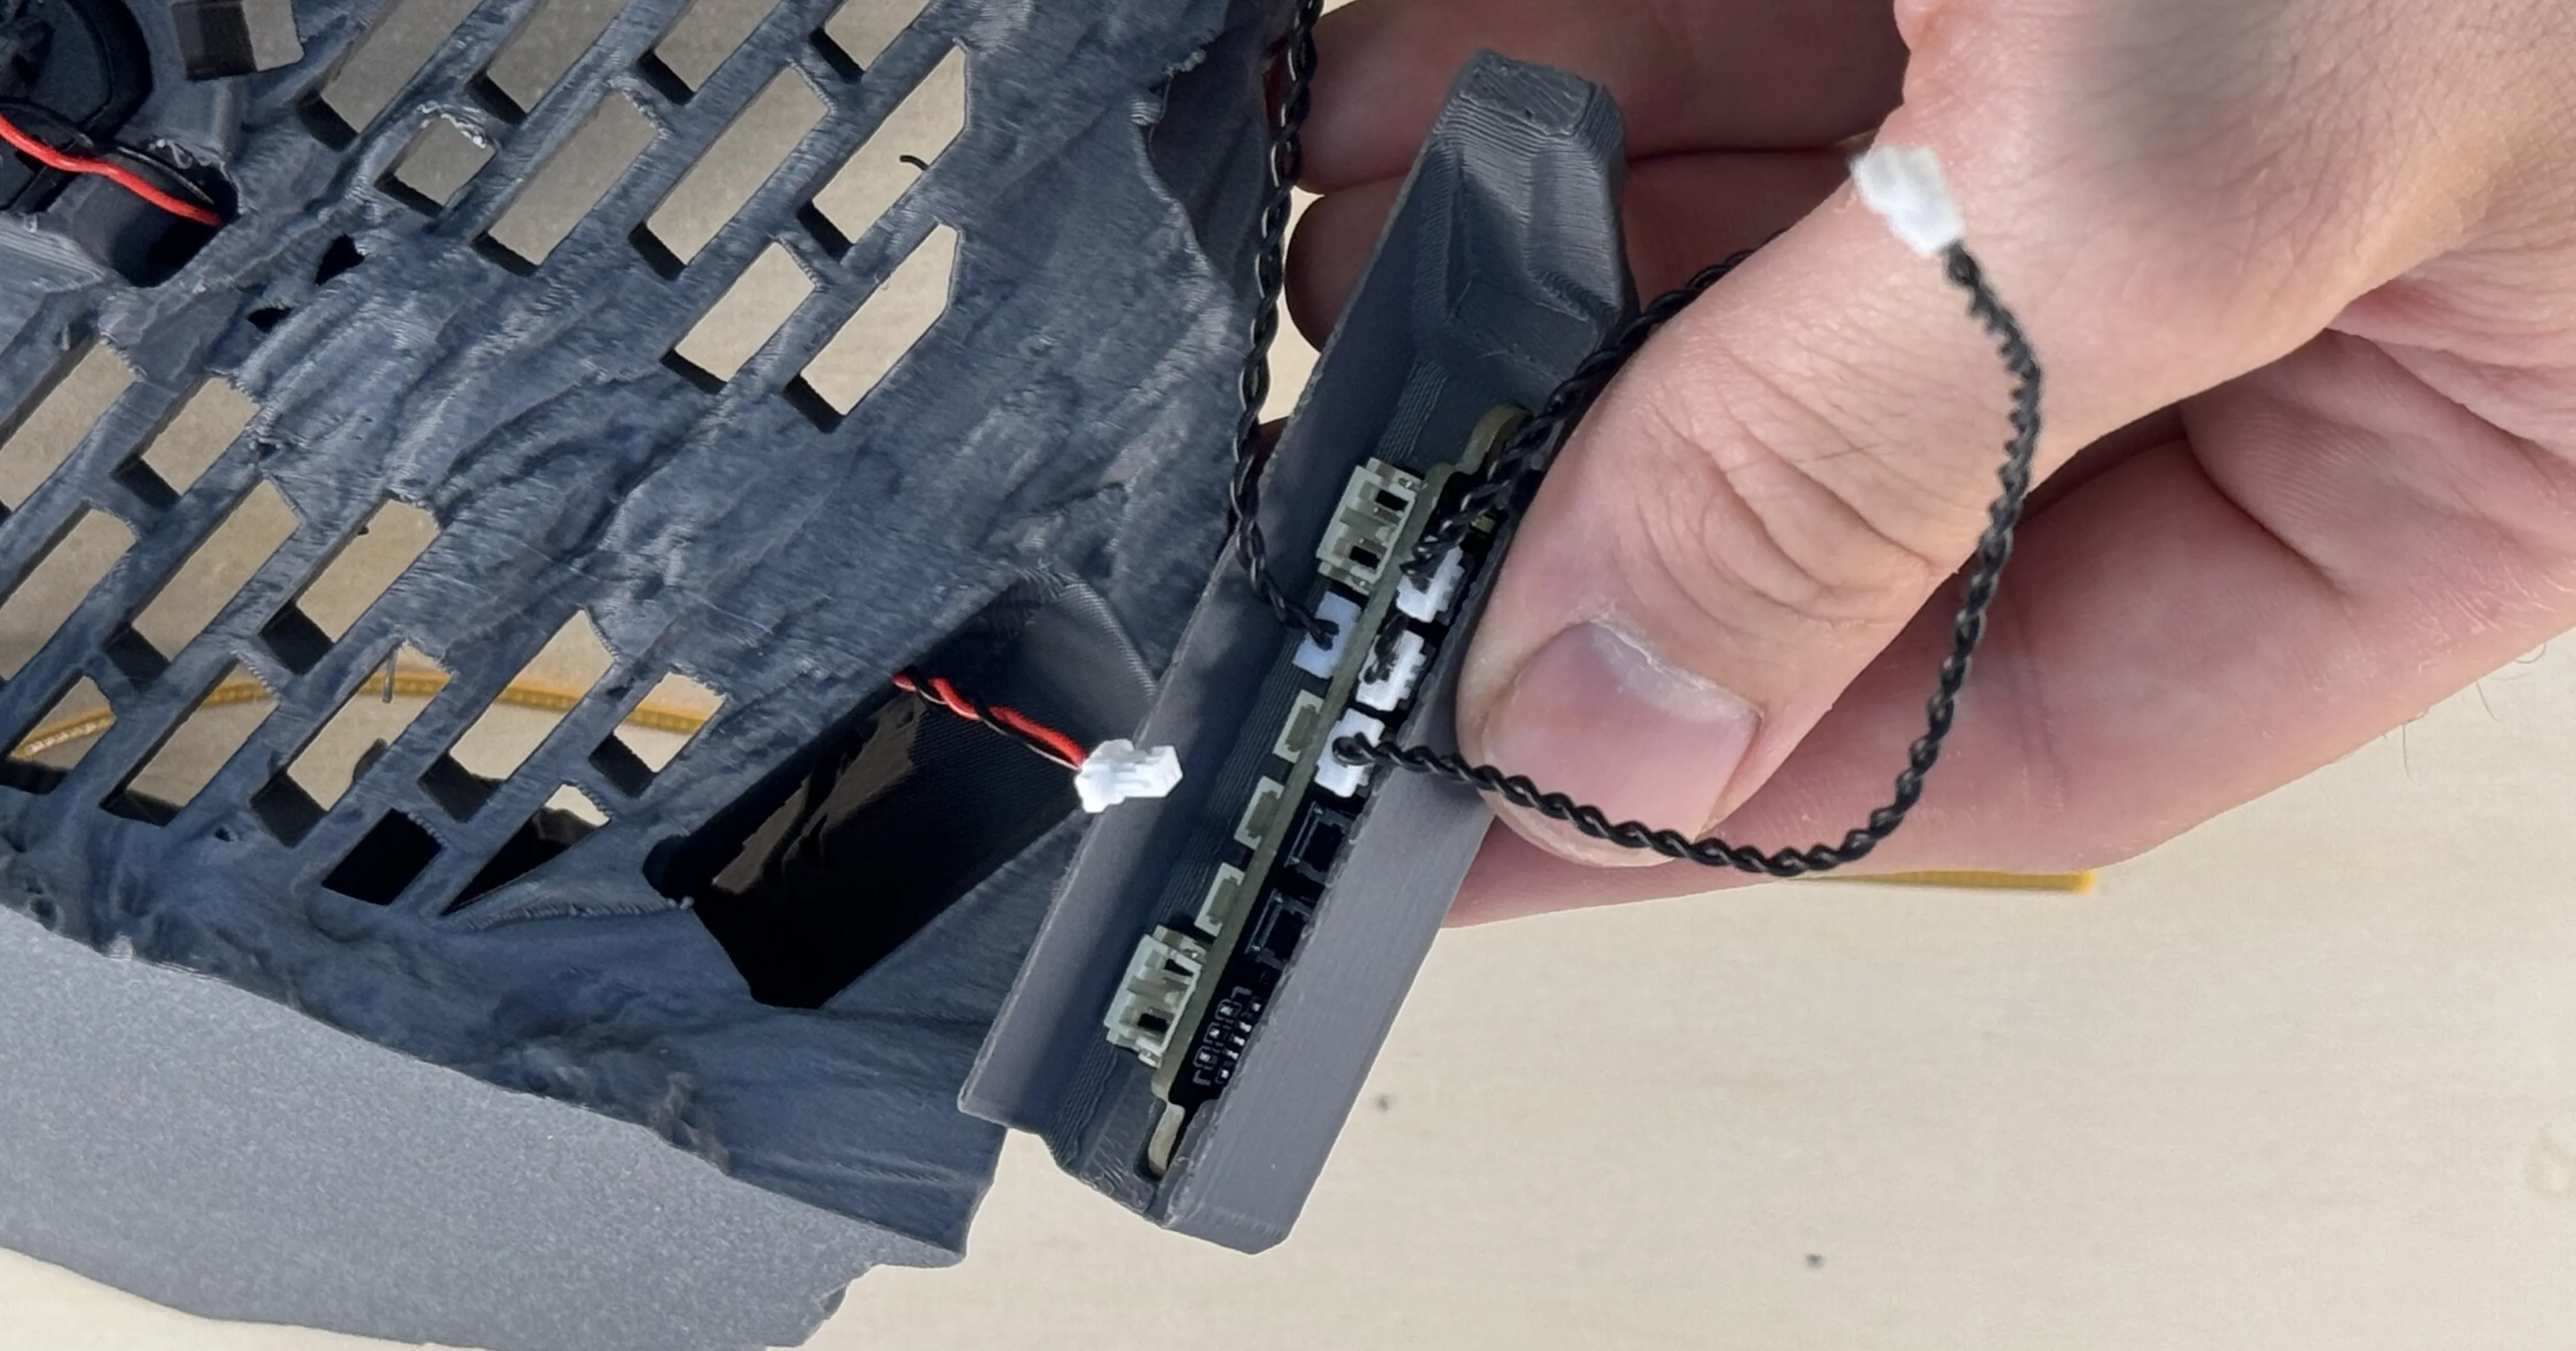
- Connect the cables as shown in the diagram.
- Place the board into its holder.
- Plug in the motor cable.
- Insert the board holder into the base.
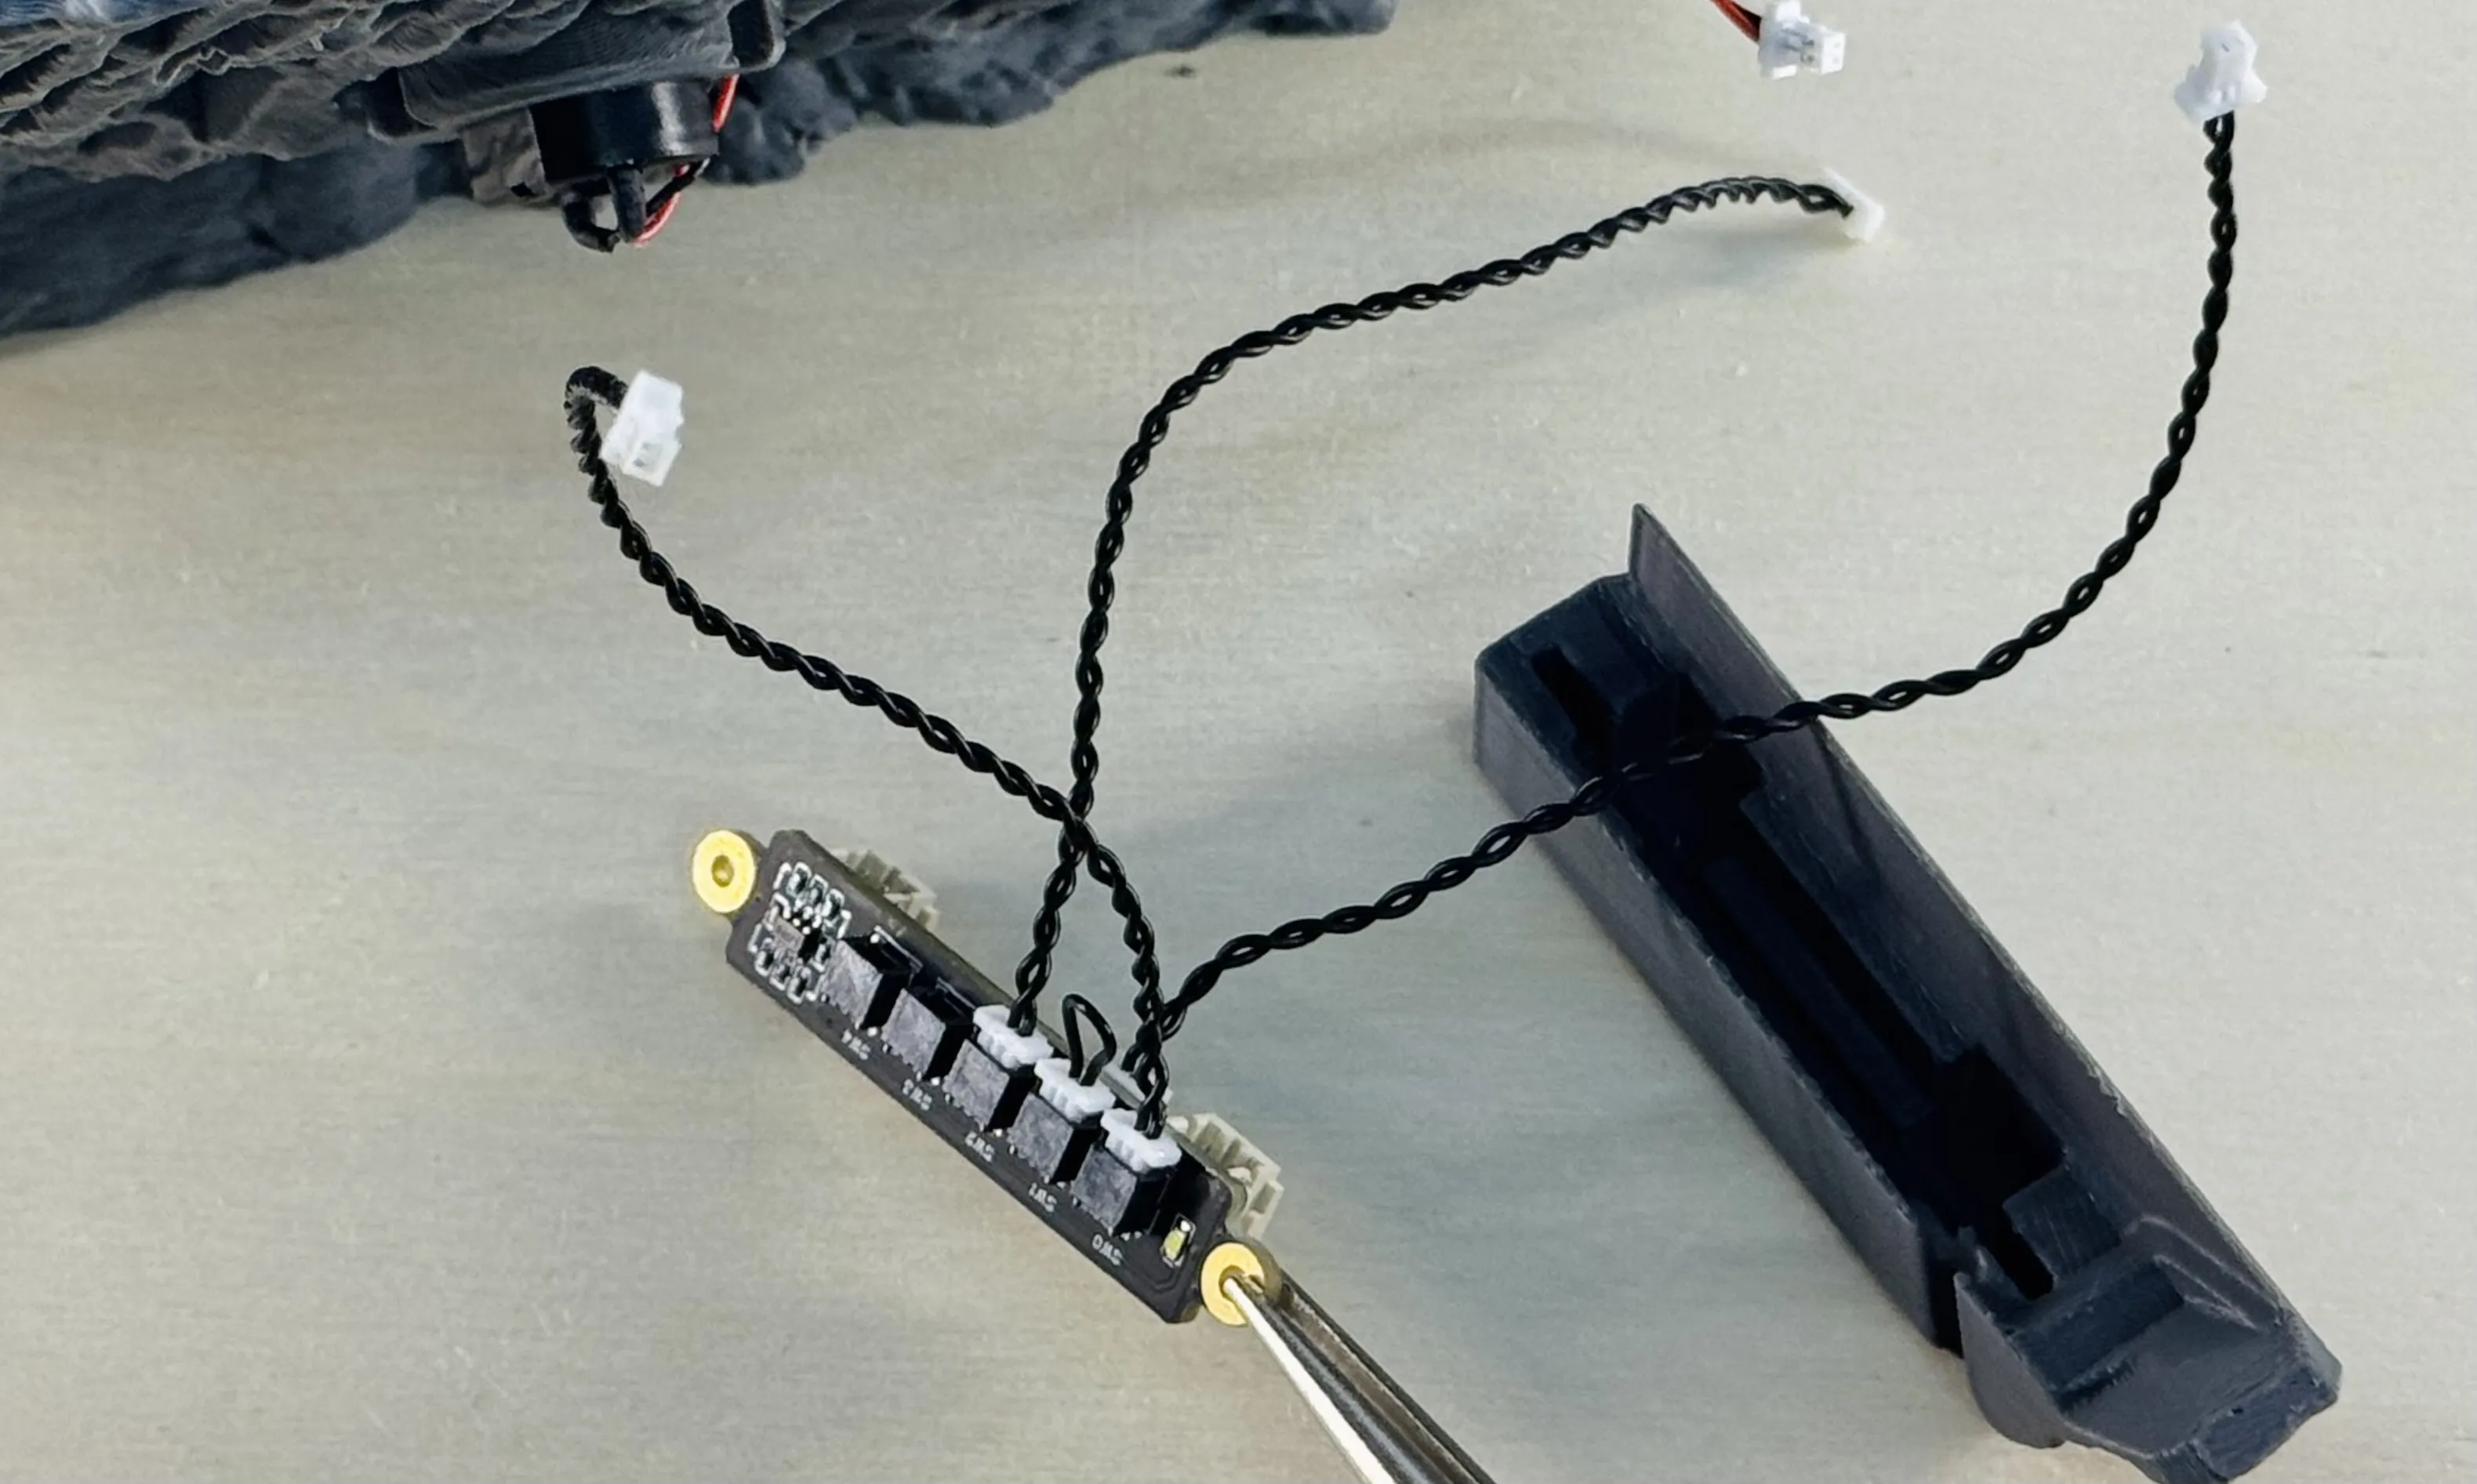
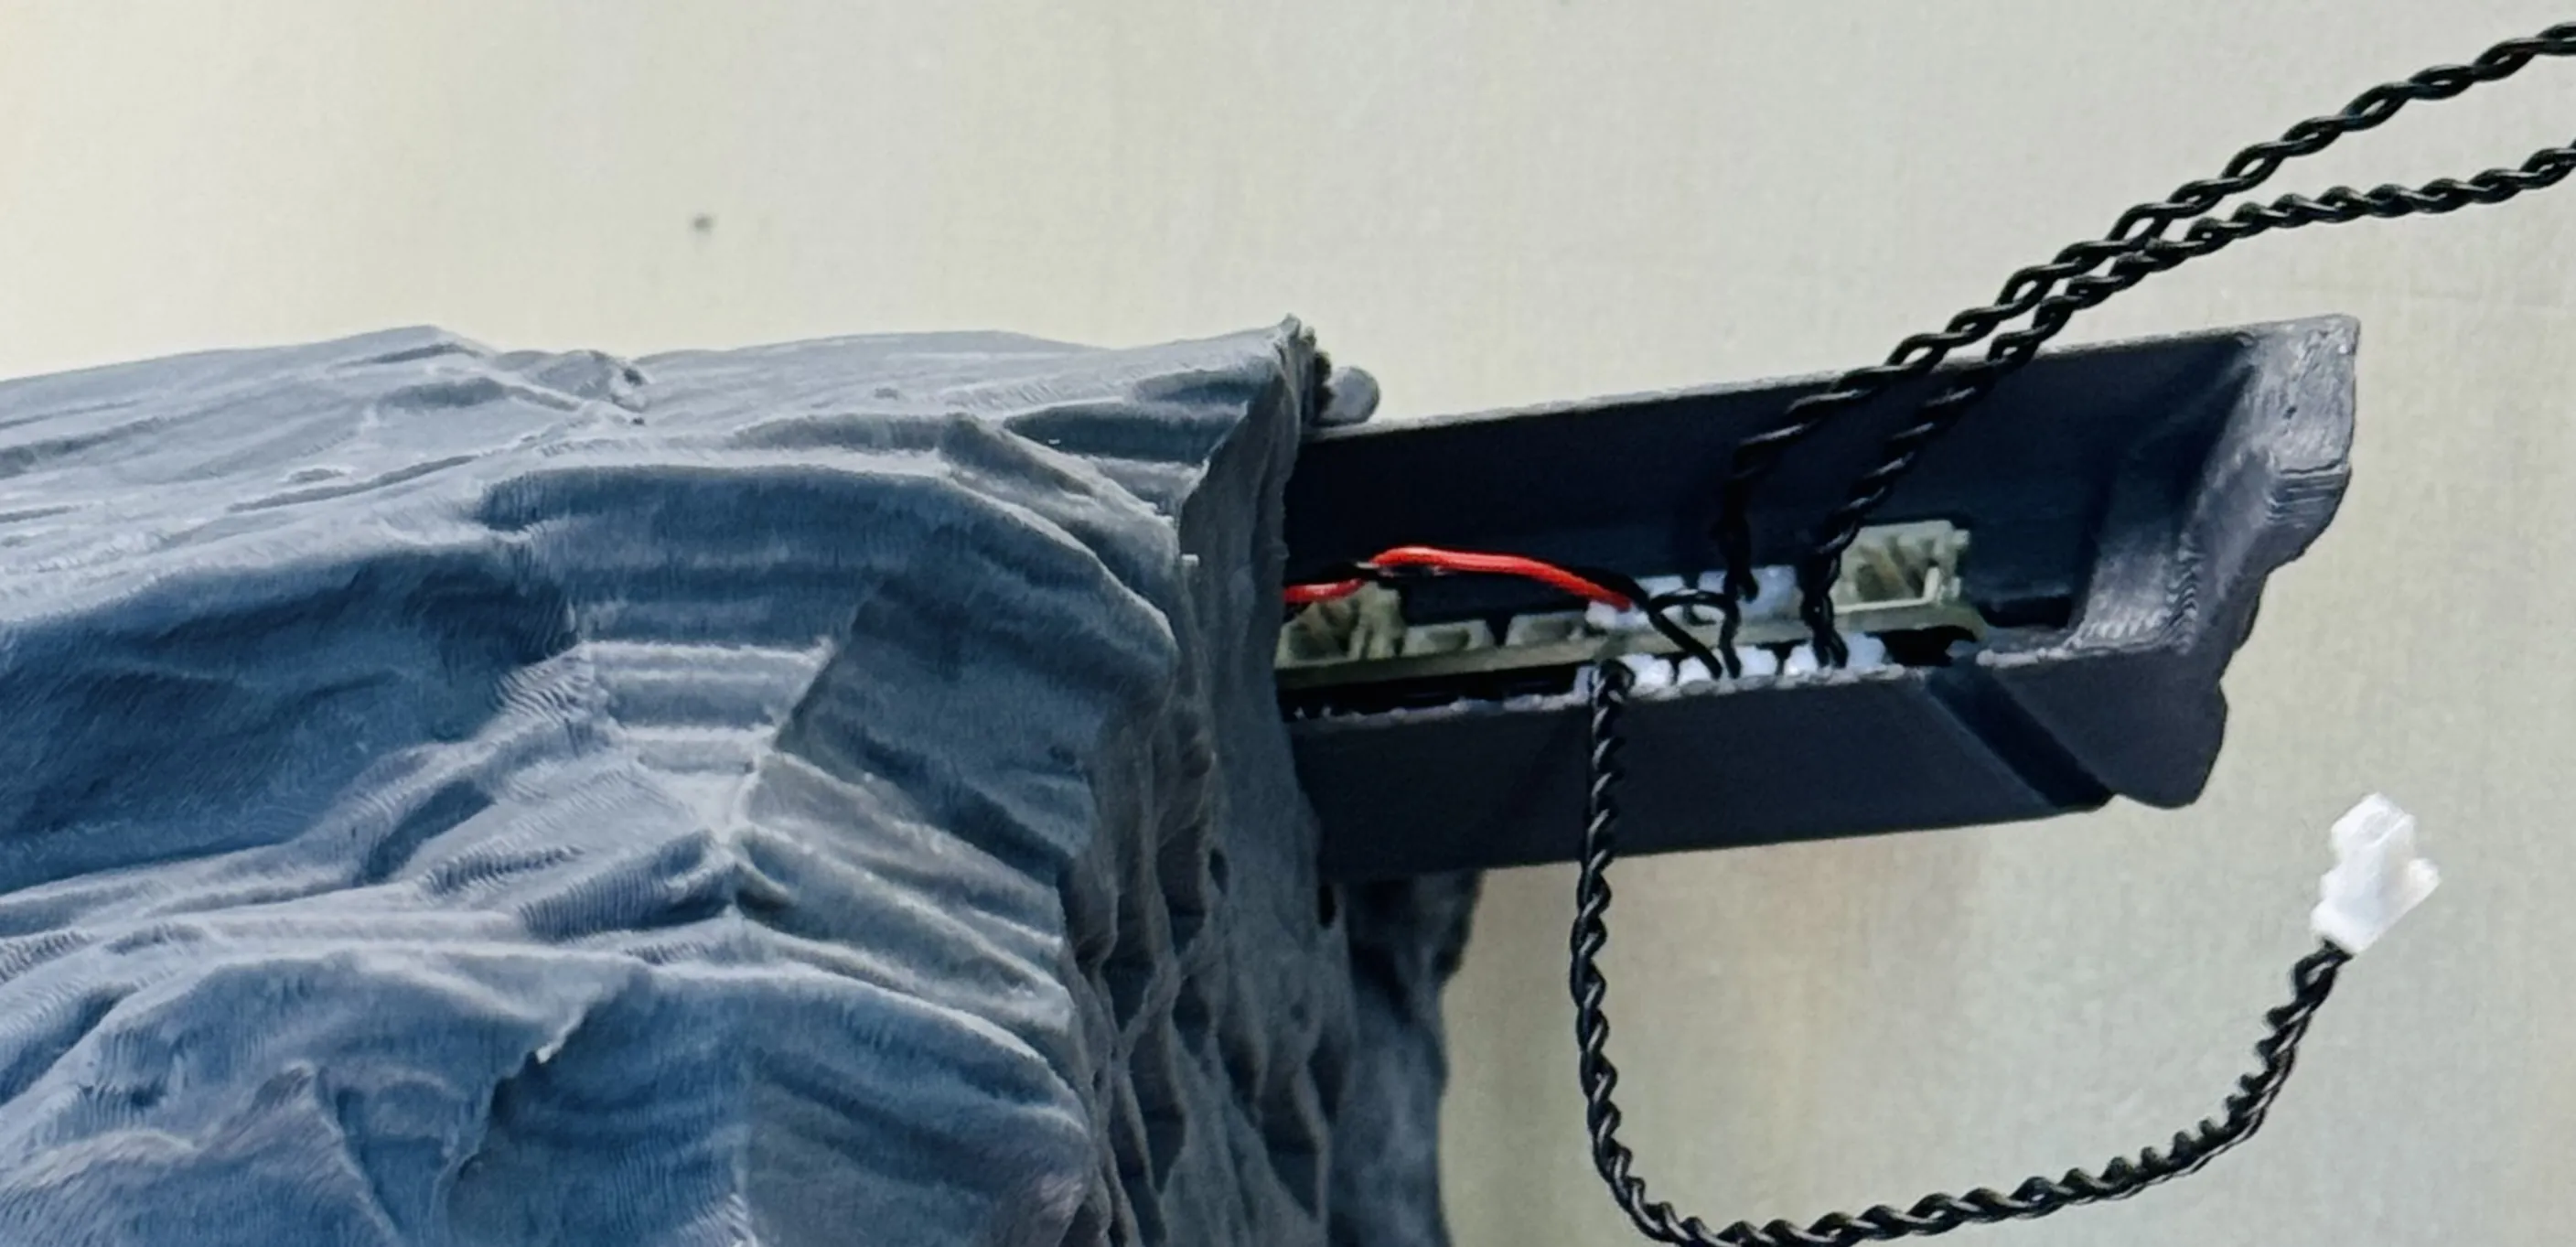
Step 4: Cable Management & Motor Mount
- Label the three remaining cables and guide them through the hole.
- Attach the power cable, route it along the side channel, and insert the power holder.
- Fit the motor holder securely into place.
Make sure it clicks in fully.
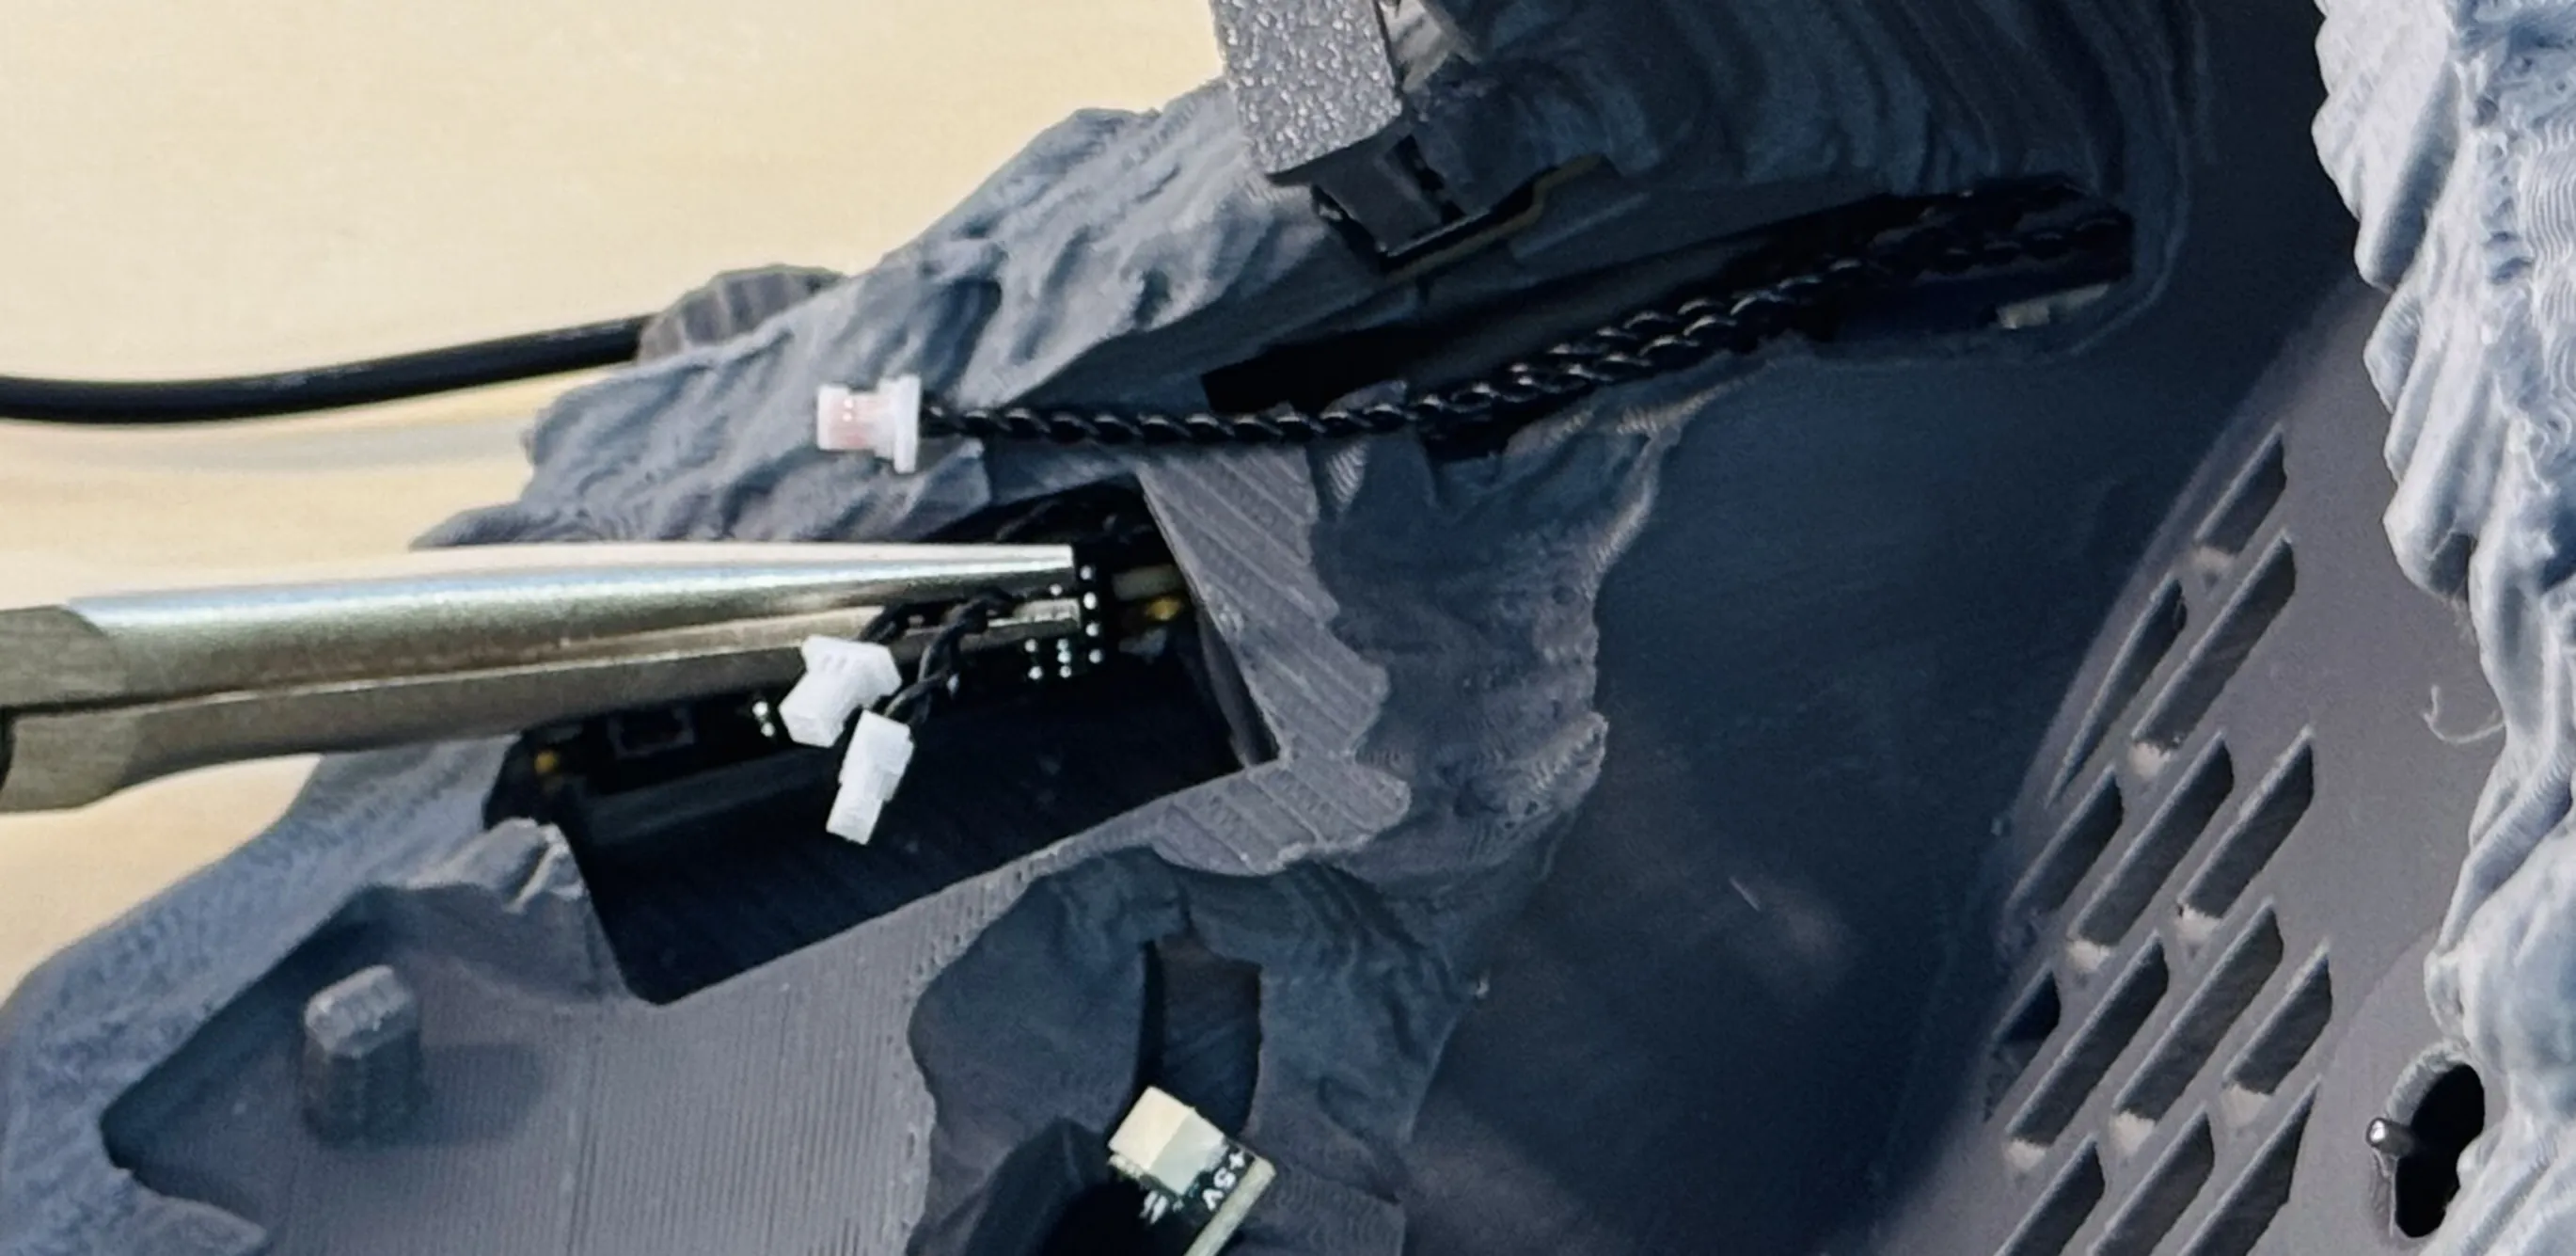
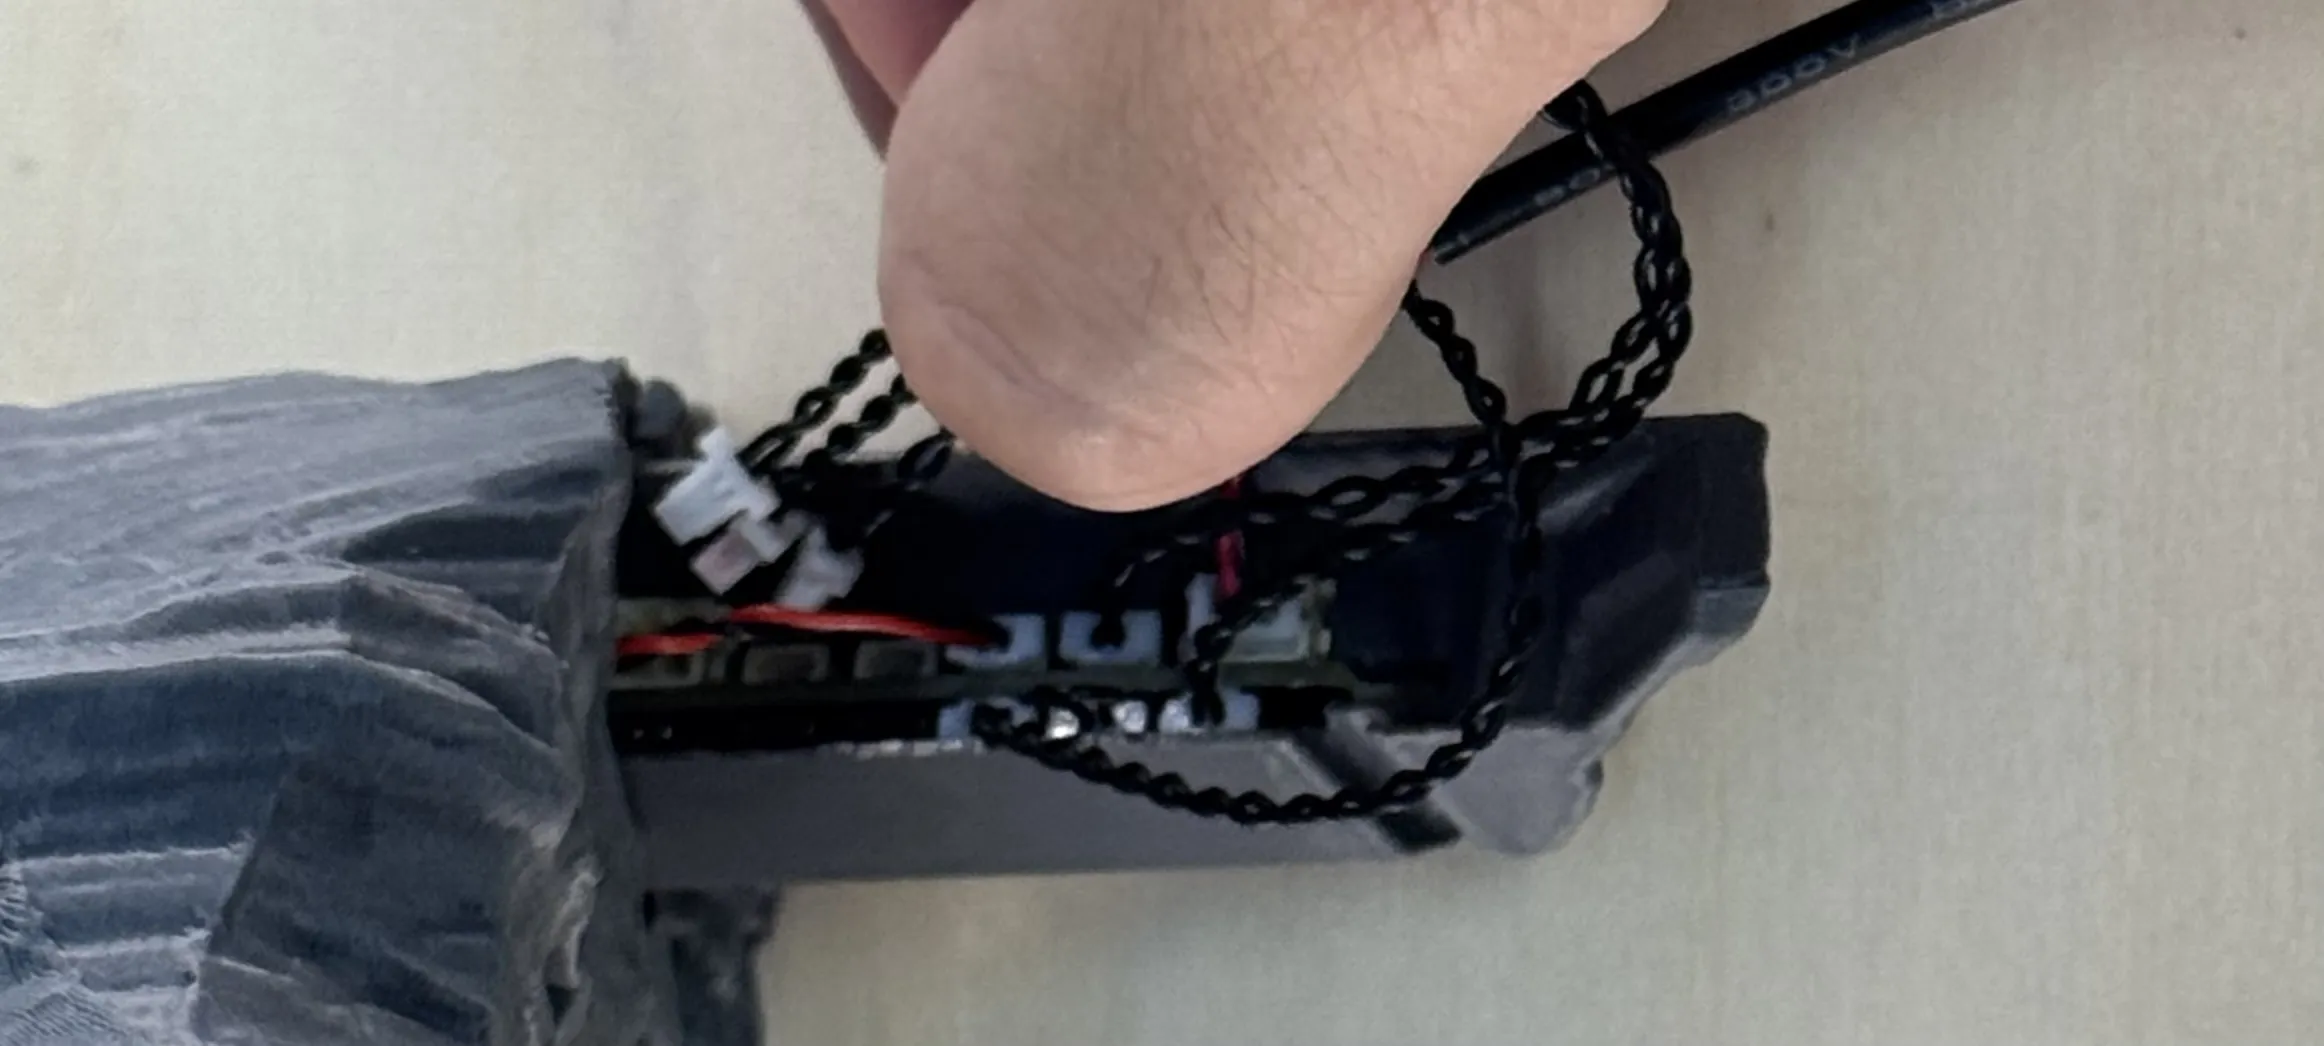
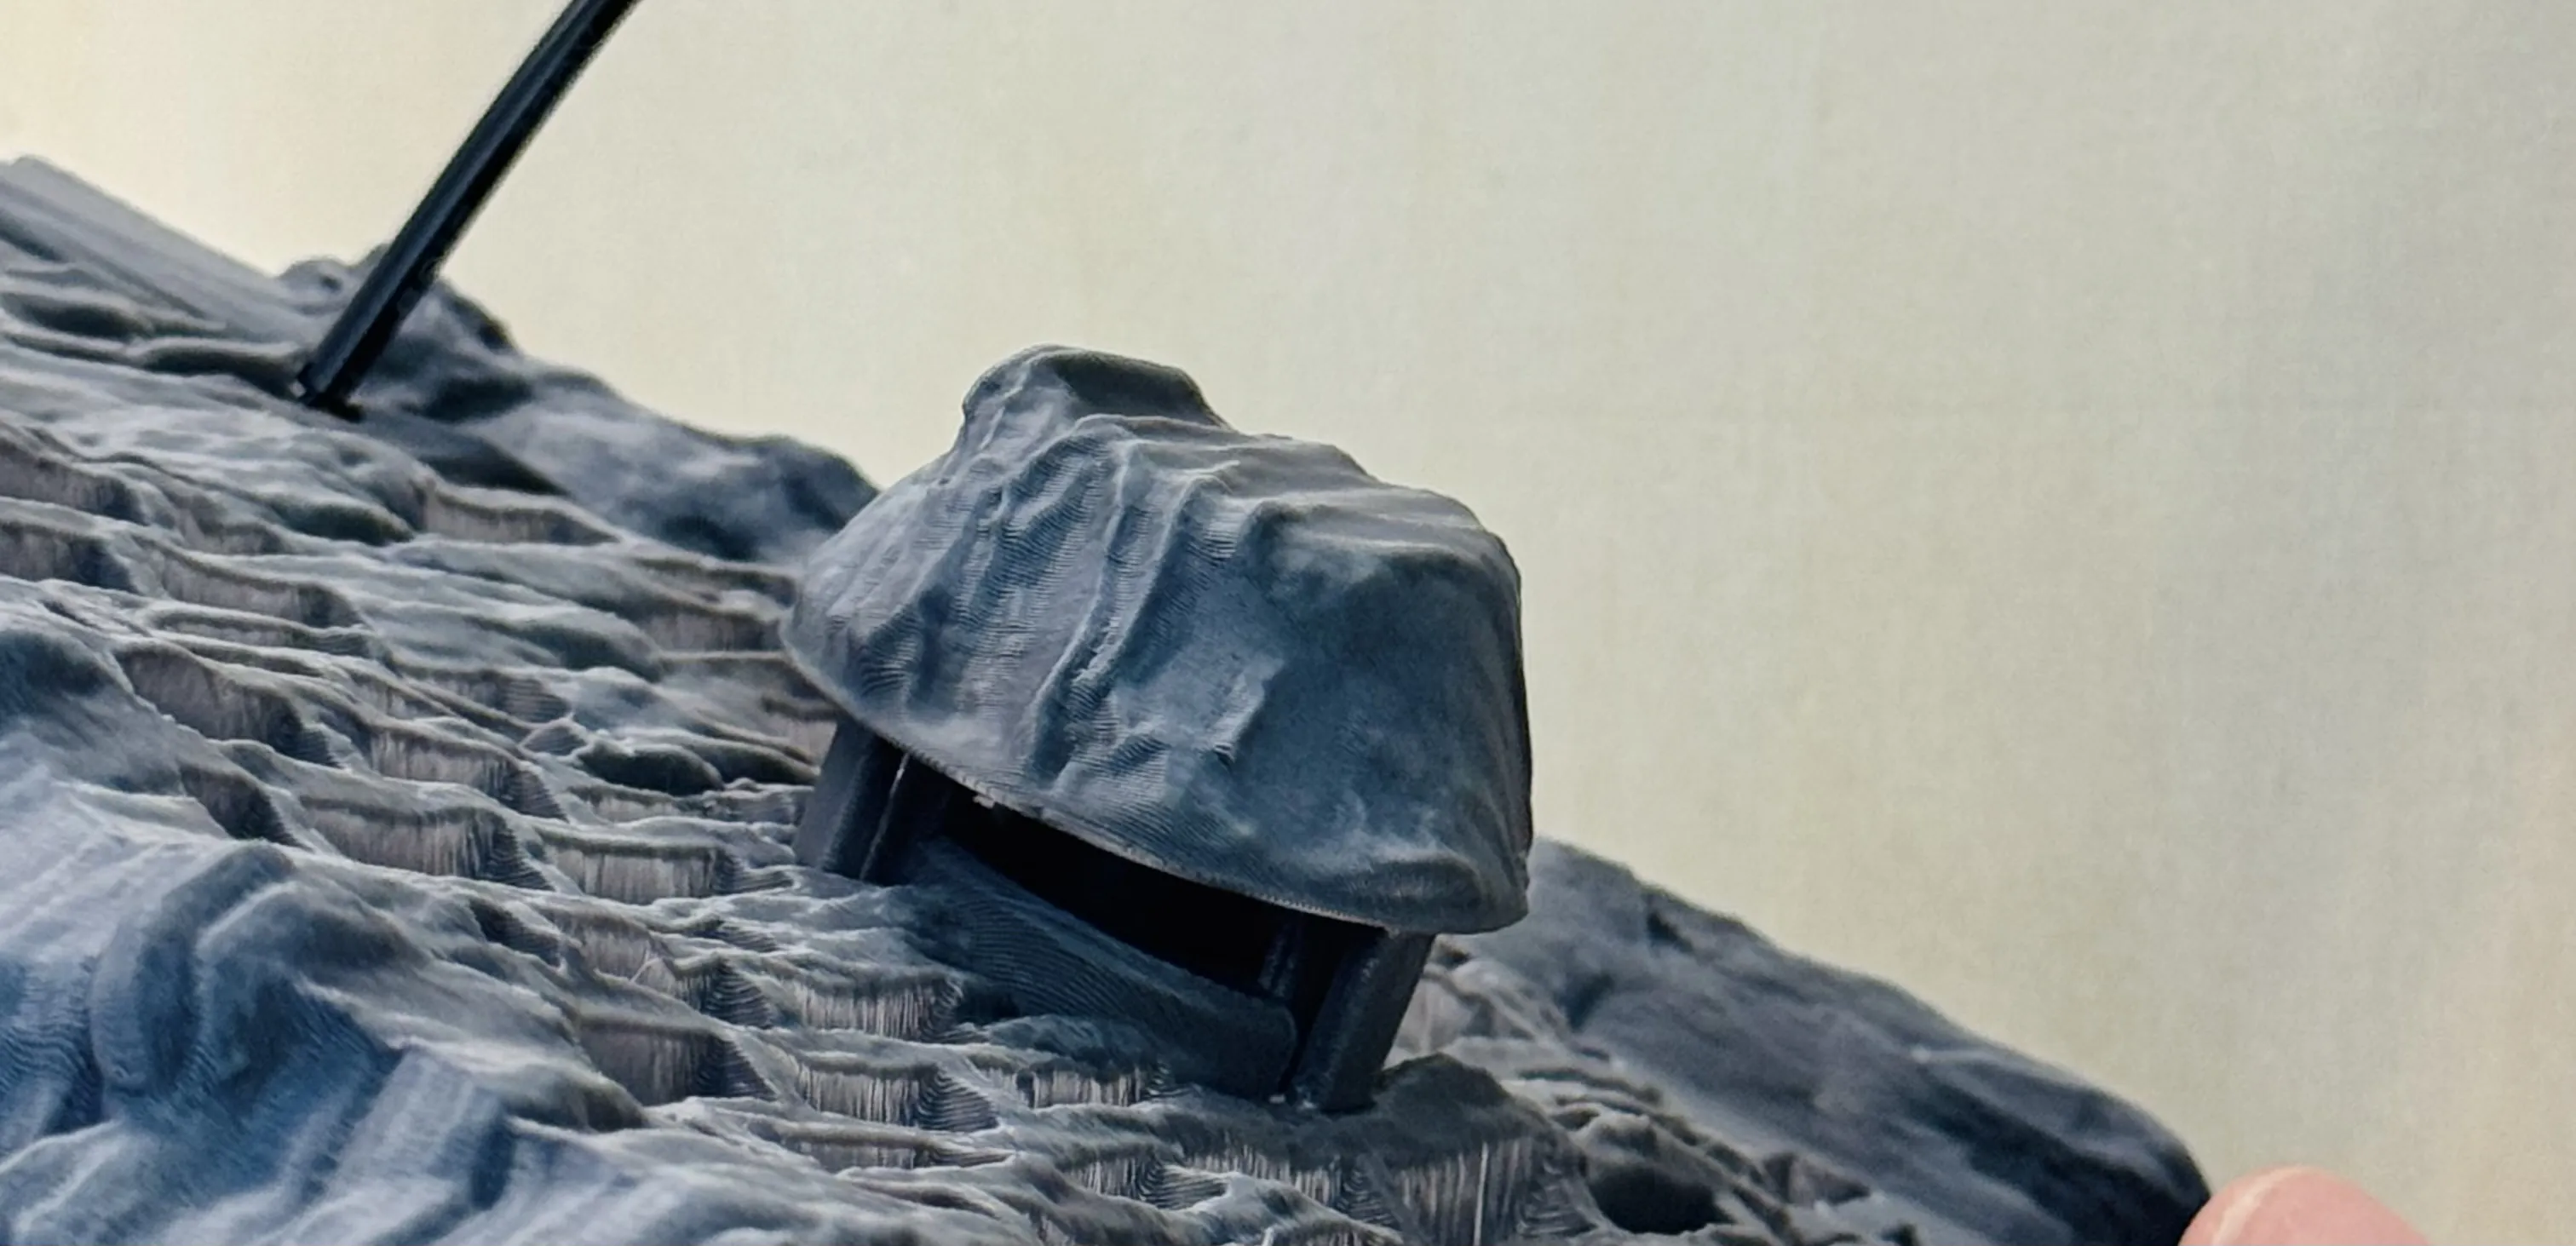
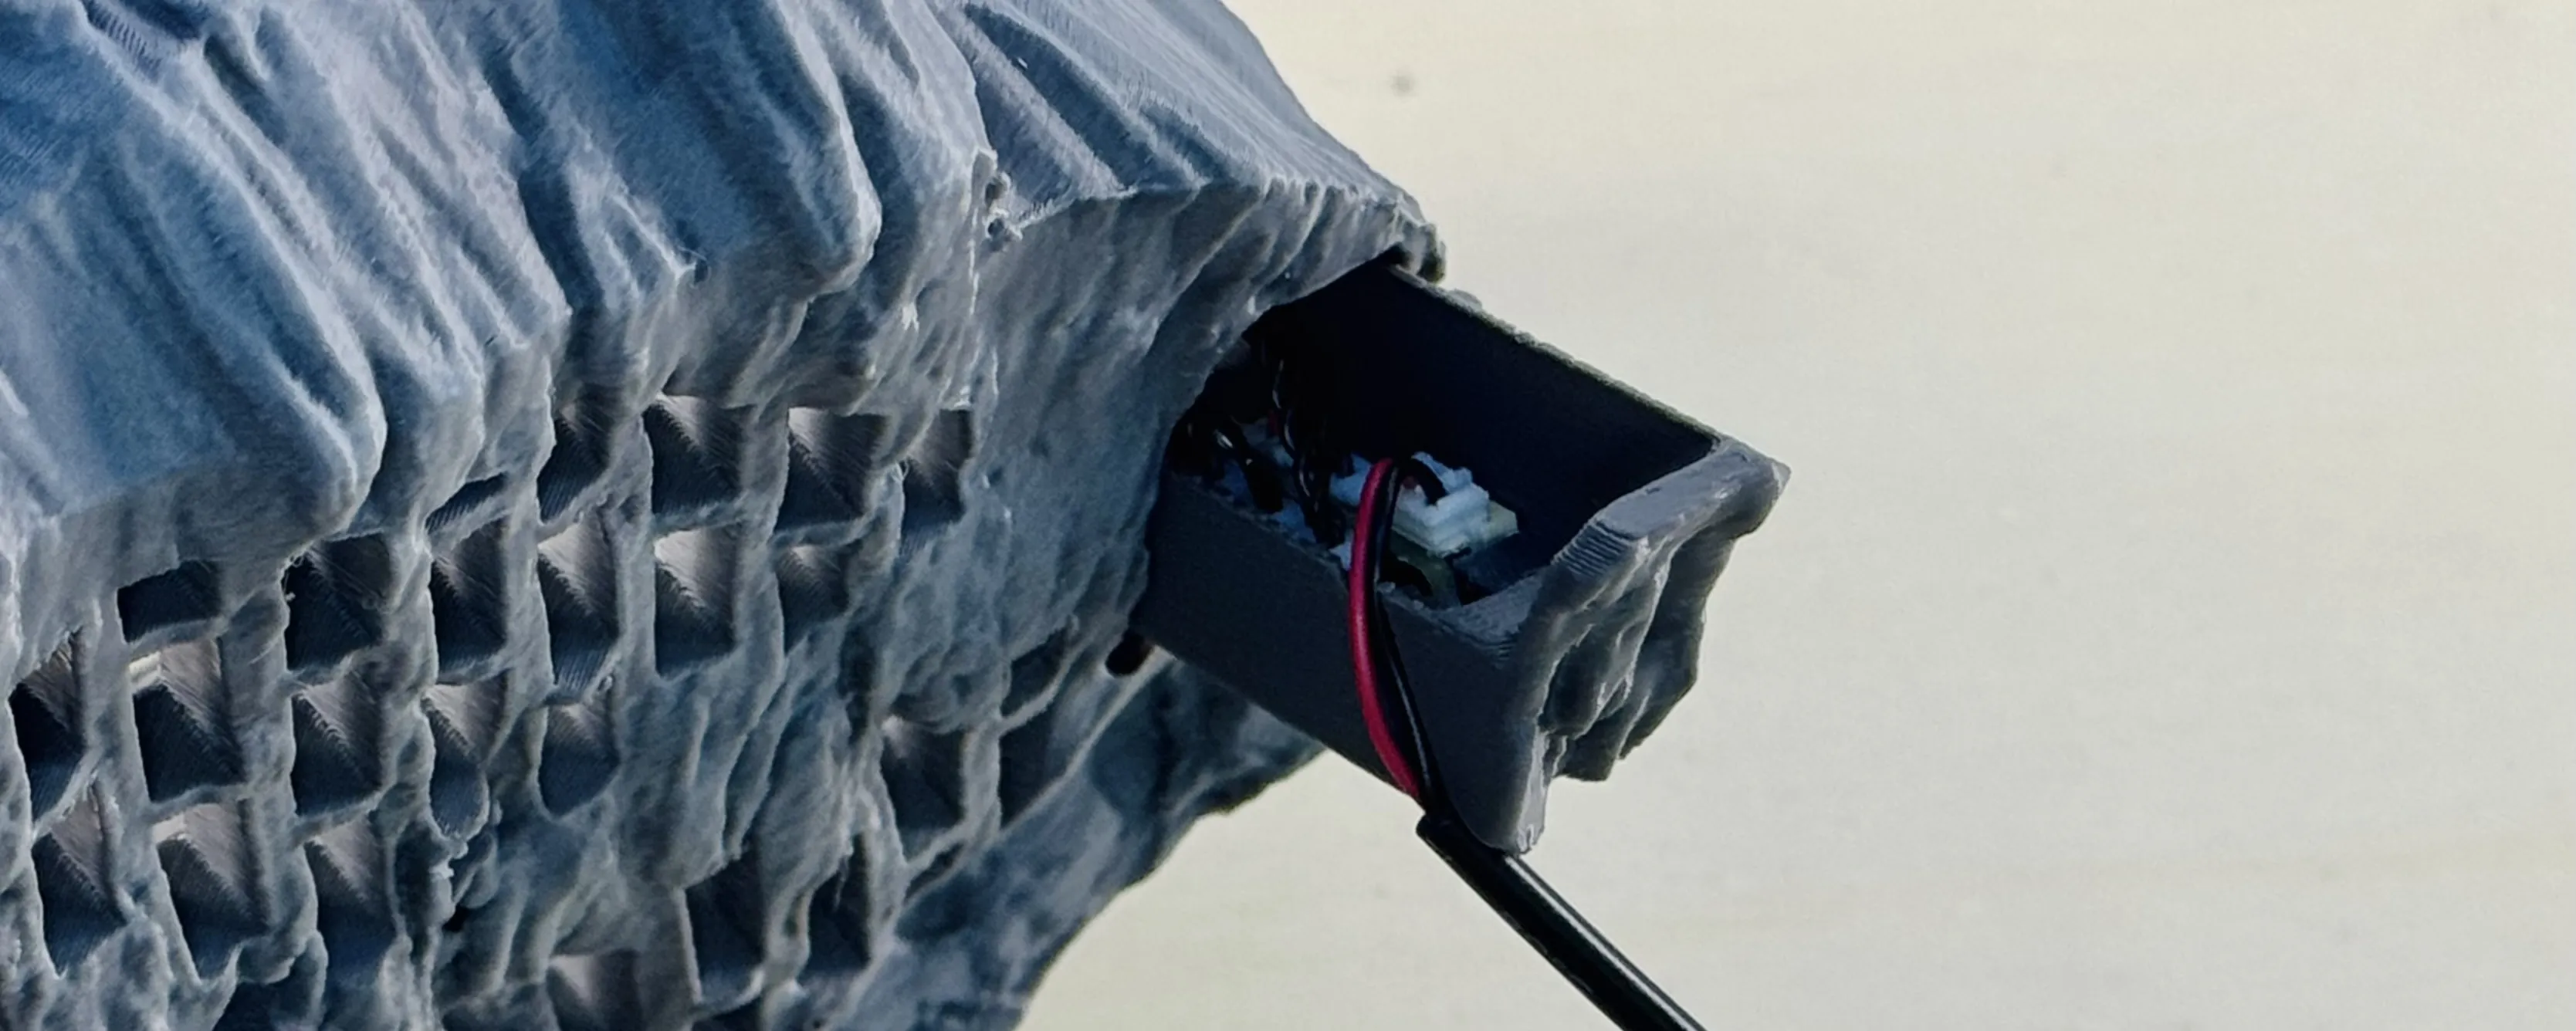
Step 5: Final Wiring & Fan
- Push the fan blade directly onto the motor shaft.
Ensure it spins freely. - Connect the wires to the buttons and the LED strip.
- Insert the cover into place.
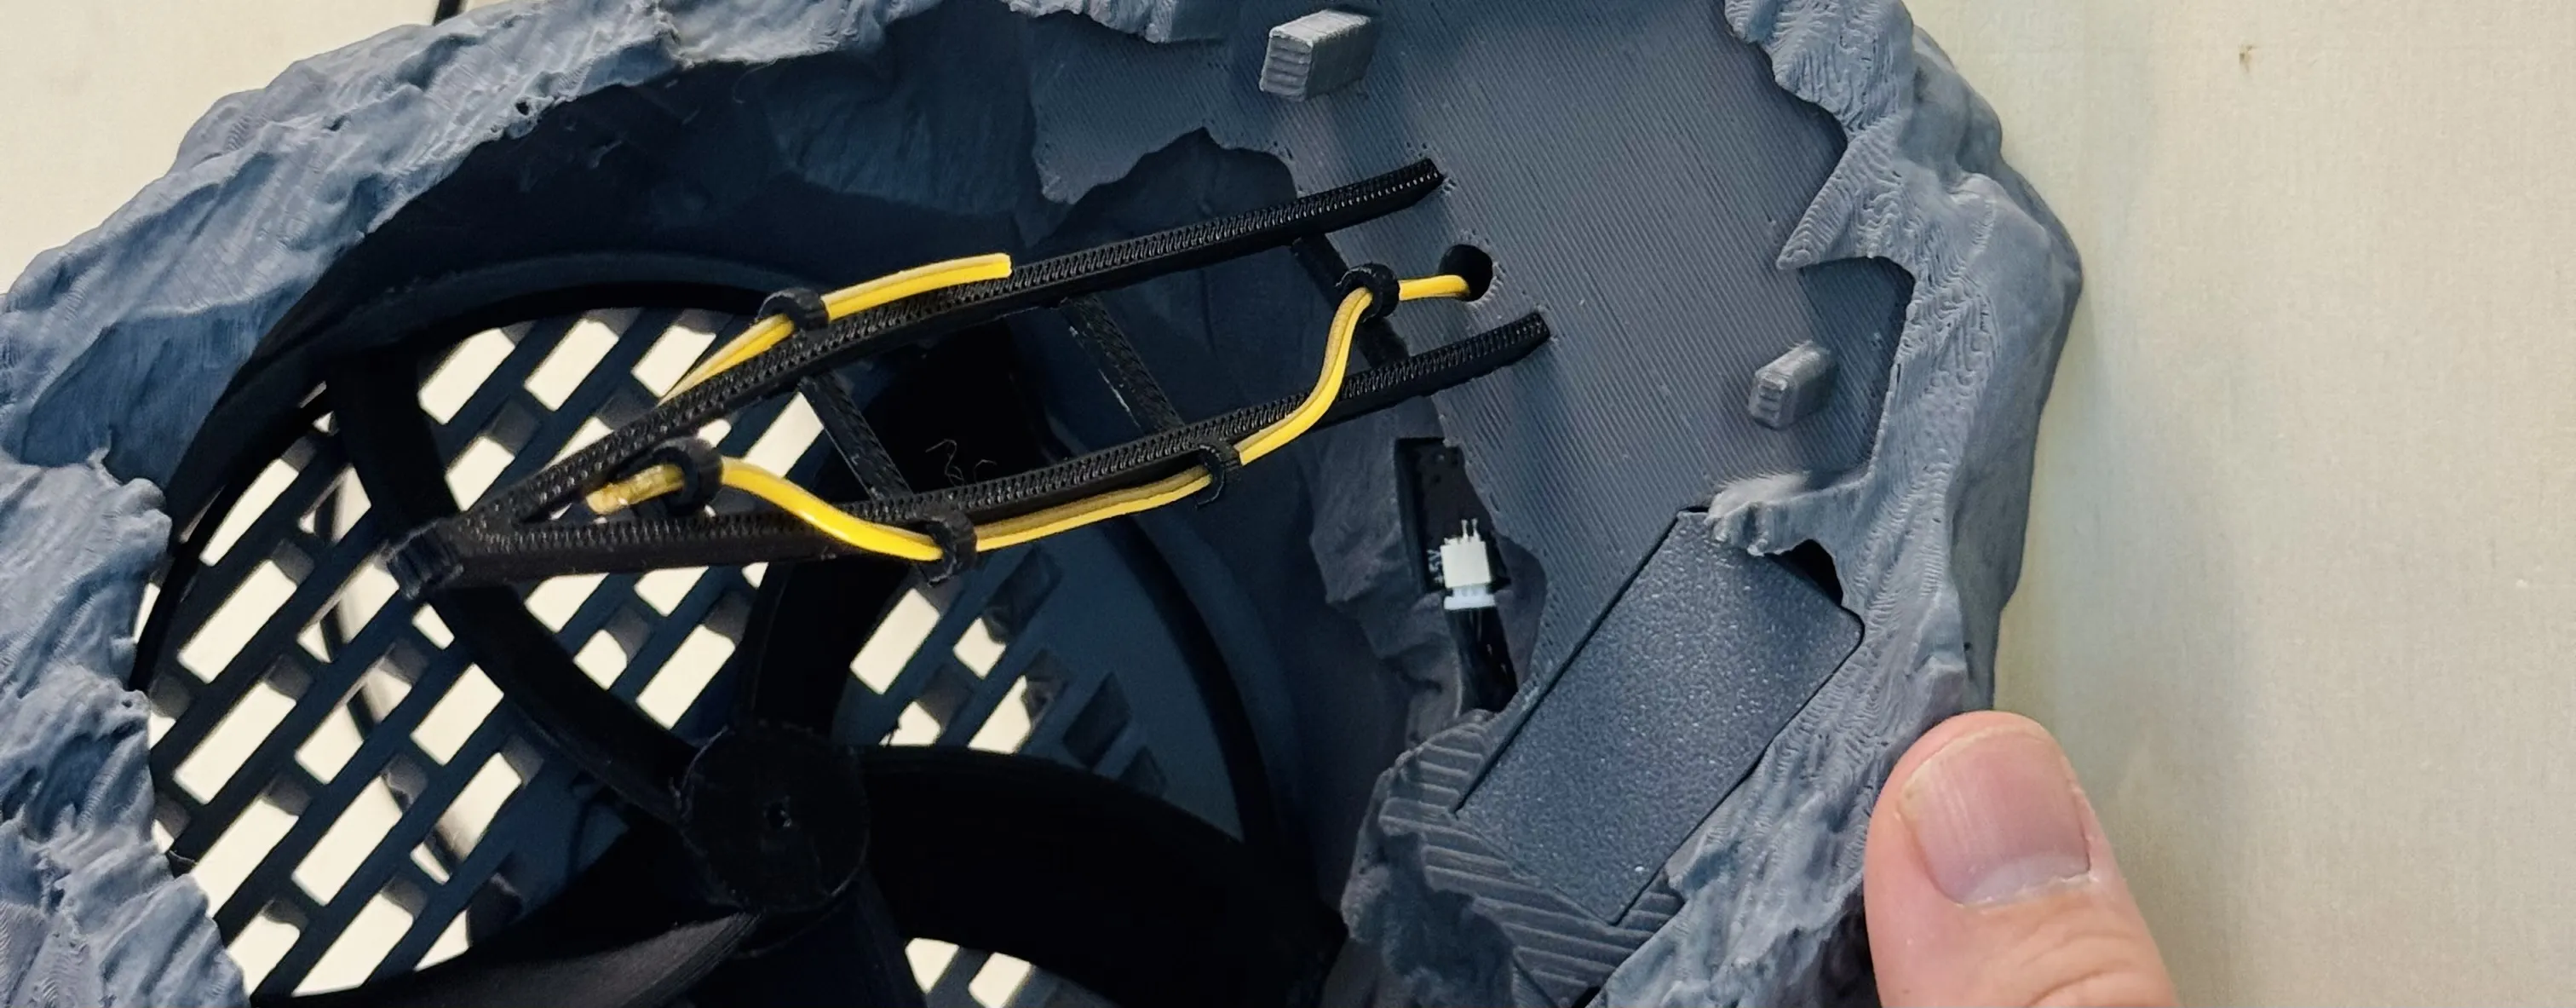
- Push in the ladder piece until it sits firmly.
- Thread the LED strip through the hole in a way that suits your design.
Note: The strip has a yellow and a warm white side. Position the yellow side toward the rear.
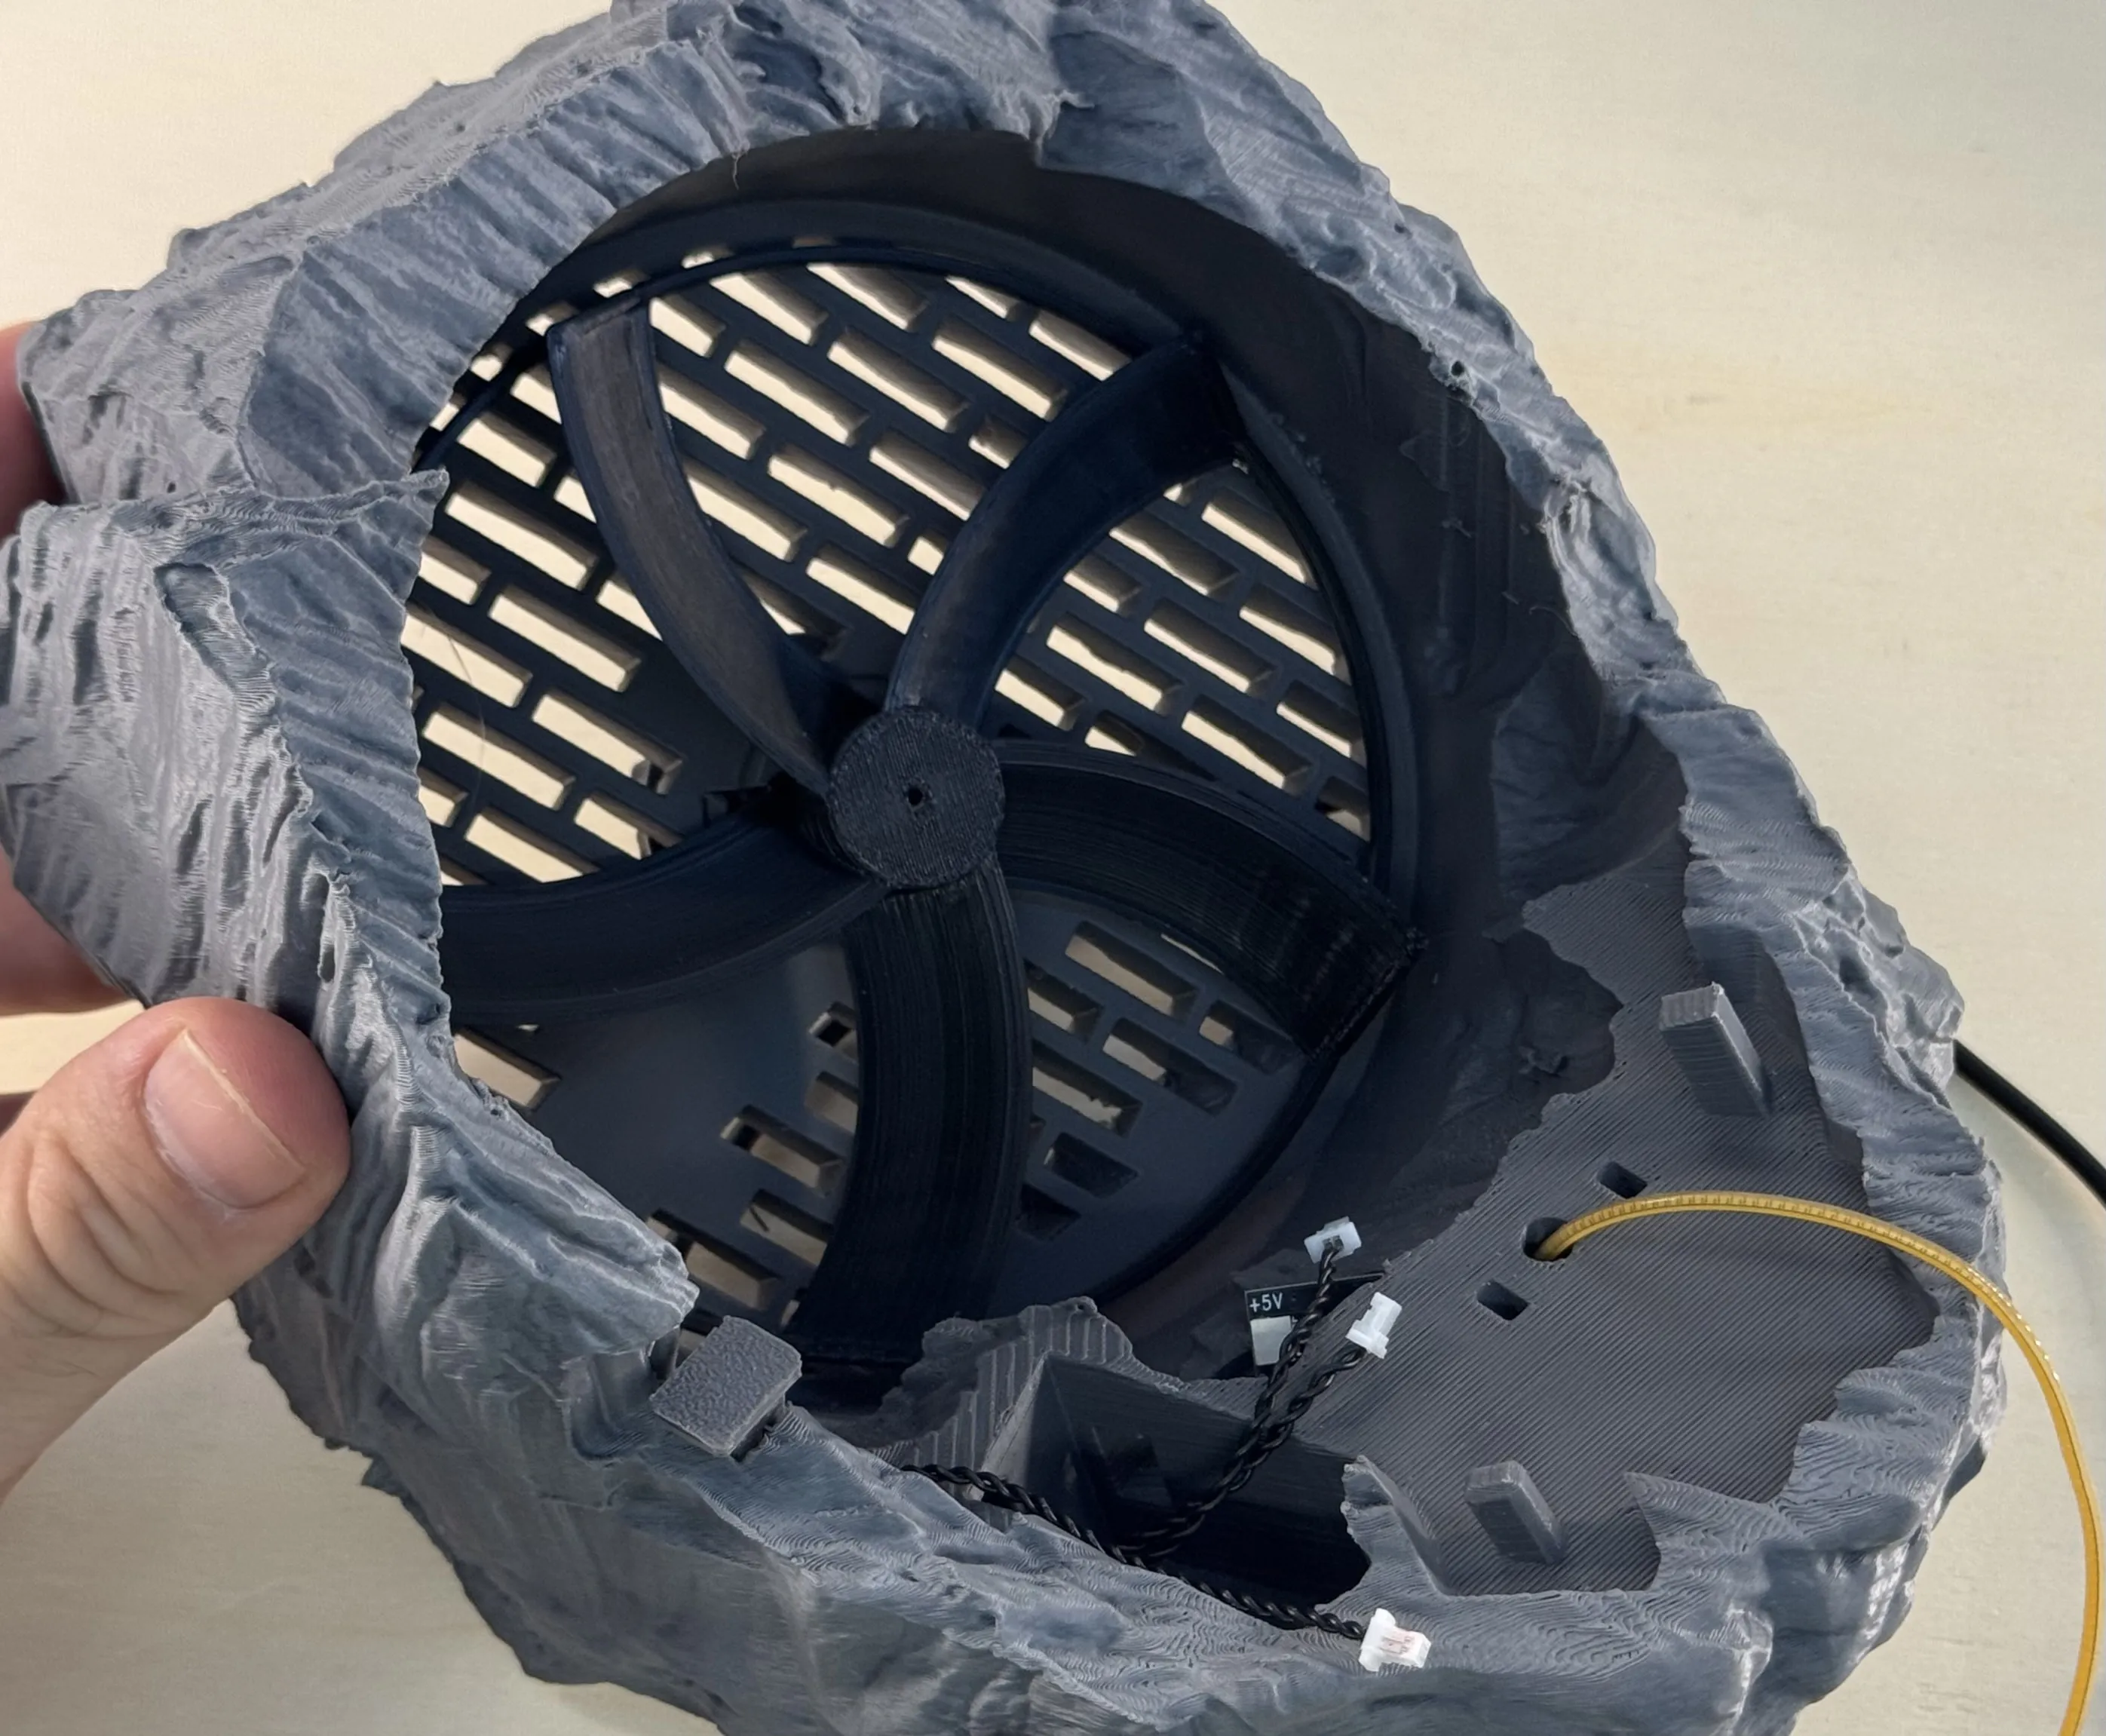
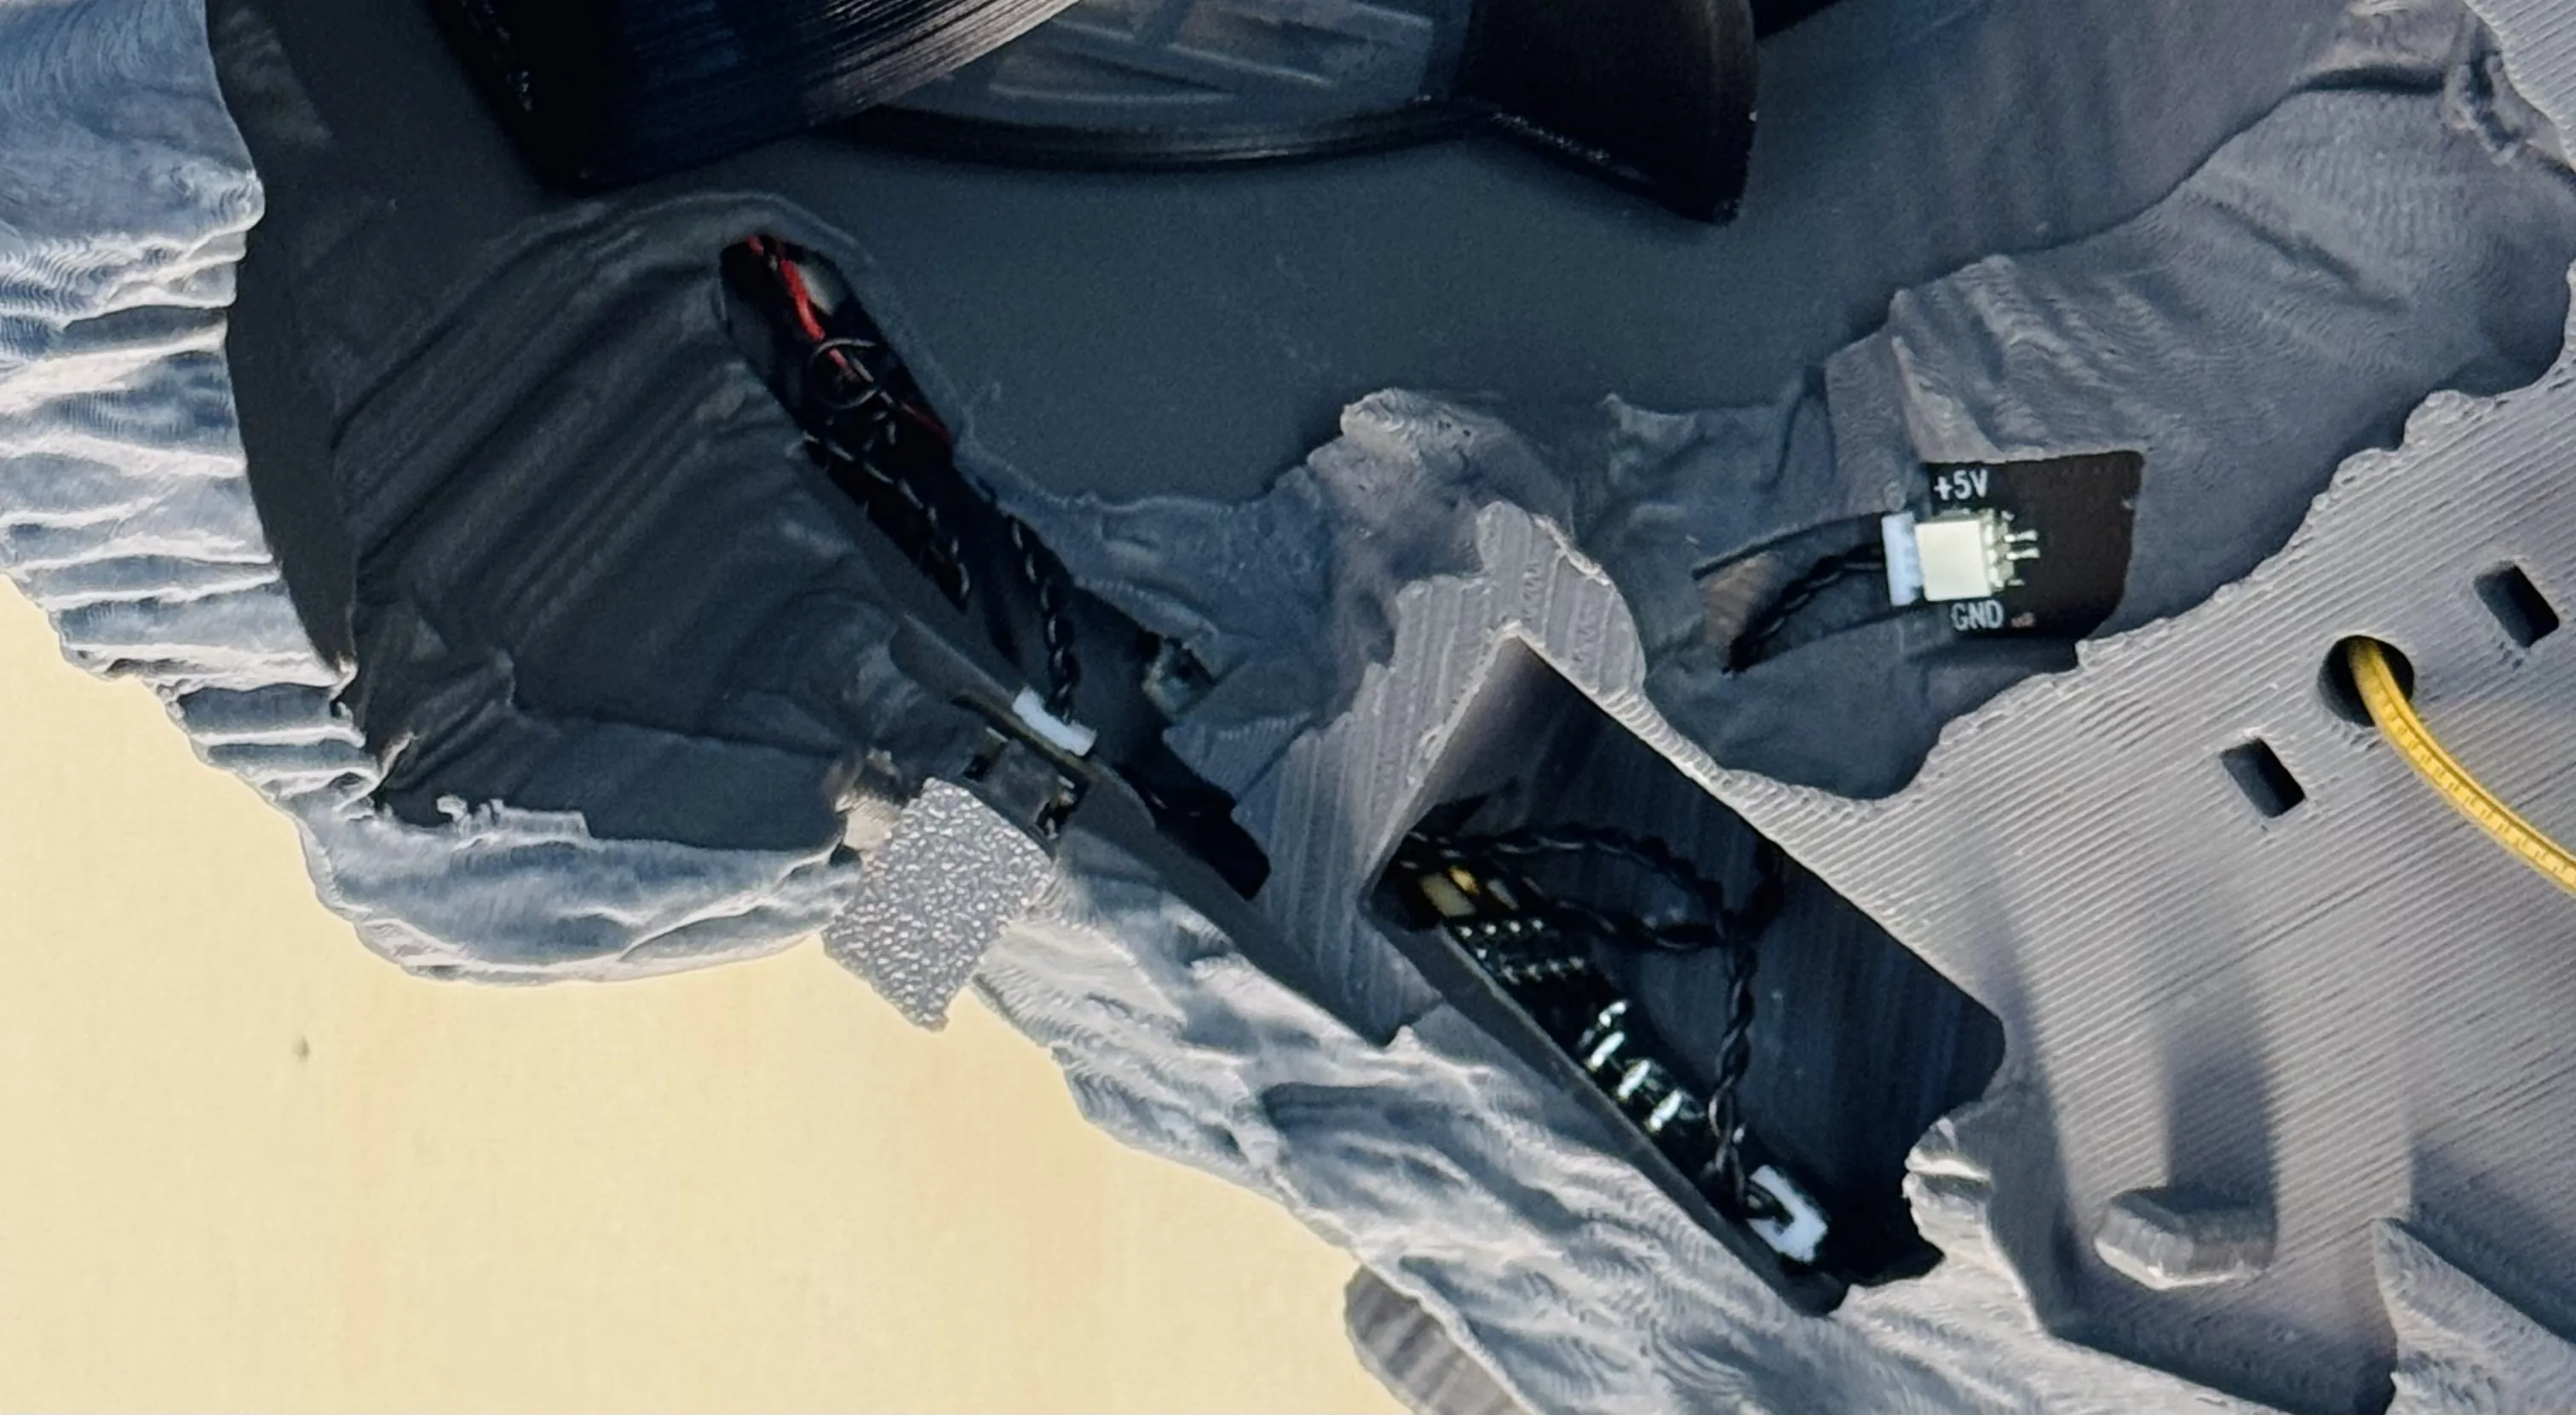
Step 6: Finish & Enjoy
- Click the diffuser into place.
- Slide the crystal over the ladder and onto the base.
You may need to move it gently in all directions until it fits perfectly. - Place the "ice" piece behind the crystal.
Done!
Let it cool you down — and enjoy the result.
License

You shall not share, sub-license, sell, rent, host, transfer, or distribute in any way the digital or 3D printed versions of this object, nor any other derivative work of this object in its digital or physical format (including - but not limited to - remixes of this object, and hosting on other digital platforms). The objects may not be used without permission in any way whatsoever in which you charge money, or collect fees.


Comment & Rating (34)