
Garbage Truck (No Hardware Required)
Print Profile(2)


Description
Boost Me (for free)
Your likes and boosts are my motivation to update!!! Thank you~
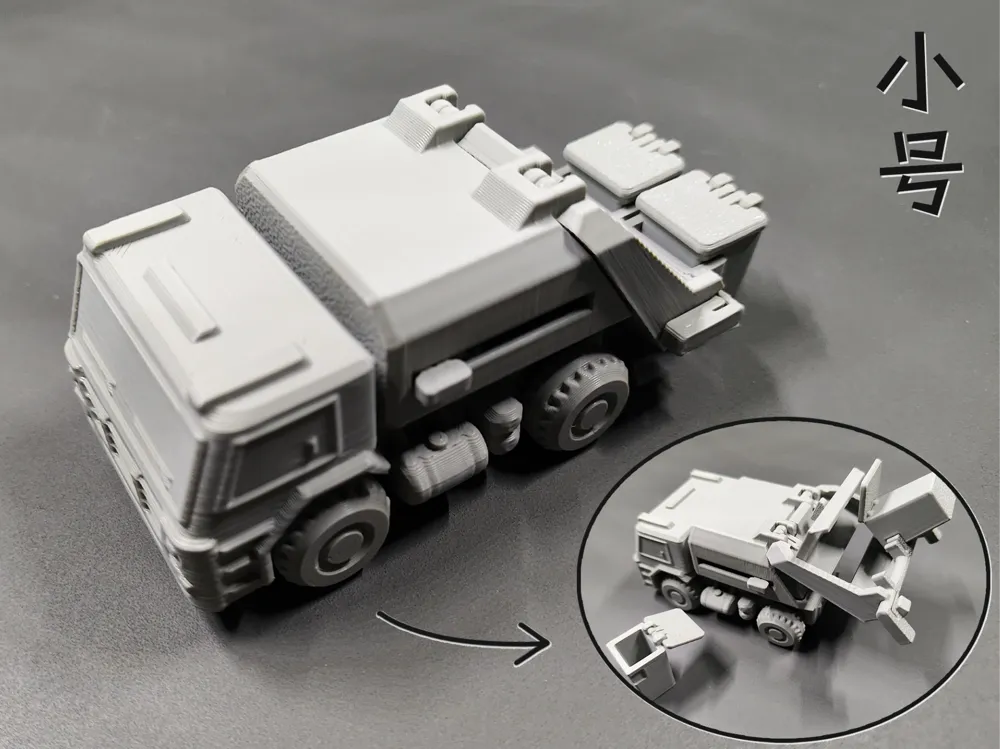
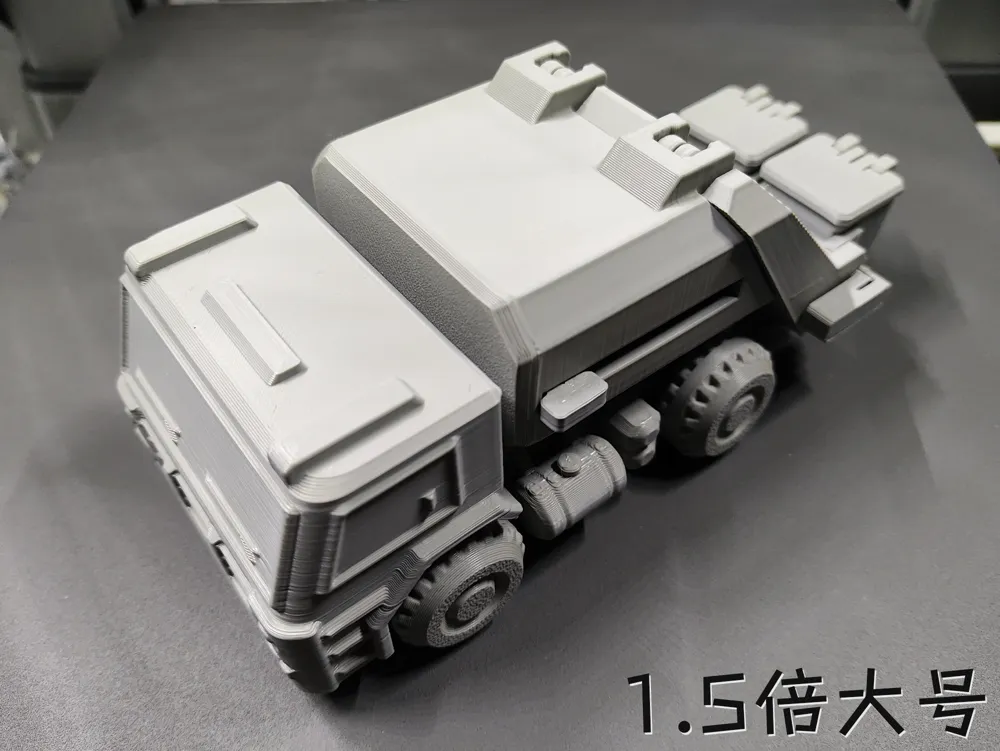
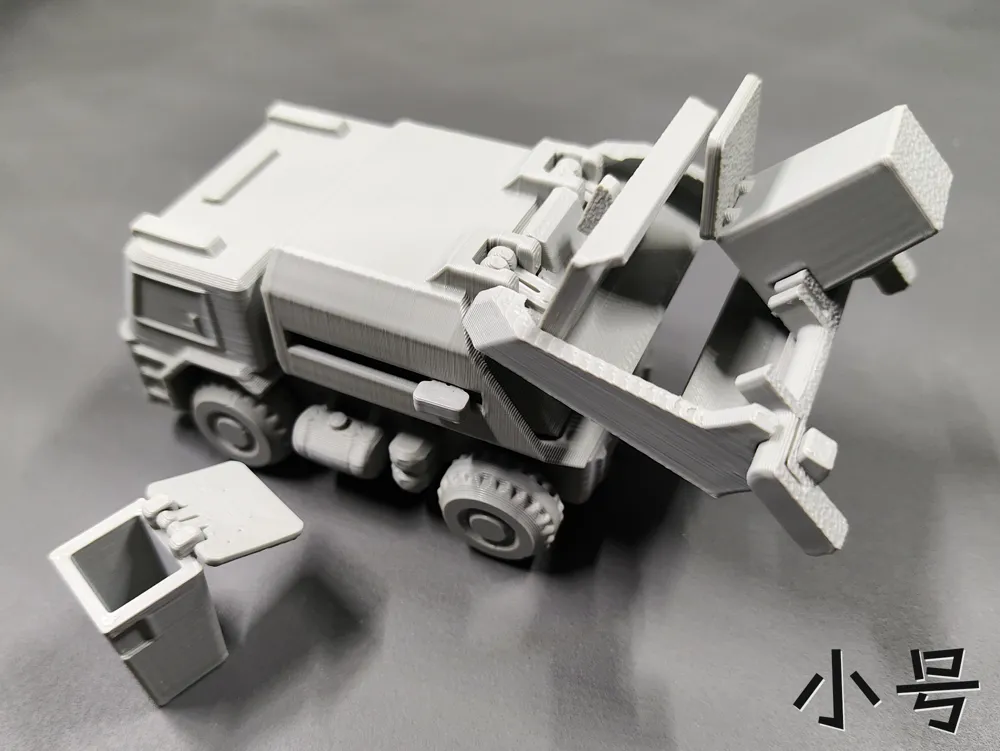
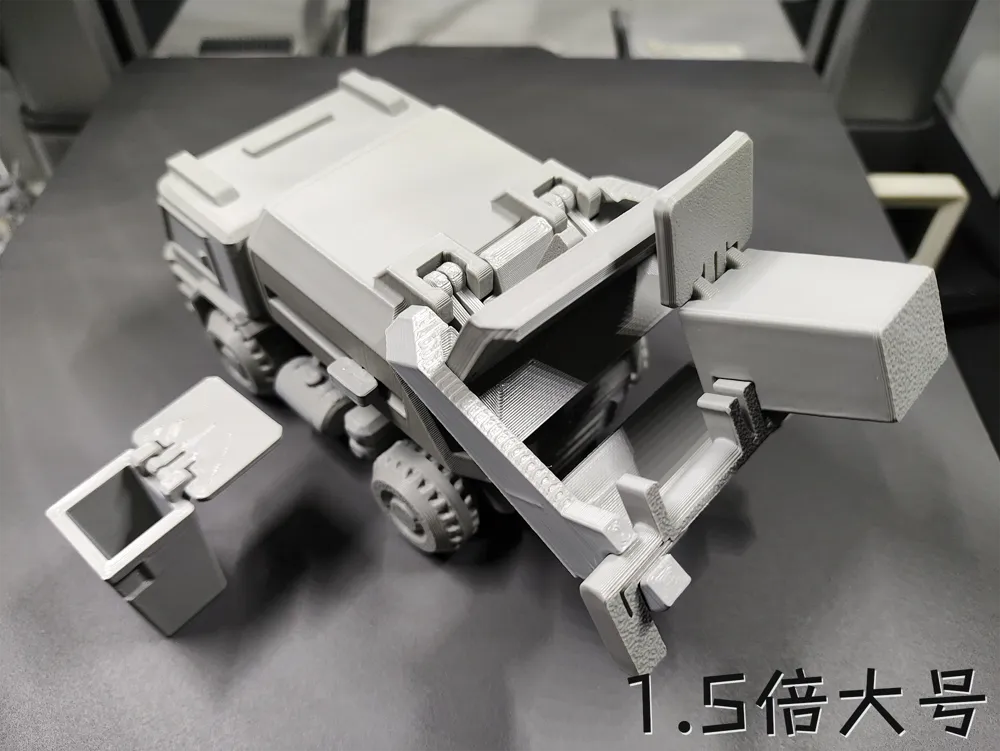
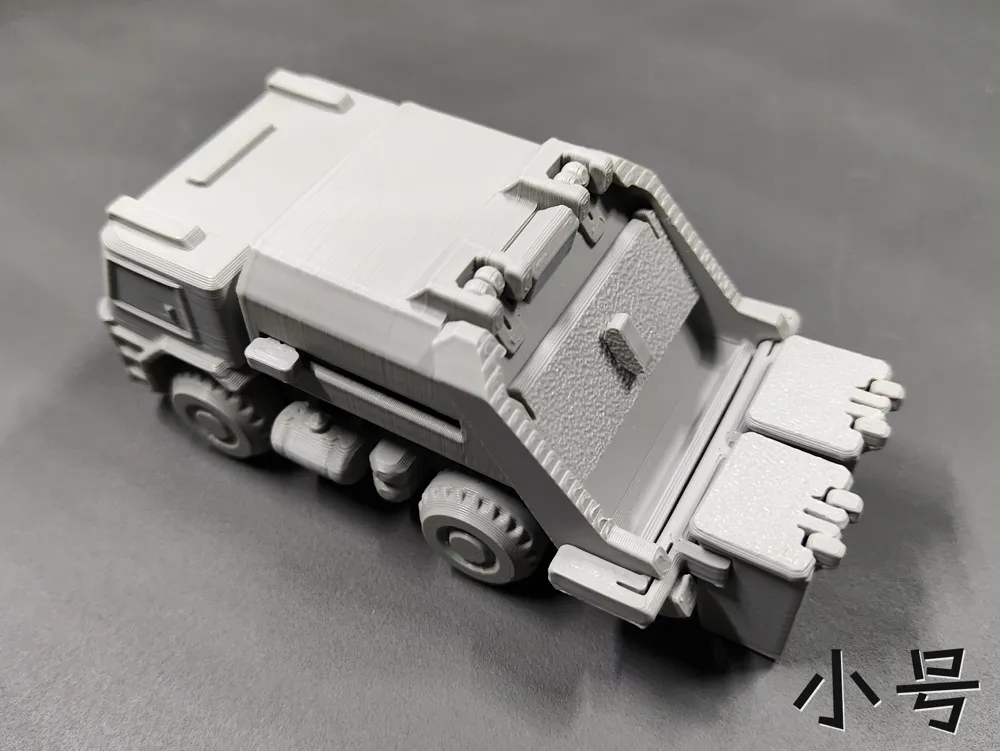
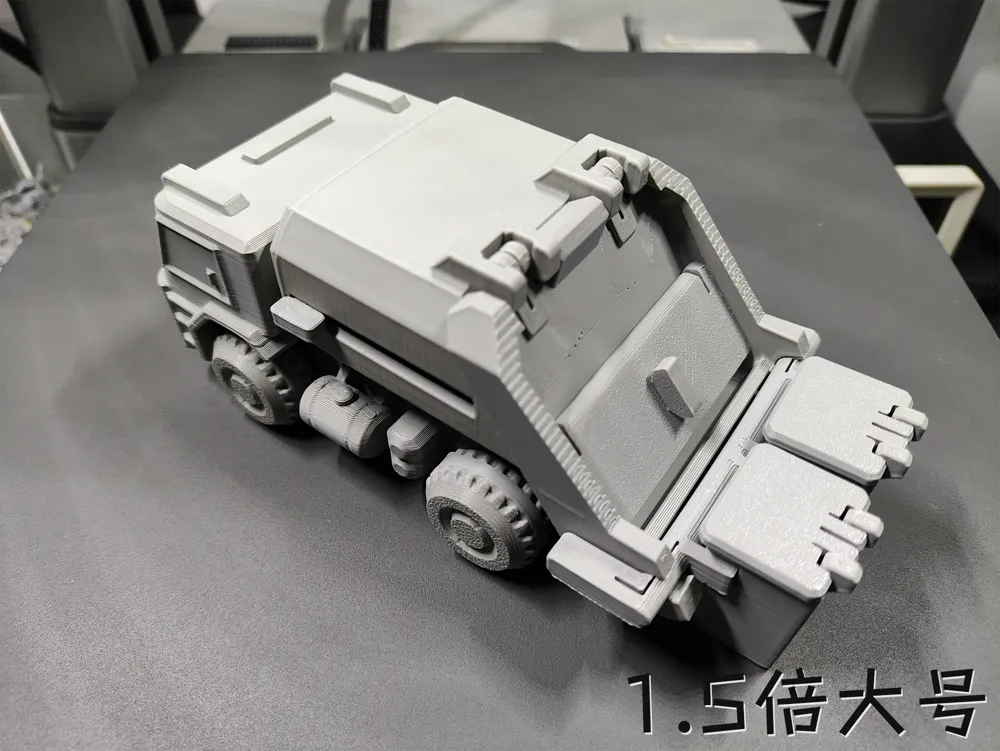
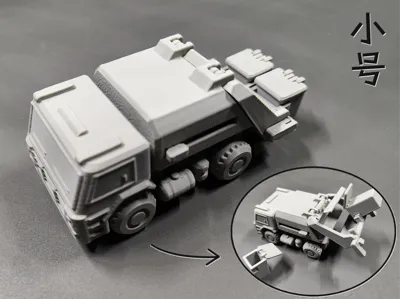
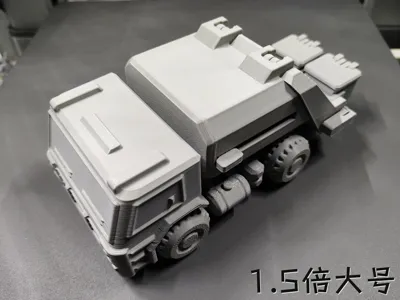
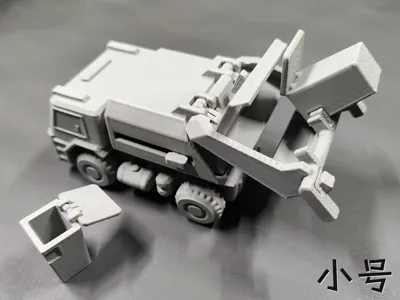
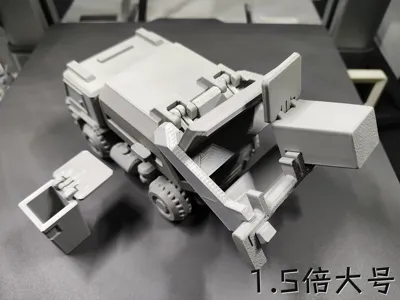
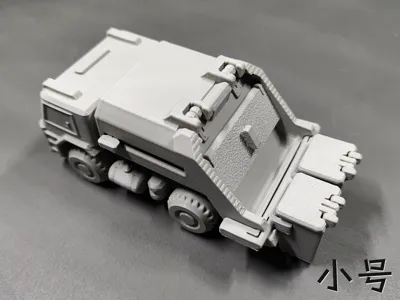
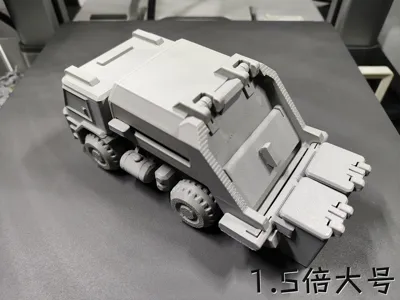
This is a garbage truck with multiple articulated components, using 3rd generation optimized printed springs, and no hardware required!! It has many parts, but the overall assembly is not complicated, though some skill is needed during installation~!! If you have requirements for strength, print with caution, especially the trash can!! (Small size, not unfolded with trash can, approximate dimensions LWH: 95.6*45.6*45.6mm)
2025.6.28 Update:
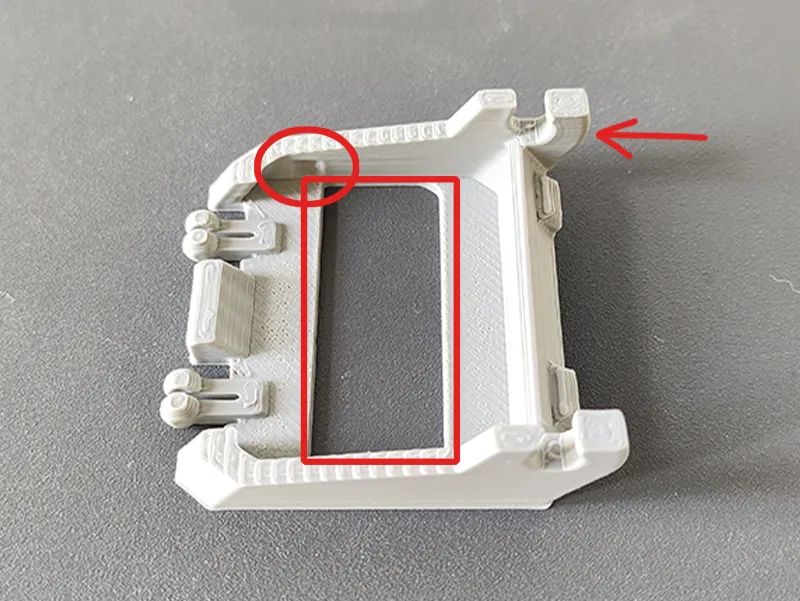
1.Some users in the comments section reported that the small sliding door on the tailgate tilted and fell off with a slight push, so it is recommended to change it to a non-sliding design!! The red circle in the image below shows the modified actual product, and its name has also been changed to "tail small door." Due to the shorter slot making assembly difficult, the gap of the tail small door has also been slightly extended!!
2.The outer width of the dumping shaft slot has been increased by 1.6mm (at the arrow)
3.Widened the blocking area of the tail small door (at the red square)

The GIF below is the assembly diagram:Note: The red parts are harder to install!!
Body assembly diagram:
1.Place the garbage pushing part inside the garbage compartment
2.Align the red part clip with the slot of the garbage pushing part, and push it in with a hard stone slab or similar tool!! Pressing by hand will be quite painful~!!
3.Install other parts

Tailgate assembly diagram:
1.Install the red parts first!! Install the red parts first!! Install the red parts first!!
2.Here, the red part clip and dumping movable lever are the same as above, align the clip with the slot, and push it in with a hard stone slab or similar tool!!
3.The trash can lid is twisted on, the buckle is very difficult to install!!
4.Install other parts
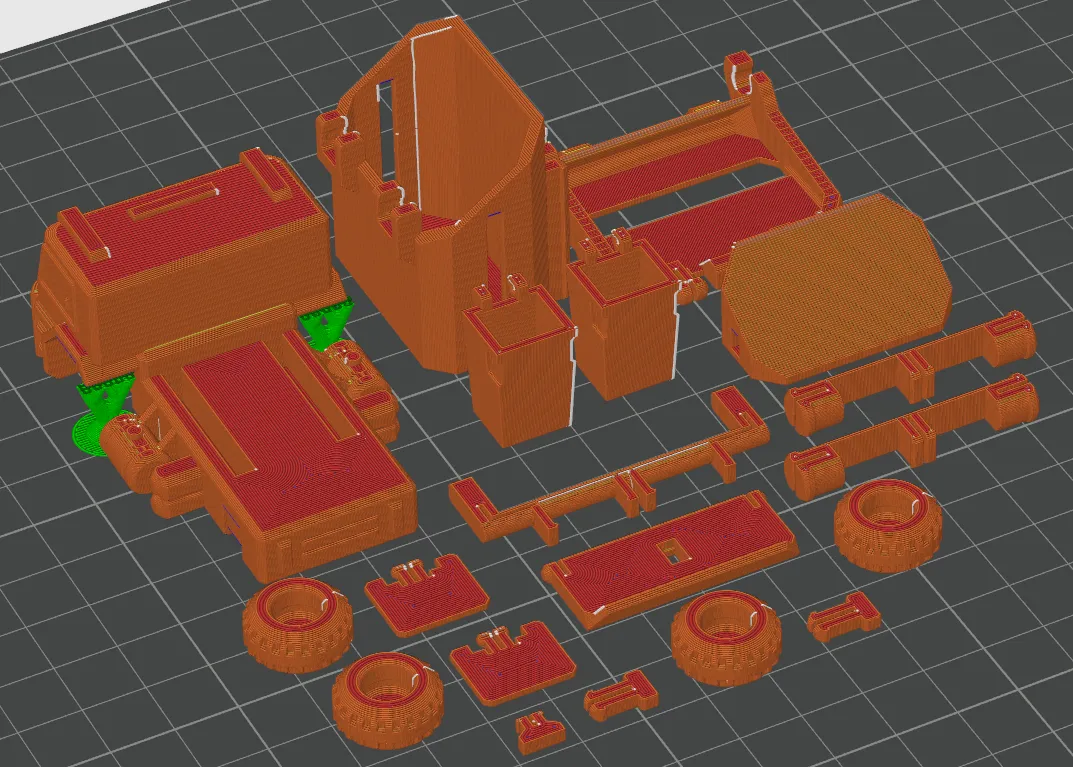
The supports to be removed are shown below: the green parts are very easy to remove!!
Note: 1. Both PLA and PETG can be printed. It's best to understand the characteristics of these two materials before printing to avoid printing failures!! For example, PLA can become brittle if left for a long time or at low temperatures, while PETG has good toughness. Please choose the filament that suits you!!
2. If it's for younger children, and the parts are small and easy to disassemble, it's better to glue them firmly with 502 or other adhesives to prevent them from being swallowed!!
3. If there are no special requirements, please do not use your own advanced process settings for printing~ to avoid printing failures!!
If your printd part has local spaghetti, or the filament doesn't stick to the build plate, please recall if you touched that area (hands secrete sweat and oil, touching it has a very high chance of causing spaghetti) or if the build plate is dirty. The solution is to search online for how to clean a 3D print plate!! If other problems occur, please describe it in the comments section and add pictures, so it's easier for us to solve it~ Otherwise, I can't imagine the situation = =!!
License

You shall not share, sub-license, sell, rent, host, transfer, or distribute in any way the digital or 3D printed versions of this object, nor any other derivative work of this object in its digital or physical format (including - but not limited to - remixes of this object, and hosting on other digital platforms). The objects may not be used without permission in any way whatsoever in which you charge money, or collect fees.


Comment & Rating (85)