
Jet Set Radio - Spray Can prop (w/ sound & spray!)


Print Profile(1)

Bill of Materials





Description
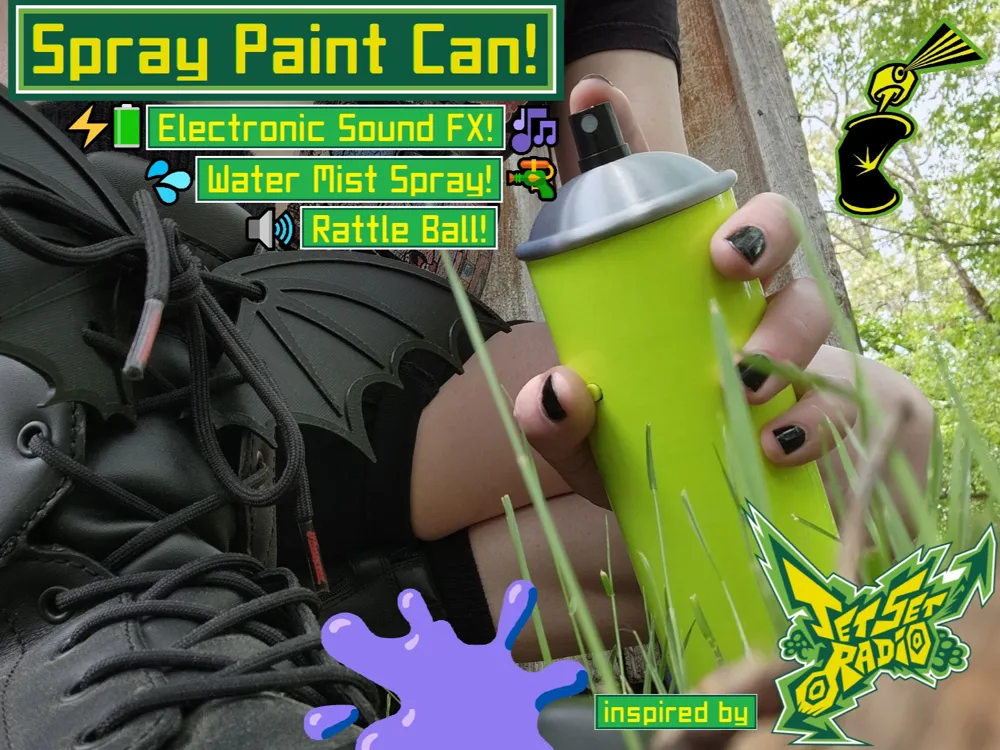
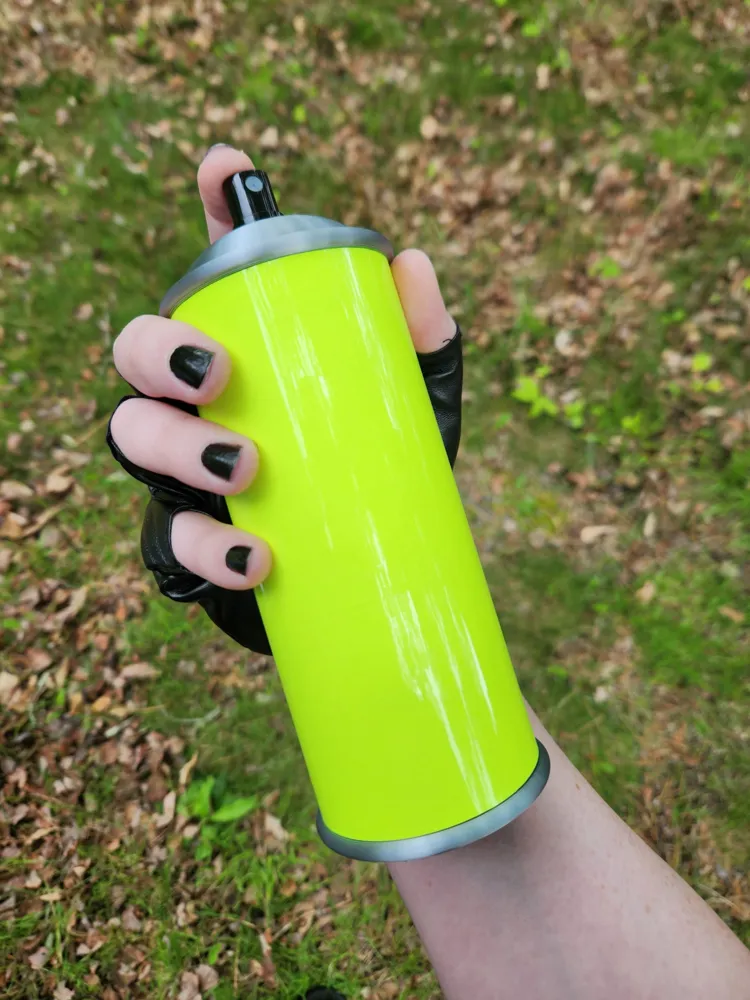
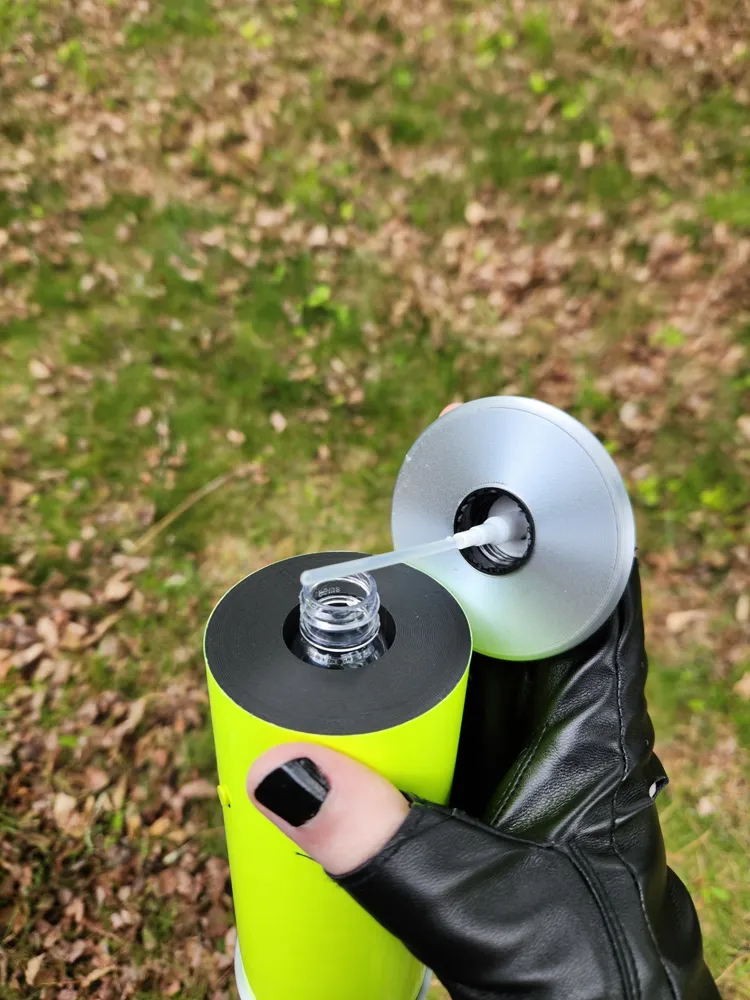
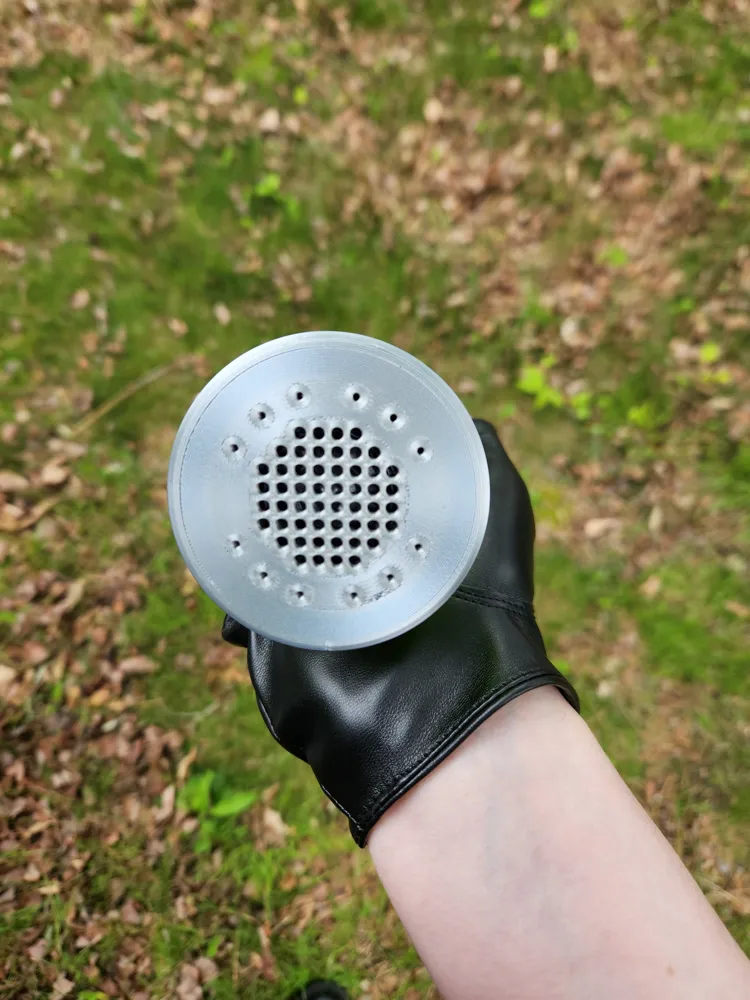
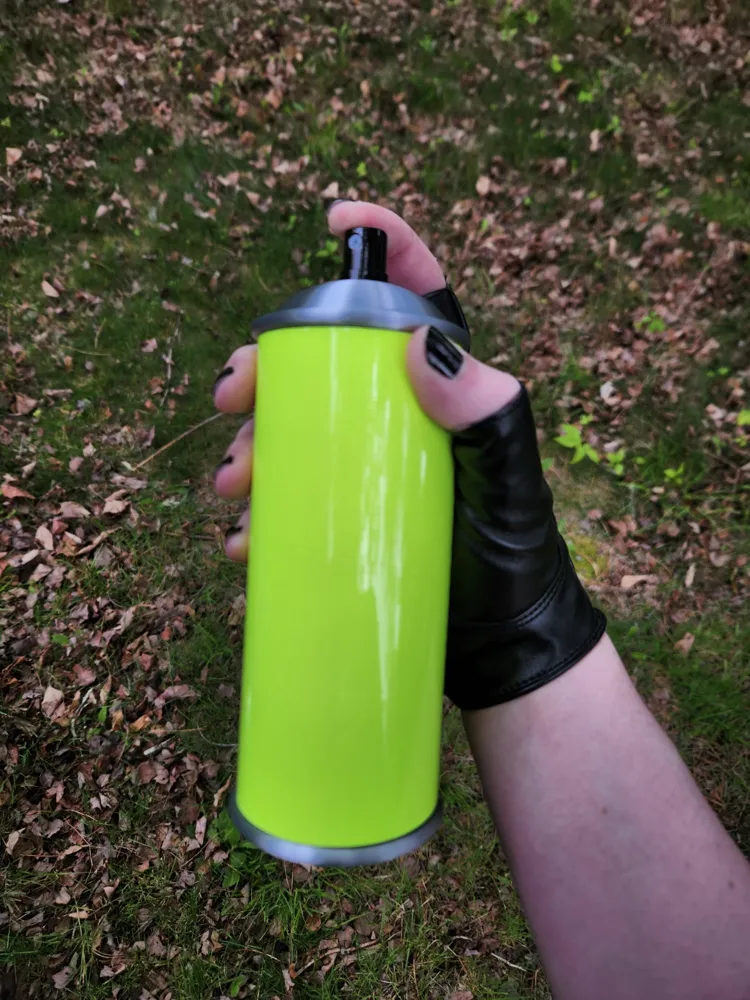
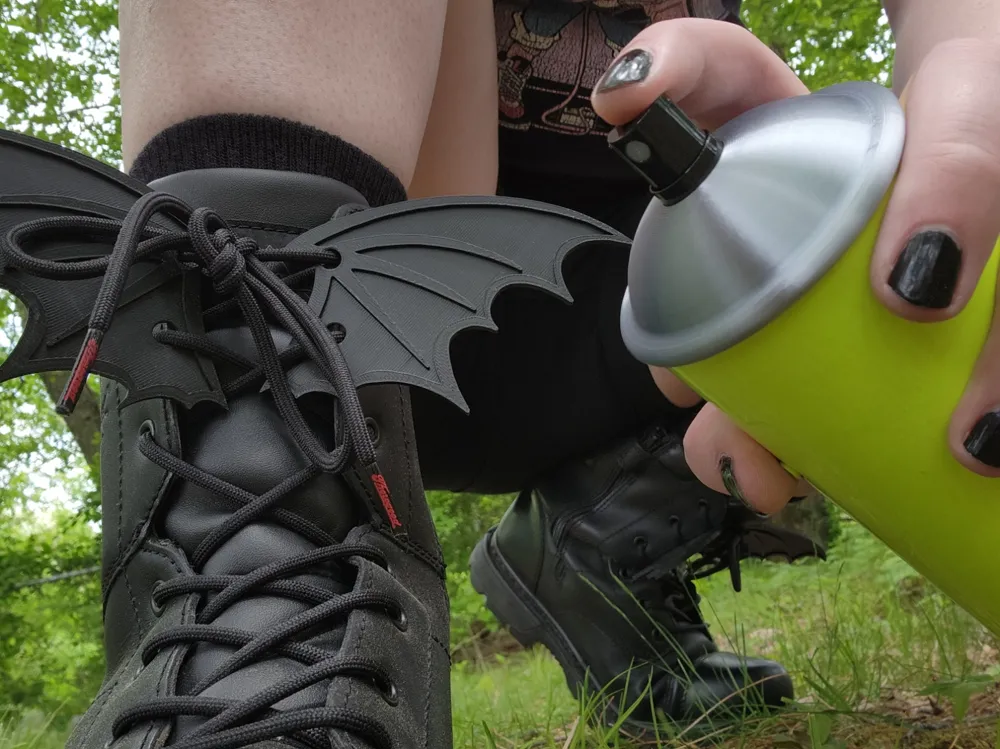
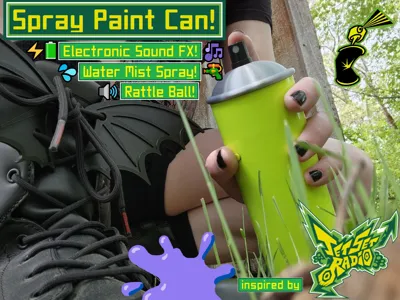
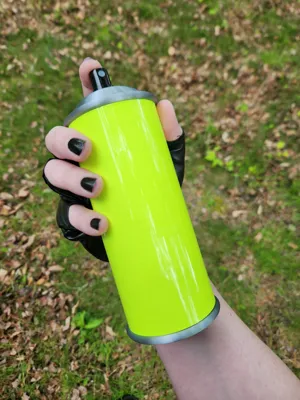
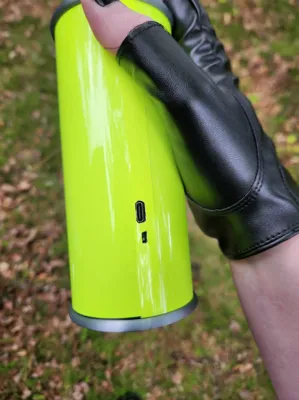
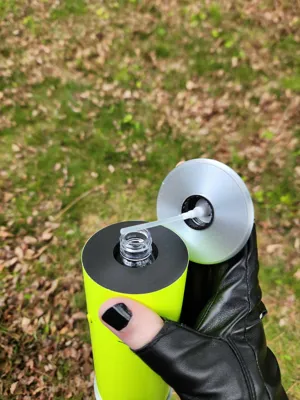
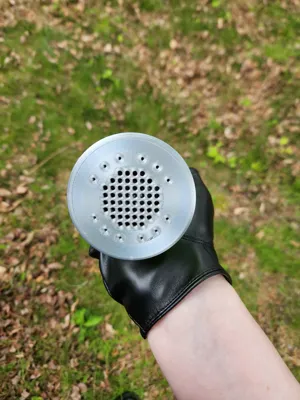
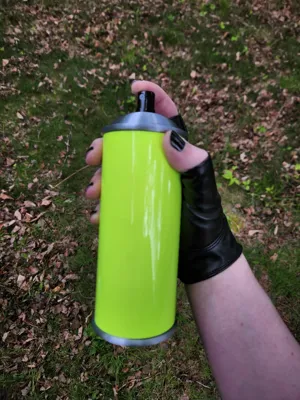
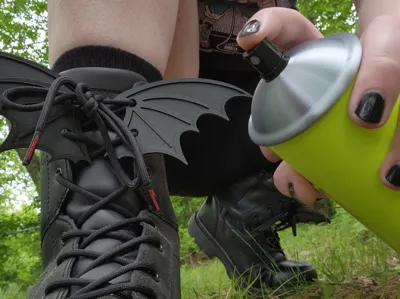
This is a prop I designed for my Jet Set Radio cosplay! Although, you can just use it as a generic spray paint prop as well!
It features REFRESHING WATER MIST SPRAY function, as well as SOUND EFFECTS, and USB-C CHARGING!
Very minimal supports required!
Quick Video Preview: (note, I have the sfx volume set pretty low here)
See comment for video. Embedded link isn't working…
Material, Filaments, and Build Guide below!
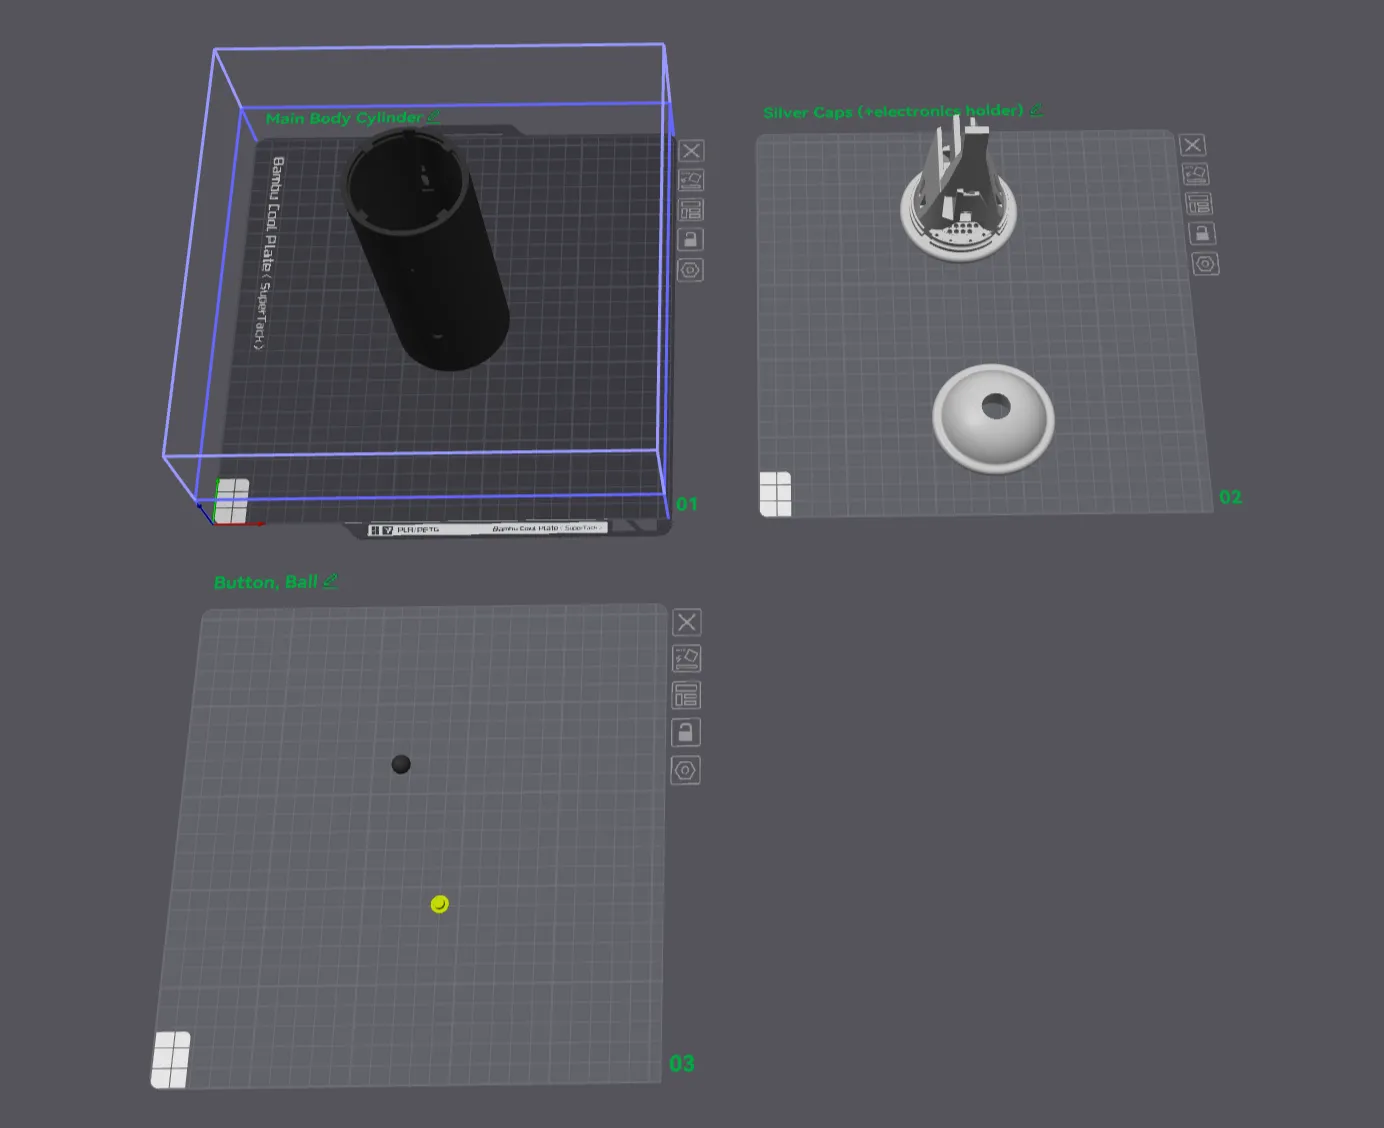
Printed on Bambu Lab P1S with 0.4mm nozzle and AMS on Bambu Cool Plate (SuperTack).
Filaments used:
- Bambu PLA Basic (Black)
- Bambu PLA Basic (Bright Green)
- Bambu PLA Silk+ (Silver)
*You don't need an AMS, but the “Lower Silver” part should switch to PLA Basic after 5mm (the internal portion). Silk may not work well for the rest of that model!
Bill of Materials (non 3D-printed):
- Fine Mist Water Spray Bottle
- Sound Effects Module
- x2 Double-Sided Adhesive Strips (you may only need 1 if you are lucky with the provided sound fx module adhesive)
- Hot Glue
- Adhesive Vinyl (optional, for outer wrap)
Build Guide:
Print out all the parts using my provided print profile. Make sure that the main Cylinder is either the color you want it to ultimately be, or some opaque color that you can apply a vinyl wrap to (as I did for mine). Also be sure that you aren't using Matte or Silk filament for the electronics enclosure. Those tend to be more brittle and prone to breaking.
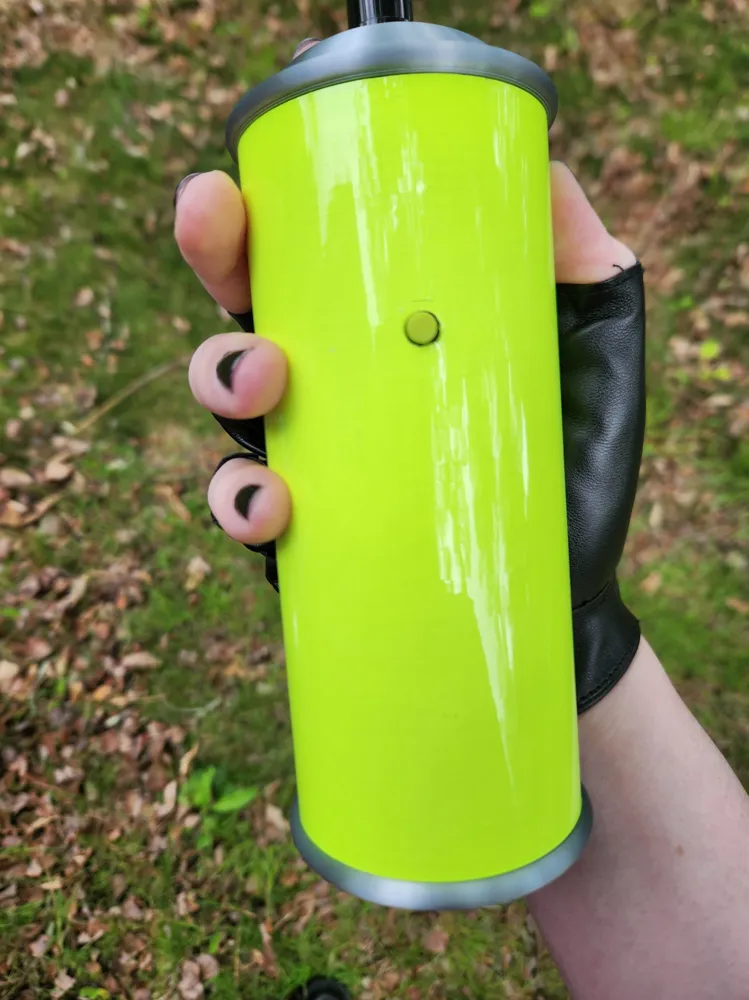
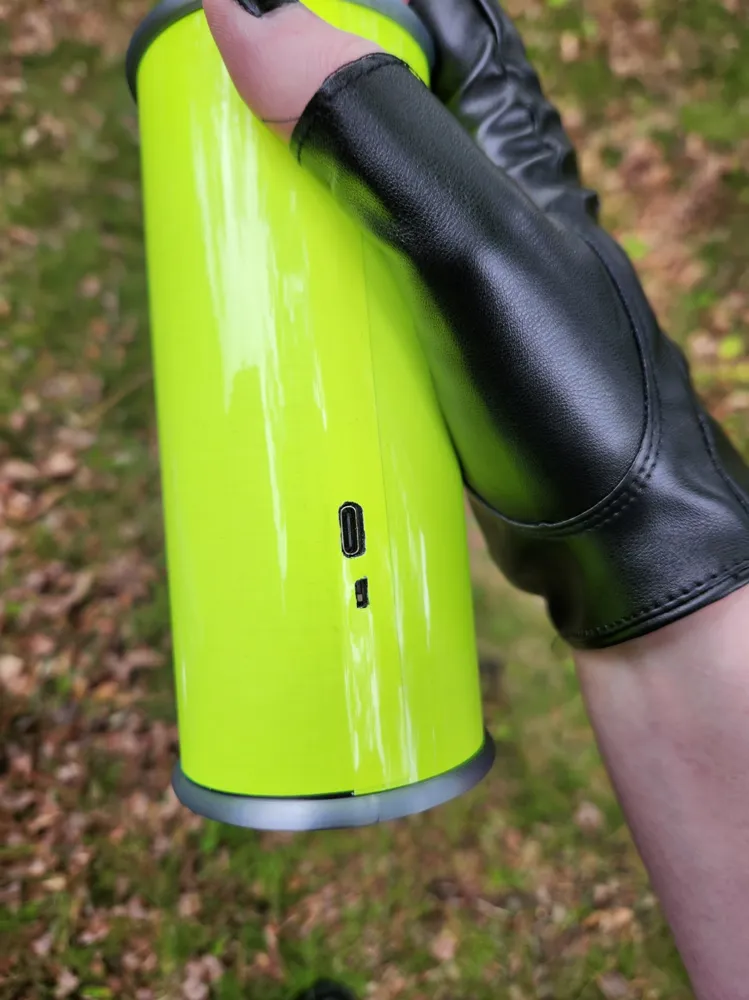
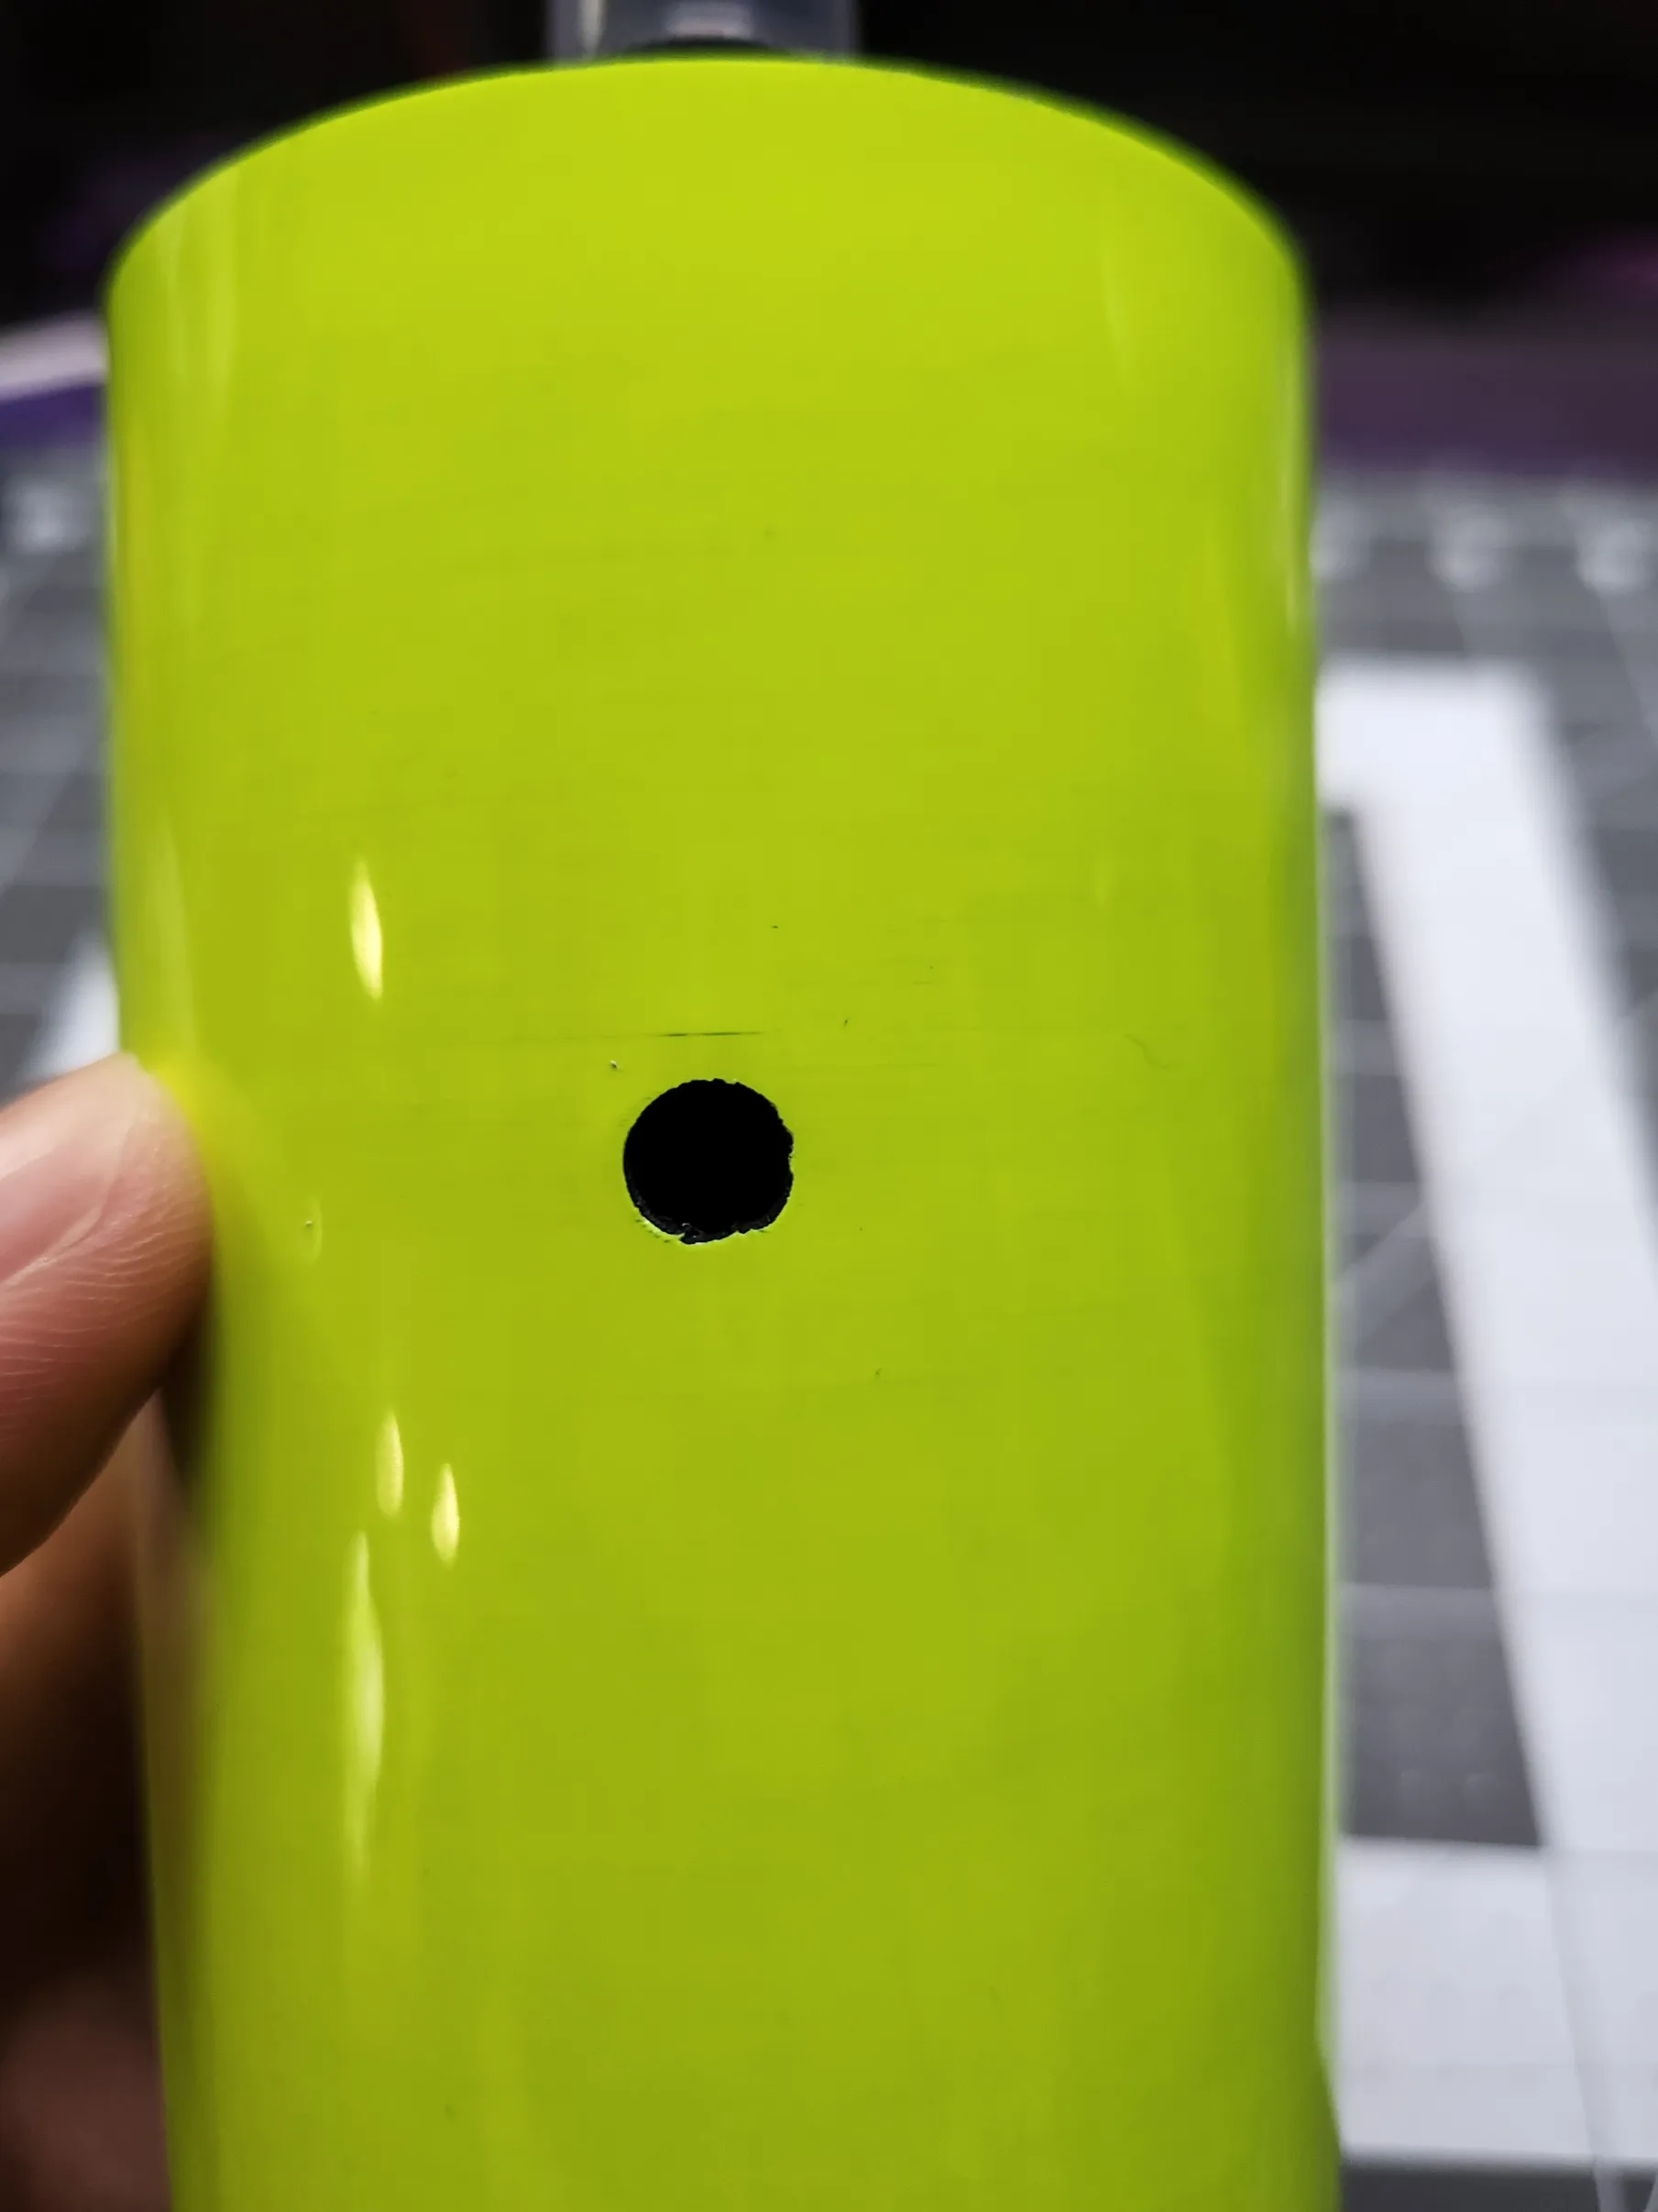
If using the vinyl wrap, apply that to the main Cylinder. Then, use an x-acto knife to carefully cut out the button, charging port, and power switch holes.
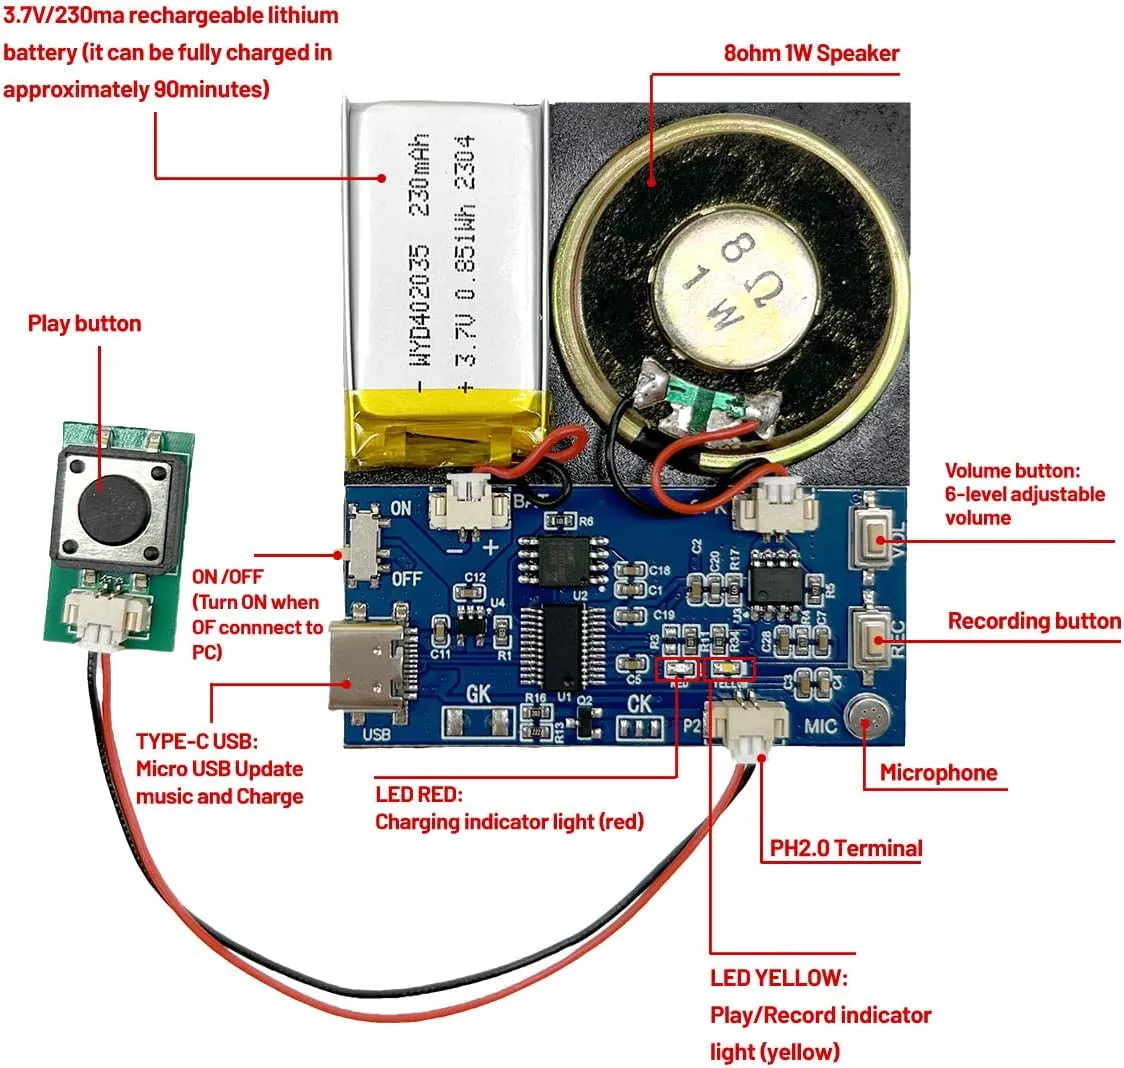
Assemble the electronics:
Make sure that your unit works by turning it on and pressing the play button to test it!
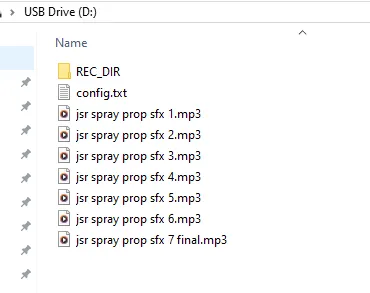
With the unit turned on, plug it into your computer using the USB-C cable. Delete the pre-loaded sample audio - there should be one in the root directory, and one in the recording directory (“REC_DIR”). Unzip and transfer the included audio I've attached to this page to the root directory. Or use your own audio of choice! Eject and disconnect the module from your computer.
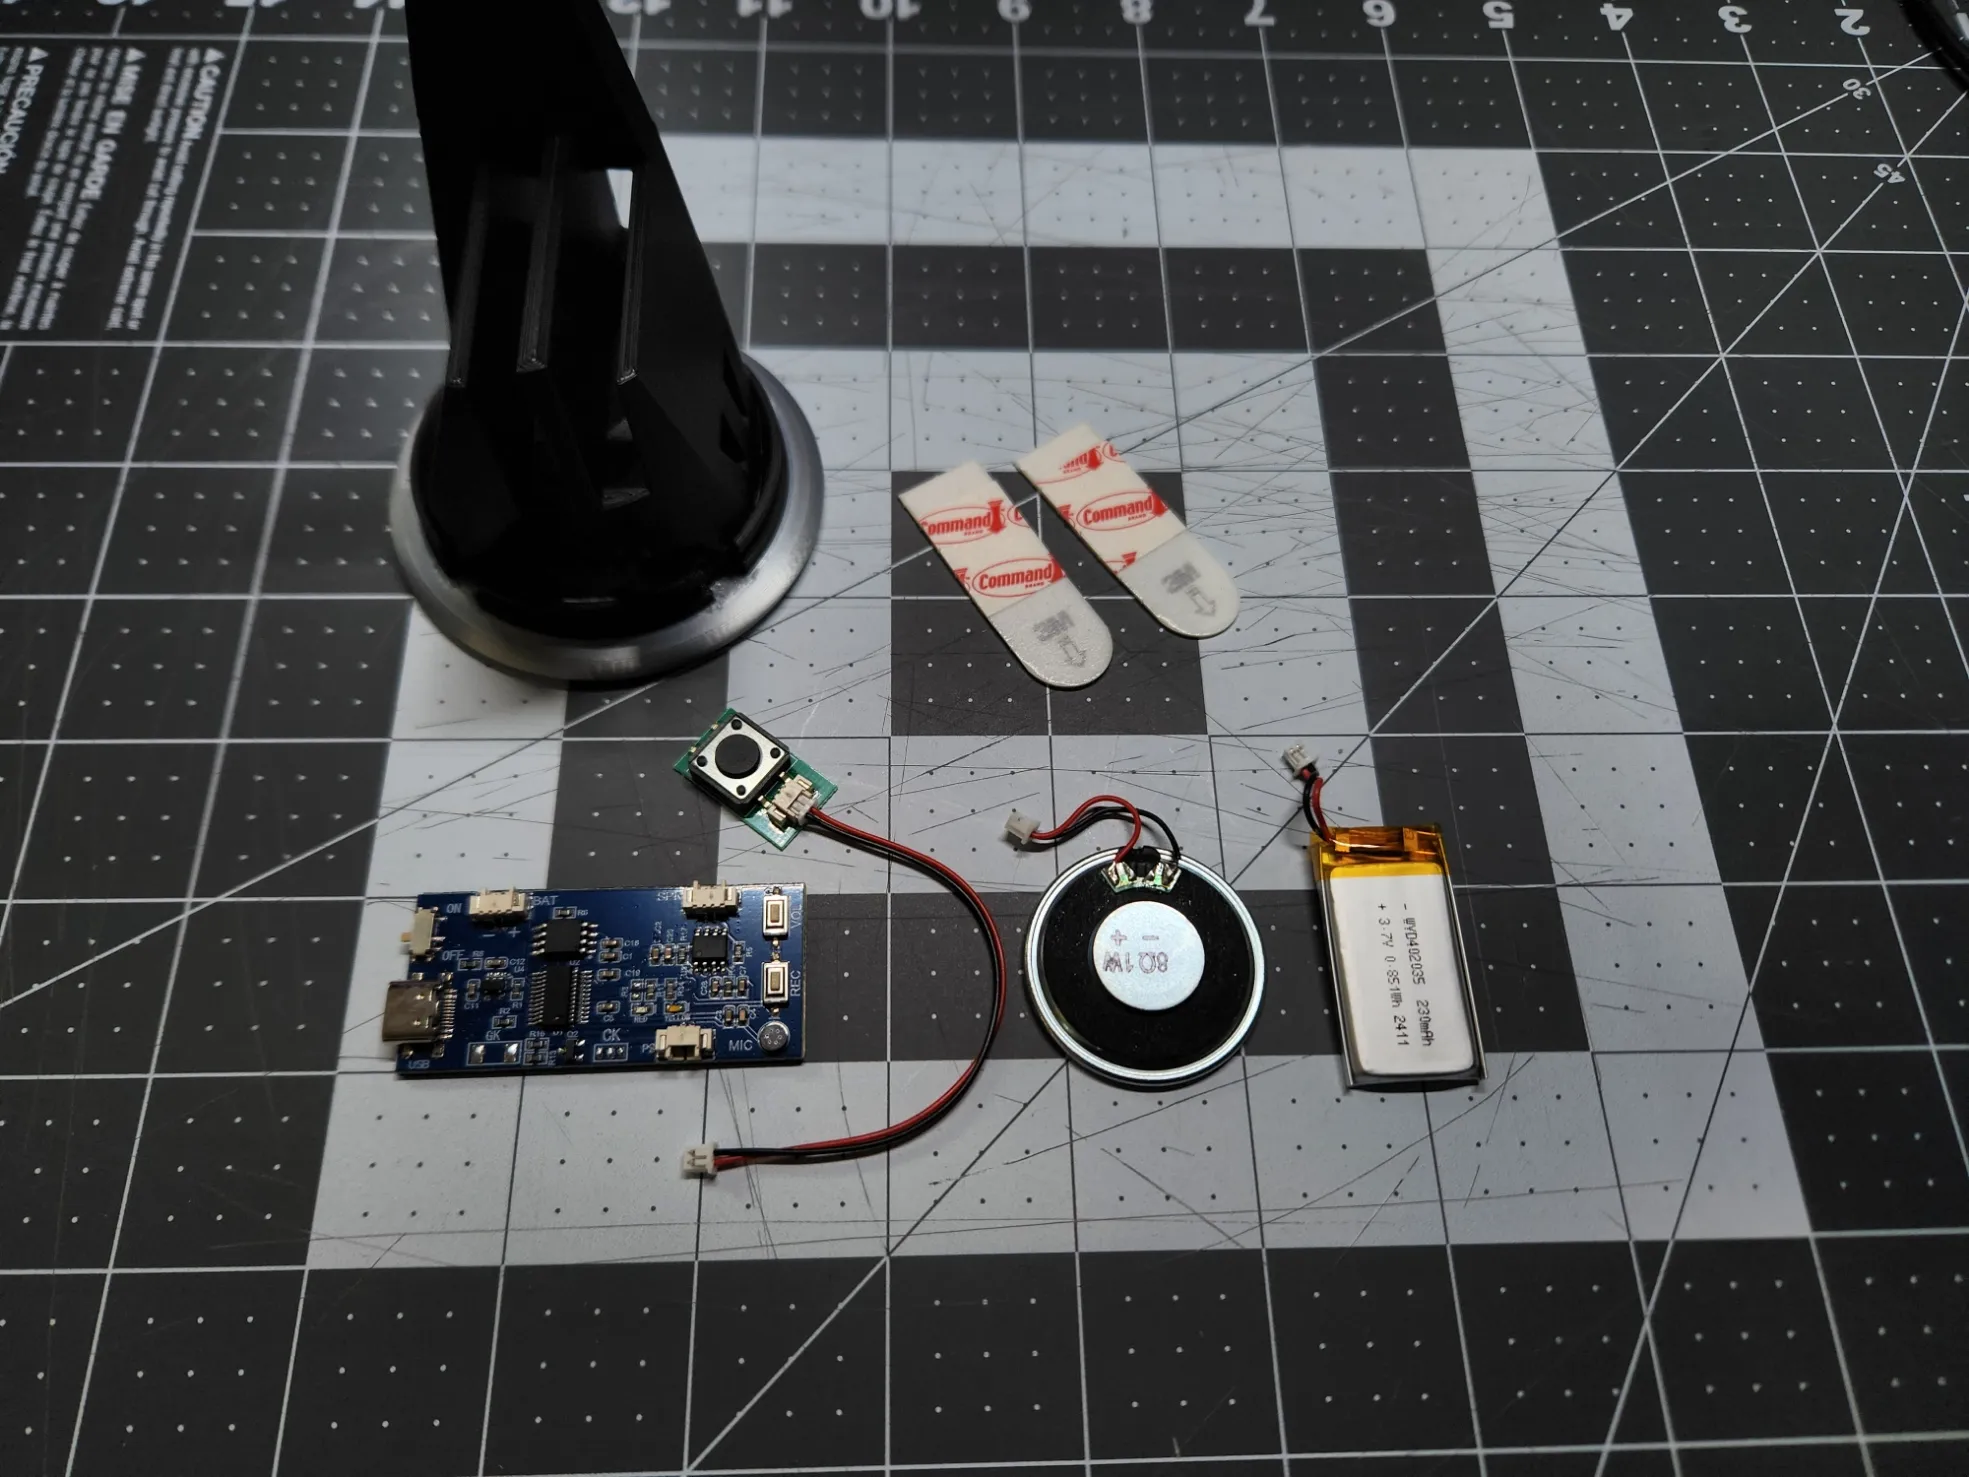
Quickly Re-Test the module with your loaded sound effects. If all is good, press the small Volume Button (see diagram above) until you are happy with the volume level. Turn off the power switch and proceed to disconnect the components and separate them out. Remove the adhesive backing from the speaker and battery, but keep it on the main board for later! Get the Lower Silver Cap 3d-printed part, and the adhesive strips.
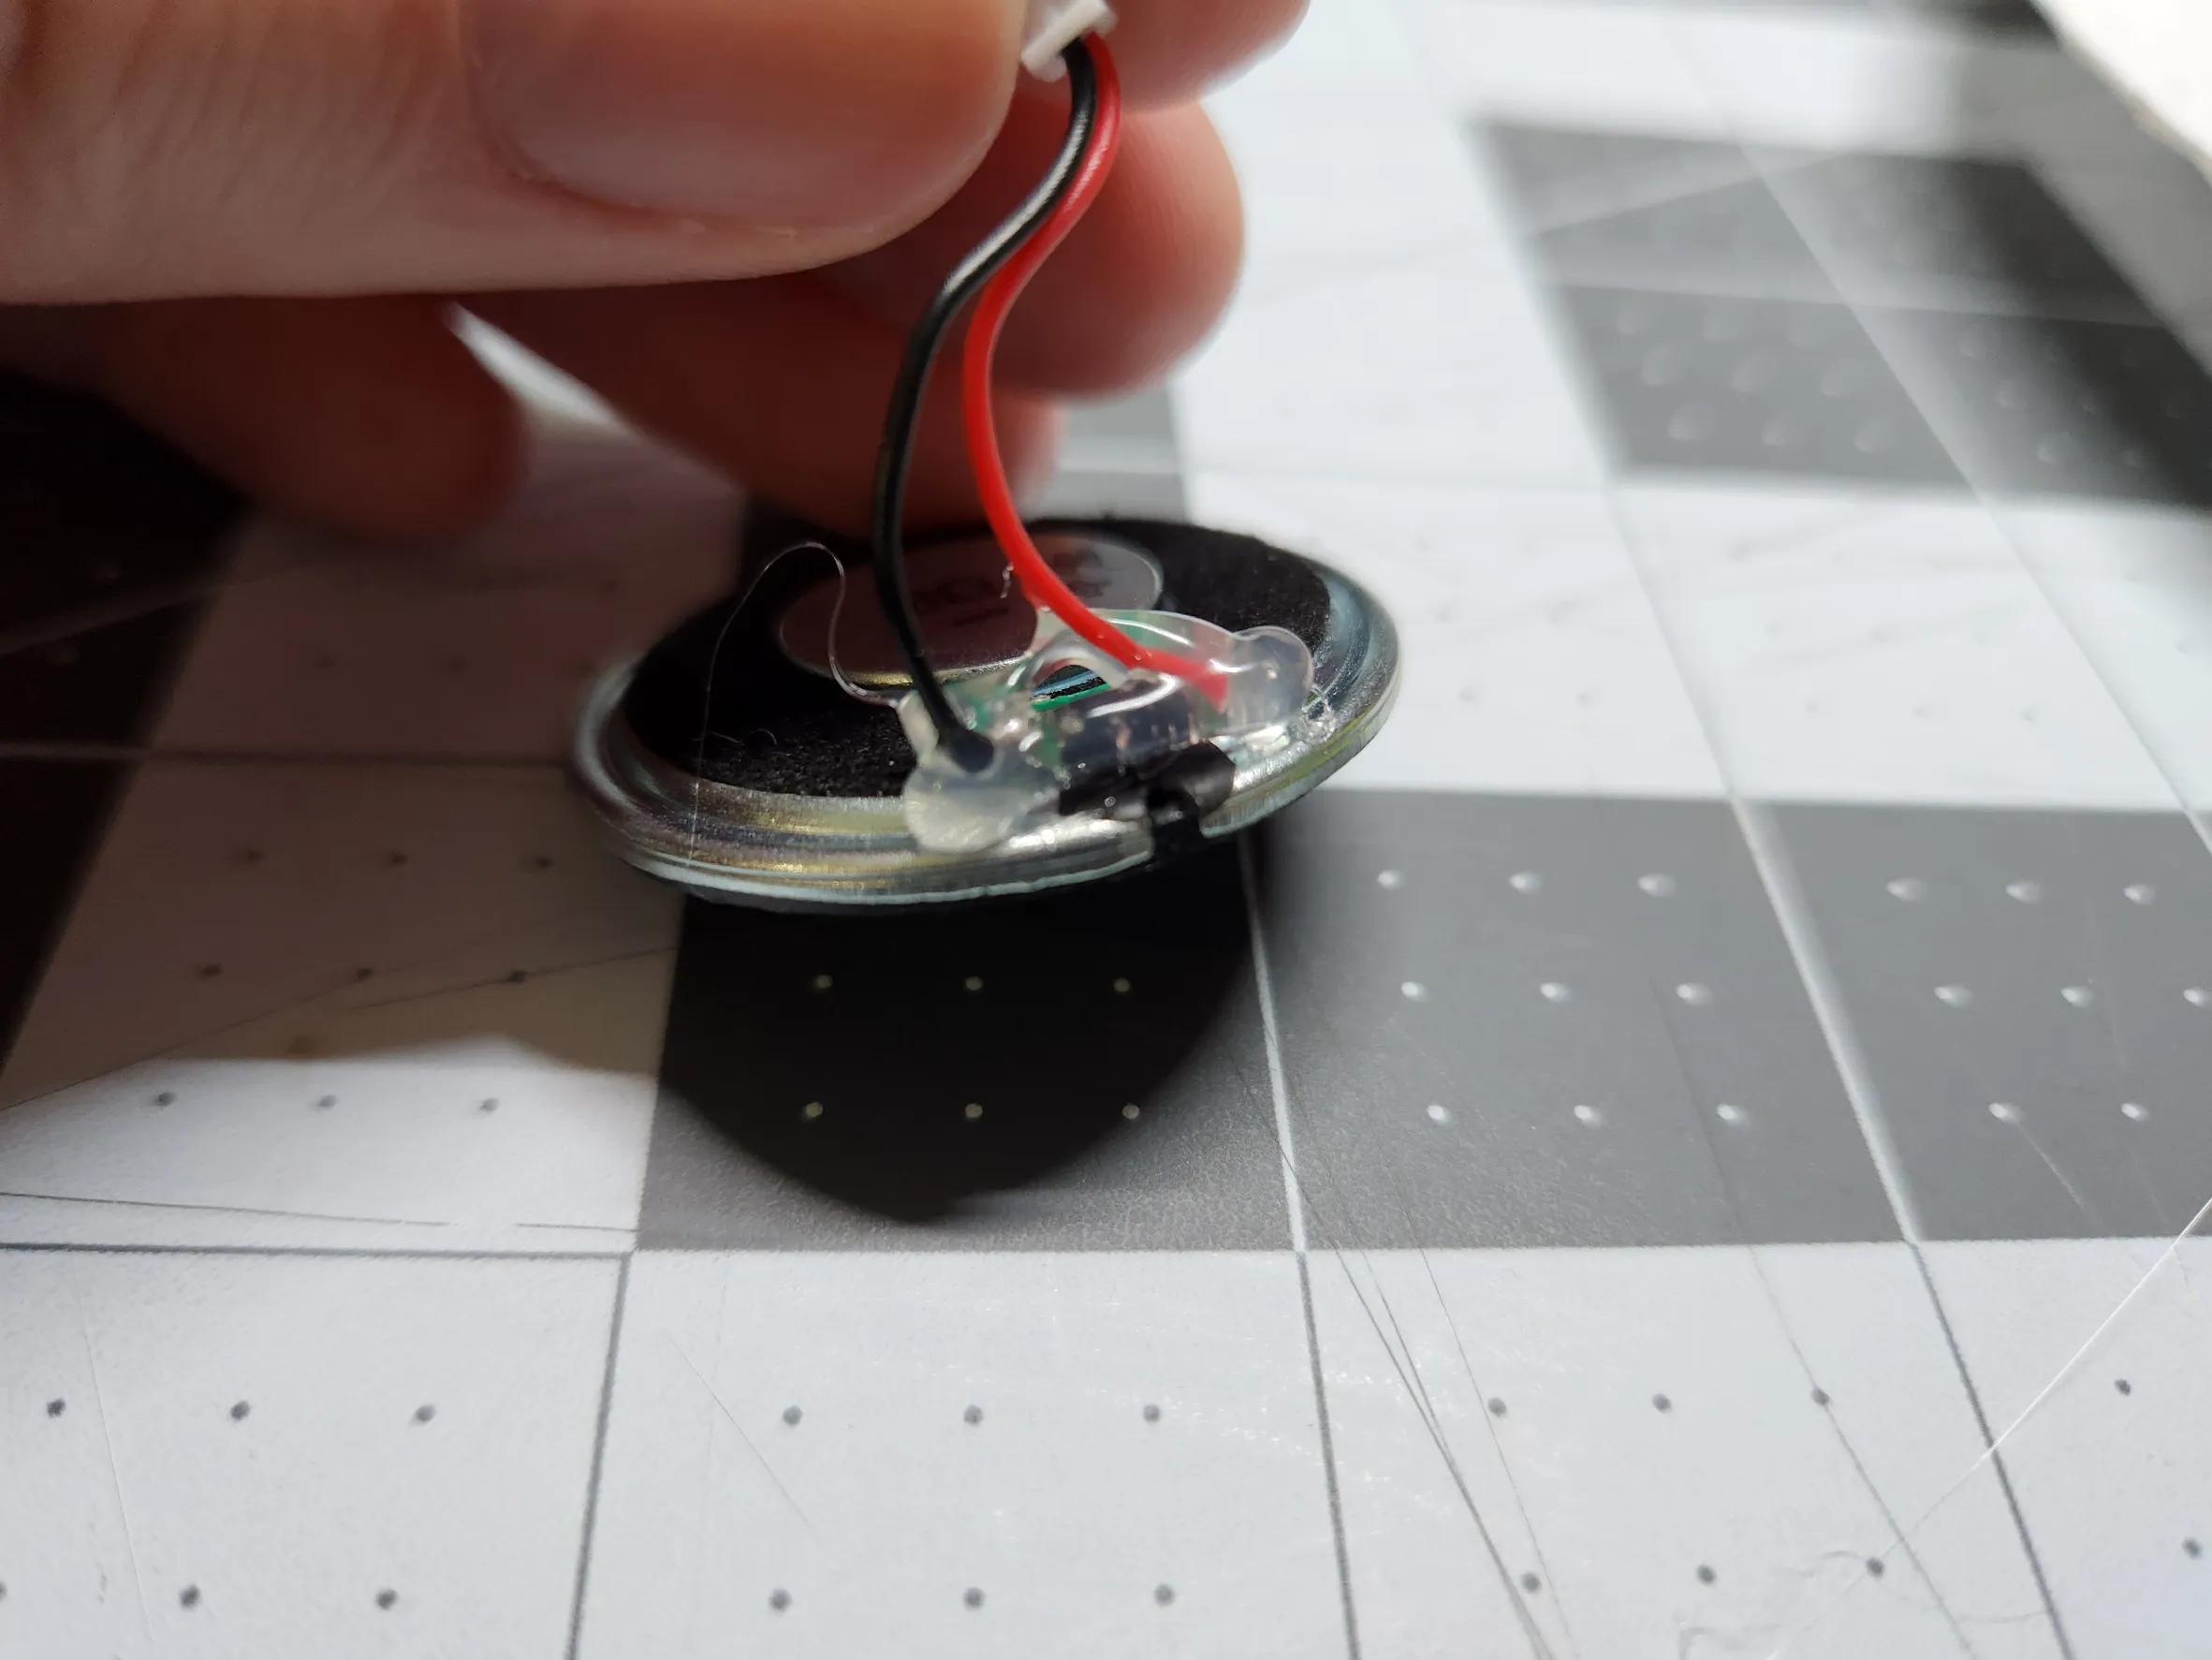
Hot glue the solder connections on the speaker, to ensure that they don't come loose (they are quite fragile out-of-the-box). Make sure that the wires are pointed upward for later.
Slide the speaker into the slot on the base of the 3D-printed part. Make sure that the cables end up on the correct side, so that they will reach the board later.
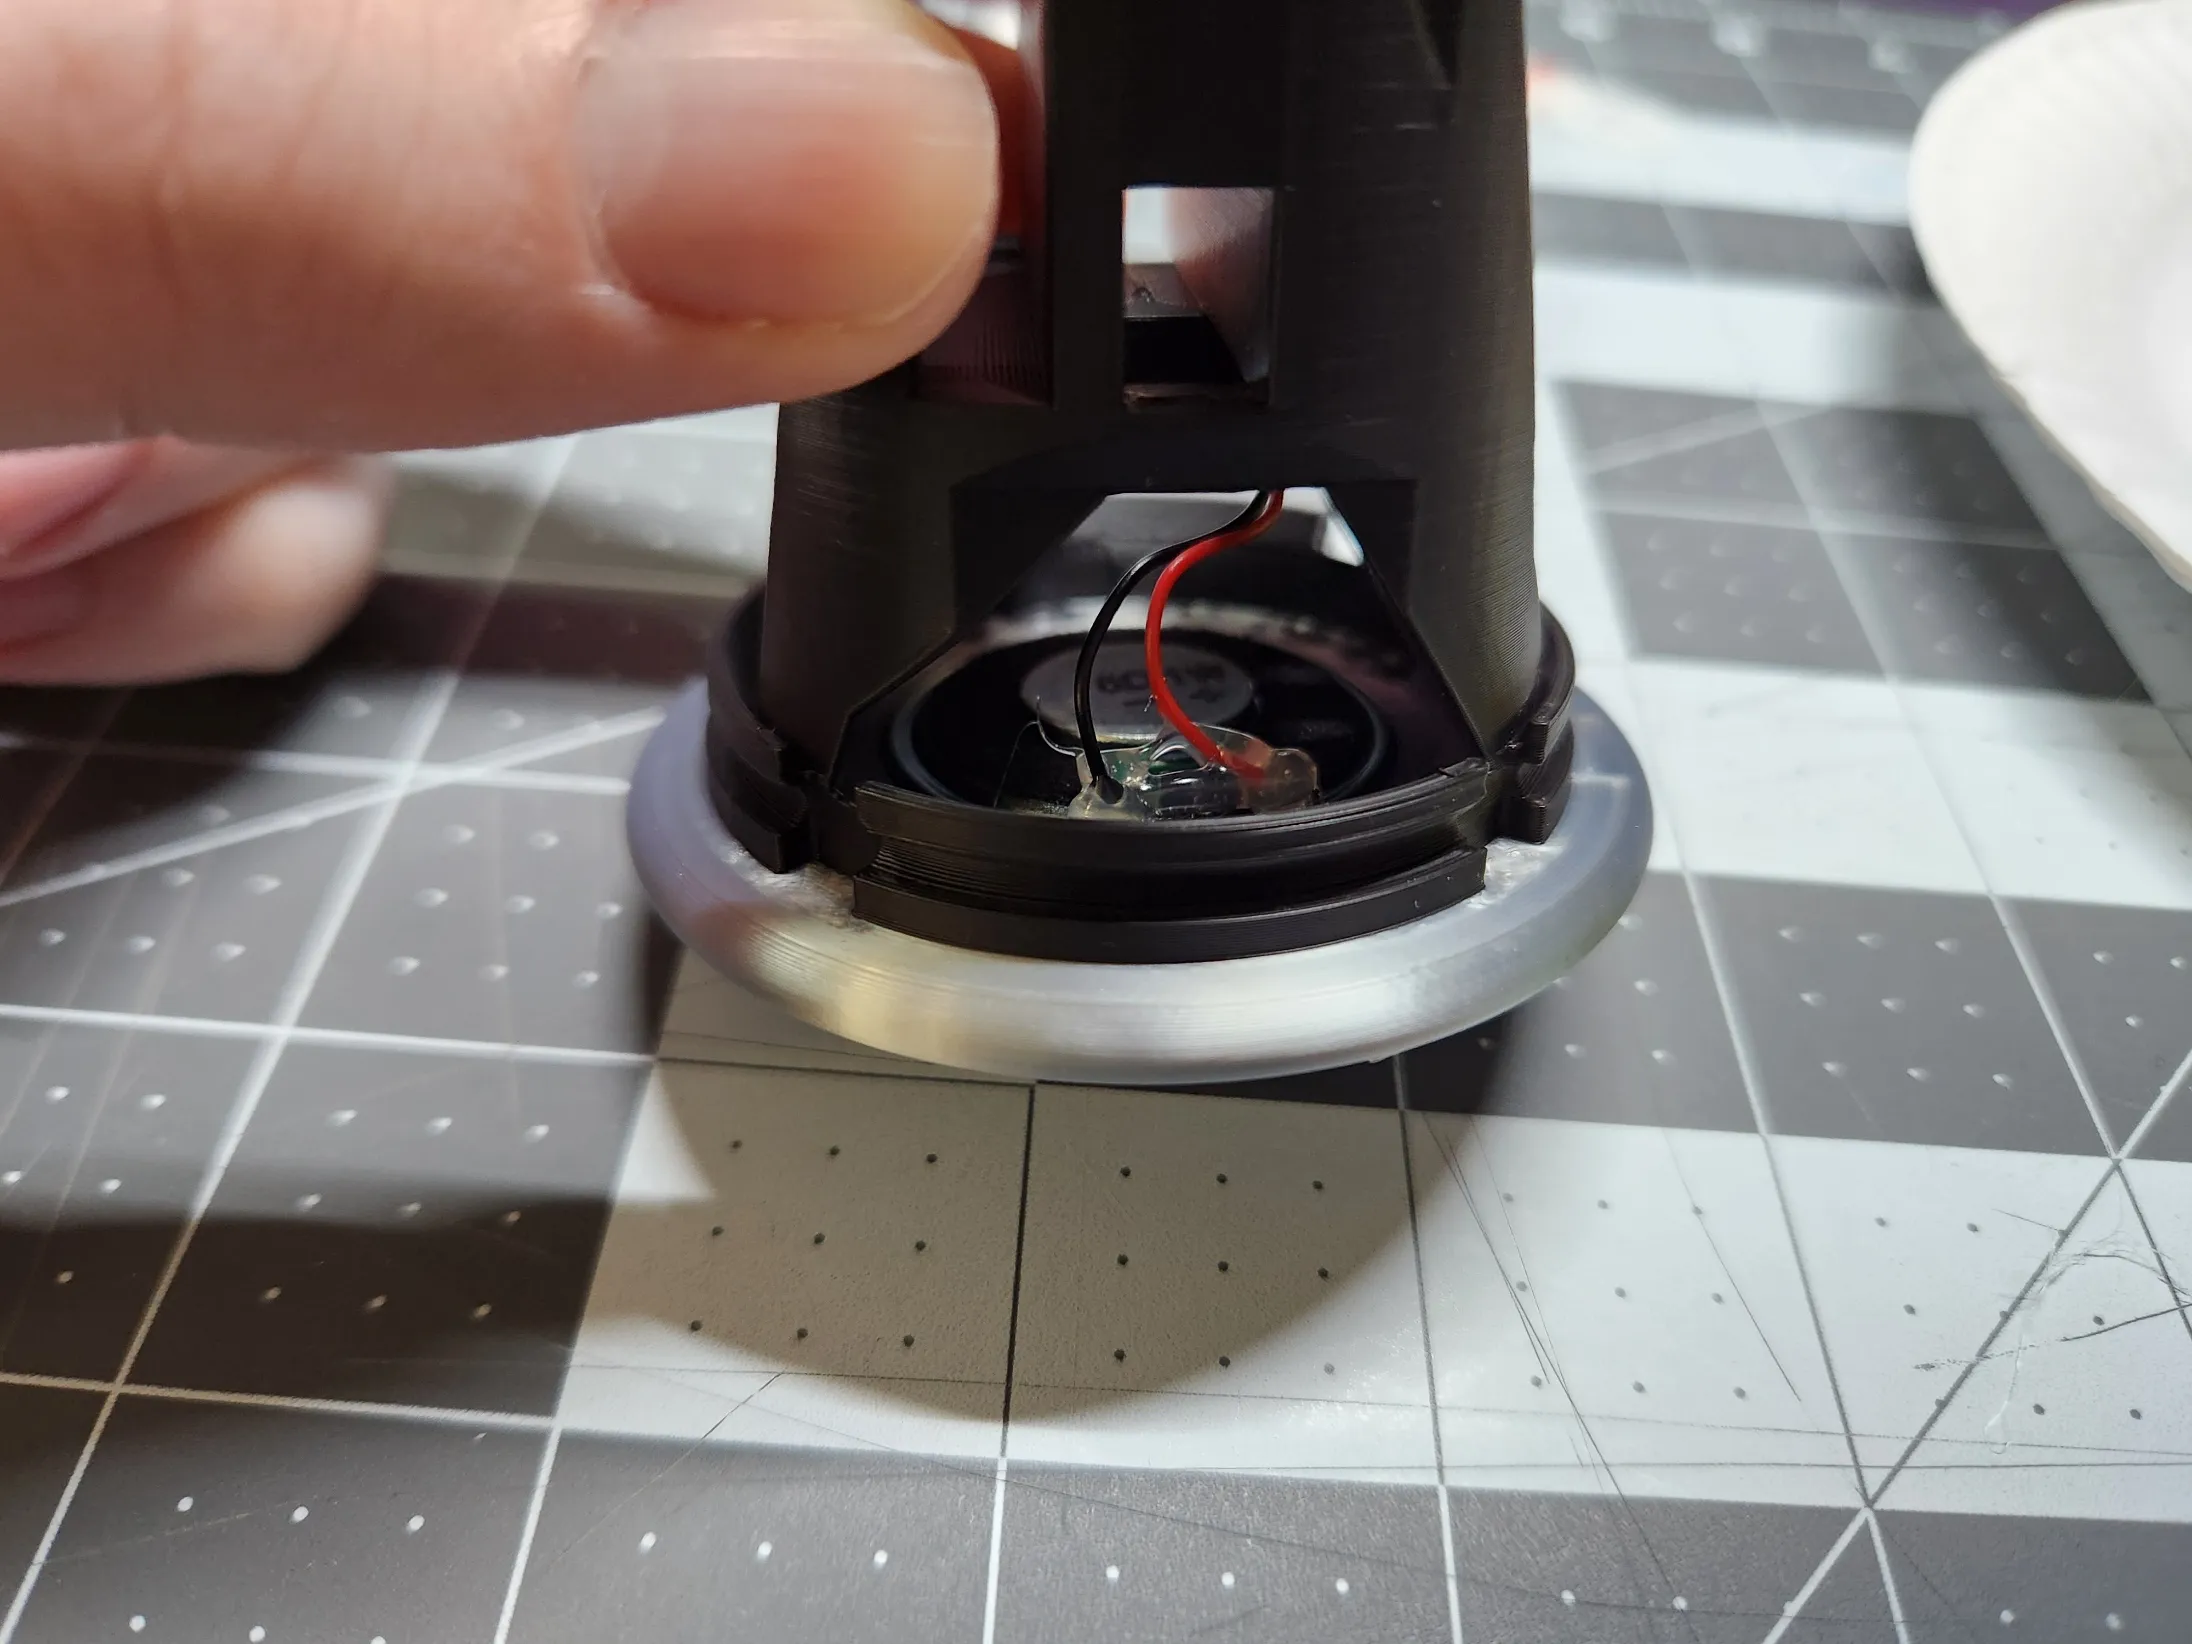
From either end, apply hot glue to the speaker's perimeter. Use a toothpick or similar narrow tool to spread the glue to the hard-to-reach areas. Just make sure that the speaker will stay put during use of the prop!
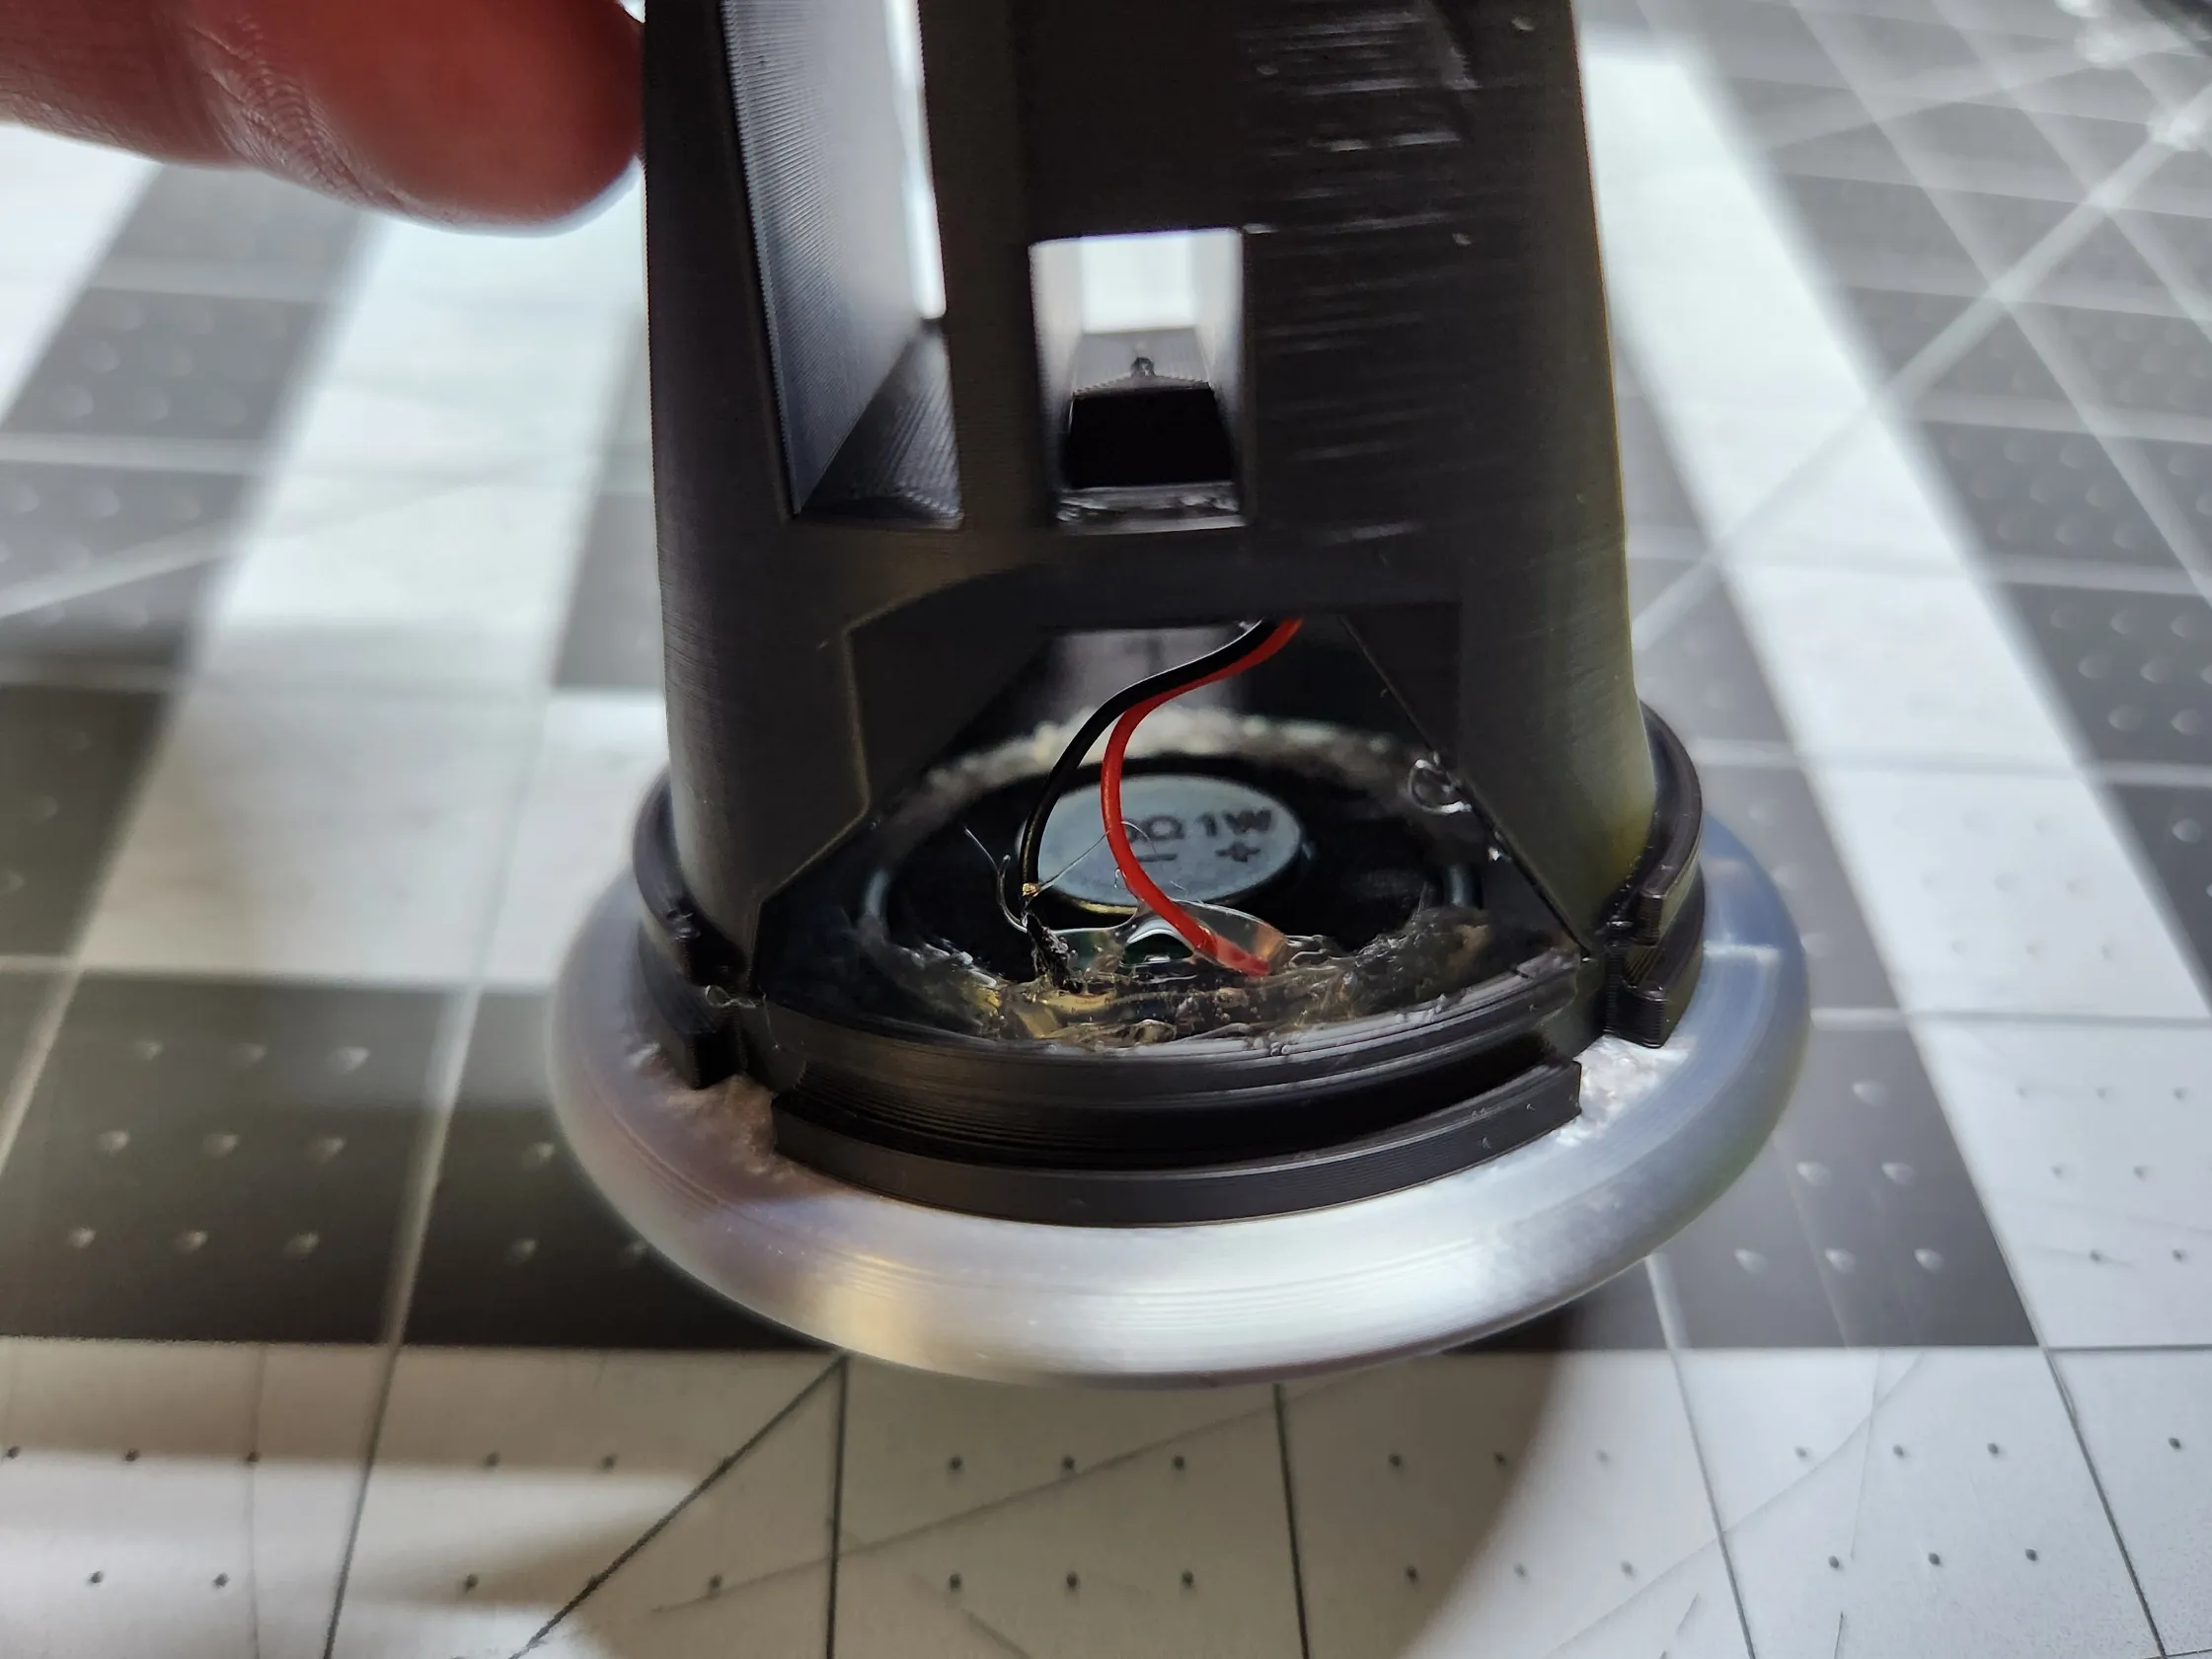
Remove the adhesive backing from the Main Board, and stick it into place. Make sure it goes all the way to the bottom and all the way to the back of the slot for correct alignment!
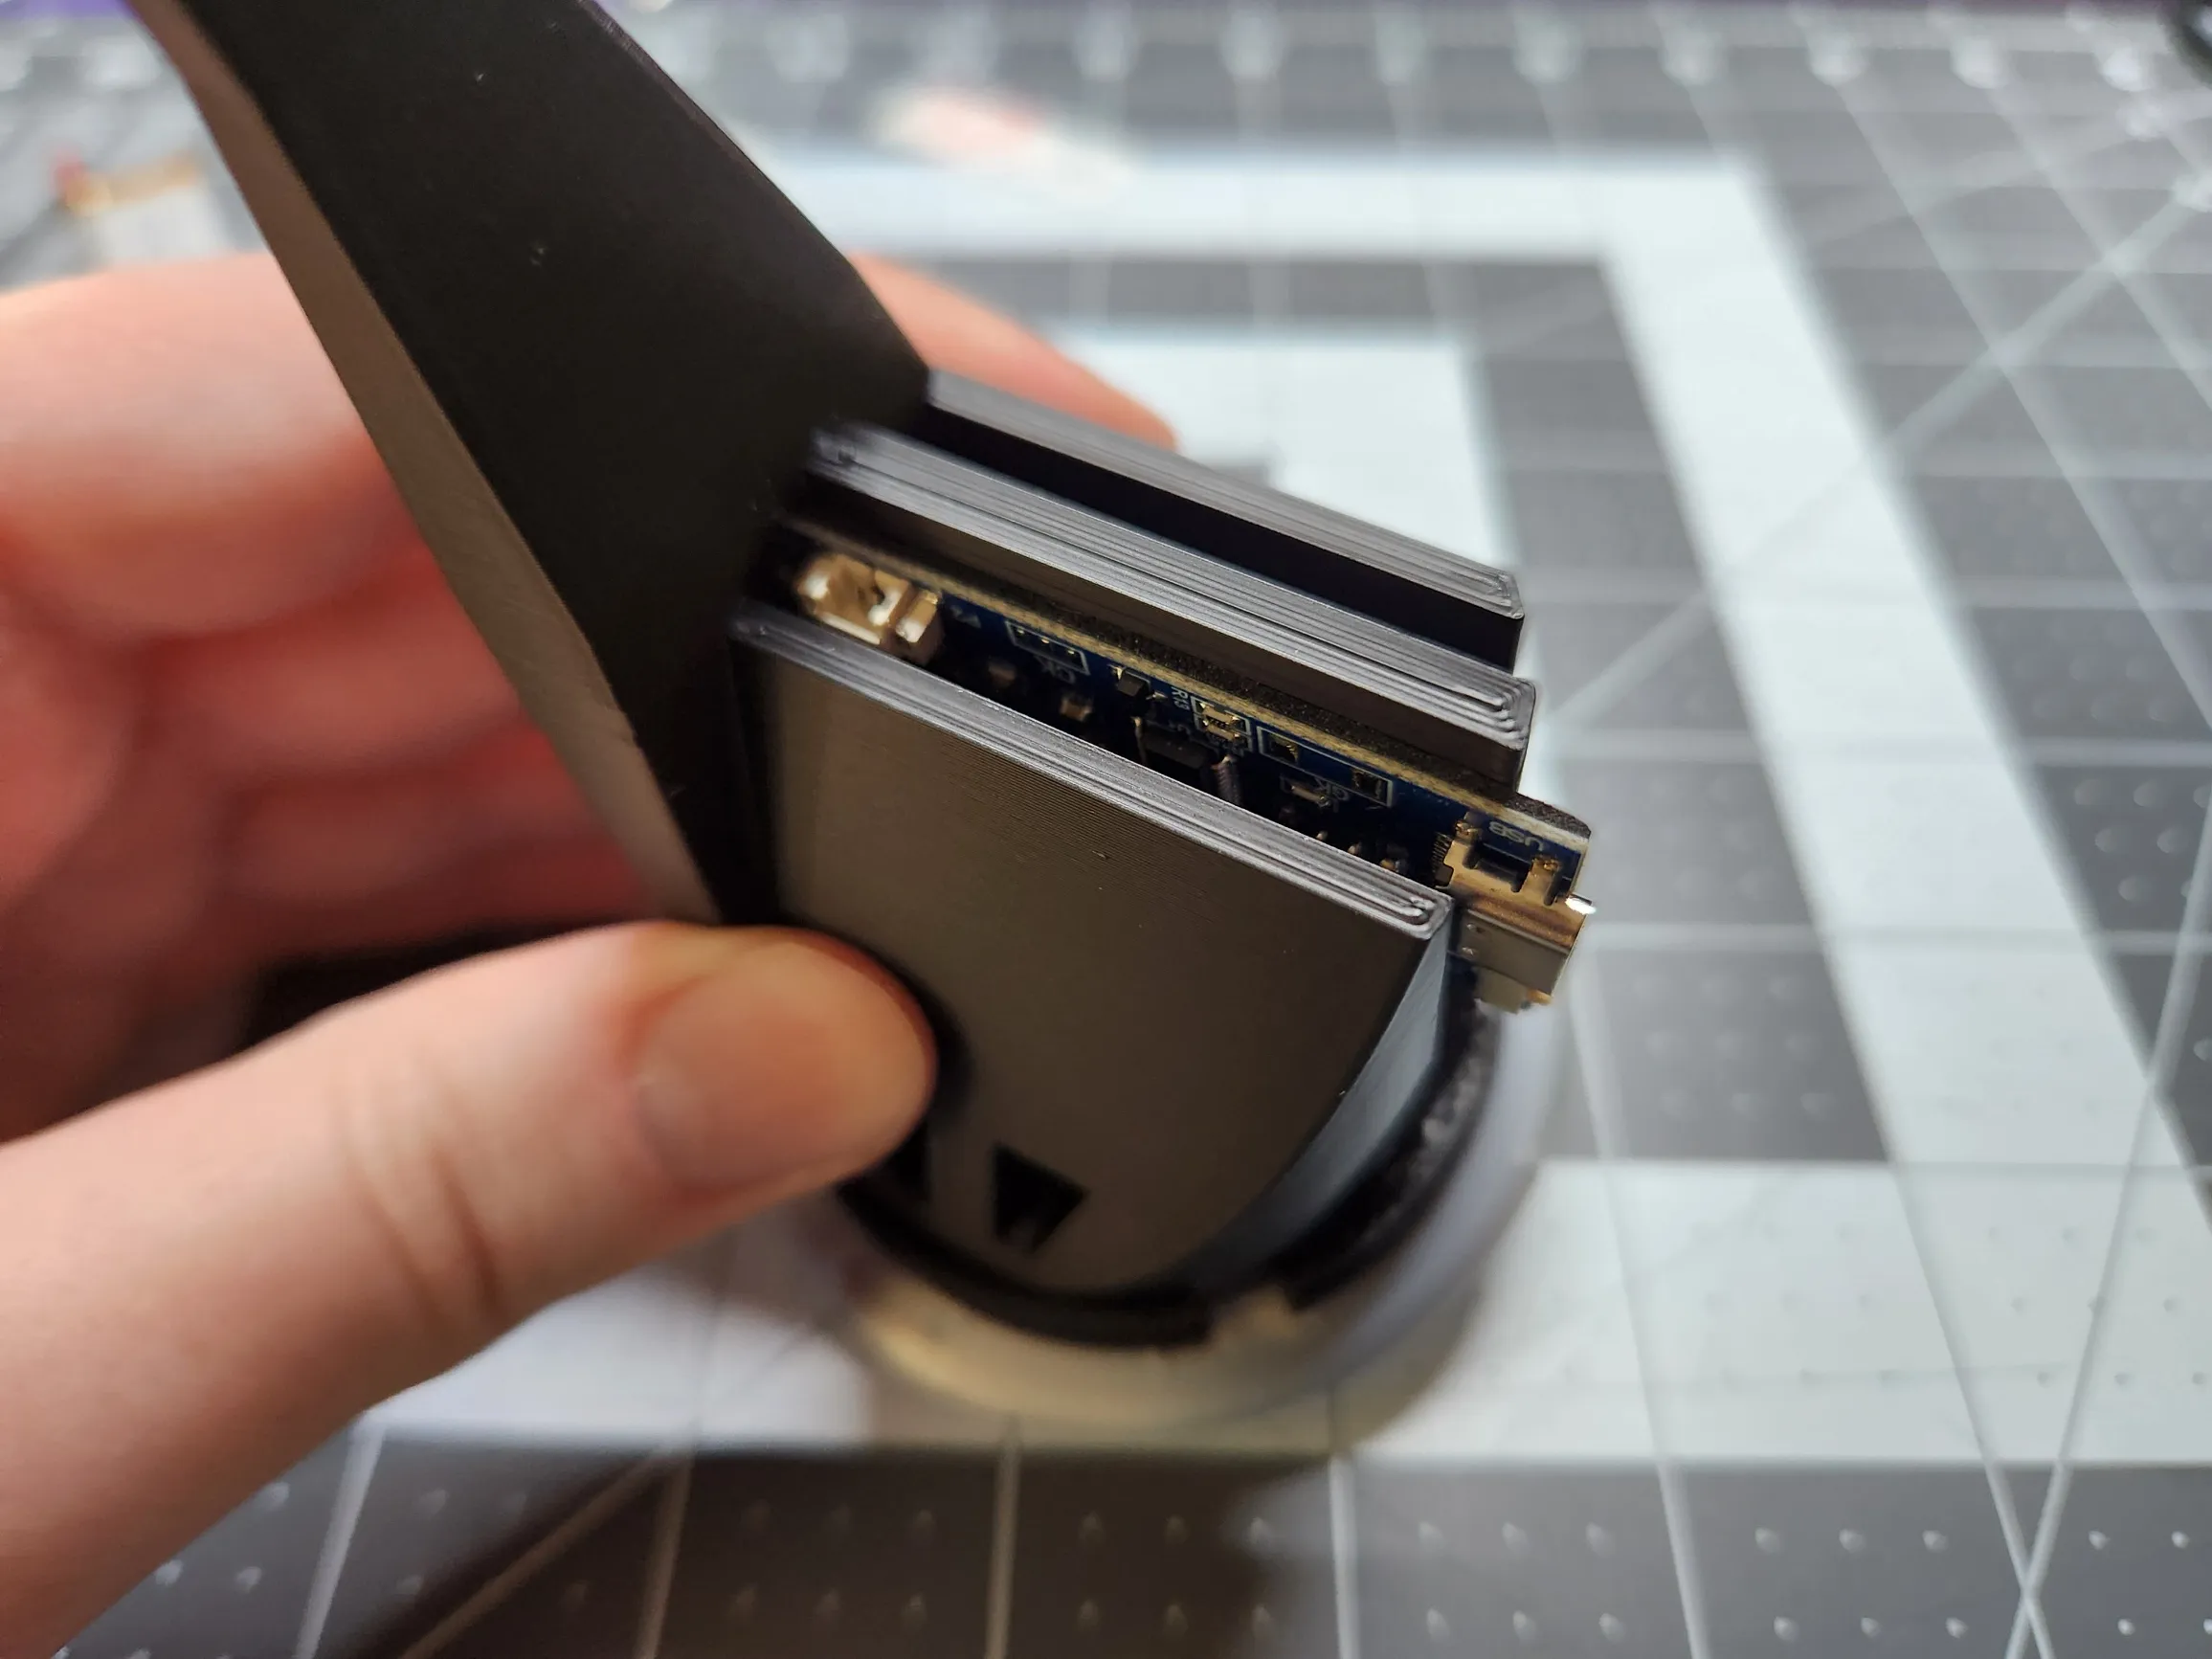
Plug the Speaker cables into the Main Board, which now sits just above the Speaker.
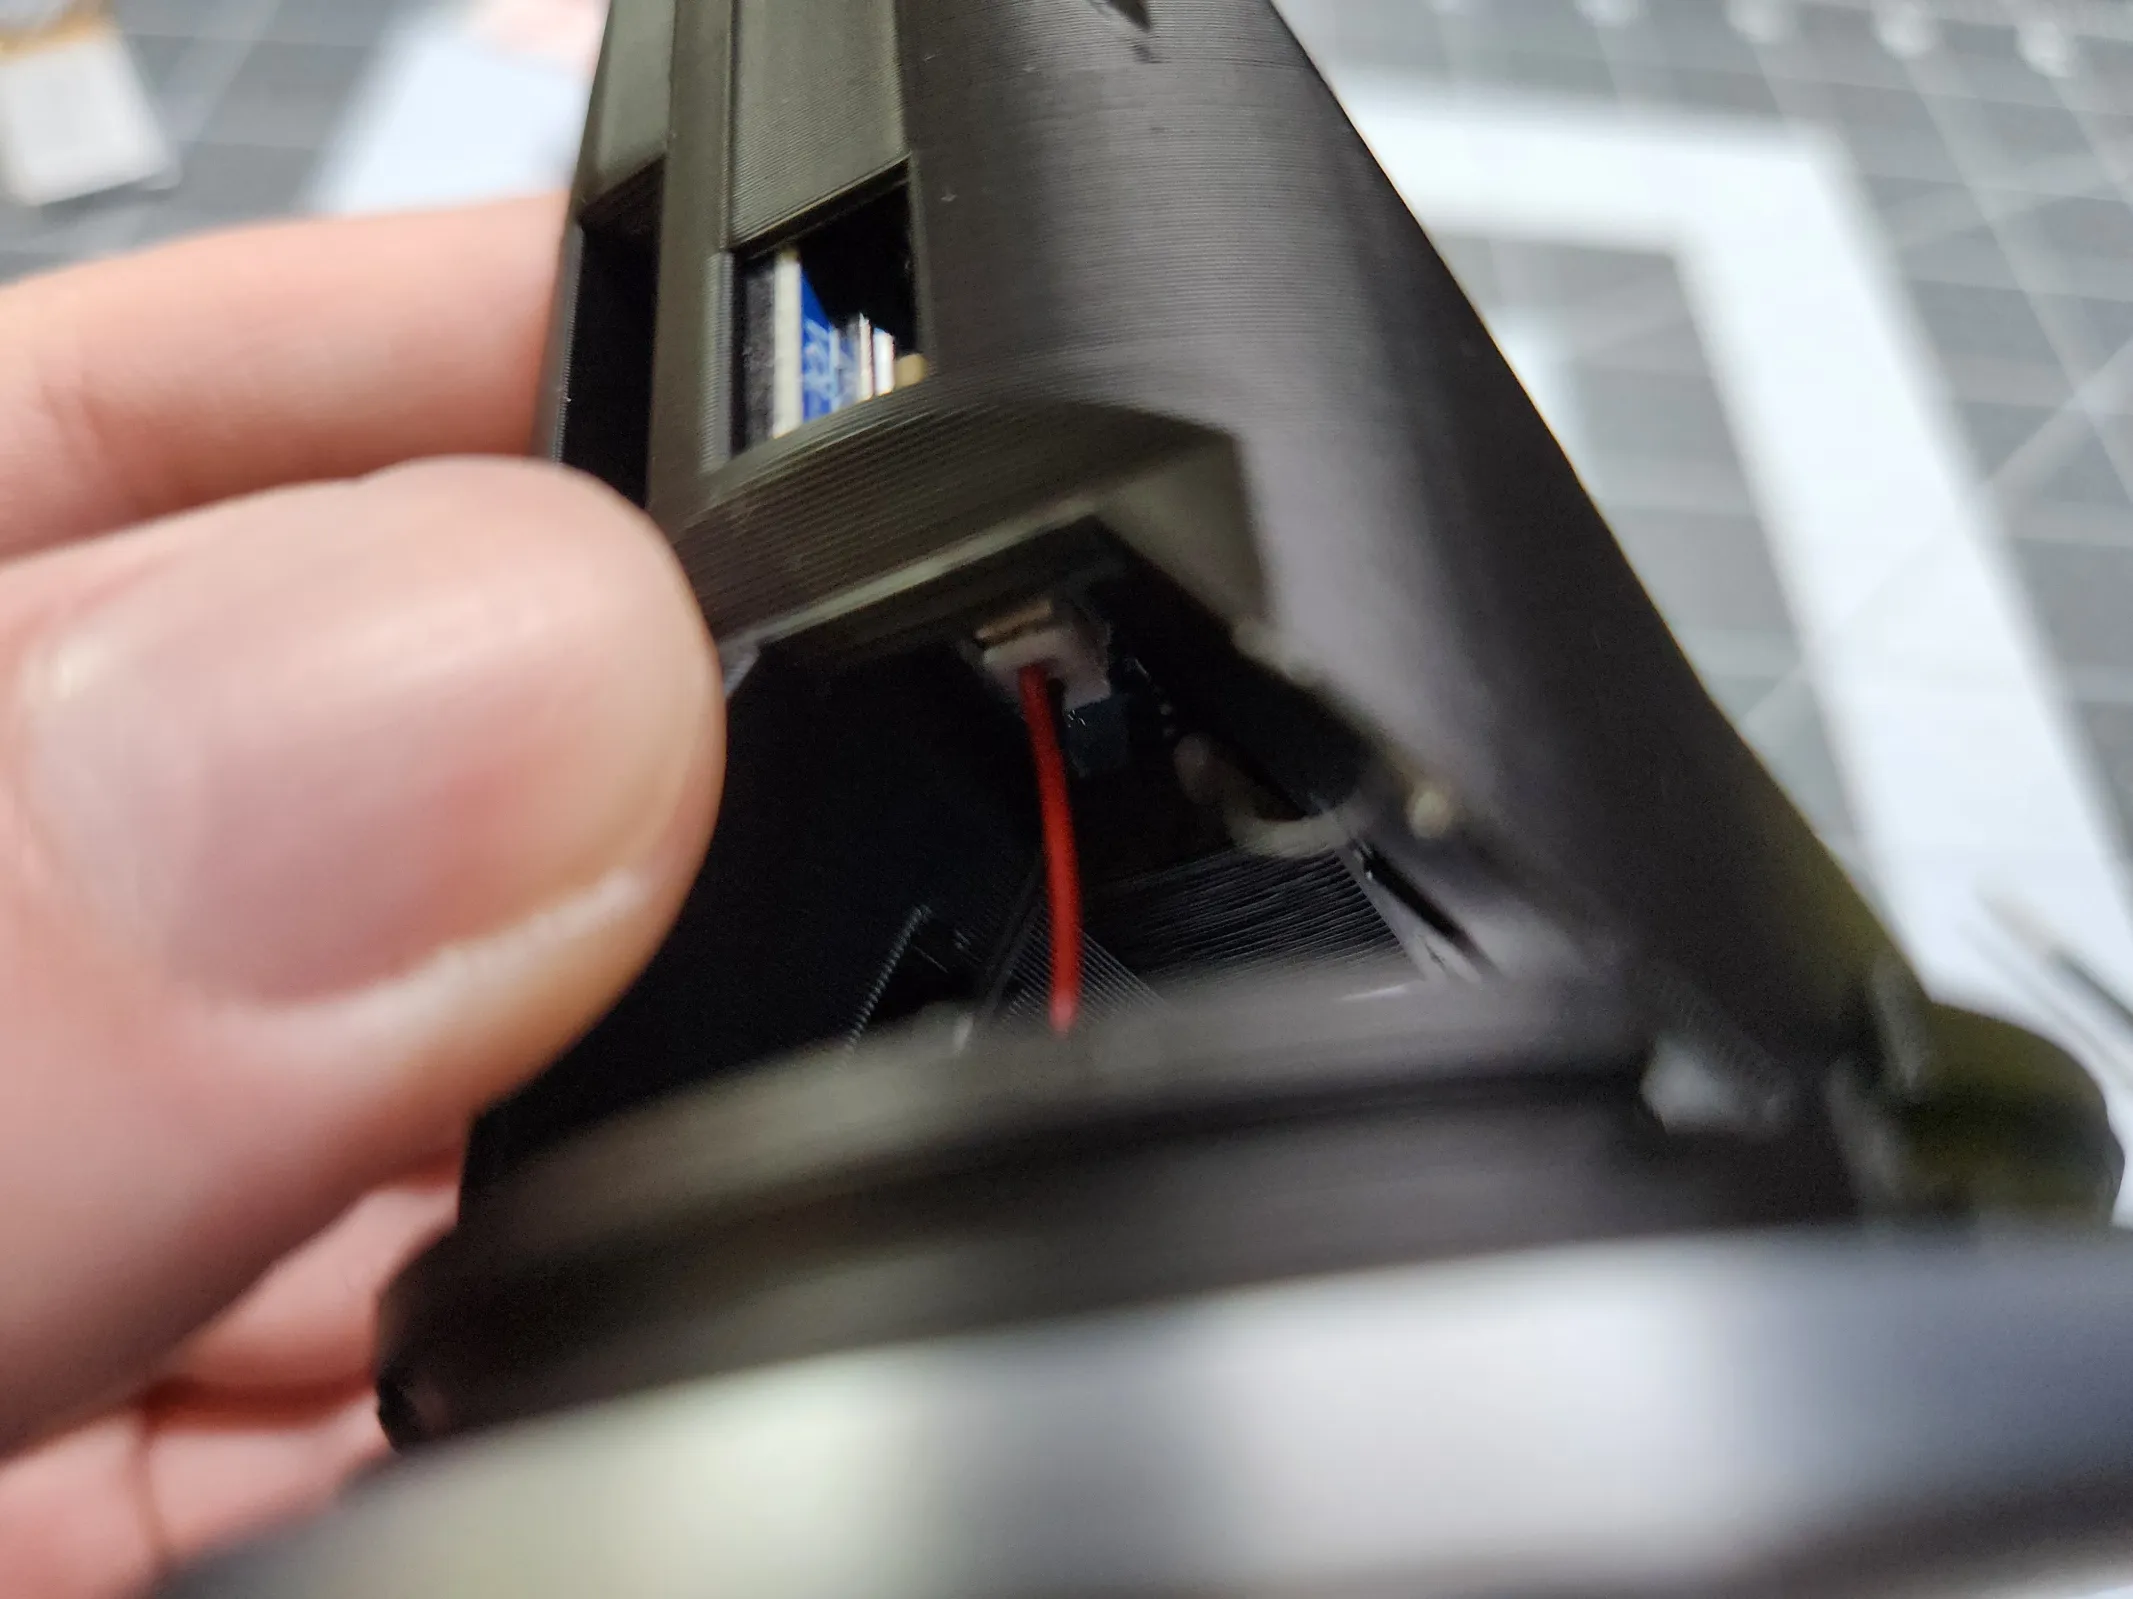
Attach one of the adhesive strips to the Battery, making sure to use the correct side of the Battery! Trim off excess. Don't remove the other adhesive backing yet! Note: If you're lucky and the adhesive you removed initially from the battery is in good shape, you can just reuse that instead!
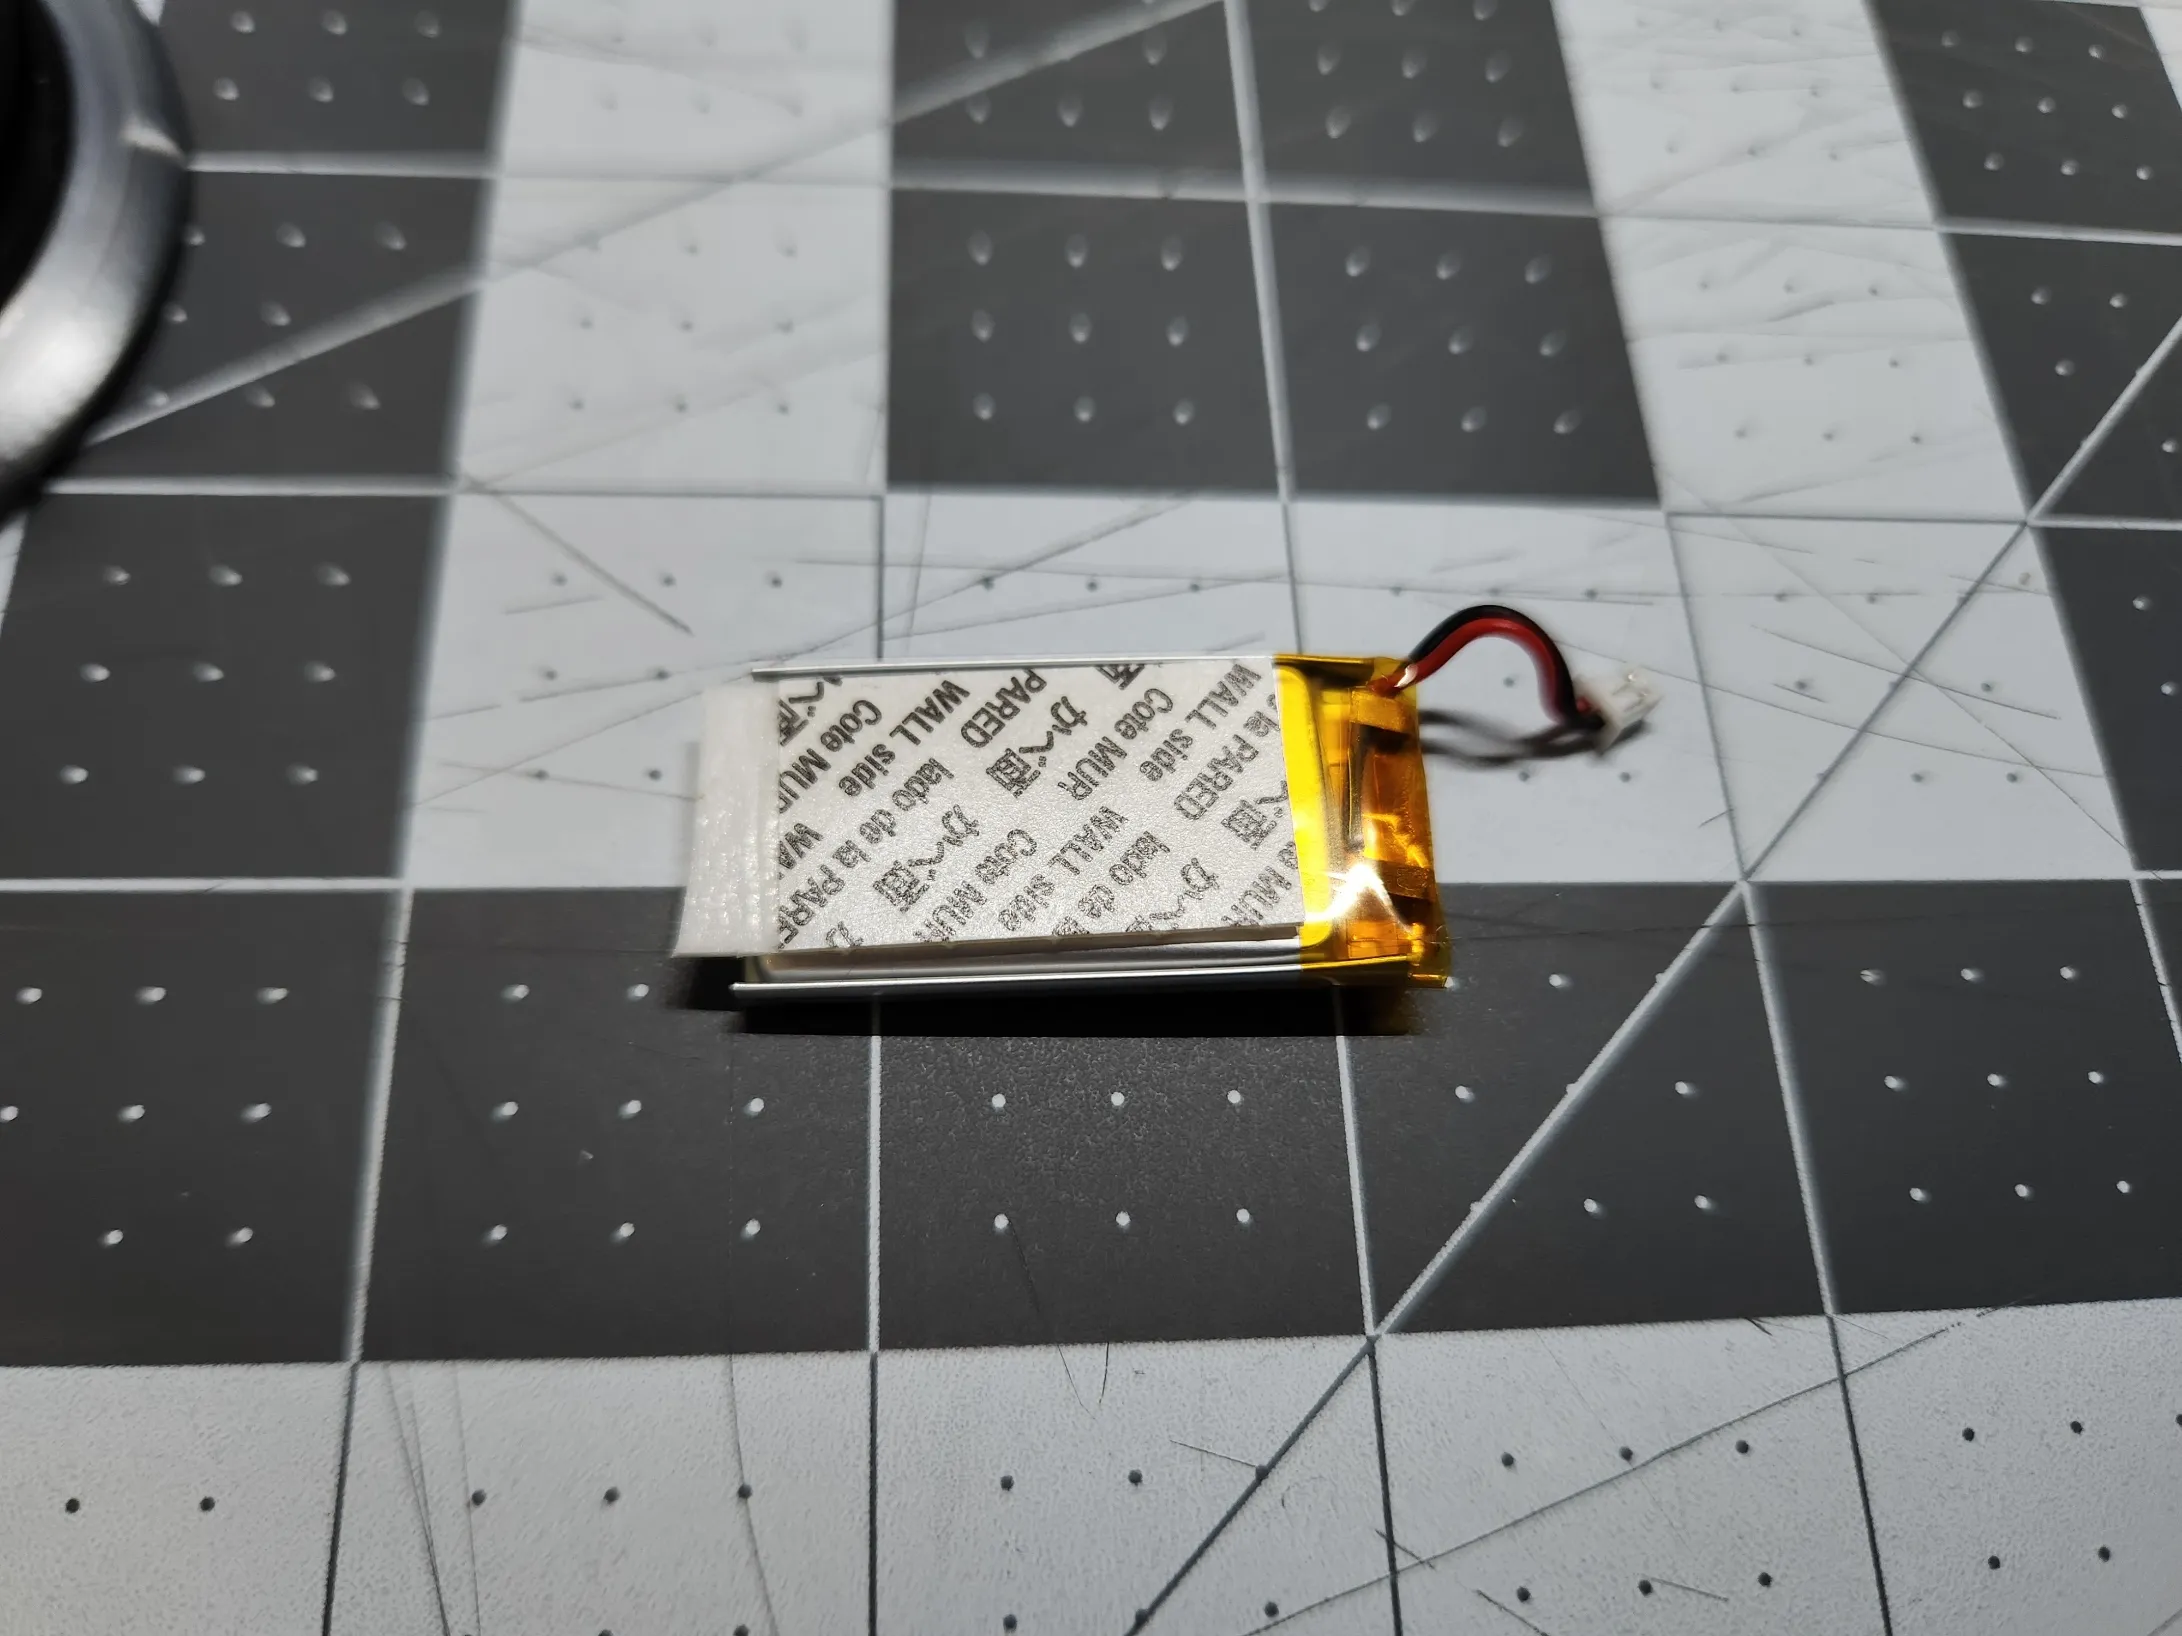
Position the Battery in its slot, routing the cables through the hole and plugging them into the Main Board.
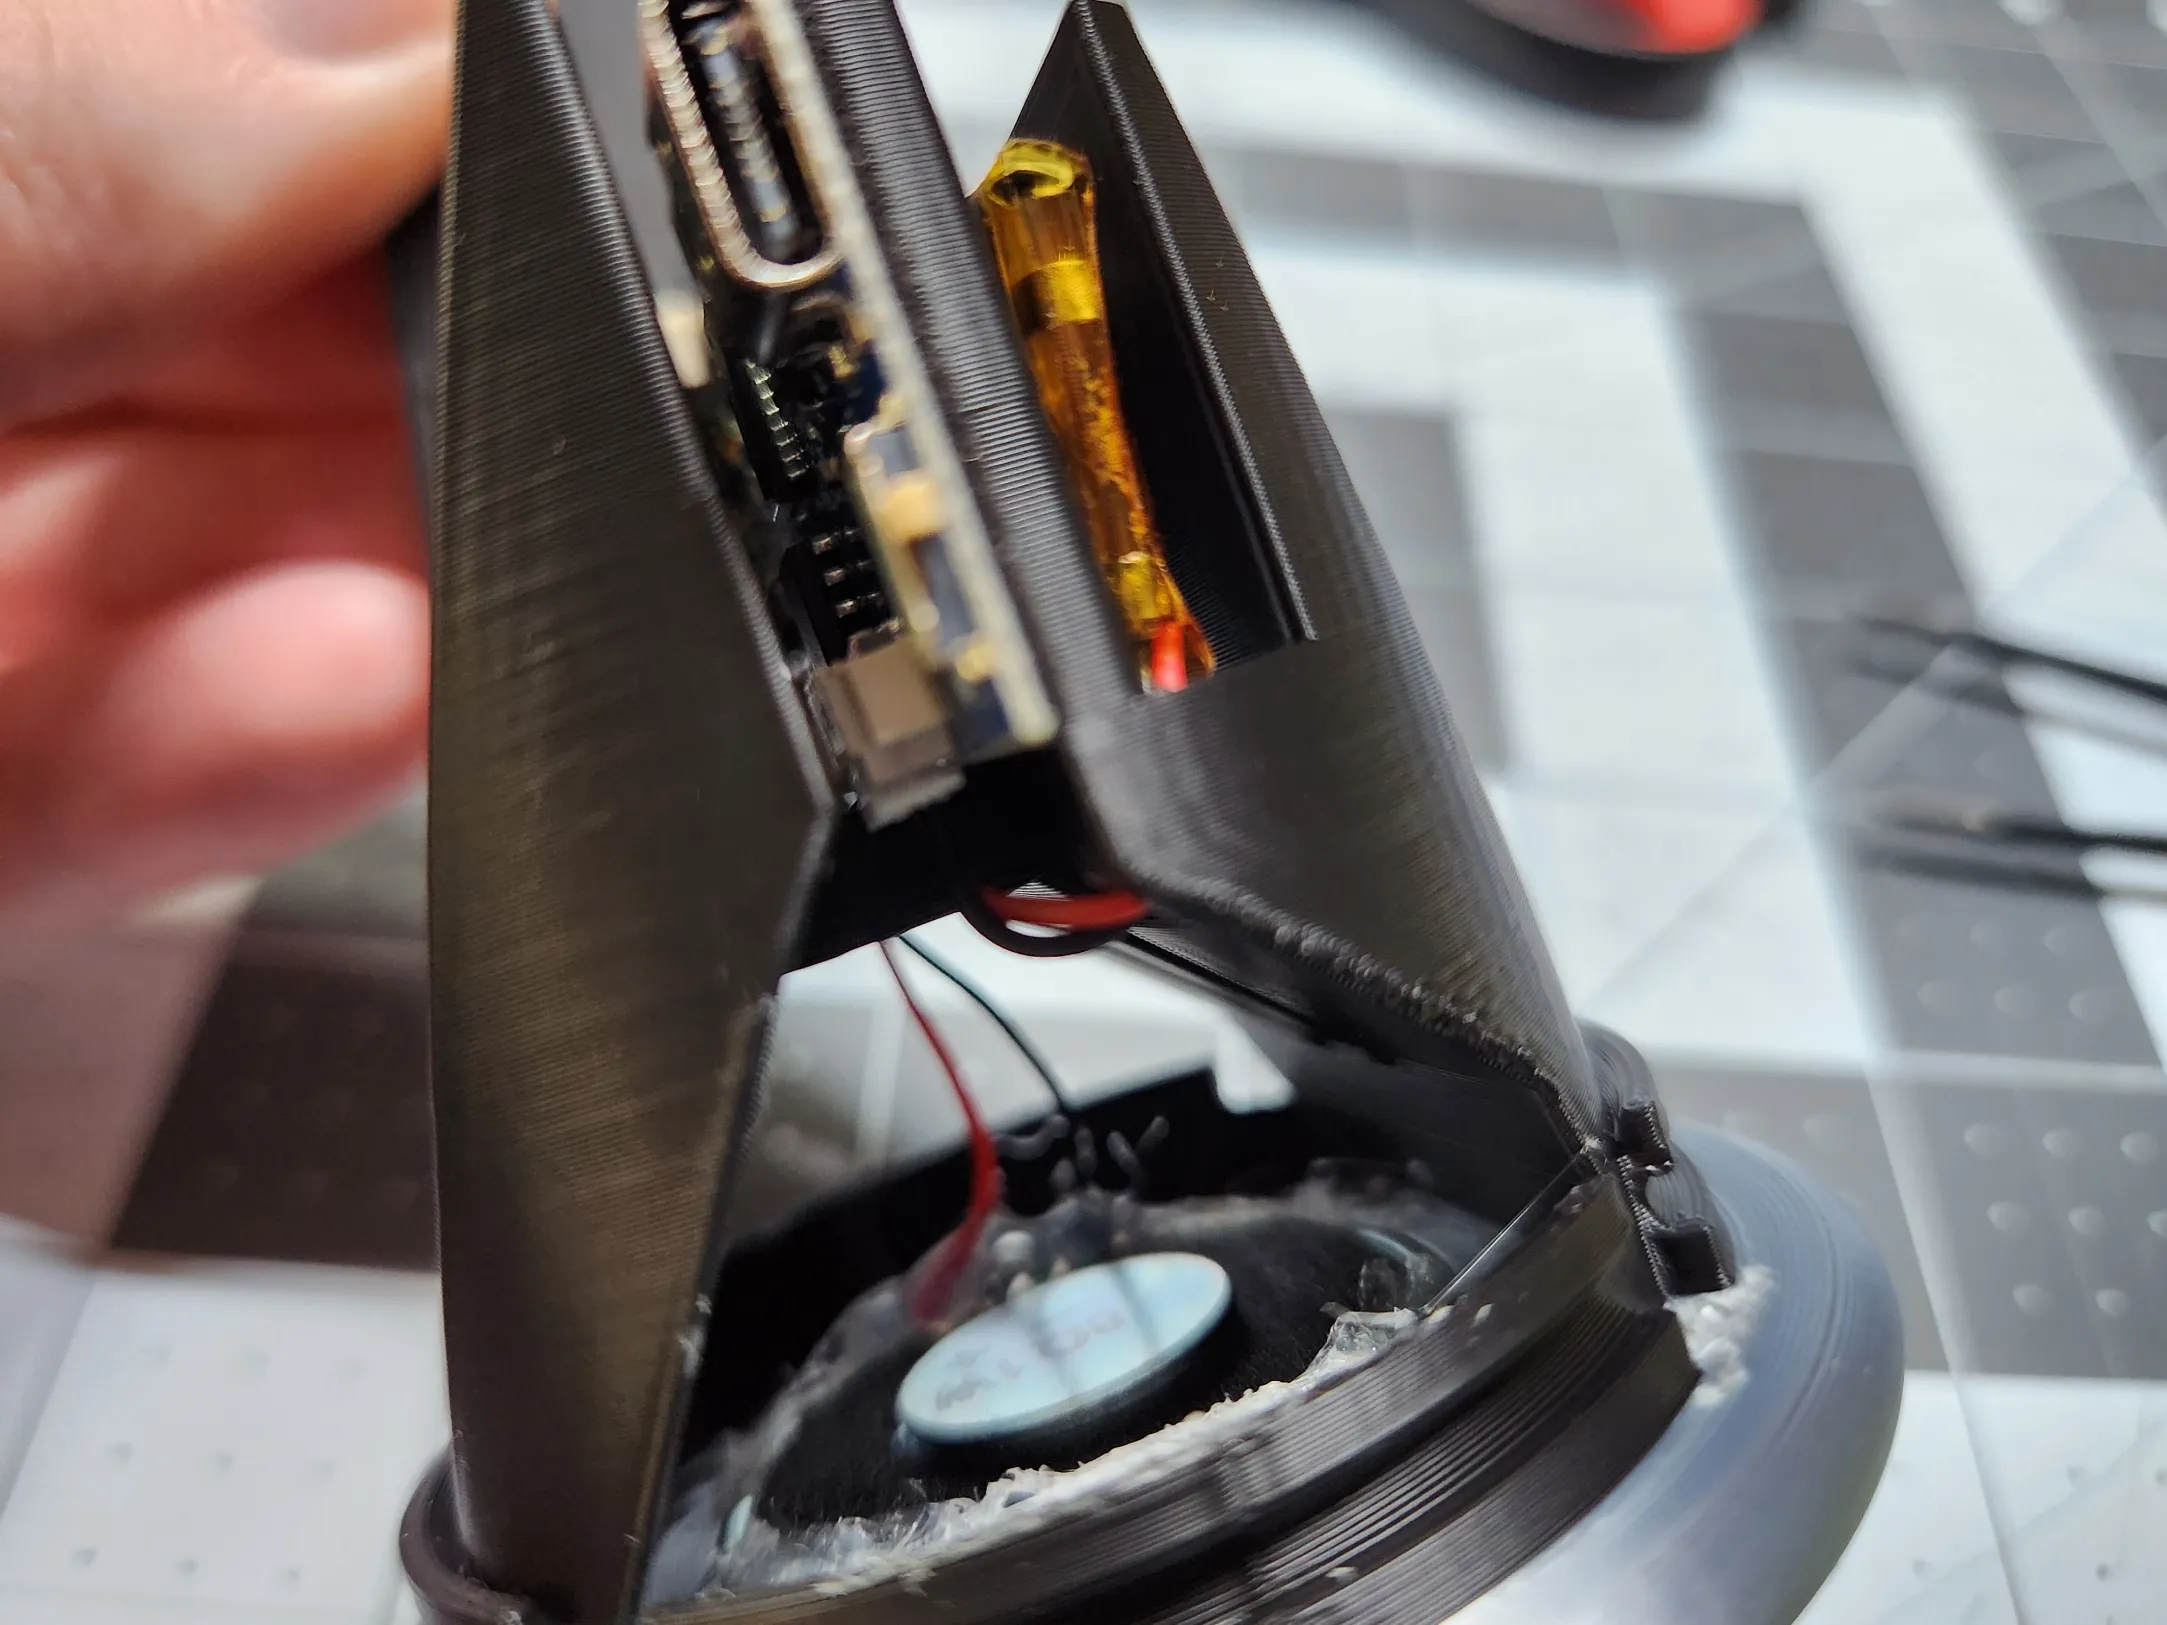
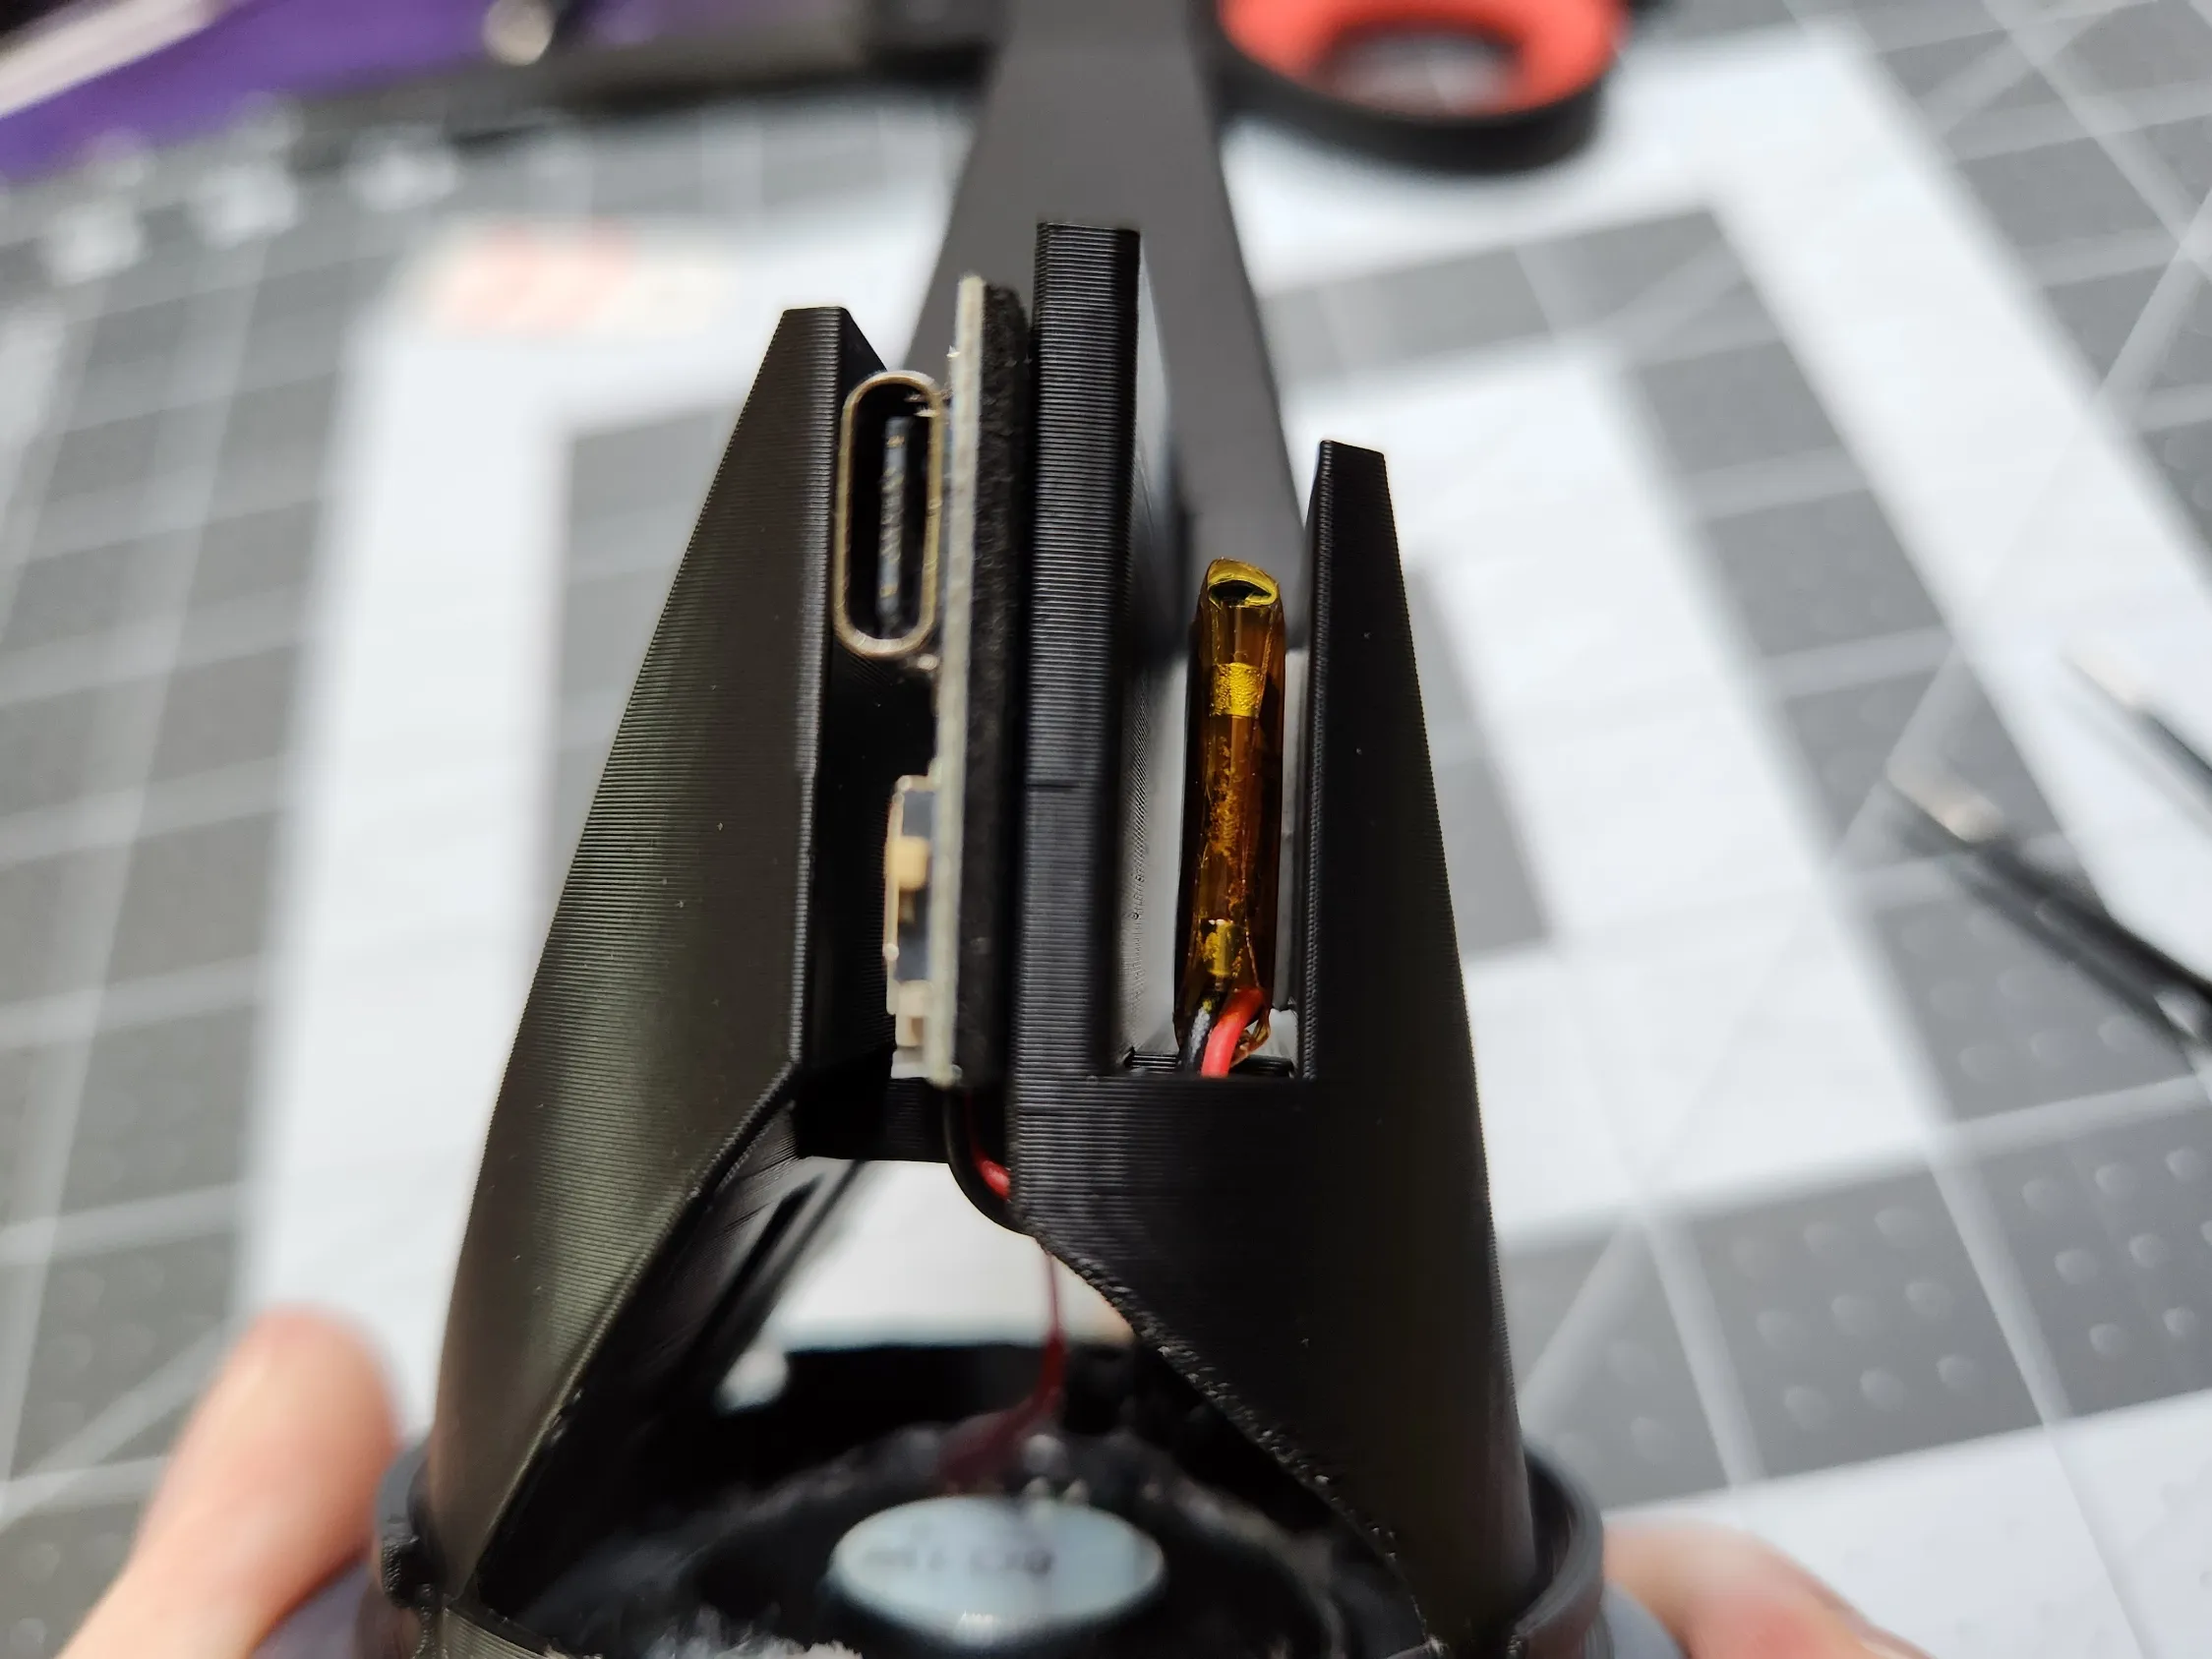
With the Battery plugged in, rotated it out of the slot and remove the adhesive backing in order to adhere it in place such that the cables aren't being strained.
Attach the other adhesive strip to the Button Board.
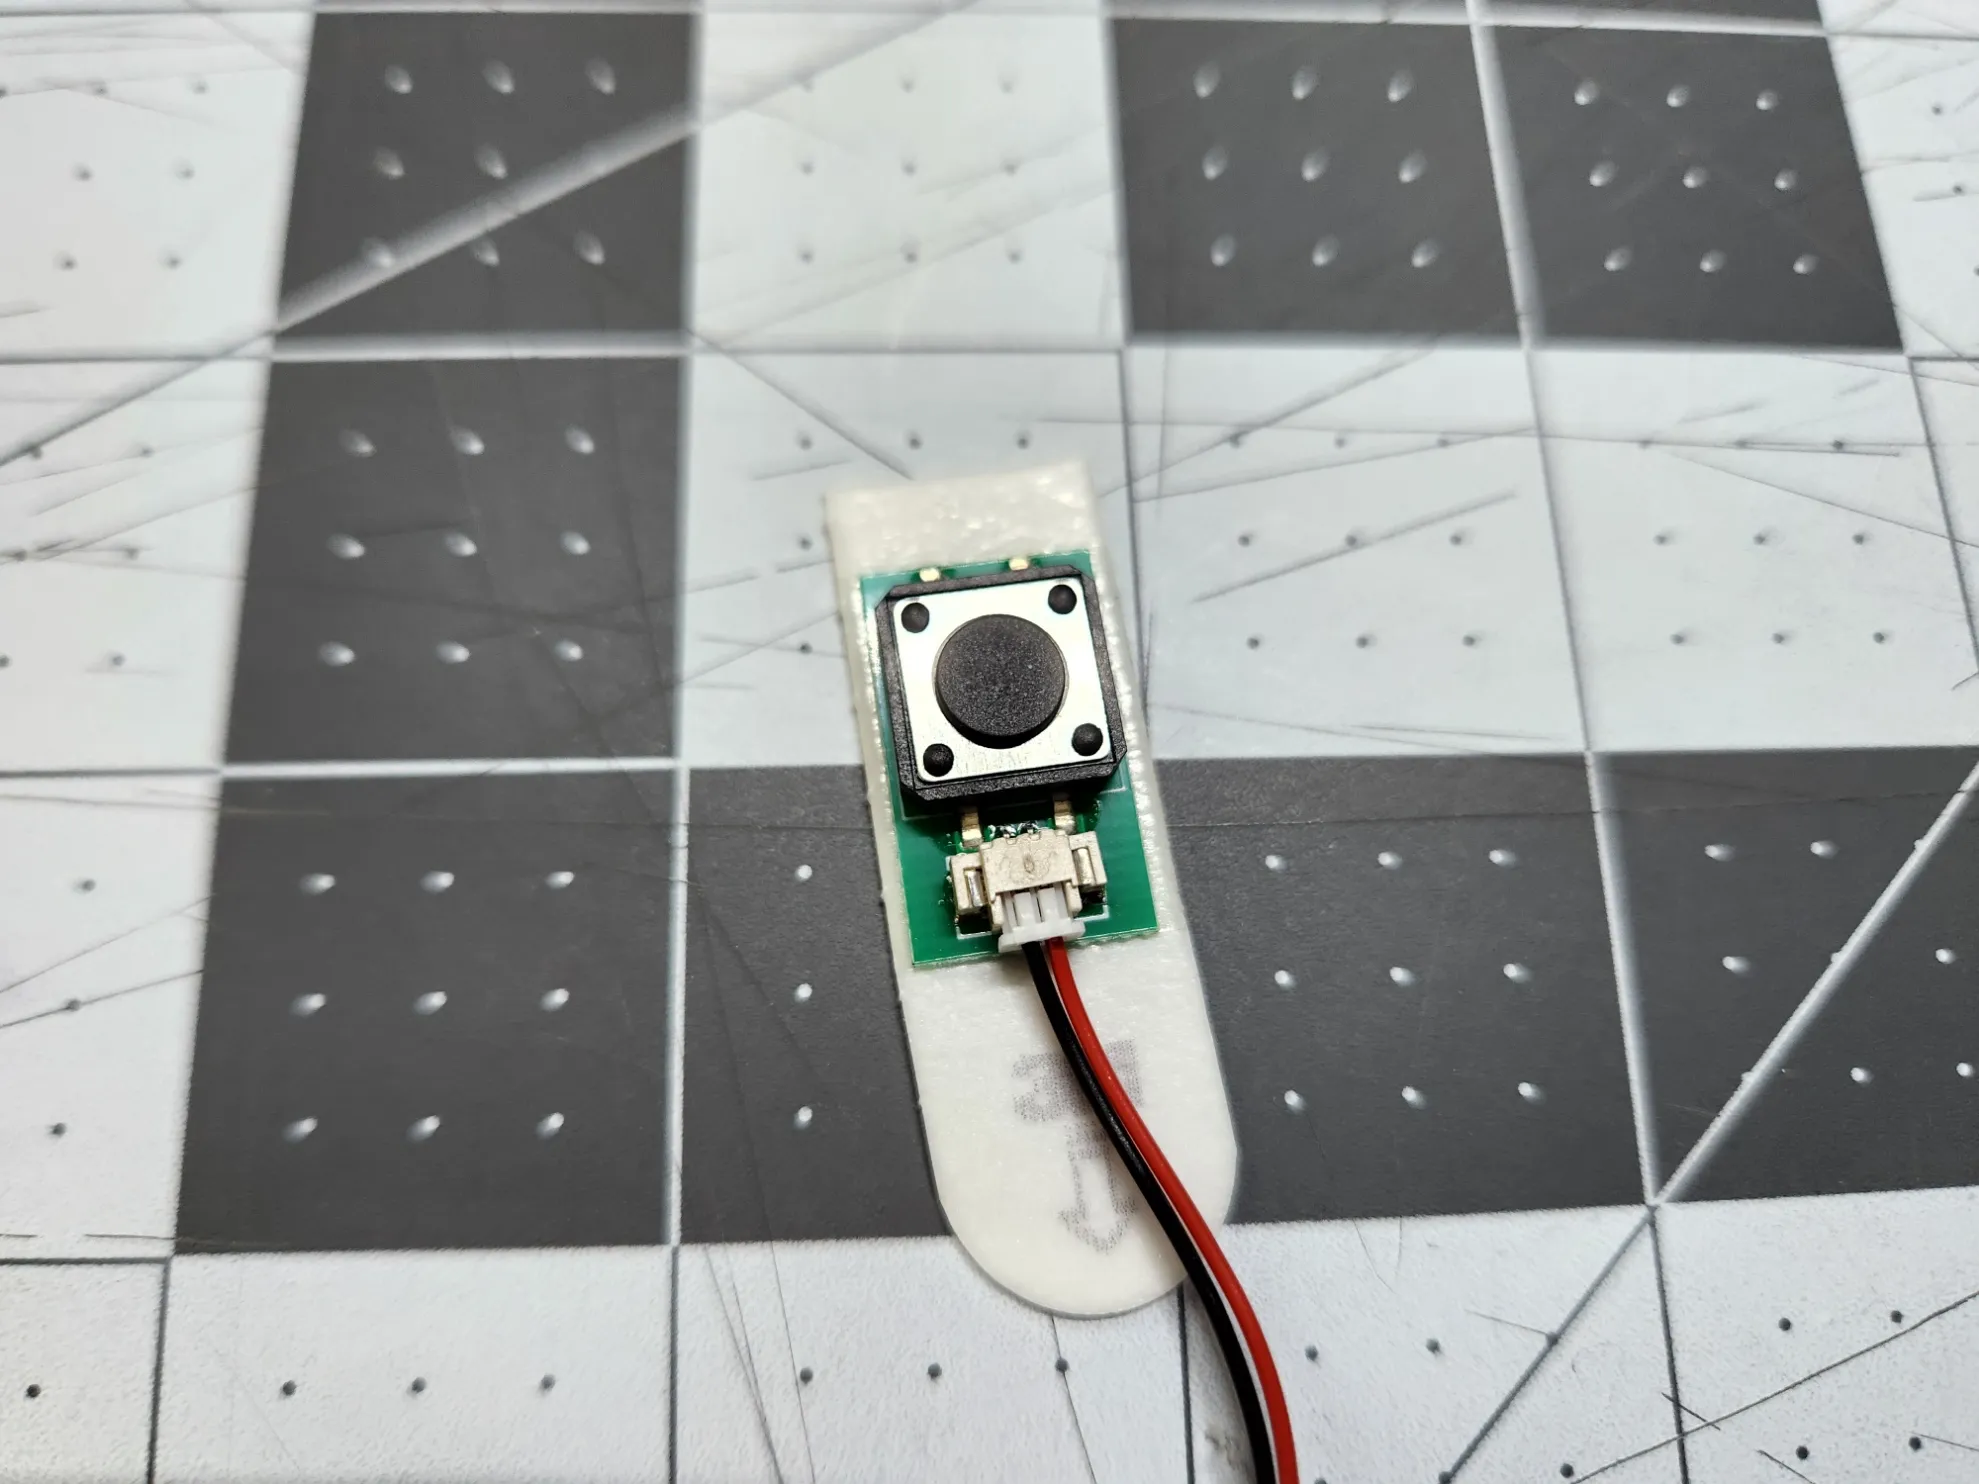
Unplug the cables and trim off excess.
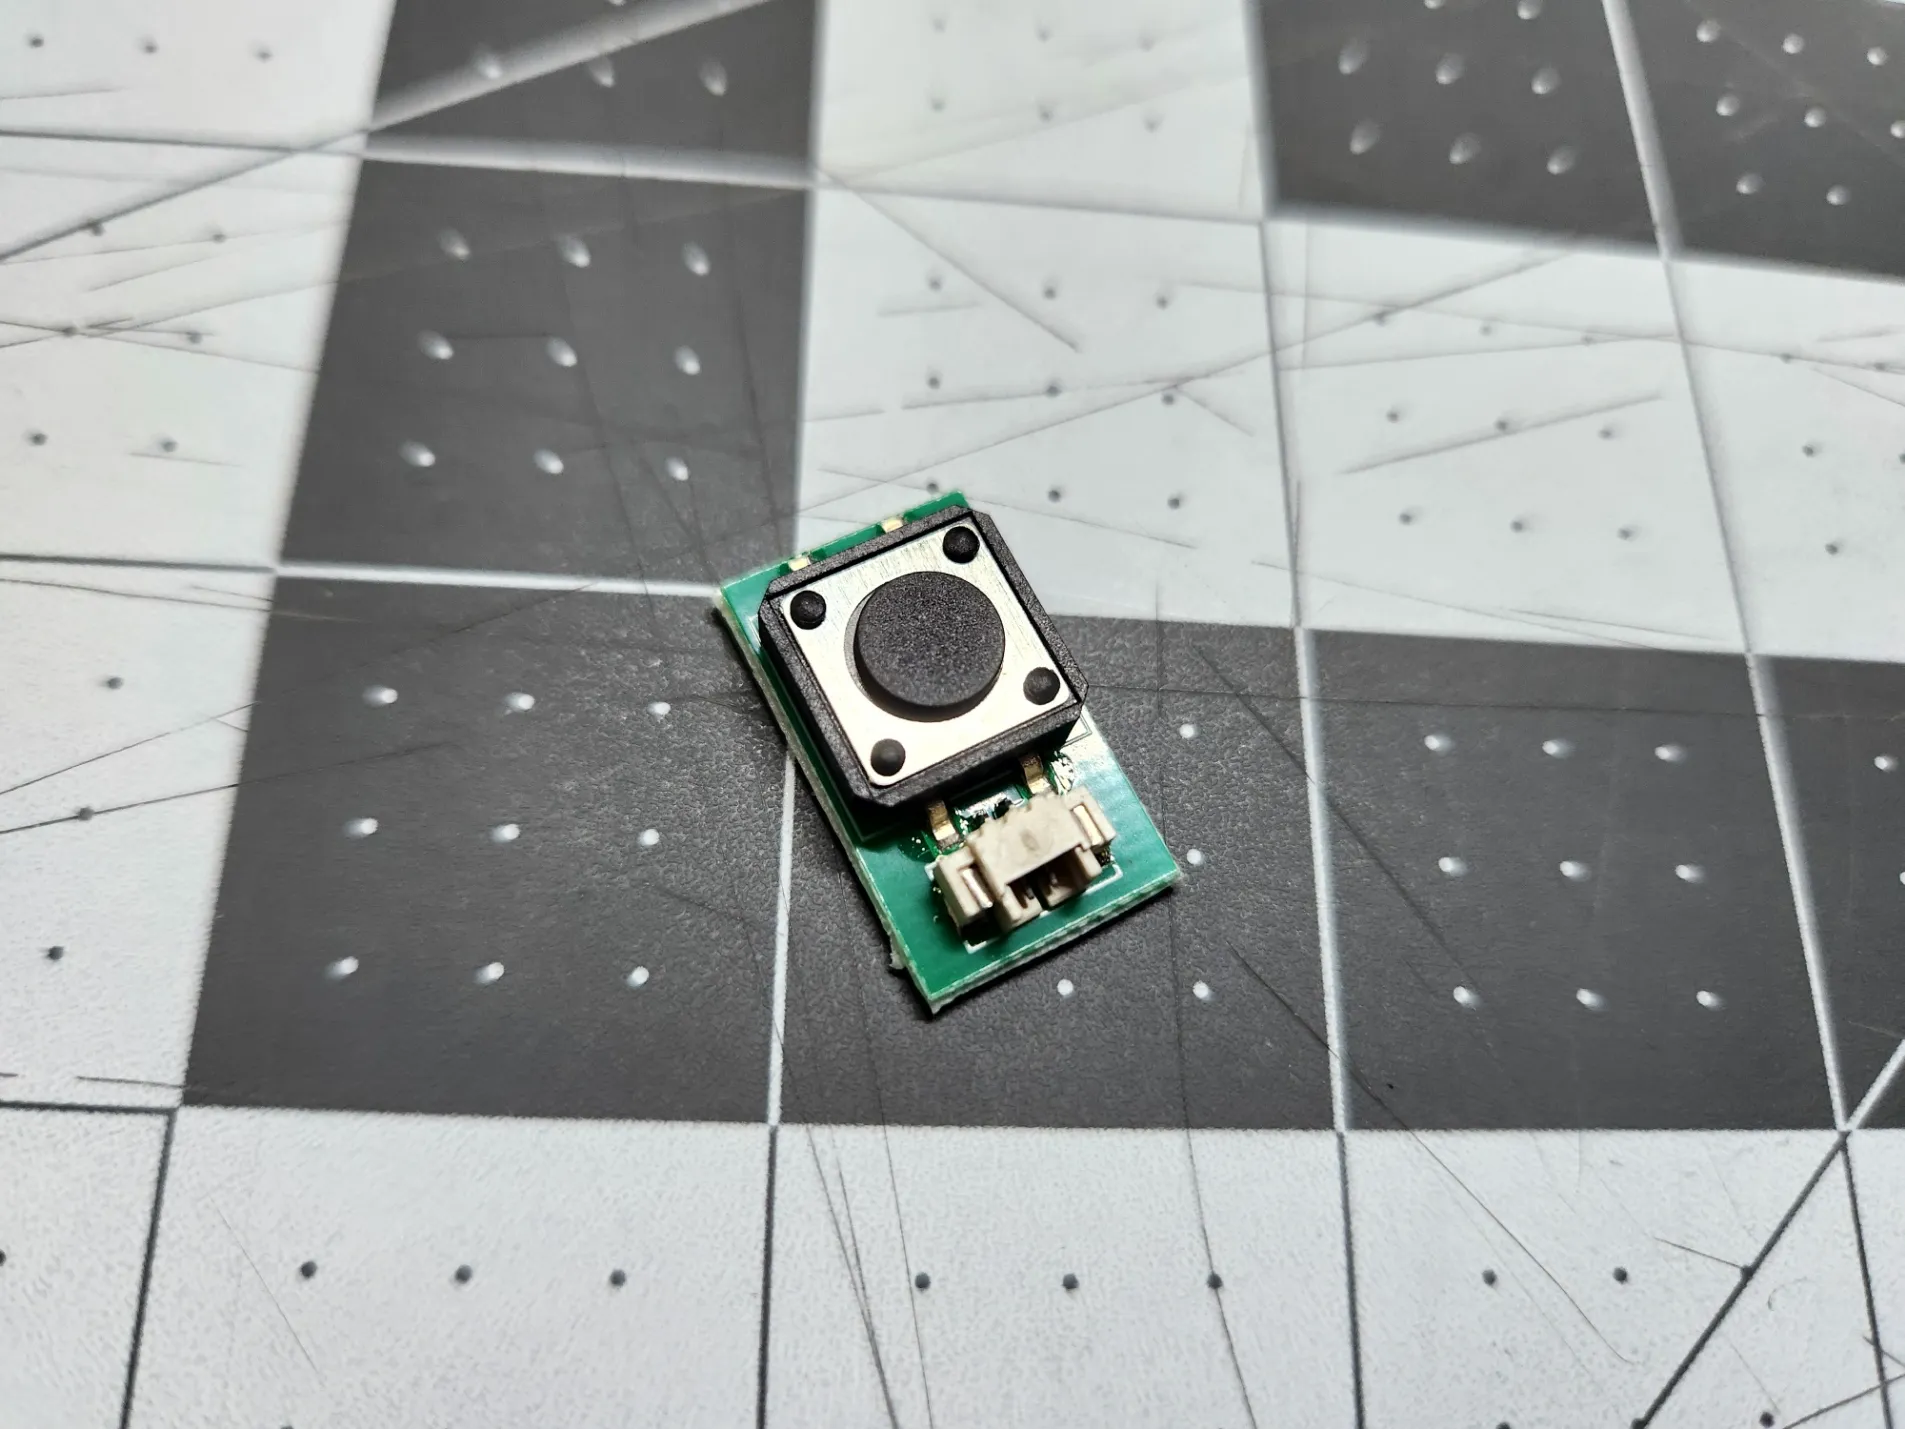
Plug the cables back in and remove the other adhesive backing in order to stick the button board in place. Plug the other end of the cables into the Main Board.
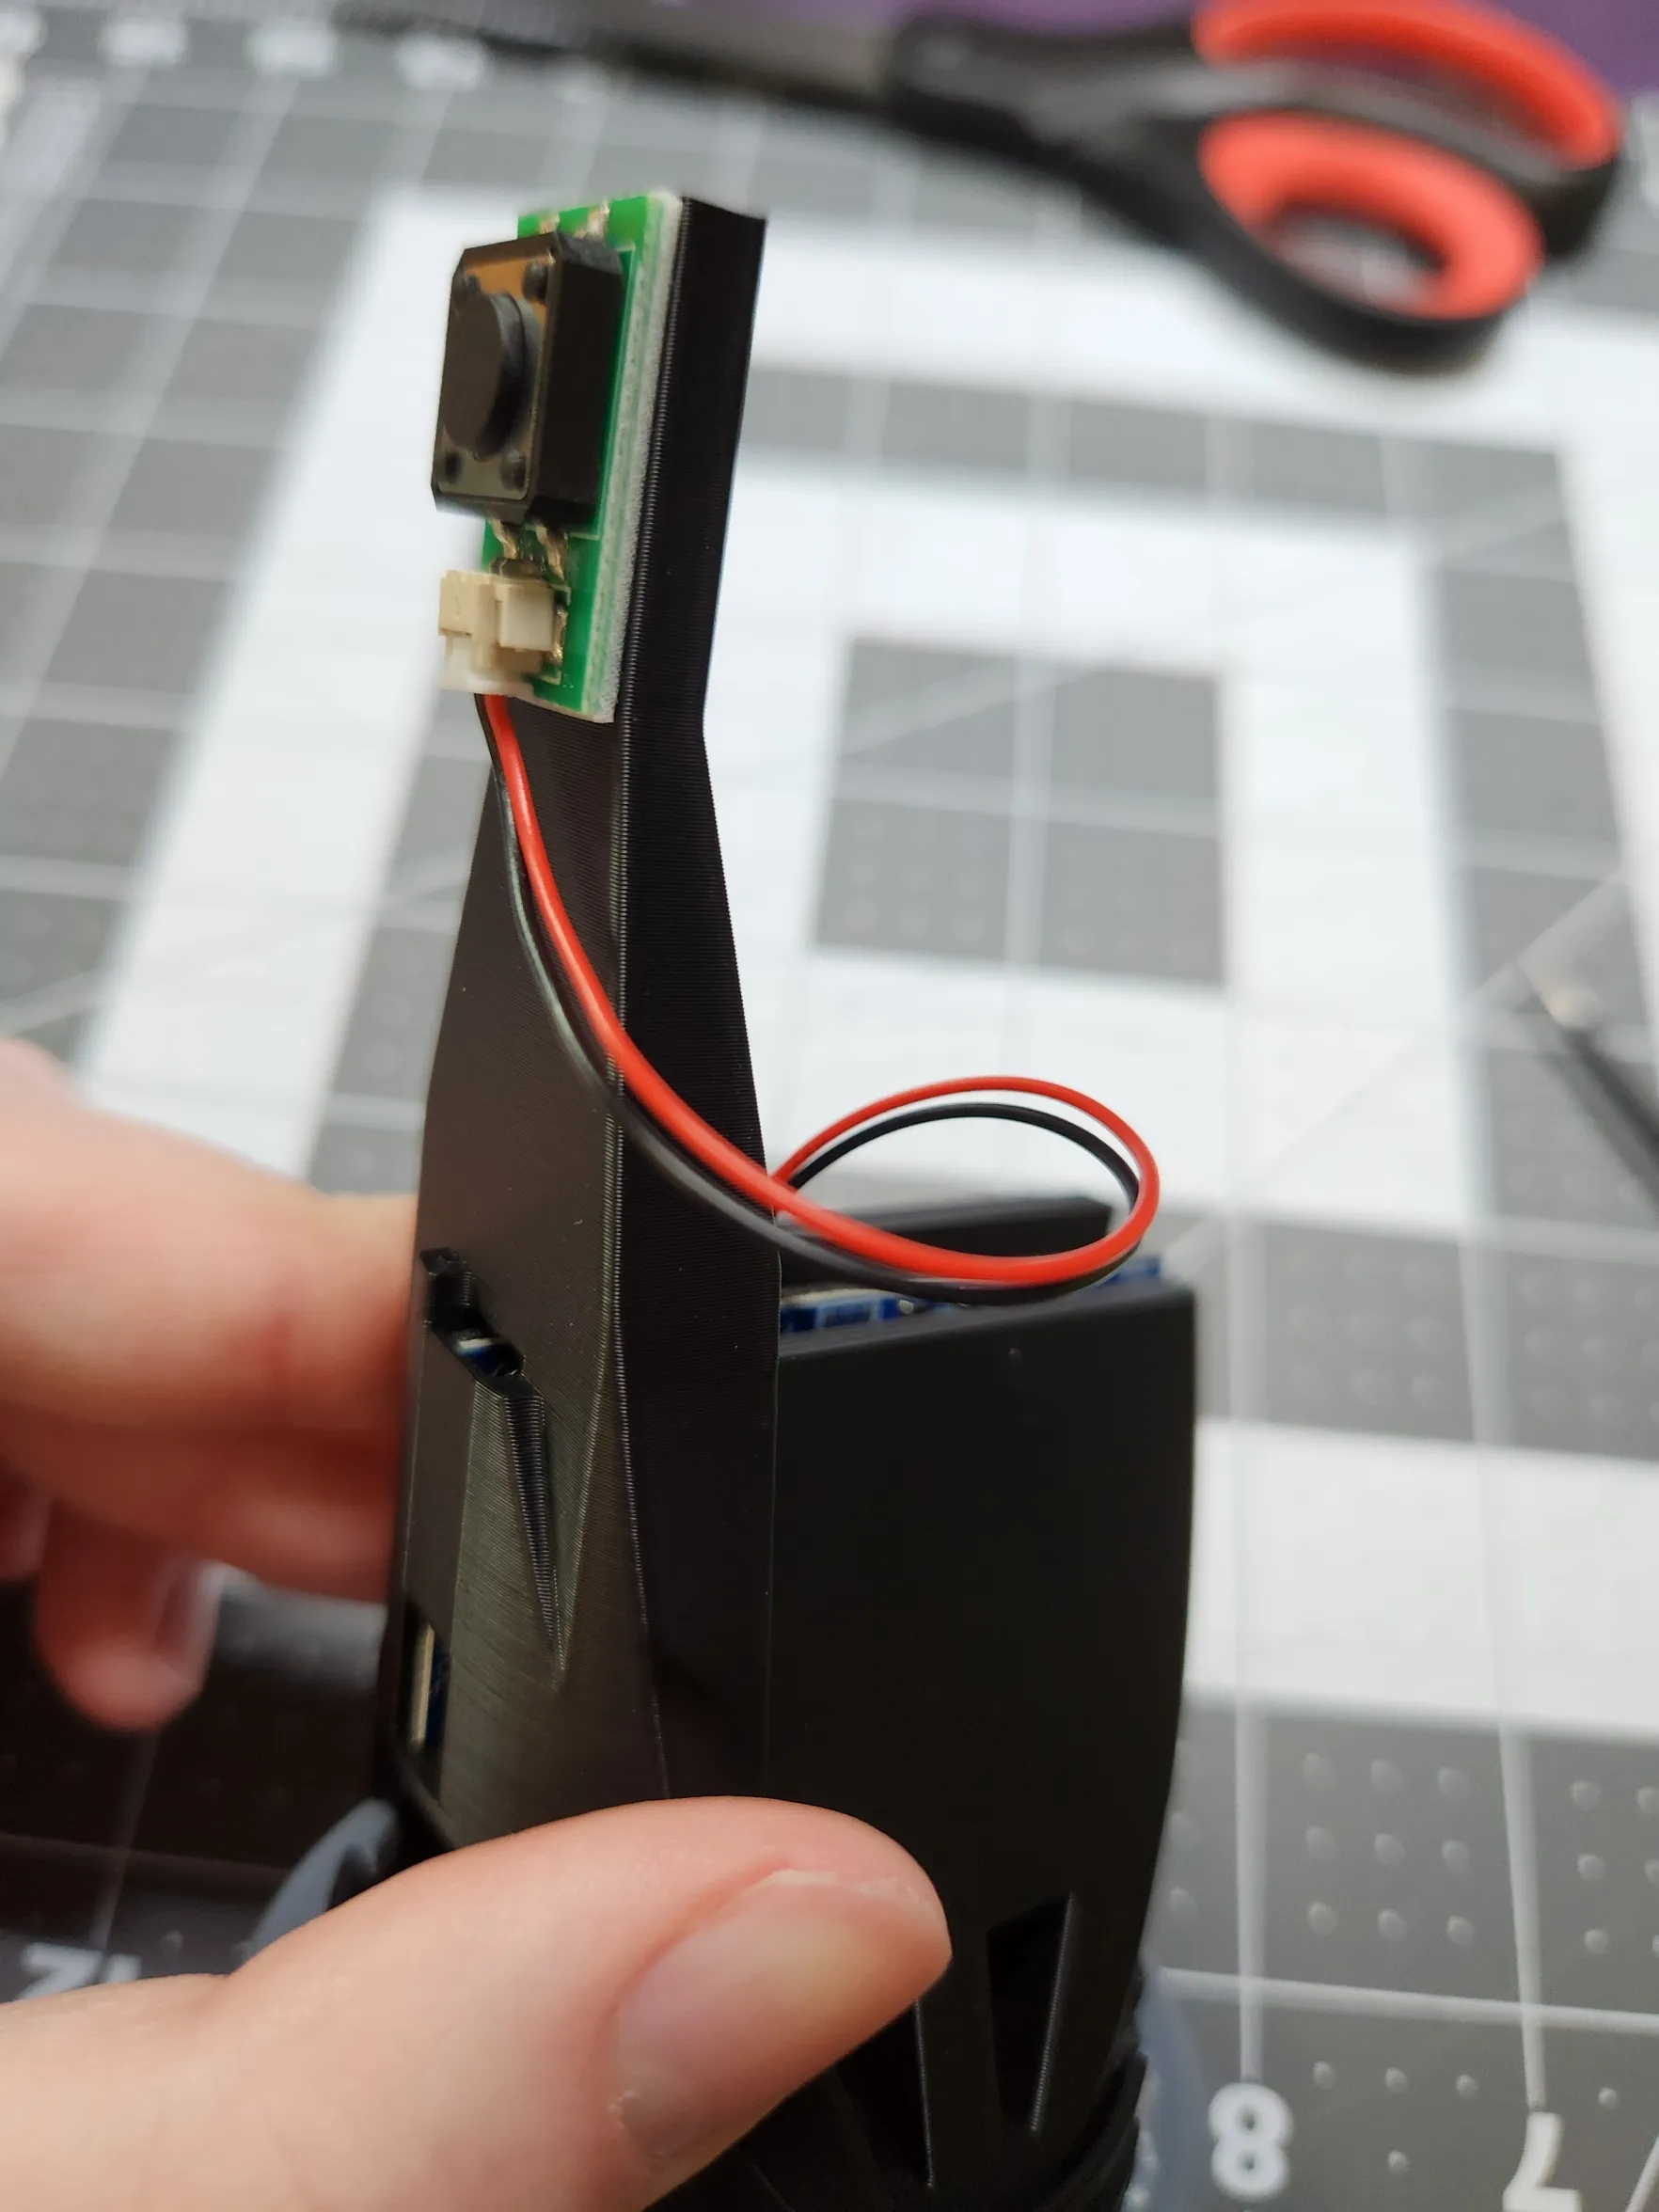
Apply some drops of hot glue to the cables to keep them in place. Make sure not to put any stress on the cables. Also make sure that no hot glue (or any hot objects) come in contact with the battery.
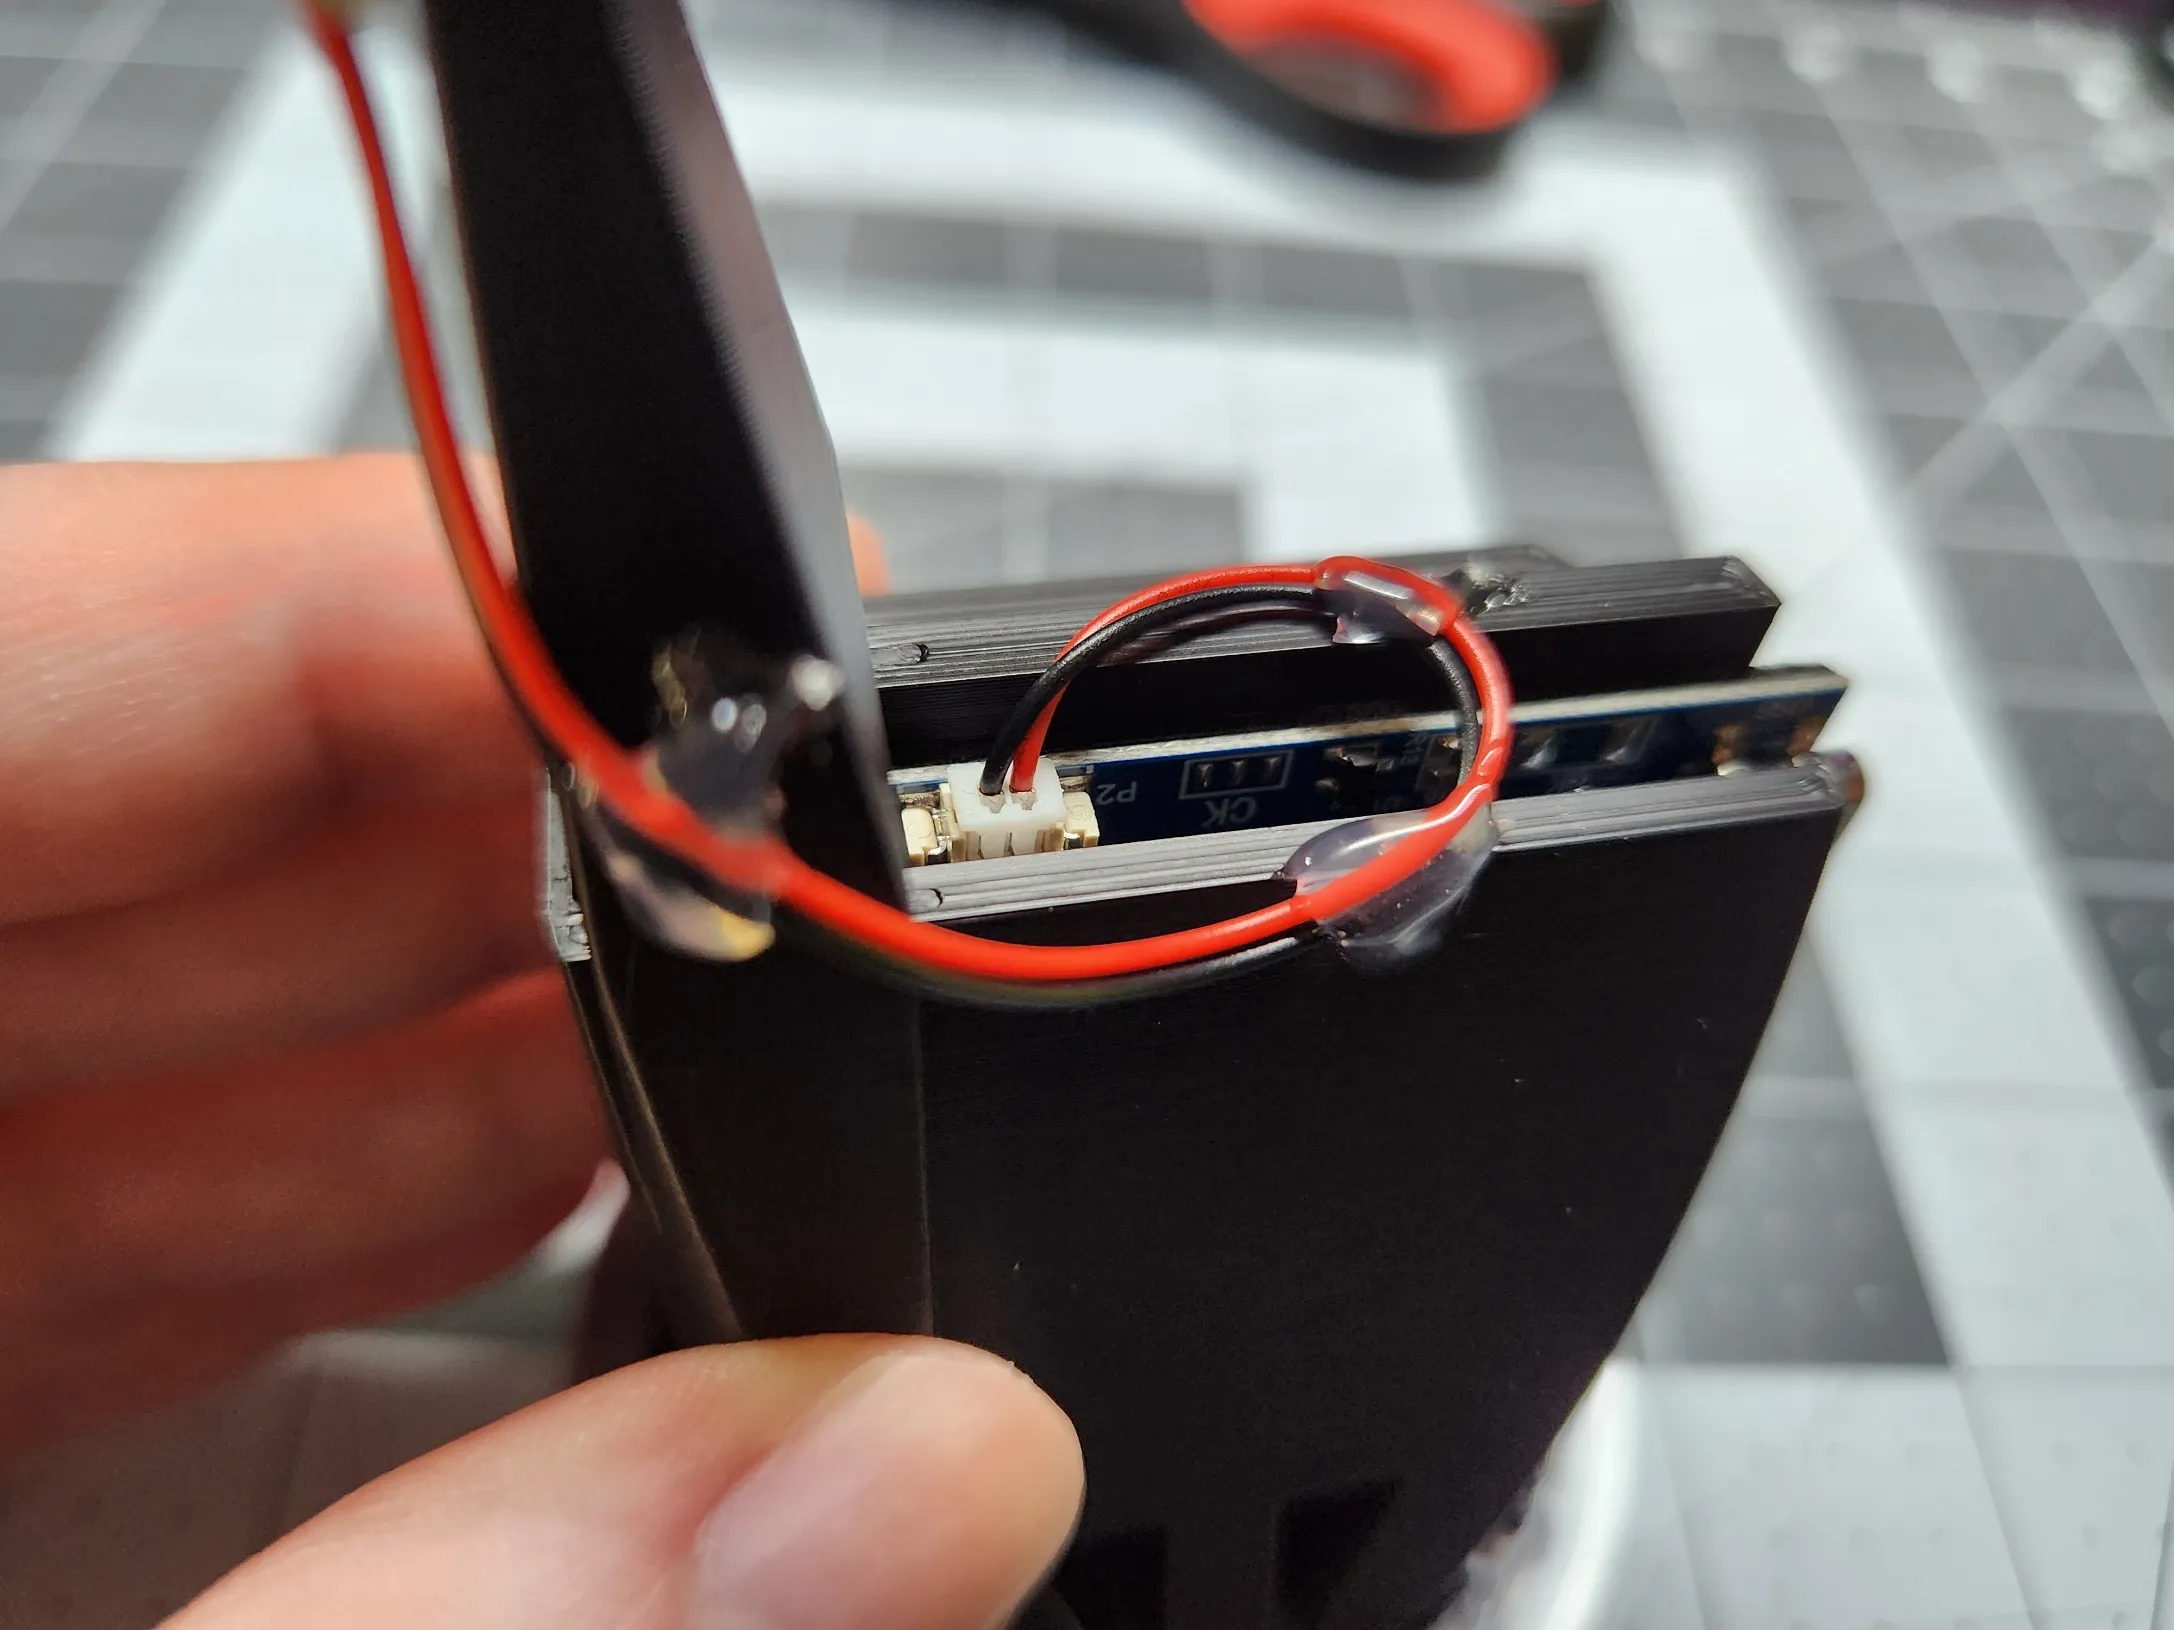
Electronics installation complete! Turn the power back on, and press the button to test the unit one final time. Now that the hard part is done, it's time to go back to the rest of the build.
Turn the power switch off again for now. Flip the main Cylinder over and let the 3D-printed button slide into place. Then drop the Rattle Ball in as well.
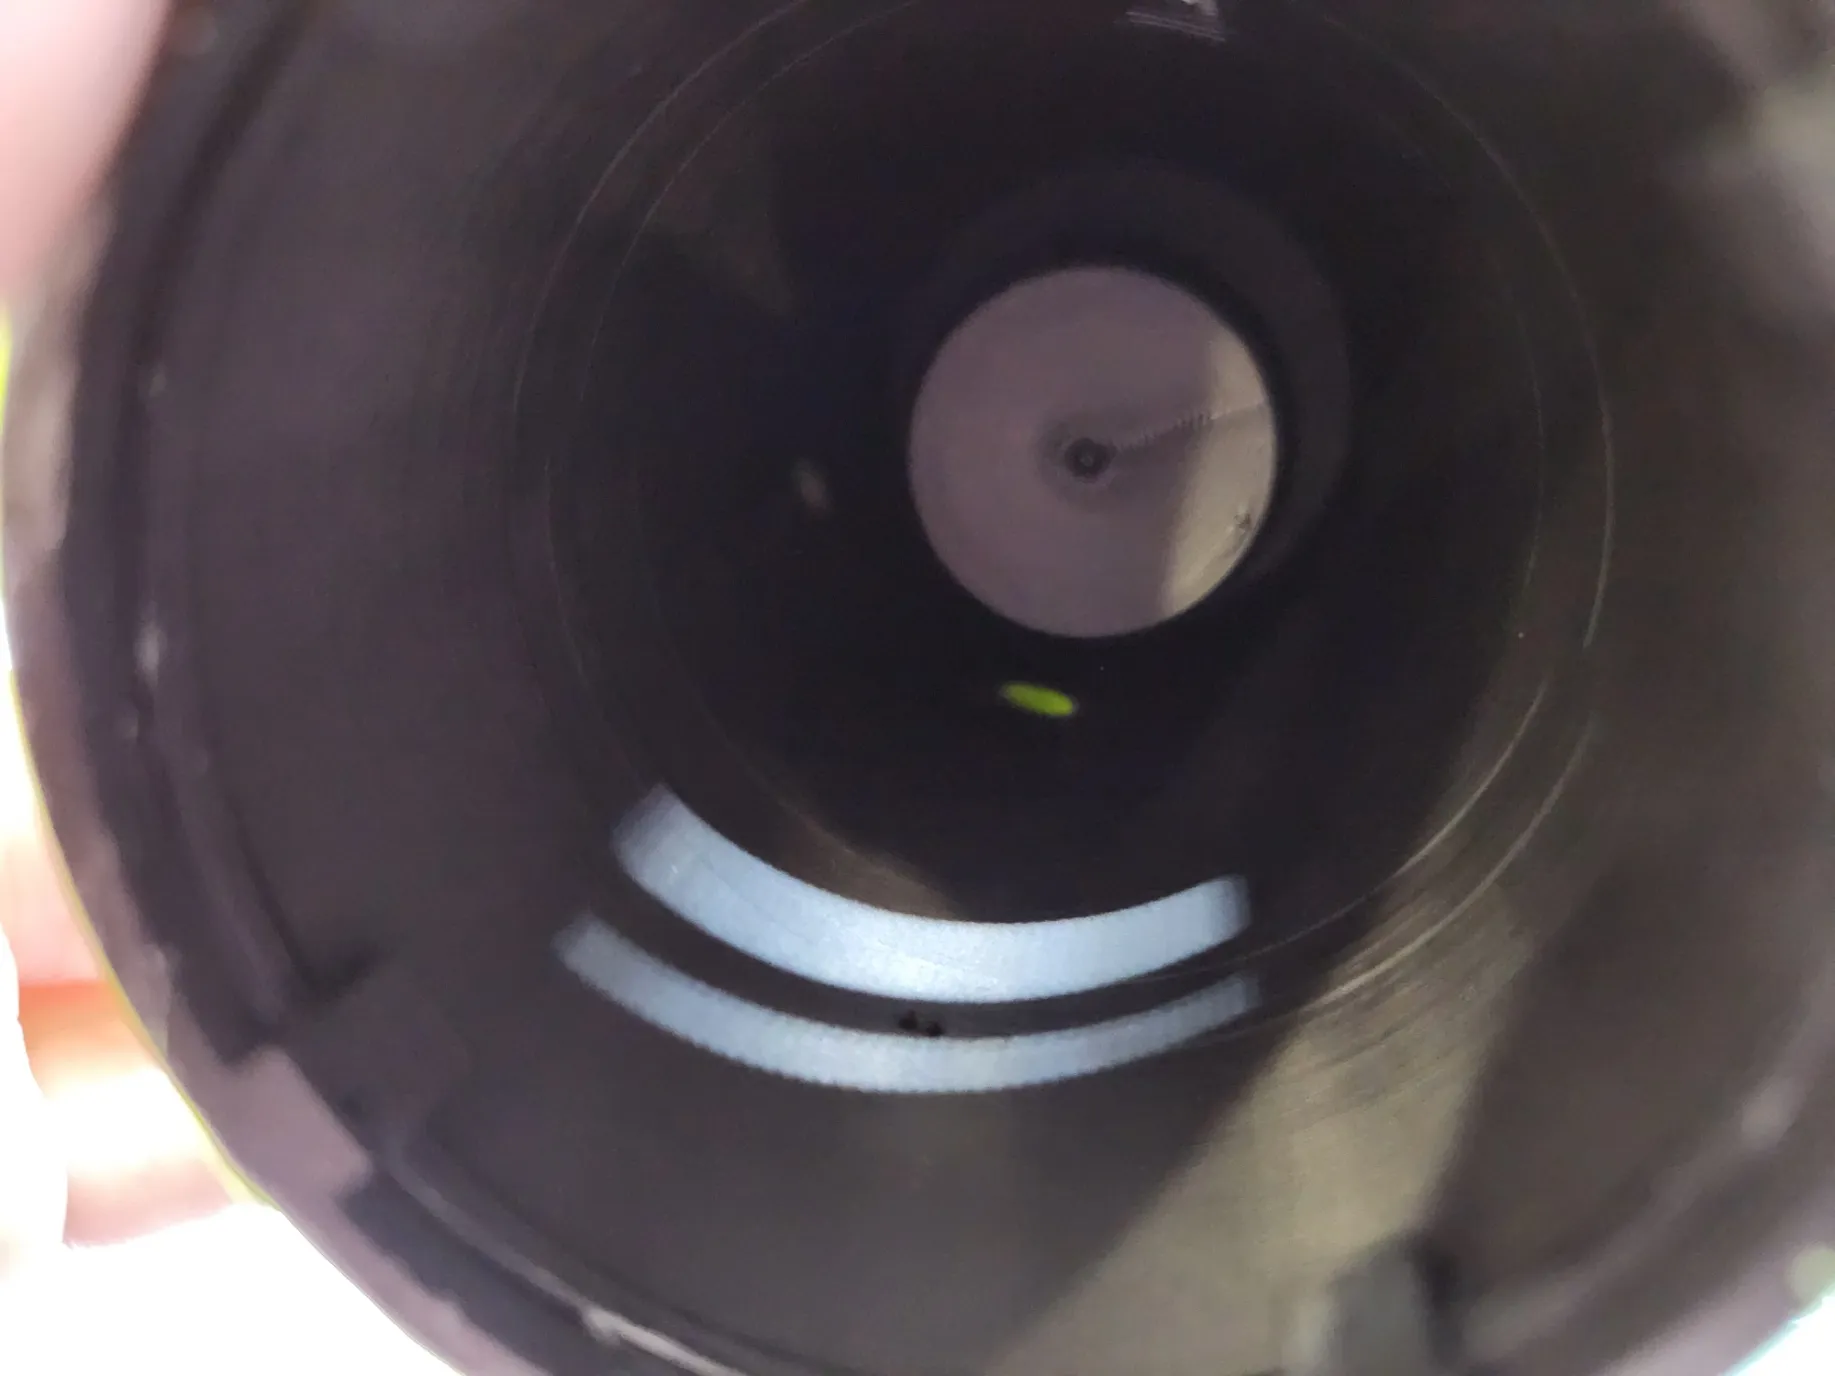
Make sure the button stays in place while you align the electronics portion assembled previously and press it into place. Apply equal pressure. It will require some force. If aligned properly, it should slide in just fine. Note: I like to flip the whole thing upside-down on a sturdy, flat surface and press down on the silver part with the bottom of my hand. If you're encountering too much resistance, or one side pops in all the way first - reposition it and try again!
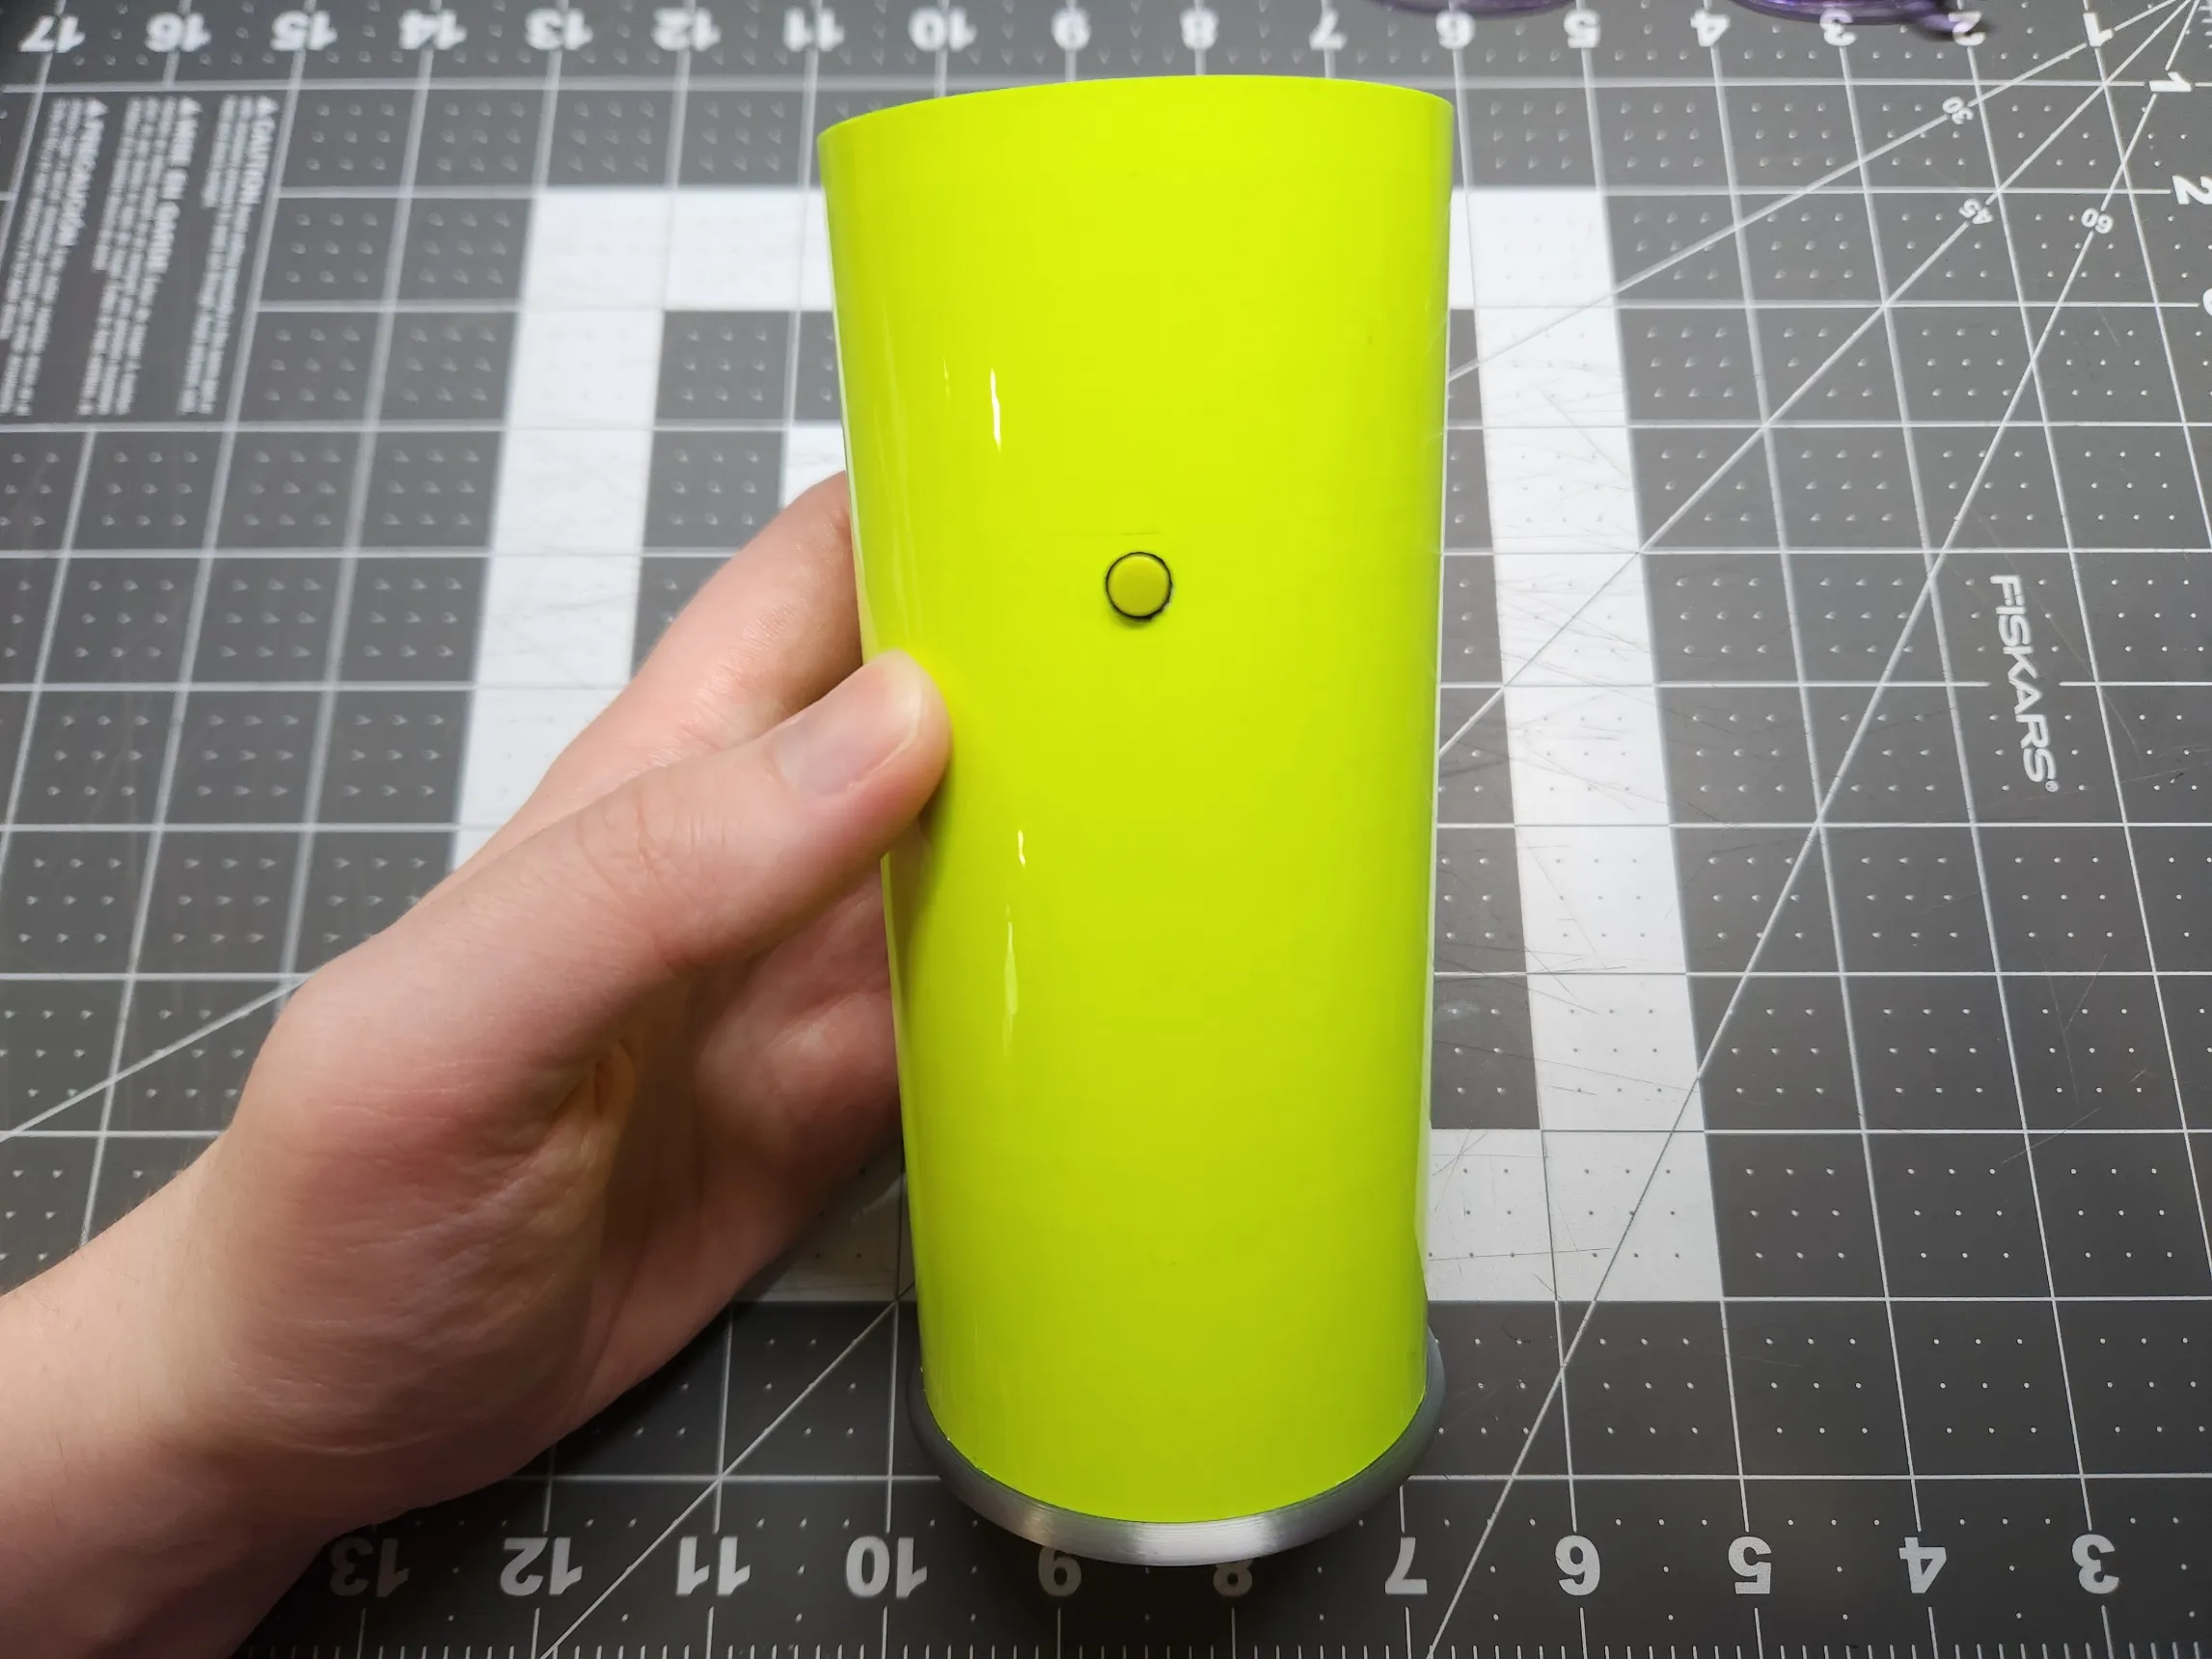
Now stand the assembled parts back upright and apply some hot glue to the inside of the main Cylinder. Quickly slide the bottle part of the spray bottle all the way in to adhere it in place.
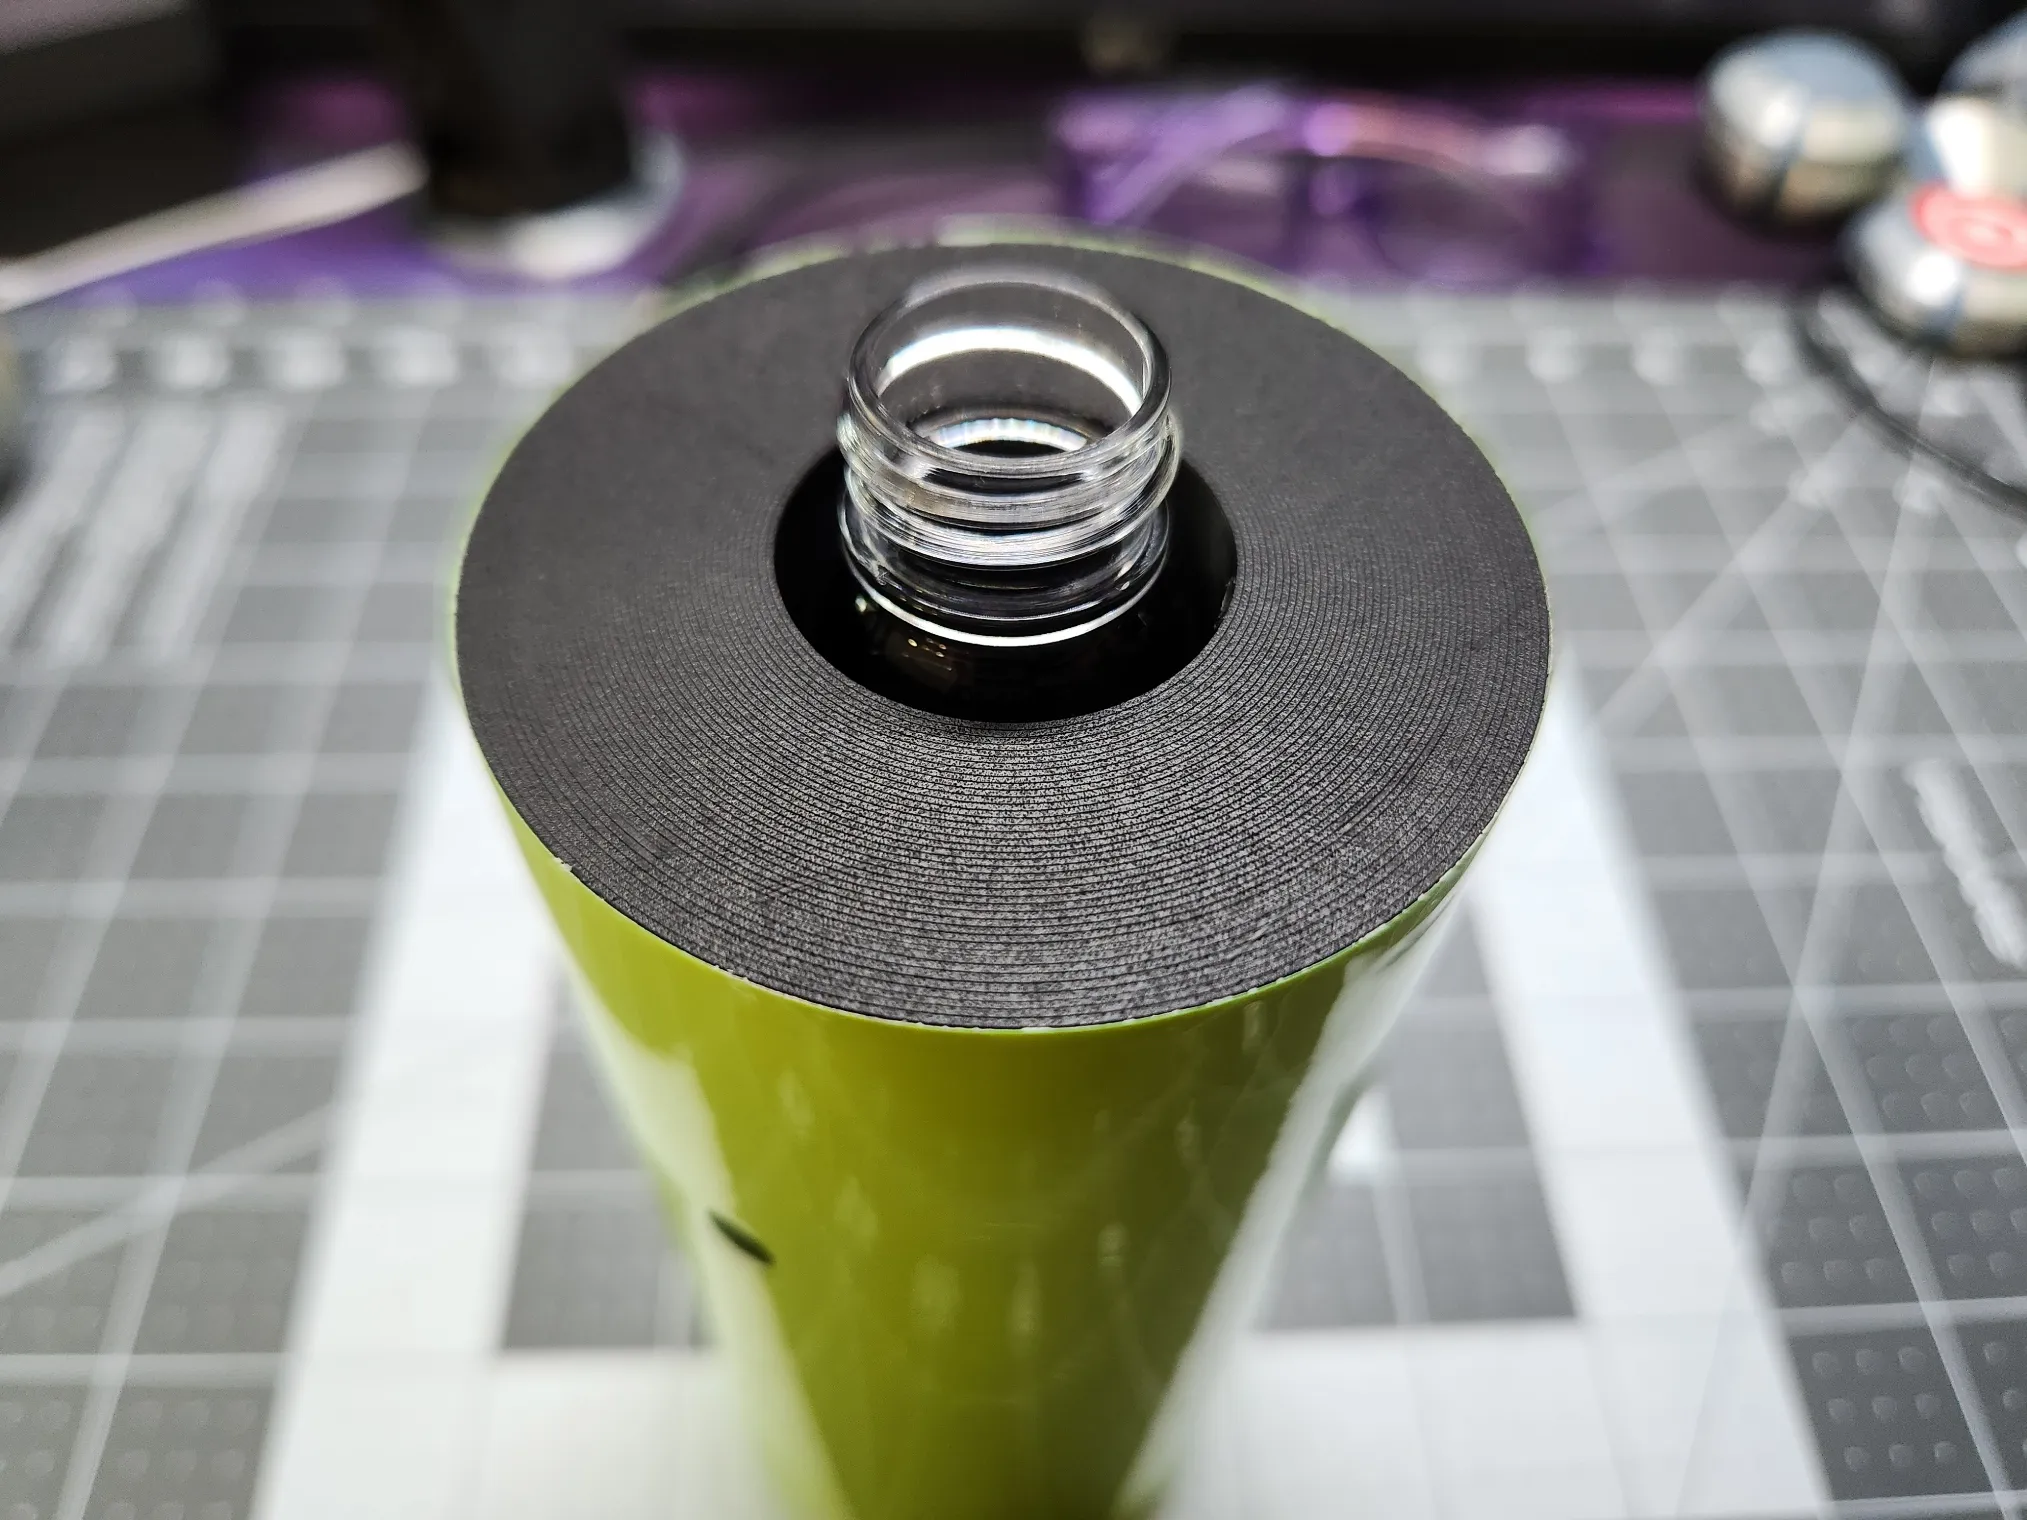
Pop the pump part of the spray bottle into the Upper Silver Cap. Then you can screw it right into the bottle you just glued in place.
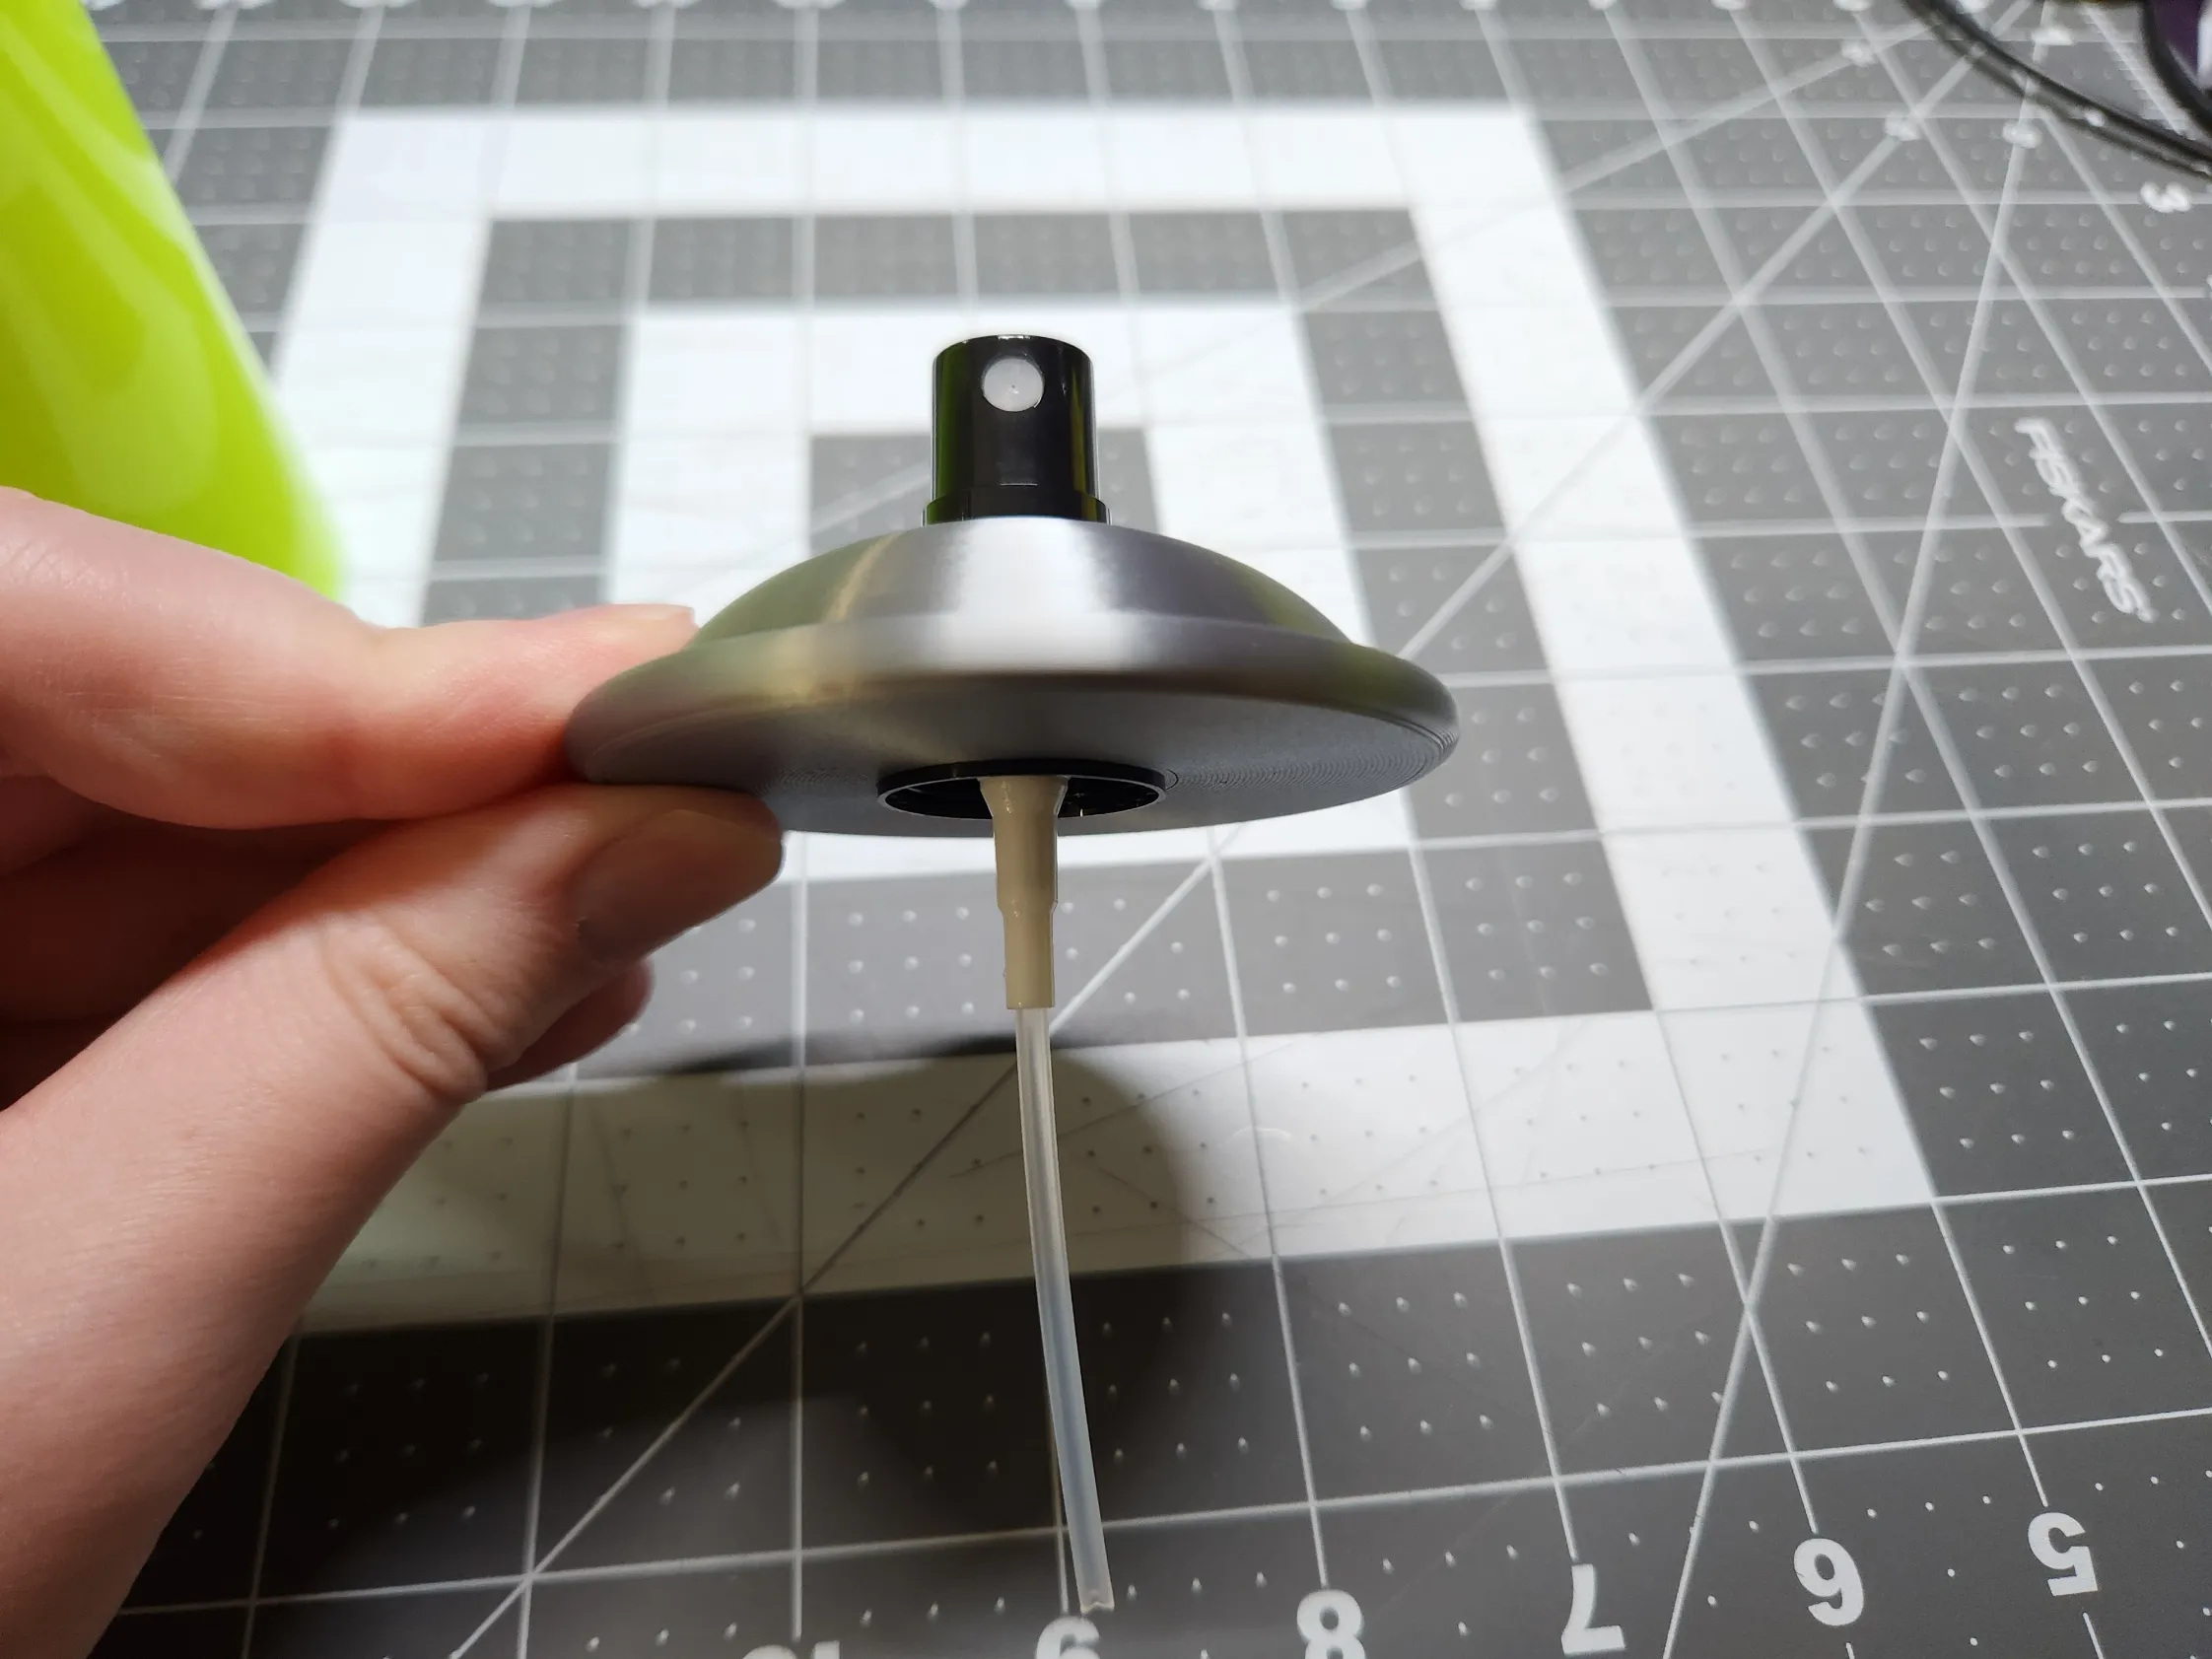
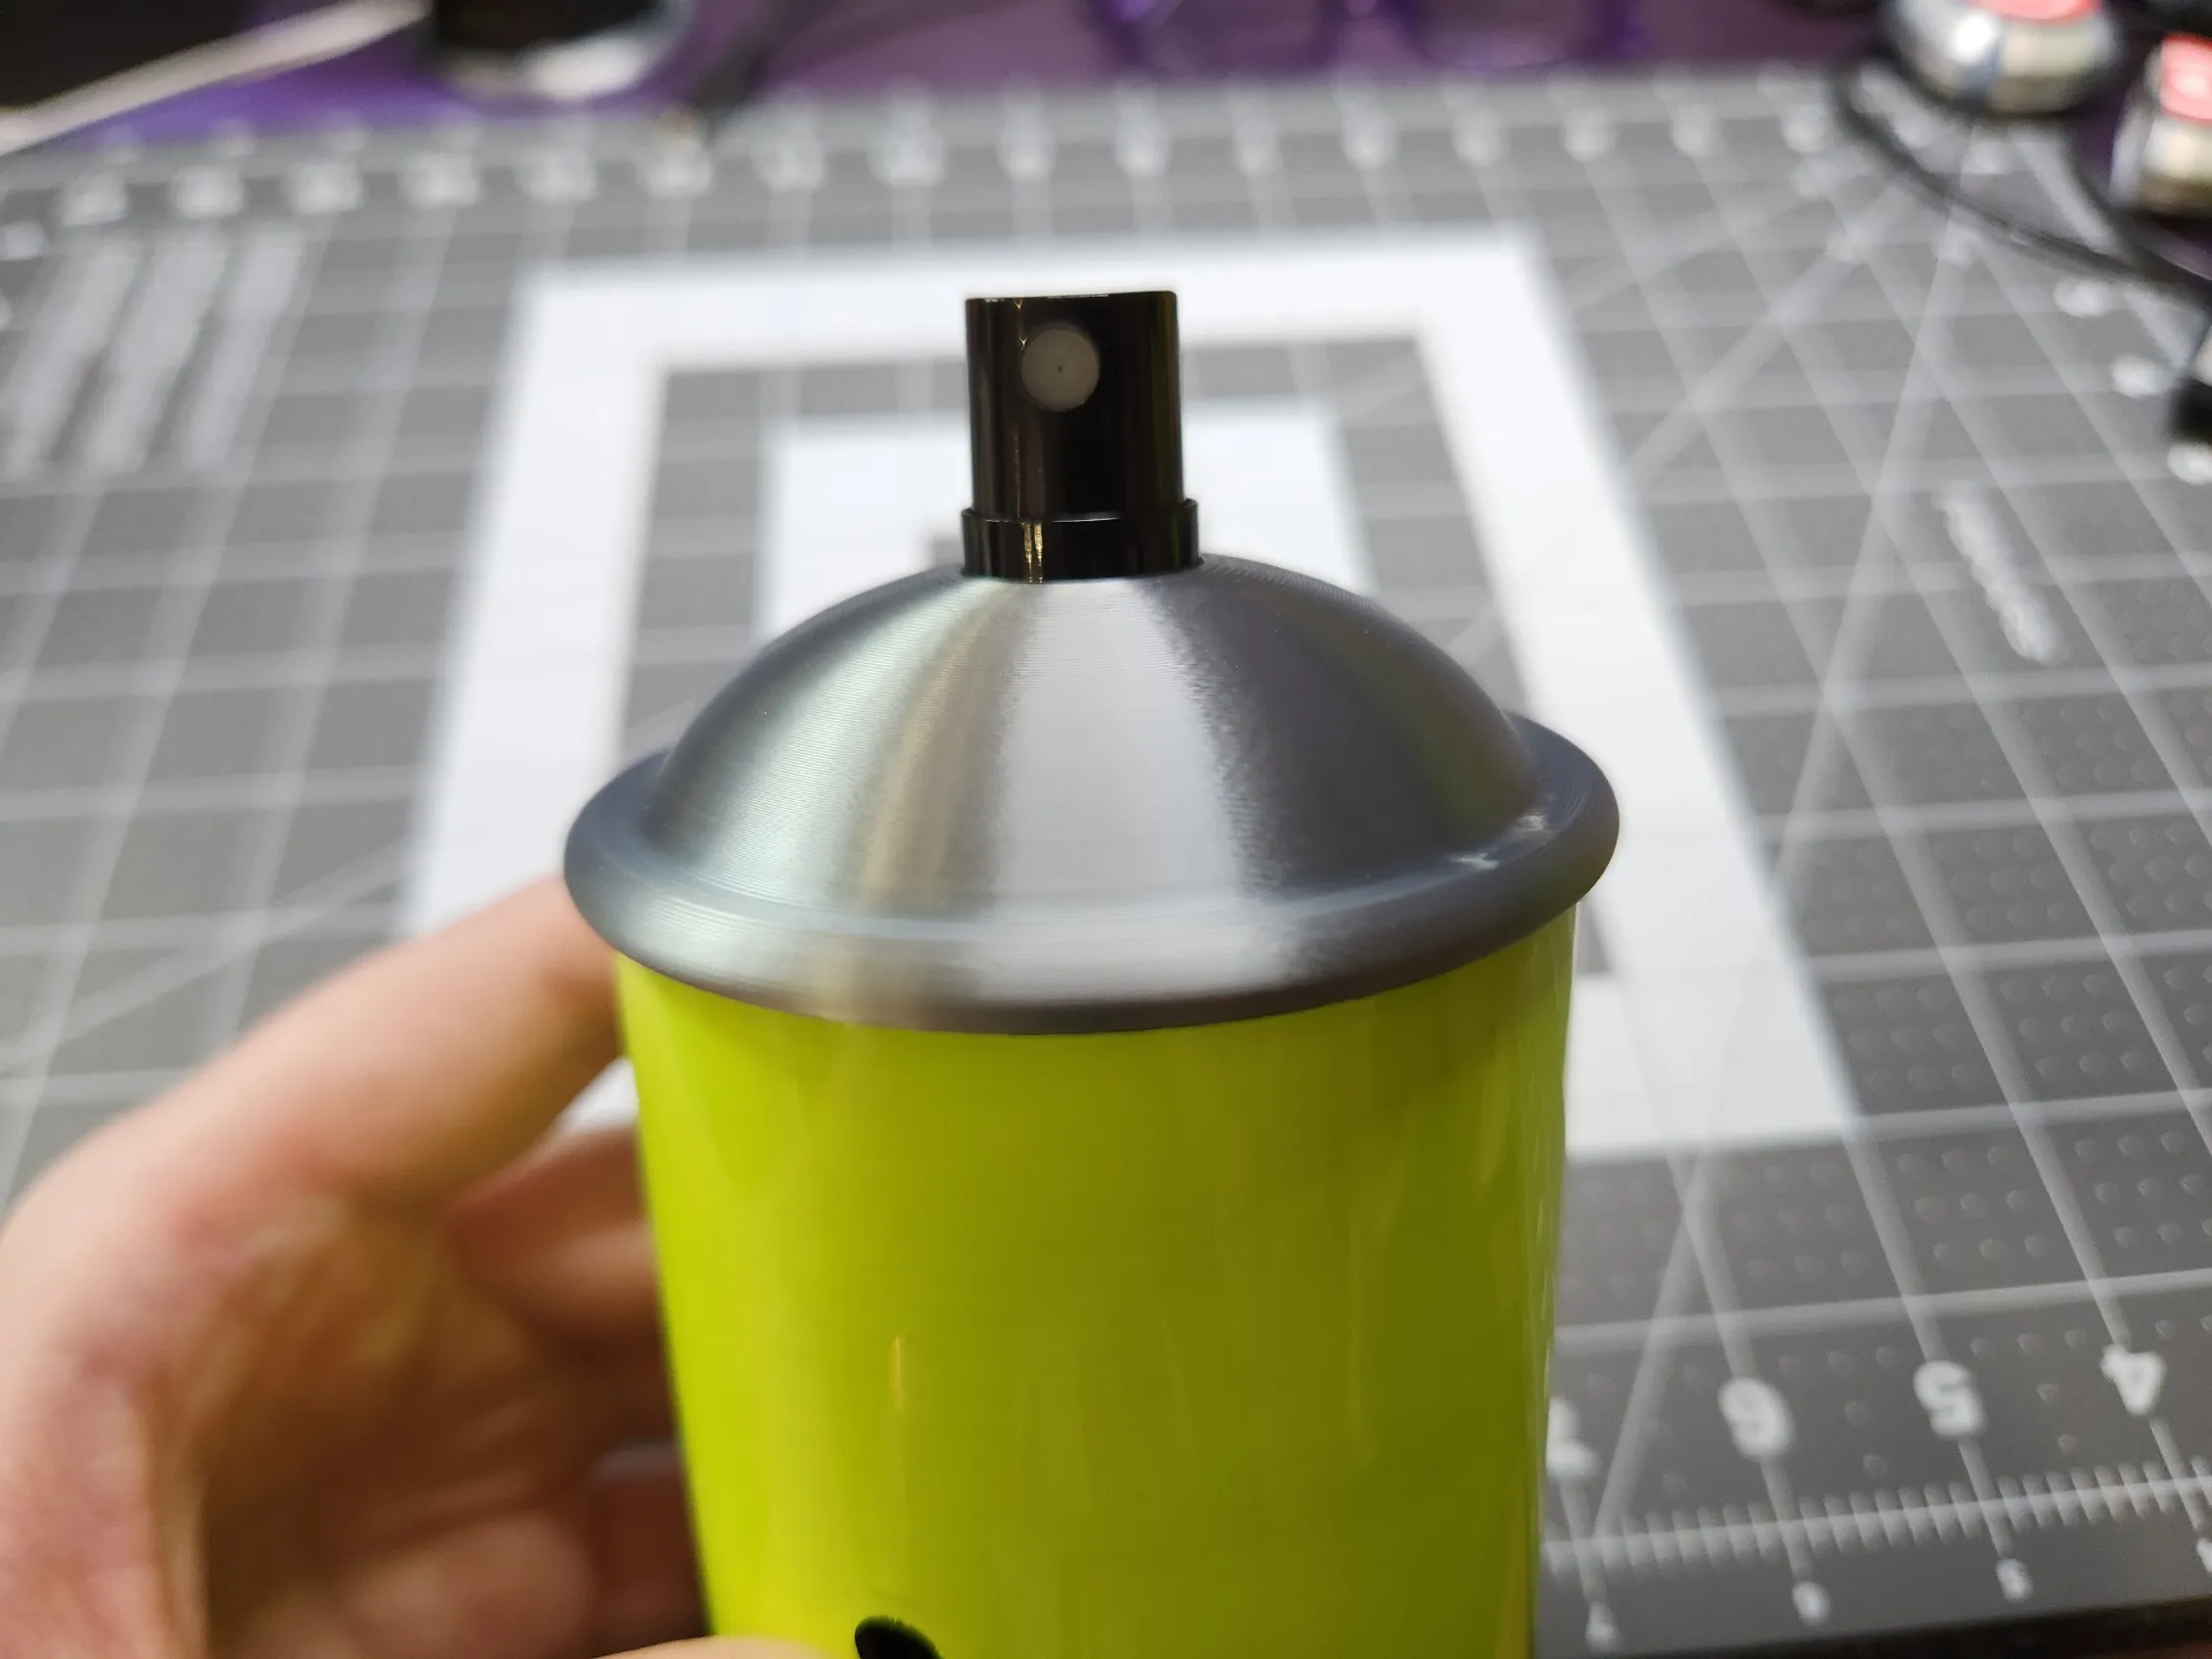
You are done! Just use a toothpick or other small object to turn on the power switch and try it out!
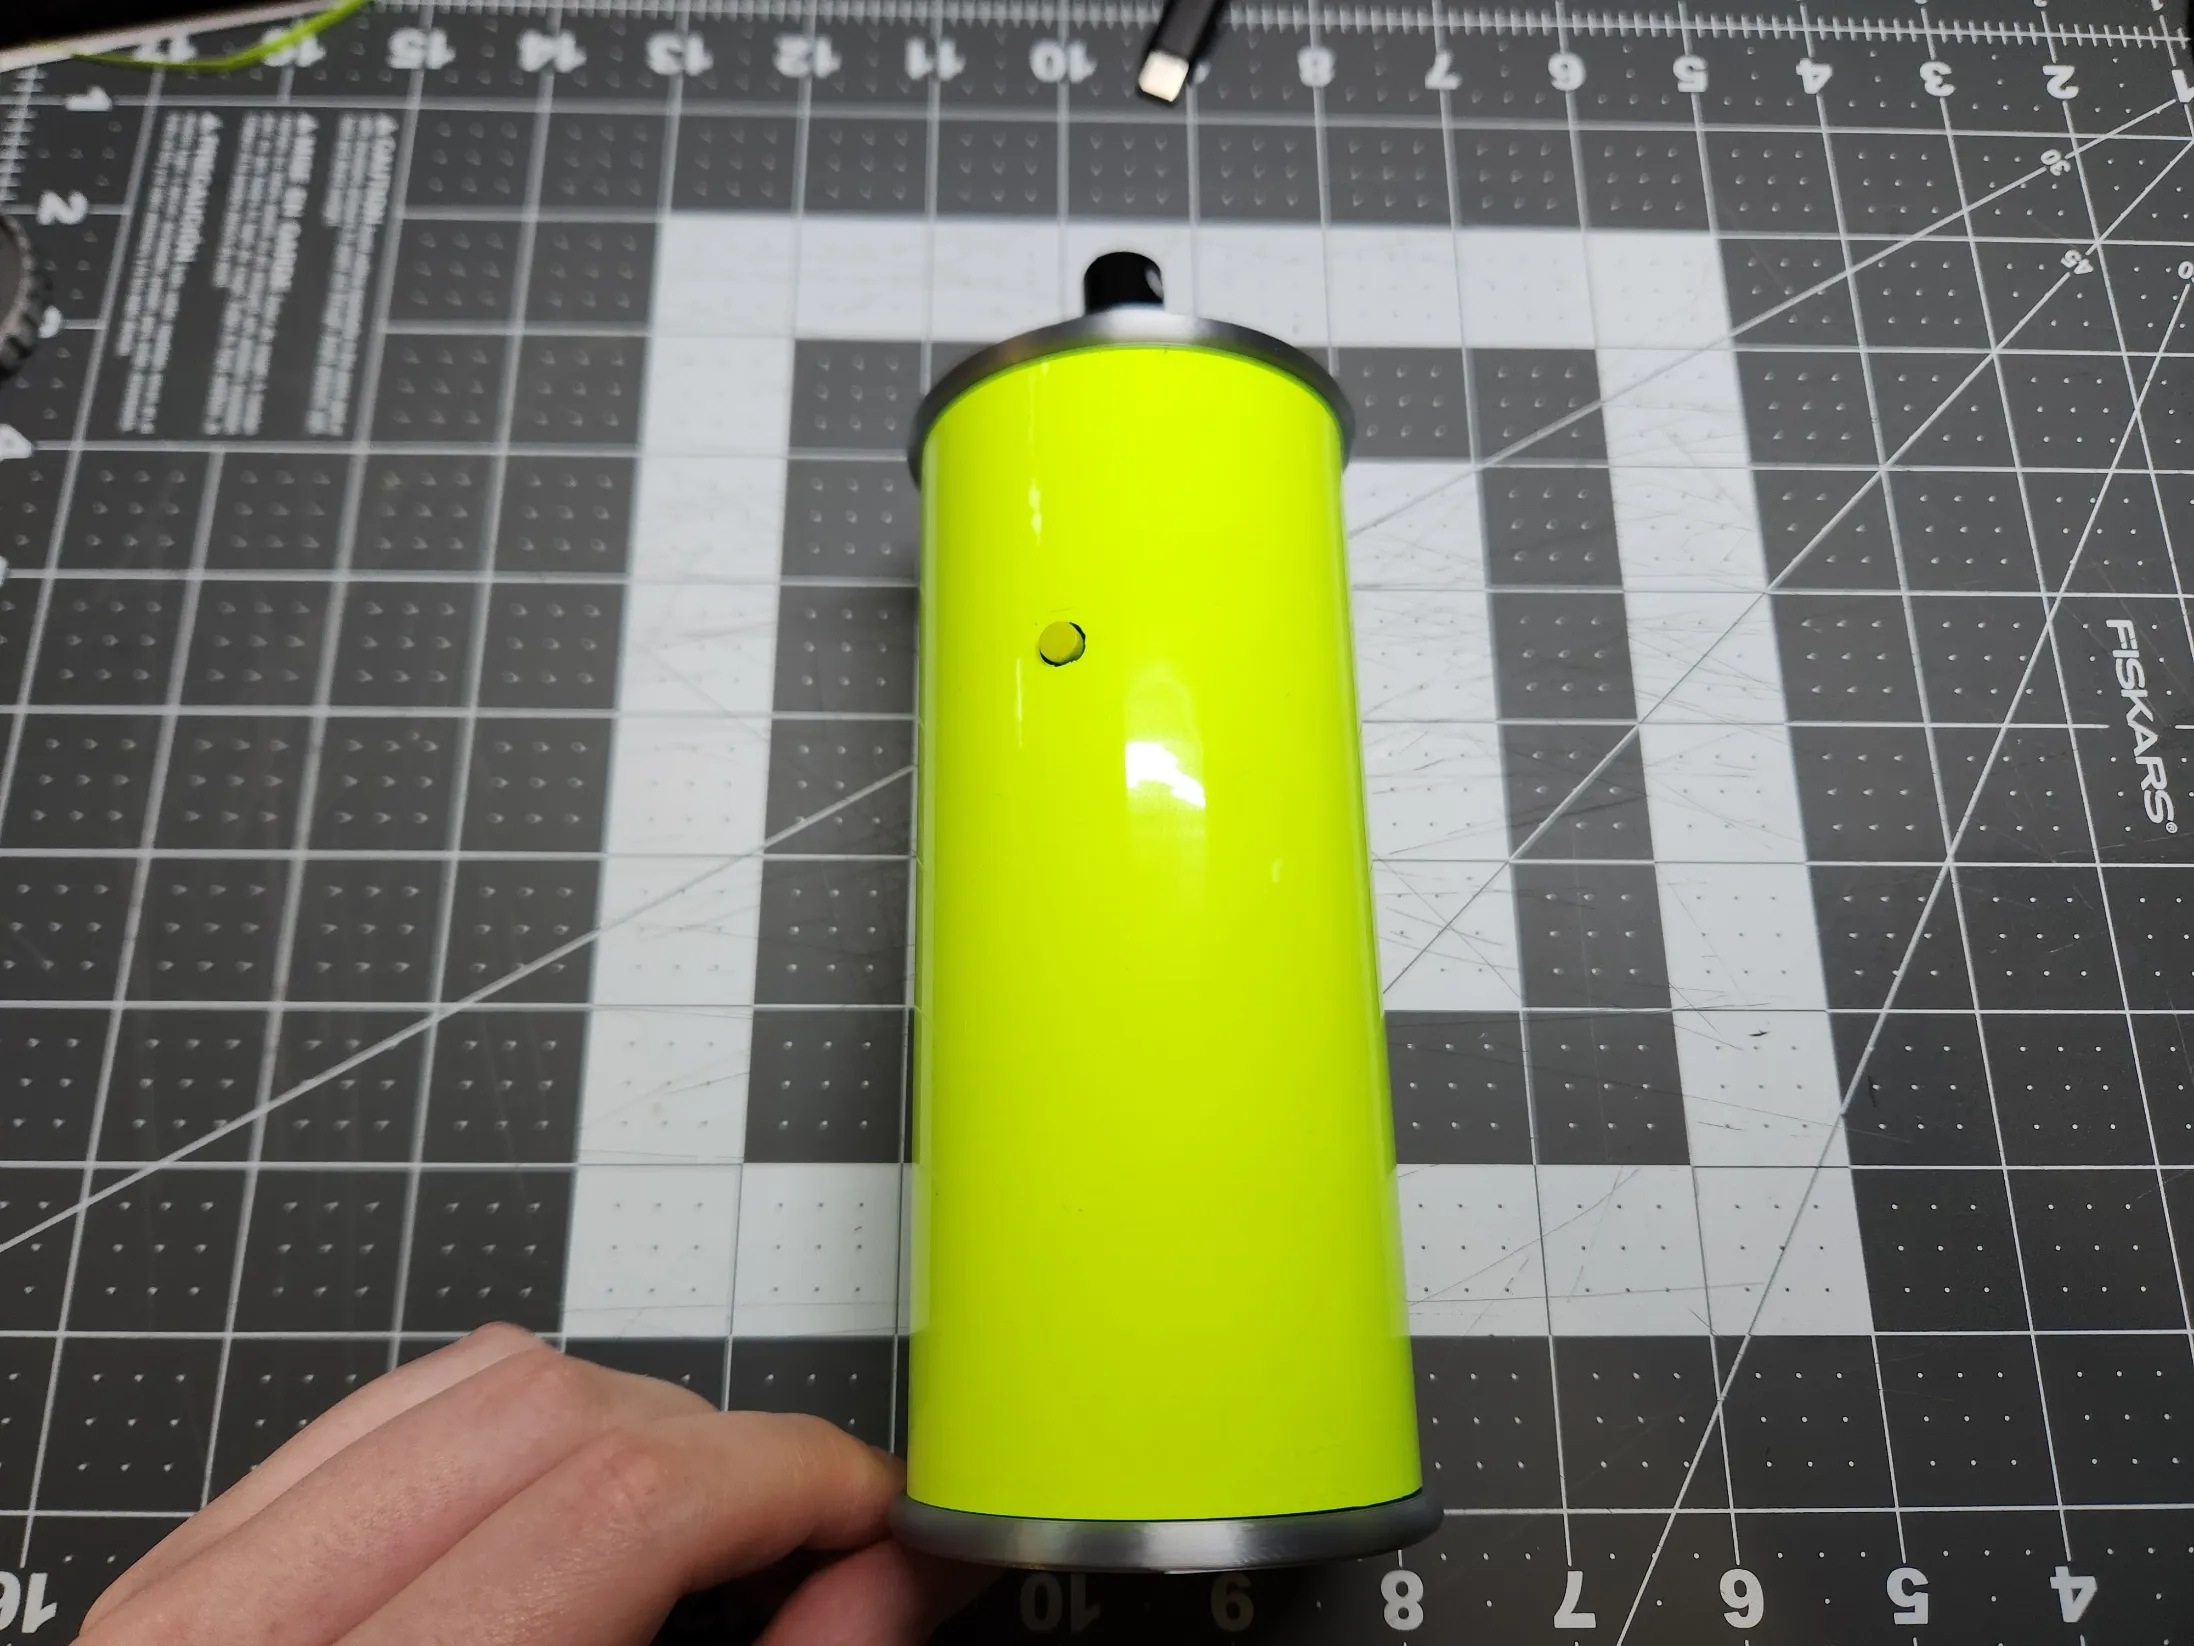
*Should you need to open it up again:
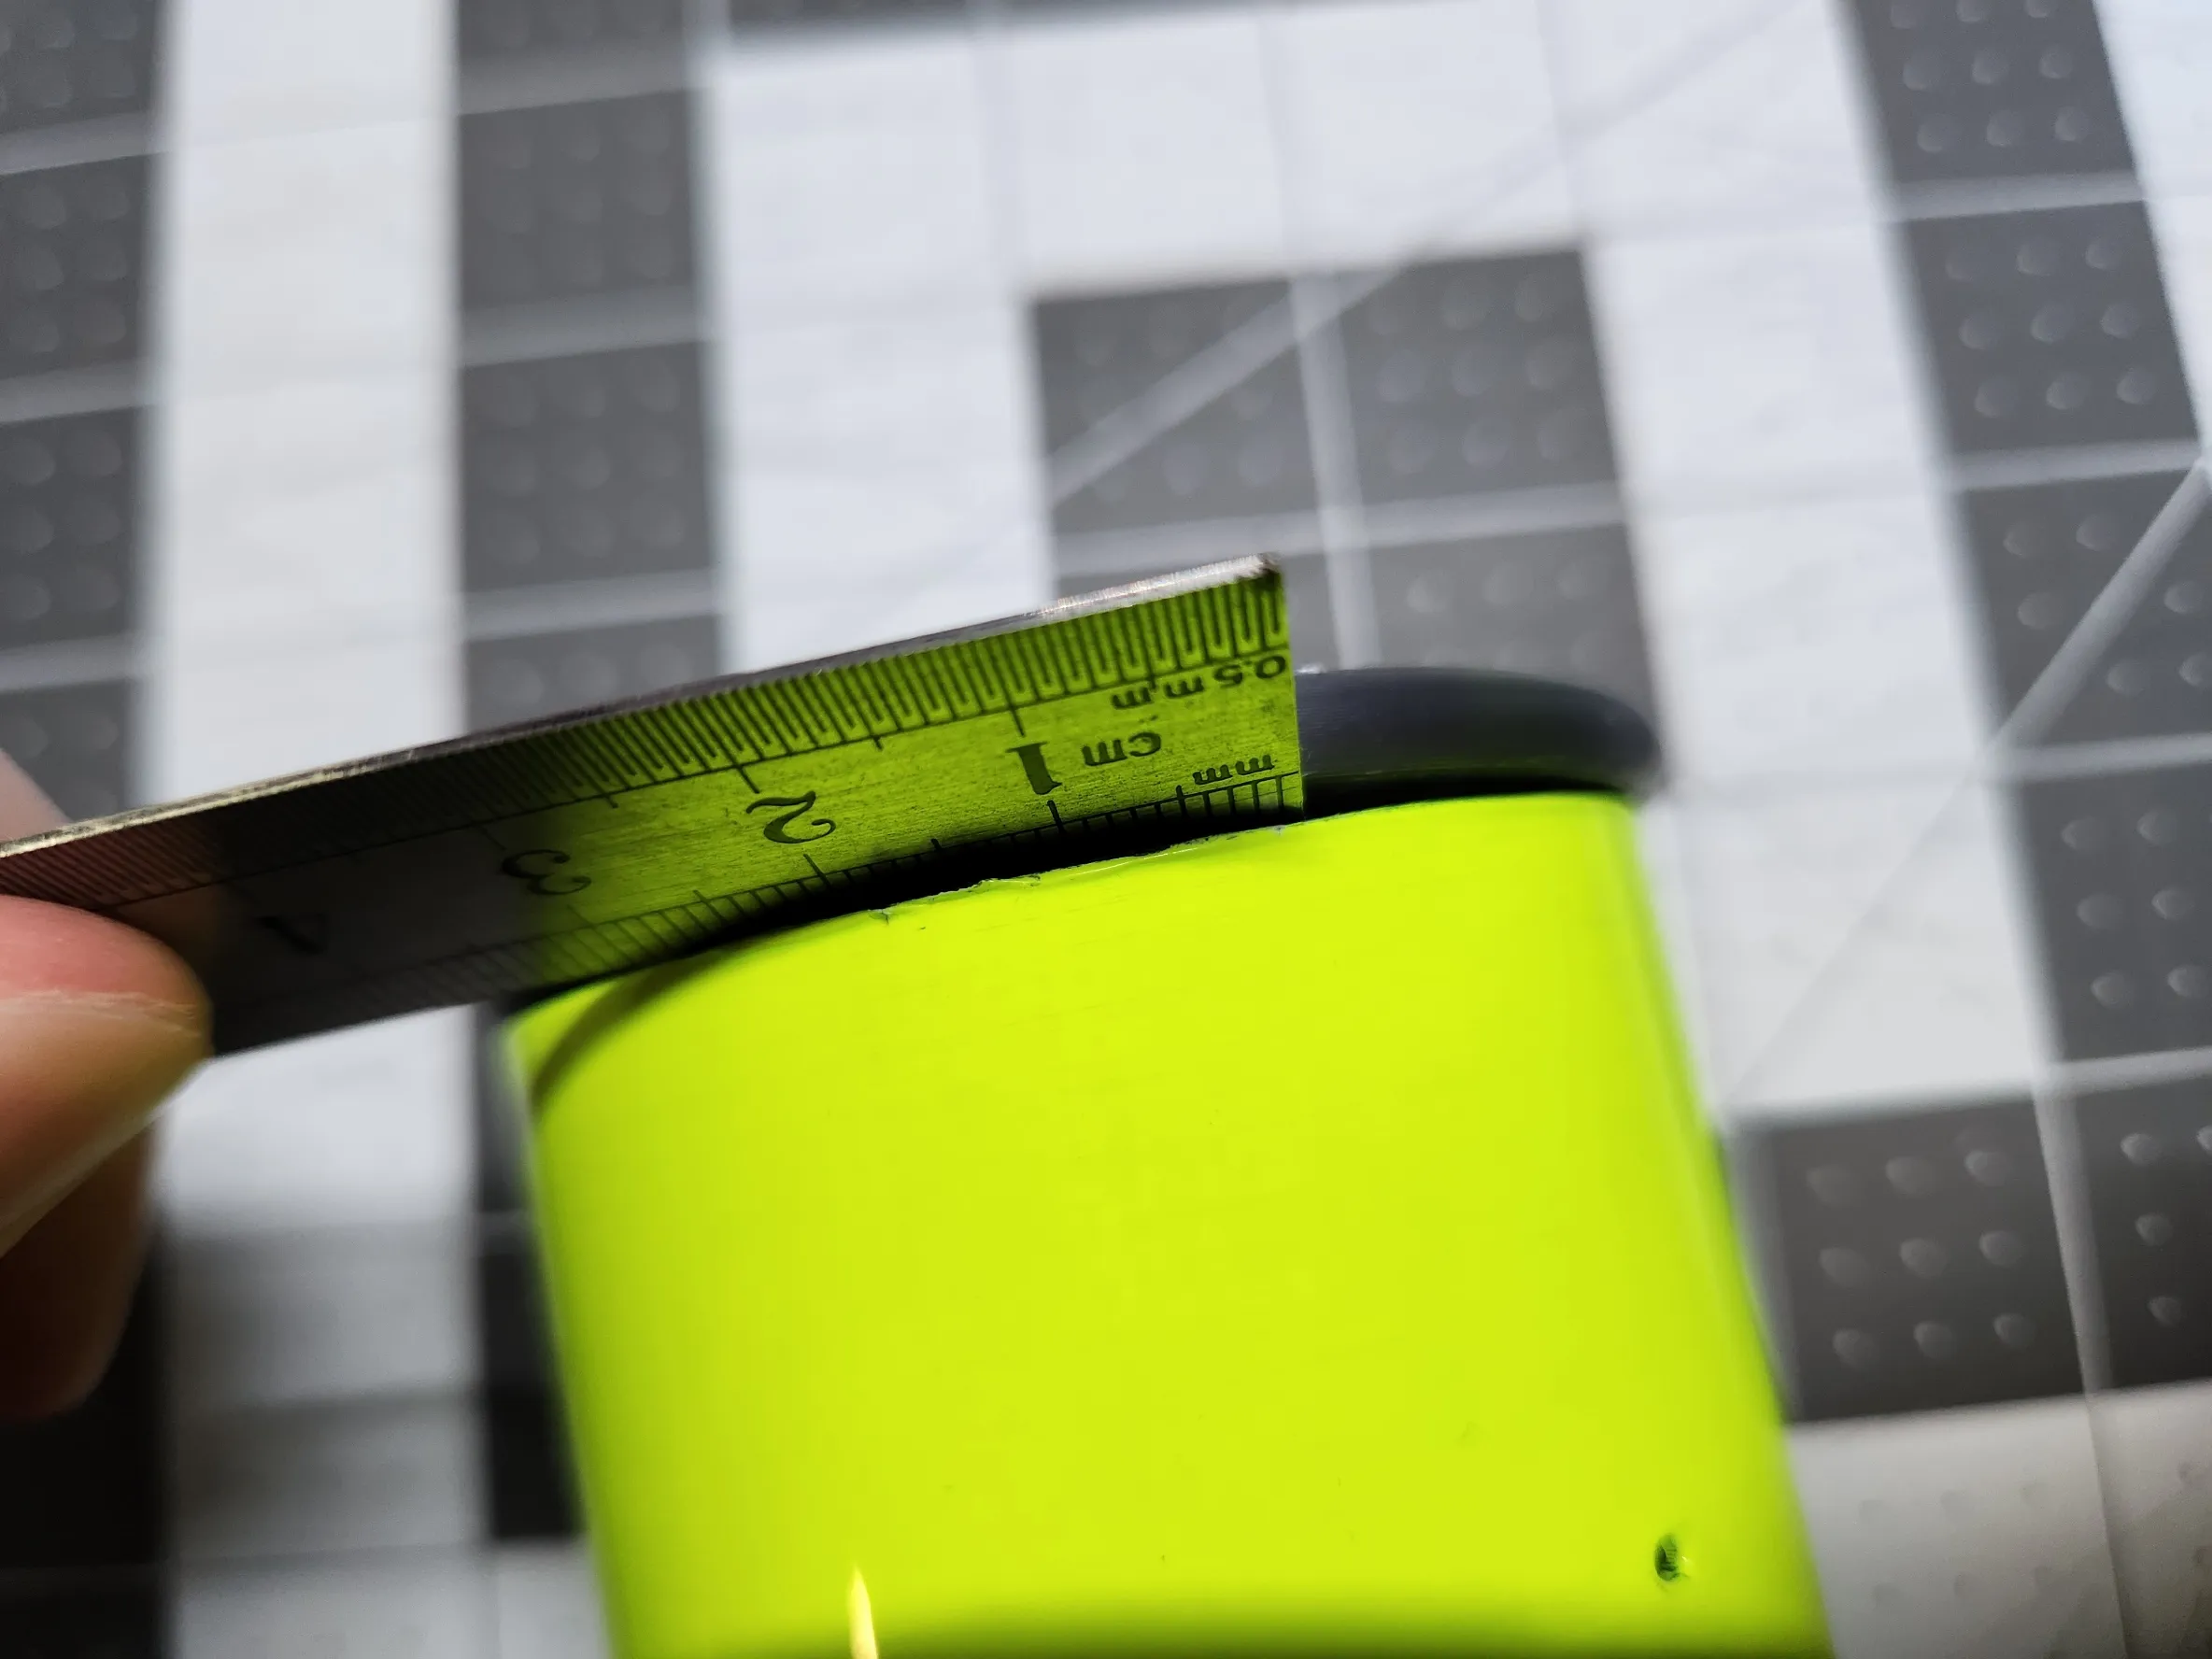
You can pry the bottom part back off by slowly going in a circle with a flat object. Try to evenly wiggle the piece out so it can slide out in a relatively straight line. This is much like disassembling a remote control. Expect some minor cosmetic damage if you do so.
**Should you need to change the volume, but would rather not open it up entirely:
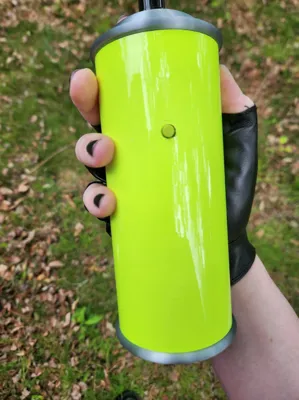
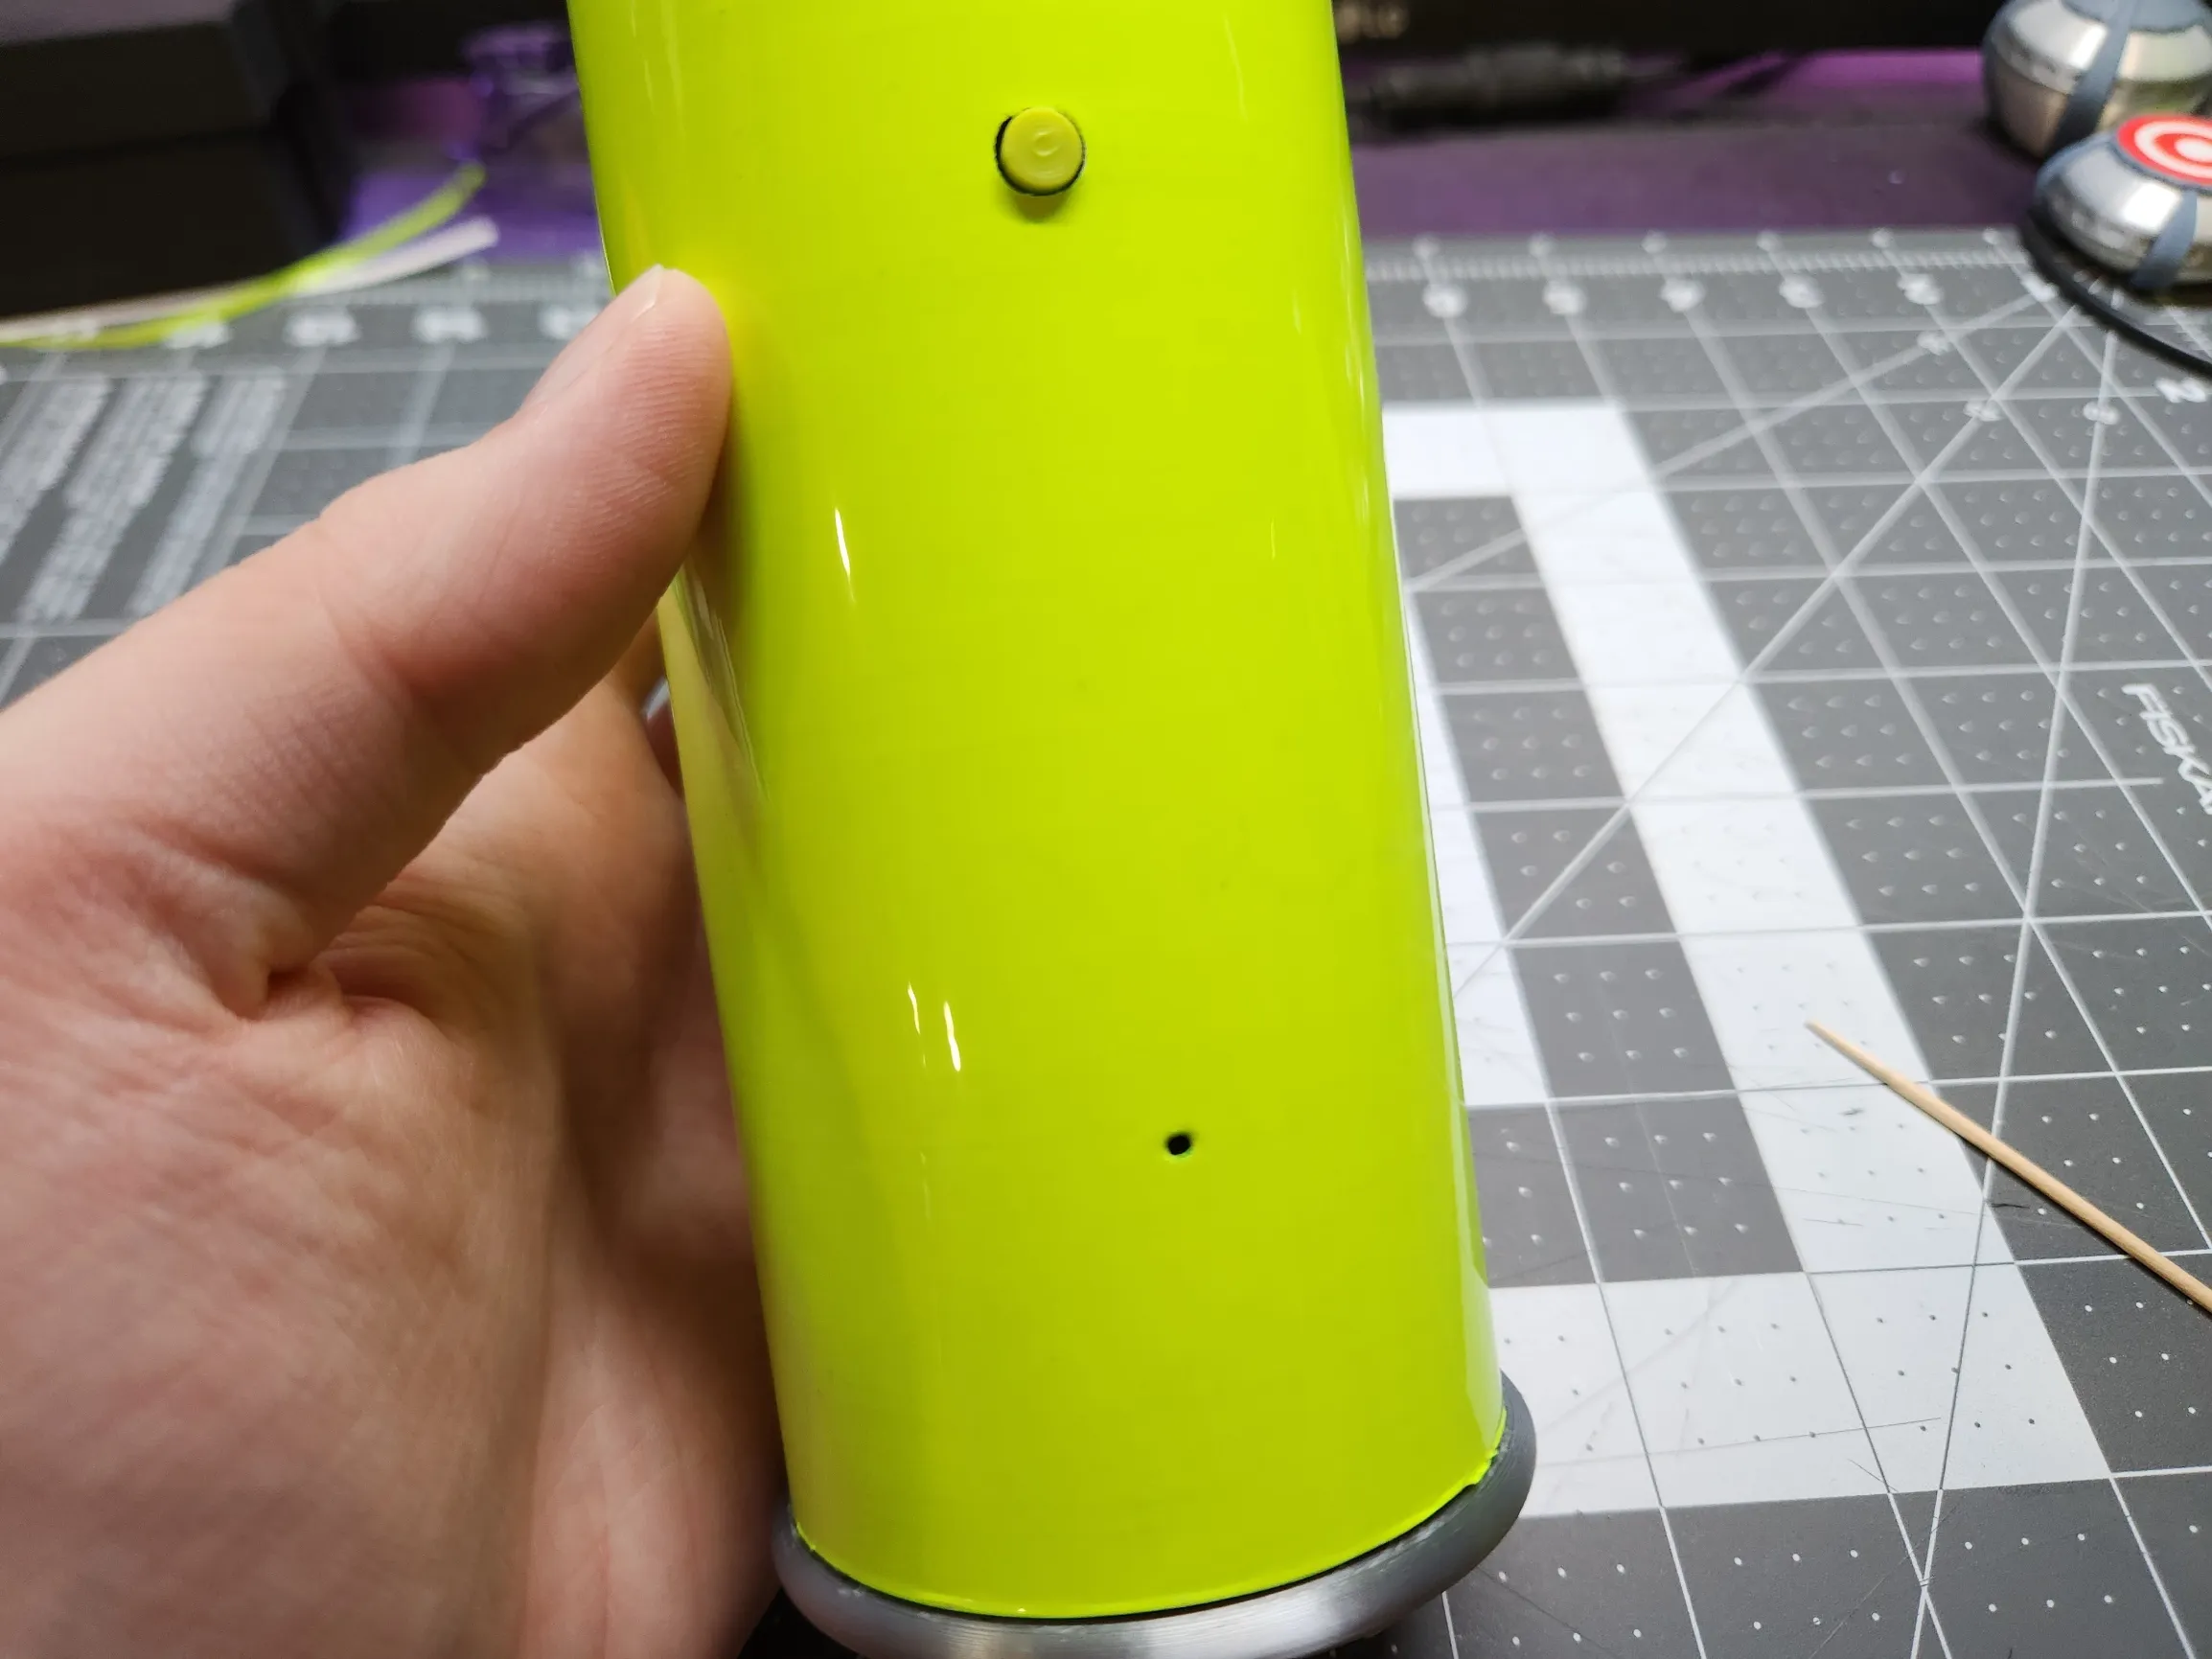
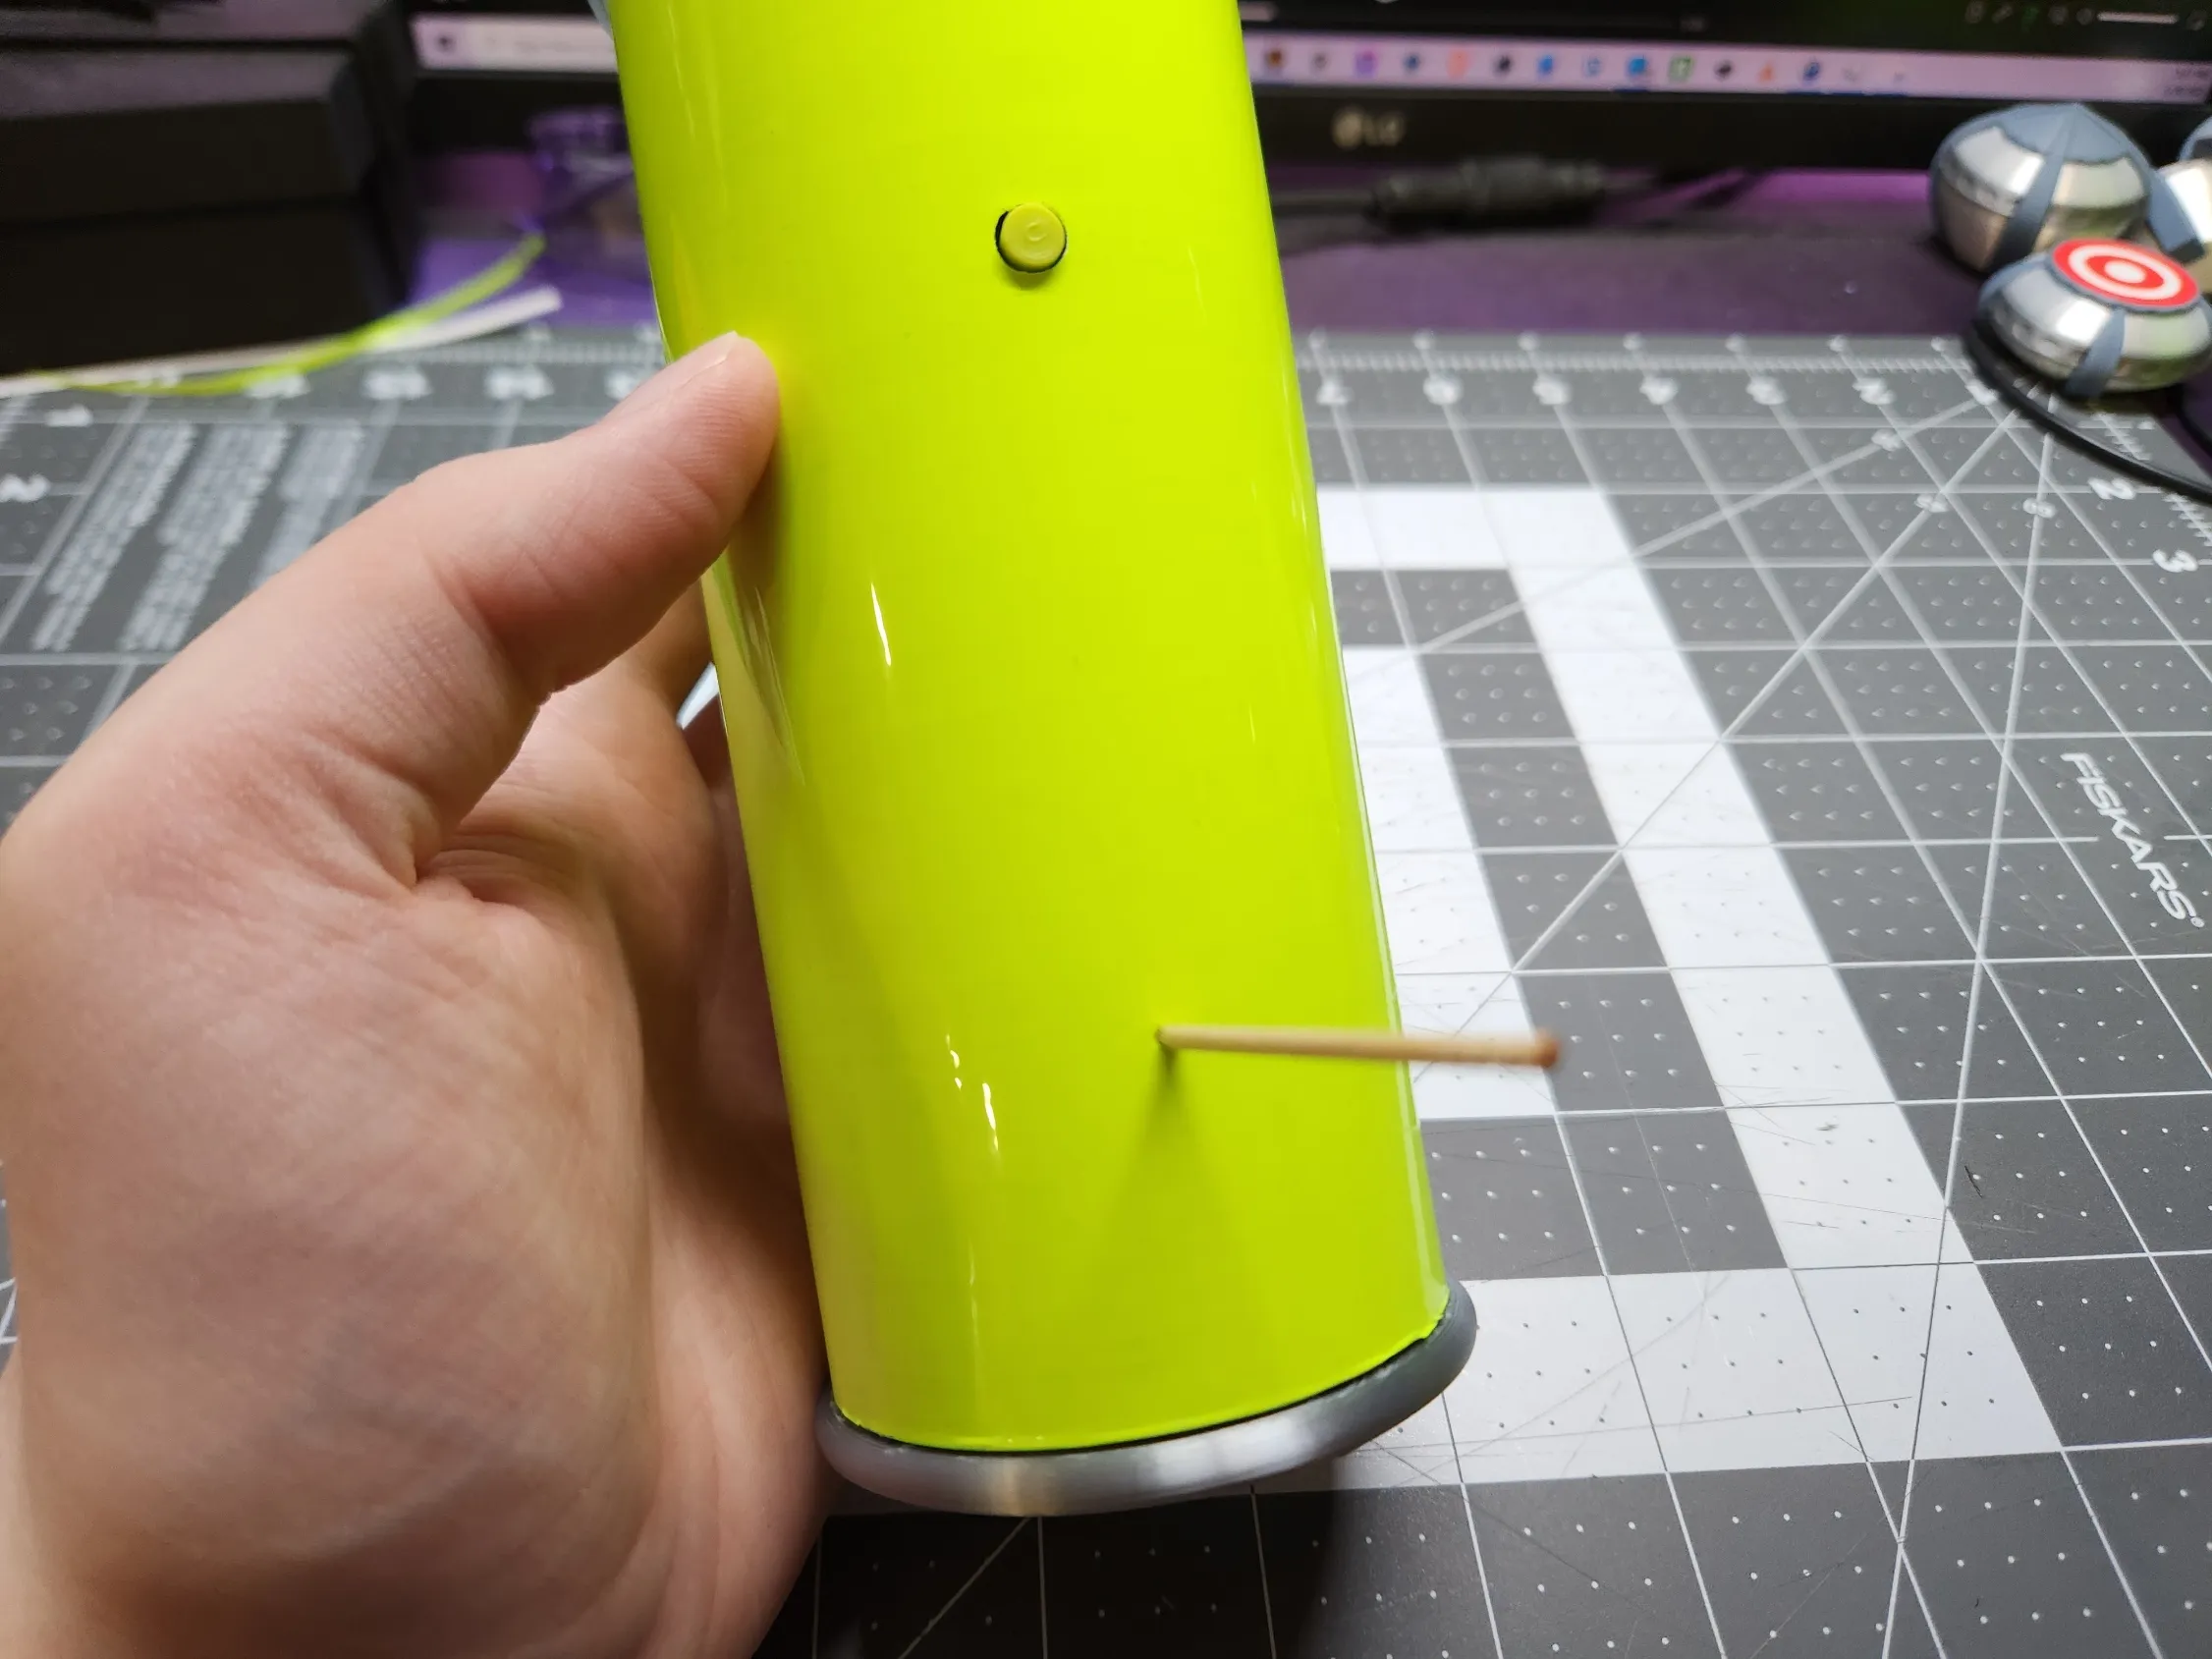
You can use a toothpick through the pinhole to access the volume button. If you used vinyl wrap, you'll have to poke a hole in the wrap to access it.
***There is a known issue of the rattle ball getting stuck:
For now, the workaround I have is to flip the can over and slightly shift the bottom silver part so the ball comes free inside.
Enjoy!
edit 5/30/2025
I've re-uploaded the print profile with the following changes:
- The Main Cylinder has been slightly modified for easier disassembly.
- The Bottom Silver Part has been slightly modified for easier main board installation (the slot is 1mm wider).
- The Bottom Silver Part has been slightly modified for less frequent Rattle Ball getting stuck, and easier “un-stucking” when it does.
- The Bottom Silver Part bottom layer infill pattern has been changed back to default for more consistency.
All parts are still compatible with previous versions!
edit 6/22/2025
I've re-uploaded the model to enter the current Chill Summer contest, as I think this project is more applicable to this contest!
edit 6/30/2025
I've fixed the broken link to purchase the Sound FX Module.
I've also re-ordered some of the steps in the build guide for easier assembly. Namely so that the bottle gets installed AFTER the electronics.
Lastly, I've added some notes and one additional photo to the updated build guide to further help with the process!
edit 10/29/2025
I've added additional infill and bottom layer for some of the main parts for some added strength, with minimal additional material use.
Boost Me (for free)
If you liked this model, please consider showing your support!
Documentation (1)
License

You shall not share, sub-license, sell, rent, host, transfer, or distribute in any way the digital or 3D printed versions of this object, nor any other derivative work of this object in its digital or physical format (including - but not limited to - remixes of this object, and hosting on other digital platforms). The objects may not be used without permission in any way whatsoever in which you charge money, or collect fees.


Comment & Rating (2)