
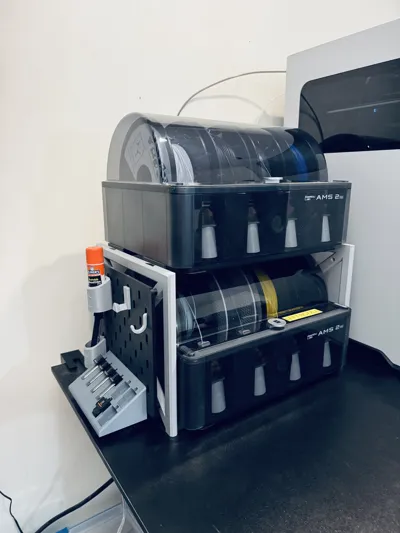
V2 Dual AMS 2 Pro Stacker - Works w/ Original AMS


Print Profile(6)


Bill of Materials




Description
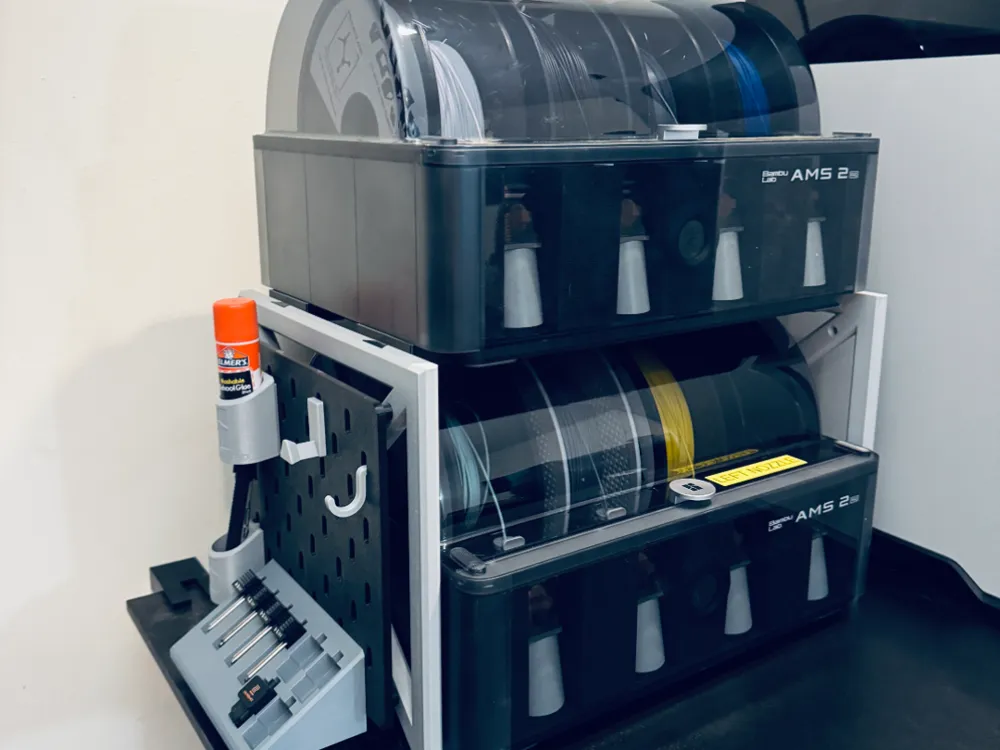
Are you tired of spending 30+ hours and 3 rolls of filament printing an AMS stacker? Do you want a lightweight stacker that doesn't break the bank that is still rigid AND being compatible with 3-slot and 5-slot AMS units? Then you've found the right model!
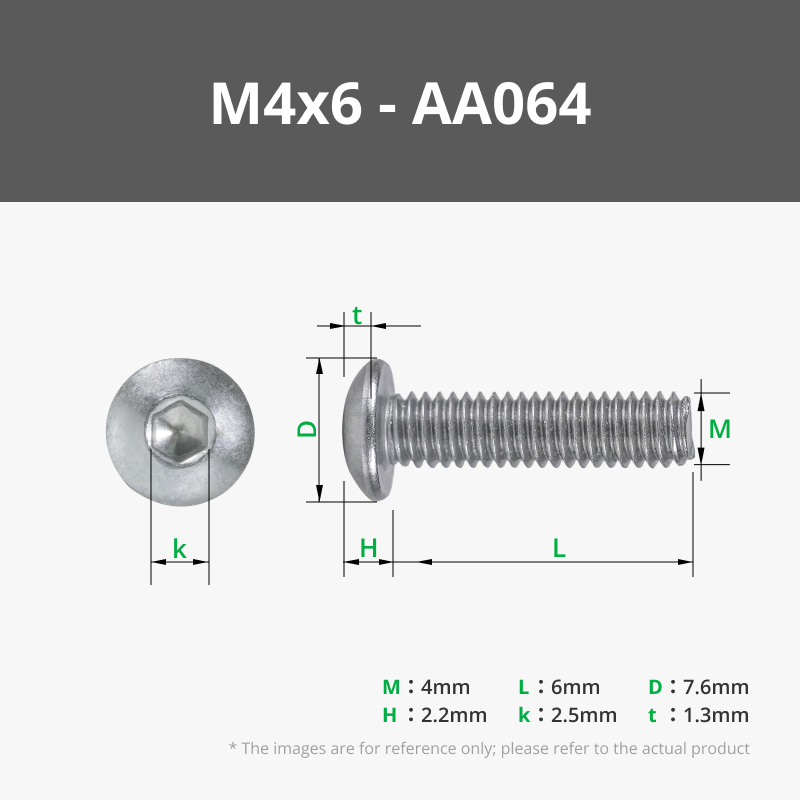
This print only costs you a mere 13 hour print, two M4 x 6 screwS (or superglue) and 440g of your favorite PLA or PETG HF flavors.
I do not have a second AMS YET so none of the pictures will show two, I just wanted a mount printed ahead of time.
UPDATE:
8/5/2025 - minor update V2 version with cutout for brace to be higher up = less wobble and added plates for AMS 1 and 2 universal mounts in the print profile. Still working on retrofit for anyone who downloaded and made V1 model and is unhappy with wobble.
Added support for X1C and P1S/P1P build plate volumes. See the profiles and select the right one for your bed size.
Added Universal AMS top mounts for AMS 1 and 2 Pro's (there are quite a few variantions in body extrusions for the AMS, depending on if it was purchased during the kickstarter, as a combo, or even as a standalong unit). I took the smallest extrusion width from each AMS model and set them the furthest distance apart that will fit the AMS. Worked on my 3-slot AMS 2 pro.
Added Universal AMS Roller Mounts for AMS 1 and 2 Pro, should work with all extrusion types. Instructions are similar as original with axle and wheel assembly.
PRINTING INSTRUCTIONS:
Clean your build plate and be patient when removing PETG prints from the textured PEI plate so as not to damage the part or the buildplate.
I recommend purchasing longer PTFE tubes as some users have noted that the tube that come with the H2D are too short for this configuration.
ASSEMBLY:
Assembly is easy, both the right and left sides of the mount are connected in the back by a crossbar and the top AMS provides the rest of the rigidity.
CROSSBAR:
The crossbar is printed in half and is secured in the middle by either 2 M4 x 8 screws or superglue; or both, I don't judge.
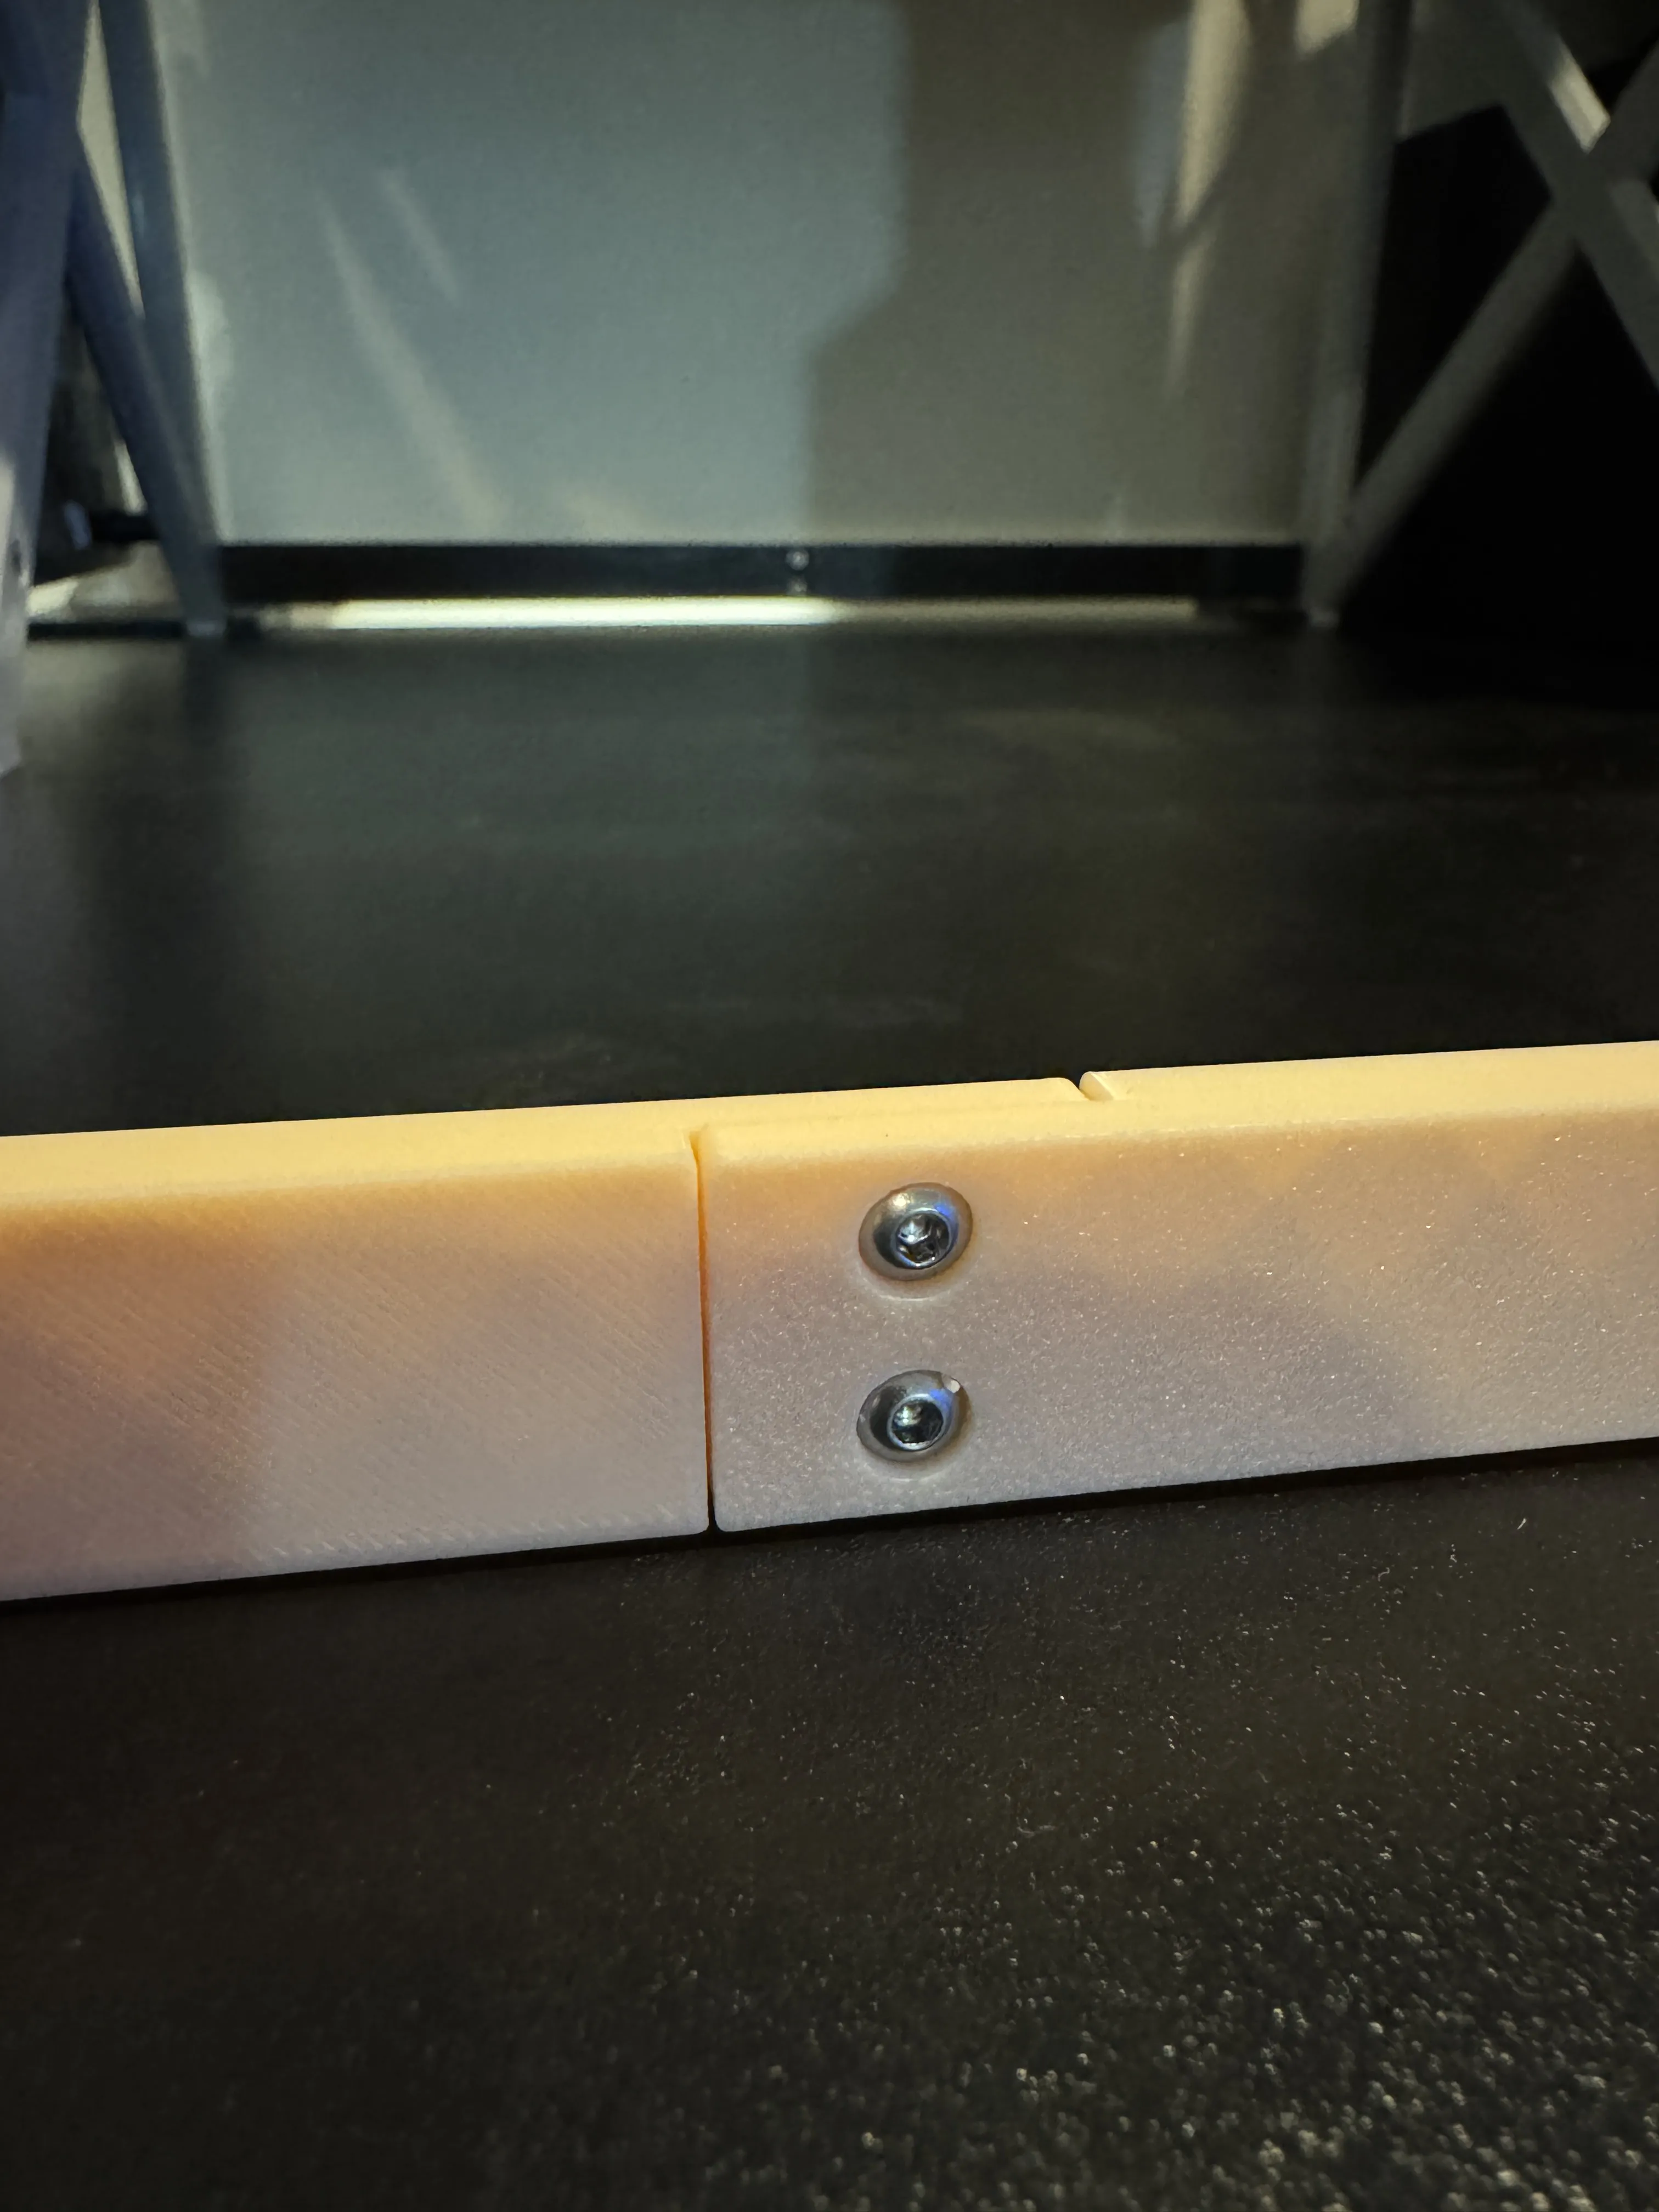
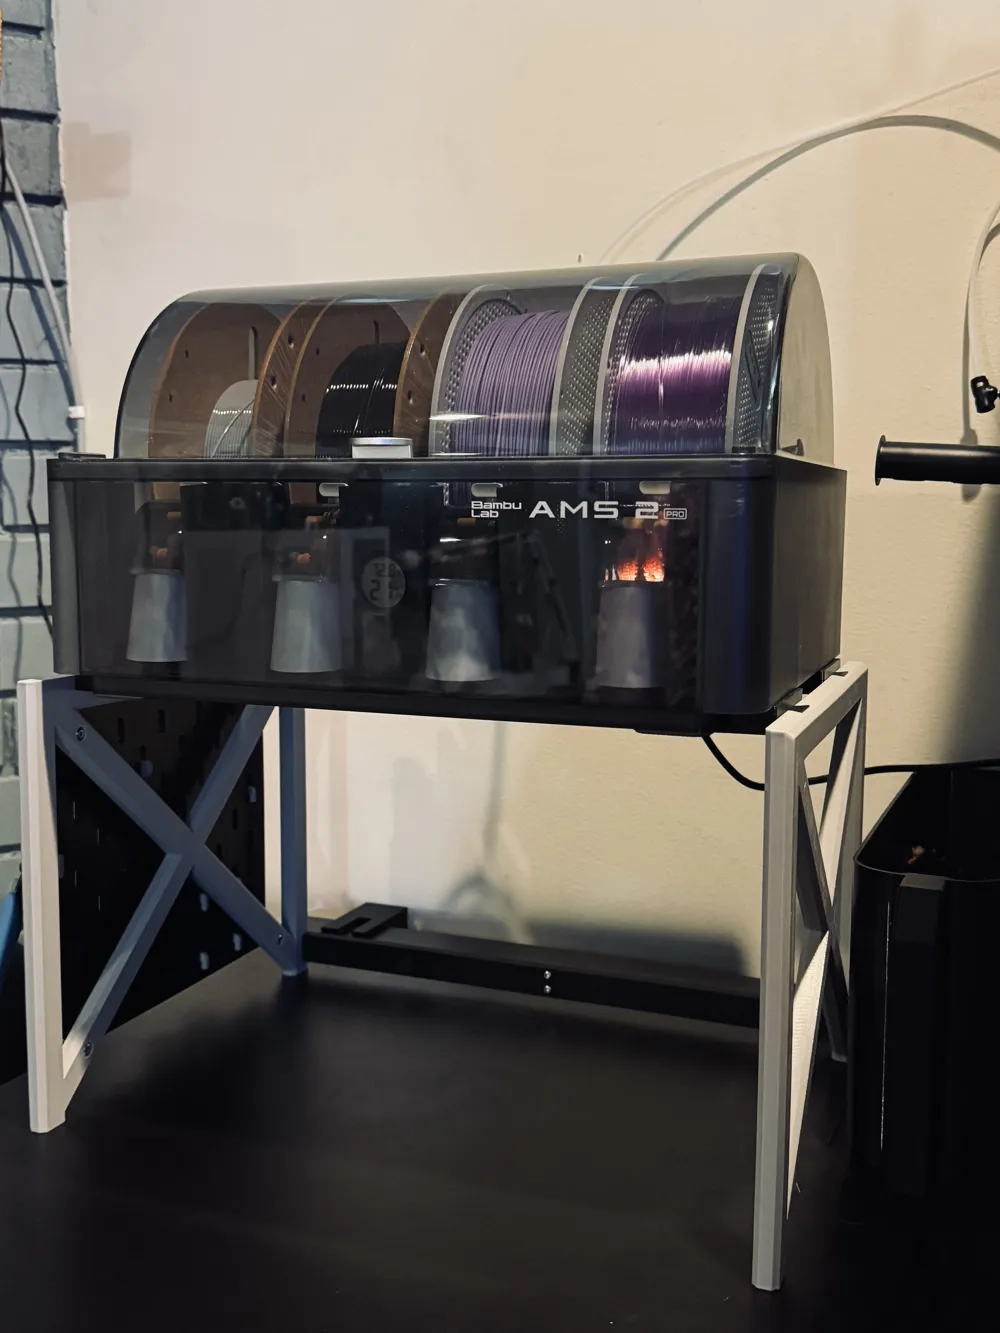
The crossbar is then fitted to the dovetail groves in both the Left and Right sides of the stacker near the bottom (black crossbar in background of image above). For permanent installations, users can add a bead of superglue to the dovetail mount in the rear.
TOP AMS:
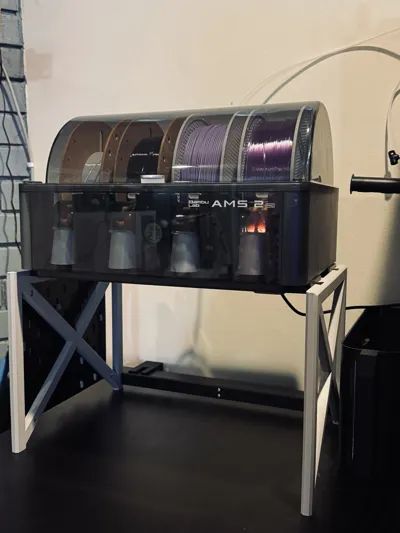
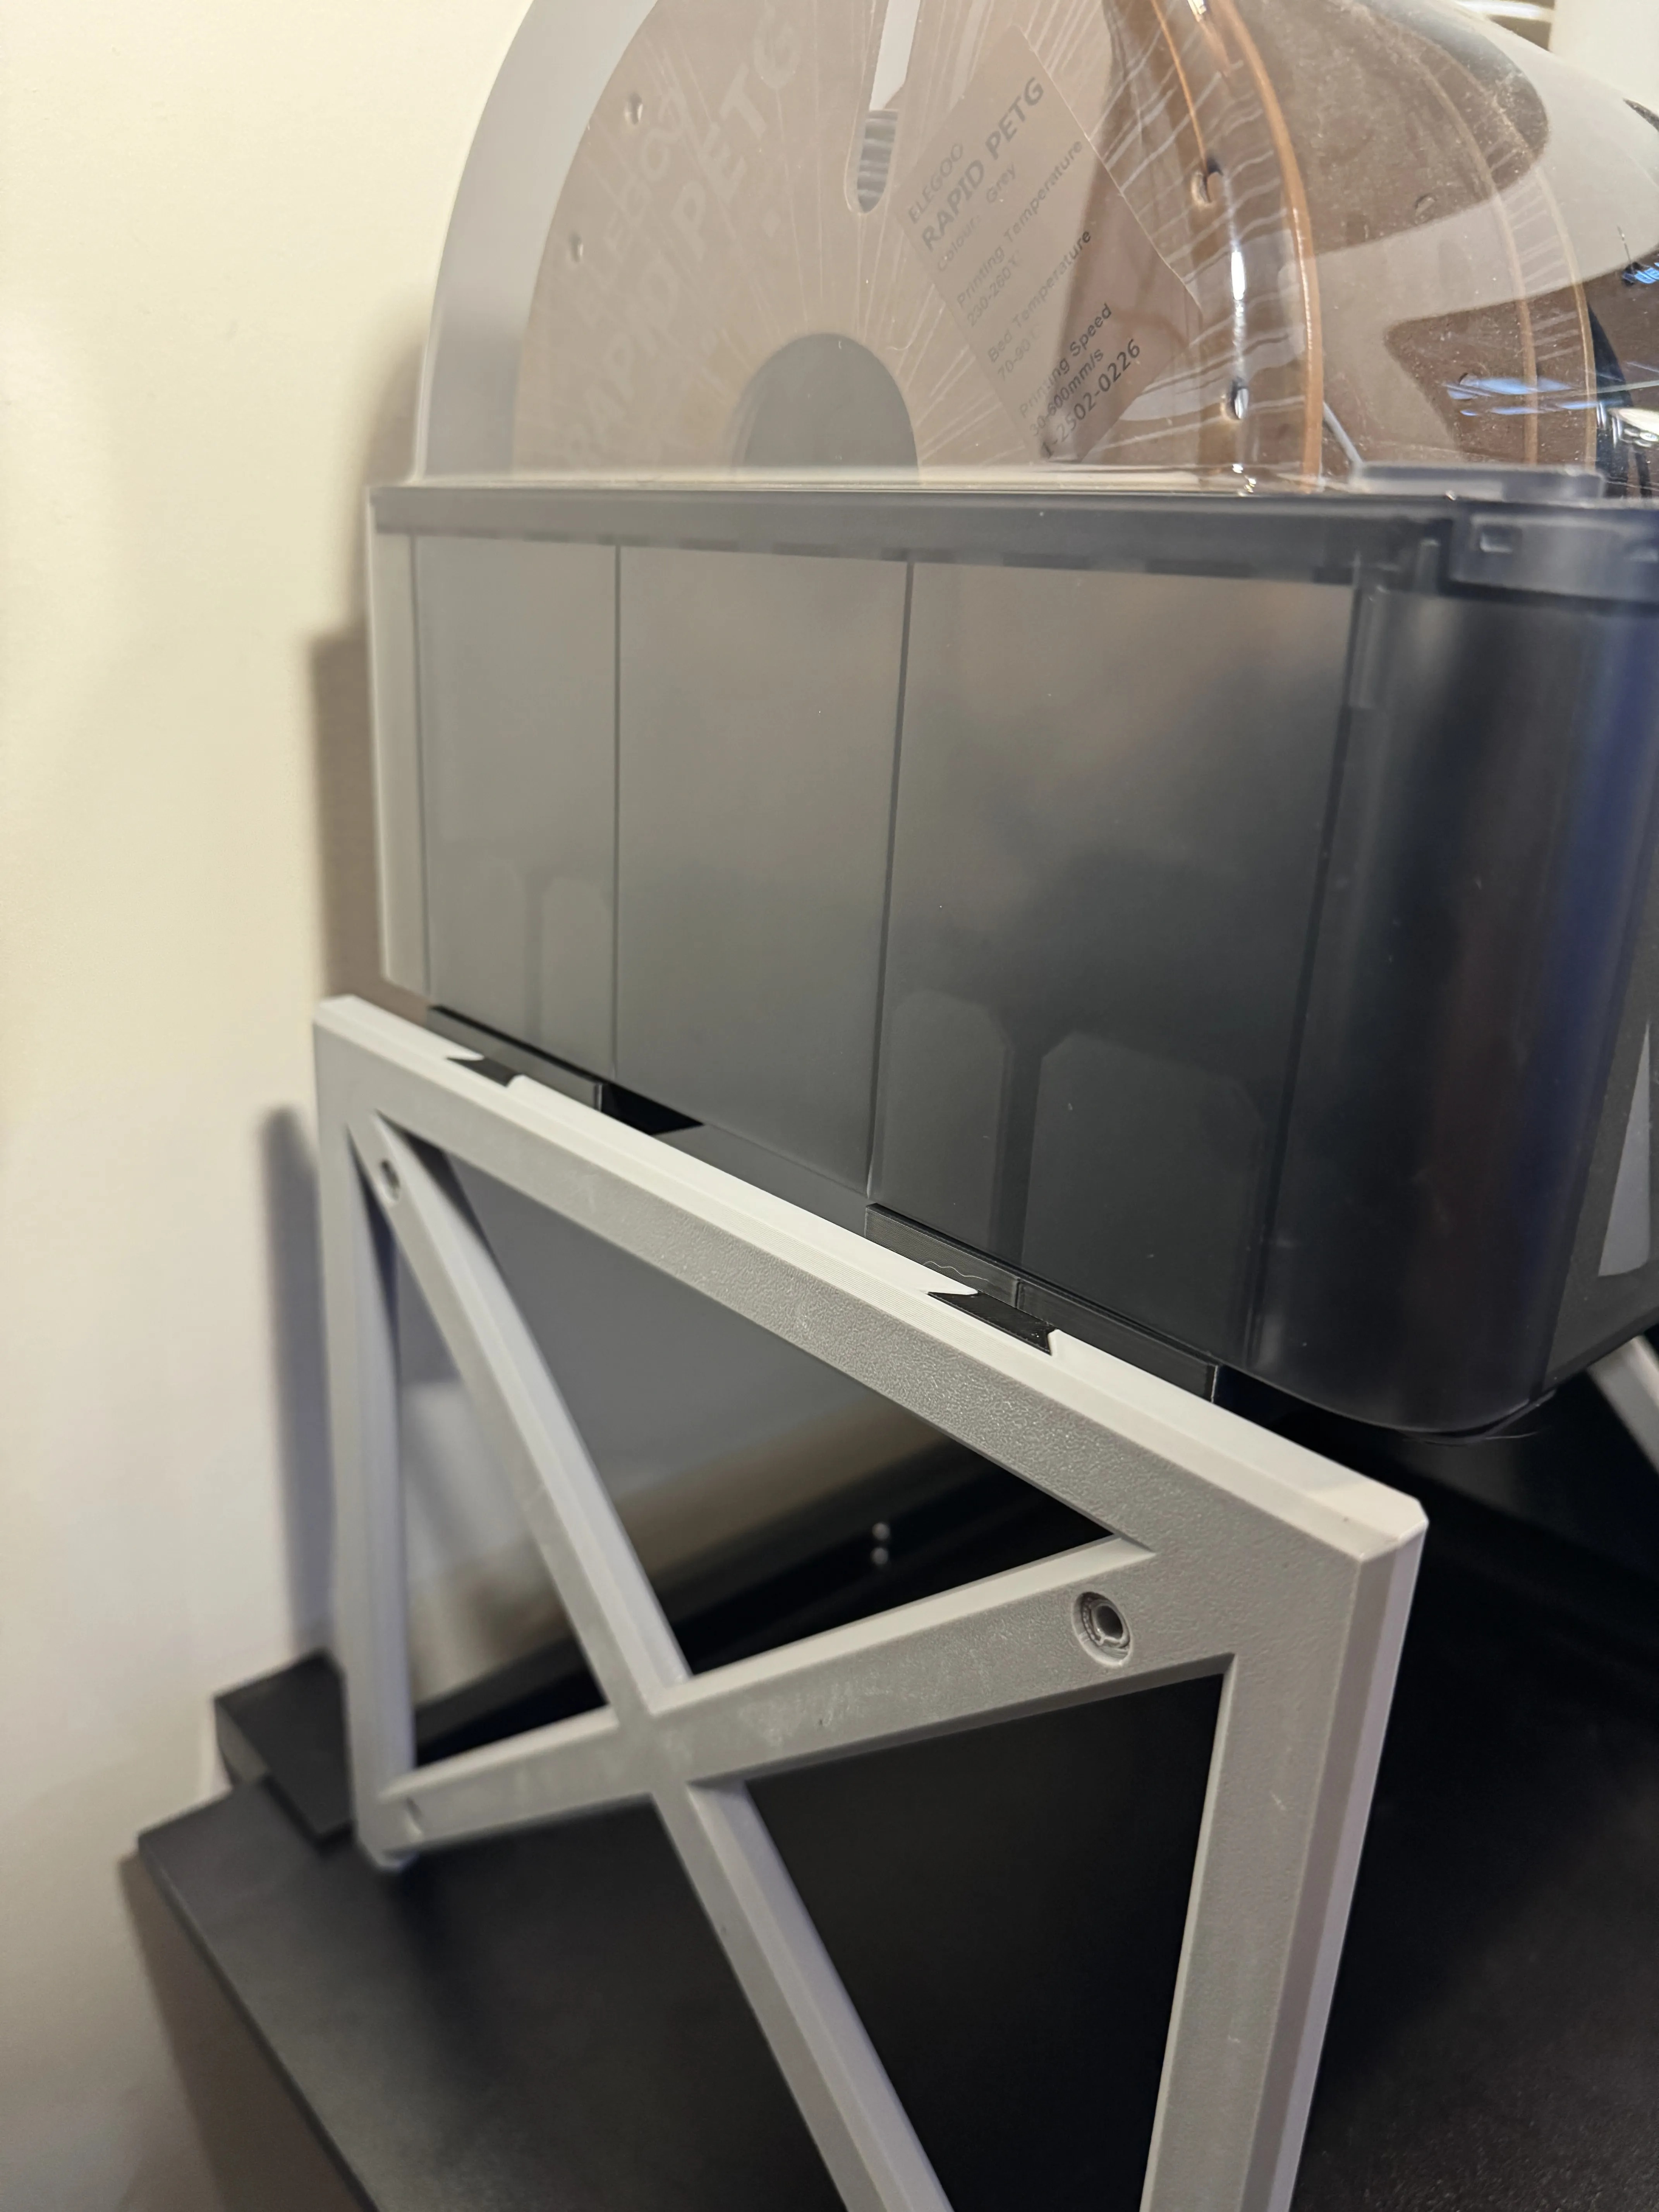
The top AMS is secured using the dovetail mounts on the tops of the Left and Right sides of the frame. PLEASE USE THE UPDATED PROFILE FOR UNIVERSAL AMS 1 AND AMS 2 PRO MOUNTS IF YOU DO NOT HAVE THE 3-SLOT AMS 2 PRO. The dovetail will fit snuggly into the top of the frame and is designed to stay there. It can be removed with force. I have a 3-slot AMS 2 Pro model shown in the image below:
BOTTOM AMS:
The bottom AMS is not hard mounted at all, but instead is fashioned with its own set of heeleys (if anyone remembers those). The model has a printed set of wheels, an axle, and the body itself that fits into a 3 or 5-slot AMS unit. Simply line up the wheel inside the hollow section of the body and press the printed axle through the hole and wheel. The axle is captured on the exterior of the model, and the insertion side faces the AMS when installed, so it won't back itself out during use.
IF USING THE UPDATED UNIVERSAL ROLLERS: THE INSRUCTIONS ARE THE SAME, REPEAT FOR THE FRONT WHEELS AND NOW YOU HAVE A 4WD AMS ROLLER.
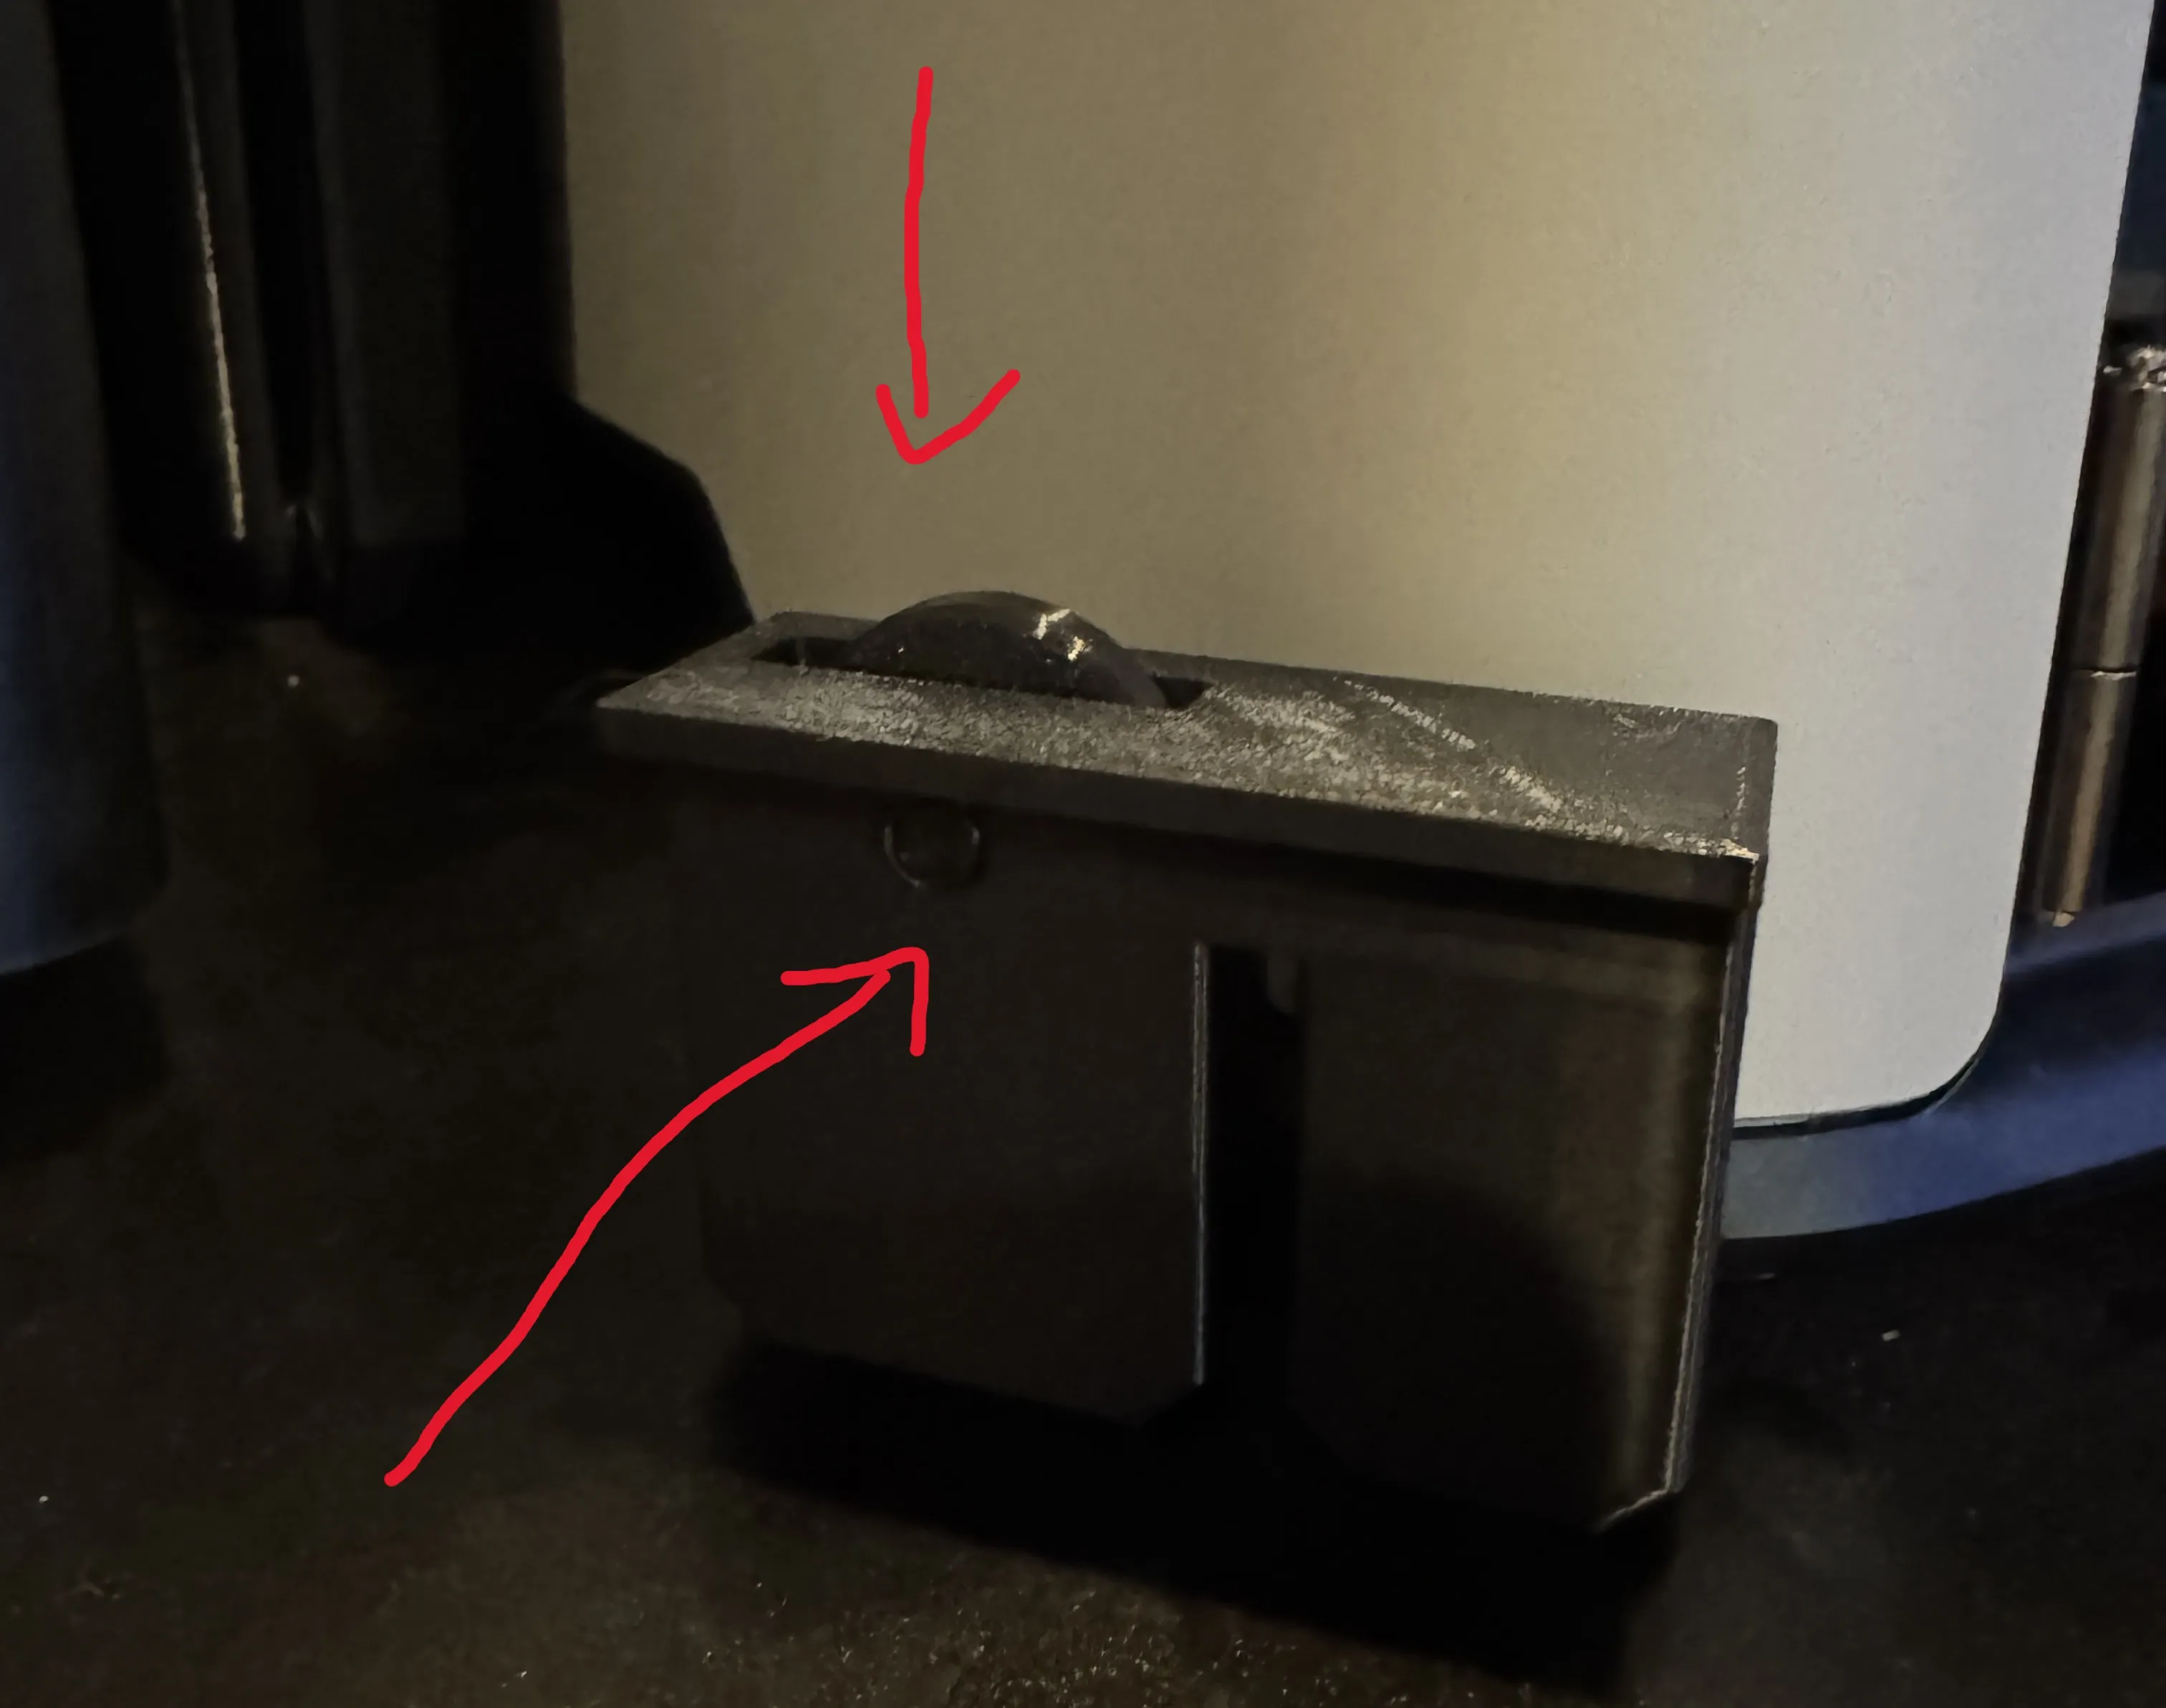
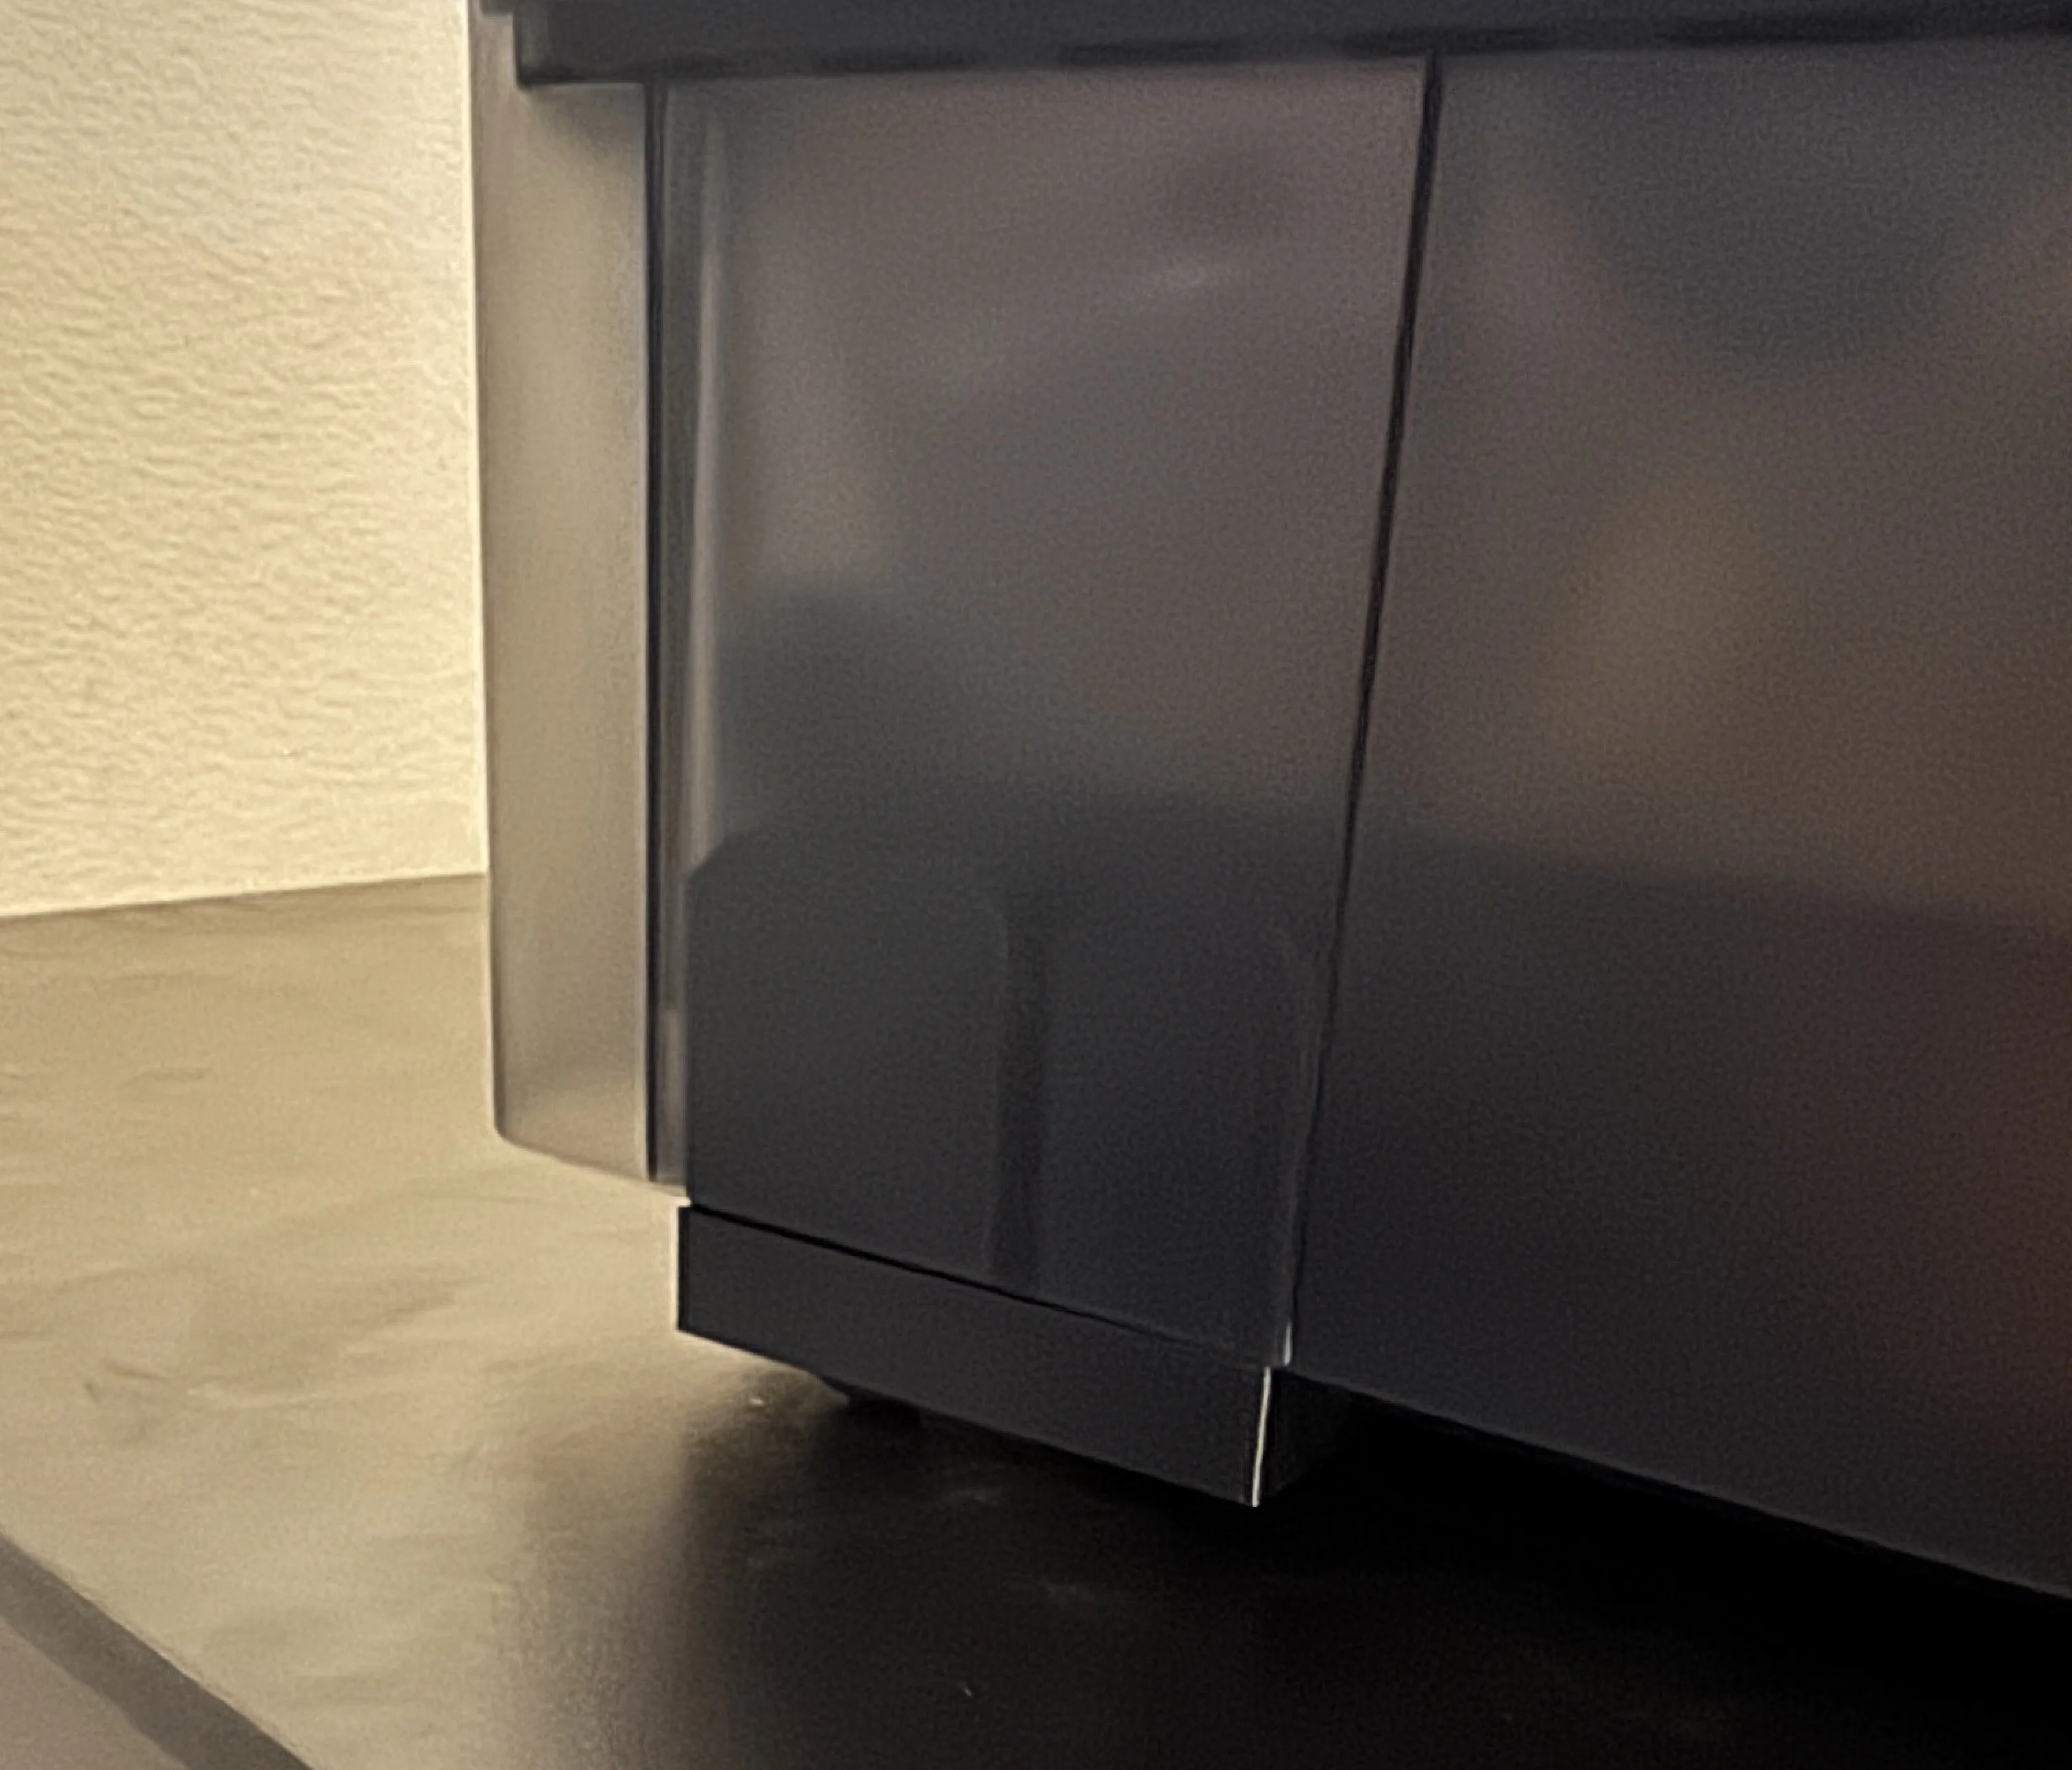
This rear-wheel addon allows the AMS to sit canted forward, but allows the user to simply lift up the front and roll the AMS forward when swapping filament. No more dragging your poor AMS by its rubber feet. If using the Universal AMS roller variant, all corners of the AMS will be on wheels. Wheeeeee.

NOTE: THE REAR CROSSBAR WILL INTERFERE WITH THE LOWER AMS PLUG IF THE LOWER AMS DOES NOT HAVE THE WHEEL SHOES ATTACHED. IF USERS FOLLOW ALL INSTRUCTIONS THEY WILL NOT ENCOUNTER ANY PLUG INTERFERENCE
I recommend the top AMS power plug being connected to the printer and having a short PTFE tube and the lower AMS being daisy chained to the upper AMS and having a longer PTFE tube.
OPTIONAL ADD-ONS:
TPU Feet - I added a hole and model for TPU feet, use 95a or softer TPU for friction. The TPU for AMS I tried was about a slippery as the PETG frame. Secure these with a dab of super glue to the top of the feet and each of the 4 corners of the stacker.
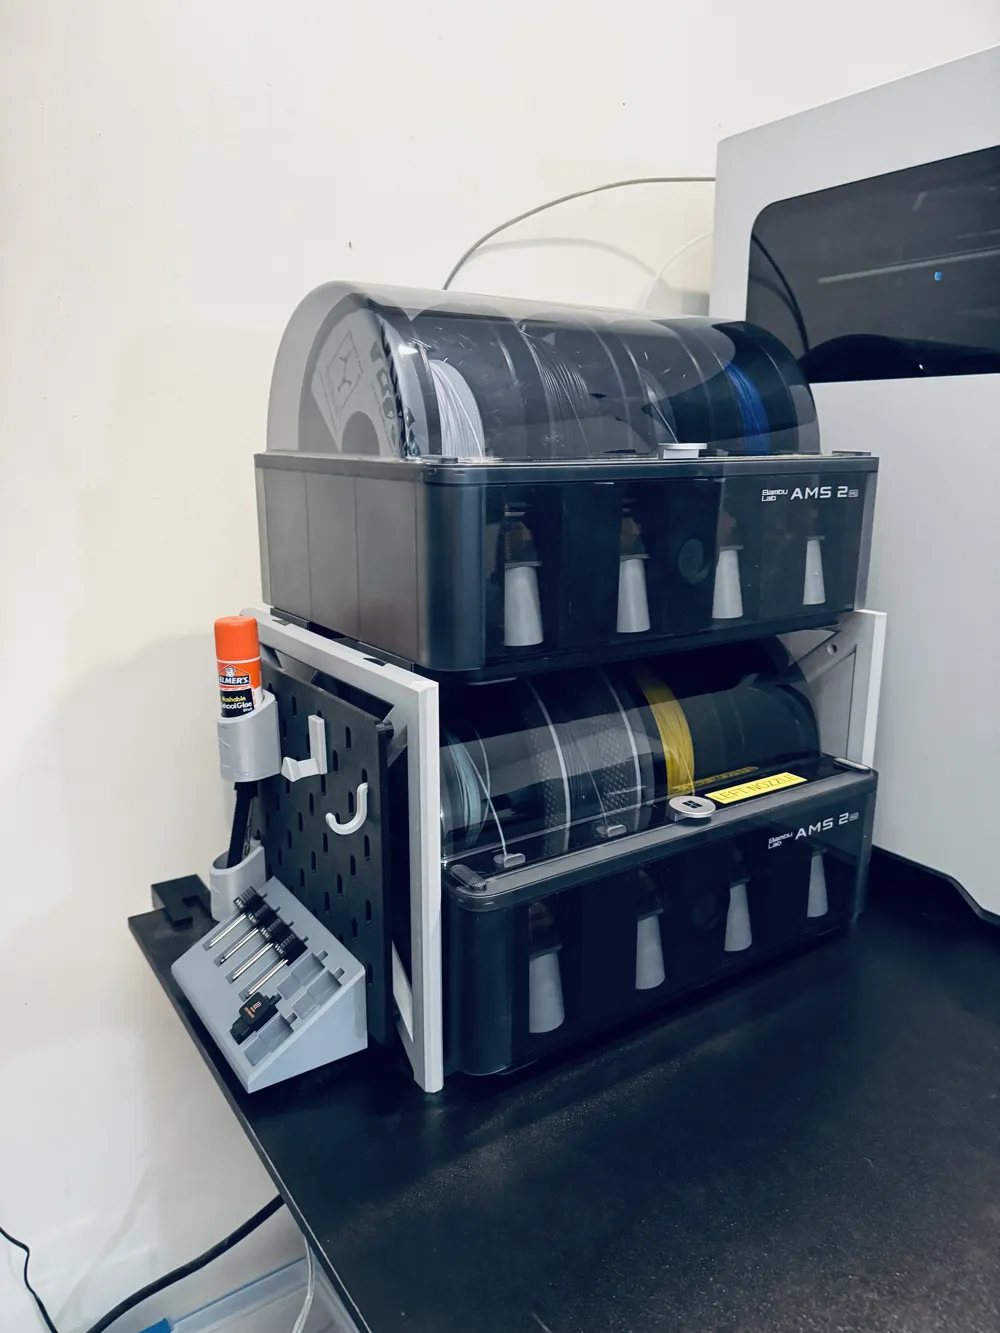
SKADIS BOARD - Both the left and right sides of the stacker have attachment points for a custom SKADIS board available in the print files. All that is required is four M4 x 12 screws (up to 16mm in length works too)
- First, remove the support material for the cutouts on whichever side of the stacker you want to mount the SKADIS board to (I used the M4 bolt to push out the supports).
Then, line up the SKADIS board mounts to the cutouts on the stacker side. See image below:
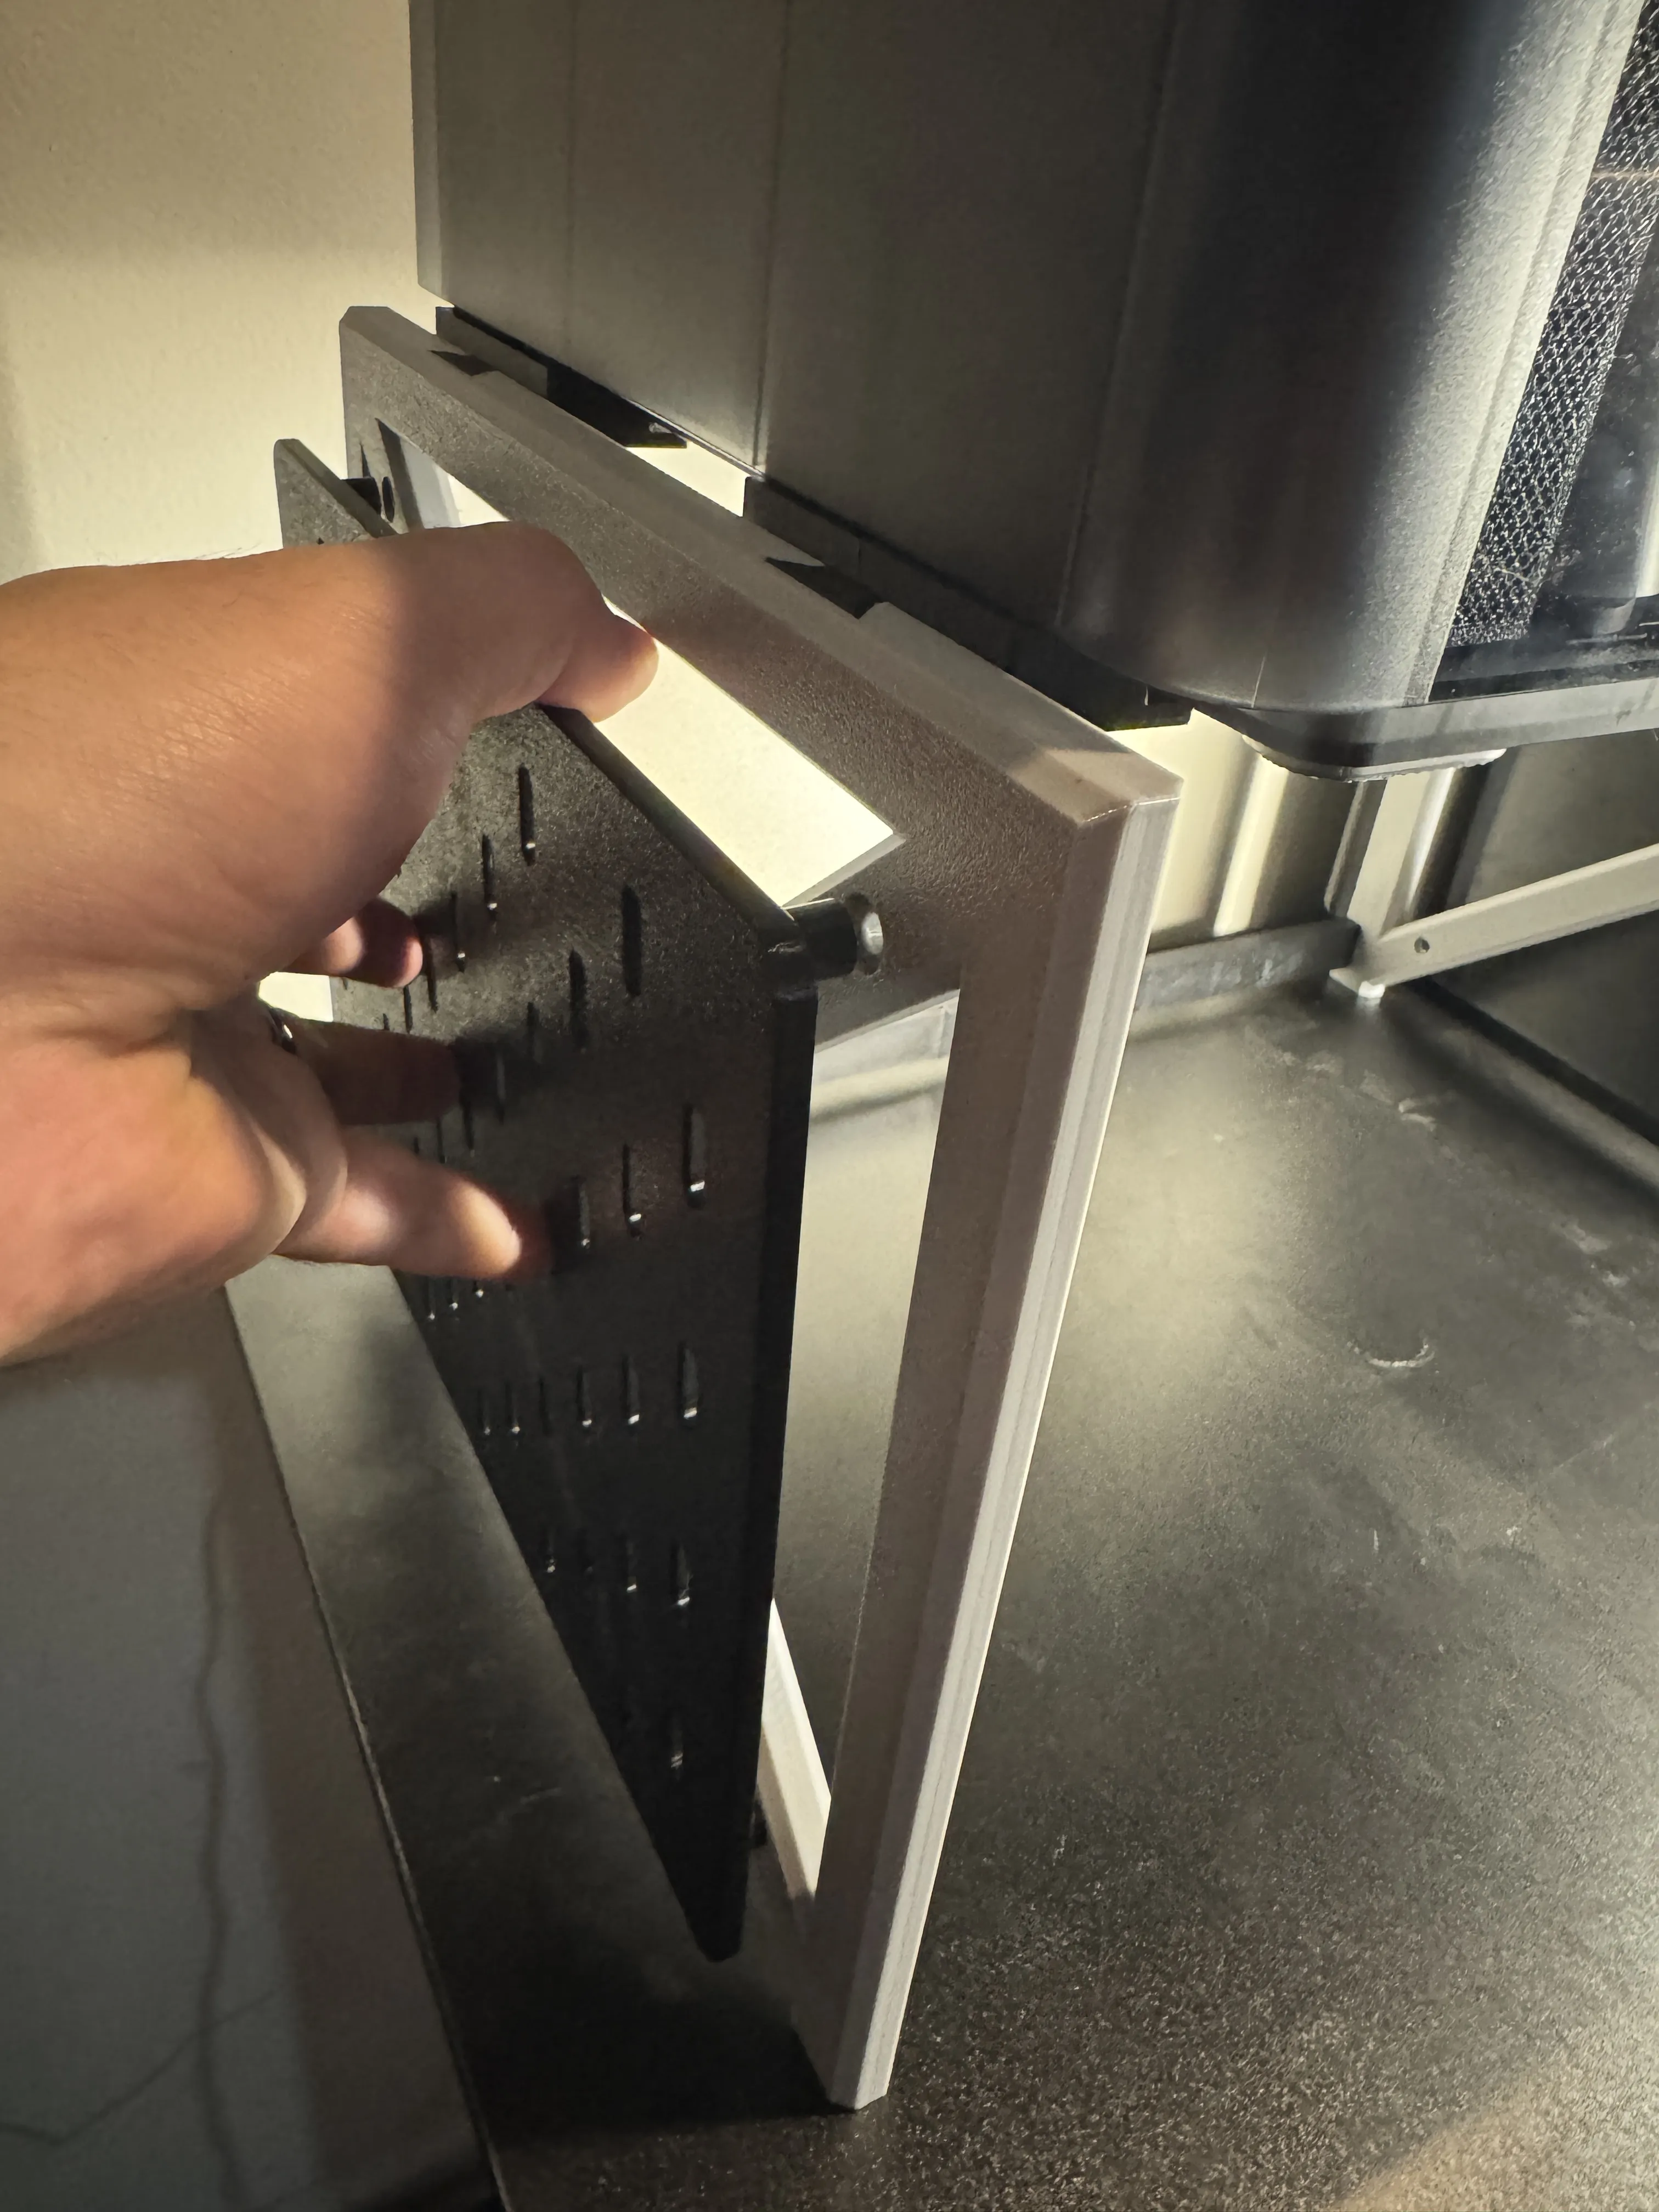
Then, add and secure all four M4 screws through the stacker side and into the SKADIS board mounts.
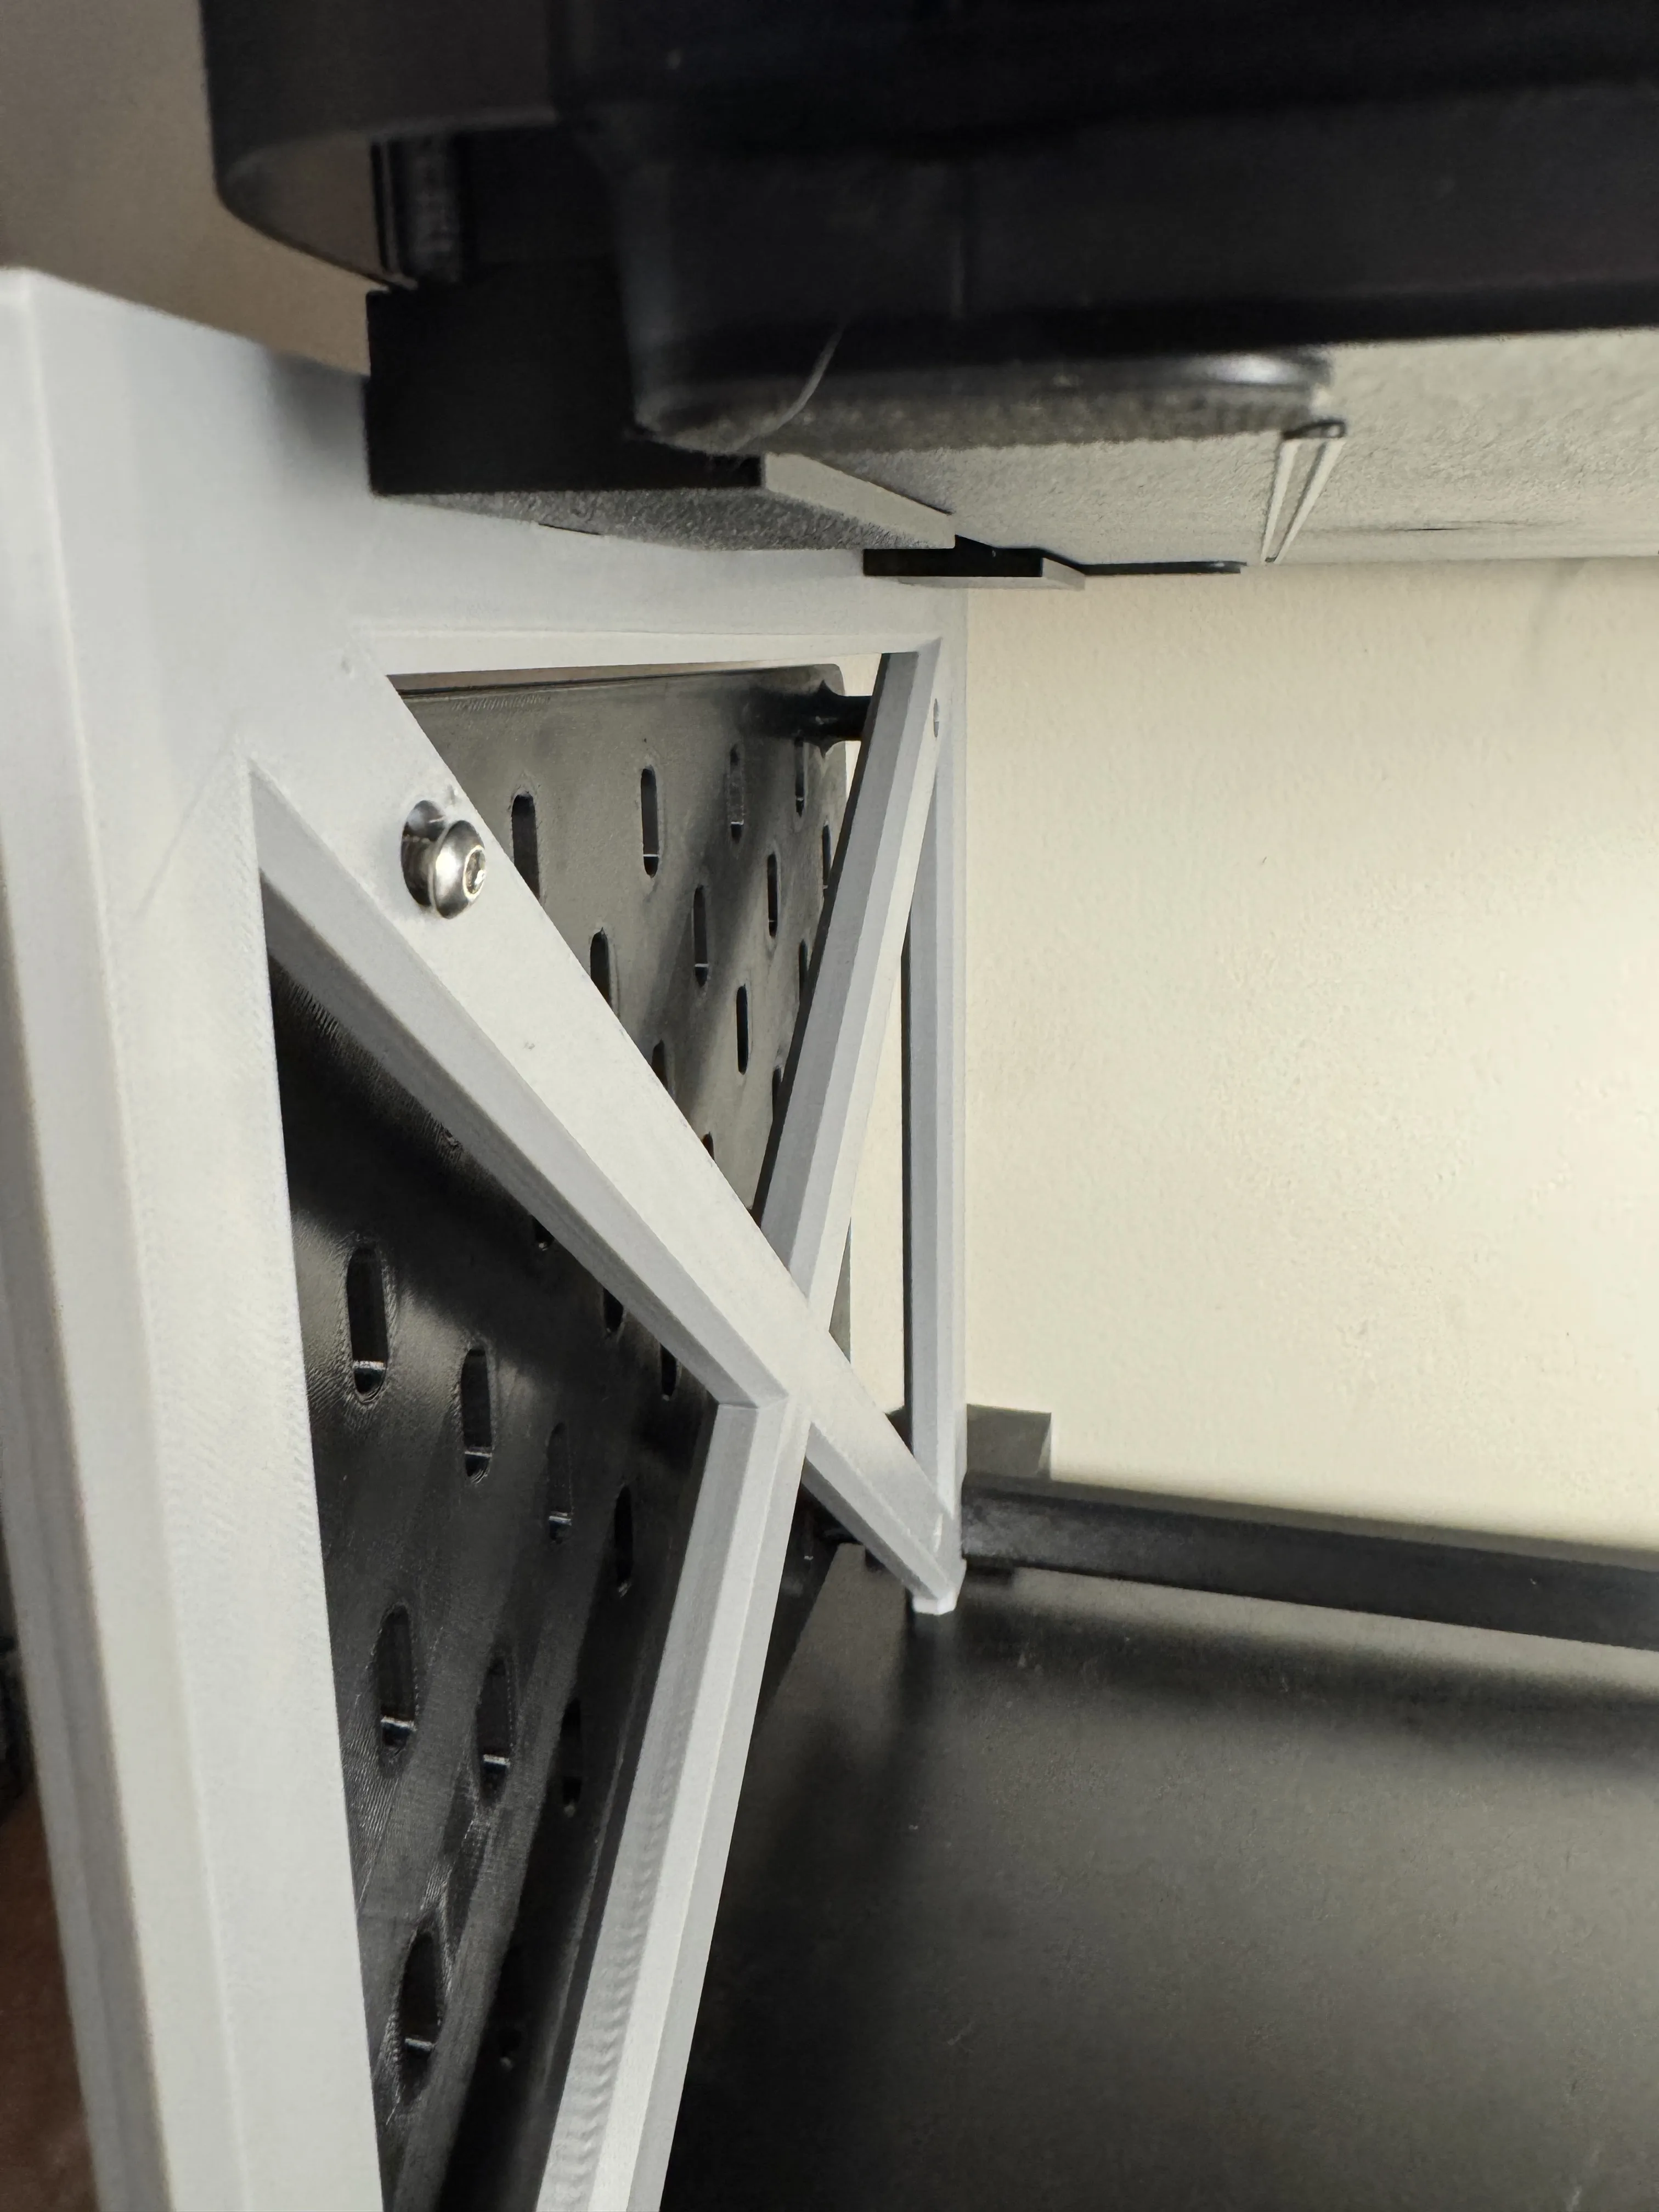
- Finally, enjoy adding on your SKADIS attachments.
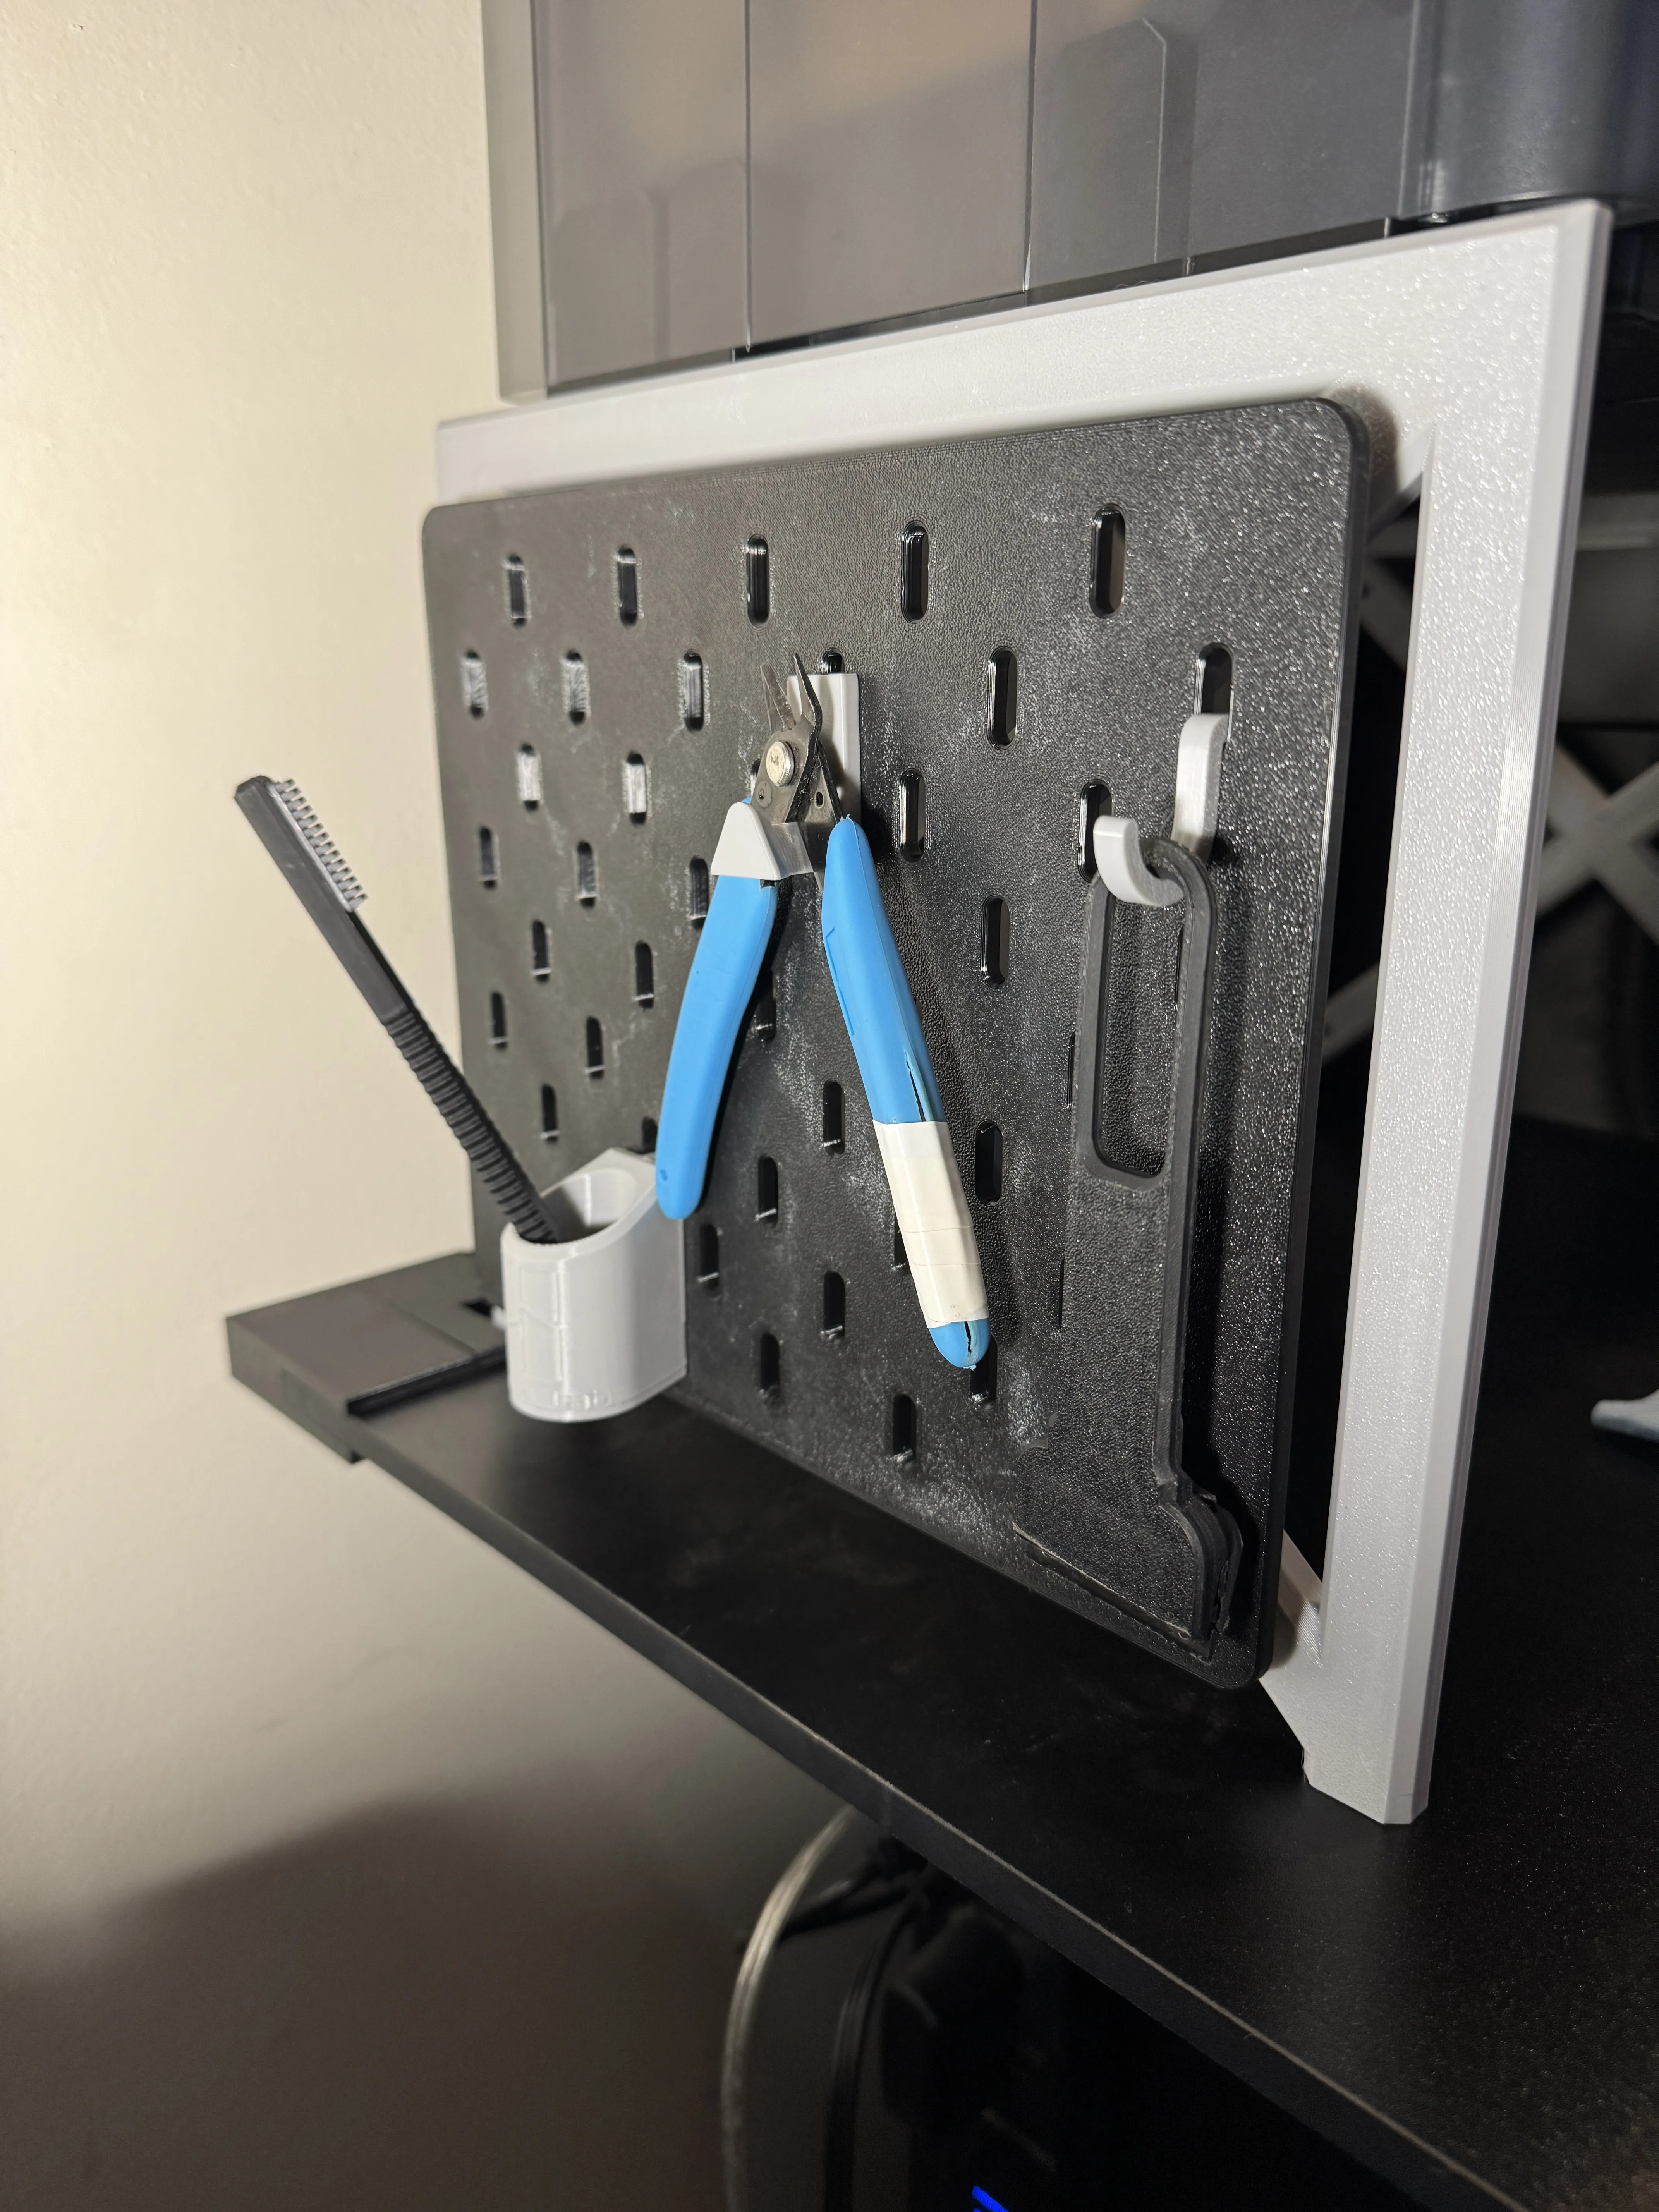
Future Updates
- I may also add support for HSW or Multiboard attachments for the side panel instead of just SKADIS board.
- Looking at a retrofit for a more sturdy frame/brace. Frame will move when shaken by hand, but it does not move during printing and AMS loading and unloading.
Please feel free to add suggestions in the comments!
License

You shall not share, sub-license, sell, rent, host, transfer, or distribute in any way the digital or 3D printed versions of this object, nor any other derivative work of this object in its digital or physical format (including - but not limited to - remixes of this object, and hosting on other digital platforms). The objects may not be used without permission in any way whatsoever in which you charge money, or collect fees.


Comment & Rating (63)