
14cm CPU Fan Bracket for Minisforum BD770/790/795 Motherboards
Print Profile(4)



Description
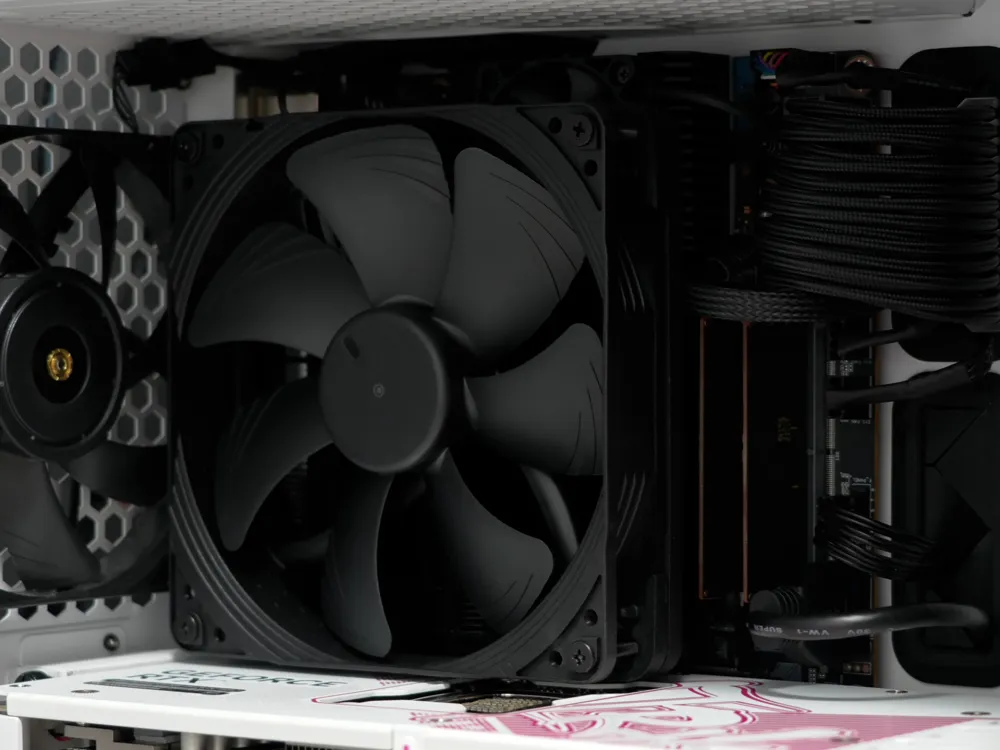
I've created revised versions 3 & 4, raising the fan an additional 7mm, increasing the clearance between the fan's lower edge and PCI-E expansion cards to approximately 9mm. Version 3 is designed for direct screw threading, while version 4 utilizes embedded heat-set nuts. Due to the adjusted hole positions, the embedded nuts might slightly deform one M2.5 screw mounting hole. This usually doesn't affect installation.
====================
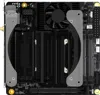
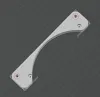
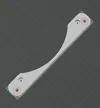
Minisforum's BD770/790/795 motherboards include a 12cm CPU fan bracket.
Utilizing fjlabs' original model, we can install a 14cm CPU fan, reducing noise, enhancing cooling performance, and improving memory cooling to some extent.
Unfortunately, testing revealed the original model conflicts with expansion cards in PCI-E slots (e.g., graphics cards), suitable only for systems without expansion cards or those using PCI-E extenders (like A4 ITX chassis).
This model subtly adjusts the original's hole positions, slightly raising the installed fan, providing roughly a 2mm clearance from PCI-E expansion cards. Note, this clearance remains tight; if using a compact ITX case and longer or thicker PCI-E cards (like high-performance GPUs), you might need to remove the CPU fan before inserting or removing the PCI-E expansion card.
You'll also need four M2.5*4 or M2.5*6 countersunk screws to secure the printed bracket to the original 12cm fan bracket, and four M4*30 countersunk screws for fan installation (suitable for standard 25mm fans, such as Noctua A14x25 PWM; for different fan thicknesses, select screws 5mm longer than the fan's thickness).
The model offers two versions. Version 1 allows direct threading of M4 screws into the model's holes; Version 2 requires embedding four M4*5*4 heat-set nuts, whose positions are shown in the assembly guide. To facilitate embedding the heat-set nuts, Version 2's bracket thickness is increased slightly from the original model's 5.2mm to 6mm. Screw threads cut into the model material may wear down with repeated assembly and disassembly; hence, heat-set nuts are better suited for frequent assembly and disassembly. If, for some unusual reason, you frequently install and remove the fan (to access the graphics card, for example), consider printing Version 2.
The recommended cable management method involves routing the cables upwards, then around the back panel to the motherboard's right side, connecting them to the CPU_FAN connector, provided your case design allows this.
Documentation (3)
This remix is based on

License



Comment & Rating (0)