
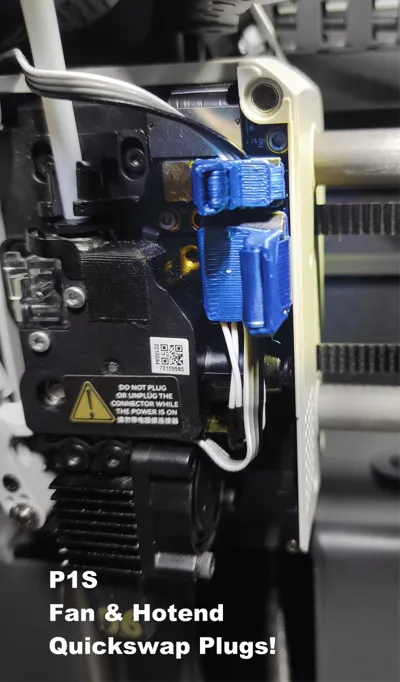
P1S Hotend Nozzle Fast & Quick Swap Plug Guide V2
Print Profile(6)

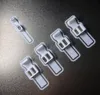


Description
Boost Me (for free)
If you find this model useful, a small boost would mean a lot! It helps me create more great designs and mods 😁 🚀🙏
Thank you very much! 😁
Hi,
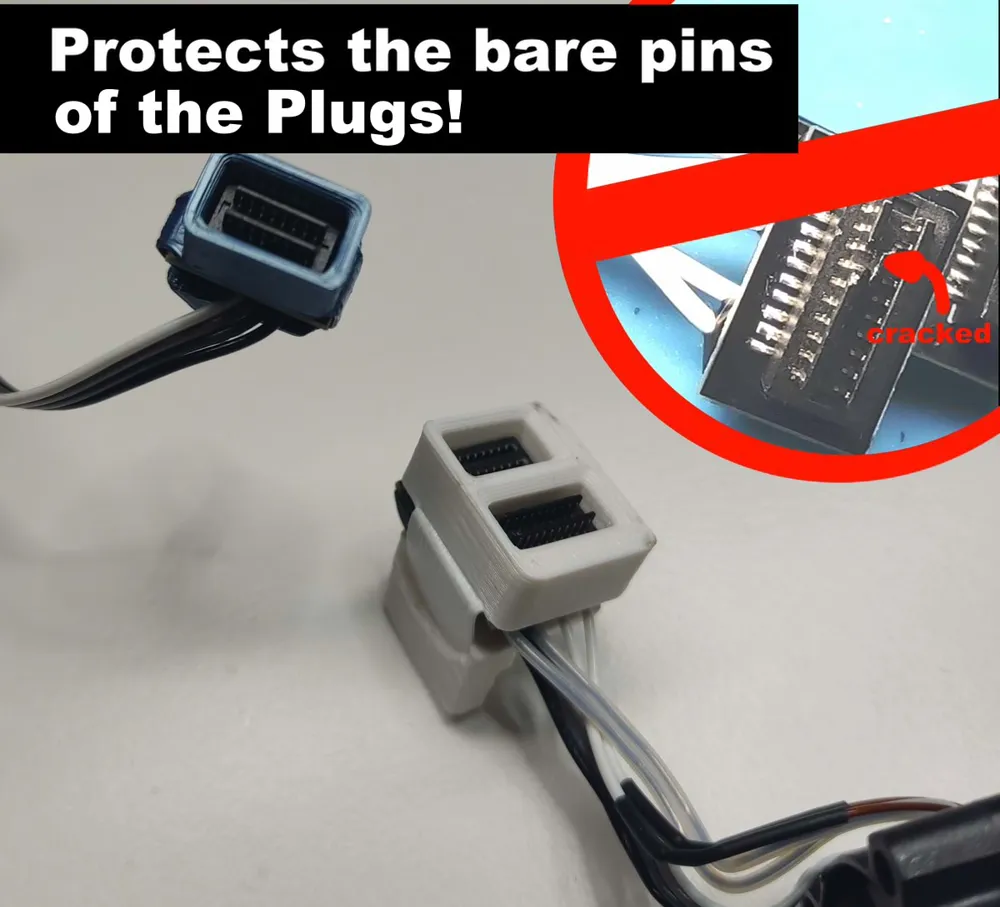
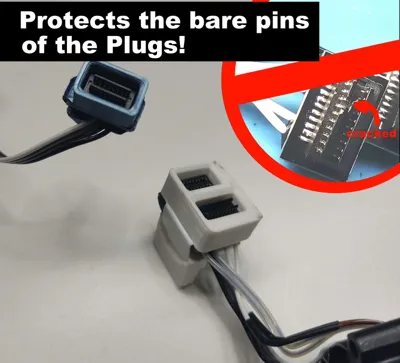
while my original model is still good, I noticed that the half-plug, half-guide approaches can cause breakage on the delicate pins on the plug if you are as clumsy as me, since they are kind of exposed a bit.
This is because the small PCB is kind of exposed on those.


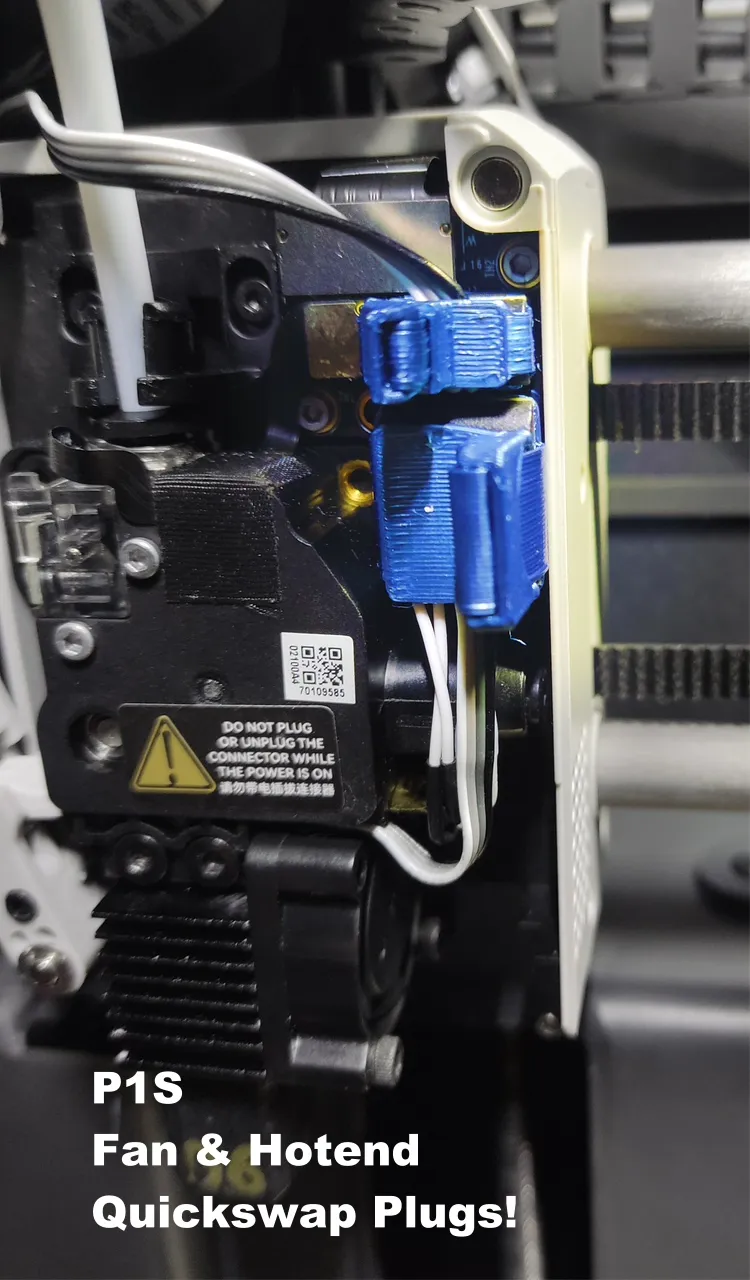
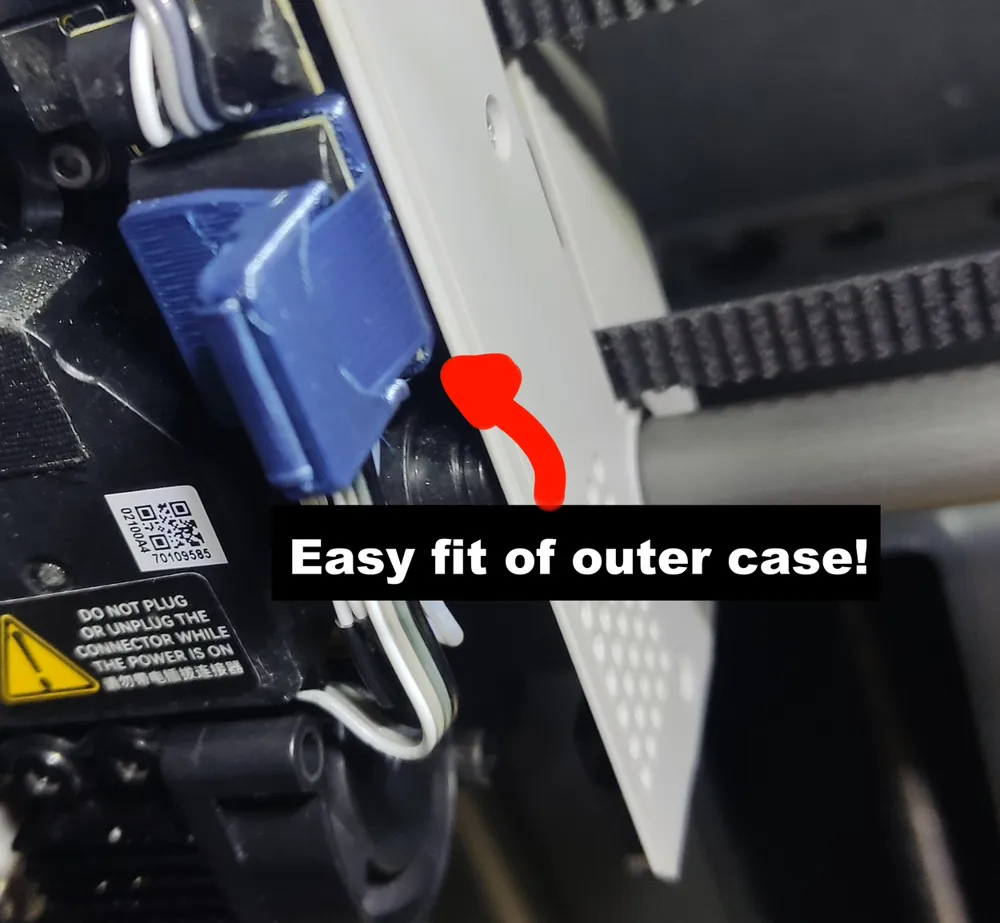
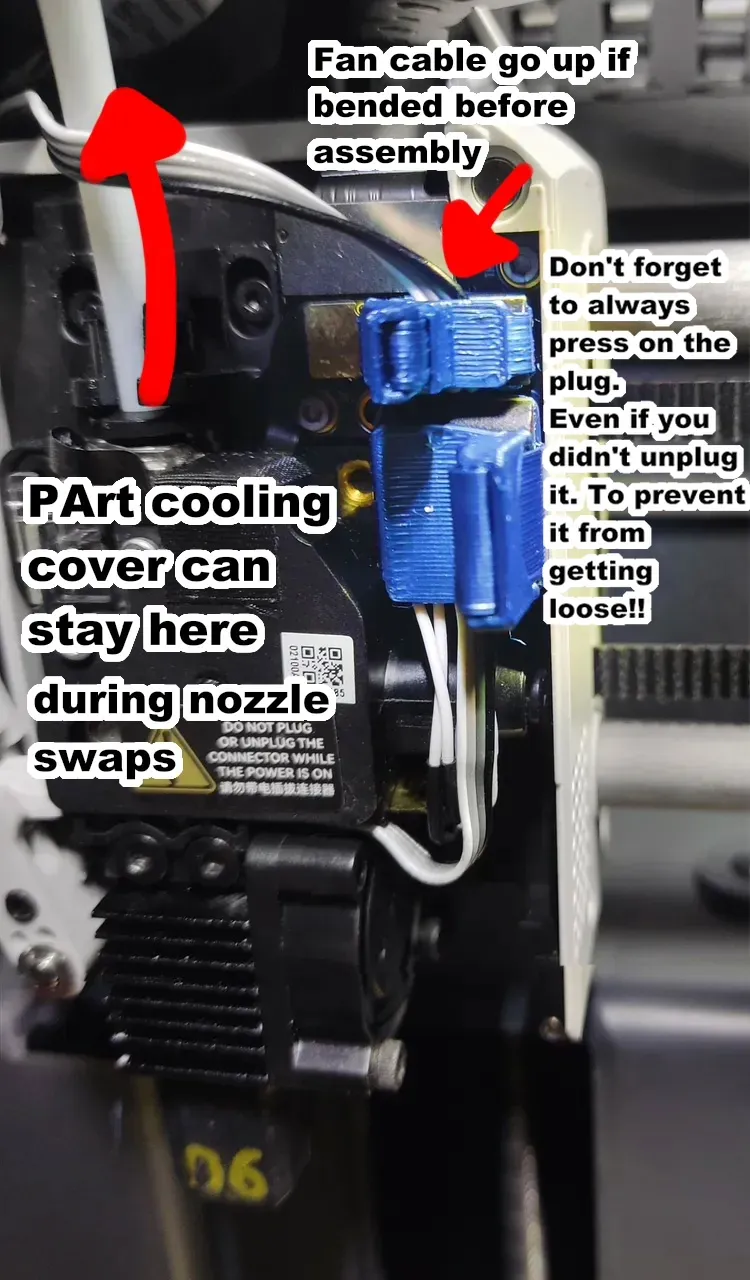
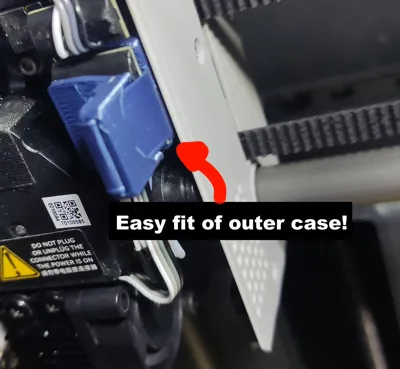
That's why I'm now combining both the plug and the guide into one! This way I can (even on the printer-side) hopefully make sure that only the plastic guide makes first contact and aligns everything beforehand, also this makes plugging in stuff a lot easier! :)
If you used the my original model you have to remove it's plastic guide, as that is now fully replaced, additionally this model now weighs a bit less and also the assembly is a lot “easier”.
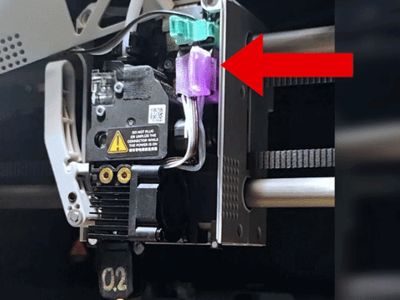
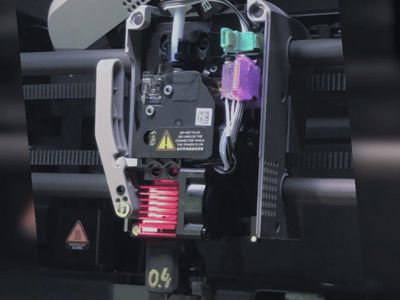
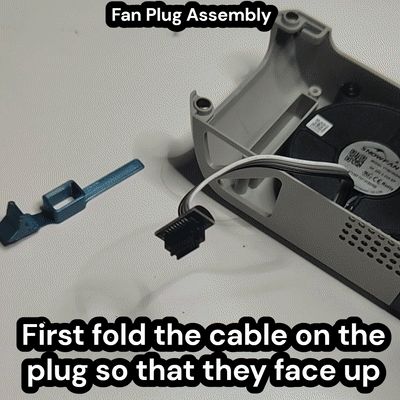
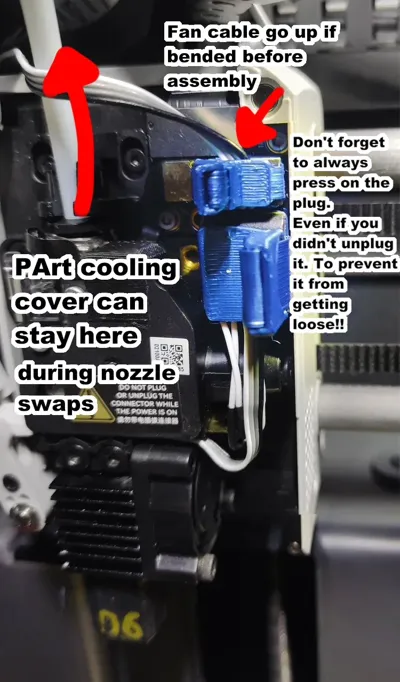
I also included a plug for the part-cooling fan plug with this iteration!
The two models (fan/hotend) only take 17 minutes total to print!
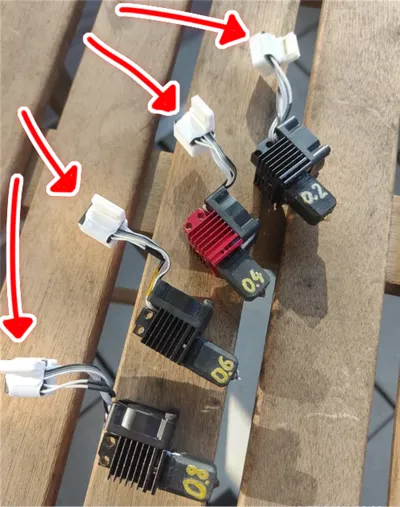
If you need 4 hotend plugs and 1 fan holder plug, it “only” takes 29 minutes total (6 minutes per piece).
(If you want an even faster way of removing the part-cooling fan, look at my magnetic pogo pin mod (it requires a bit more work, though. It's 100% compatible with this).
What this model does:
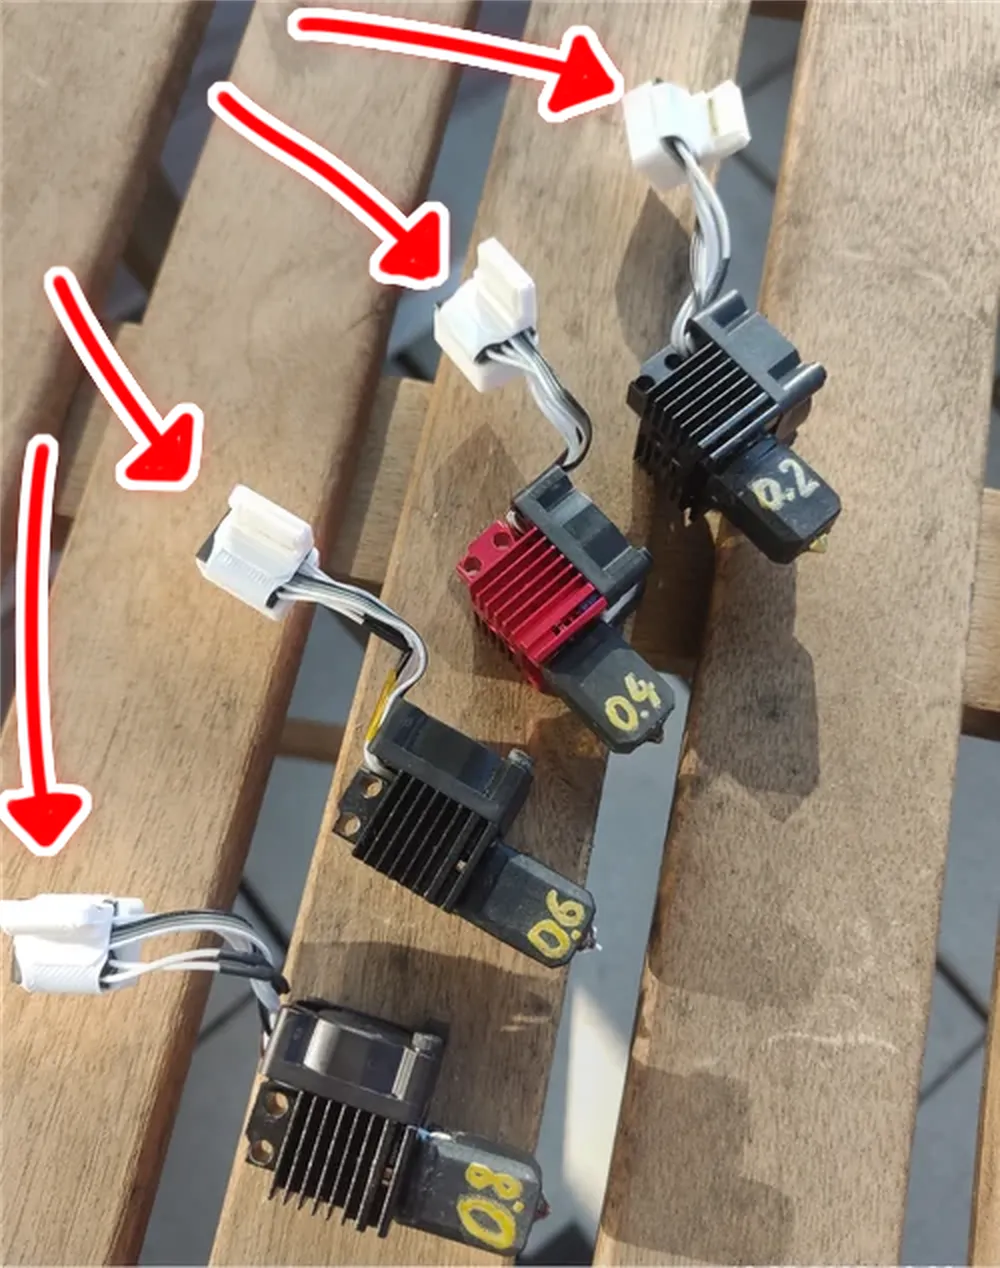
- A lot faster and easier hotend, swaps.
- More secure hold of the plug
- Combines plugs of the hotend into 1 (like my V1)
- Extremely little weight 1.88~2.44g
- Quick print time per Plug holder (15 Minutes, without prepare time 8 Minutes)
What you need:
- For PETG, please select the “Bambulab PETG HF” profile (or print at 240°C)!
- For ABS, please use Bambu Studio and select my custom-profile and print at 230°C~240°C
- For PLA, use the “Bambulab PLA Basic” Profile (beware, only recommended if you only print PLA/PETG).
- 0.4MM Nozzle
- CLEAN YOUR BED before printing, otherwise removing the print will be hard!
- A bit tiny bit of patience for the assembly :D
Assembly:



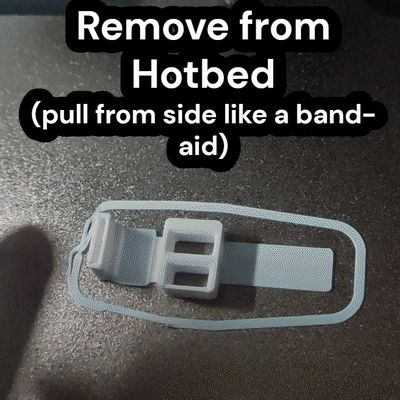
First, slowly remove the part from the build plate (wait a bit until it cools down, I normally rip it off like a band-aid) see GIF in the gallery or the assembly below.
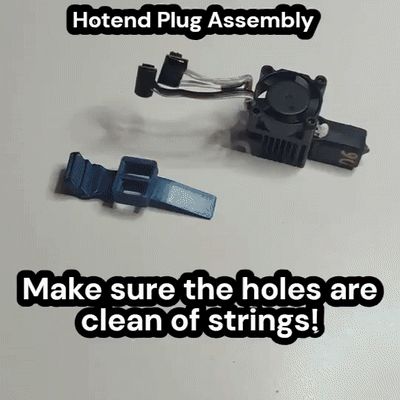
Second, make sure the internals of the part do not have any strings! Really important
Third, I got Assembly PDF Guides below in the Assembly section, and also GIFs above.
Help with Potential Print Issues:
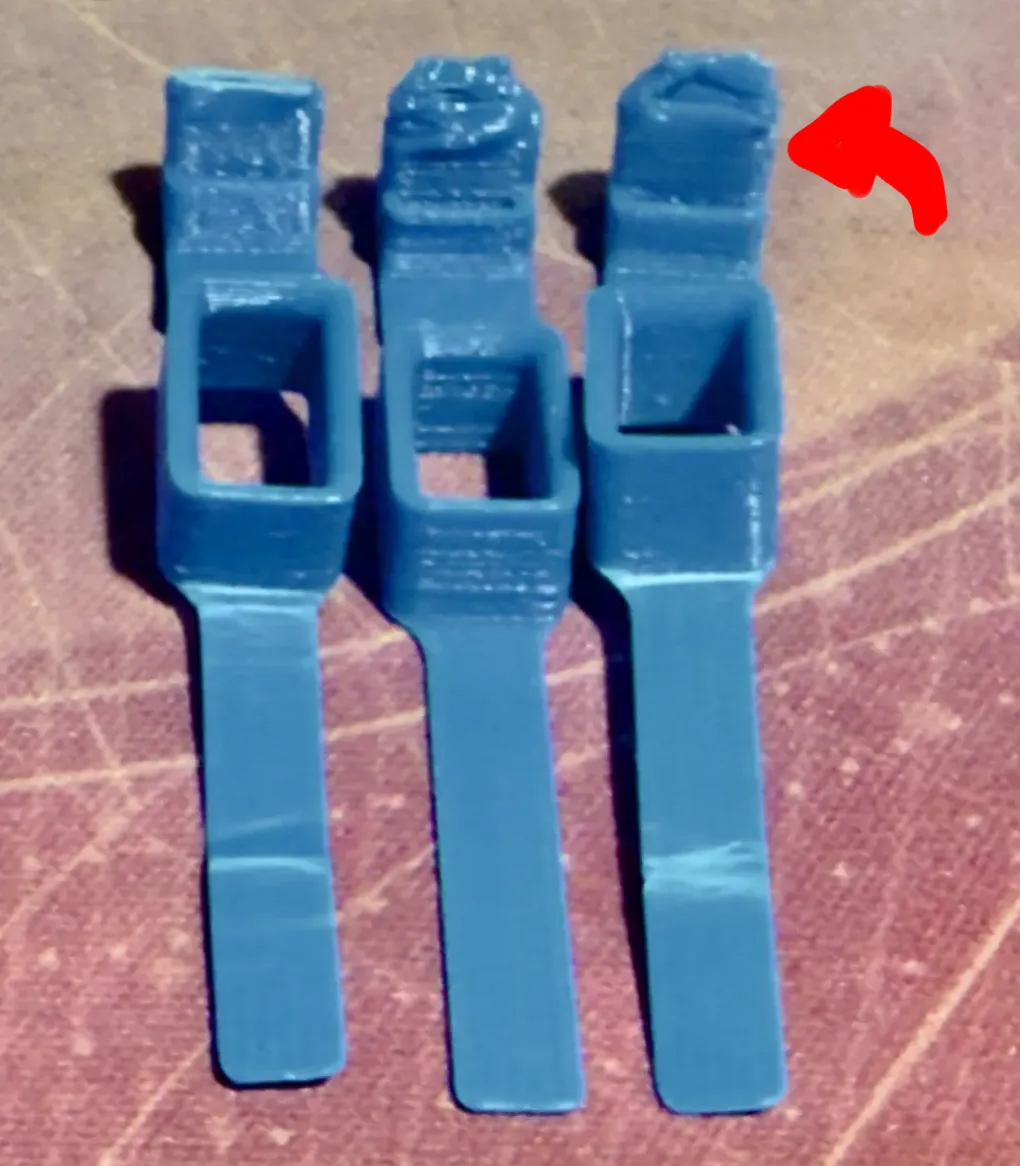
Depending on the brand of PETG (or PLA, ABS) used, you might have to select a different Material preset in Bambu Handy/Bambu Studio. Some filaments behave a lot differently while still being called the same, because the fan holder itself has rewally tiny walls on the upper layers these differences can get really apparent (see image on the side).
As an example: I have regular generic PETG, but if I select the Basic PETG profile (which has the fitting temperatures like on the package), the model gets a bit melty and brittle.
However, if I just use the “Bambulab PETG-HF” profile for that generic filament, the print comes out fine! (Thanks to AD3D for pointing that out, and thanks for the image! )
Updates:
- 23.06.2025: V2.1: improved folding design, greatly improved plug tightness (Updated assembly GIF).
Disclaimer:
Always double-check that the connection/plug is 100 % securely plugged in. In my own tests (over several days of printing), everything has worked perfectly, and, with this mod, swapping a nozzle (aside from the two screws) is lightning-fast (< 1 Minute is achievable). 😄
Because this is a modification, you apply it at your own risk, I’m not responsible for any issues that may occur. Please make sure that the connection of the plugs needs to be very well, because a lot of power is going through those connectors and if you don't properly plug it in it might melt (this is always the case even without this mod/holder)!
Documentation (3)
License

You shall not share, sub-license, sell, rent, host, transfer, or distribute in any way the digital or 3D printed versions of this object, nor any other derivative work of this object in its digital or physical format (including - but not limited to - remixes of this object, and hosting on other digital platforms). The objects may not be used without permission in any way whatsoever in which you charge money, or collect fees.


Comment & Rating (806)