
Adjustable Tablet Stand - Swan
Print Profile(4)


Bill of Materials


Description
Adjustable Tablet Stand – Swan
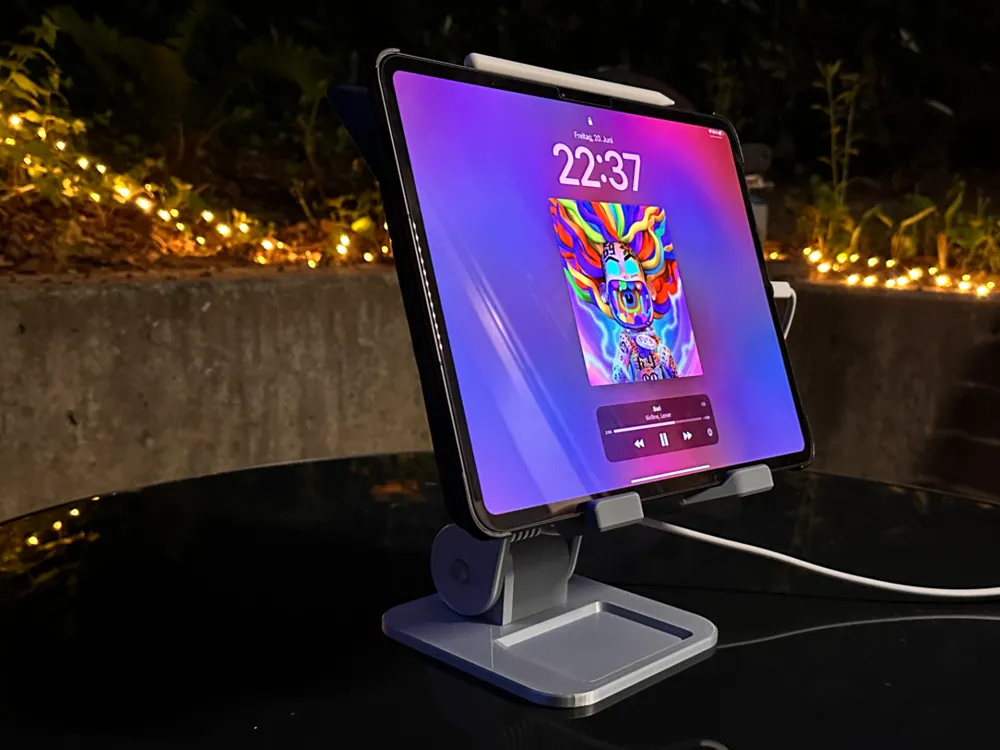

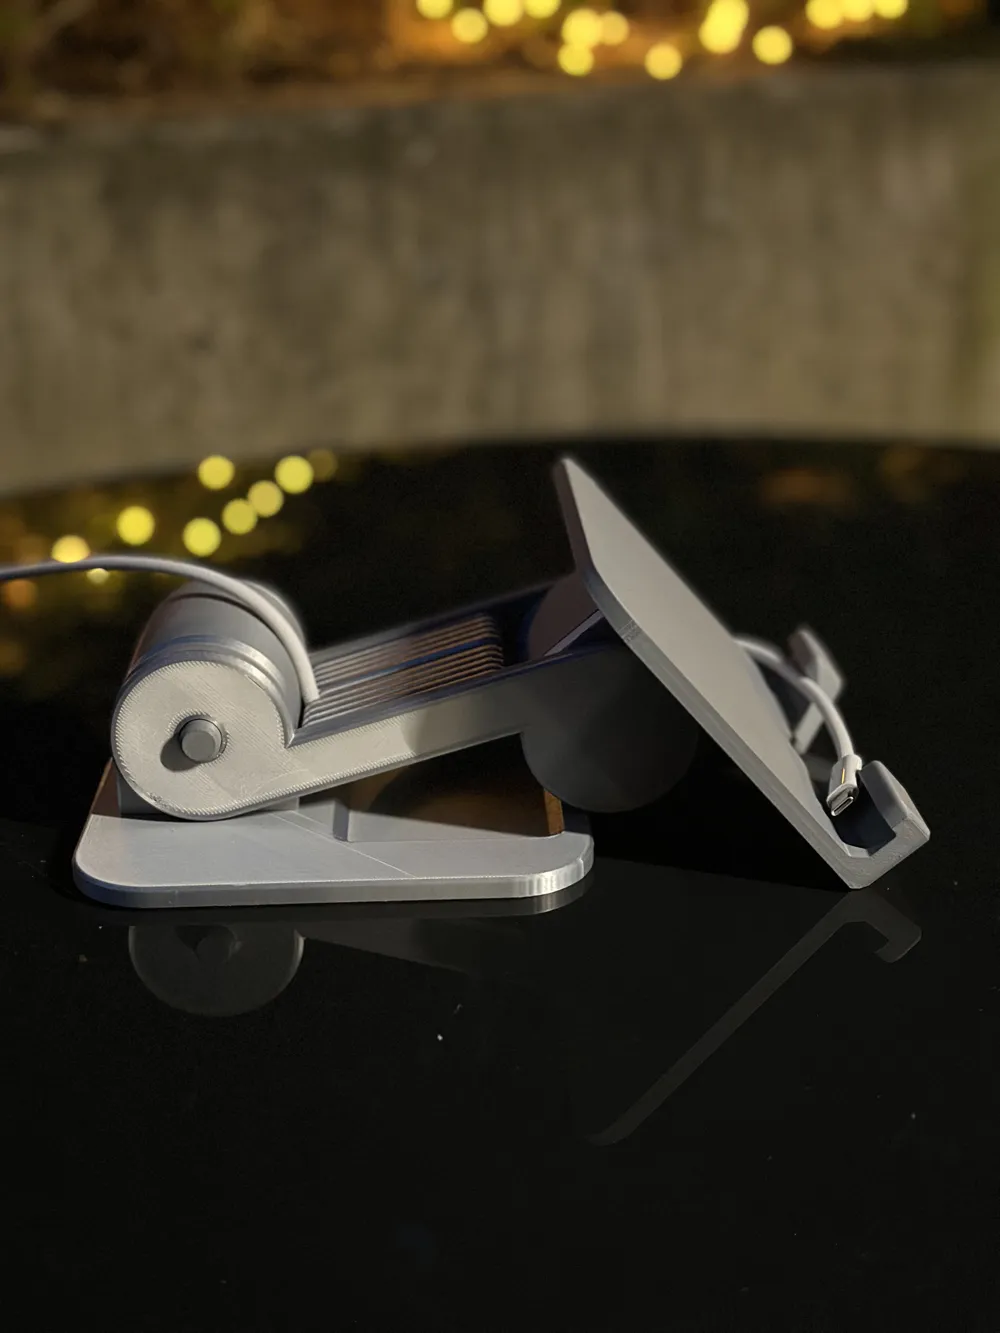
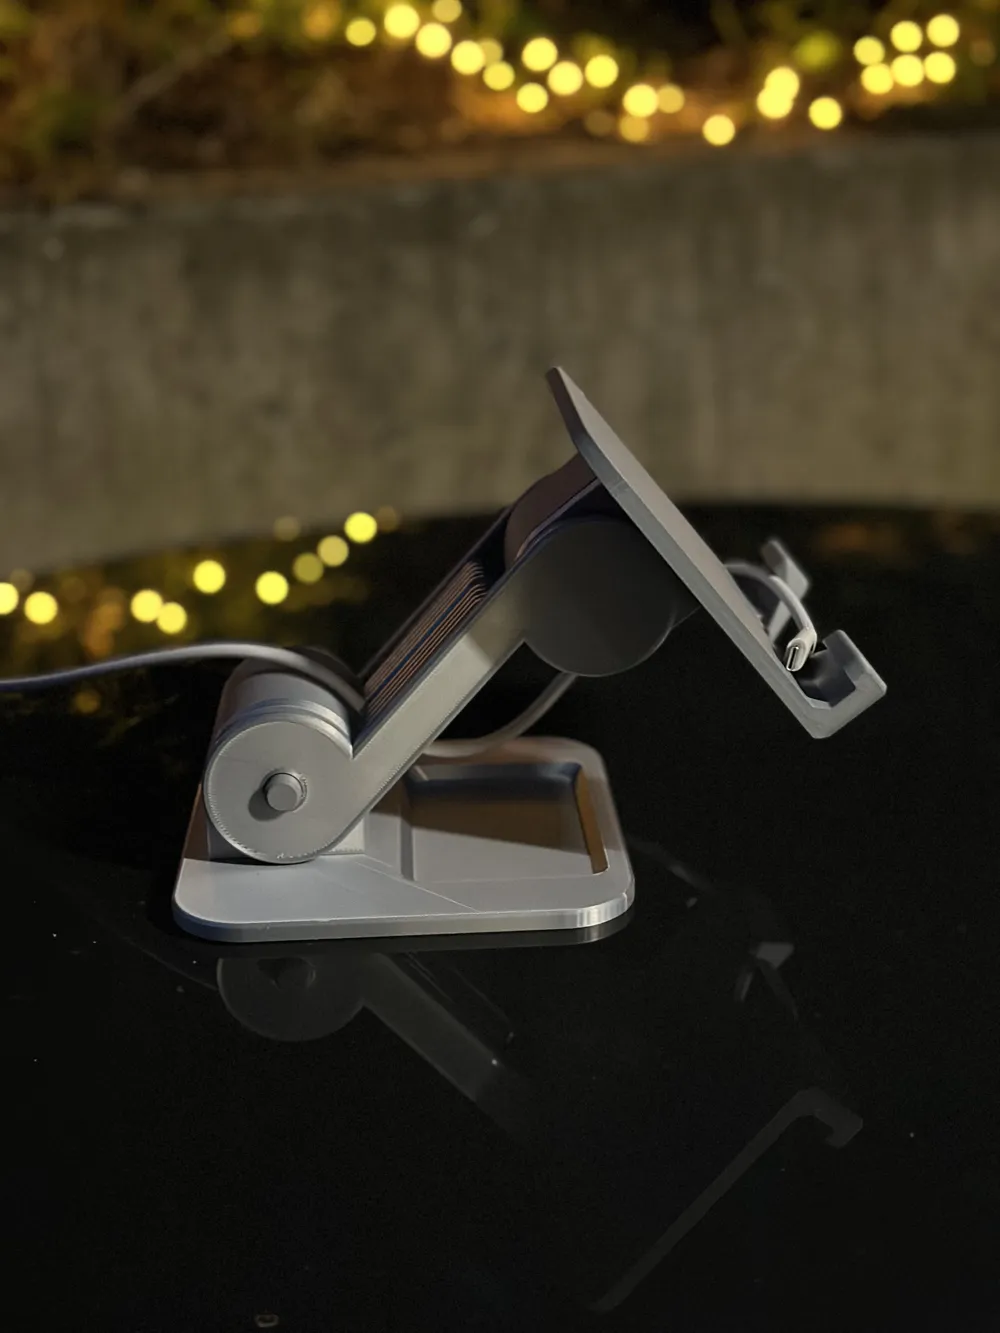
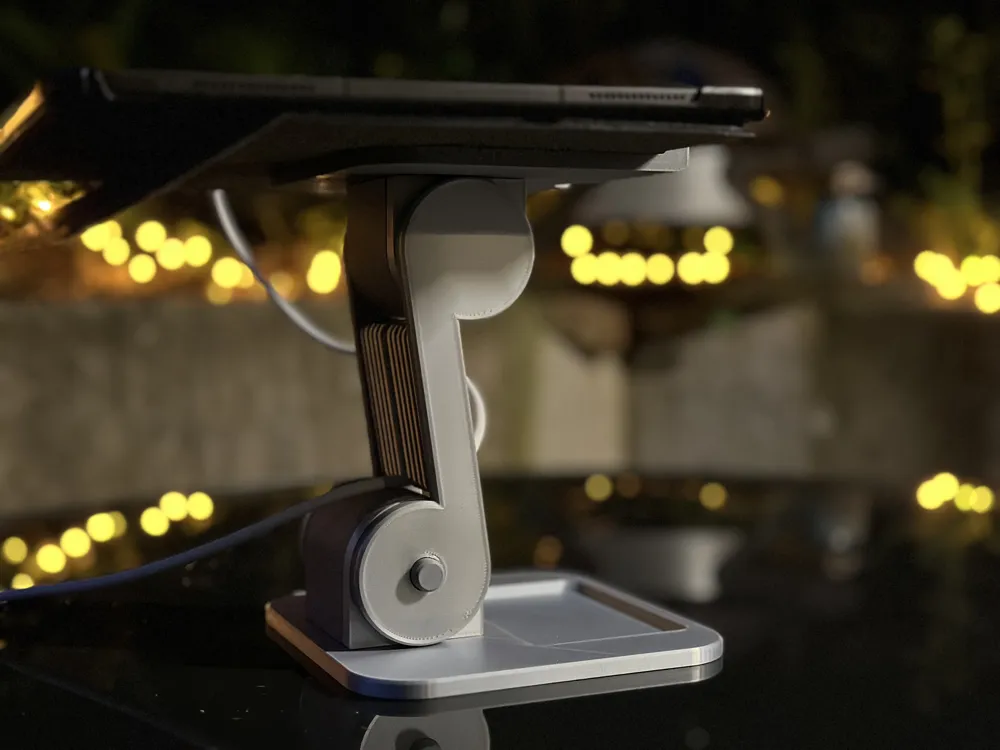
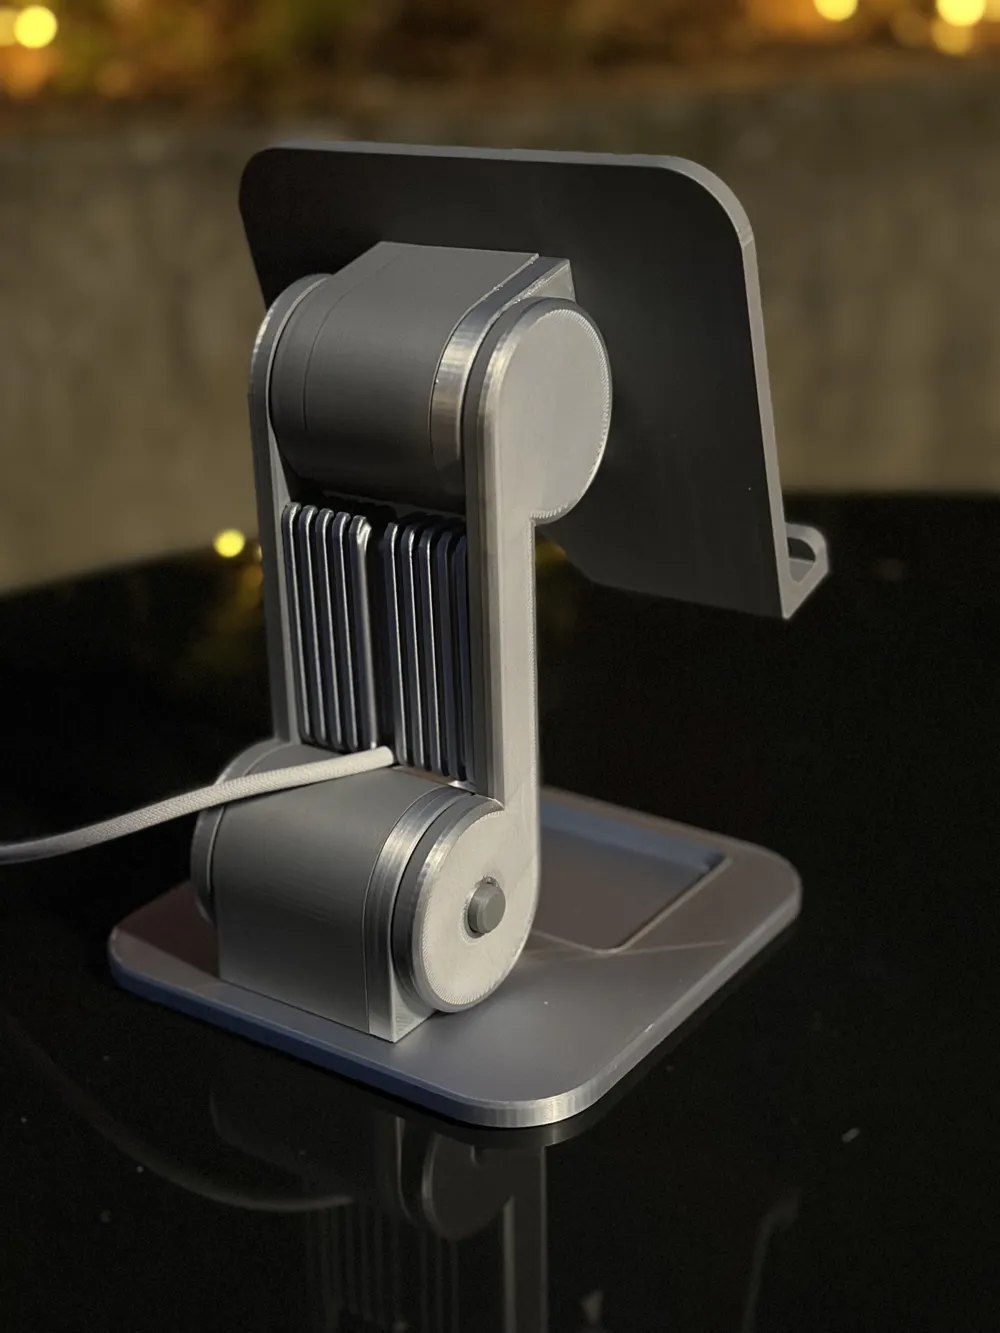
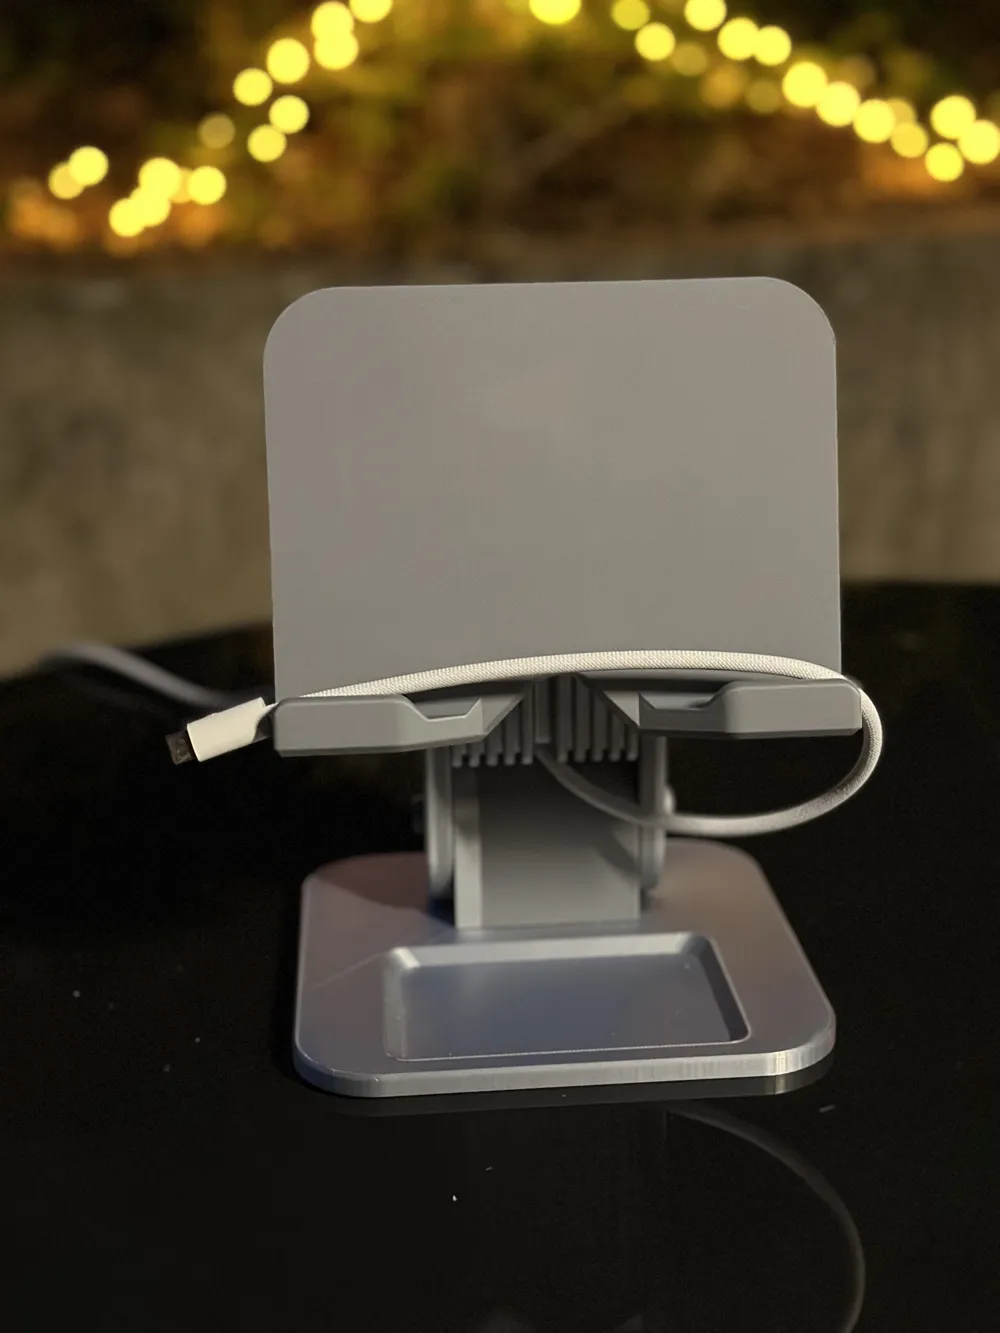
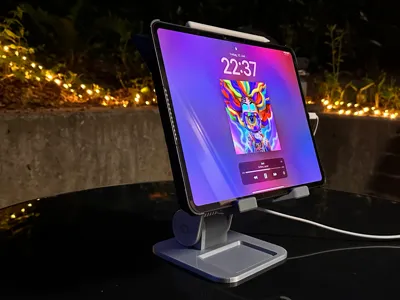
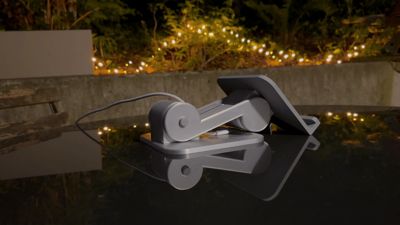
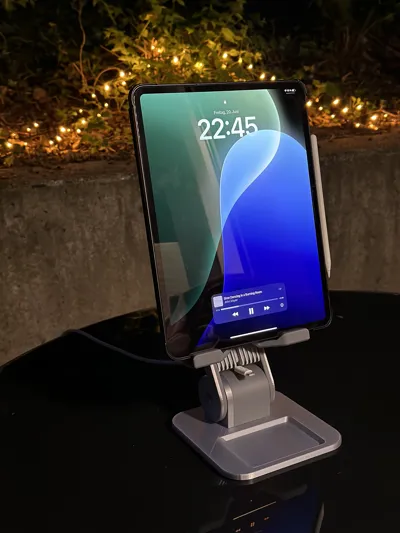
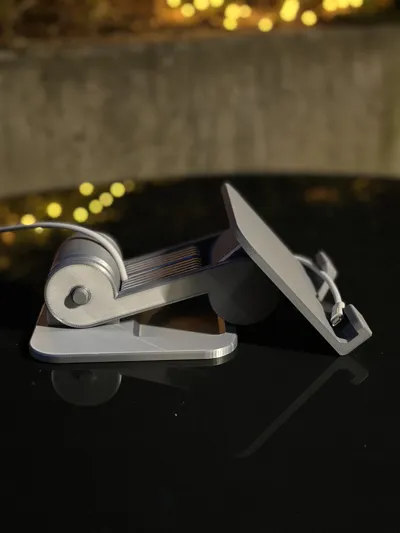
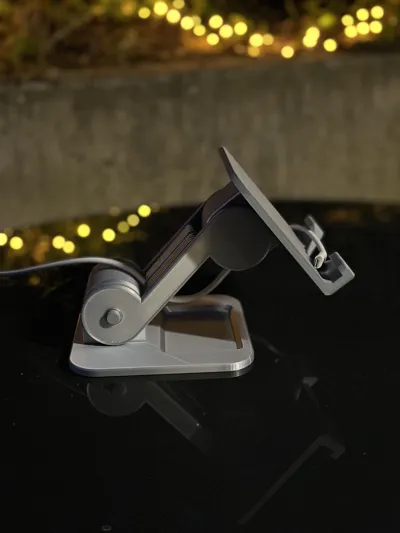
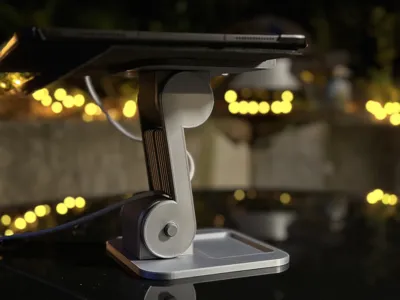
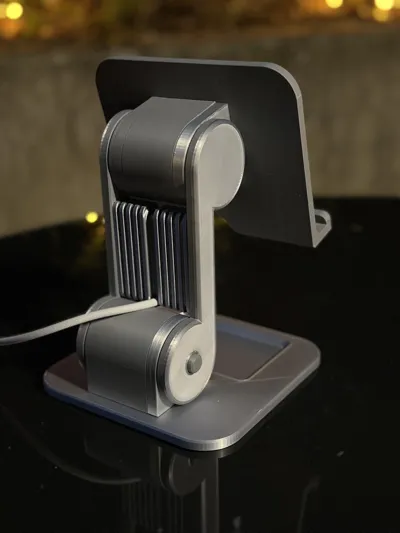
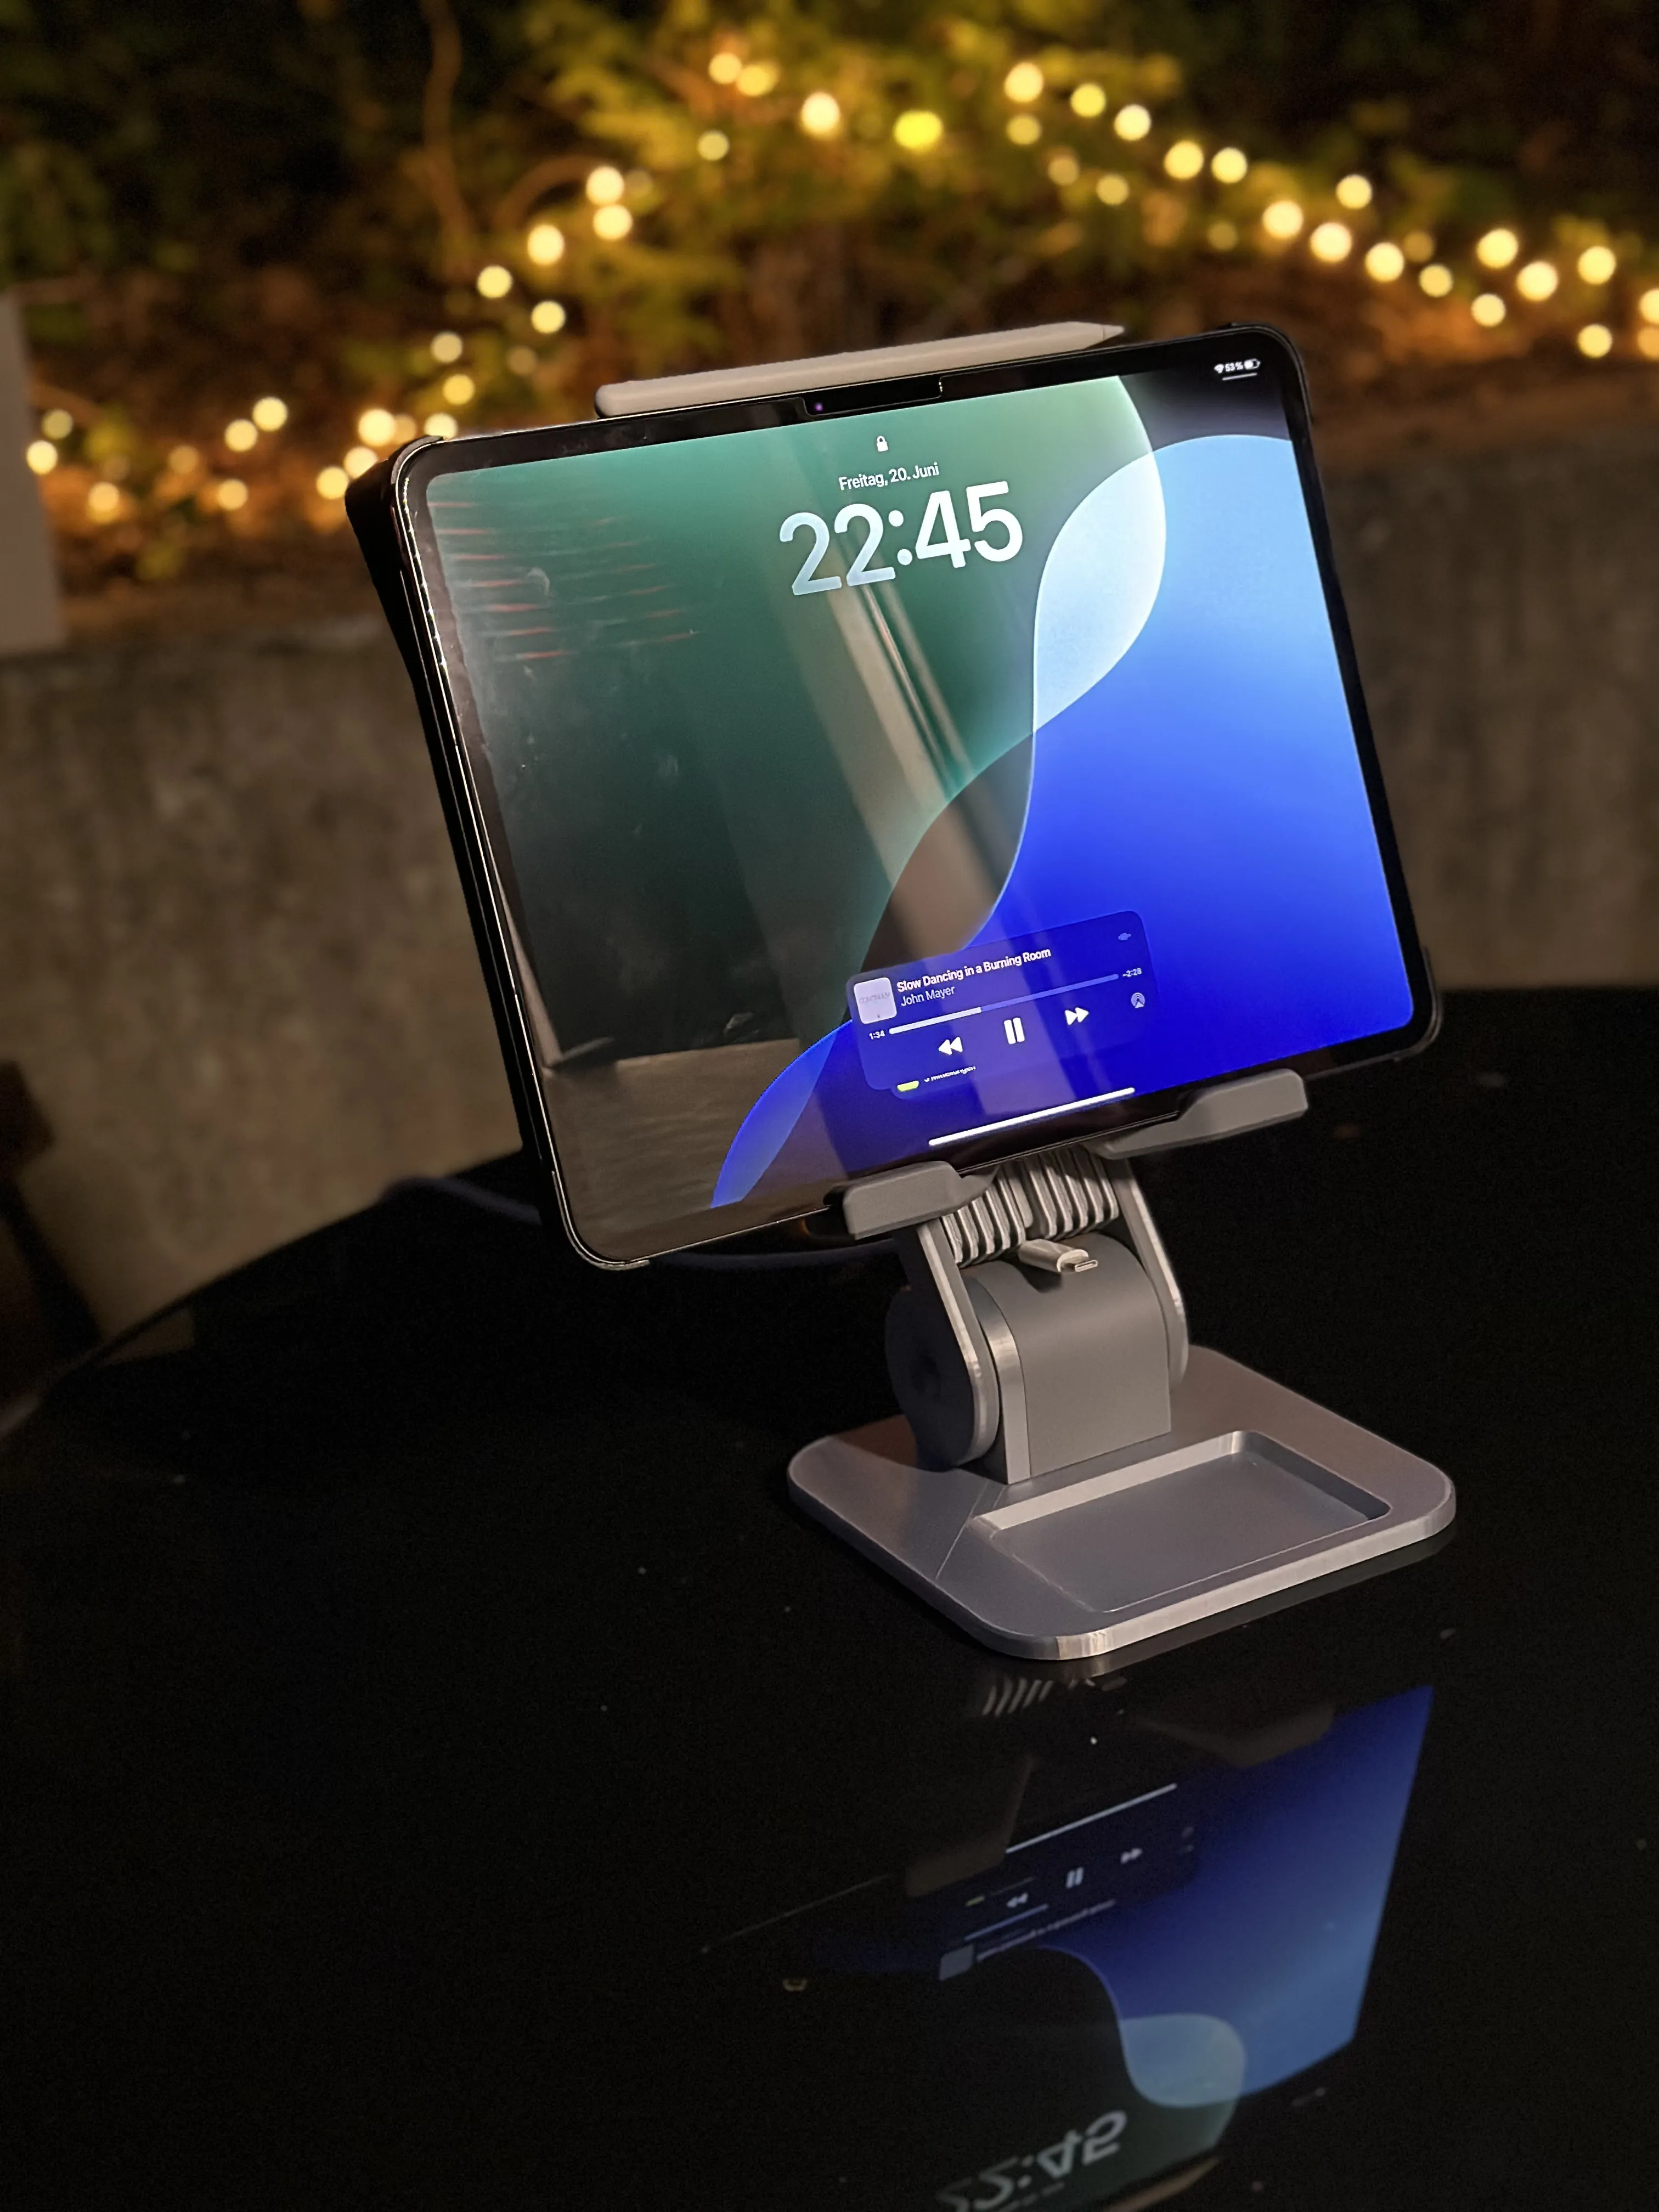
An elegant, 3D-printed desktop stand featuring two precision joints: a push-lock mechanism for secure positioning and a spring-loaded joint that enables smooth transitions between preset angles.
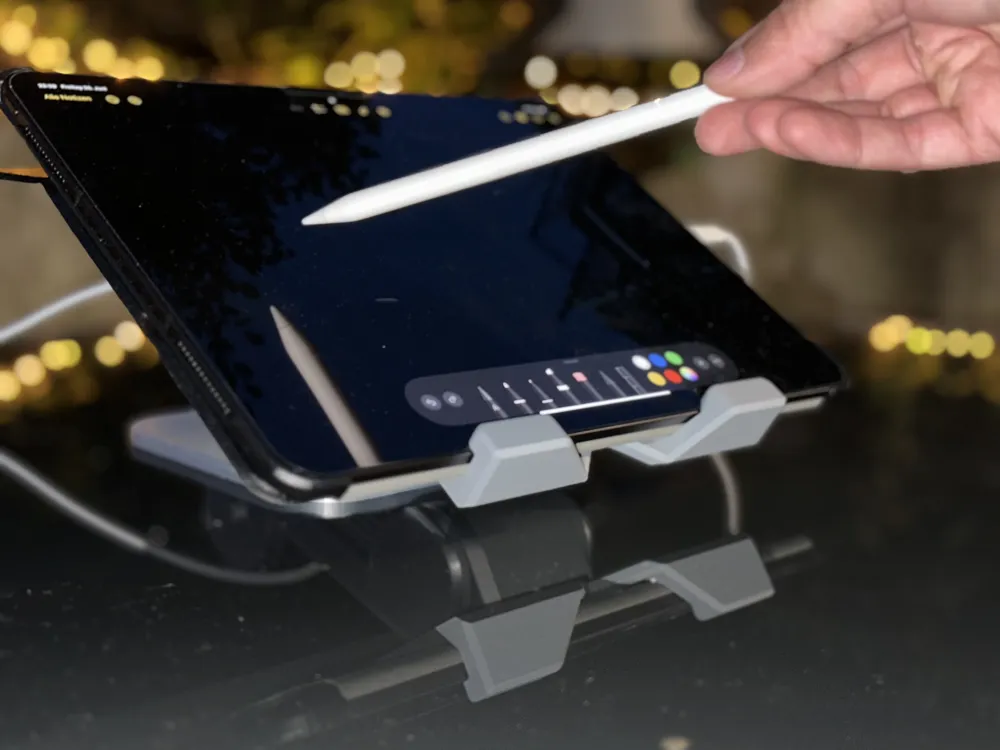
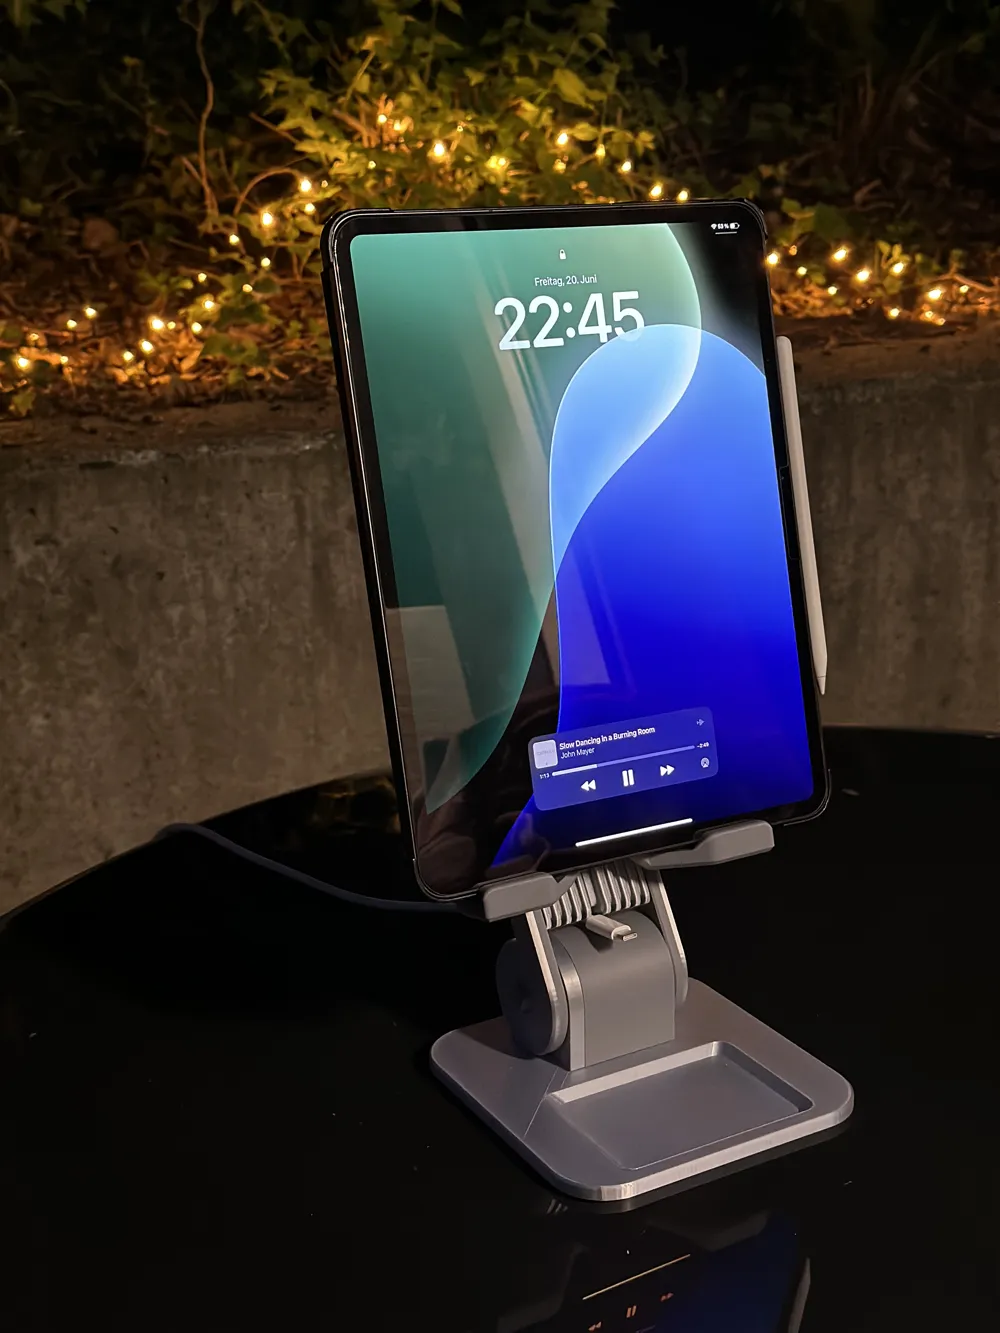
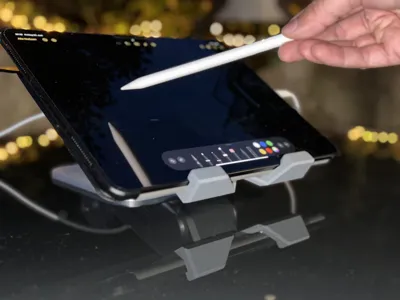
Designed with creatives in mind. The low position is perfect for photo editing and drawing with a stylus, while the upright mode offers an ideal view for reviewing shots or video calls.
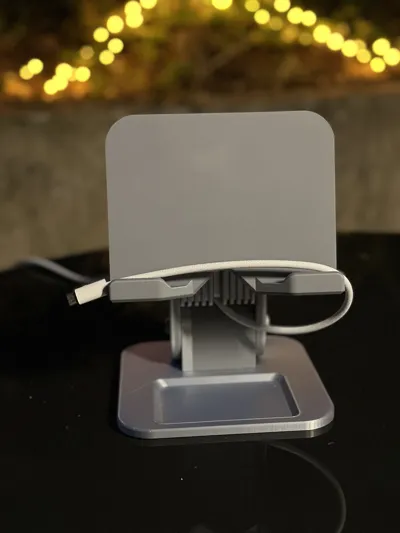
Includes built-in cable pass-through and a small tray to keep your workspace tidy.
Compatible with most tablets (tested with iPad Pro 13"). Max device thickness: 15 mm.
Exceptionally stable; built to minimize wobble even under pressure.
#UPDATED
- A configuration mistake that lead to people getting an error when not using the same print plate as me (would love some feedback)
- As some people said in the comment section, you will likely need some force to join the base plate and the tablet holder to the joints, as the tolerances are very tight, to reduce wiggle. I will see what I can do to fix this in future updates.
- instructions below, due to an unclear instruction before. Hope this helps and makes the assembly easy and fun.
Boost Me (for free)
Thank you for your support!
| # | Part Description
|
| 1 | Base stand
|
| 2 | Tablet holder
|
| 3 | Left & right arms
|
| 4 | Lower hinge housing (with thread)
|
| 5 | Upper hinge housing
|
| 6 | Two middle bodies (hinge cores)
|
| 7 | 6 springs (4 with dimples, 2 without)
|
| 8 | 2 ring gears (with square cutouts)
|
| 9 | 2 pin gears
|
| 10 | 2 hinge lids
|
| 11 | Cable ribs
|
 | Please check weather the geared push pins move freely inside the opening of the arms. It is important for the mechanism to work.
|
________________________________________
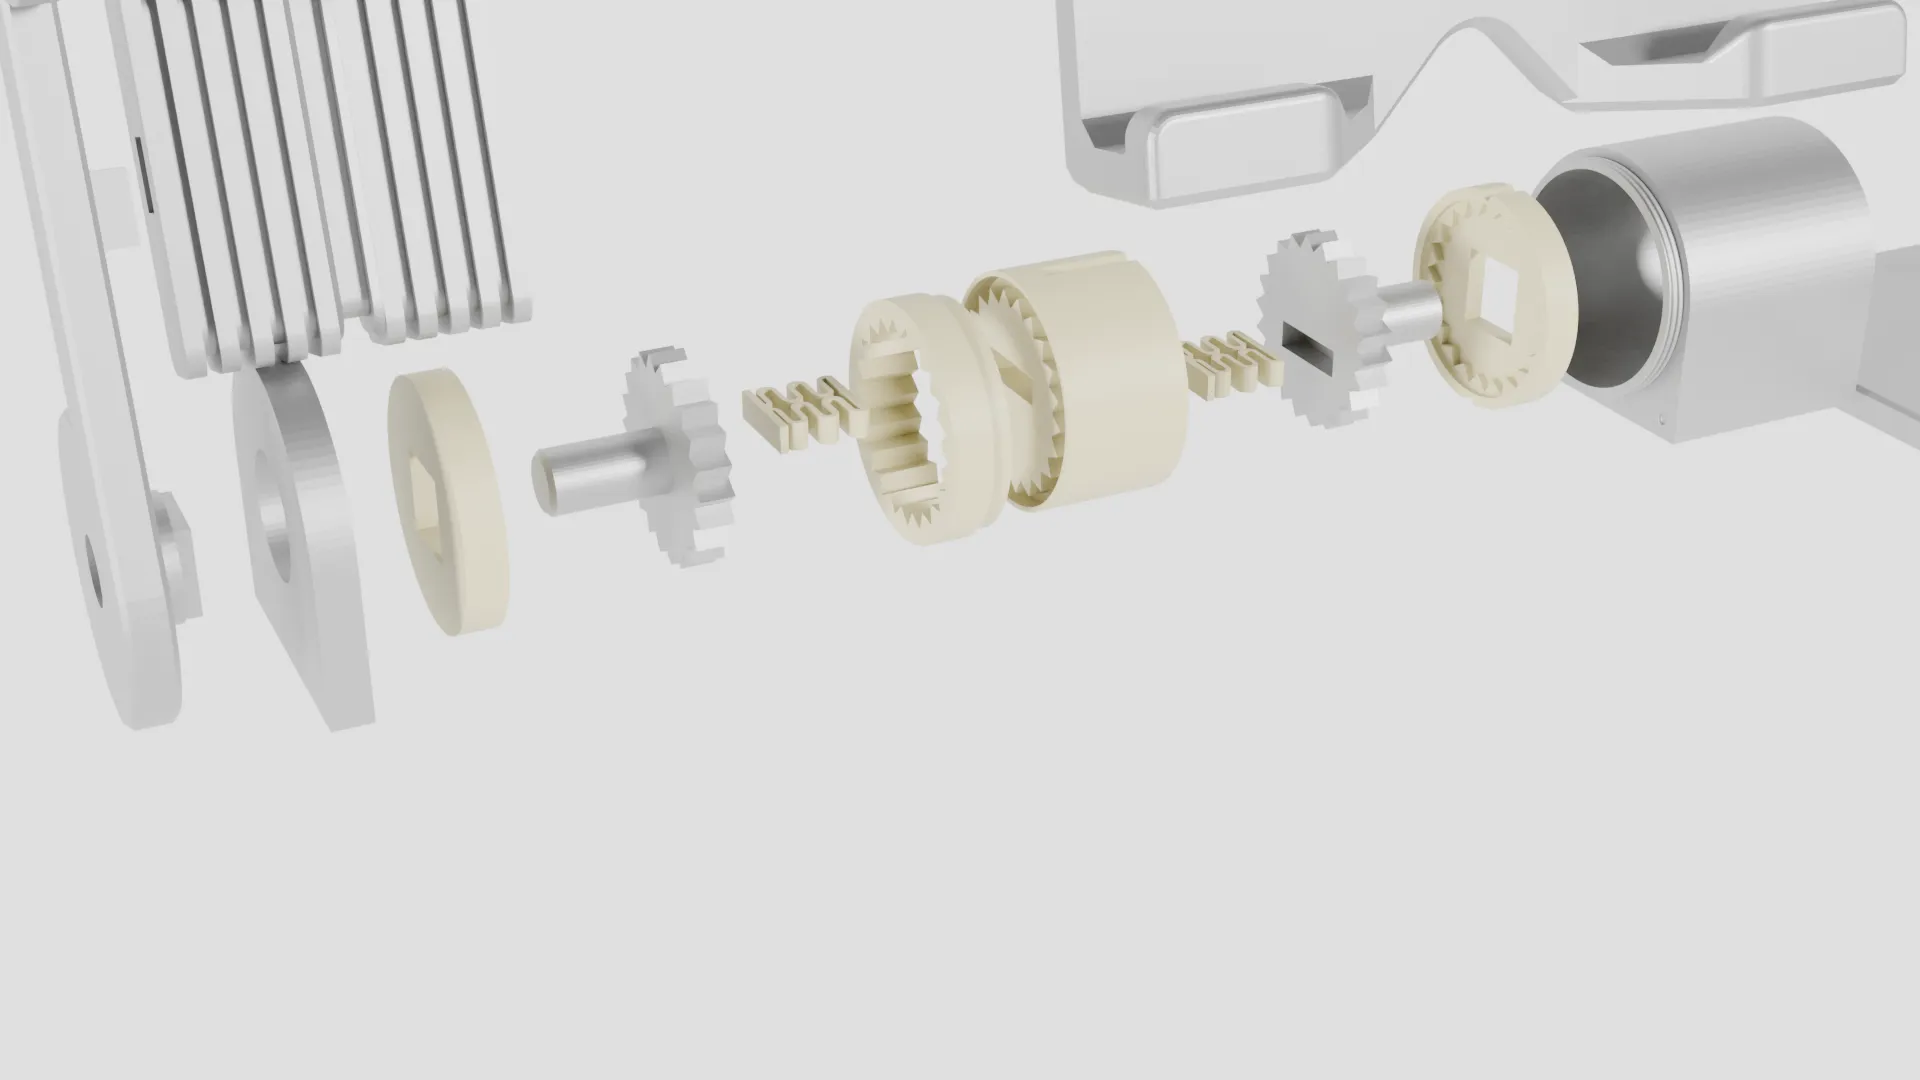 Lower hinge assembly |
 Insert the ring gear (square notch and teeth inward) into the threaded lower housing until it sits flush with the back wall. |
 Insert a spring without a dimple into the middle body. |
 Press the smaller gear ring into the middle body until it fits snugly and also insert one of the springs with two flat sides into the middle body. |
 Insert a pin gear into the middle body while also sliding the spring into the groove on the underside of the pin gear. |
 Insert the middle body into the lower hinge housing, see that the grooves align so you can push it all the way in. You can use the other pin gear to help rotate it into the right position. |
 Insert the second pin gear into place, aligning teeth halfway into the middle body’s gear. |
 Insert the ring gear into the lower hinge housing. It should sit flush with the threads of the housing. |
 Screw on the lid. Align until the corner dimples click into place. Don’t overtighten. |
 Slide the assembled lower hinge (with geared push pins) onto the base stand from the left side. |
________________________________________
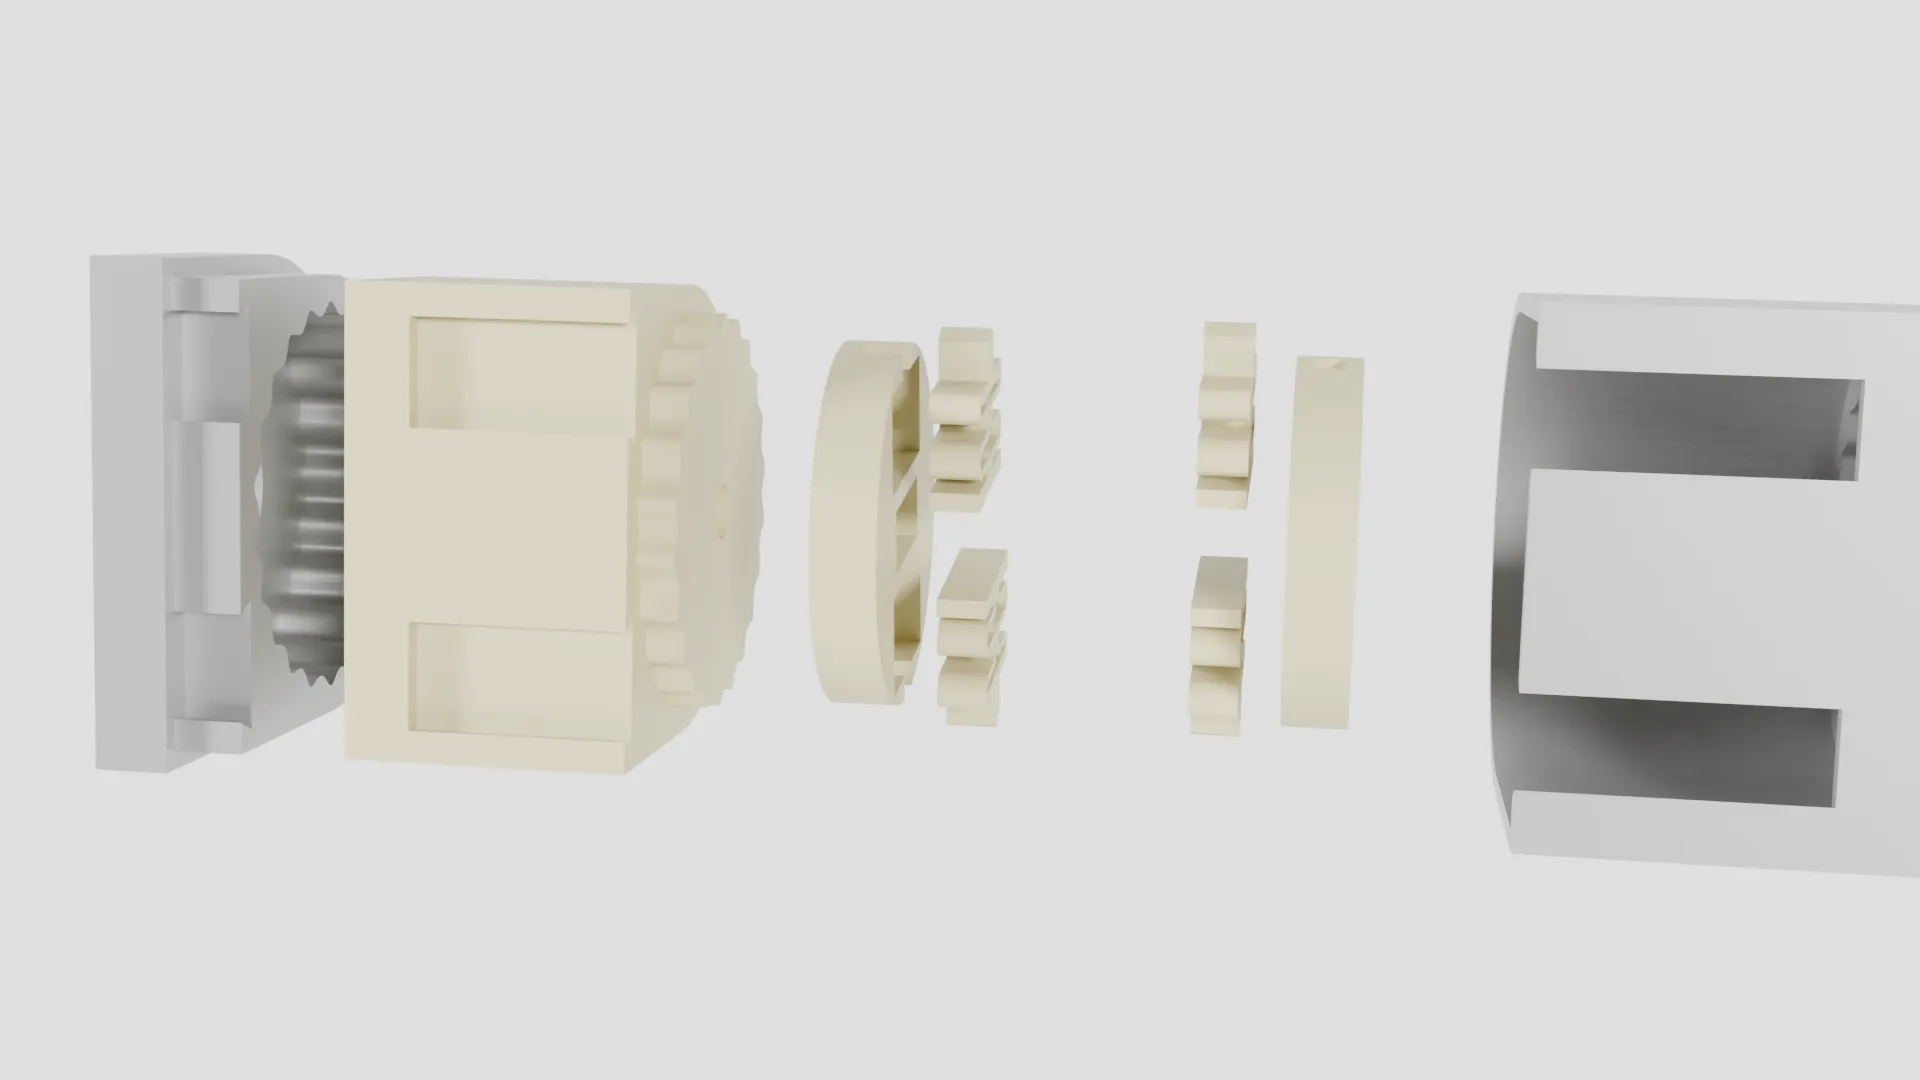 Upper hinge assembly |
 Insert two springs (with dimples) into a ring gear. Dimples must face outward. |
 Insert the middle body into the housing with the flat side facing the gear you just inserted. |
 Prepare the lid with the second spring-loaded gear (same spring direction as before). |
 Slide the top hinge housing onto the tablet holder from the tapered side. Align with the slits and insert the lid (with gear and springs) into the top hinge housing. |
________________________________________
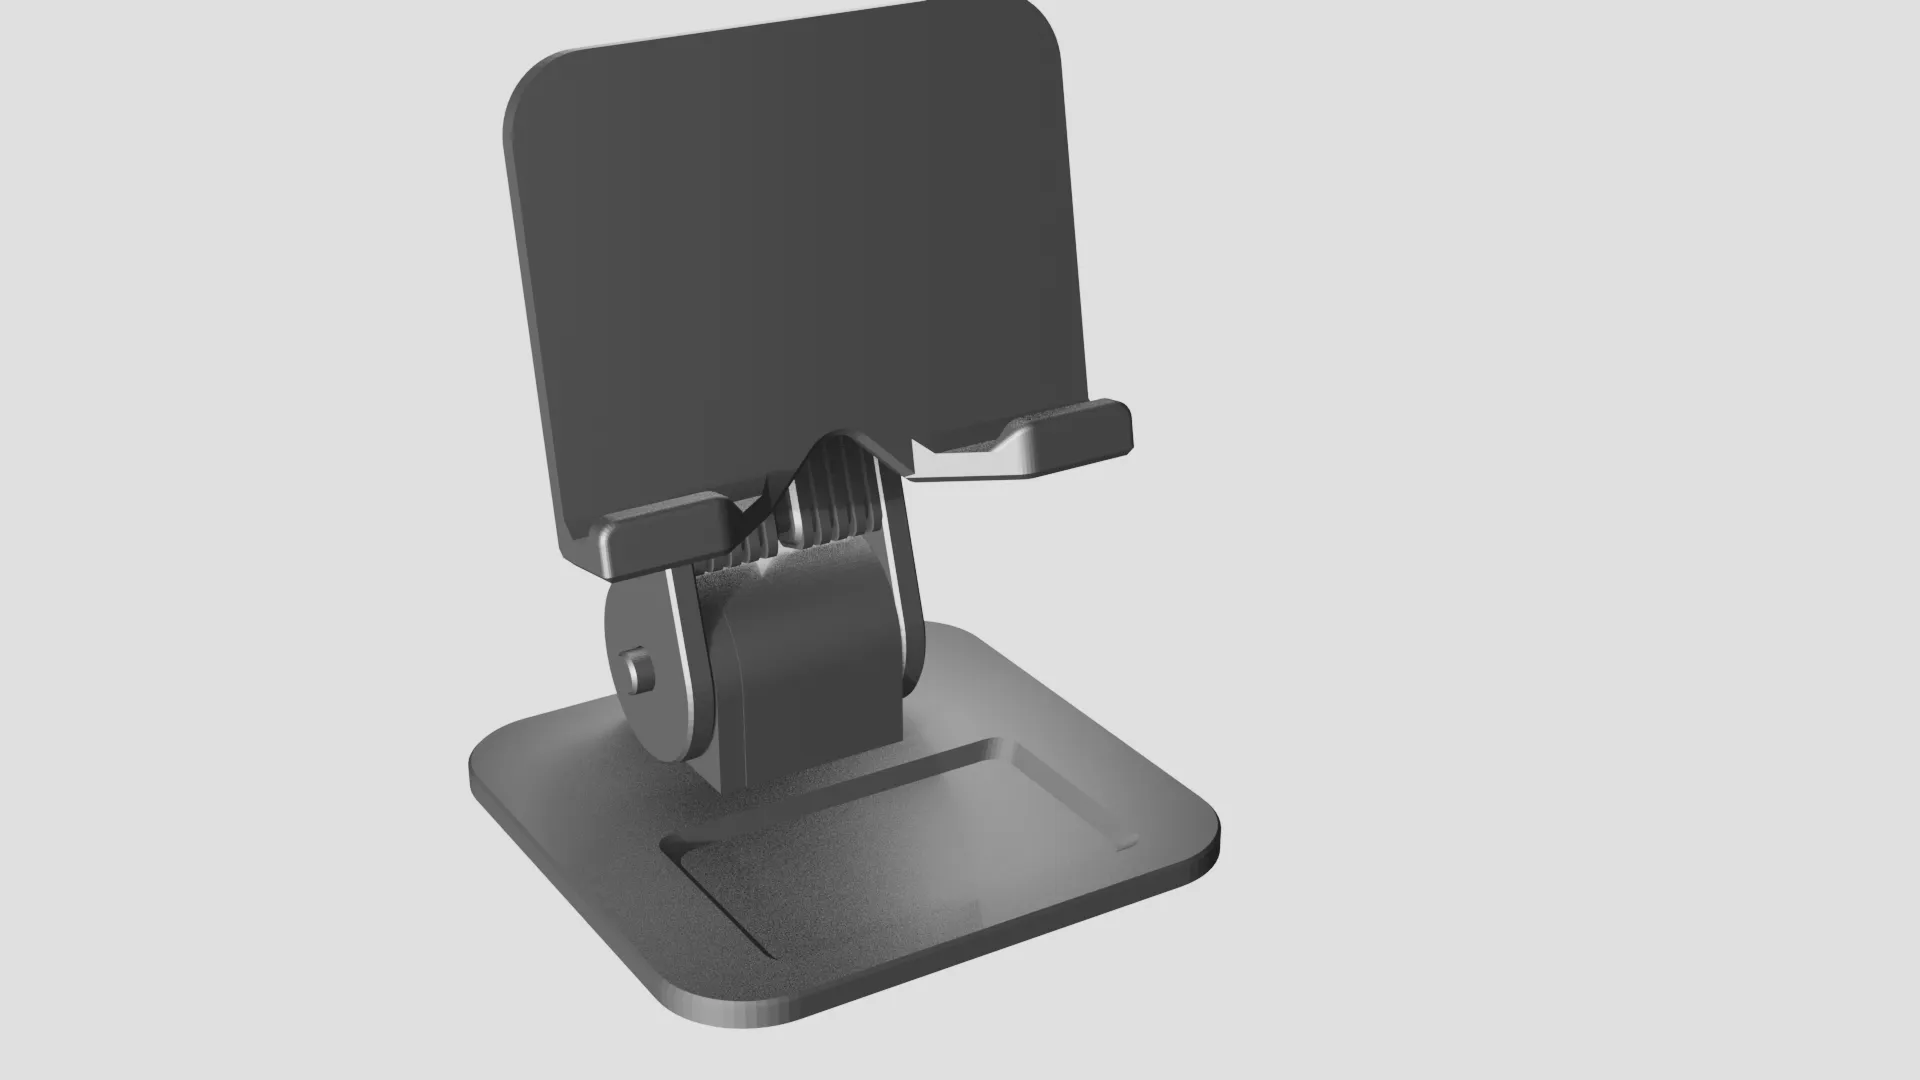 Final assembly |
 Attach one of the arms to the base hinge. Slide over the pin into the gear's square. Insert the cable into the lower groove of the ribs and attach the ribs to the arm. |
 Insert the right side of the upper hinge into the arm. Press into the rectangular slot. |
 Repeat for the other arm. You may need to adjust the right arm angle to fit it properly. |
✅ Done! Your tablet stand should now resemble the final image. |
License

You shall not share, sub-license, sell, rent, host, transfer, or distribute in any way the digital or 3D printed versions of this object, nor any other derivative work of this object in its digital or physical format (including - but not limited to - remixes of this object, and hosting on other digital platforms). The objects may not be used without permission in any way whatsoever in which you charge money, or collect fees.


Comment & Rating (292)