
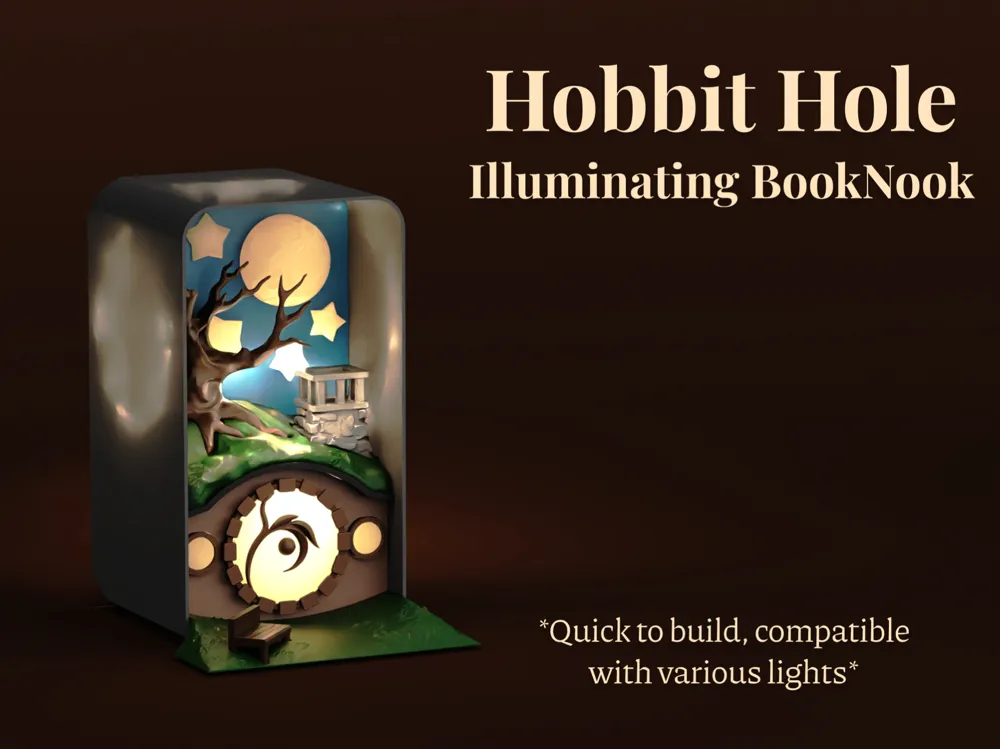
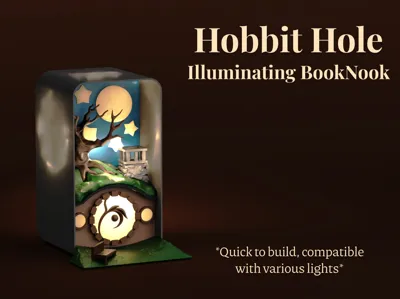
Hobbit House Illuminating Booknook
Print Profile(2)


Bill of Materials



Description
Boost Me (for free)
Do you like my designs? Support me in creating more cool stuff by boosting me - for free! 🚀
Hey people! :)
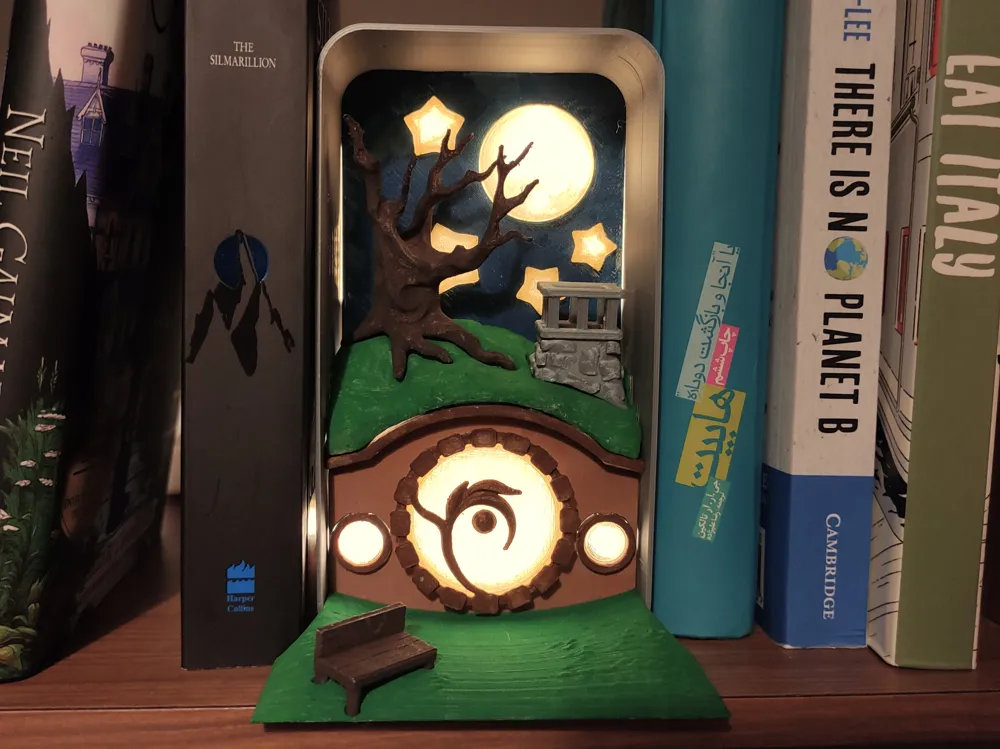
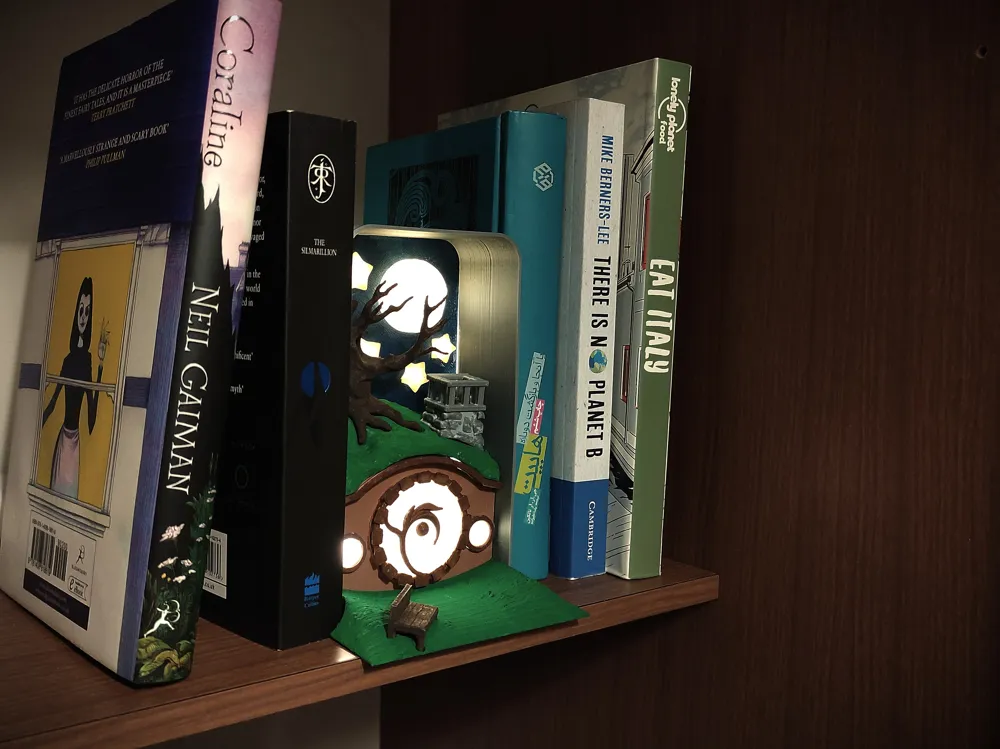
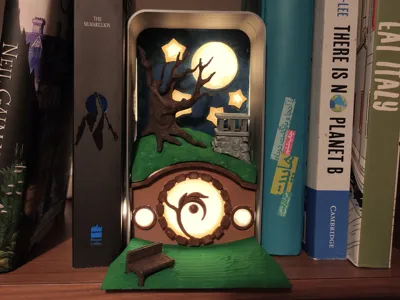
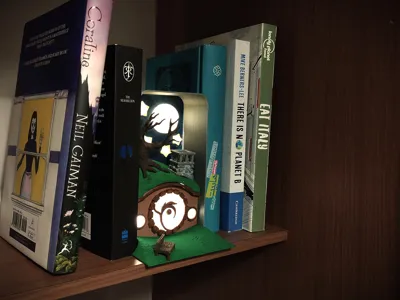
I really wanted to design a cozy night lamp for the longest time, and this contest inspired me to try to do one in the form of a diorama. Then I started ideating, and I just couldn't stop thinking about a fantasy-lighted scene that peeks from between your books at night, and makes everything feel super cozy. And what is more cozy than a little bookshelf hobbit hole! :D
I did many trials and errors for this design, and I tried to keep it simple since it was my first time creating this kind of project. In the end, I came up with the idea of having a box with an accessible space in the back to allow you to put various kinds of single, strip, or even tea light LED inside.
*NOTE*
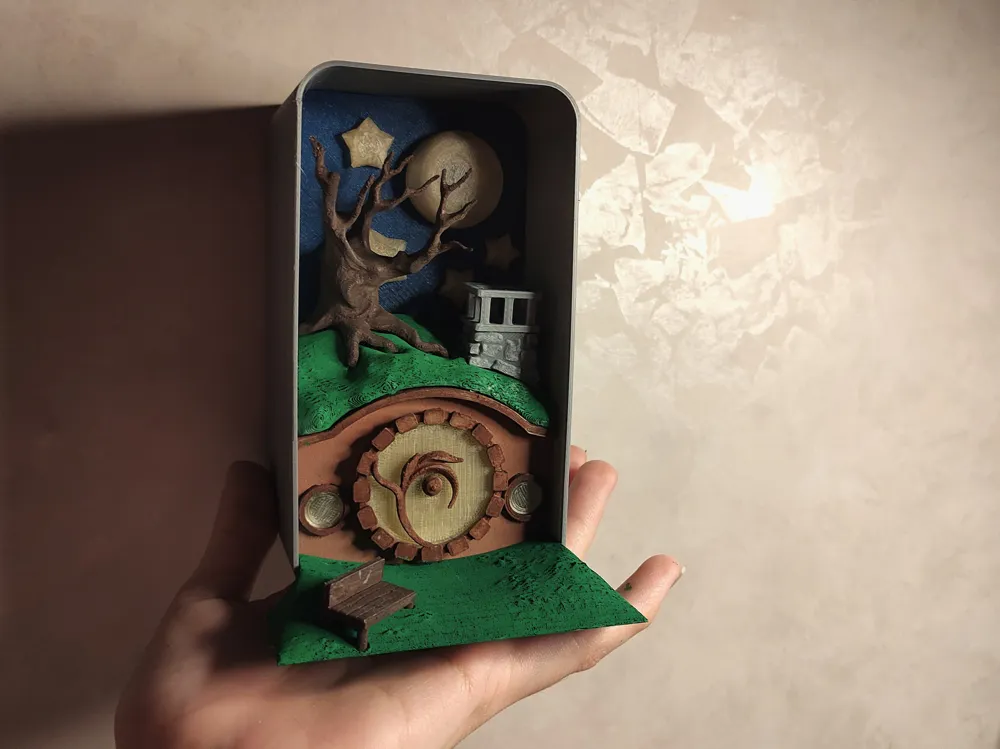
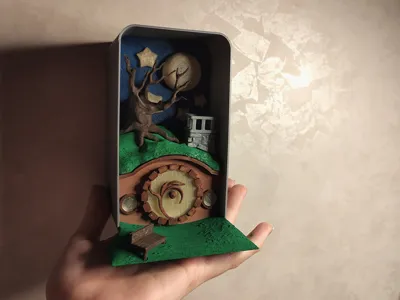
(I didn't have many organic colored filaments on hand, so the following pictures I uploaded are all components colored with acrylic paint. If you want to achieve this type of matte, rusty look, you can do the same!)
Print suggestions (for the main box):
- To reduce the printing time of the box, you can print it with a fake vase mode setup: Increase the wall numbers to 3, reduce the infill percentage to 0%, and reduce the number of top shelves (top layers) to 0. I modified the design to still be strong printing this way, while getting slightly faster prints.
- Turn on the support option and use brims (outside only) to ensure the adhesion to the bed surface.
- Clean the brims completely before assembly, since the box closure needs to fit in the back groove of the box.
Print suggestions (for internal elements):
- This design has some translucent pieces that need to be printed in translucent filament. I used Bambu “Mellow Yellow” for the moon, stars, house door, and house window glasses.
- For smaller and more detailed pieces, I used 0.16 mm layers, and for the larger and flat pieces, I used 0.2 mm layers. If you're using Bambustudio, the layer heights are already assigned to each object.
- For almost all the components except for the two completely flat parts and the land in front of the house, you need to turn on the supports option.
- This design has very precise tolerances, so make sure your Z-axis distance is tuned before printing. Print defects such as elephant foot can mess up the tolerance, and in that case, some of your pieces might not fit well together after the print.
- If you want to color the pieces before assembly, make sure not to paint the connection points, since the extra layers of paint could interfere with the tolerance between the pieces.
Assembly Guide:
(This guide is separated into general levels with detailed steps. You can either read the guide for each level, or just see the step-by-step pictures.)
0- Clean all the supports and brims from the pieces.
1- Gather the sky flat piece, the moon, and the stars. For the sky piece, the side with 4 cylinders is the back side.
- Insert the moon in its place, entering from the back.
- Insert the stars in their respective places (based on size) from the front. If any piece was a little loose in place, you can use a bit of glue on its insert sleeve.
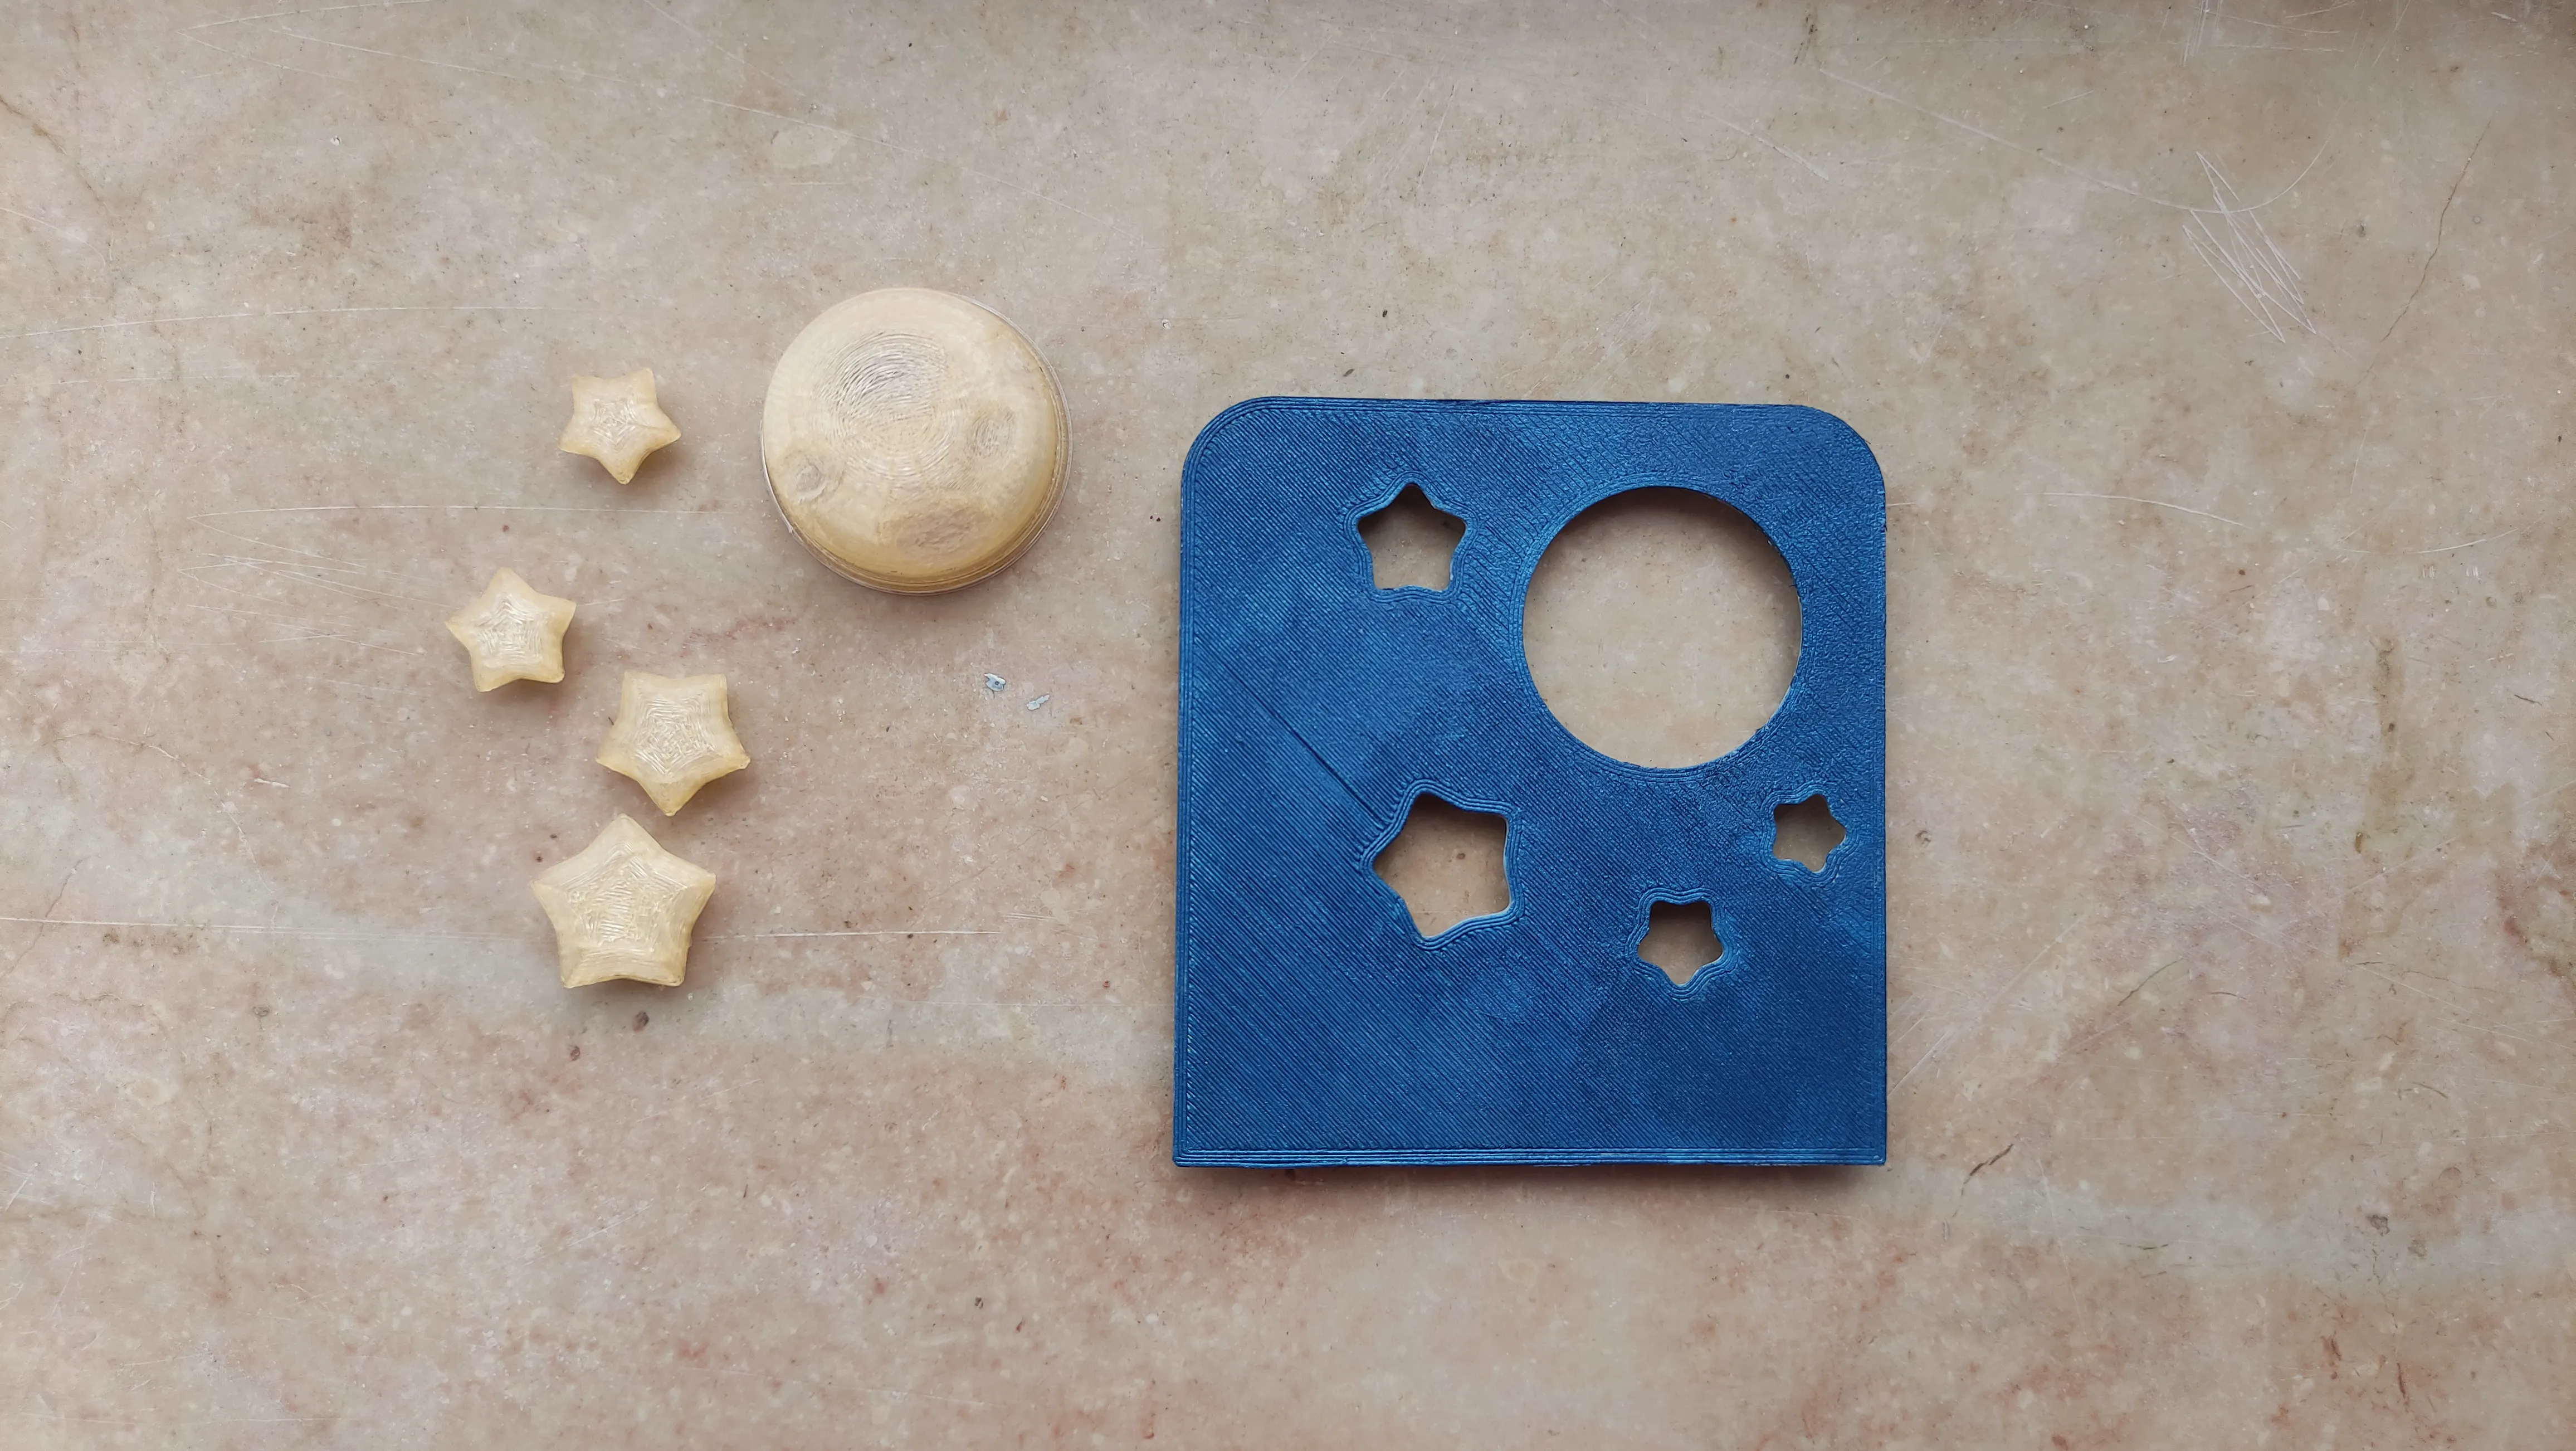
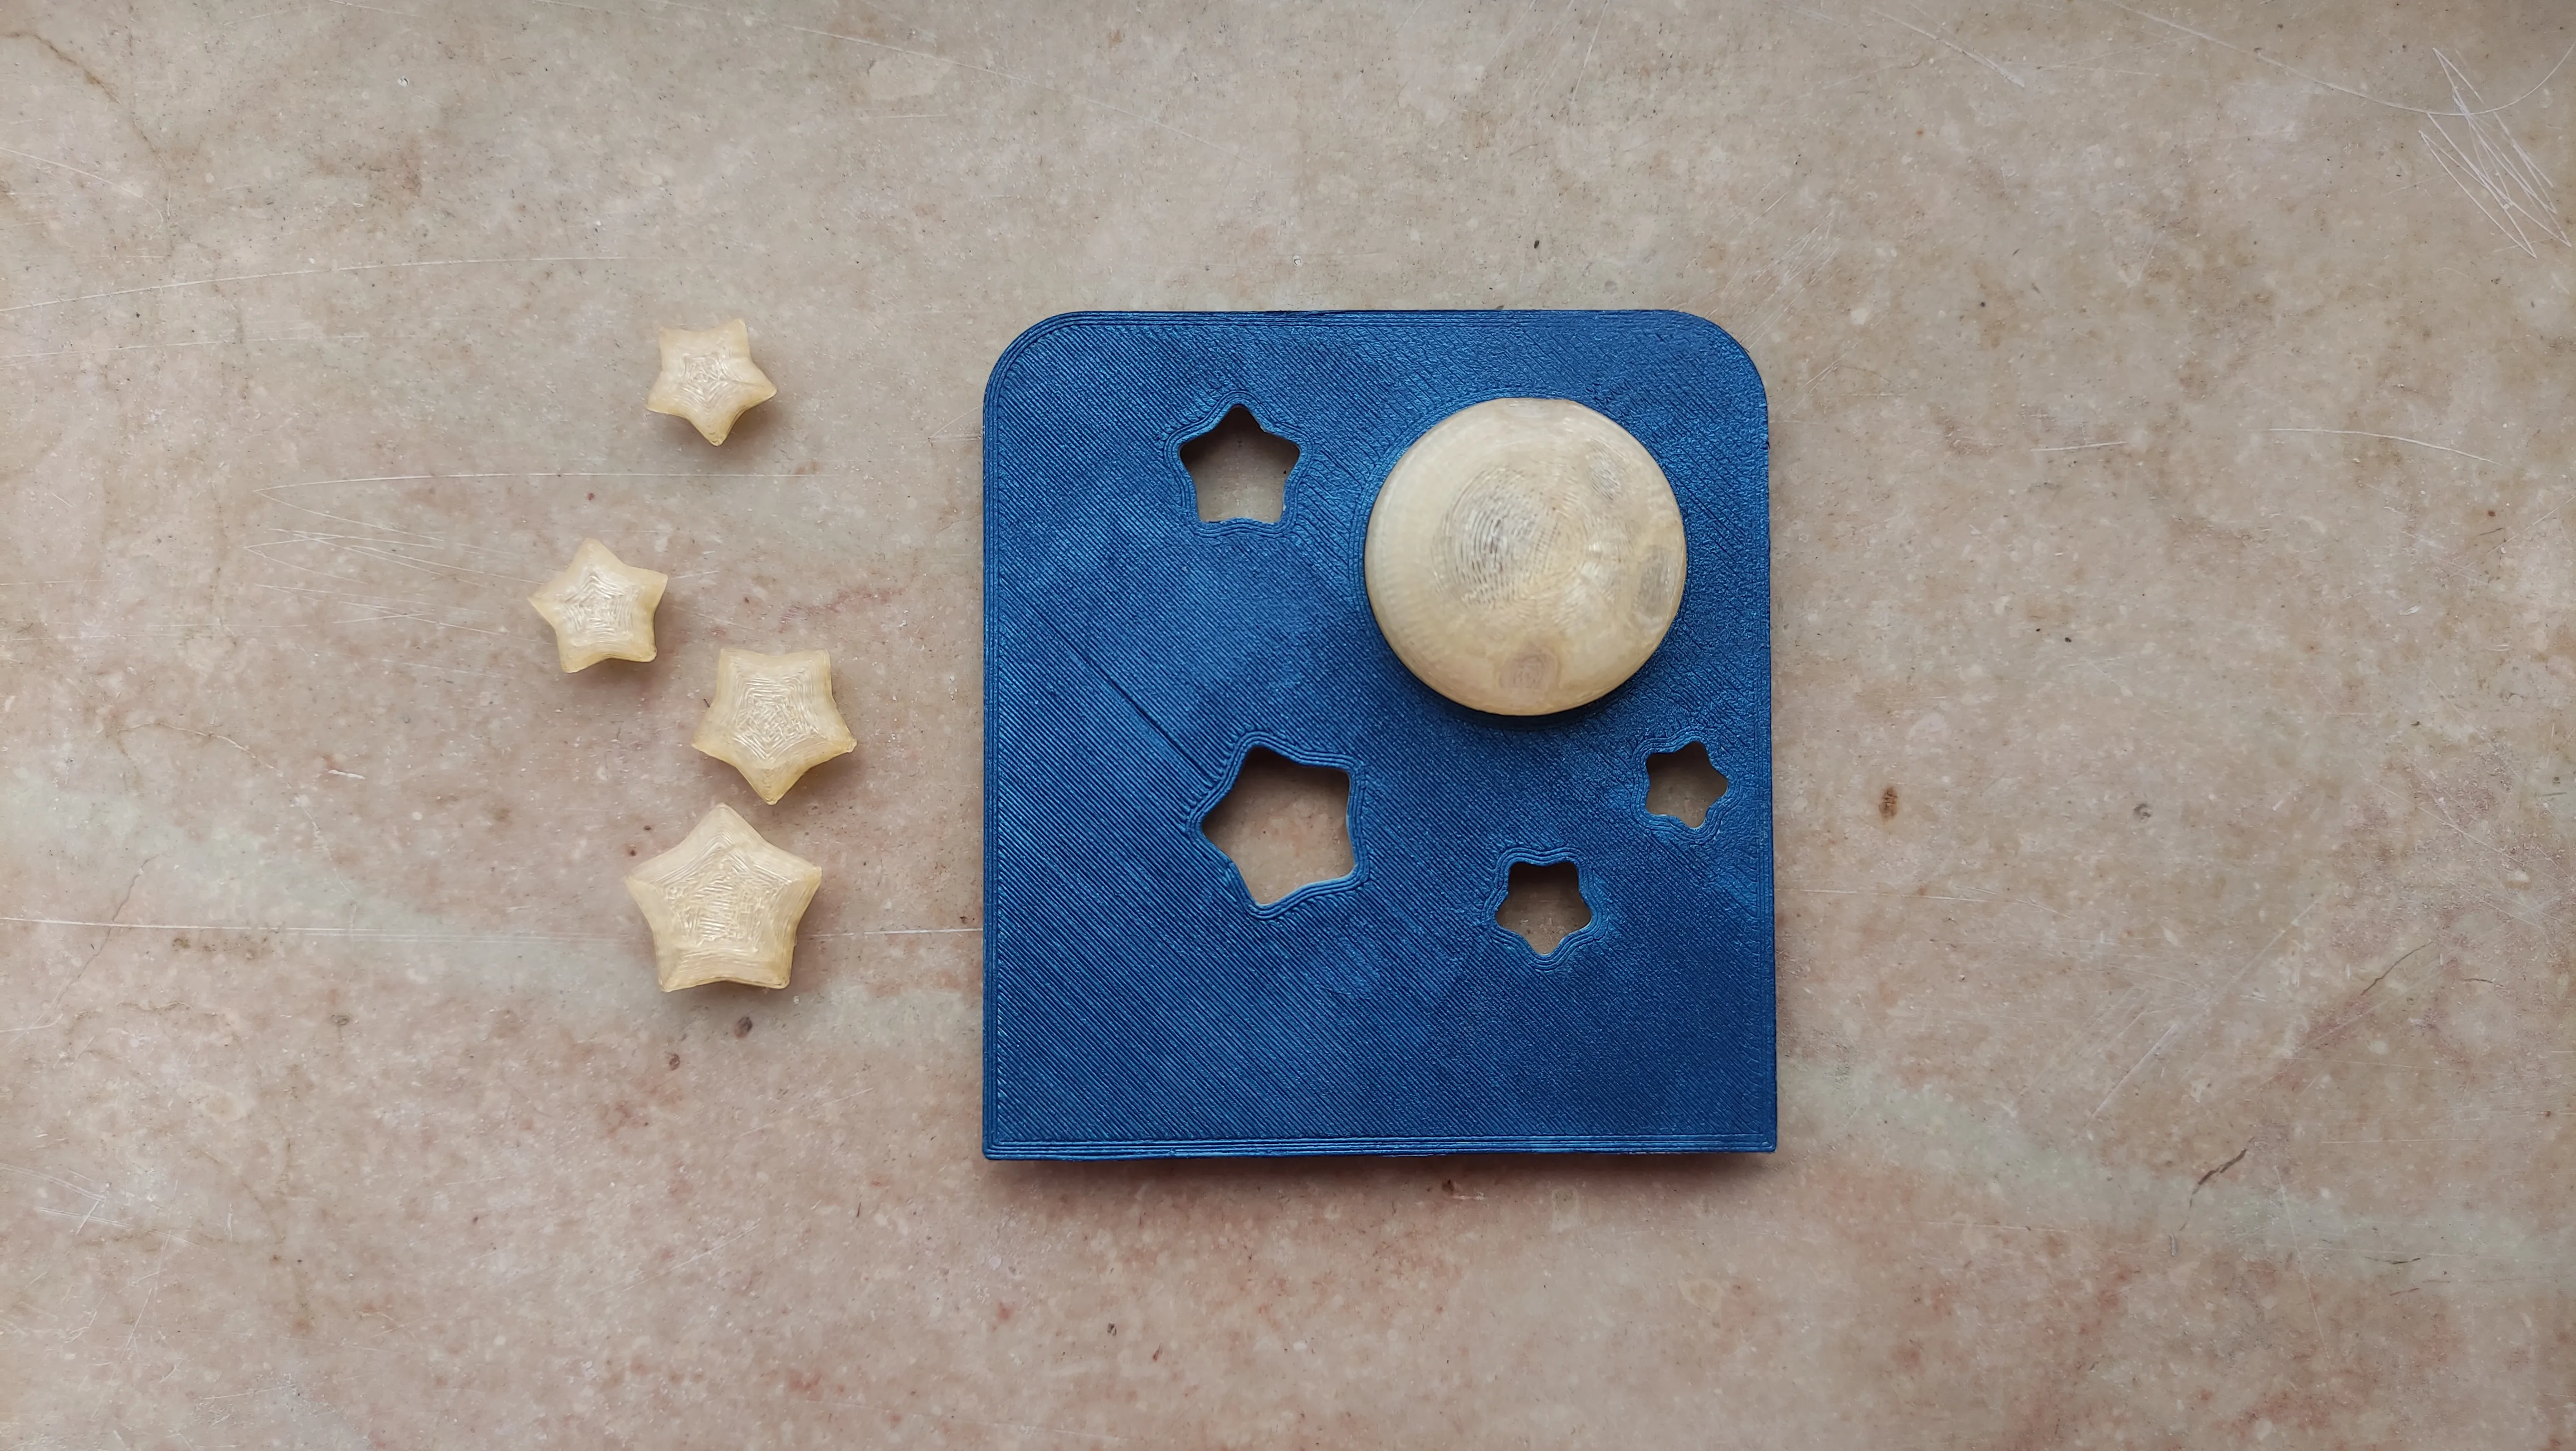
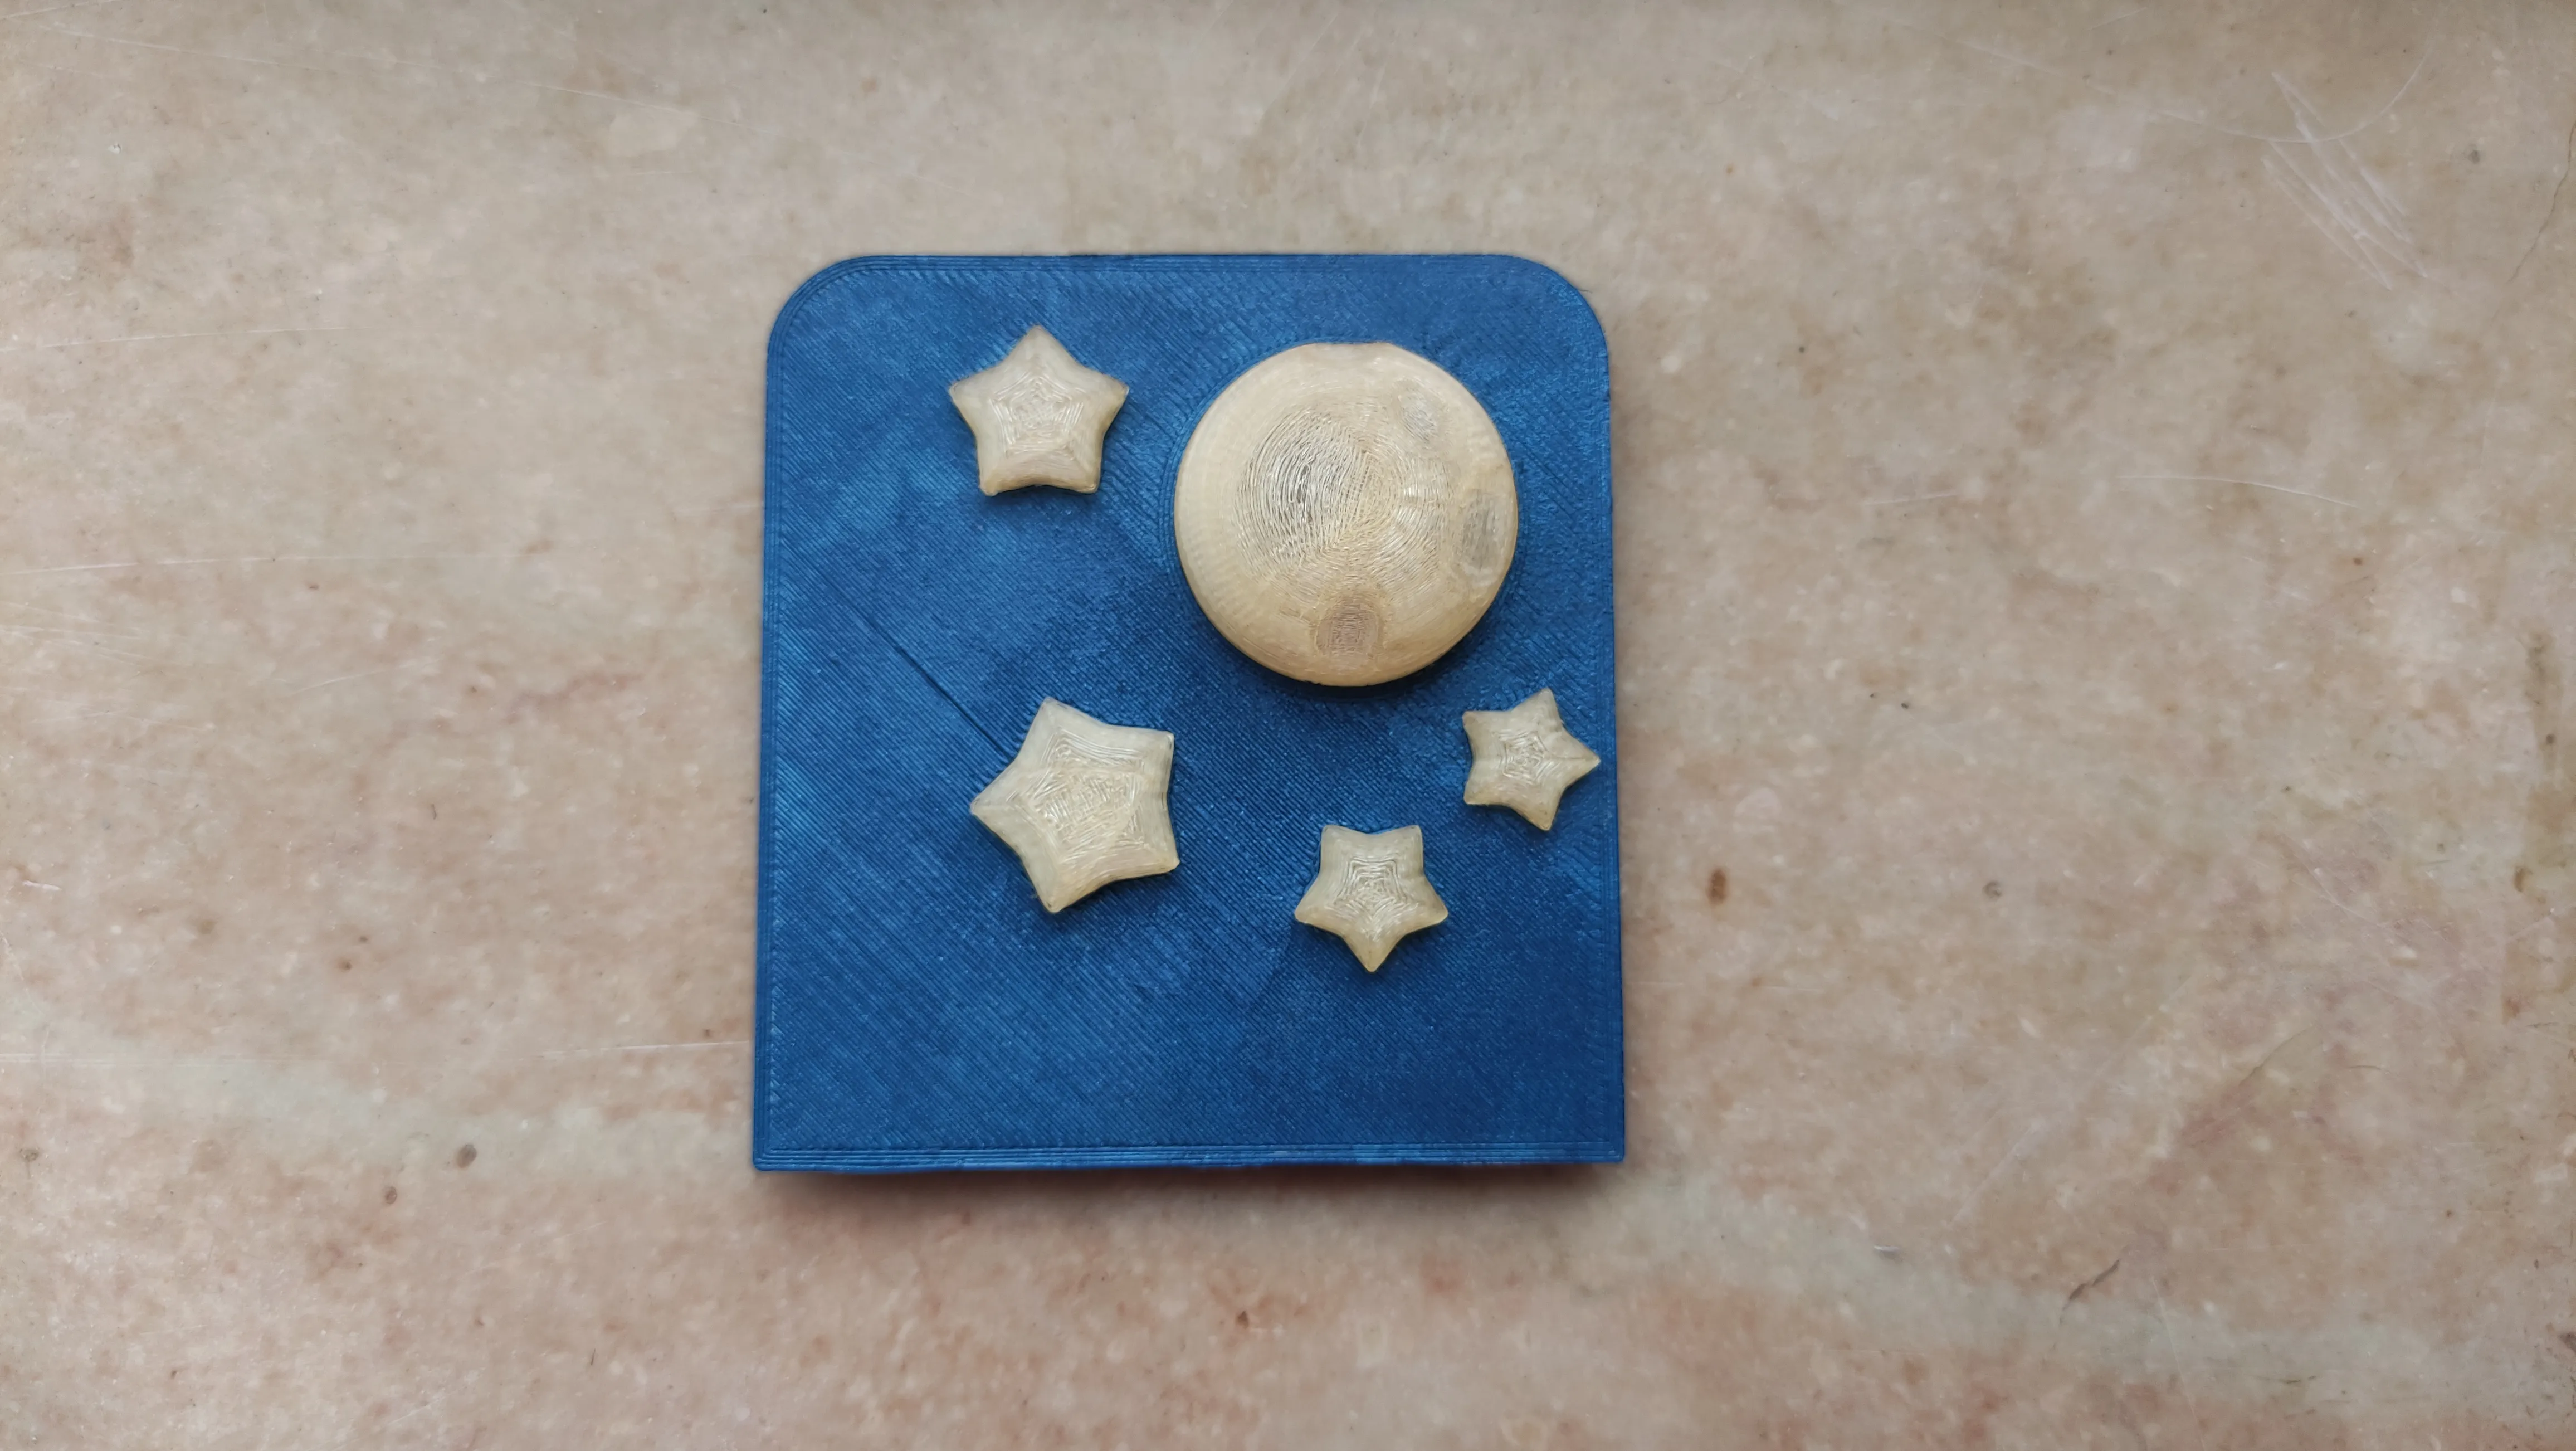
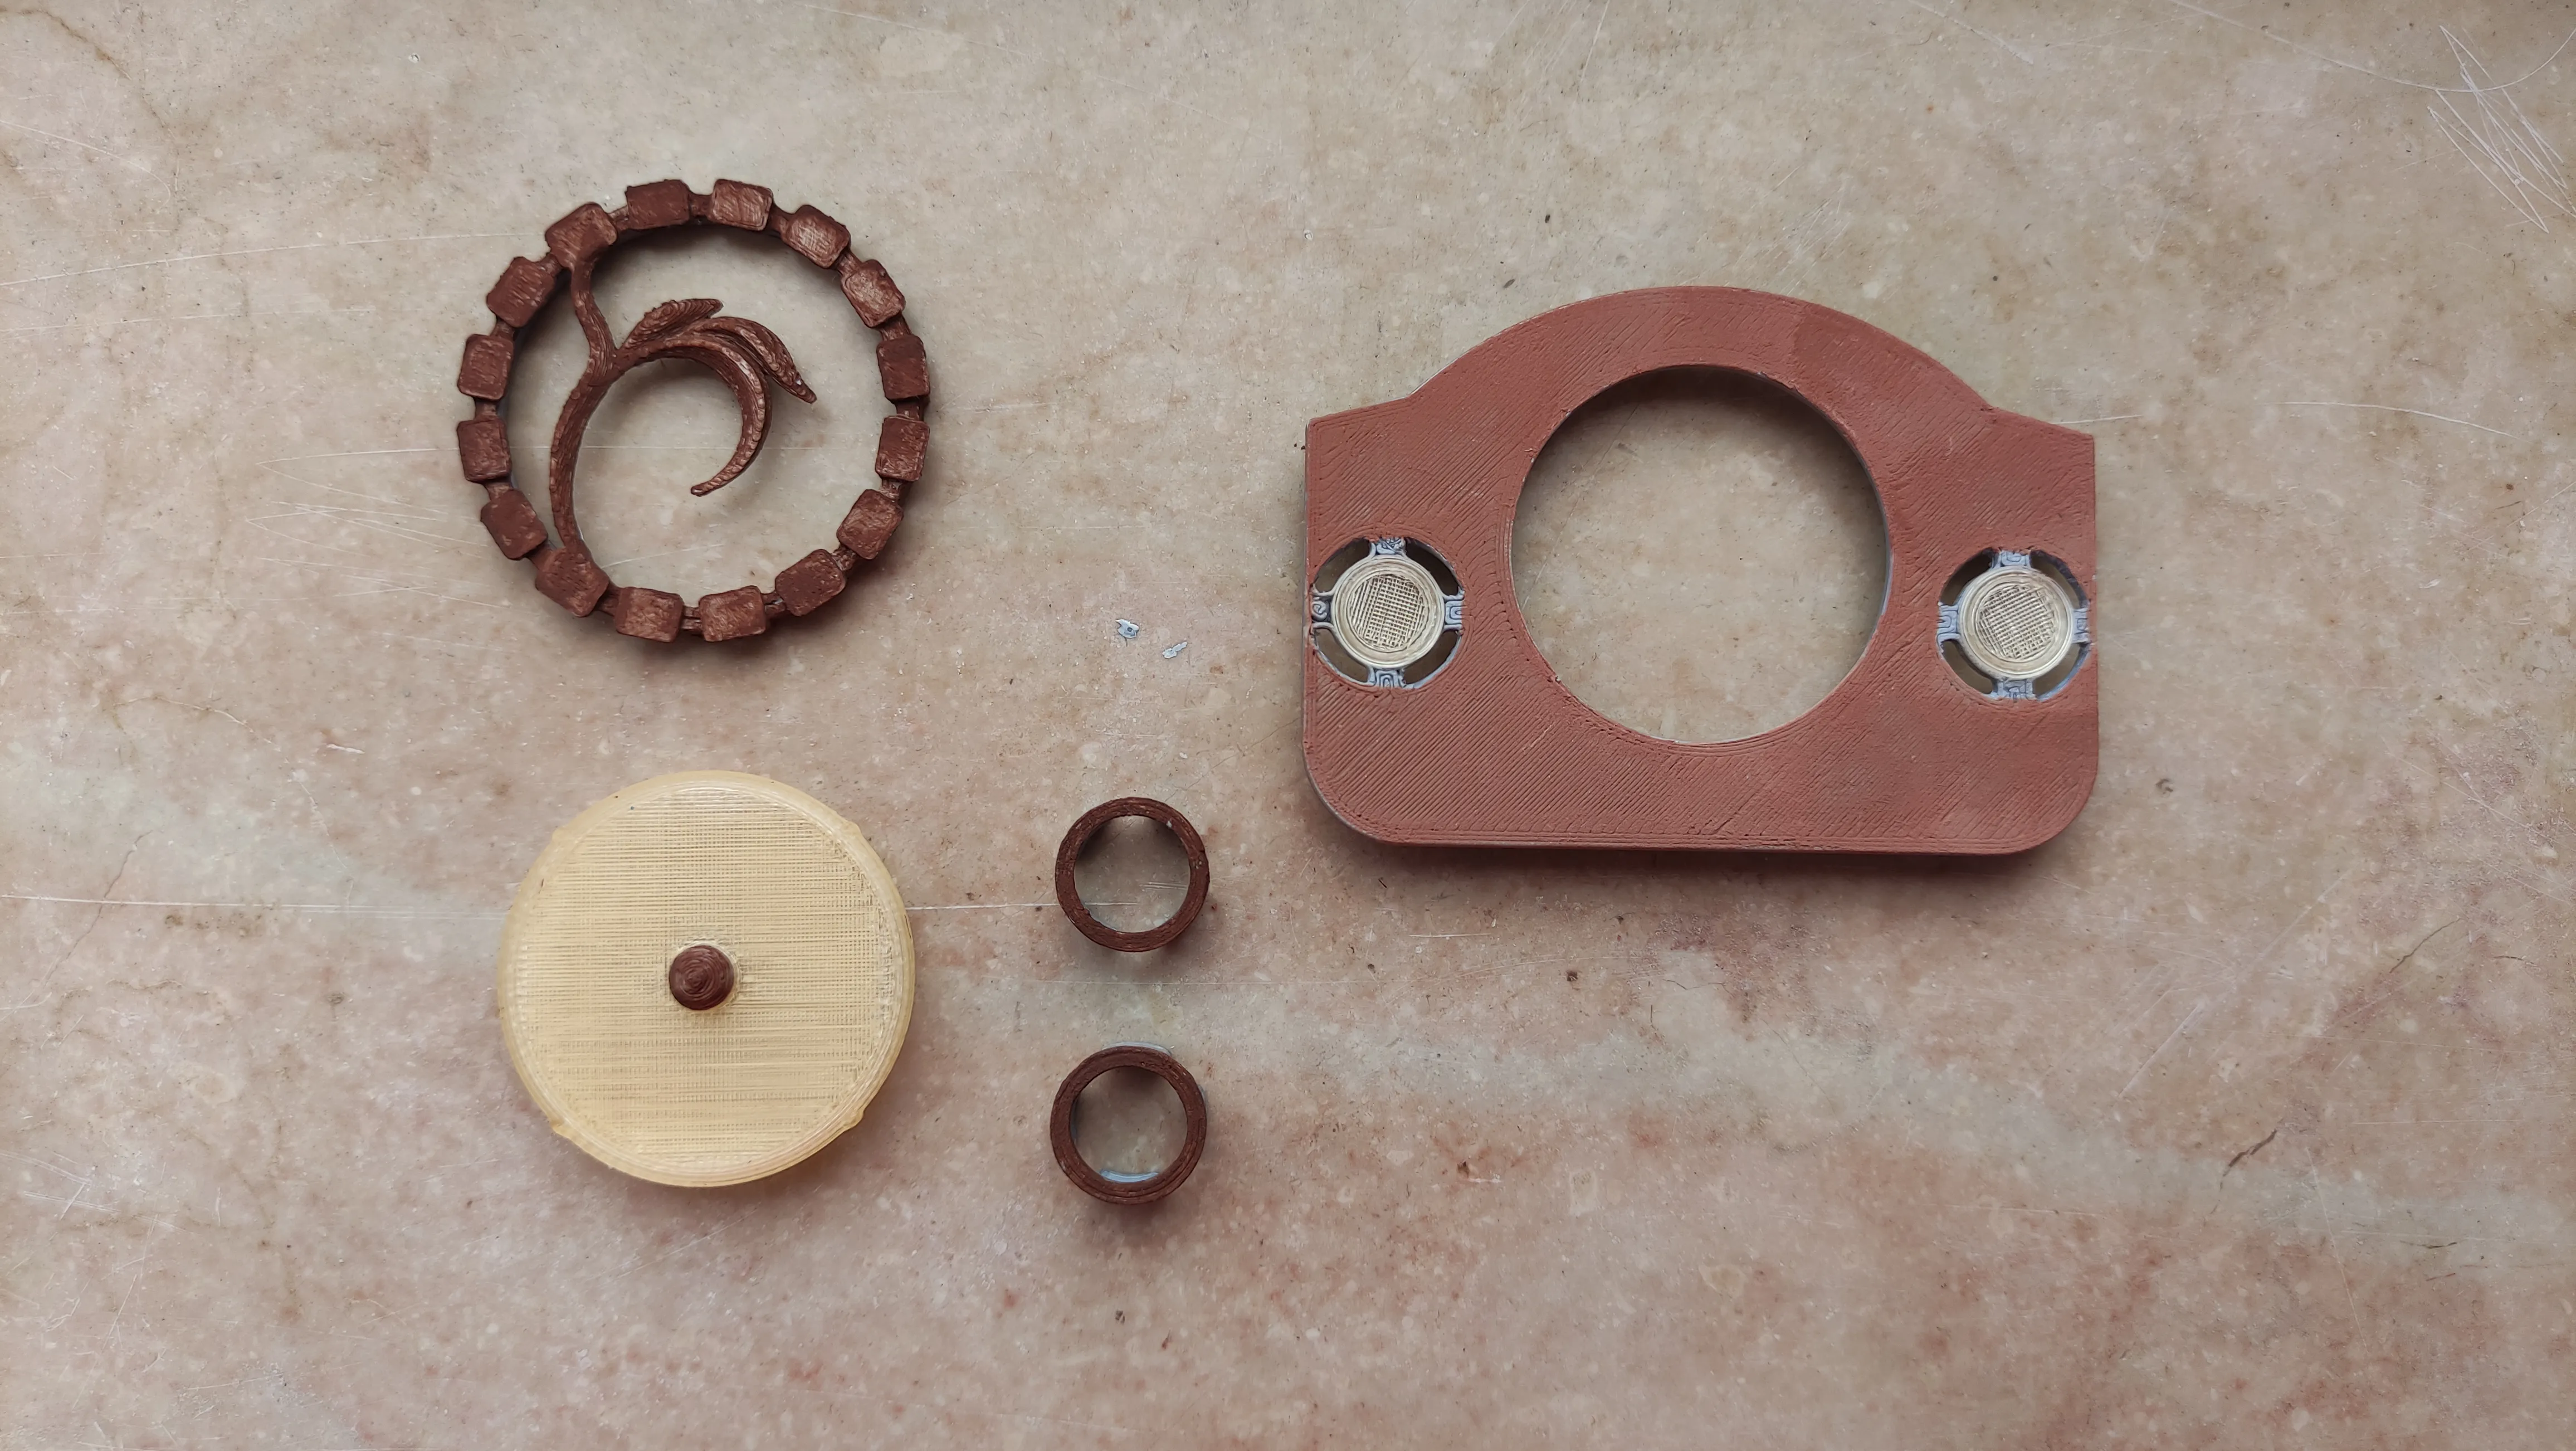
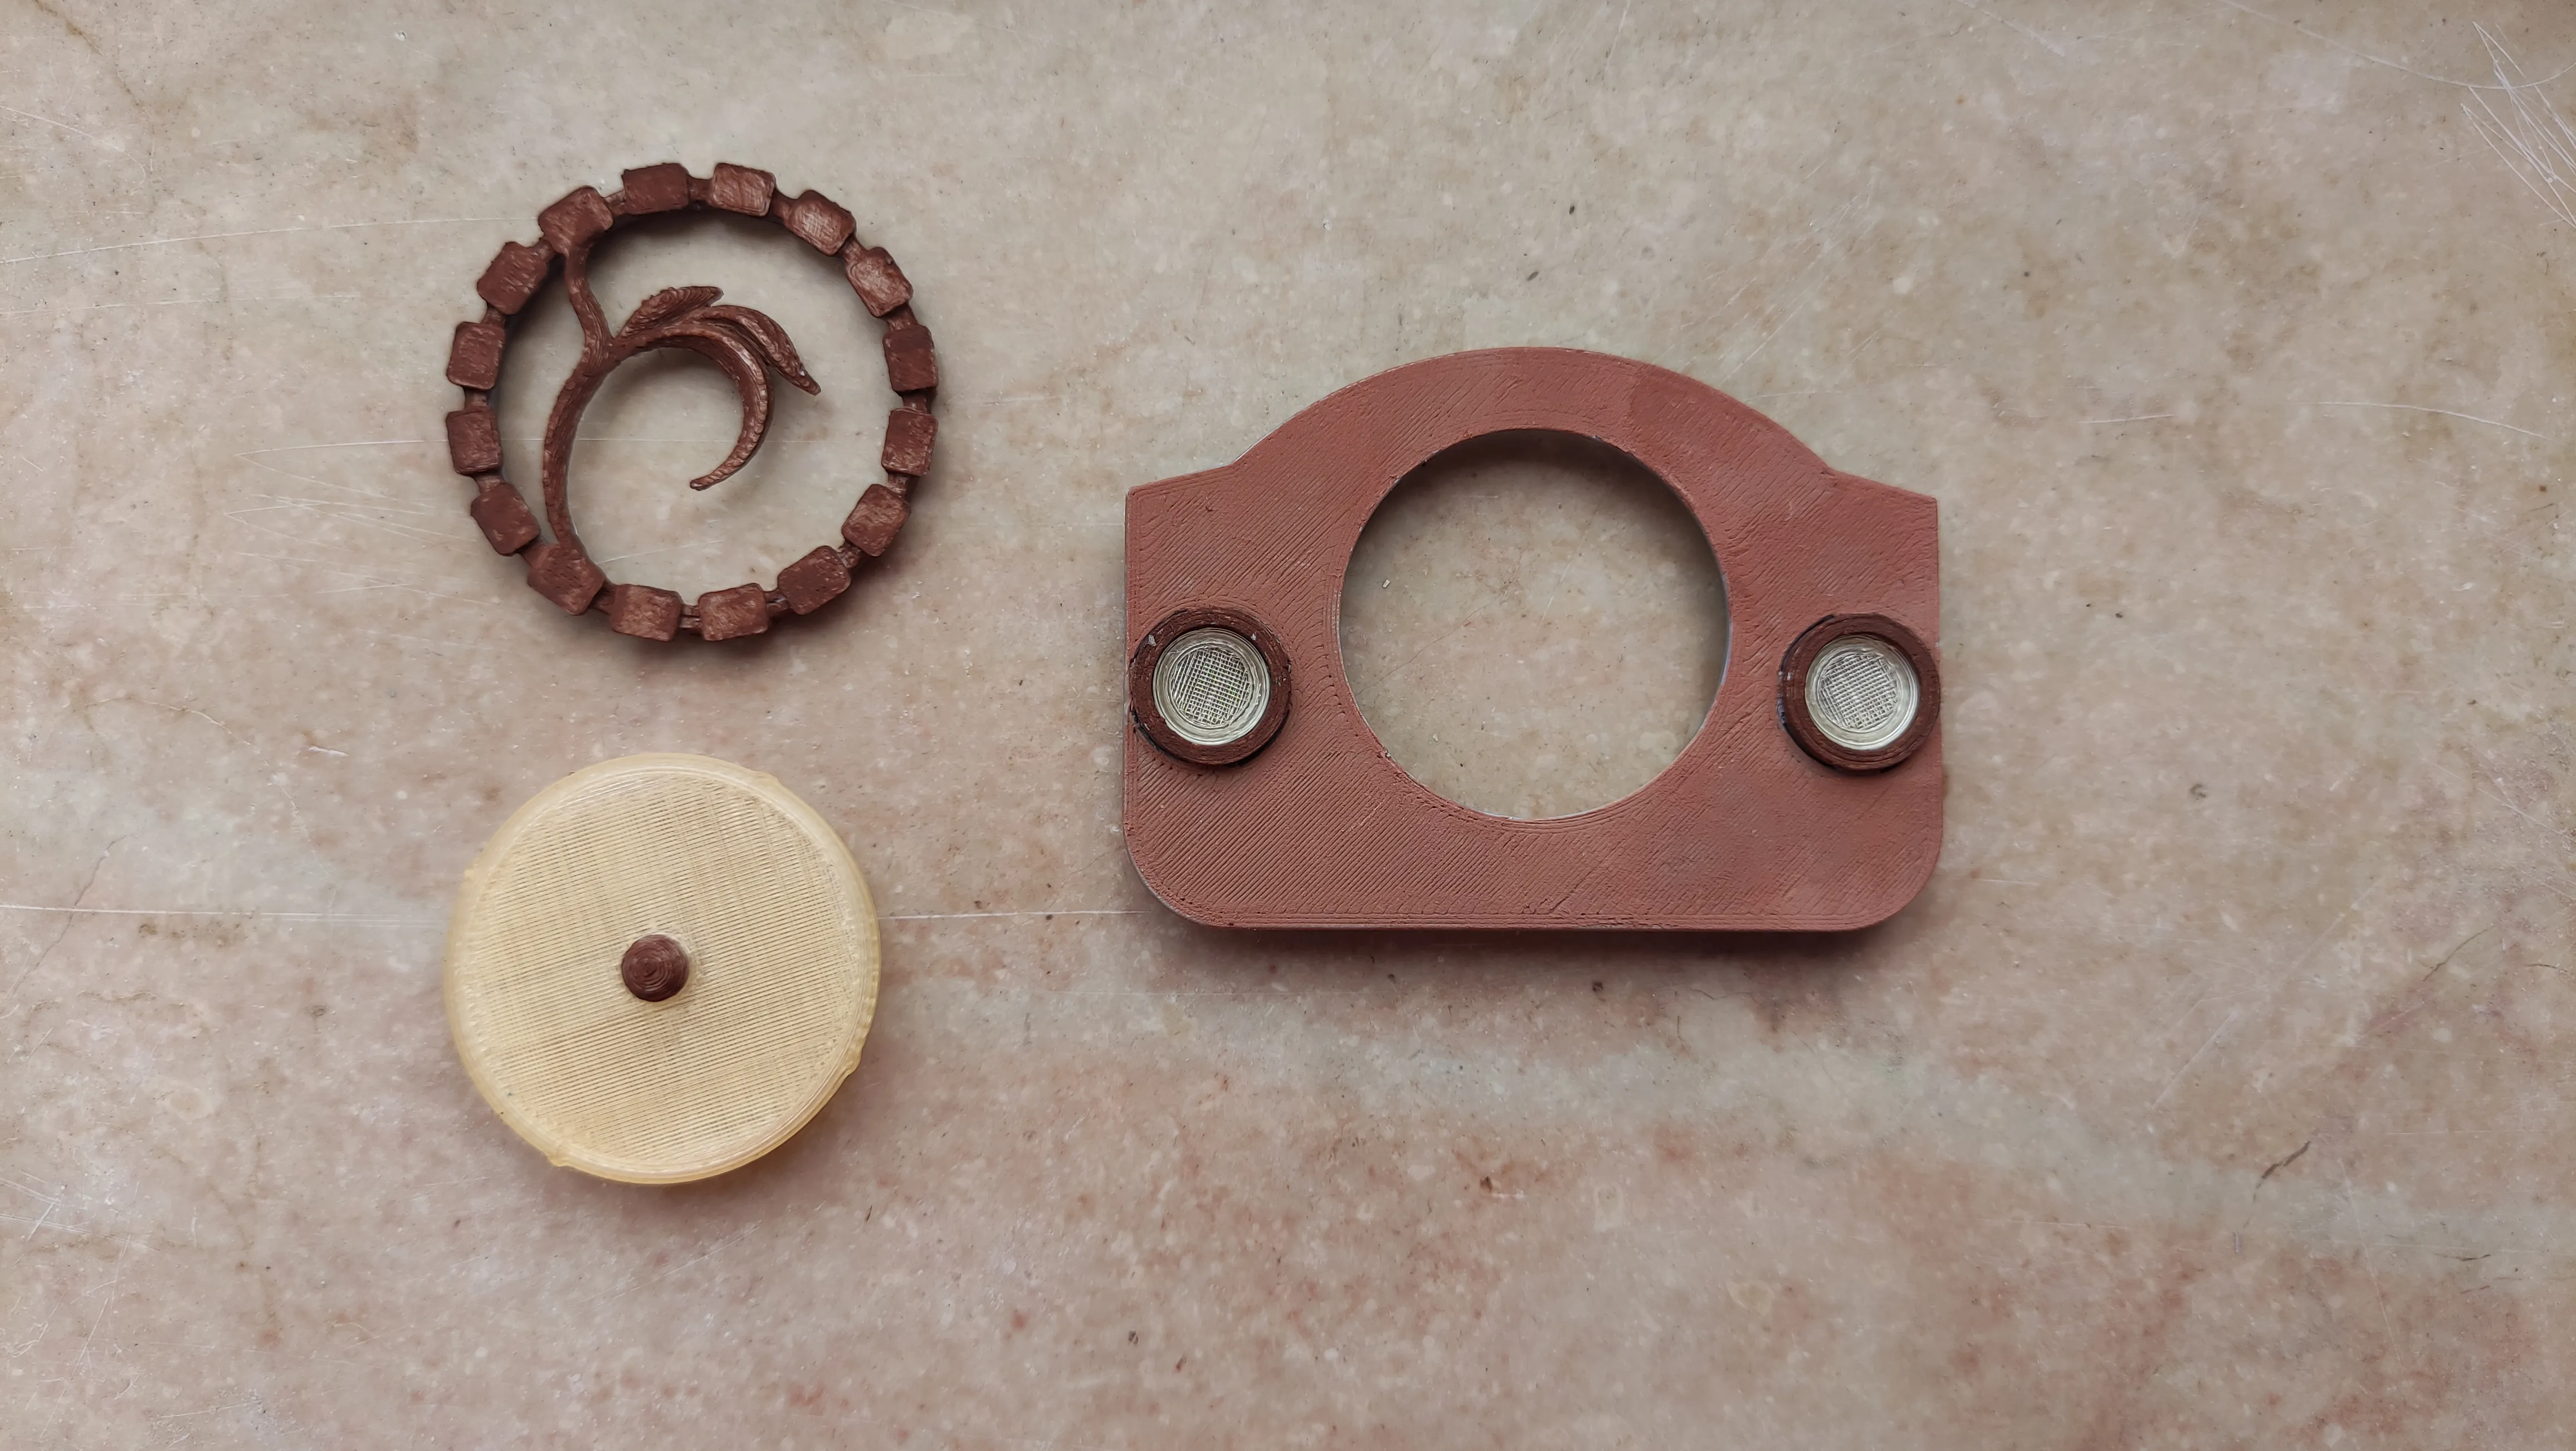
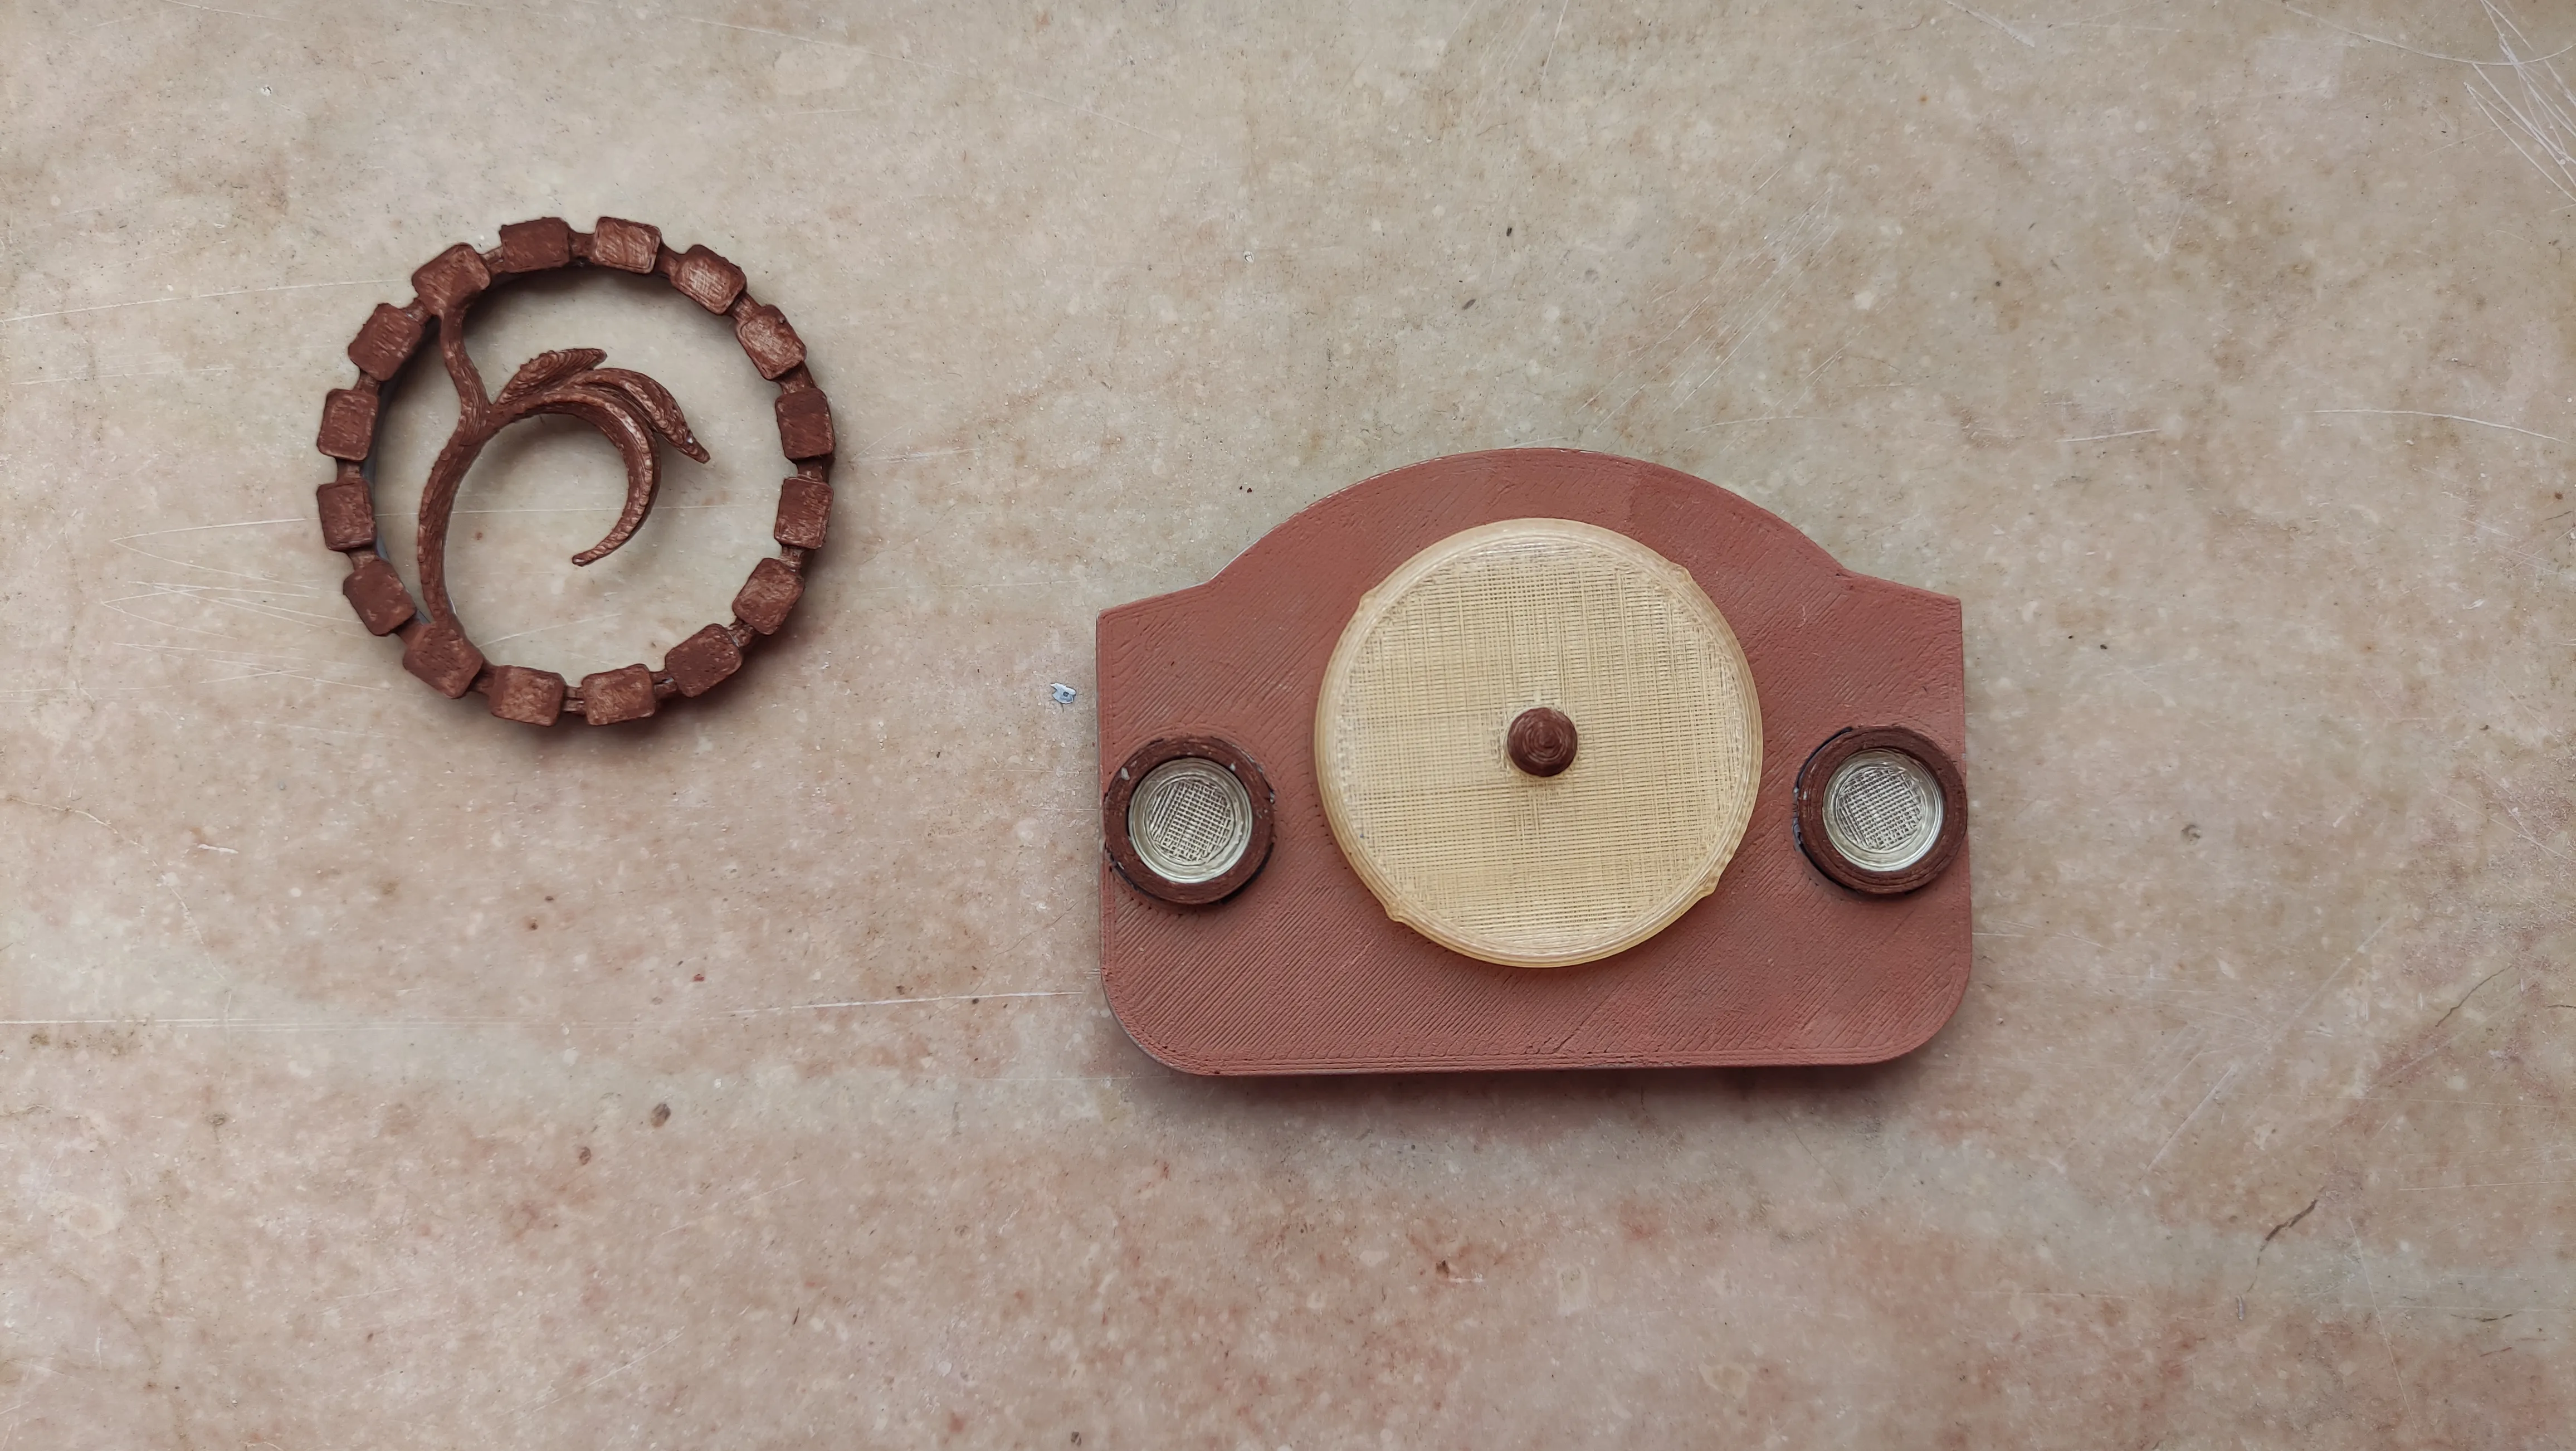
2- Gather the flat body of the house, two window glasses, window frame, house glass door, little round knob, and the door frame.
- For the flat house body, the side with 4 cylinders is the back side.
- Insert the window glasses into their cavity of the flat house body, entering from the front.
- Insert the window frames into their cavity of the flat house body, entering from the front.
- Insert the door knob in the middle of the glass door.
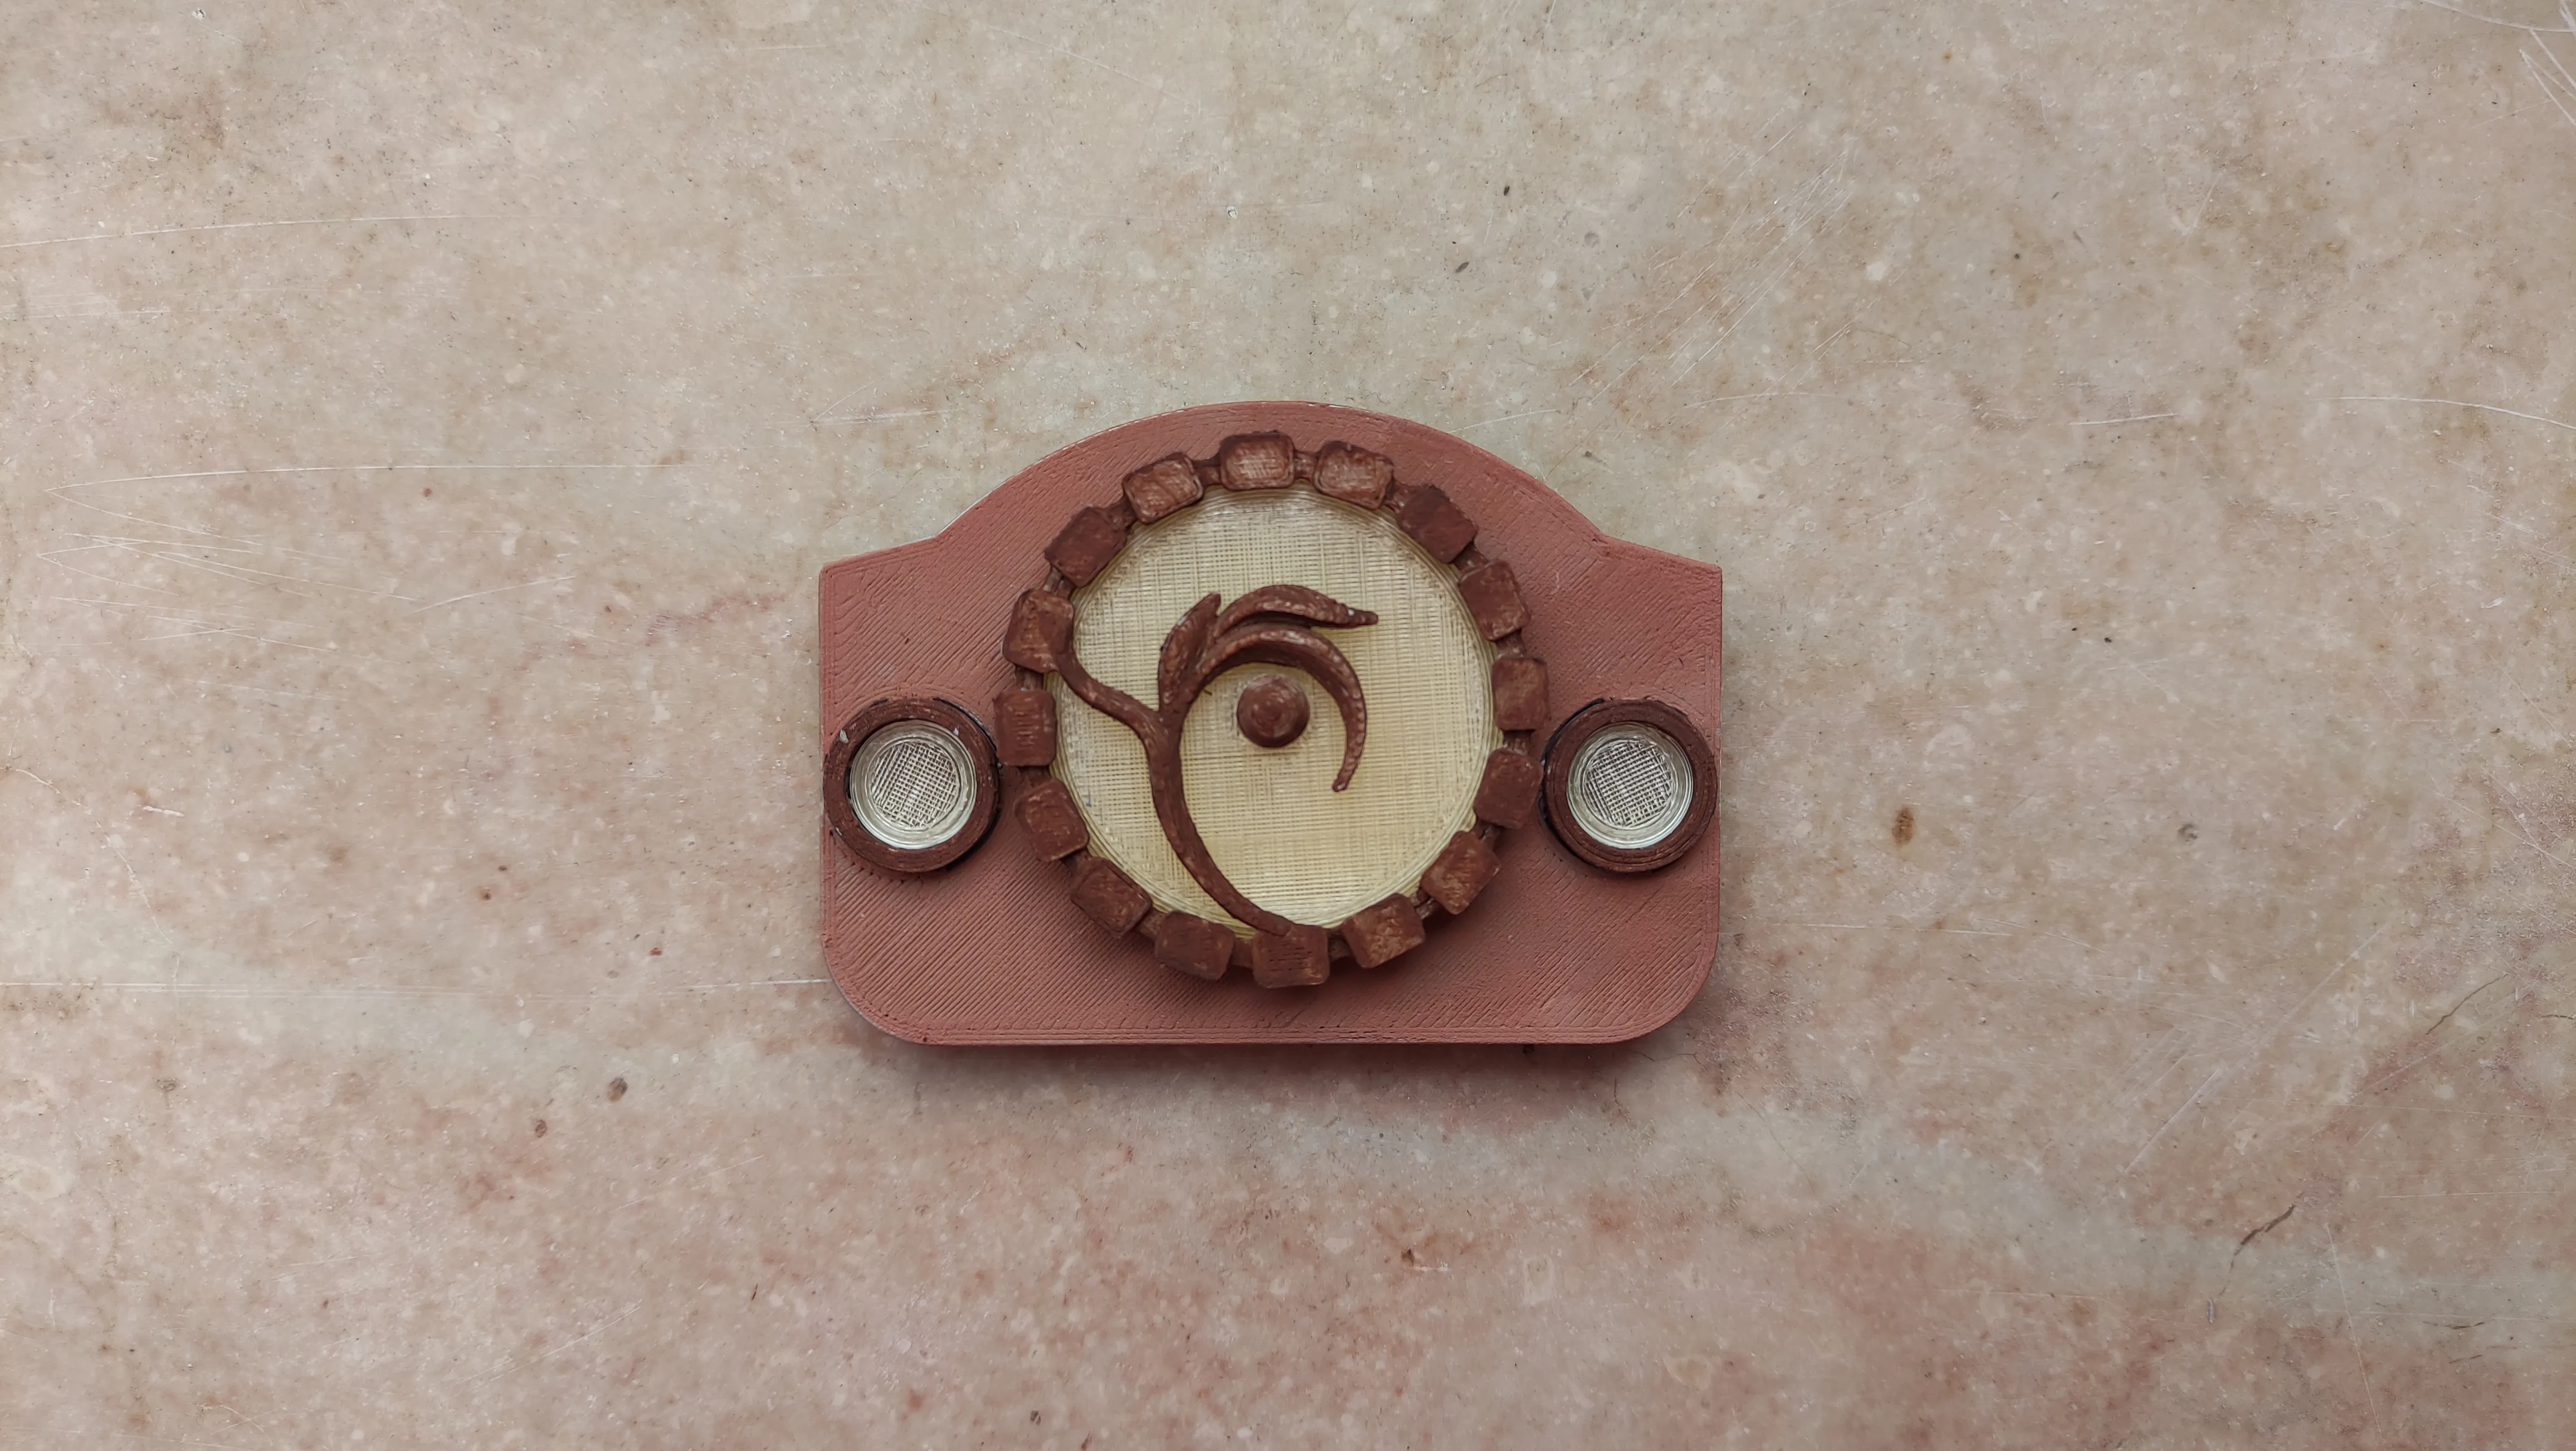
- Insert the door into its round cavity on the flat house body, entering from the front.
- There are four little dents on the edge of the glass door, and four small cavities on the internal edge of the door frame.
- Aligning these dents and cavities, insert the door frame on top of the door.
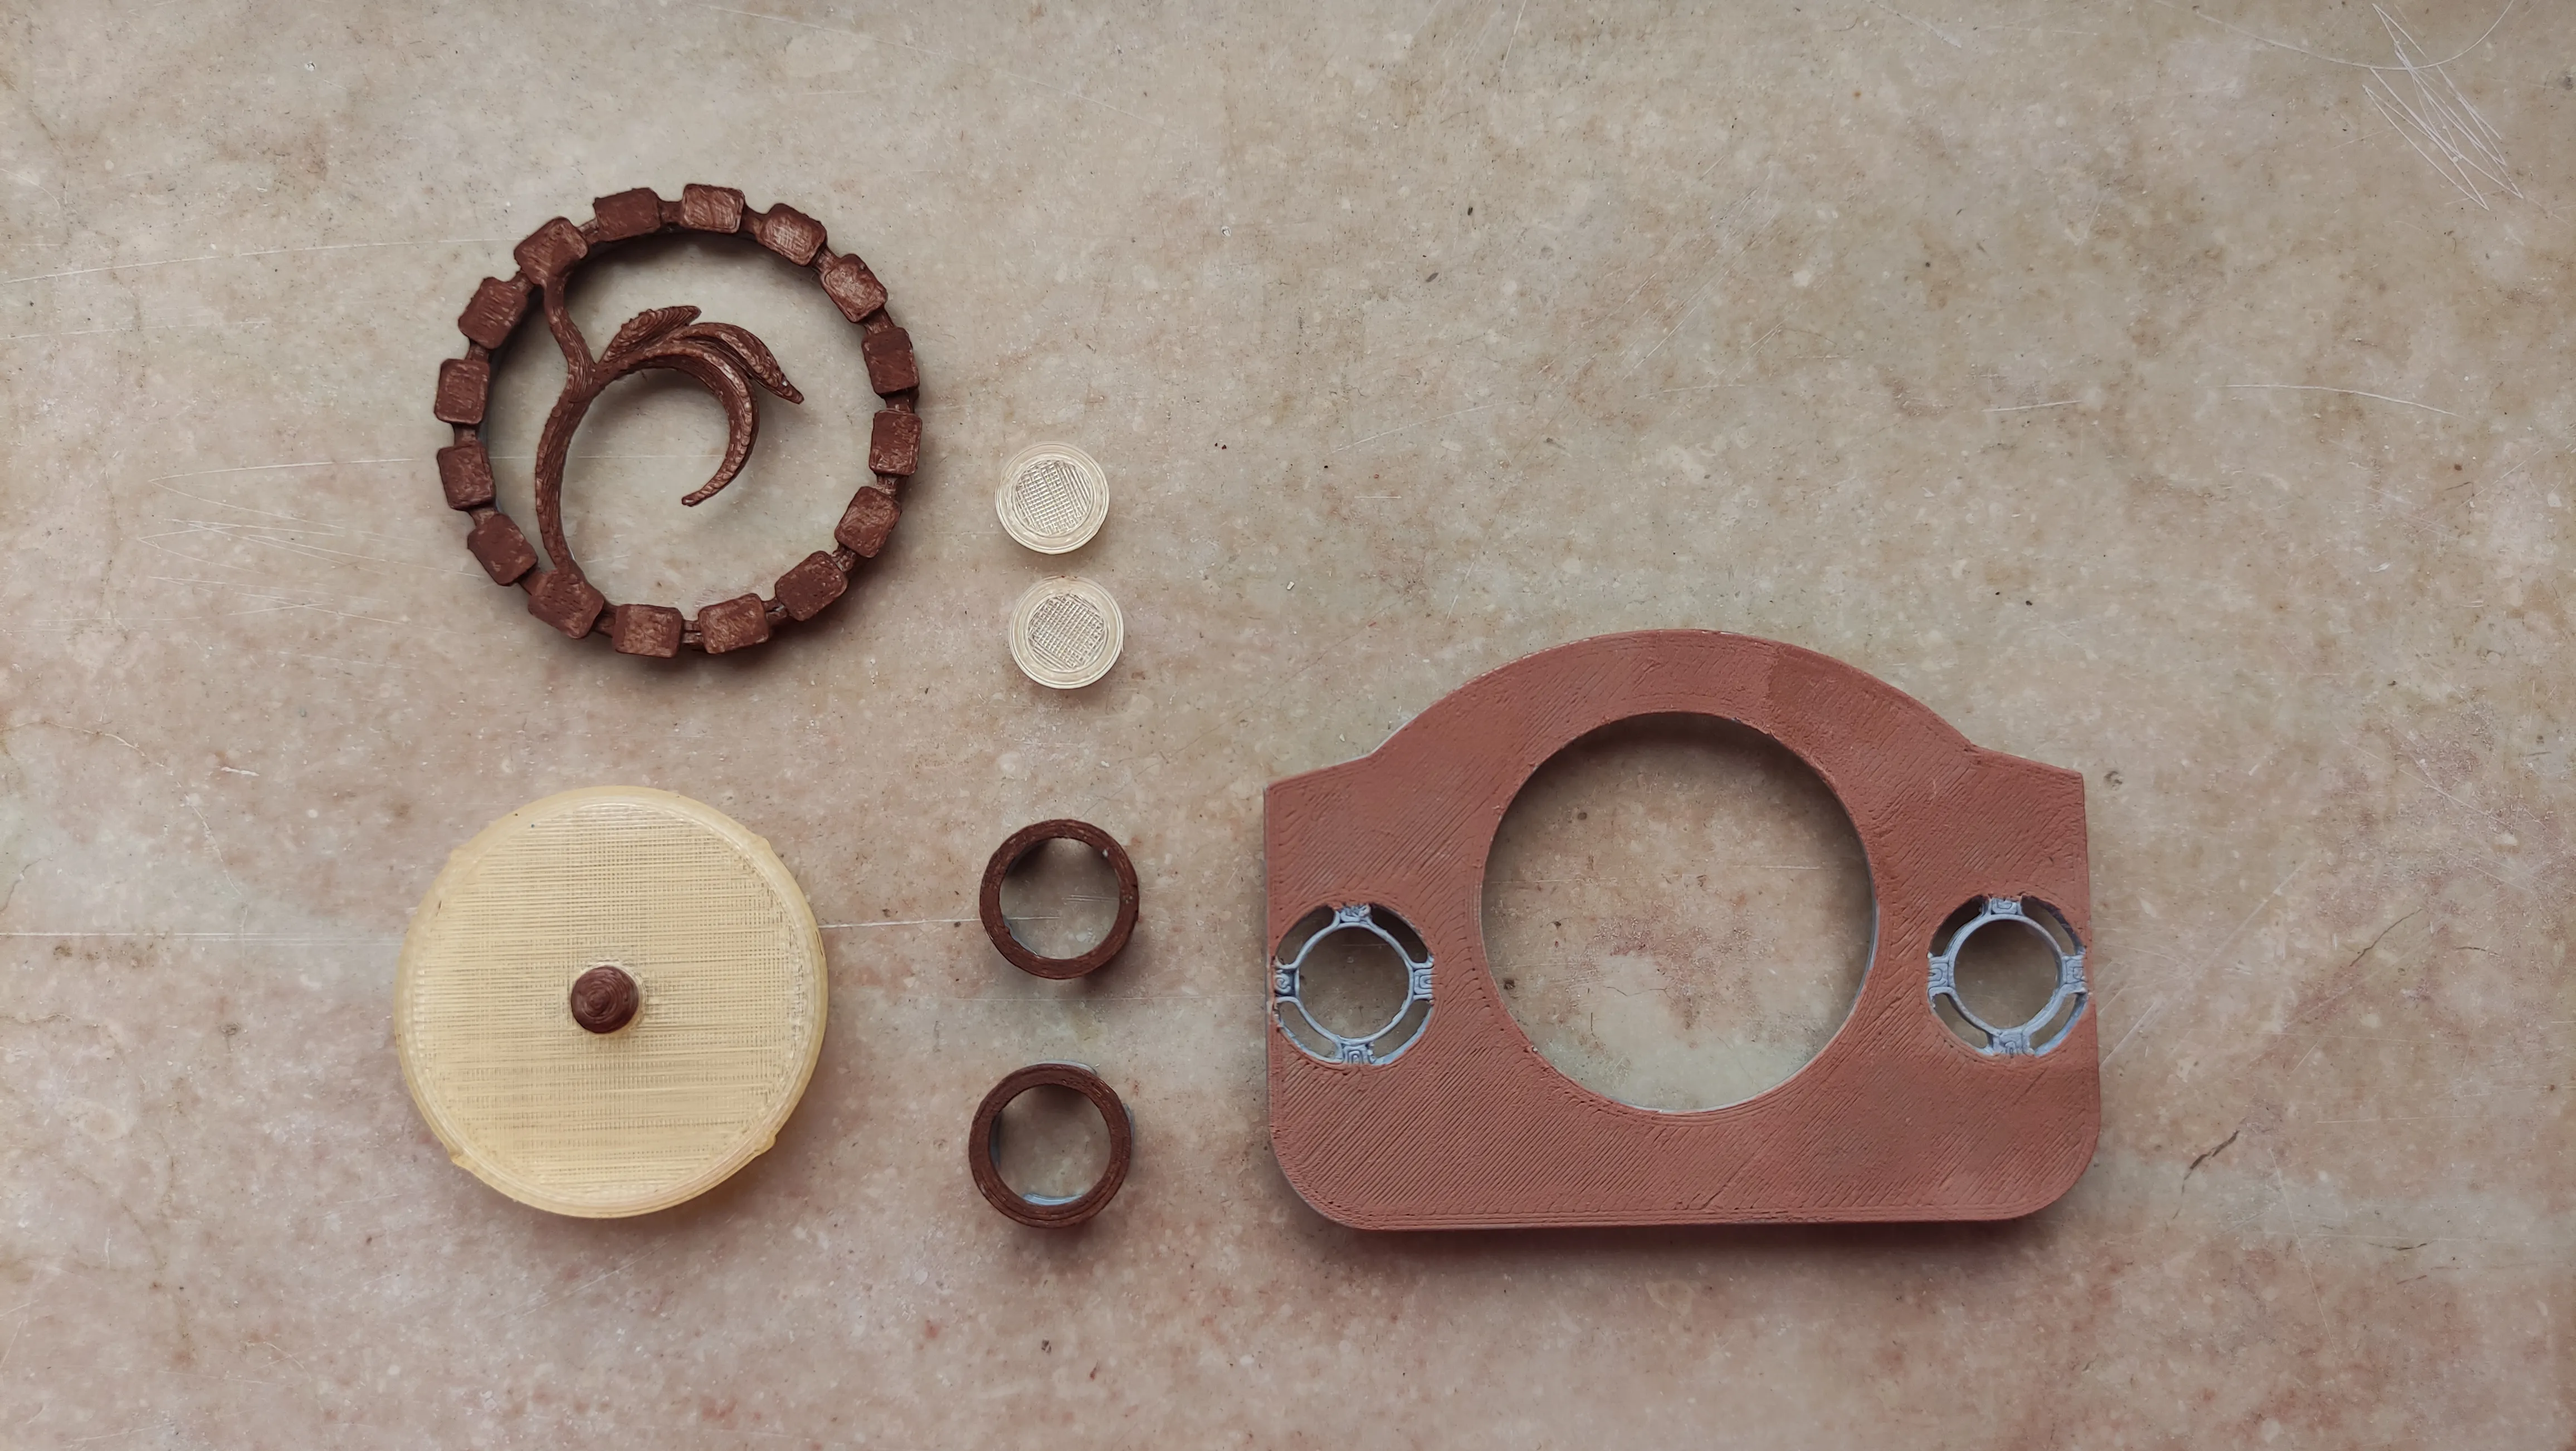
3- Gather the top land component, the tree, the chimney, and the house roof.
- Insert the tree and the chimney into their cavity on the land.
- Attach the land on top of the house roof.
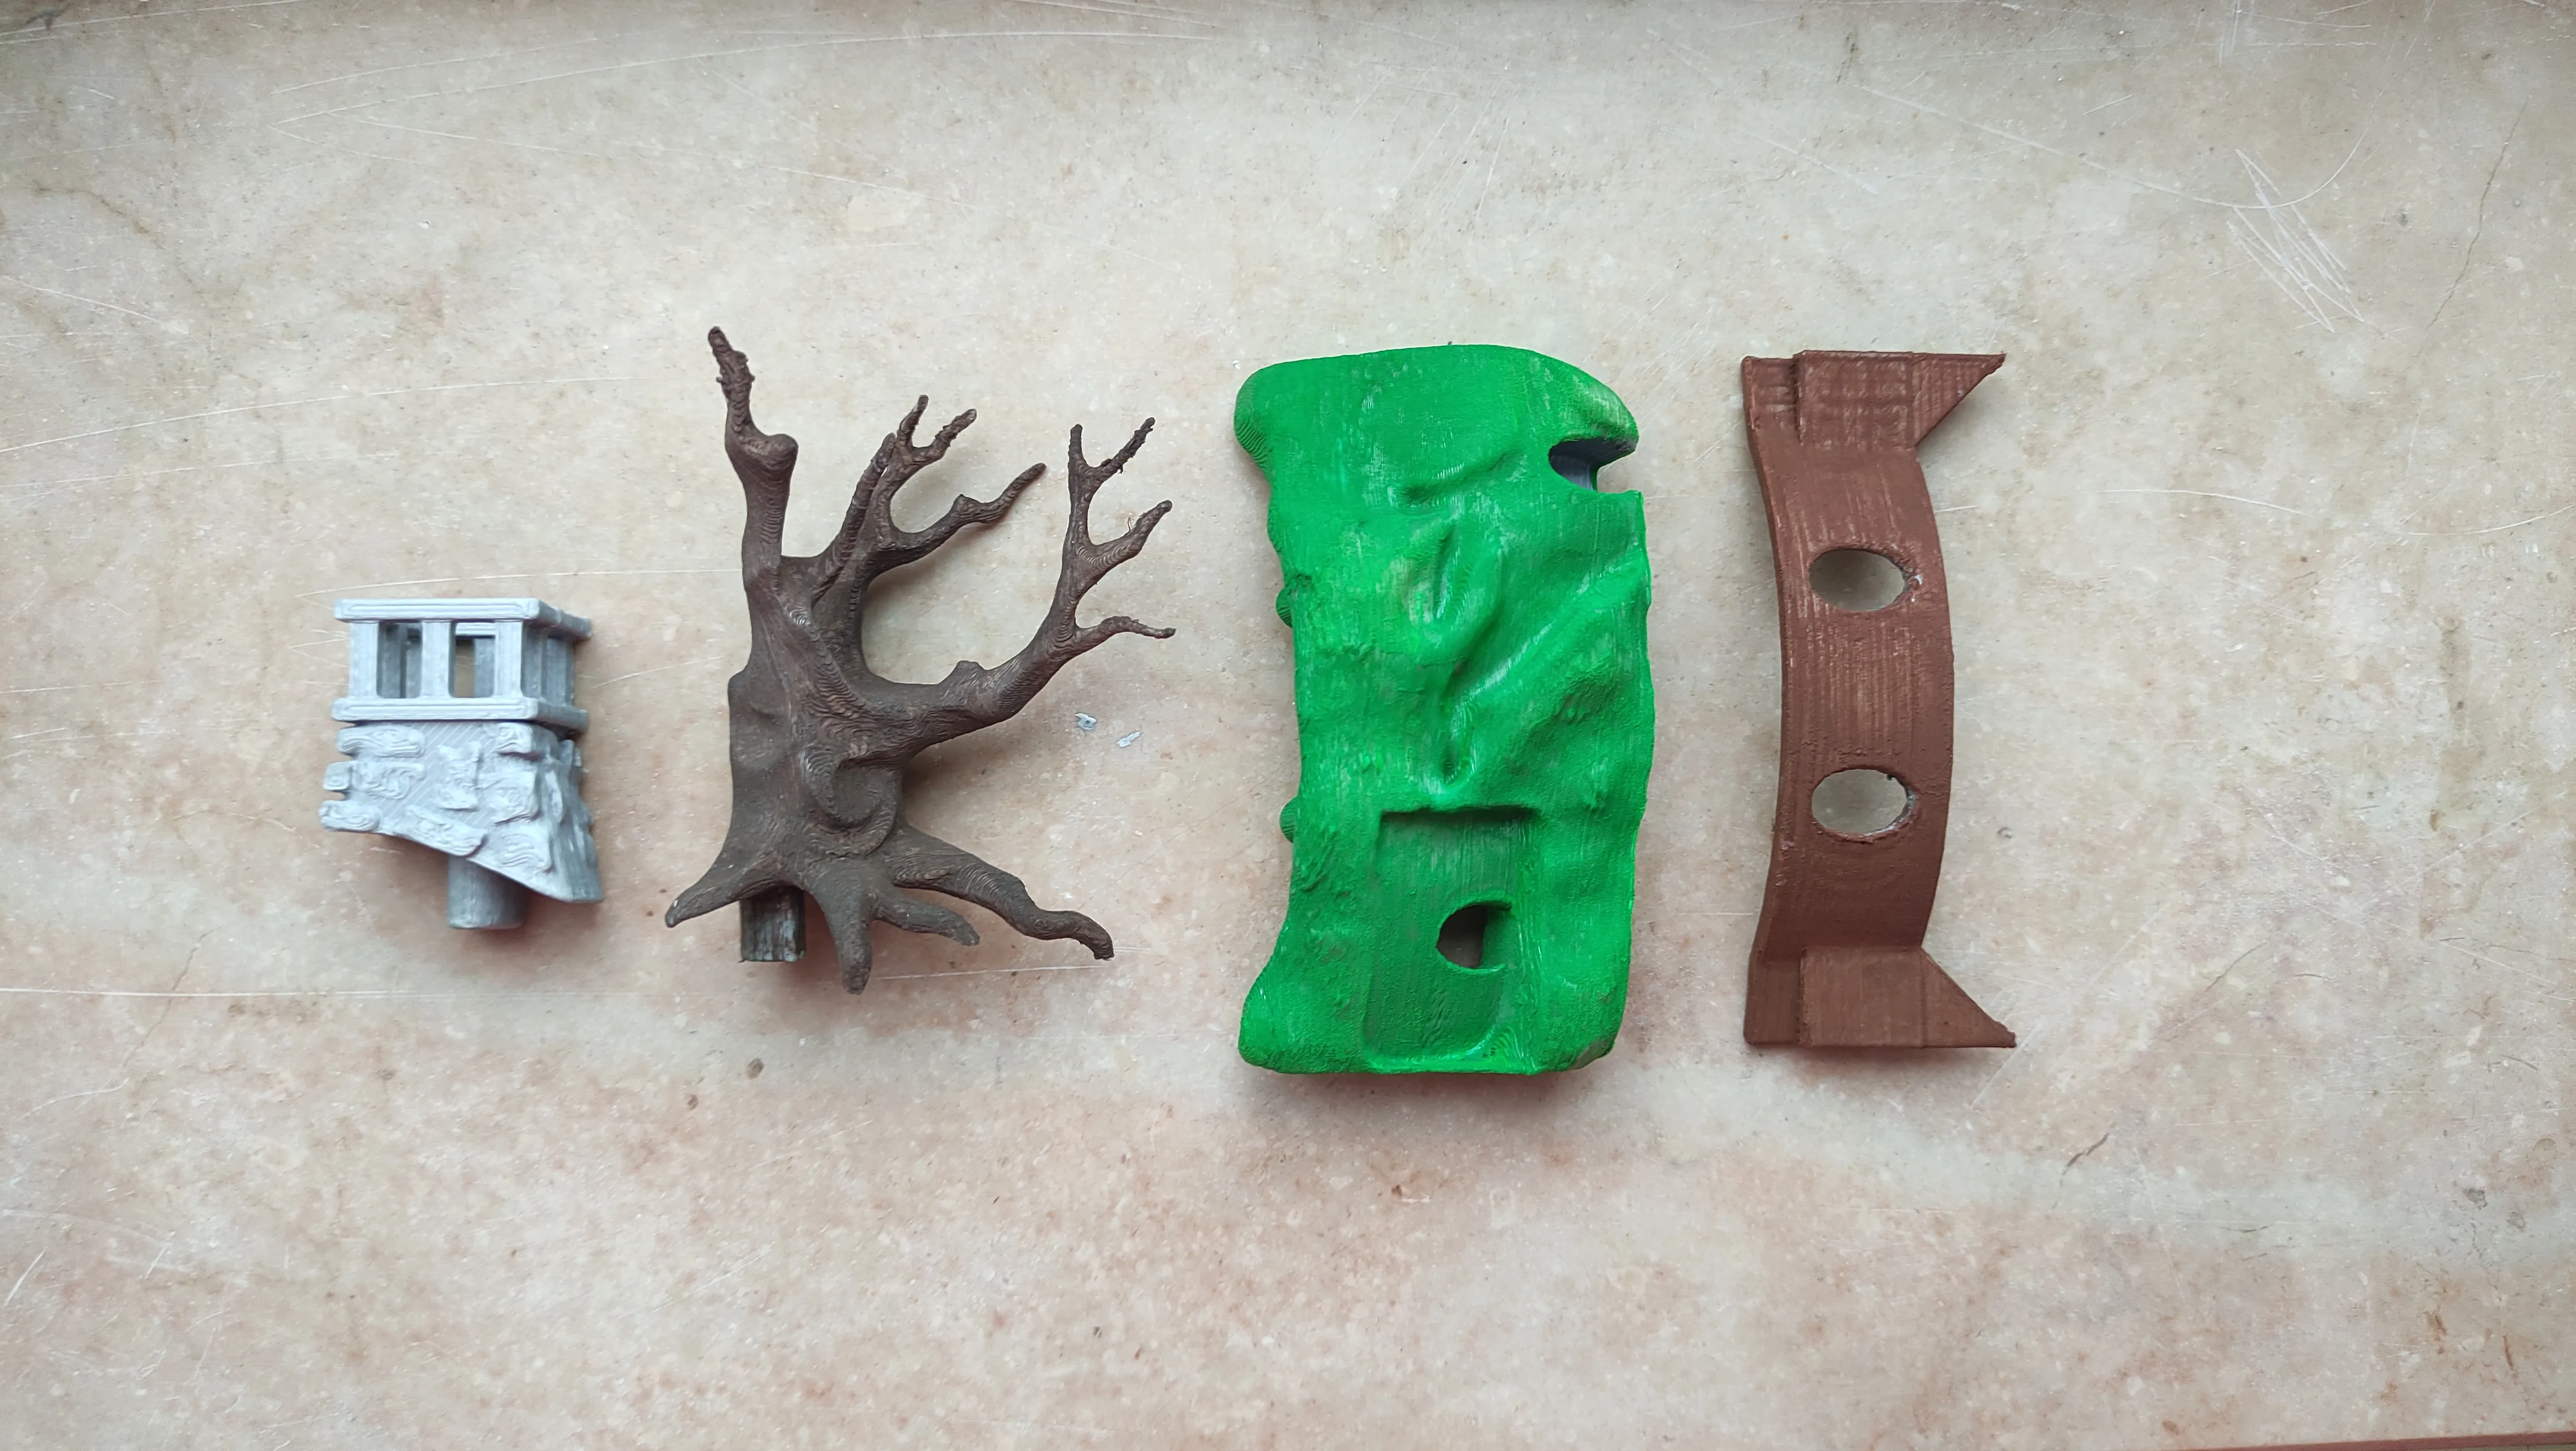
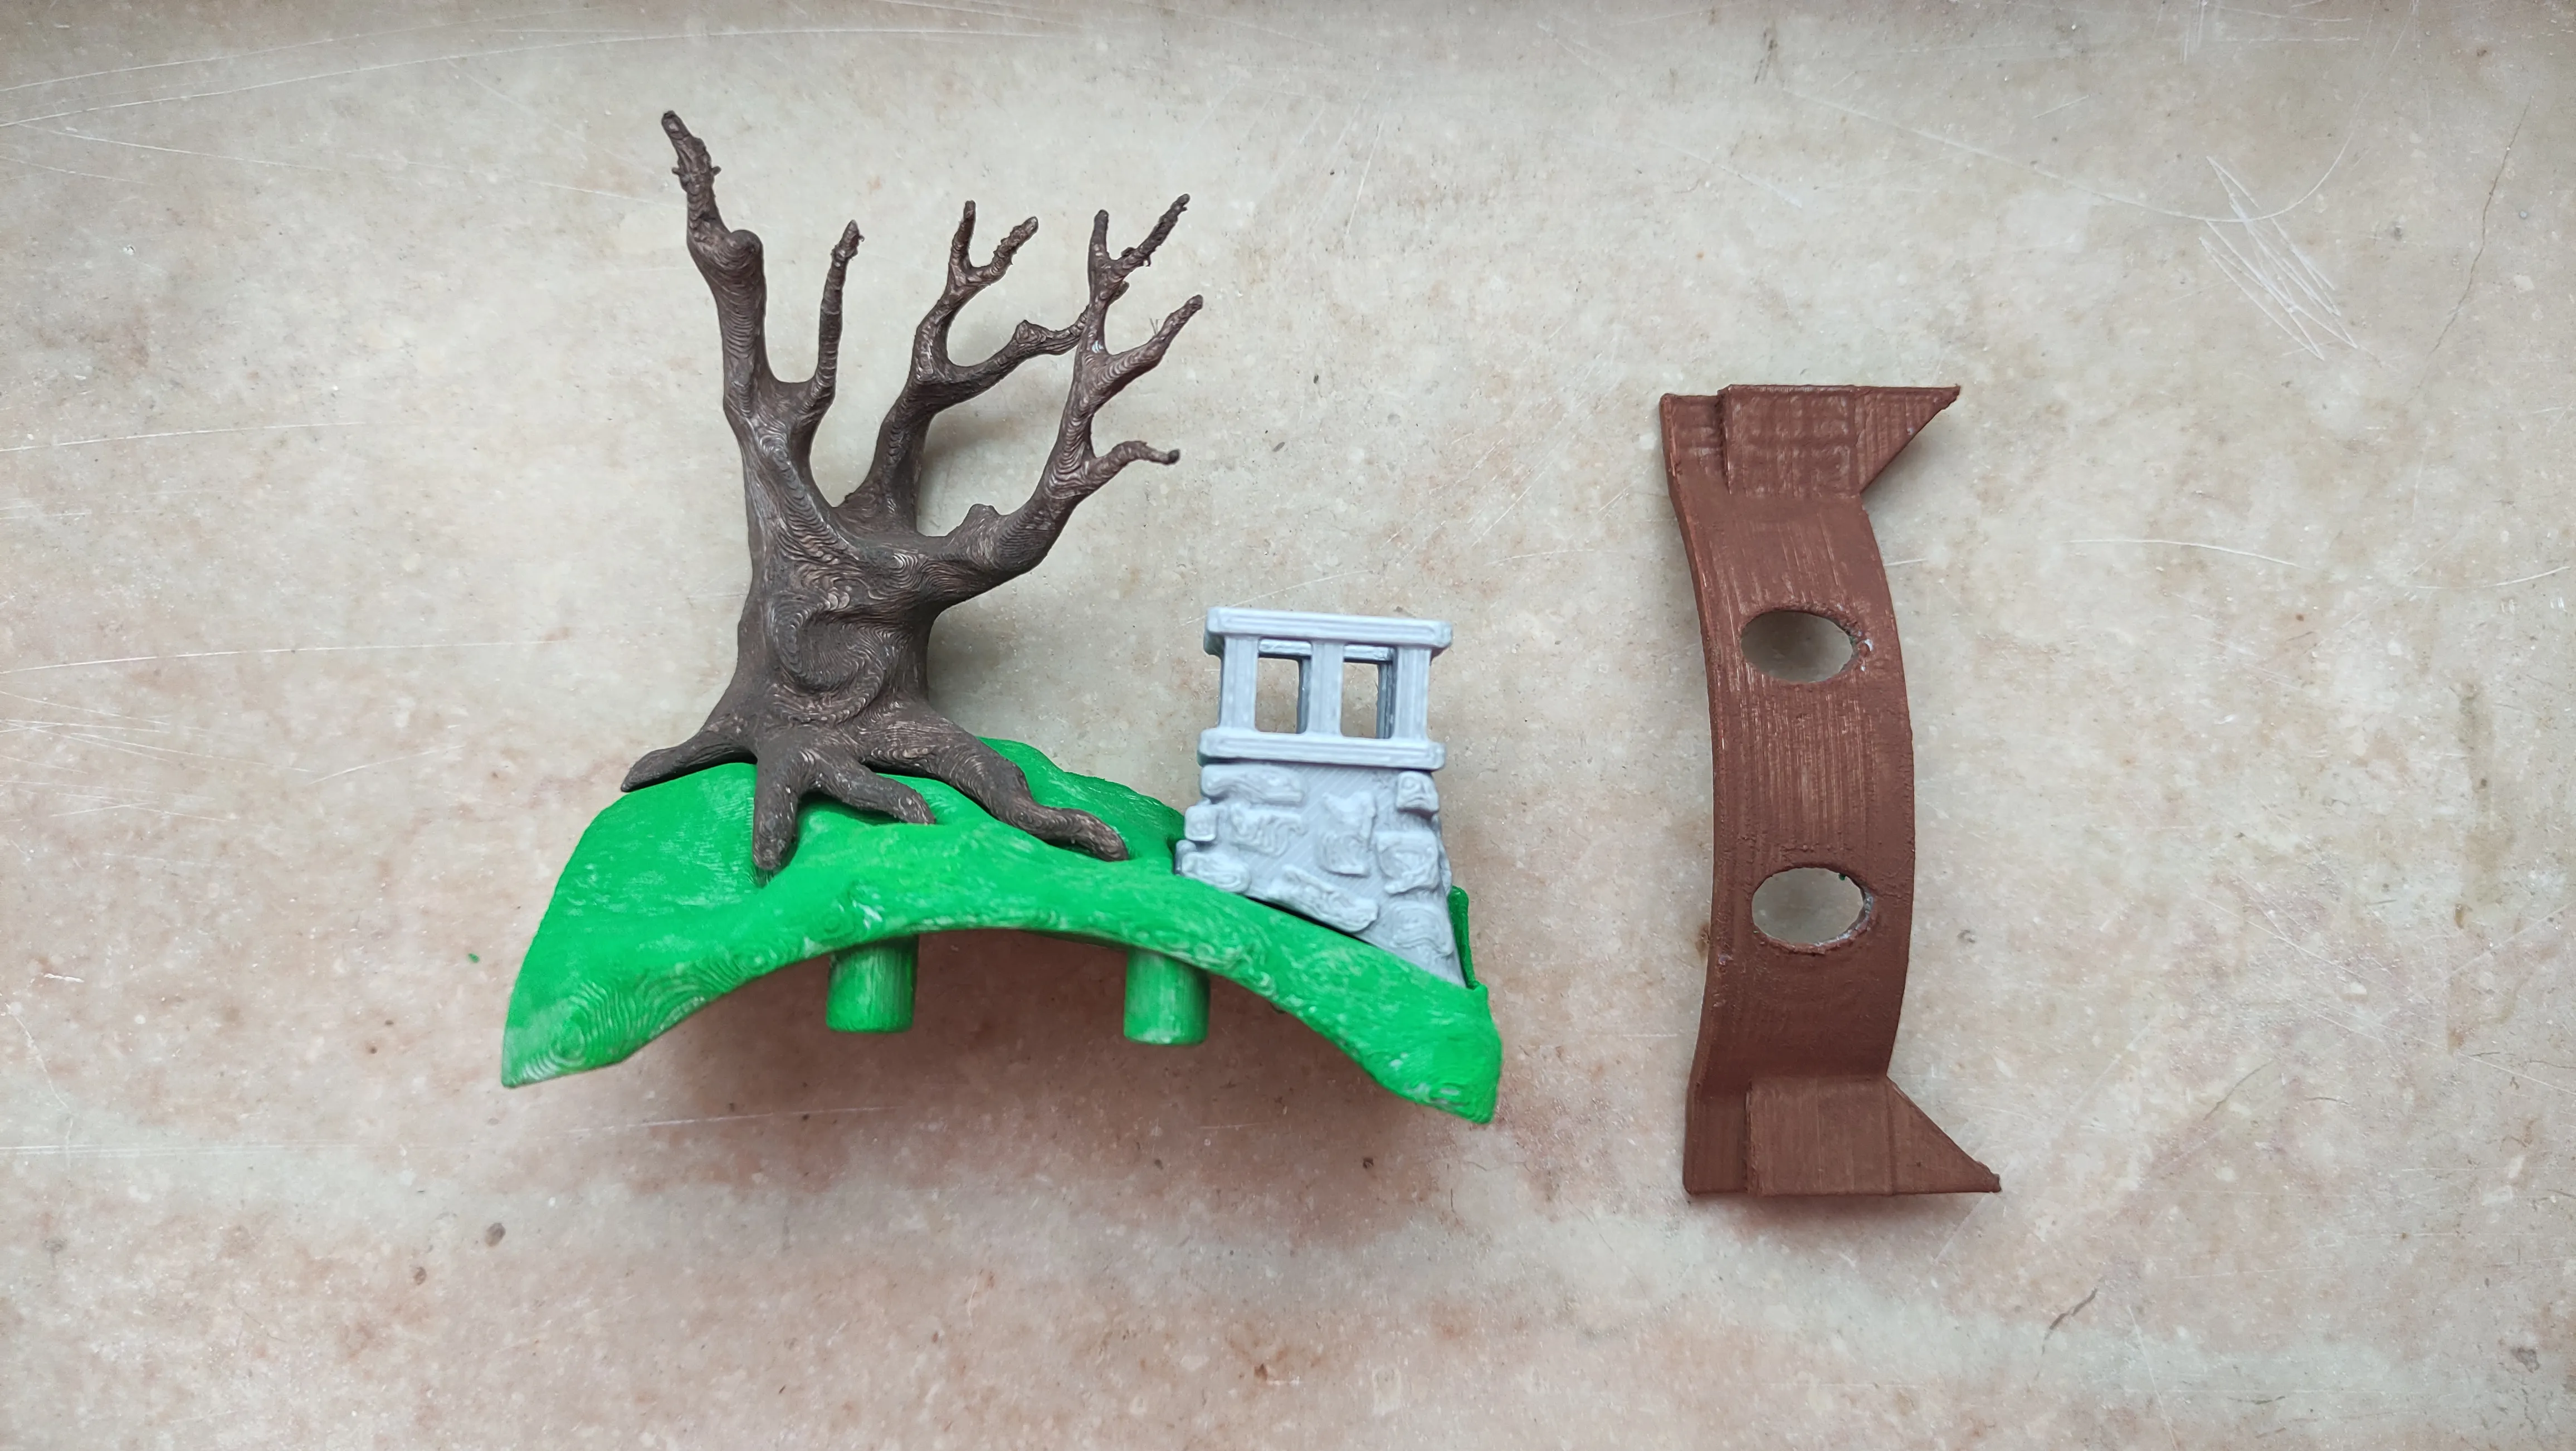
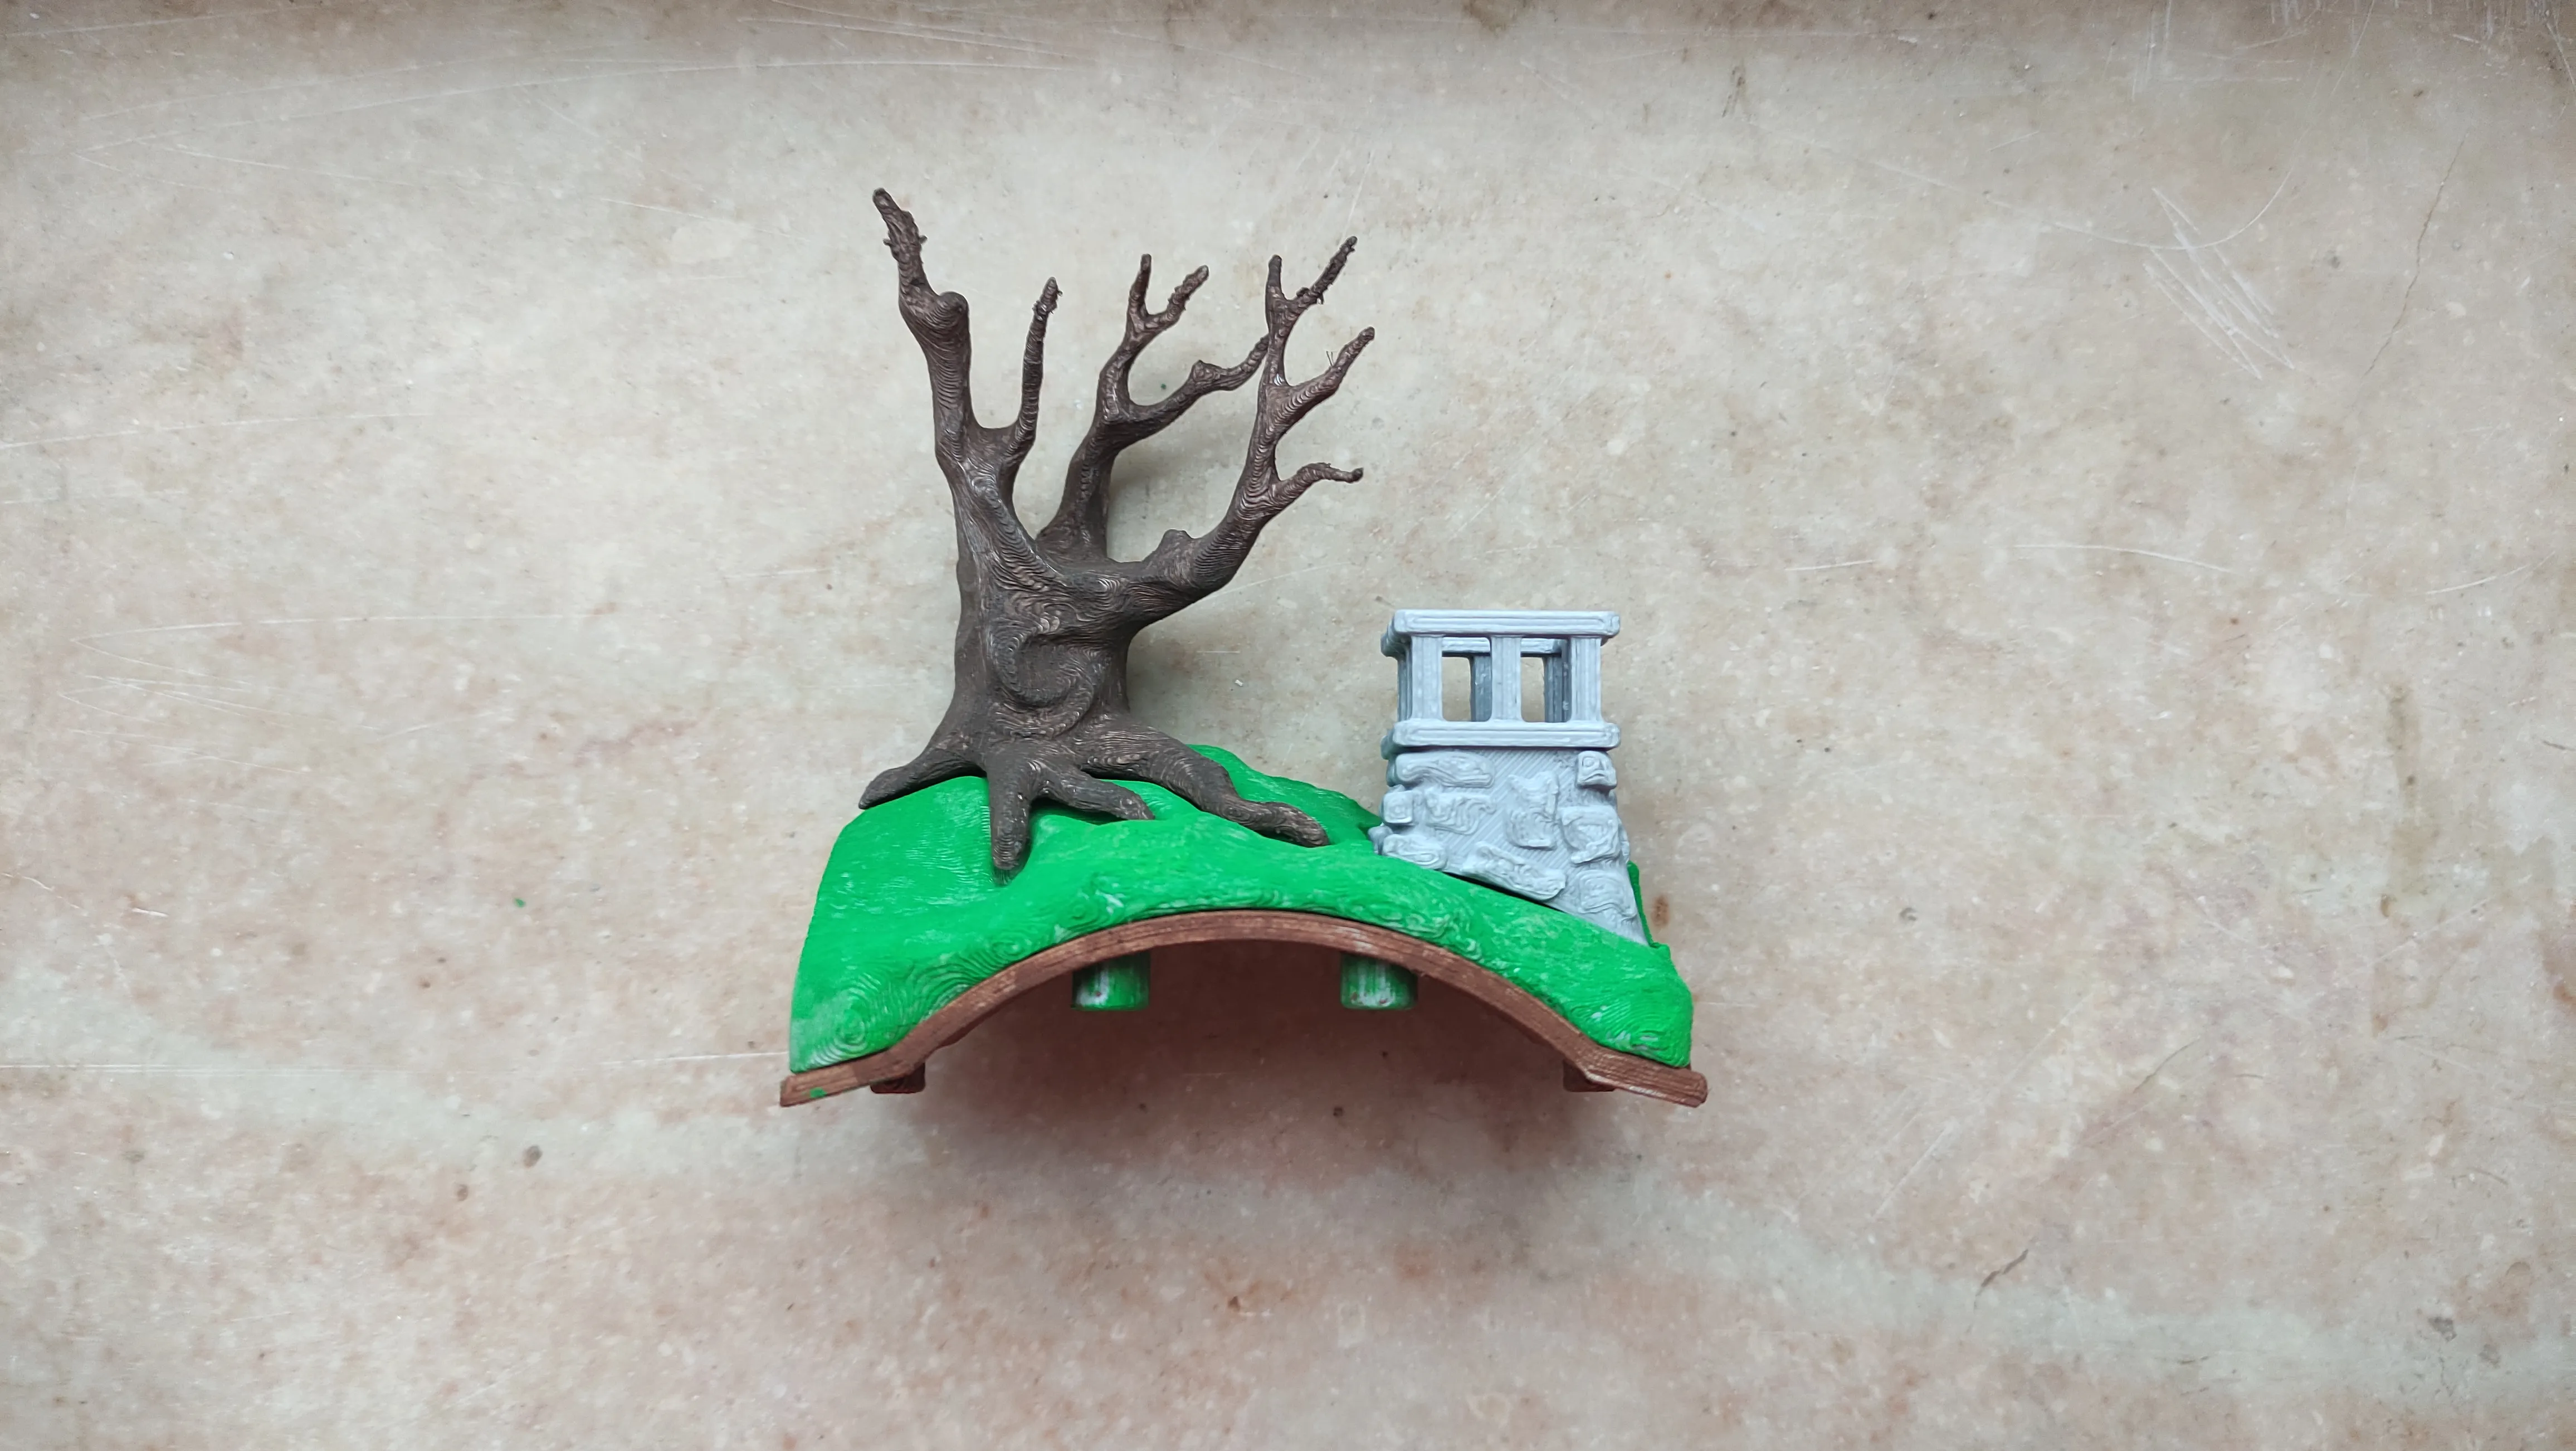
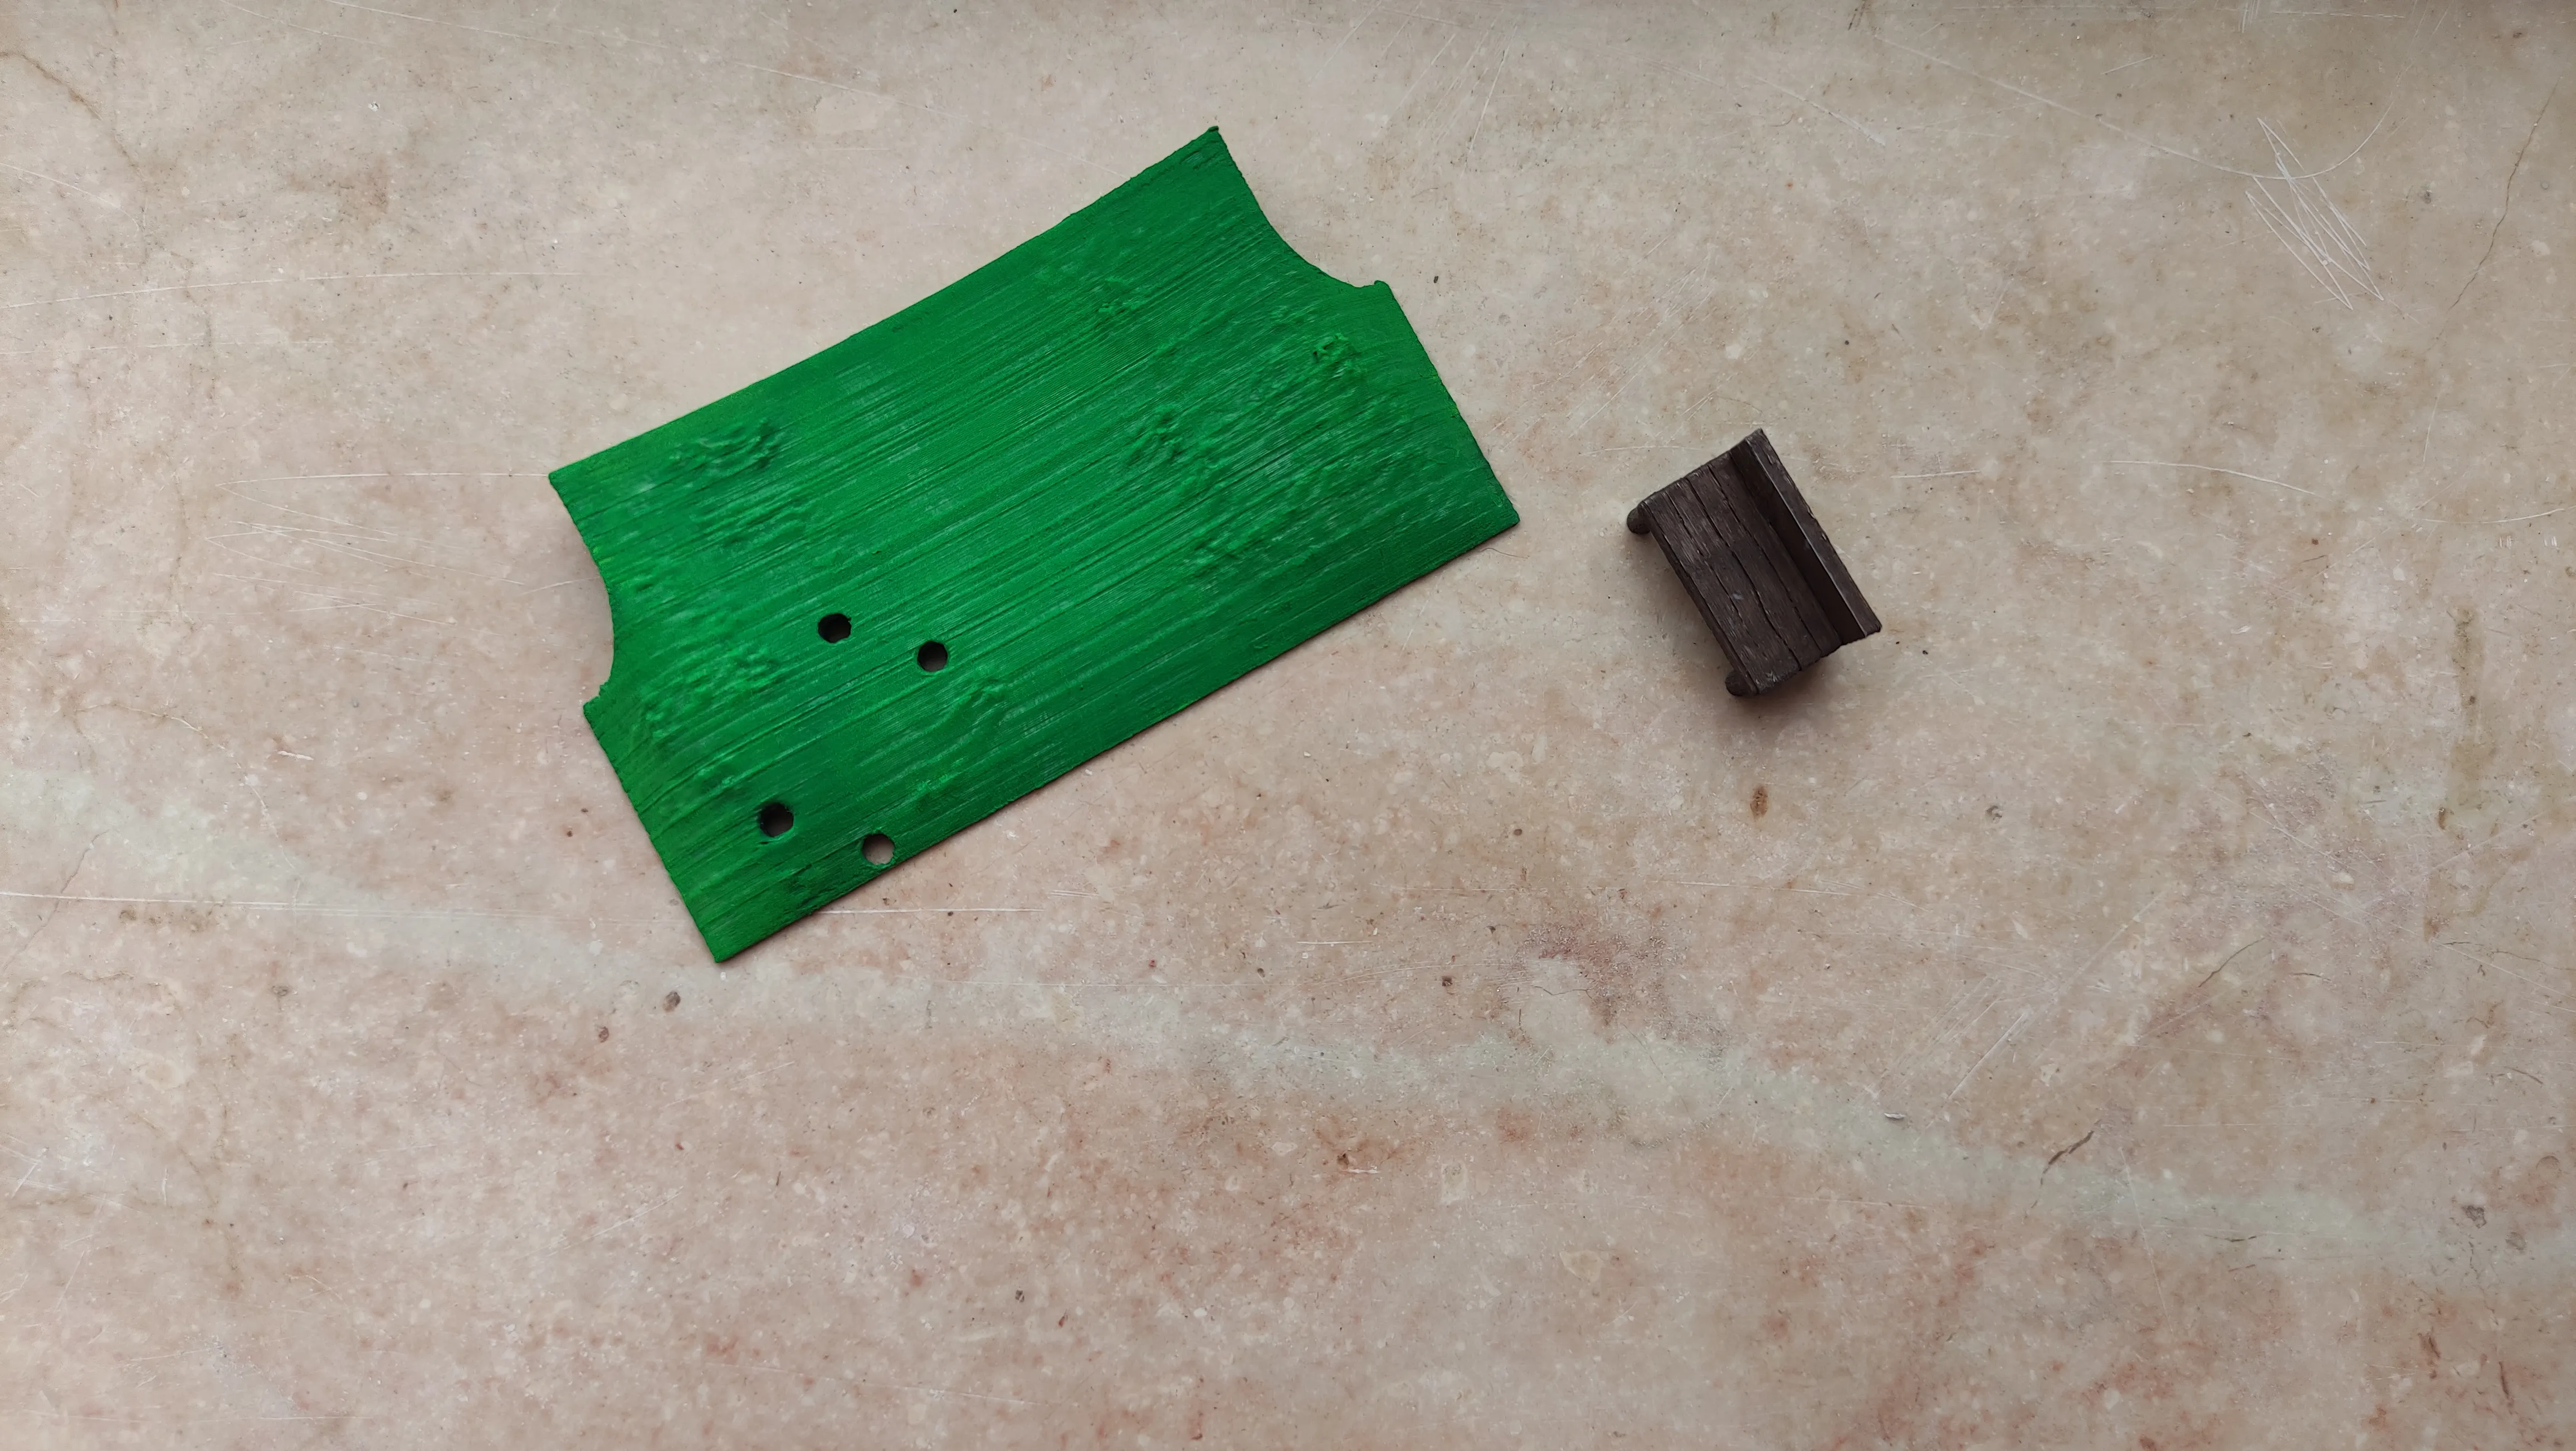
4- Gather the land in front of the house and the bench.
- Insert the bench legs into the designated cavities on top of the land.
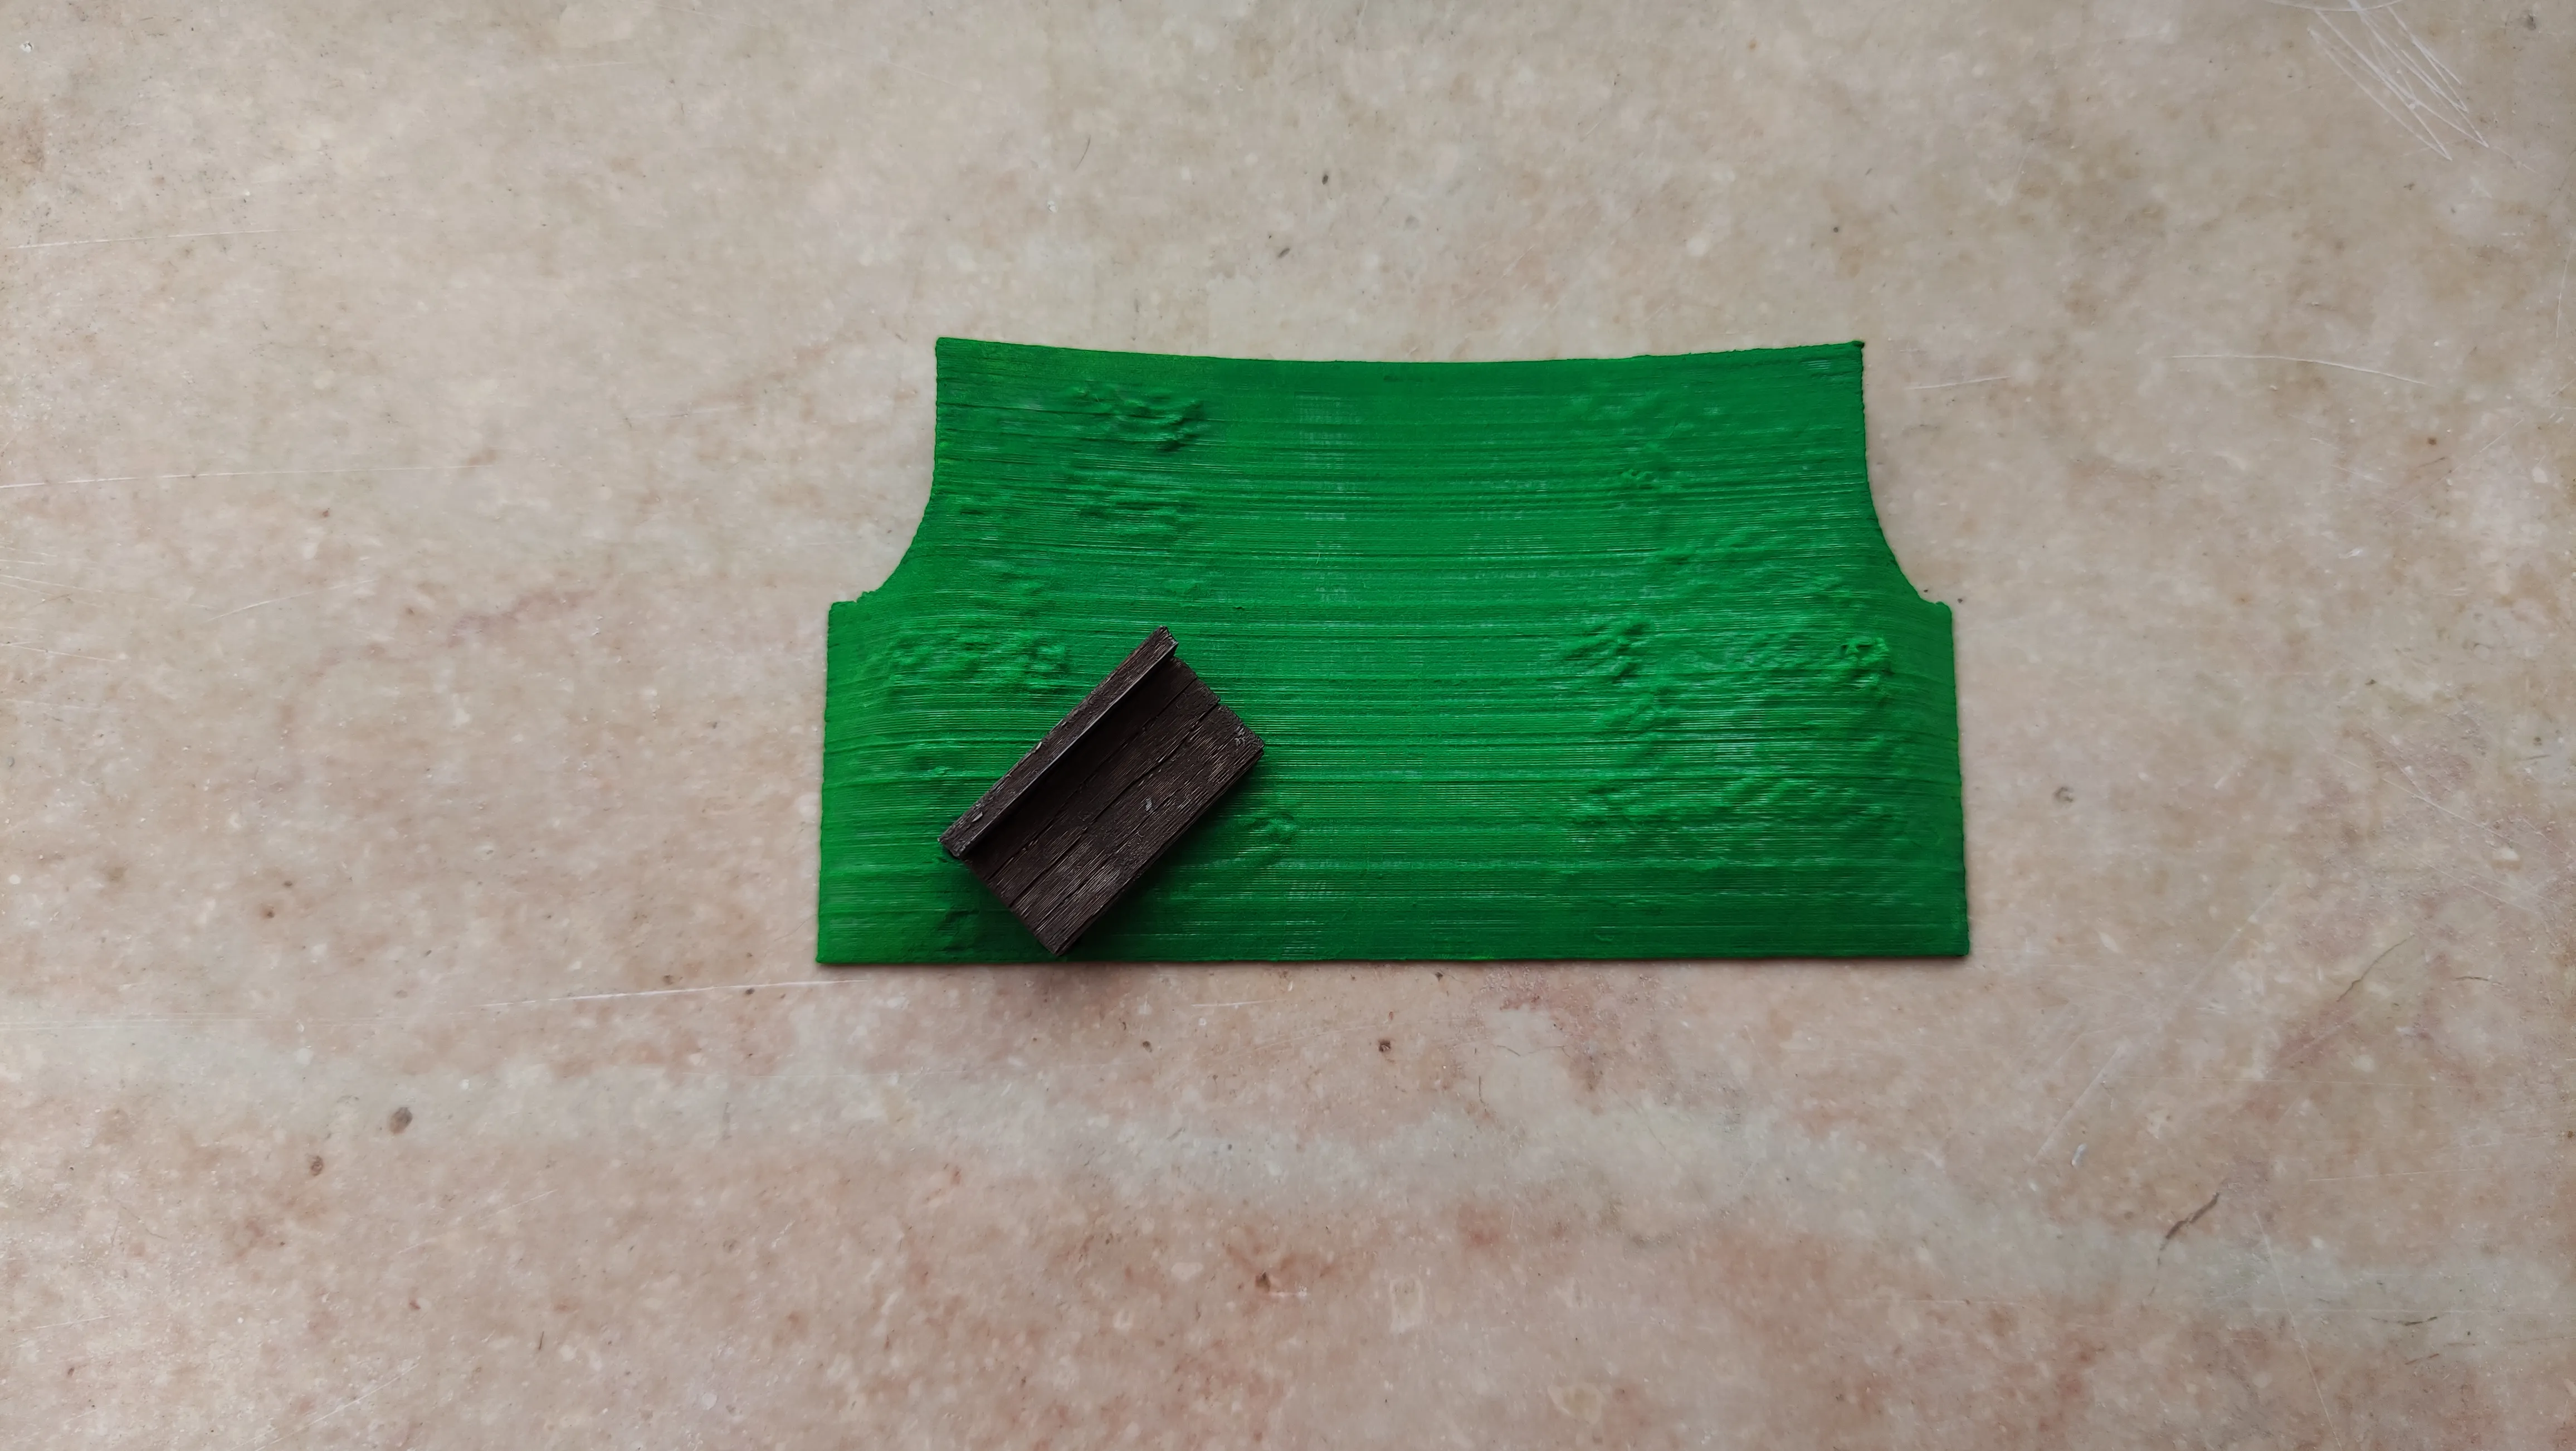
5- Now, you can start mounting everything inside the main box. Start from the back and insert each piece.
- Mount the sky piece on the four back triangles. Push the corners of the sky with your fingers slightly to ensure that it is safely fit and mounted.
- Mount the roof of the house (now connected to the land with the tree and chimney) perpendicular to the rectangular mounts, as the picture shows.
- Mount the house piece on the four triangles closer to the front of the box. Push on the corners with your fingers slightly to ensure that it is safely fit and mounted.
- Place the land with the bench in front of the house, and push it until it is completely stuck to the house wall. It does stay in place just like that, but you can use a bit of glue to secure it.
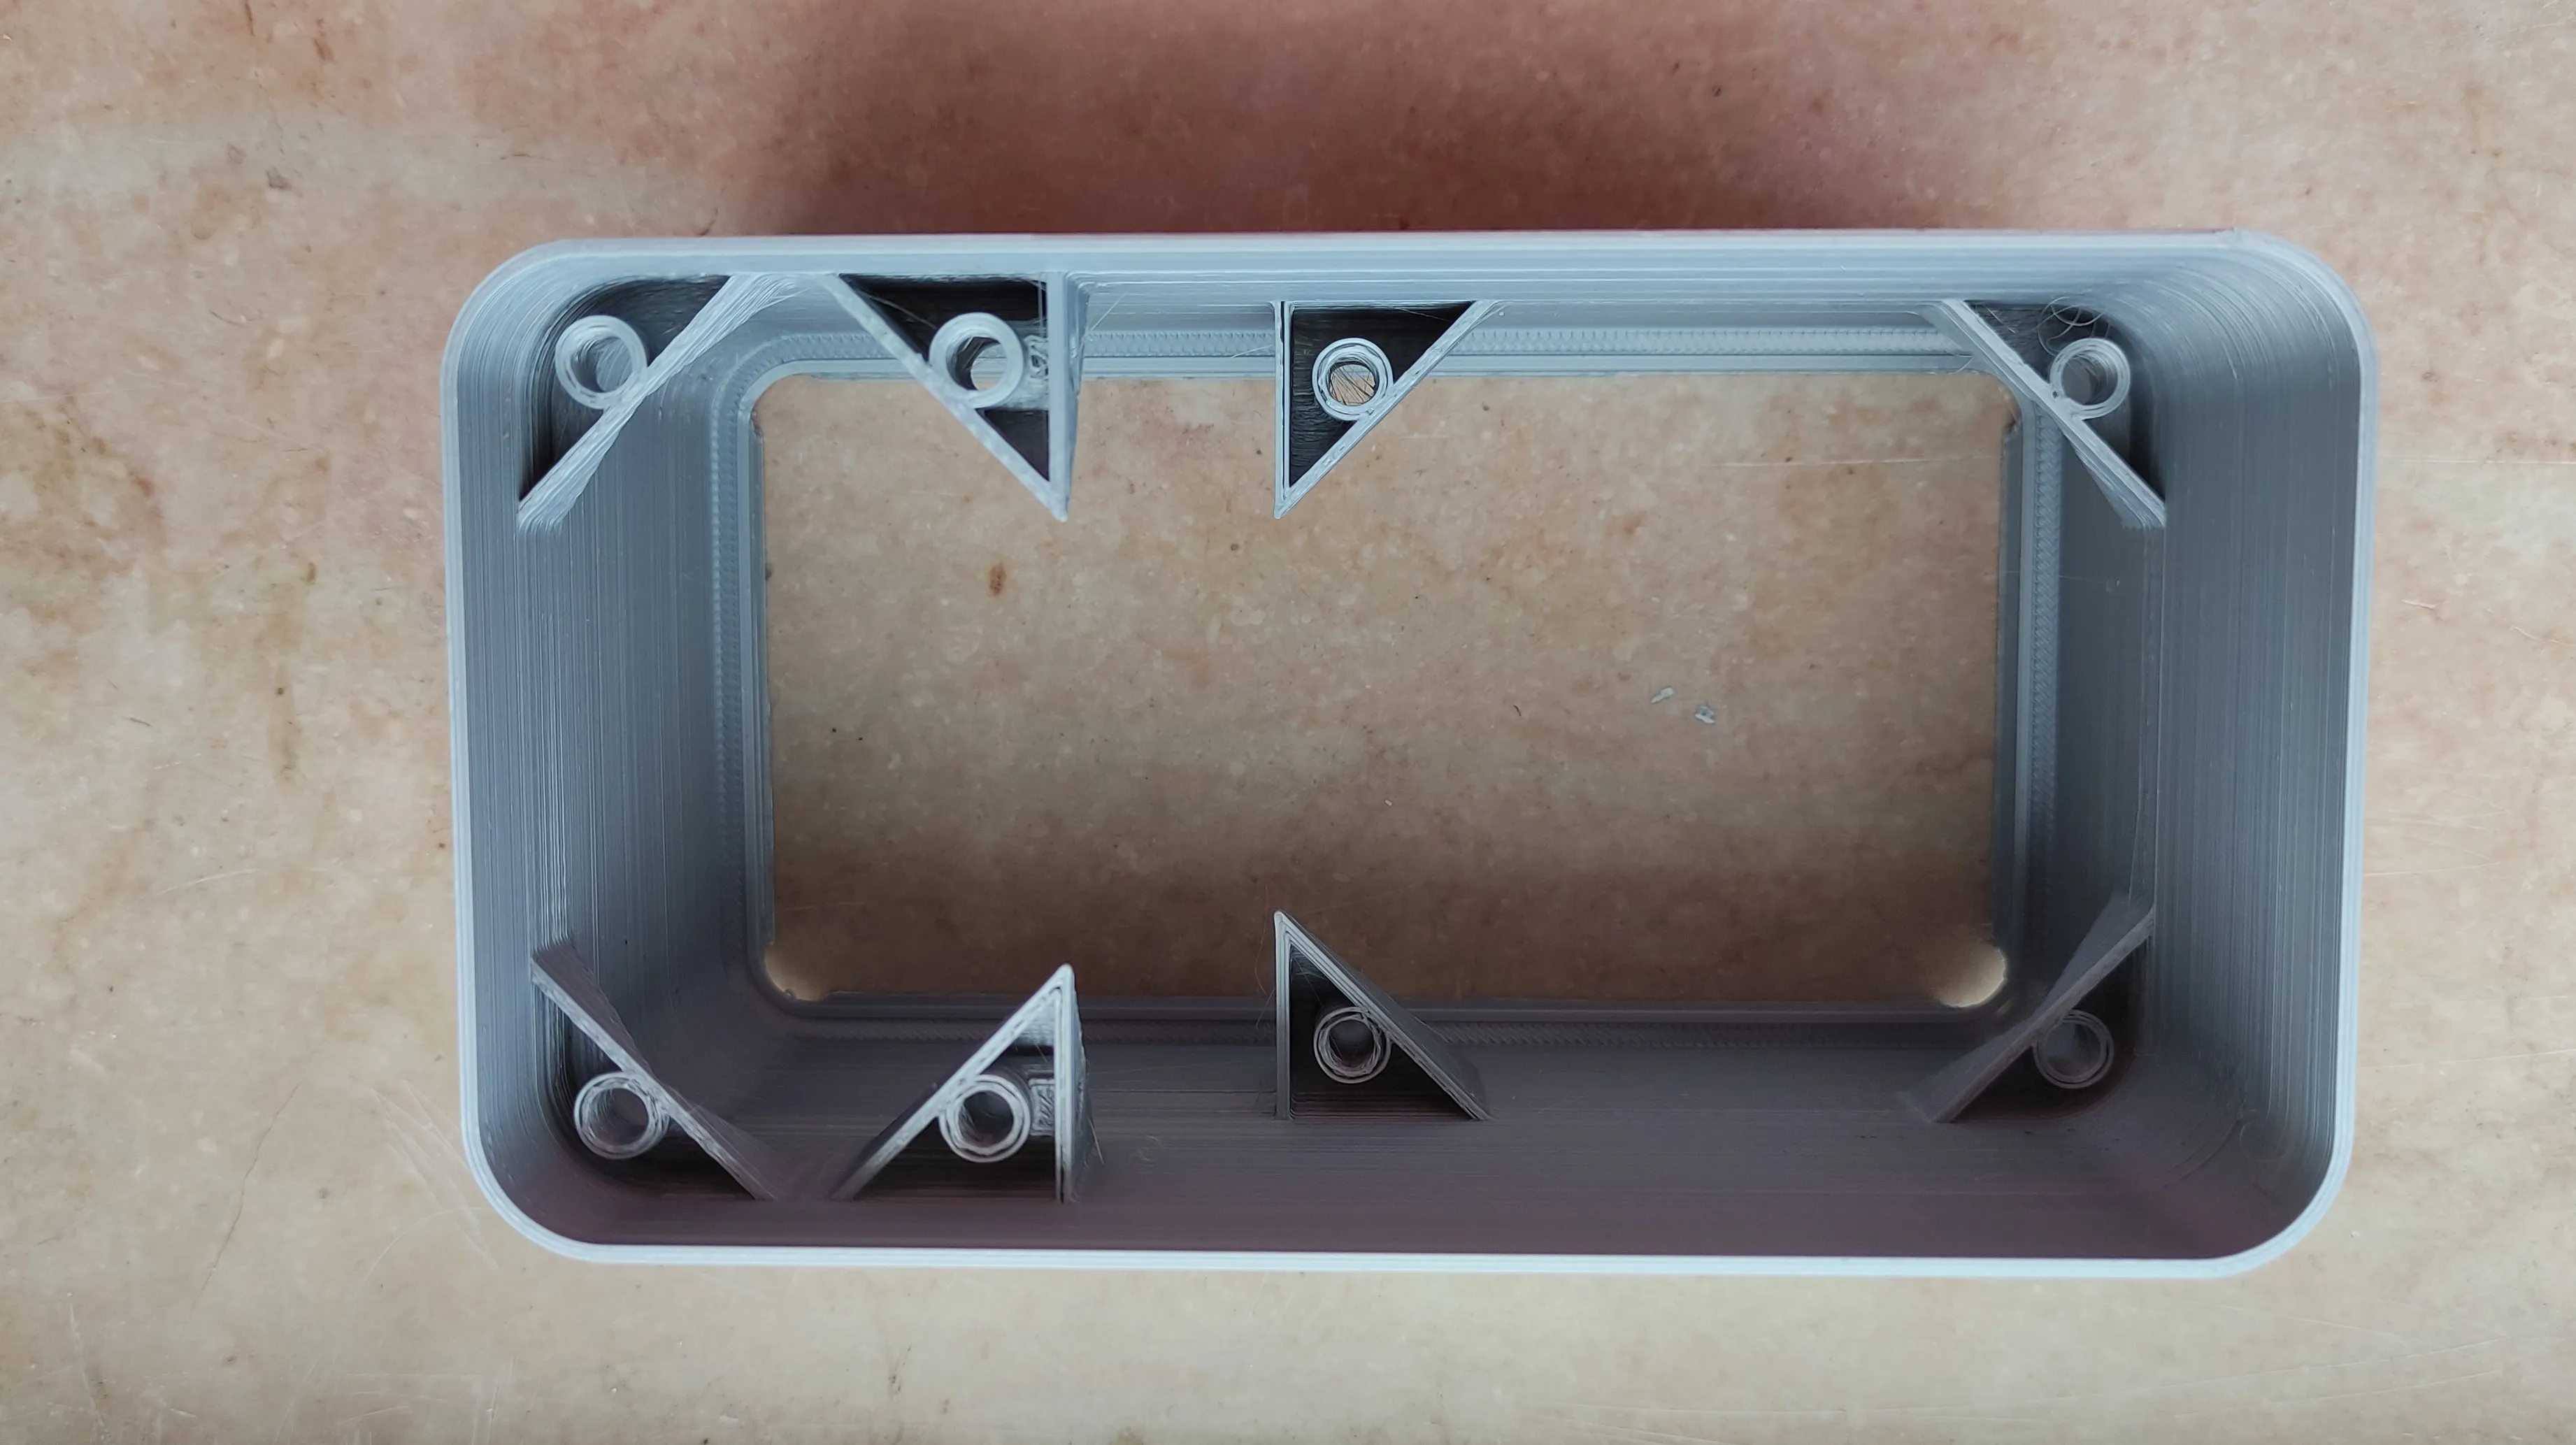
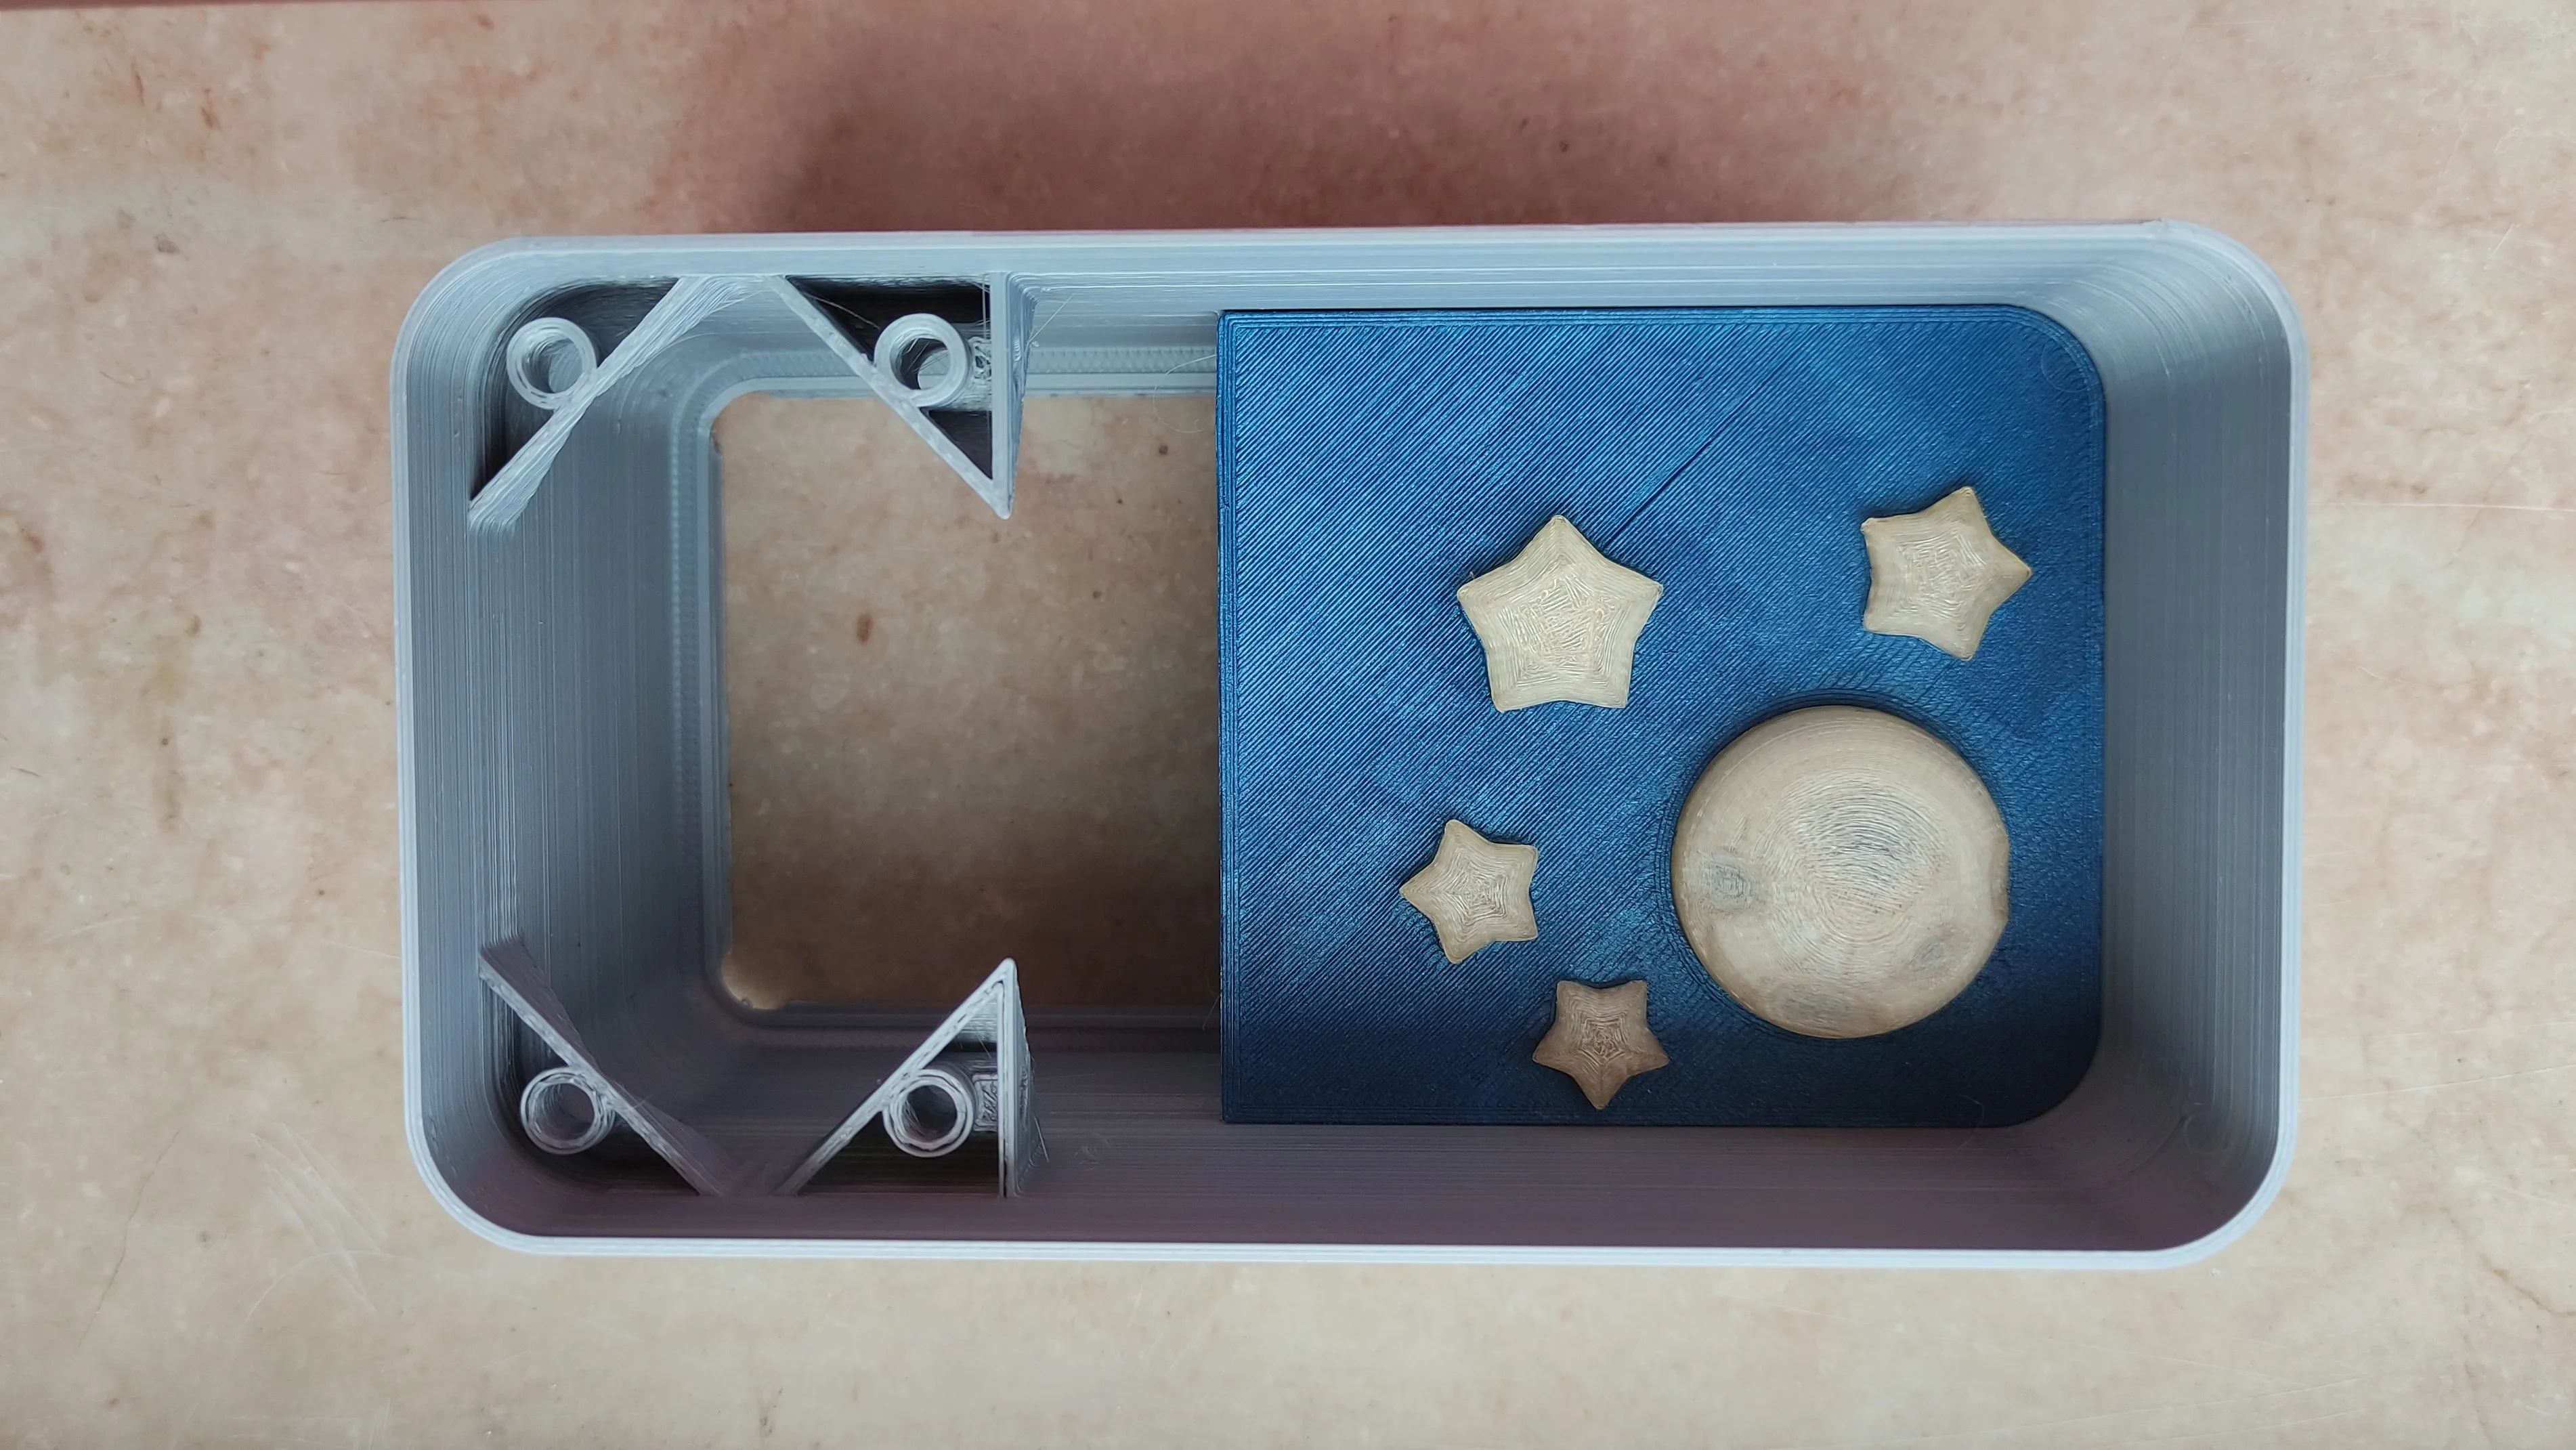
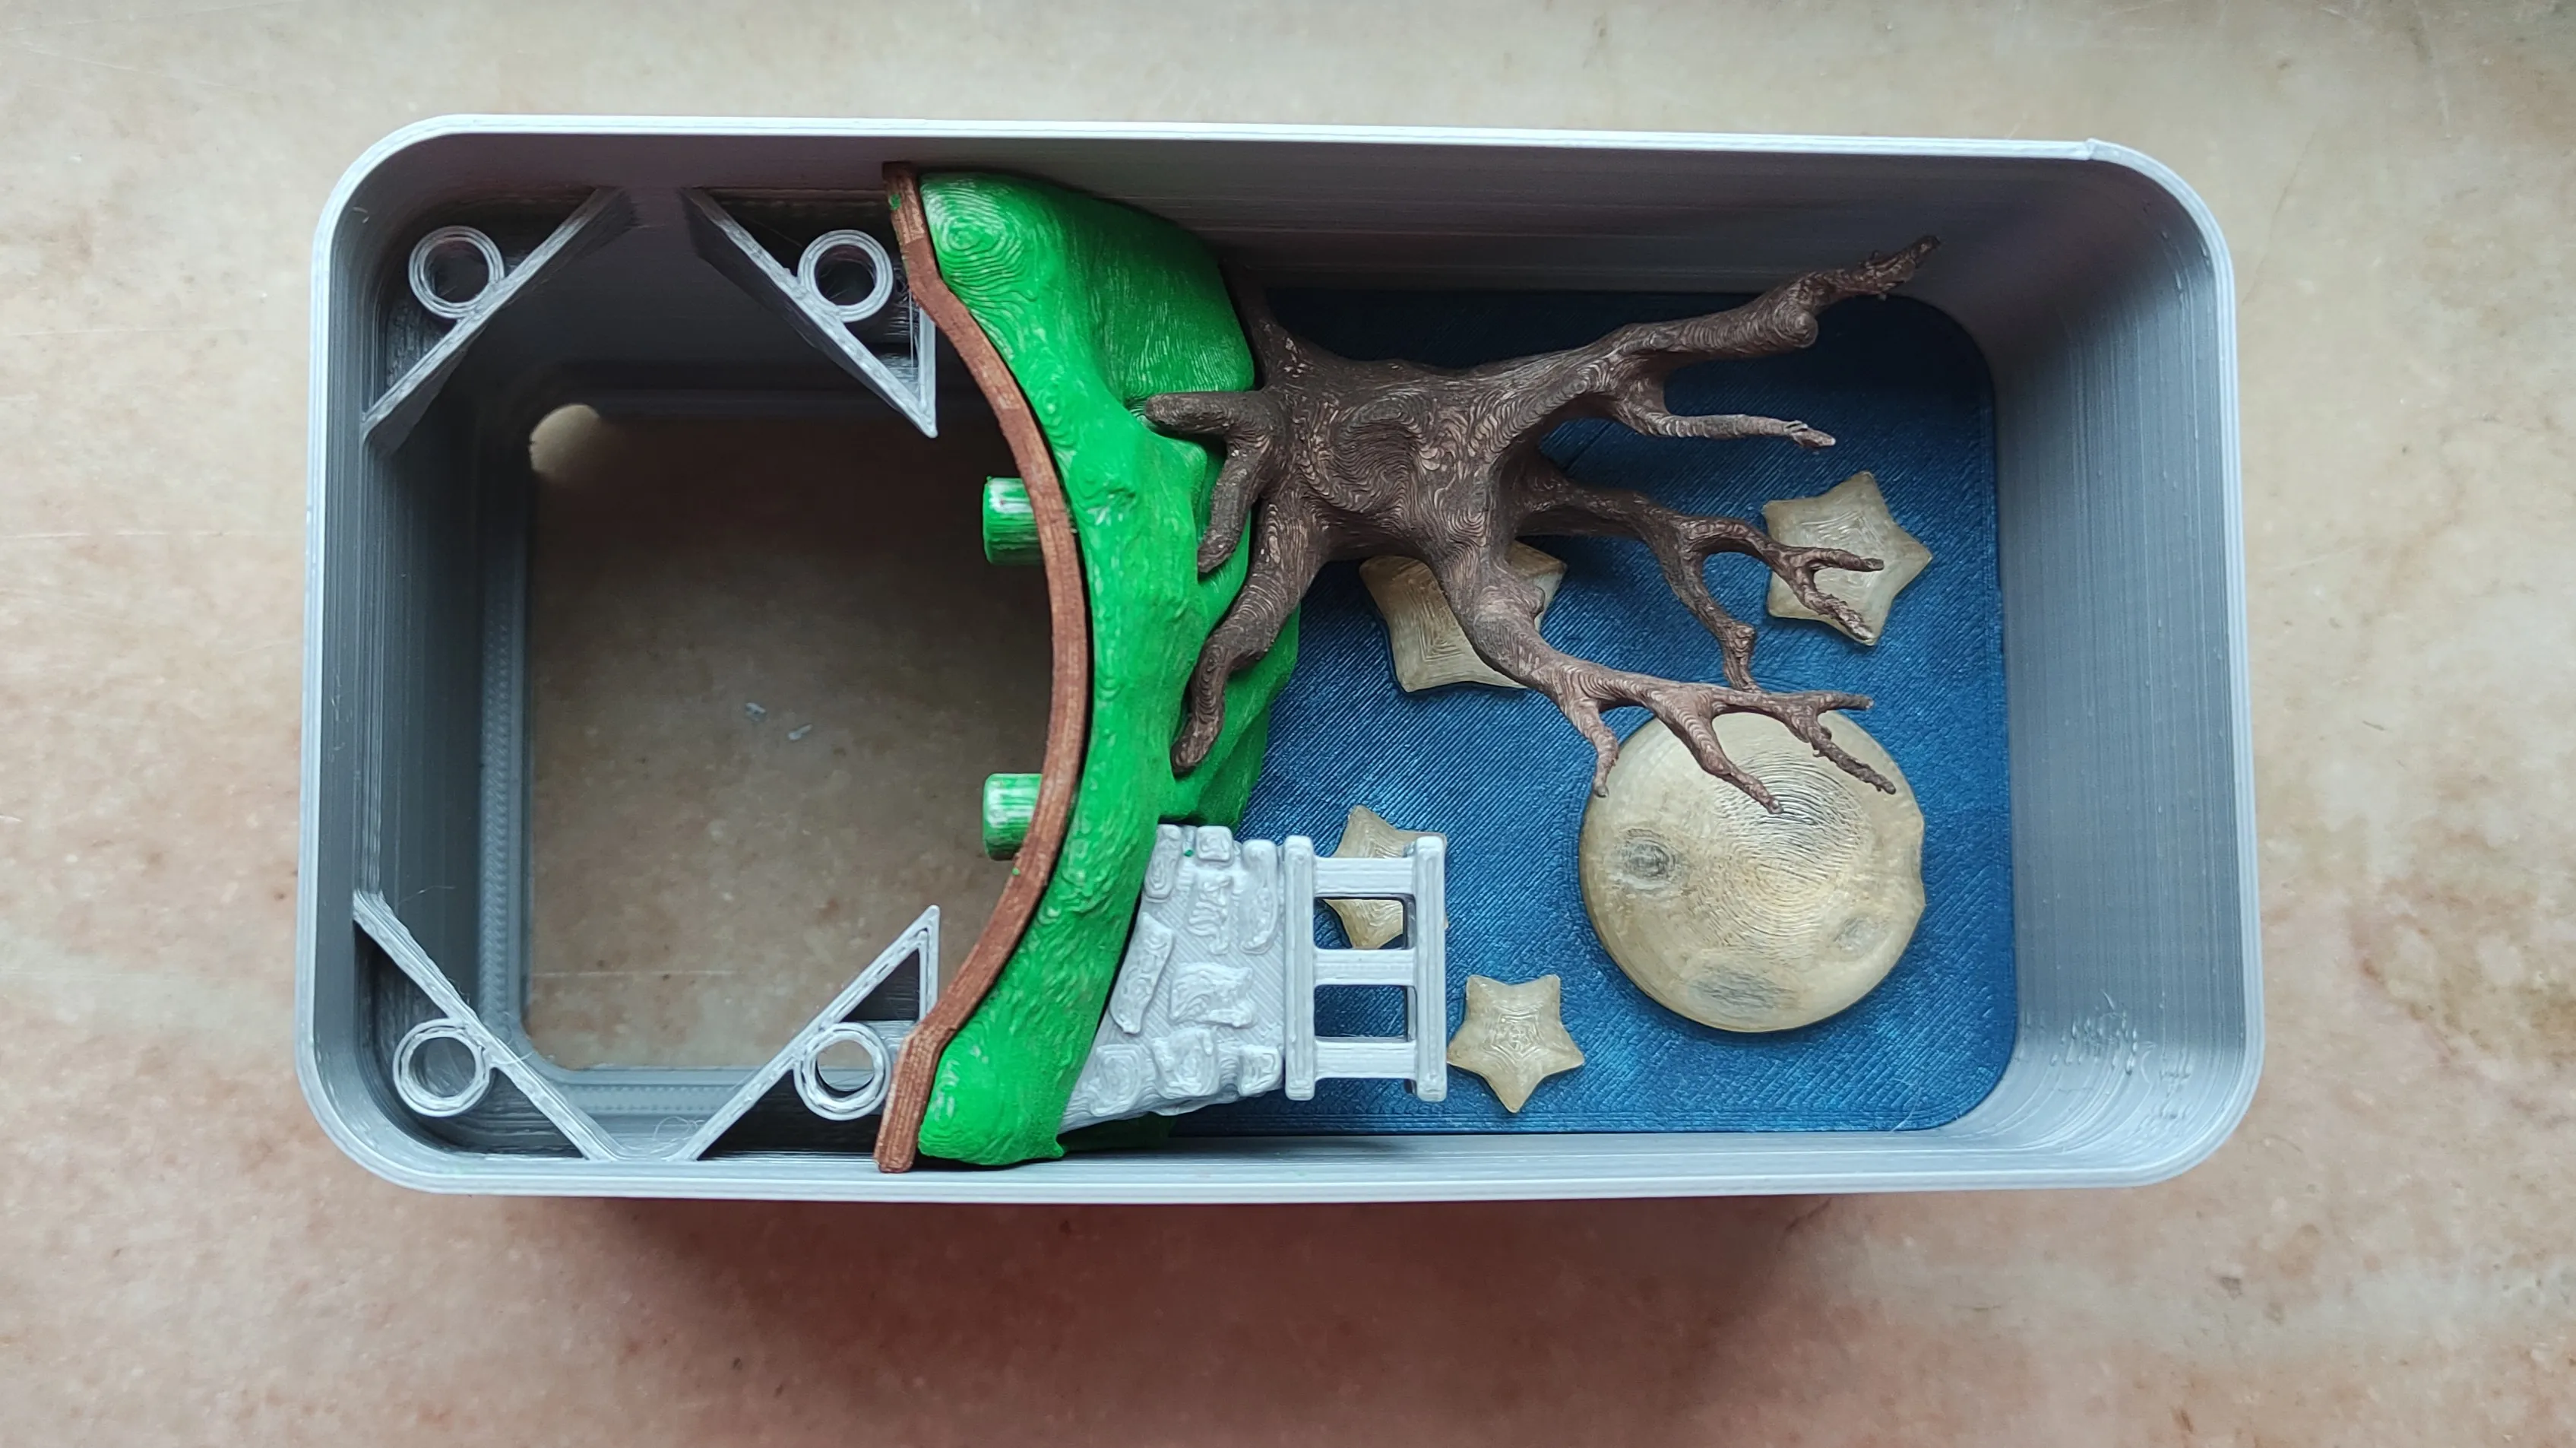
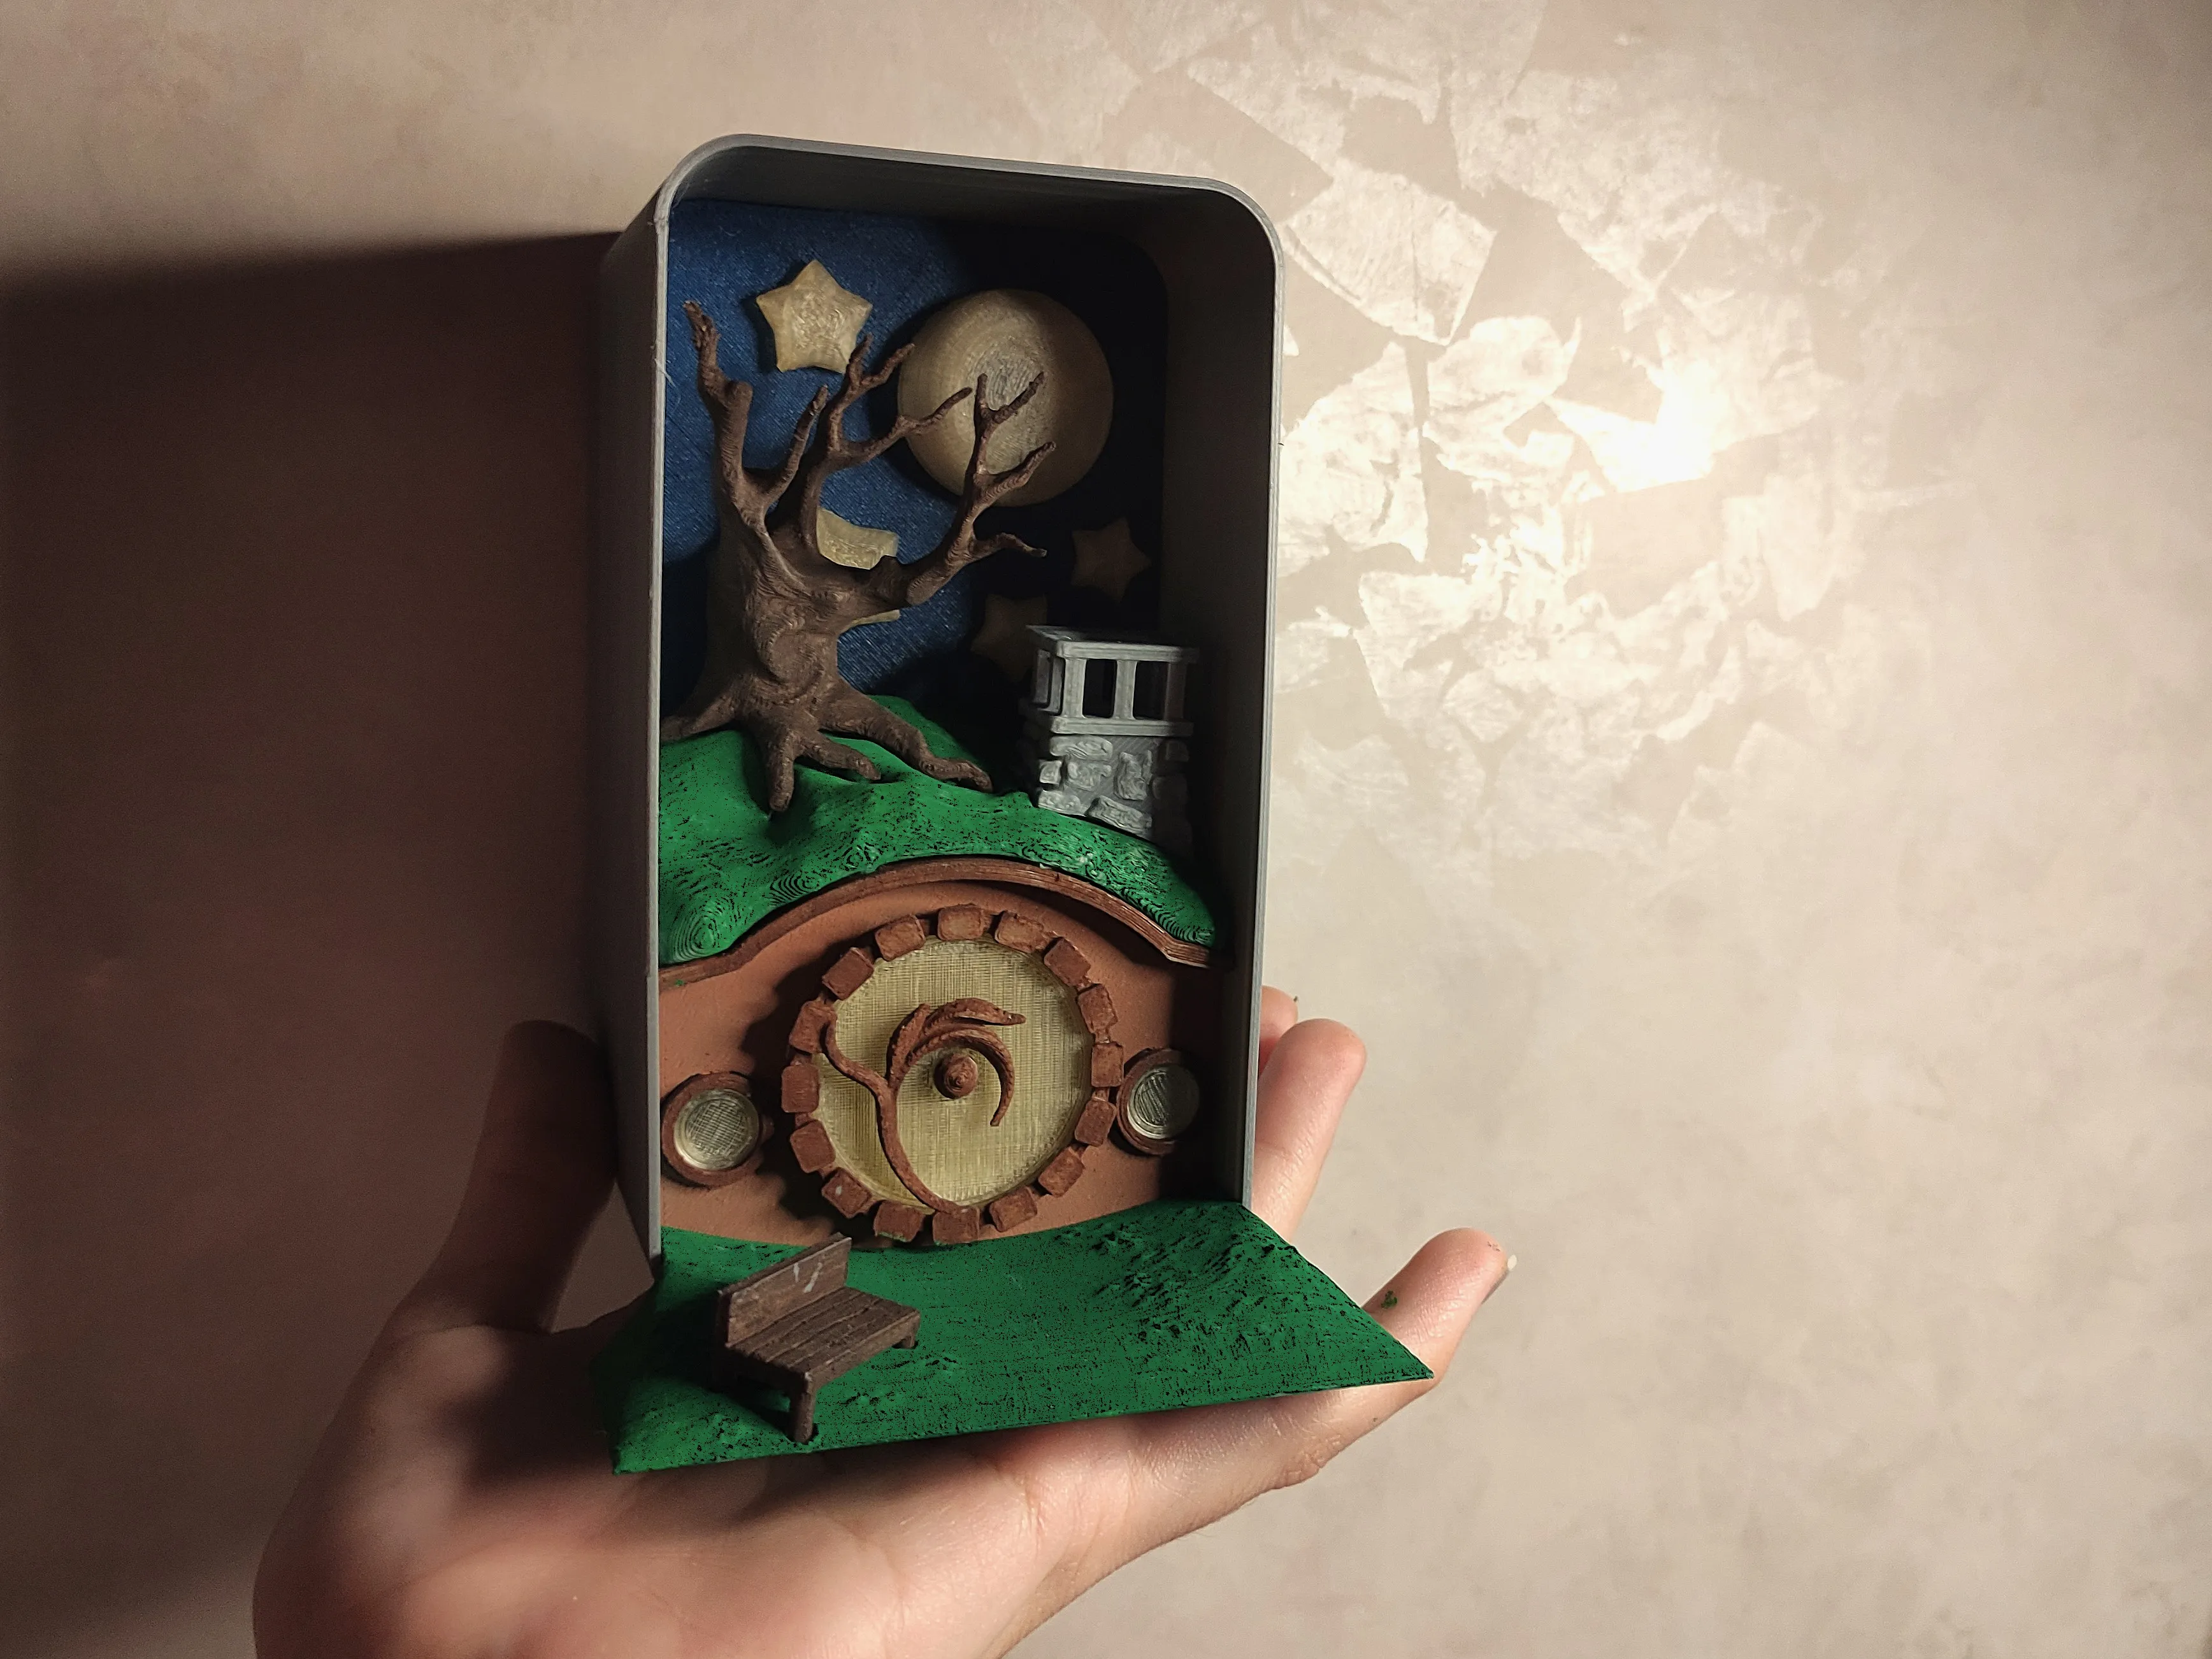
- To light up the model, I used strip lights, which I simply placed in the back space of the box. If you want to wire your LEDs personally, you can use the little round hole in the back enclosure of the box to manage your wires neatly. (Mine was store-bought with a key already wired, so I just closed the enclosure and let out the LEDs through the corner distance between the box and the enclosure.)
Let me know how it went, and happy printing! :)🥂
If you really loved my work, you can always get me a coffee :)
(Commercial licences and high-quality renders also available on Ko-fi)

License

You shall not share, sub-license, sell, rent, host, transfer, or distribute in any way the digital or 3D printed versions of this object, nor any other derivative work of this object in its digital or physical format (including - but not limited to - remixes of this object, and hosting on other digital platforms). The objects may not be used without permission in any way whatsoever in which you charge money, or collect fees.


Comment & Rating (19)