
Nimbus Hunter 50cm hand-launch glider


Print Profile(6)


Description
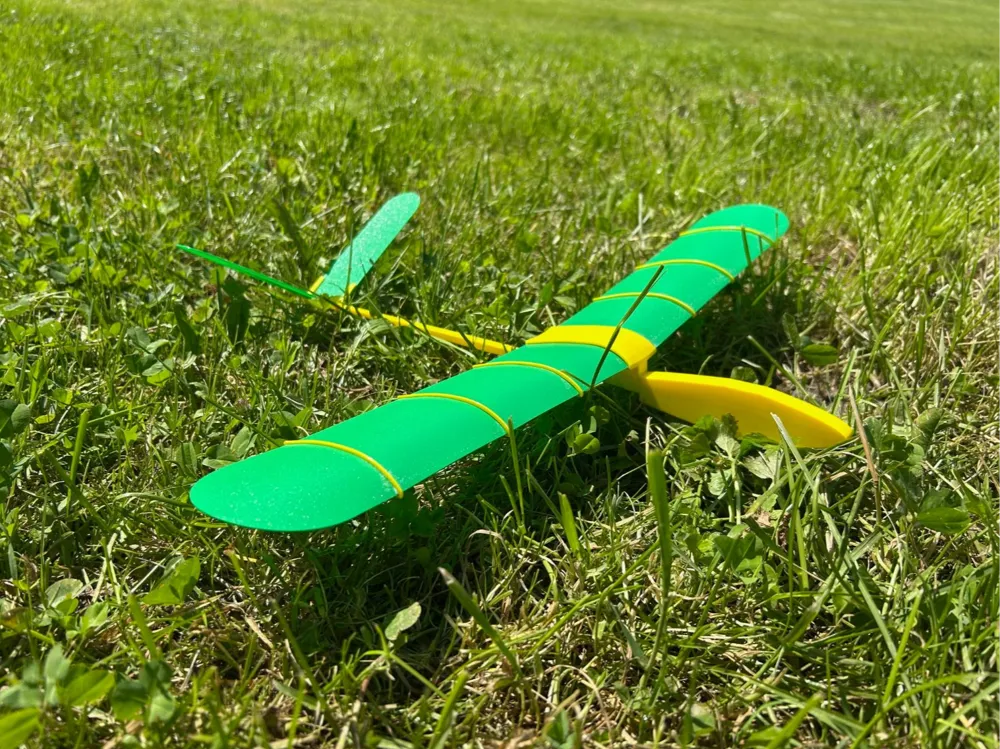
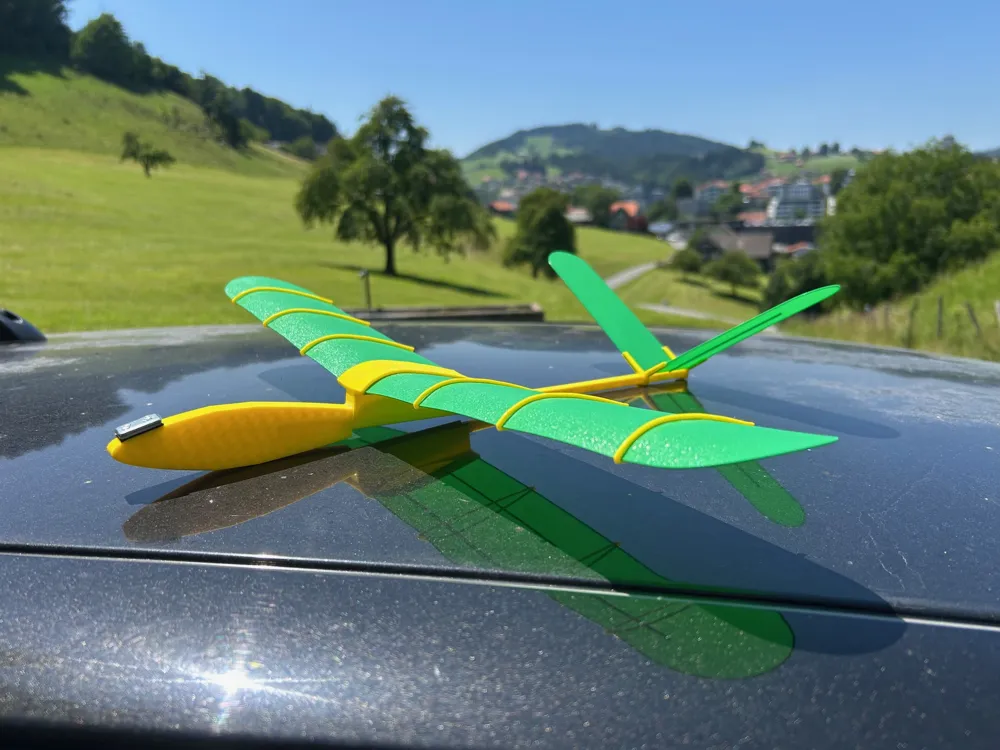
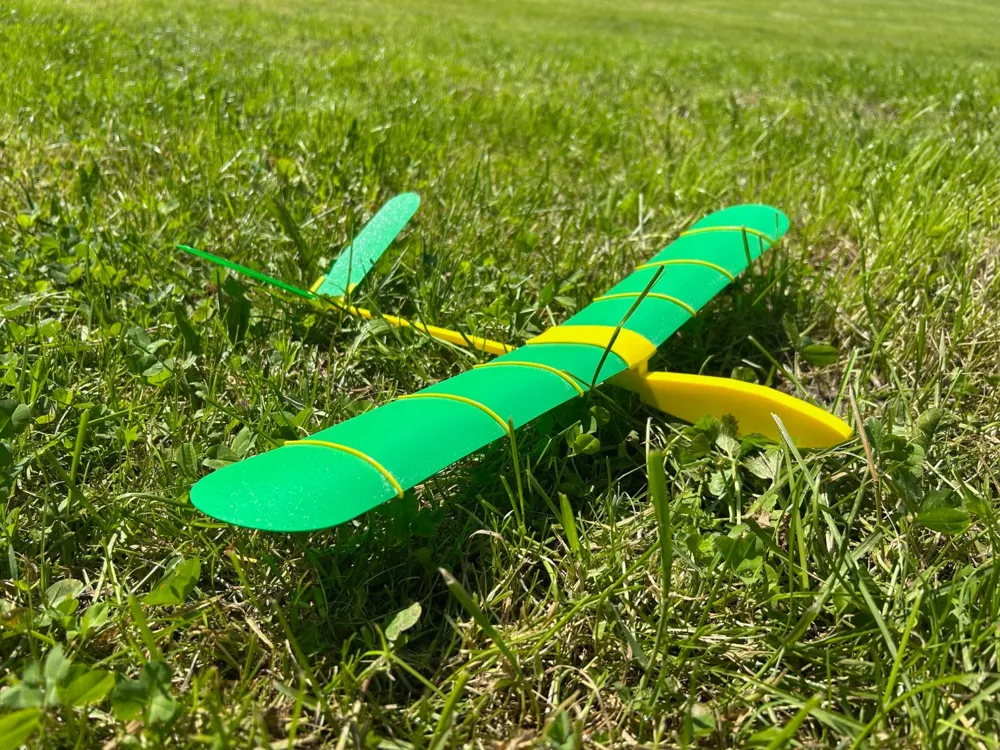
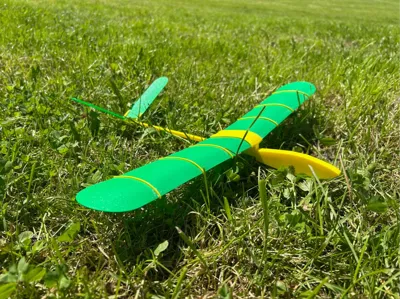
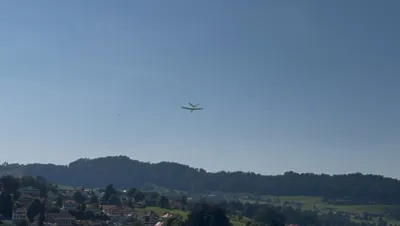
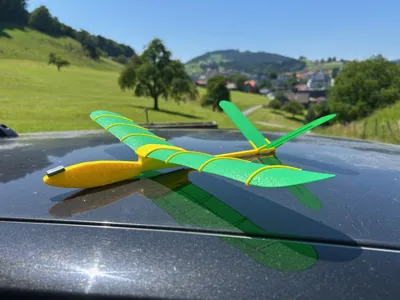
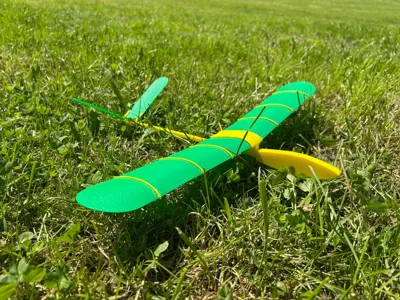
Nimbus Hunter, Hand-Launched Glider with 50cm Wingspan
Boost Me (for free)
A lot of work and a lot of filament went into developing the Nimbus Hunter. I would be very happy to receive a booster pack and a 5-star rating from you.
Foreword:
The Nimbus Hunter requires printing experience skill and meticulous assembly It must be adjusted and test-flown at the end (center of gravity) Only undertake this project if you are confident in all of these steps Before starting please read these instructions
Printing:
Four different printer profiles have been uploaded This is necessary because the different parts have varying requirements for their settings For example the middle piece requires a brim and 0% infill while the nose needs infill and for the wings a brim would be detrimental Therefore print all printer profiles to obtain all parts I recommend printing the wings in PETG as it is tougher and lighter I print the remaining parts in PLA+ / PLA Please clean your print bed thoroughly before printing For the nose middle section and fuselage I also recommend using 3DLac However this is not absolutely necessary but then a clean print bed is even more important
Assembly:
Tail
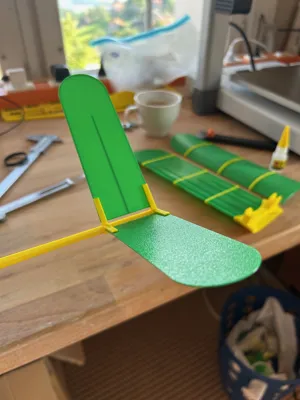
Start with the fuselage The fuselage tapers from 6mm at the front to 4mm at the back The fuselage has 3 sides with bevels and one completely straight side The straight side is the top of the aircraft (and the side that lies on the print bed)
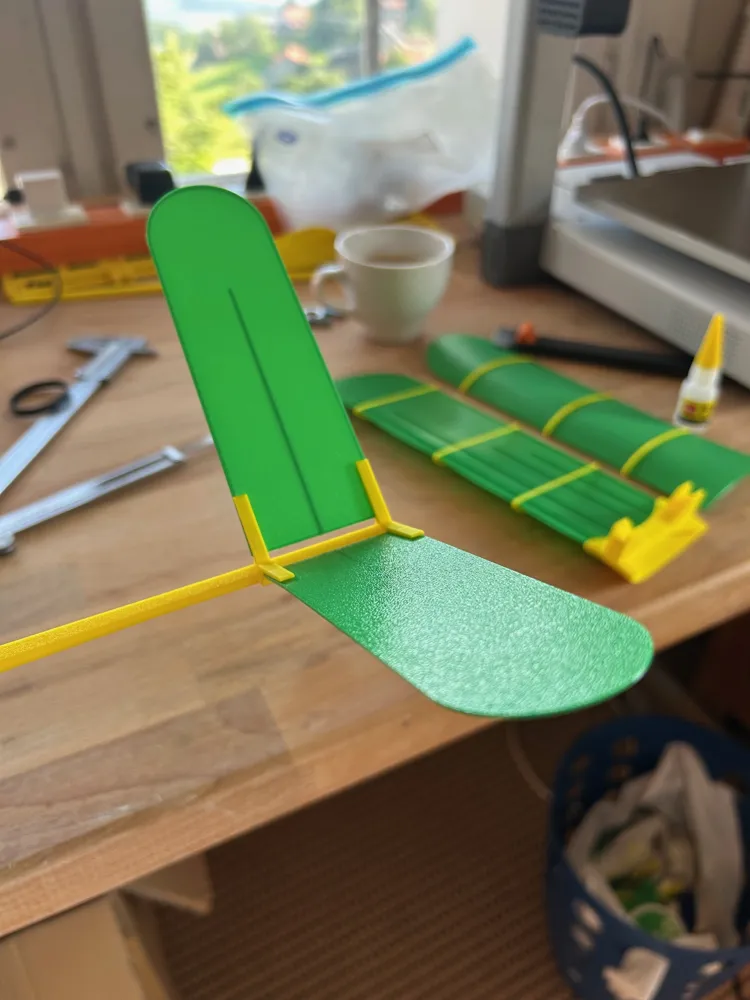
Now begin with the holder for the V-tail Glue it firmly with superglue or 5 min epoxy
Ensure that:
- It is glued straight
- The rear part is flush at the back
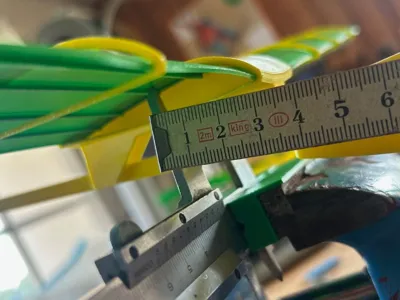
- The outer edge of the tail holder should be flush with the outer edge of the tail surface (approx 44mm)
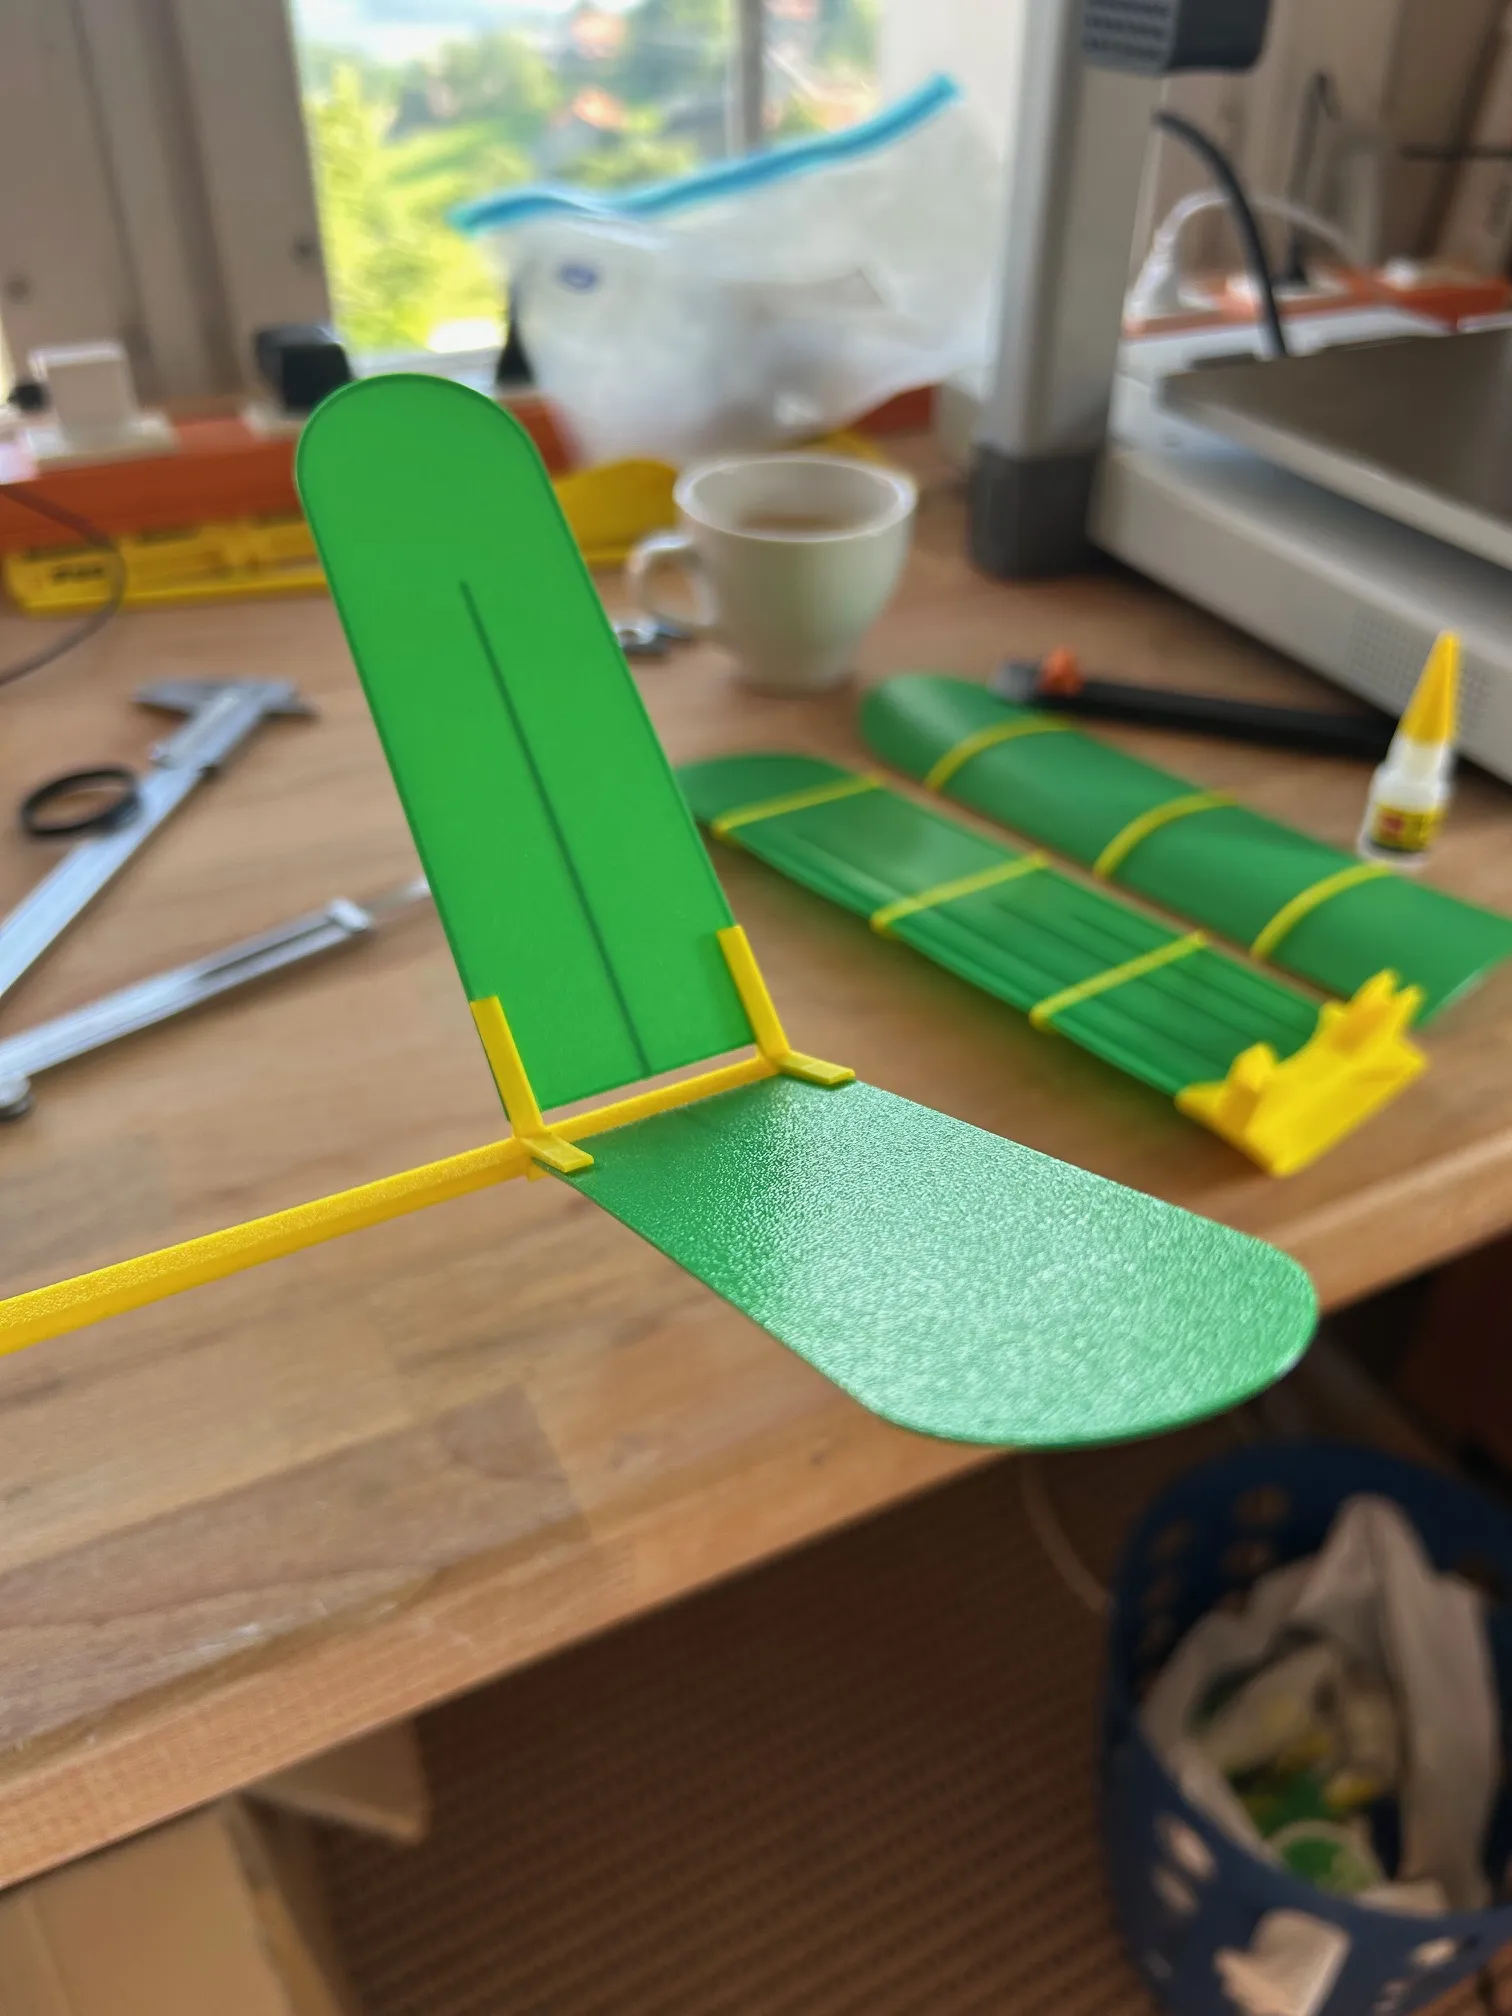
Then glue the tail surfaces with 5 min epoxy or superglue The surfaces must be parallel the spar in the middle of the surface is the underside of the surface Push the tail surfaces into the slots until they stop
Wings
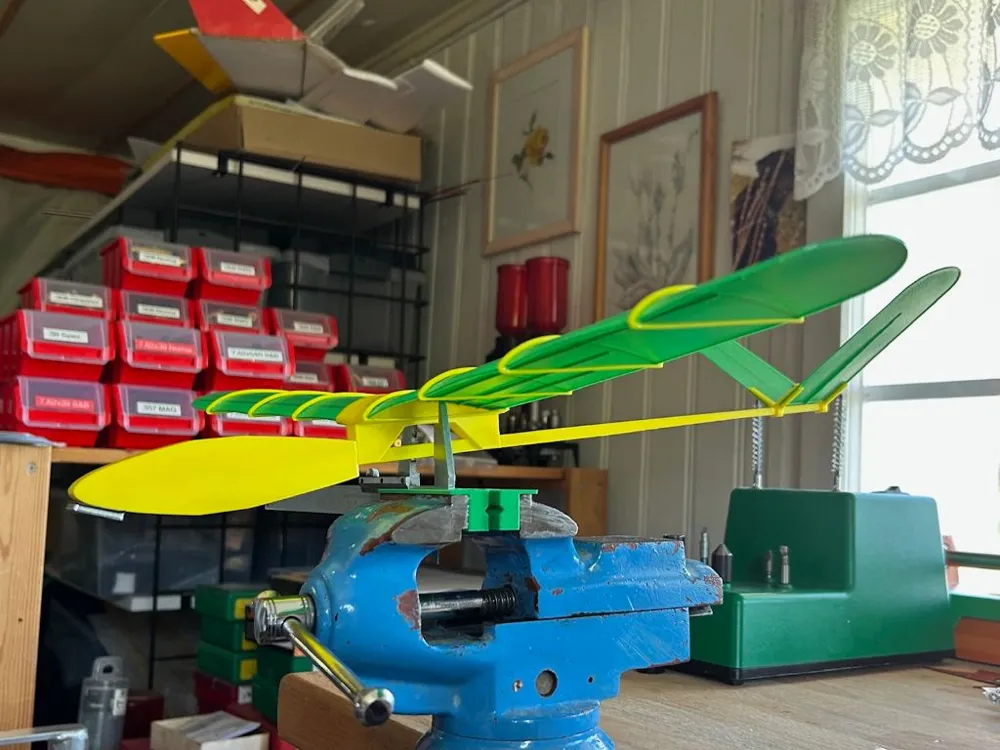
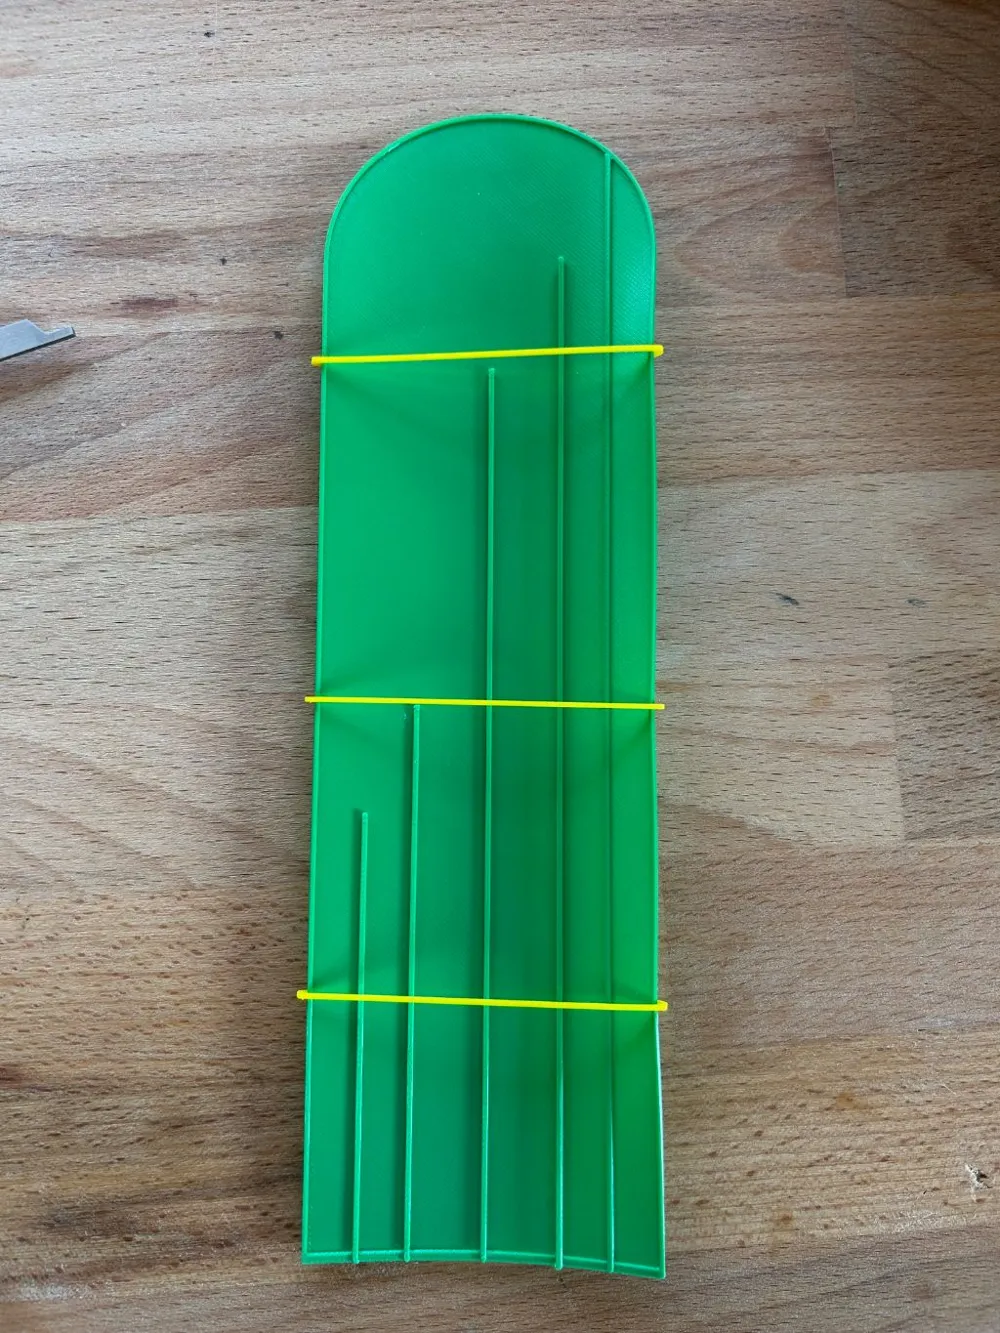
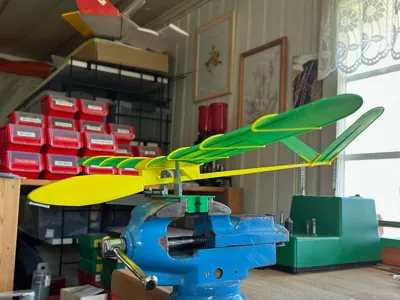
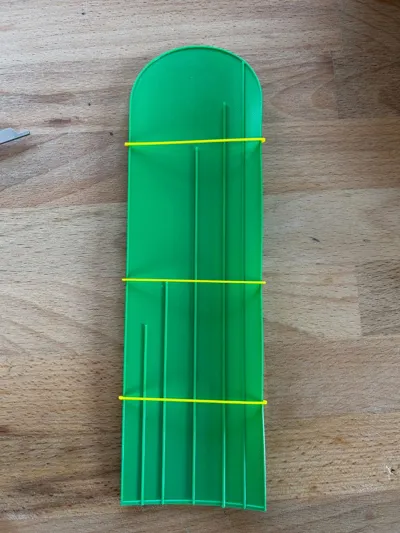
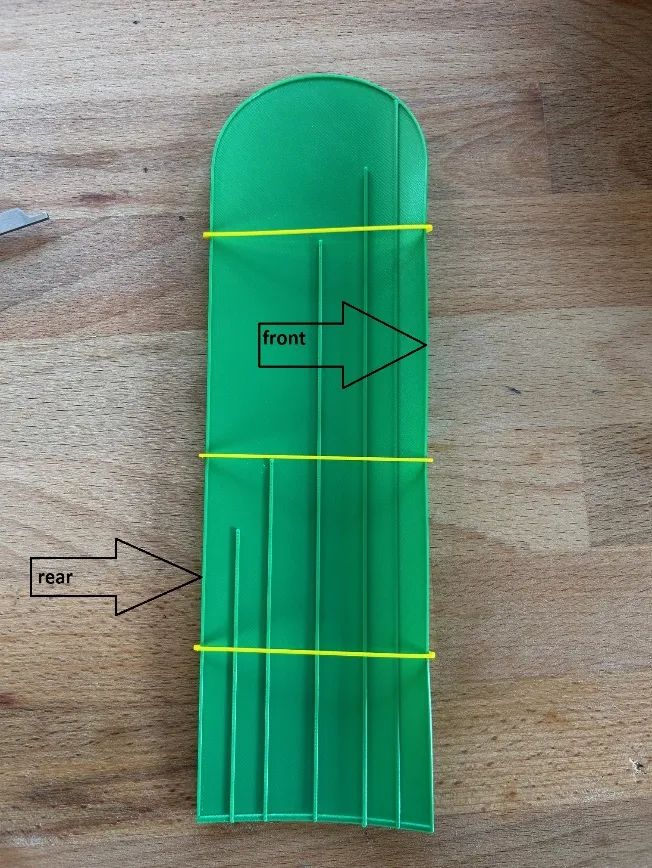
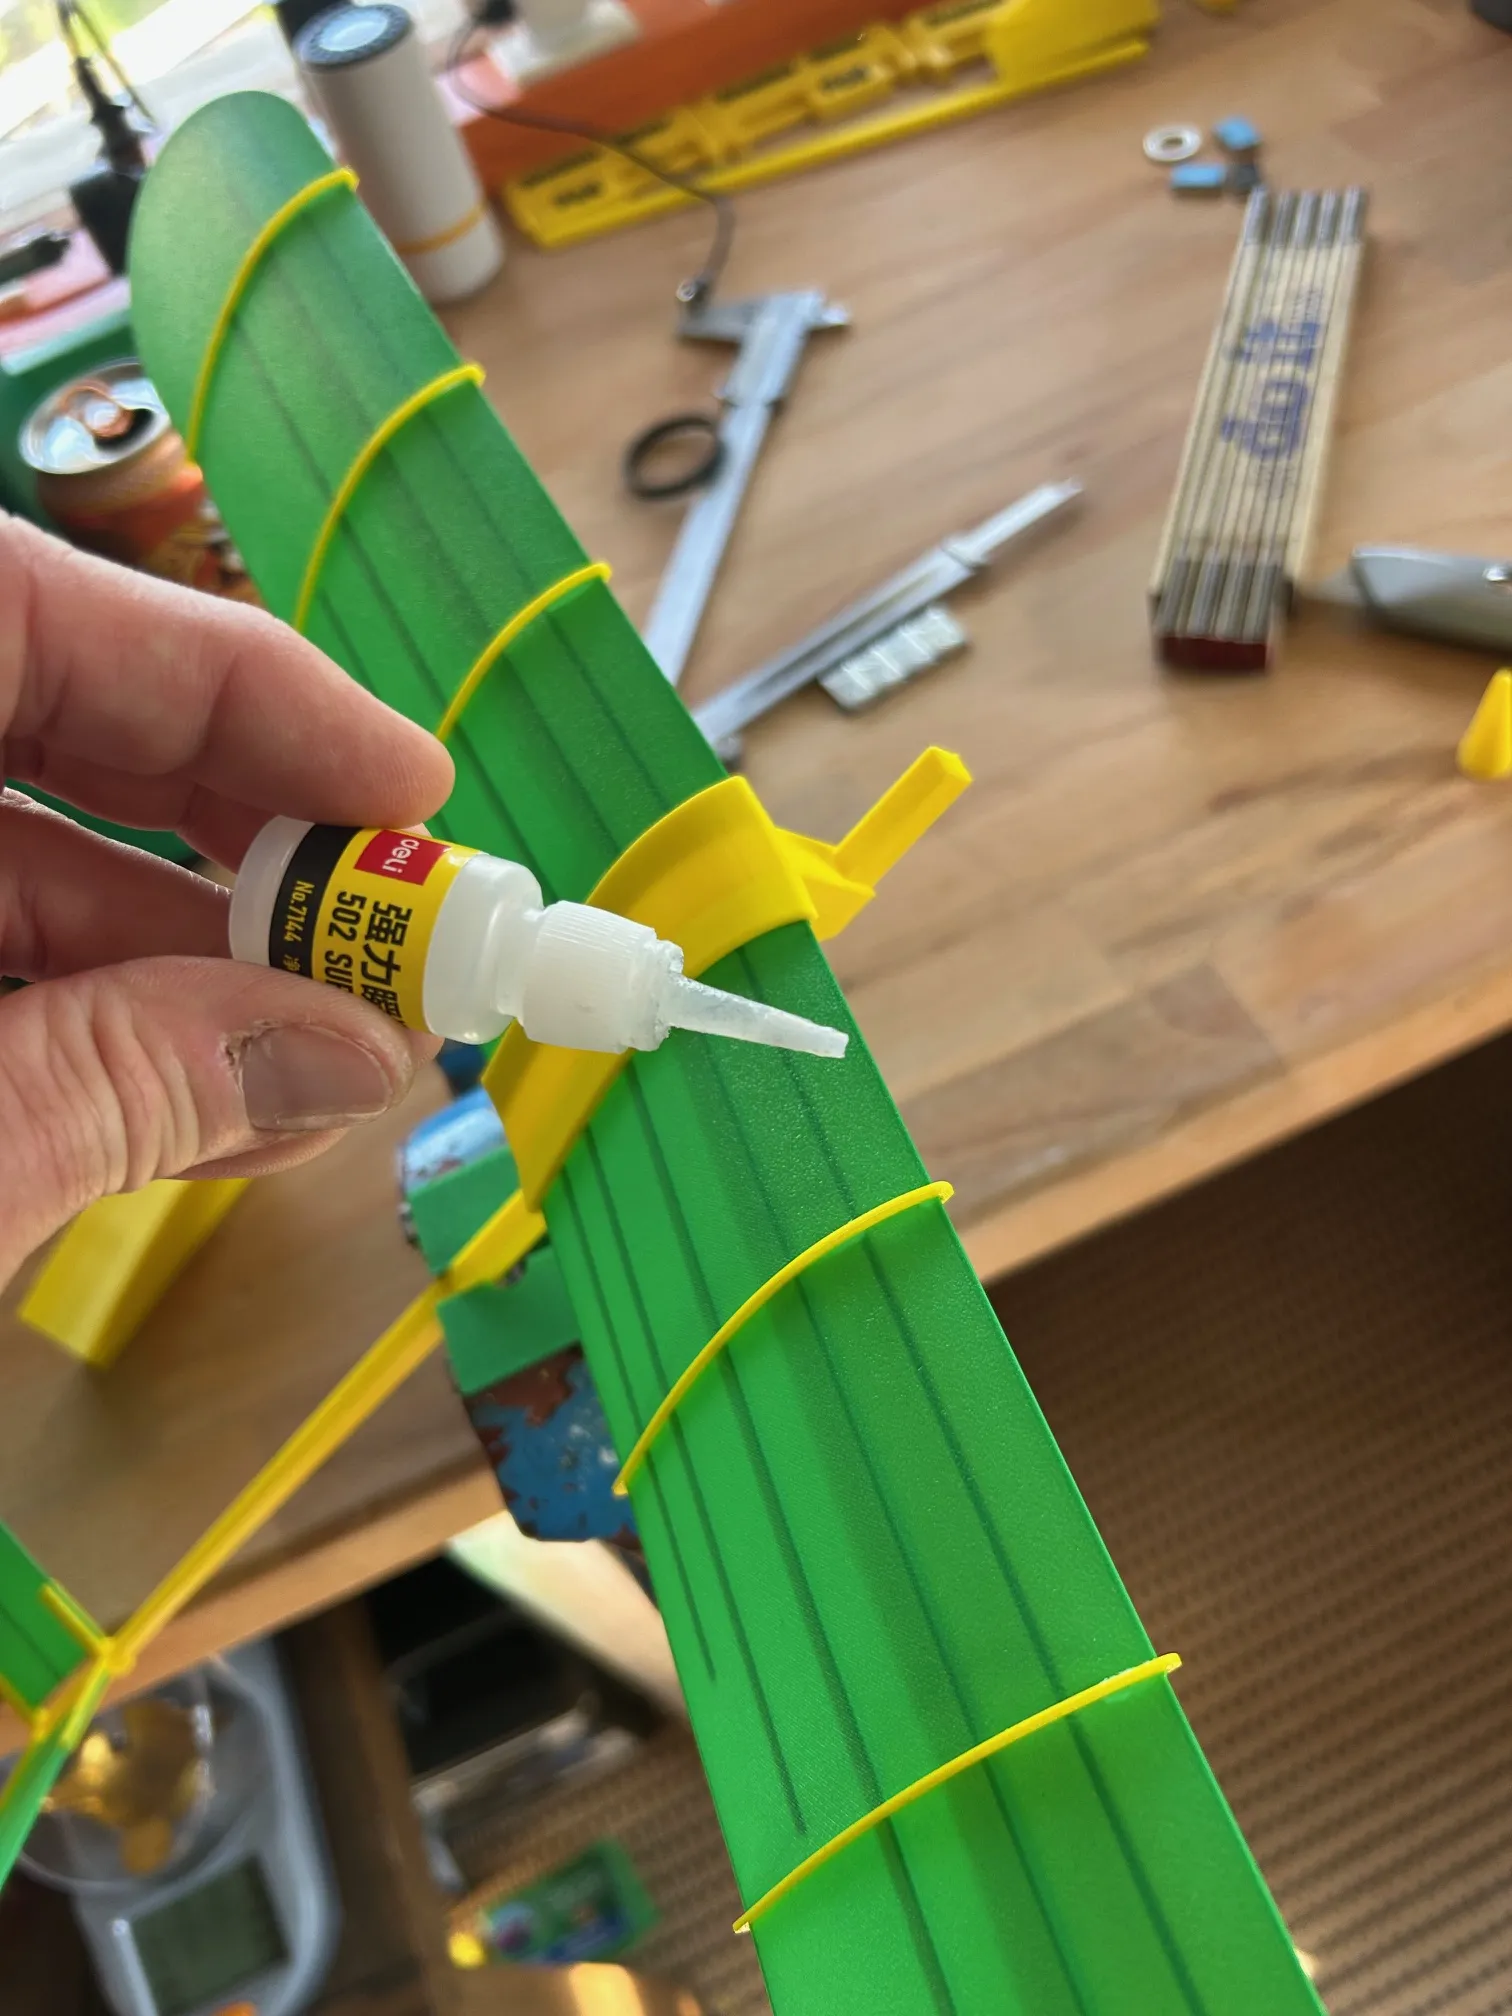
Now begin assembling the wings by carefully sliding 3 ribs each over the wings from the outside (round side) inwards
The leading edge of the wings is the side with the longer spars On the wings too the spars point downwards
Rib: flat side down round side front tapering to a point at the back
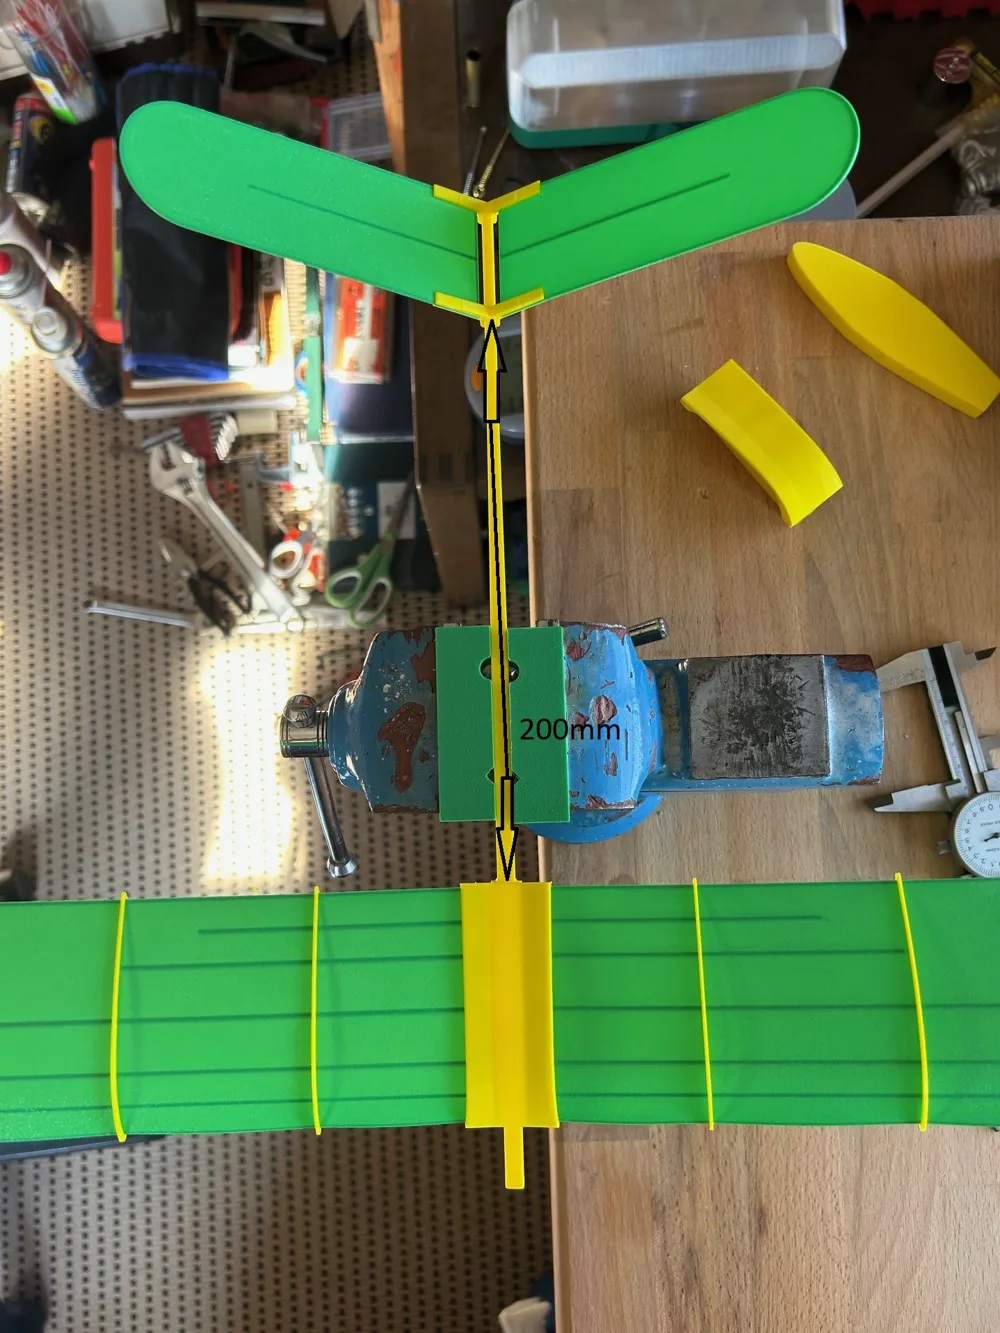
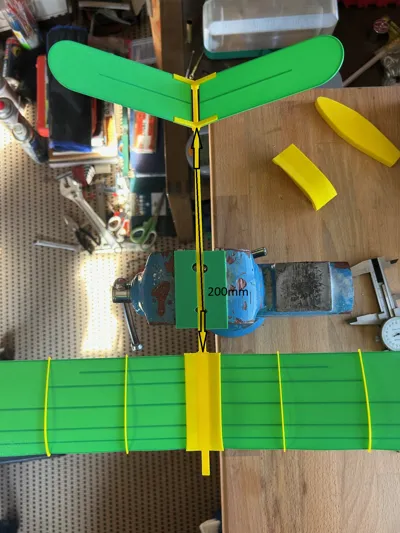
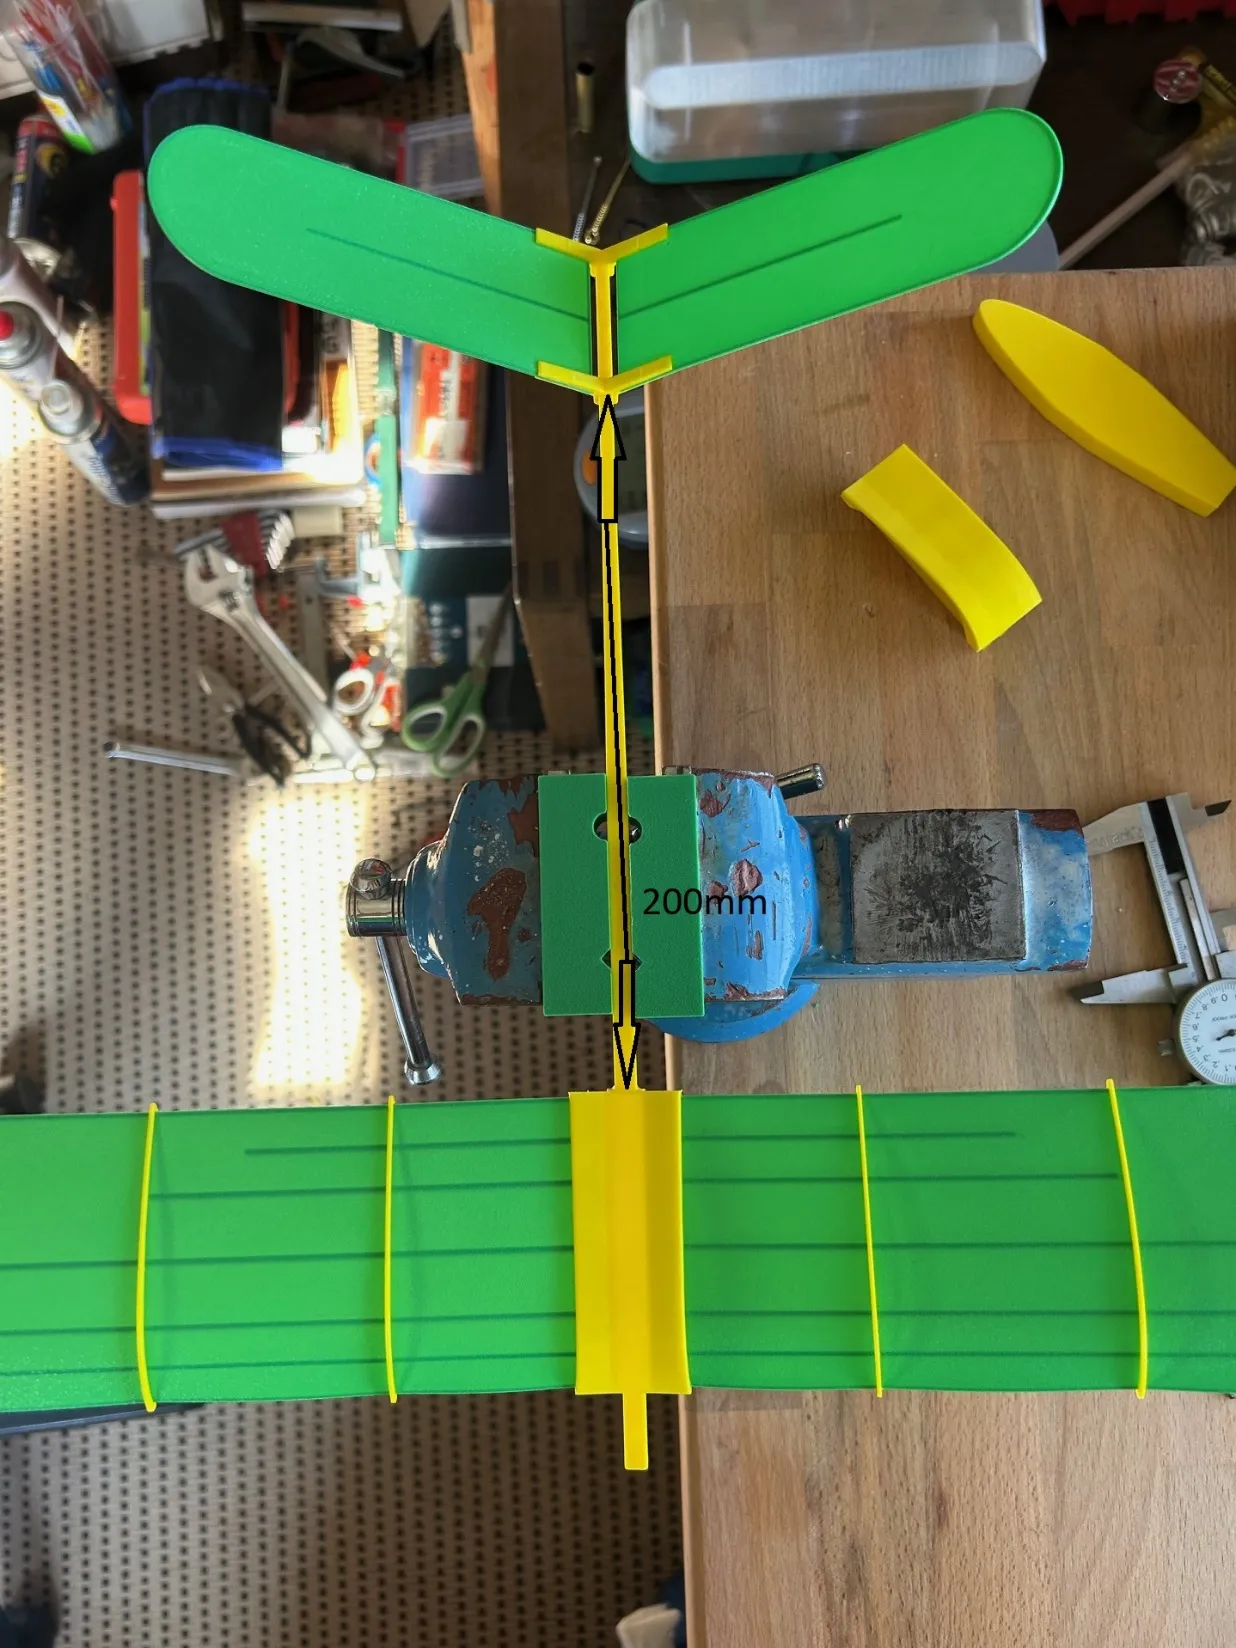
Now carefully connect the middle piece with the wings Before connecting look closely at the middle piece Remove any support material threads etc The fit must be snug therefore assembly requires some feel and skill Glue the wings to the middle piece Then attach the middle piece to the fuselage of the model The distance between the front of the tail and the trailing edge of the wing is 200mm For good flight it is important that the middle piece rests completely on the fuselage at the front and back to avoid altering the incidence angle Remove any support material from the edge threads etc especially on the back side
Glue the wings to the middle piece and the middle piece to the fuselage with superglue or 5 min epoxy
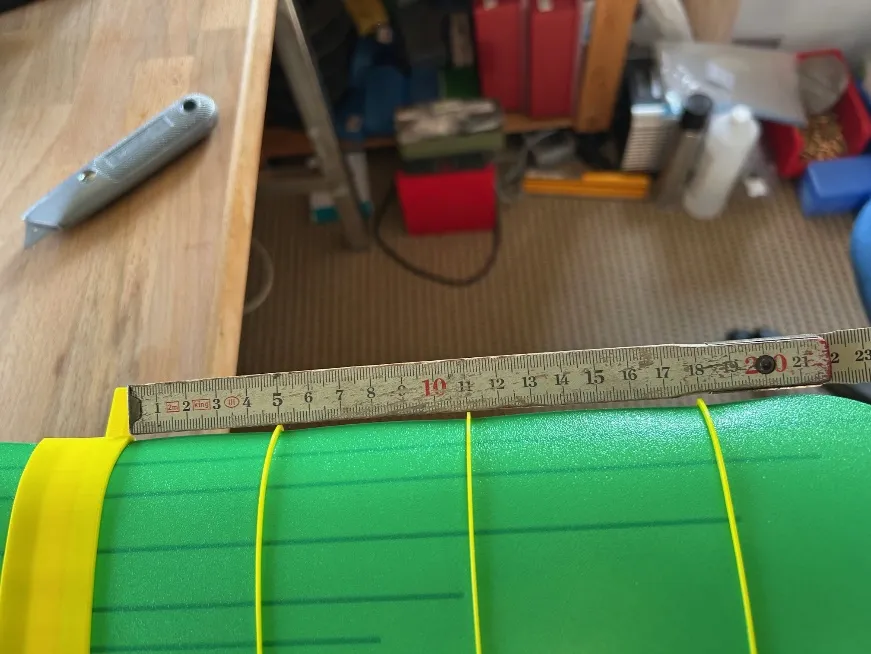
Align and Glue Ribs
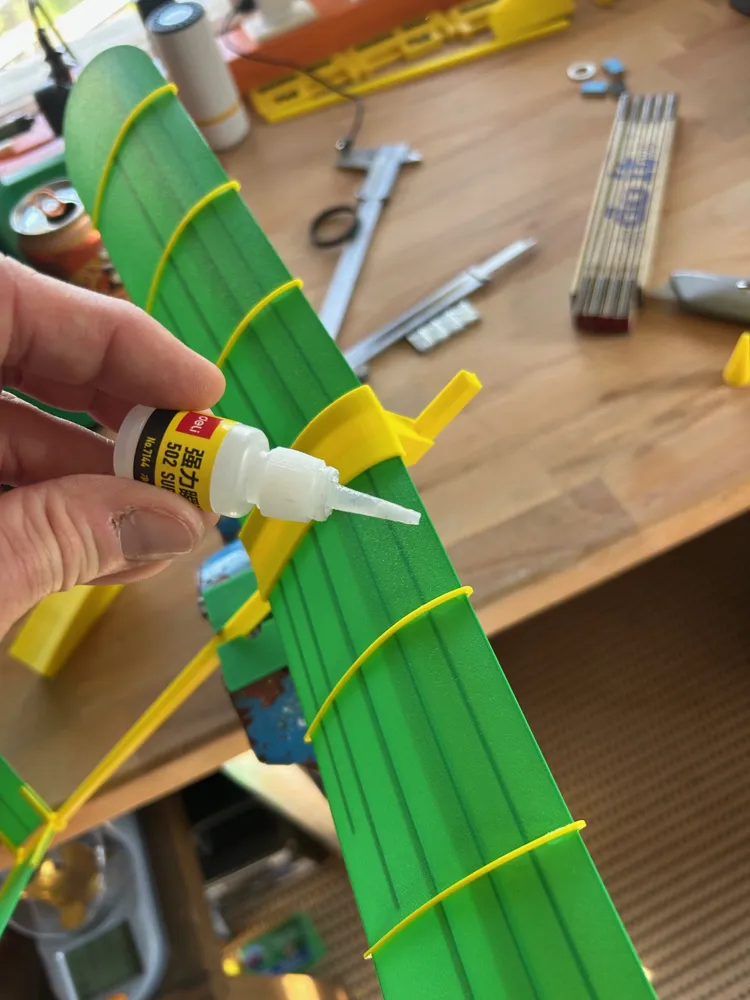
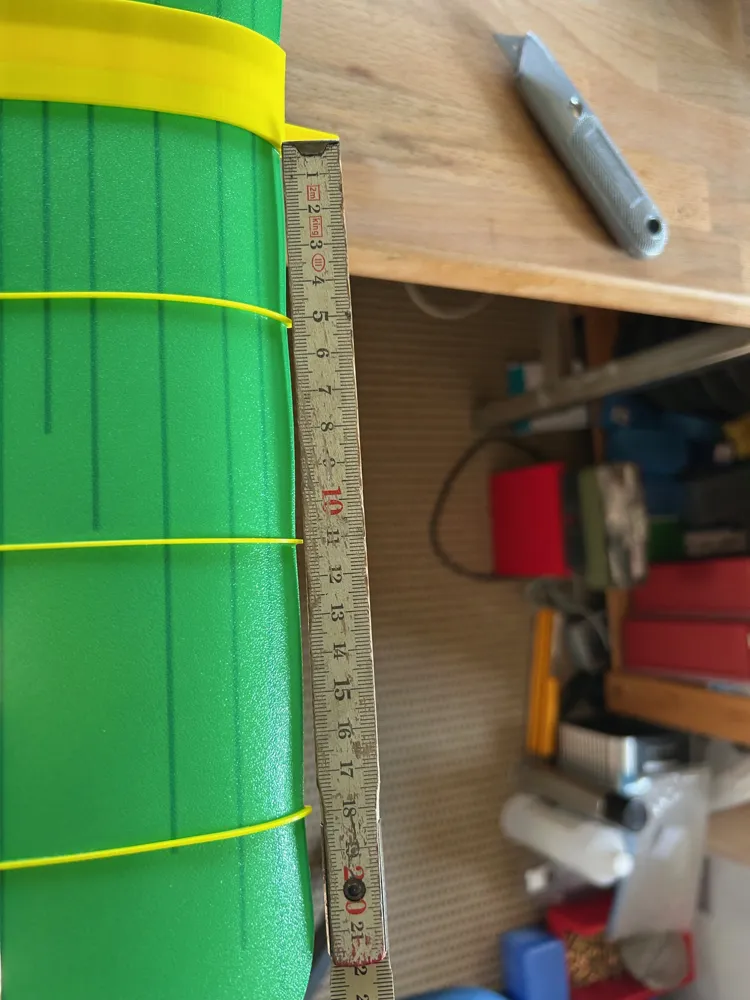
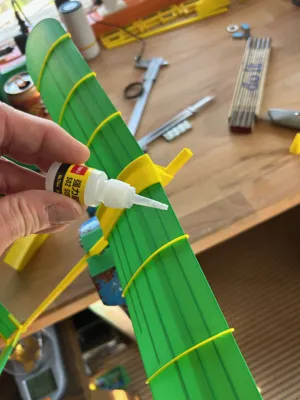
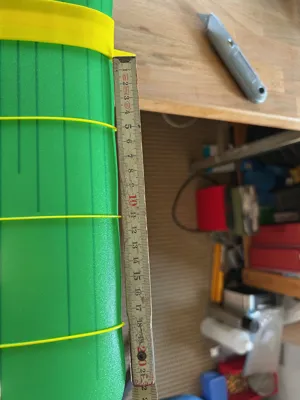
Now measure the distance from the middle piece to the ribs at the front and back The distances should be equal at the front and back and be 50mm 110mm and 180mm After aligning the ribs apply some superglue at the front and back between the rib and the wing surface The goal is for the glue to run under the rib and bond the wing surface to the rib It is important for good wing stability and requires some finesse to apply not too little and not too much adhesive If superglue spills onto the surface it can be dabbed away in time with a cleaning cloth do not rub
Nose
Now attach the nose to your glider If it holds well without adhesive you can omit glue This has the advantage that you may be able to reuse the nose If merely inserted it does not hold well enough it can be glued with 5 min epoxy or superglue It is inserted flush up to the wing connector
Center of Gravity Adjustment
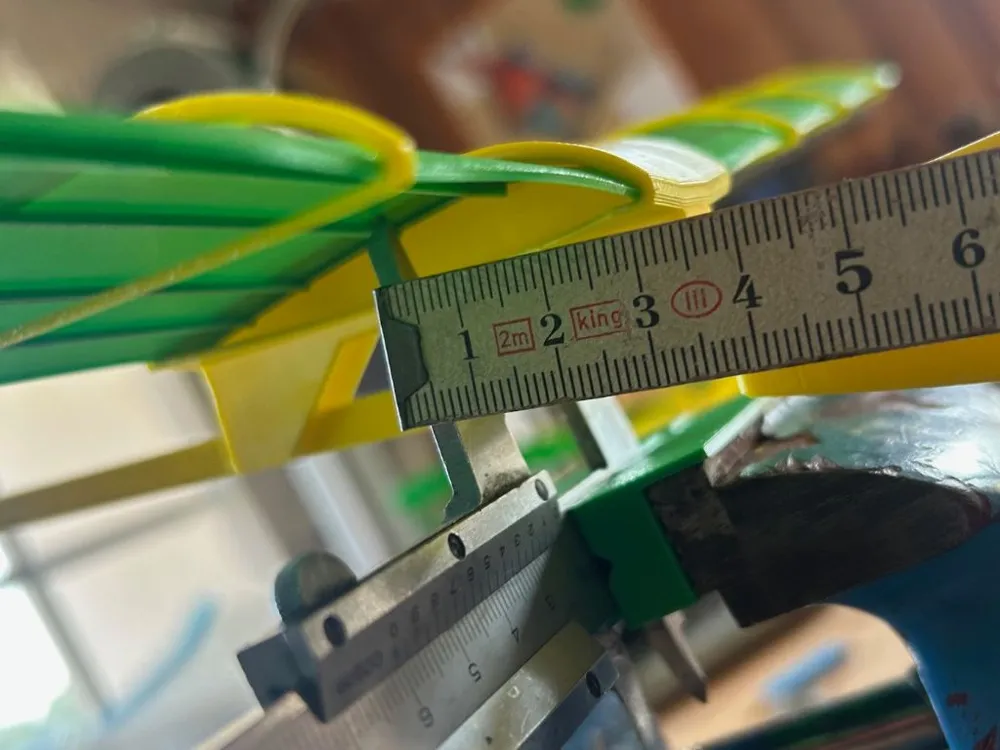
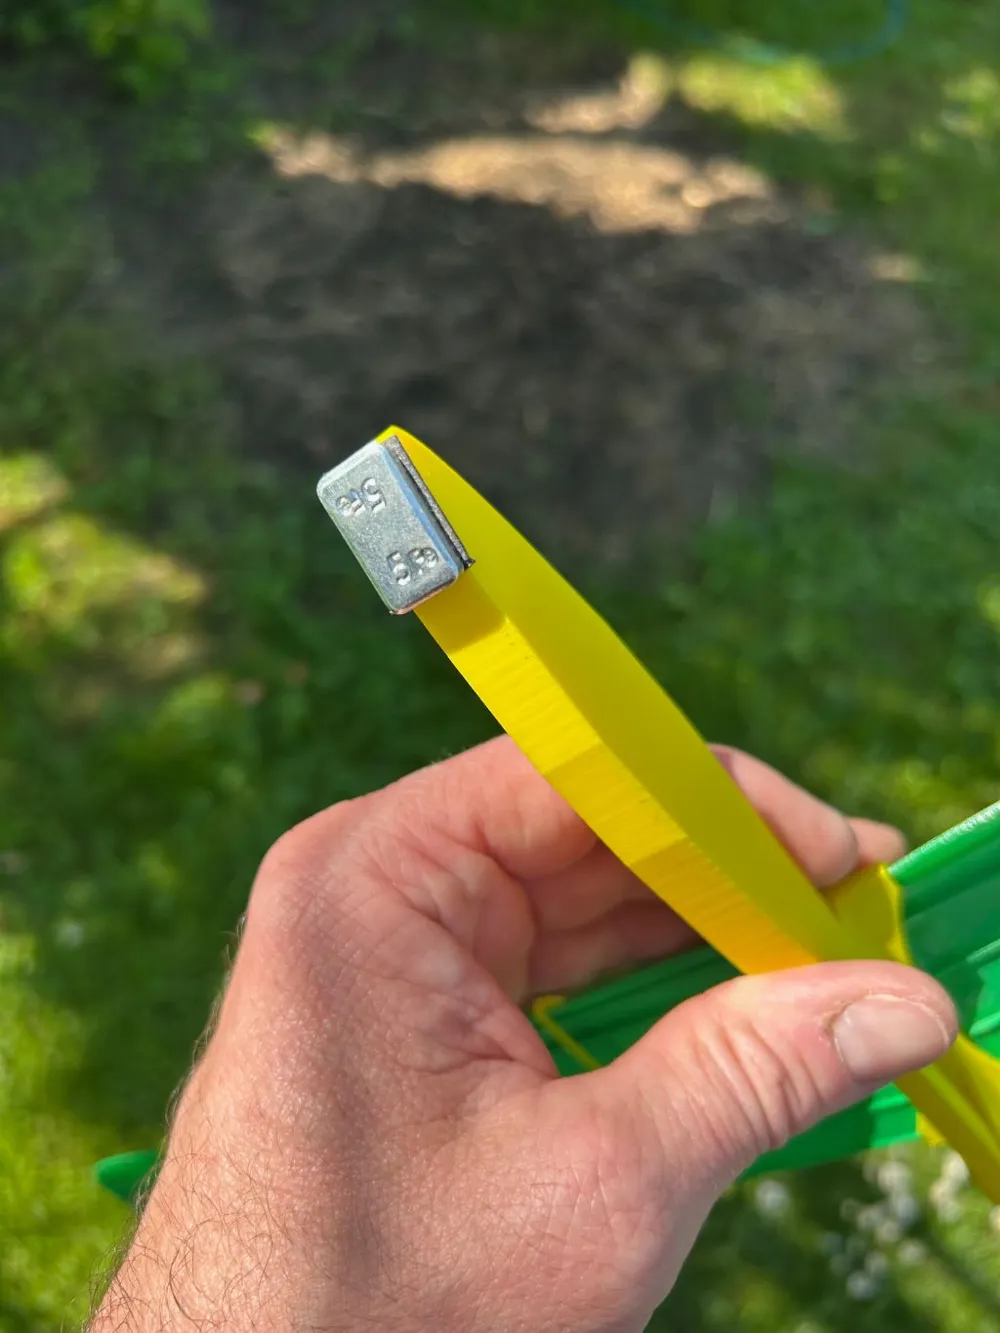
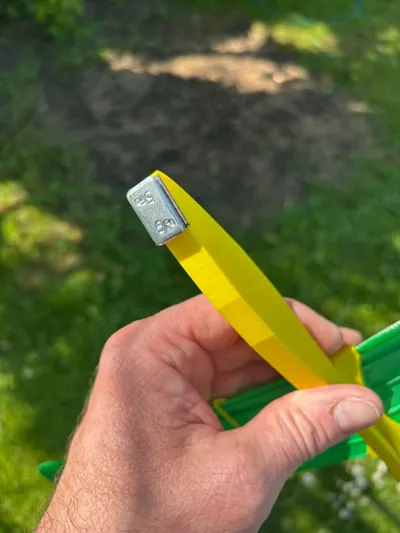
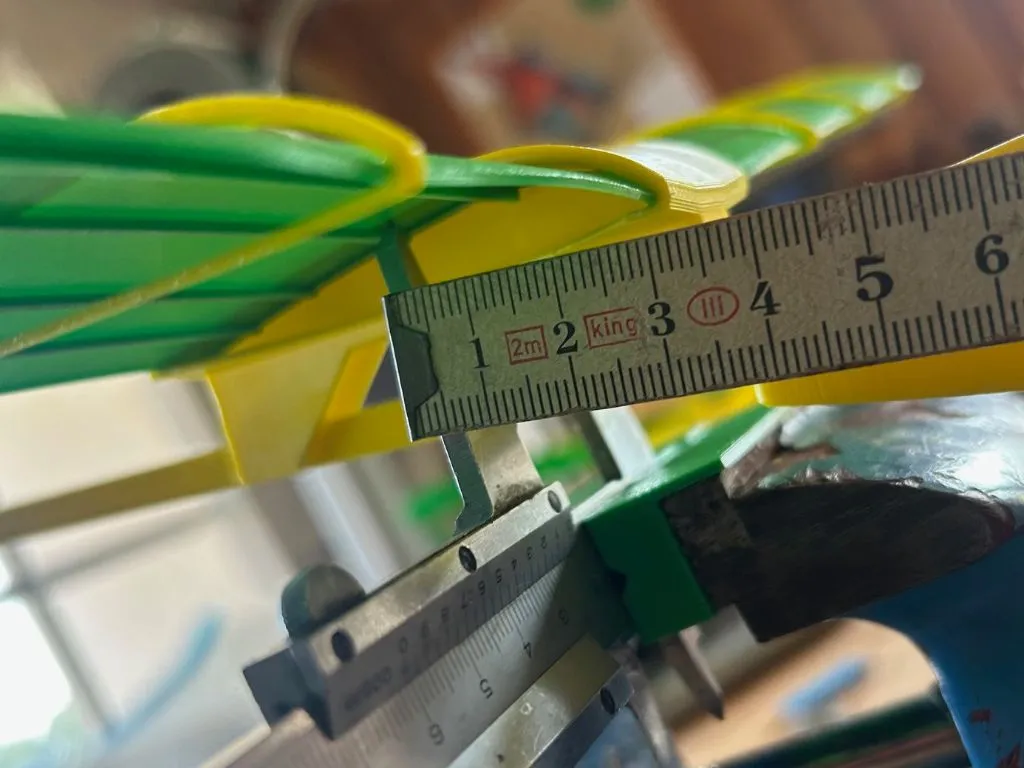
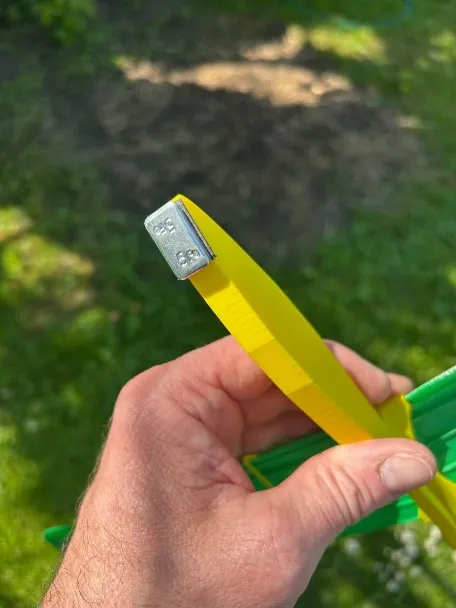
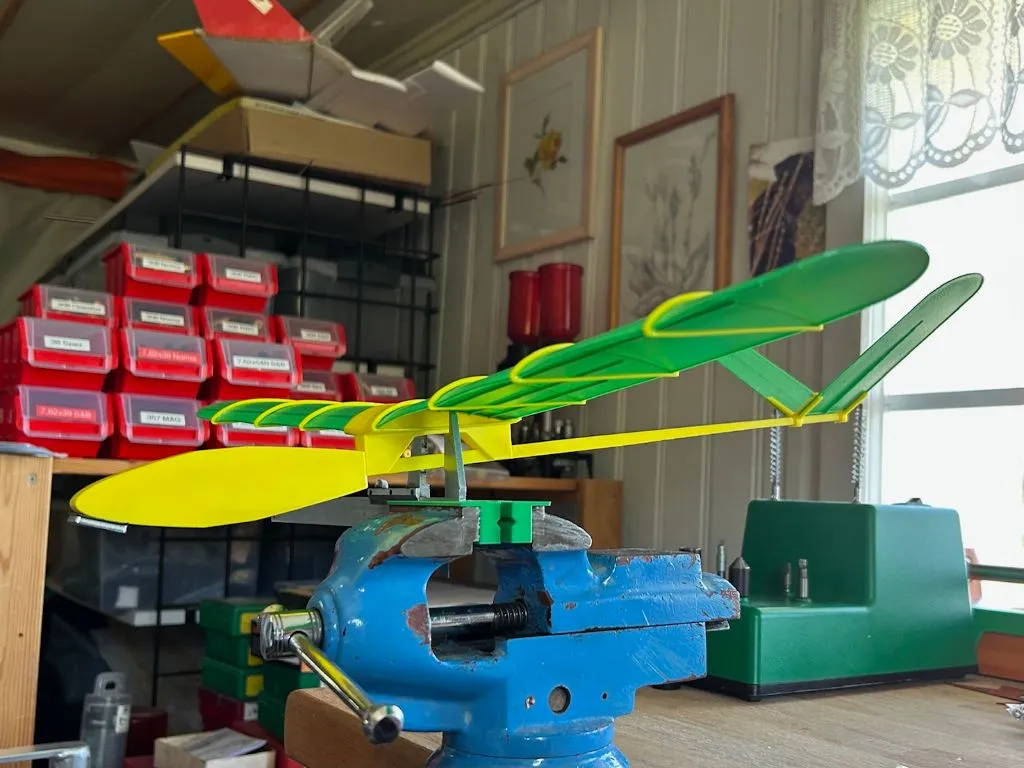
Now it is important to determine the center of gravity For the first launch 33-35mm from the leading edge of the wing to the center of gravity is not a bad setting (The nose of the model should point slightly downwards when balanced) For me it was usually around 5g that I had to add I glued a 5g balancing weight to the underside of the nose You can get something like this in workshops Alternatively lead scraps a nut or washers can be attached to the front of the glider with electrical tape The exact center of gravity is then determined by test flights
The First Flight
Make sure there is little to no wind Launch the model against the wind Throw it straight or pointing slightly downwards Start with a gentle smooth throw
Now observe the flight to adjust the center of gravity
Does the model pick up speed but then transition into a continuous curved descent and is unimpressed by wind and thermals The nose is probably still a bit too heavy Make it lighter
Does the aircraft climb steeply at the front when gaining speed or after release (tends to loop) Does some wind or a strong throw cause it to pitch up Does the model show a pumping flight Then the nose is probably a bit too light make it heavier
Made it this far Congratulations You are now ready for launch
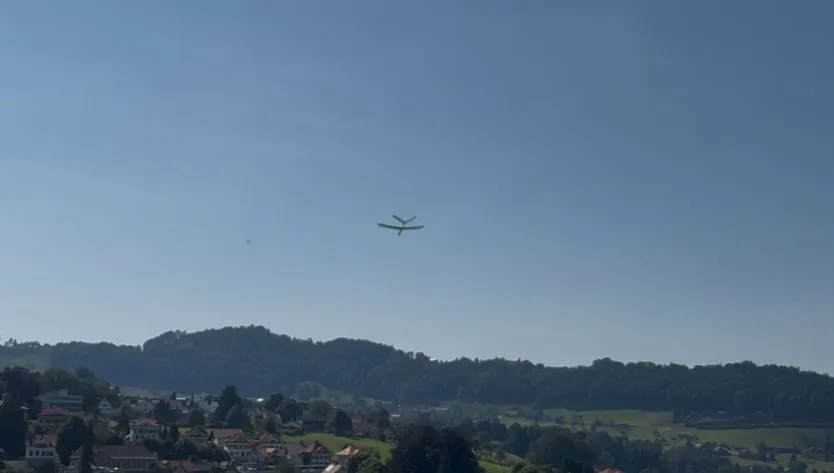
Now you can continuously increase the launch force Now it is time to go to a hill and launch the model from there Now enjoy thermals and updrafts
Have fun
License

You shall not share, sub-license, sell, rent, host, transfer, or distribute in any way the digital or 3D printed versions of this object, nor any other derivative work of this object in its digital or physical format (including - but not limited to - remixes of this object, and hosting on other digital platforms). The objects may not be used without permission in any way whatsoever in which you charge money, or collect fees.


Comment & Rating (34)