
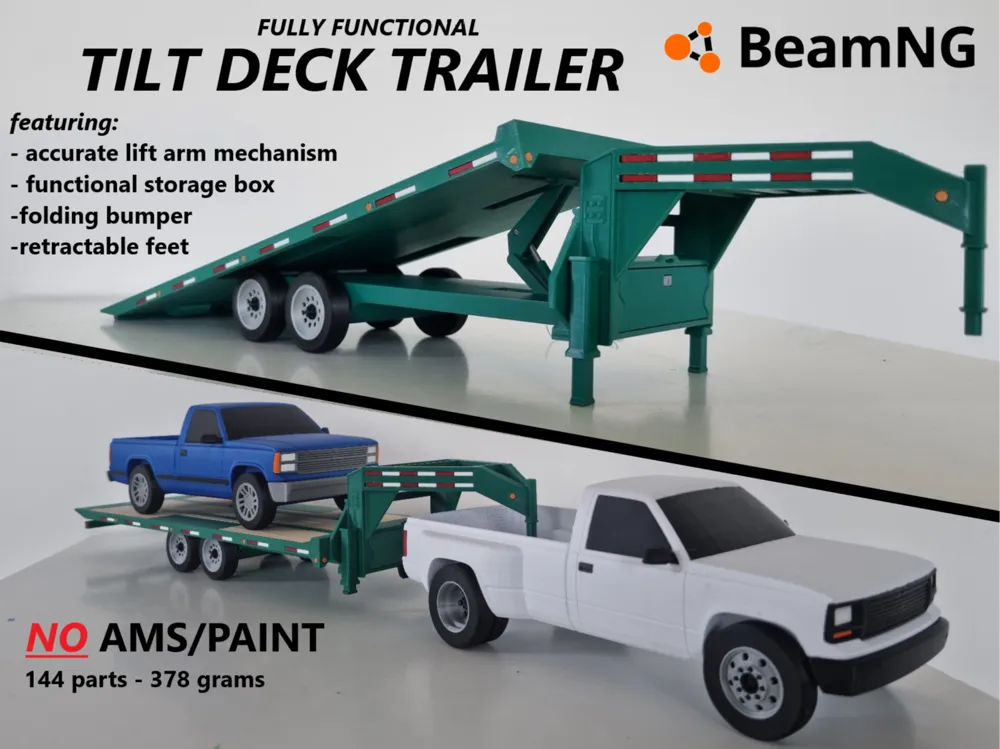
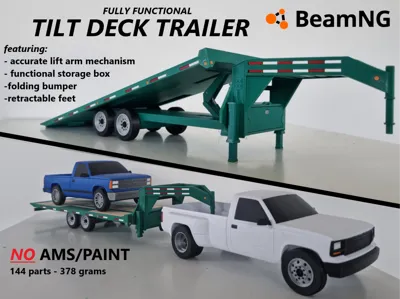
Functional tilt deck trailer for D-series tow rig
Print Profile(1)

Description
Boost Me (for free)
these BeamNG projects take a lot of time to ensure easy printing & building, if you want to see more BeamNG.drive vehicles made, please consider boosting
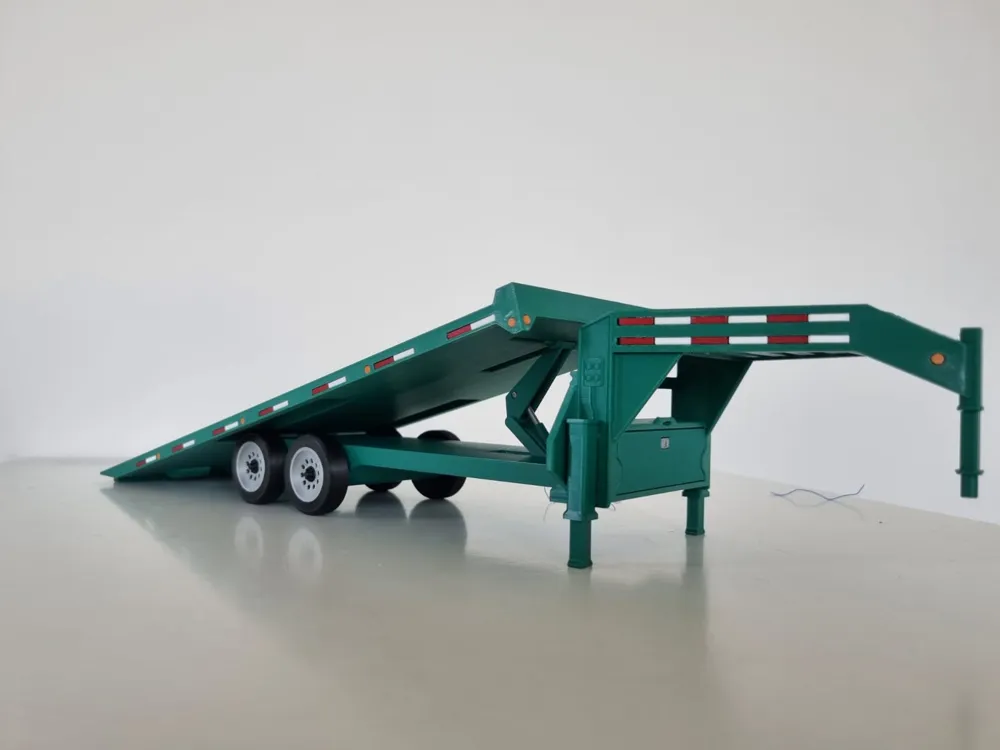
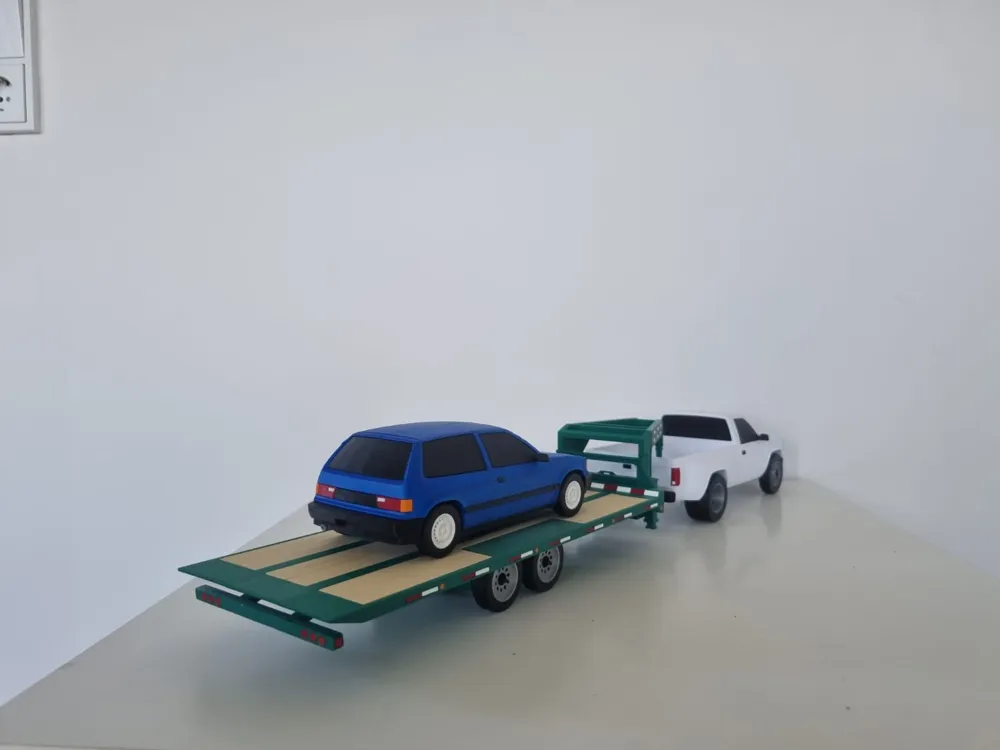
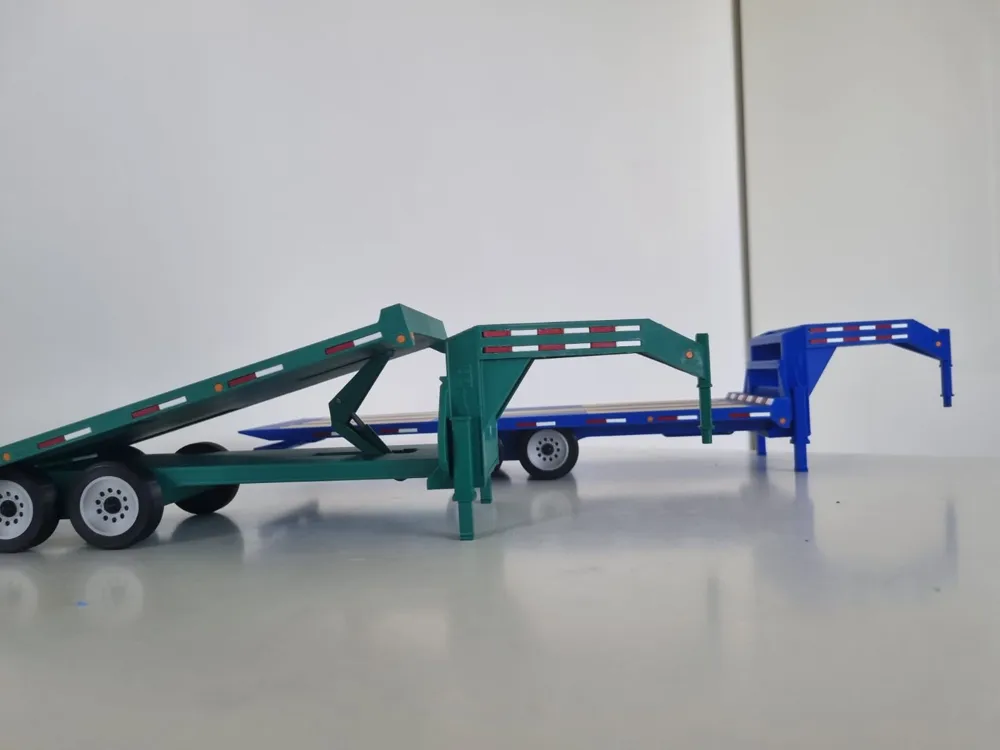
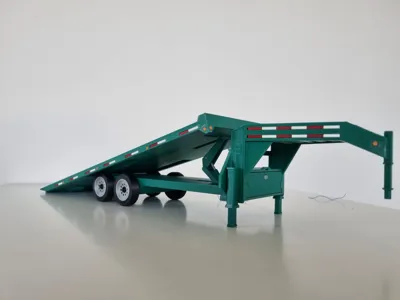
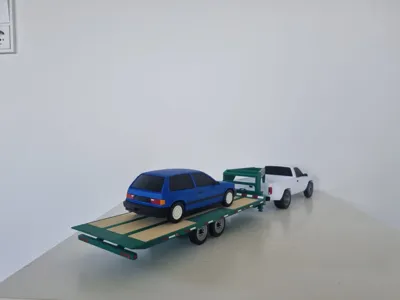
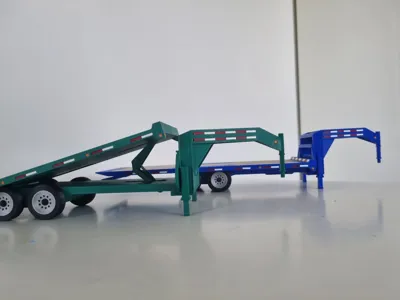
This is a functional gooseneck tilt deck trailer based on the tilt deck trailer from BeamNG.drive, more beamNG related projects can be found here.
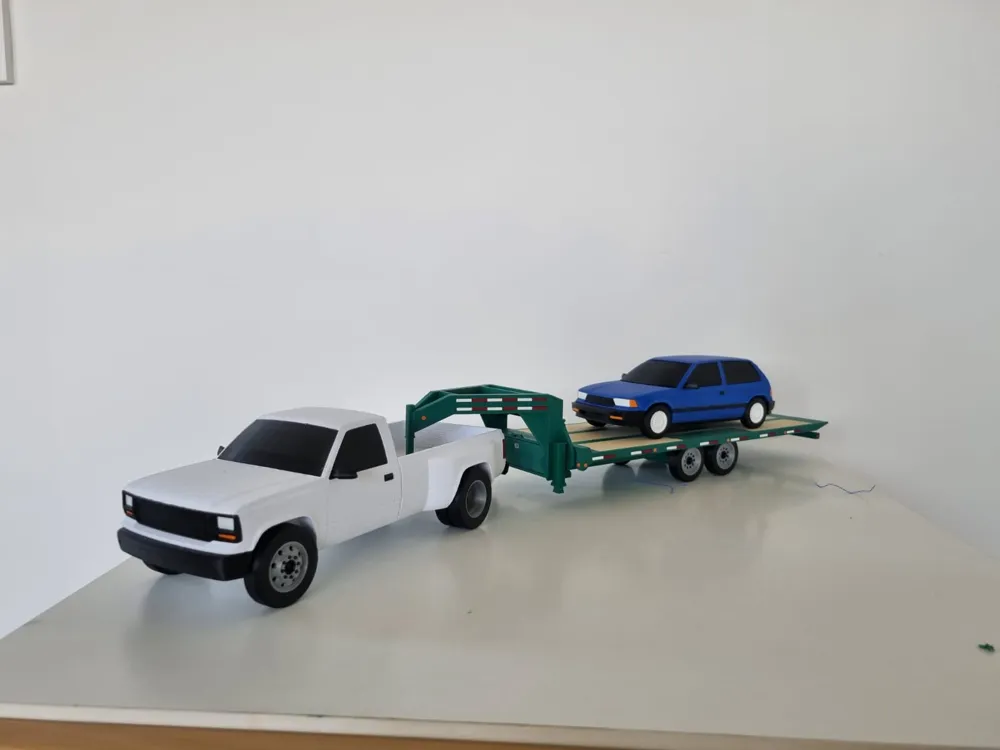
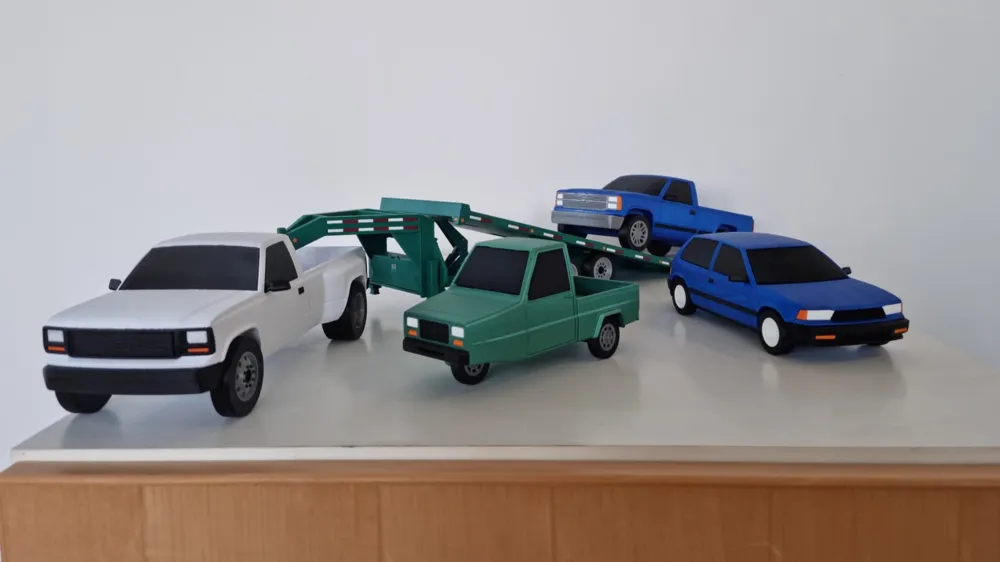
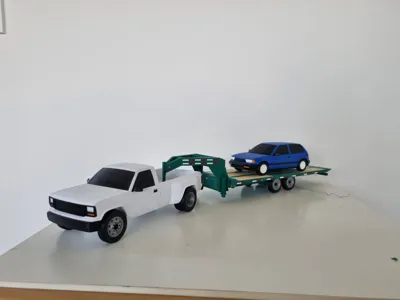
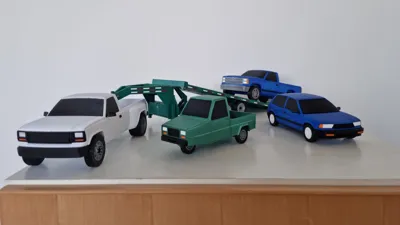
This model can be used as a toy or display piece, perfect for showing off other model cars in a fun way! It is compatible with the BeamNG Gavril D-series tow rig i've made earlier on, but can be easily converted to work with other model cars by modifying the removable hitch piece.
I'm considering making a bumperpull frame variant, let me know down below if you'd be interested in that!
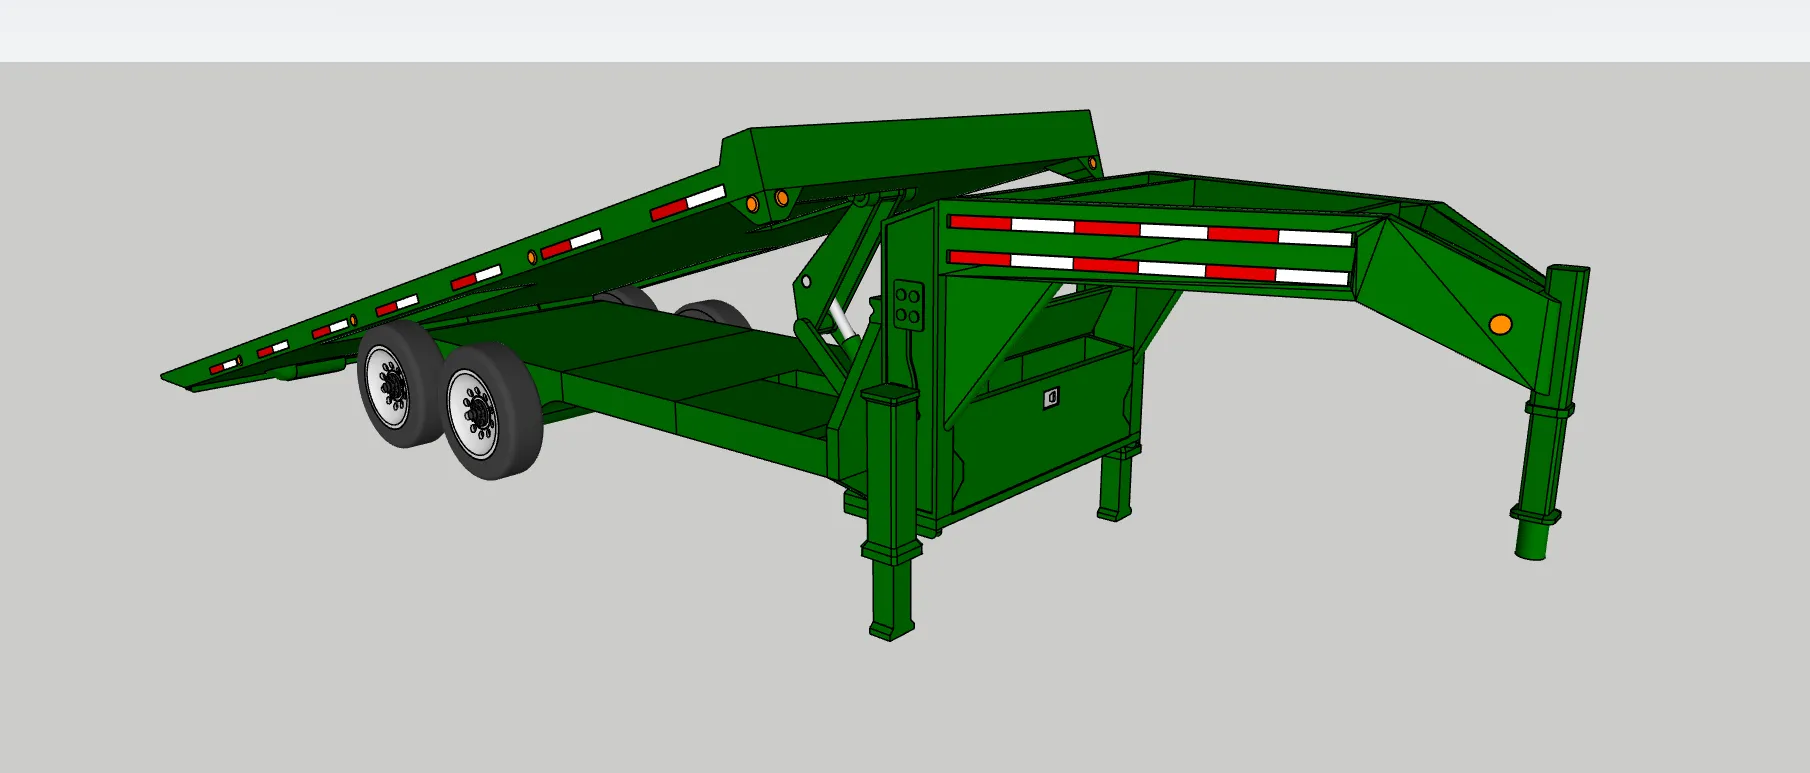
The tilt deck trailer is more complex than my other BeamNG models, featuring:
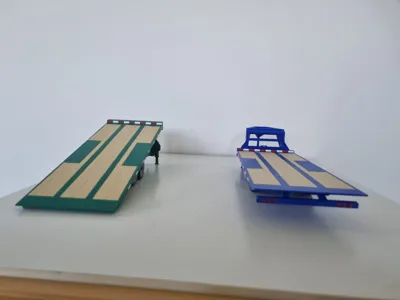
- a fully tilting deck
an accurate lift arm mechanism and folding bumper

a storage box with working lid (intended for storing the decorative ball hitch)


functional landing gear that snaps into the extended/retracted position
IMPORTANT INFO & INSTRUCTIONS BELOW, PLEASE READ TROUGH ENTIRELY BEFORE MAKING!
- support interface material recommended (but not required!)
- this model is somewhat complex in comparison to my other models, please take time to carefully remove all supports making sure there are no bits of support interface left, minimal sanding may be required for some parts to fit and for the mechanism to work properly.
- there are 2 different friction pieces with slightly different tolerances, print both and pick the one that provides enough resistance to keep the deck raised without making the mechanism feel too rough, if neither work for you please let me know so i can add more options.
- there are 2 different length hitch pieces, which one you need depends on what version wheels your D-series has, i recommend printing and trying both before applying glue just to be certain you have the right one.
- don't use glue if you don't have to! you can always add glue later if needed, some parts may fit tightly enough as is.
begin by taking the deck
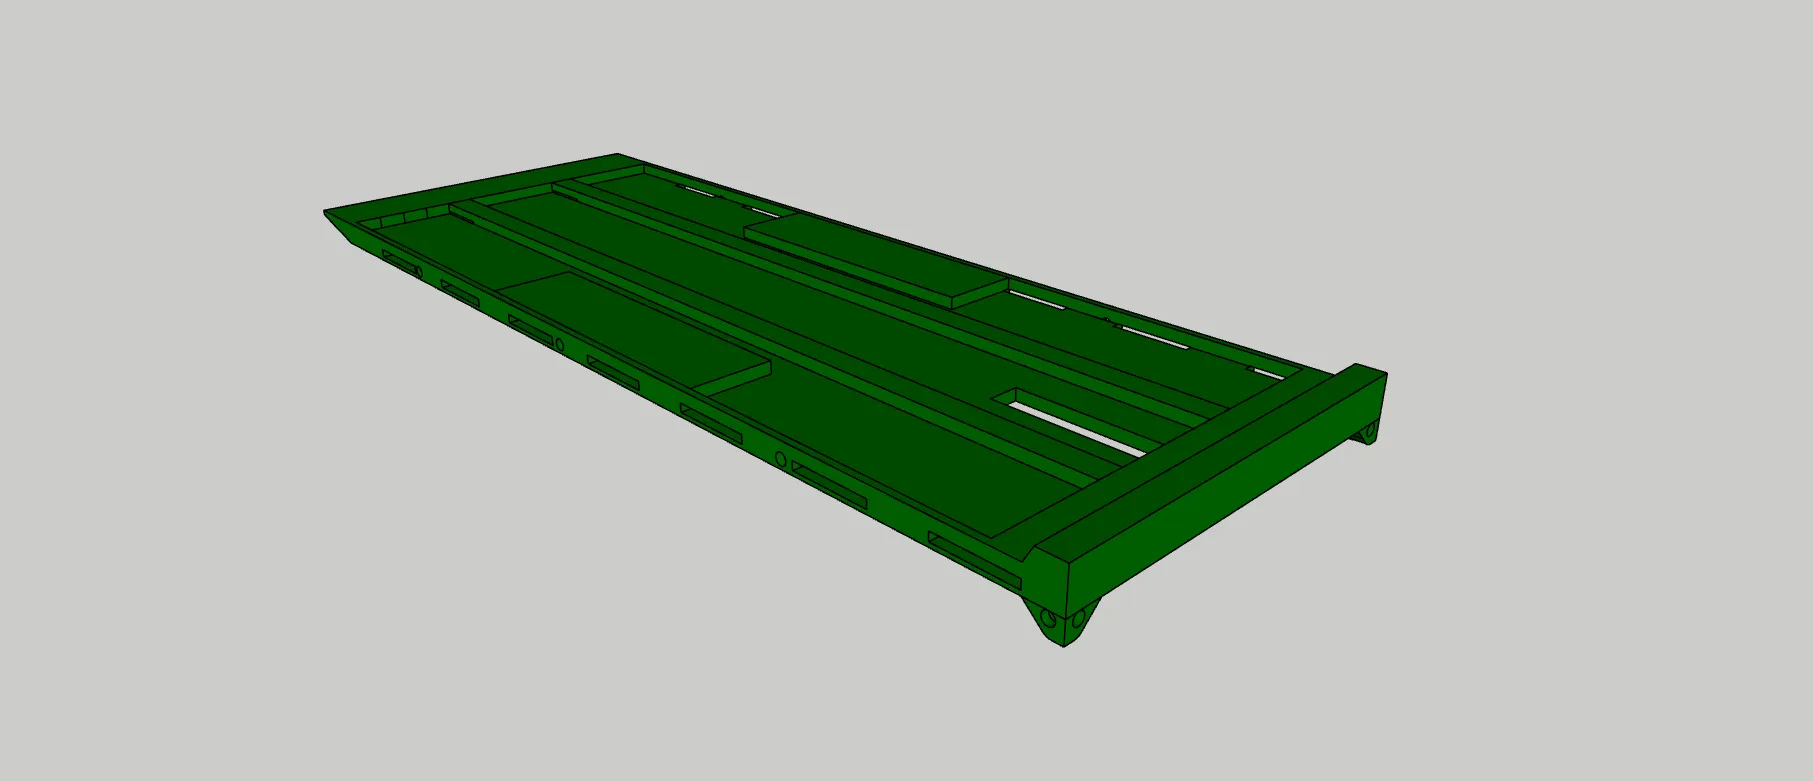
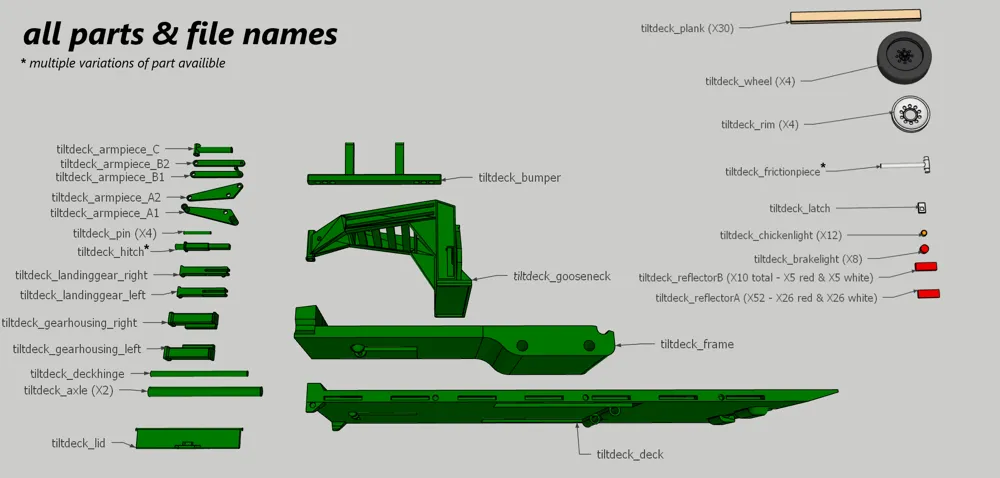
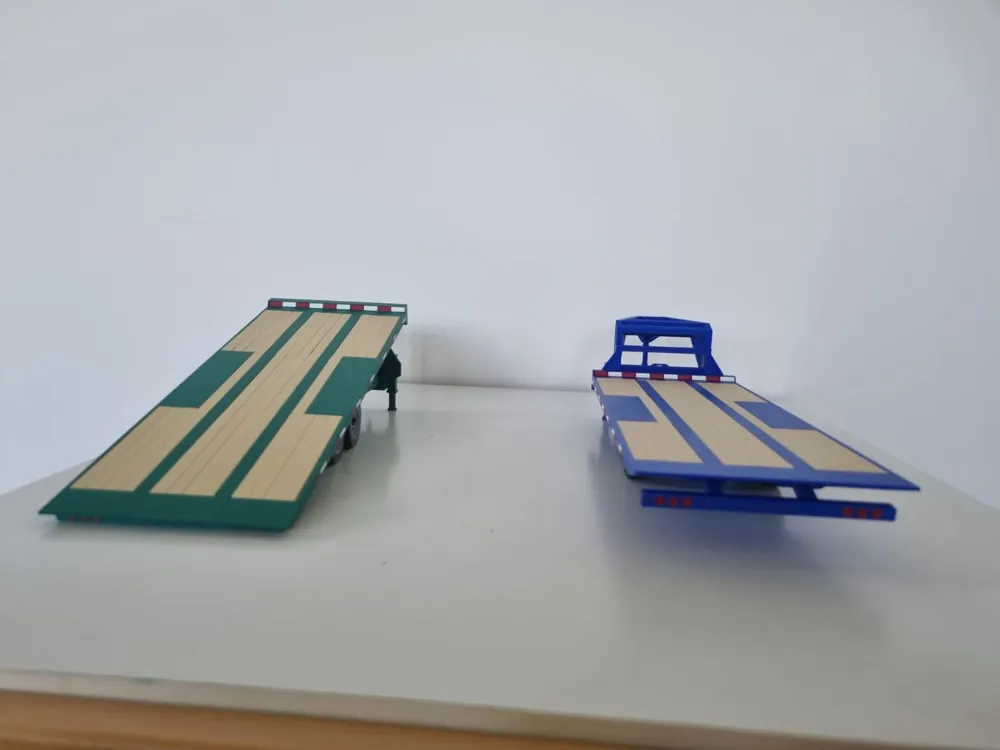
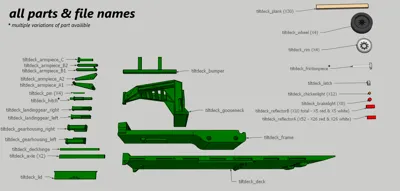
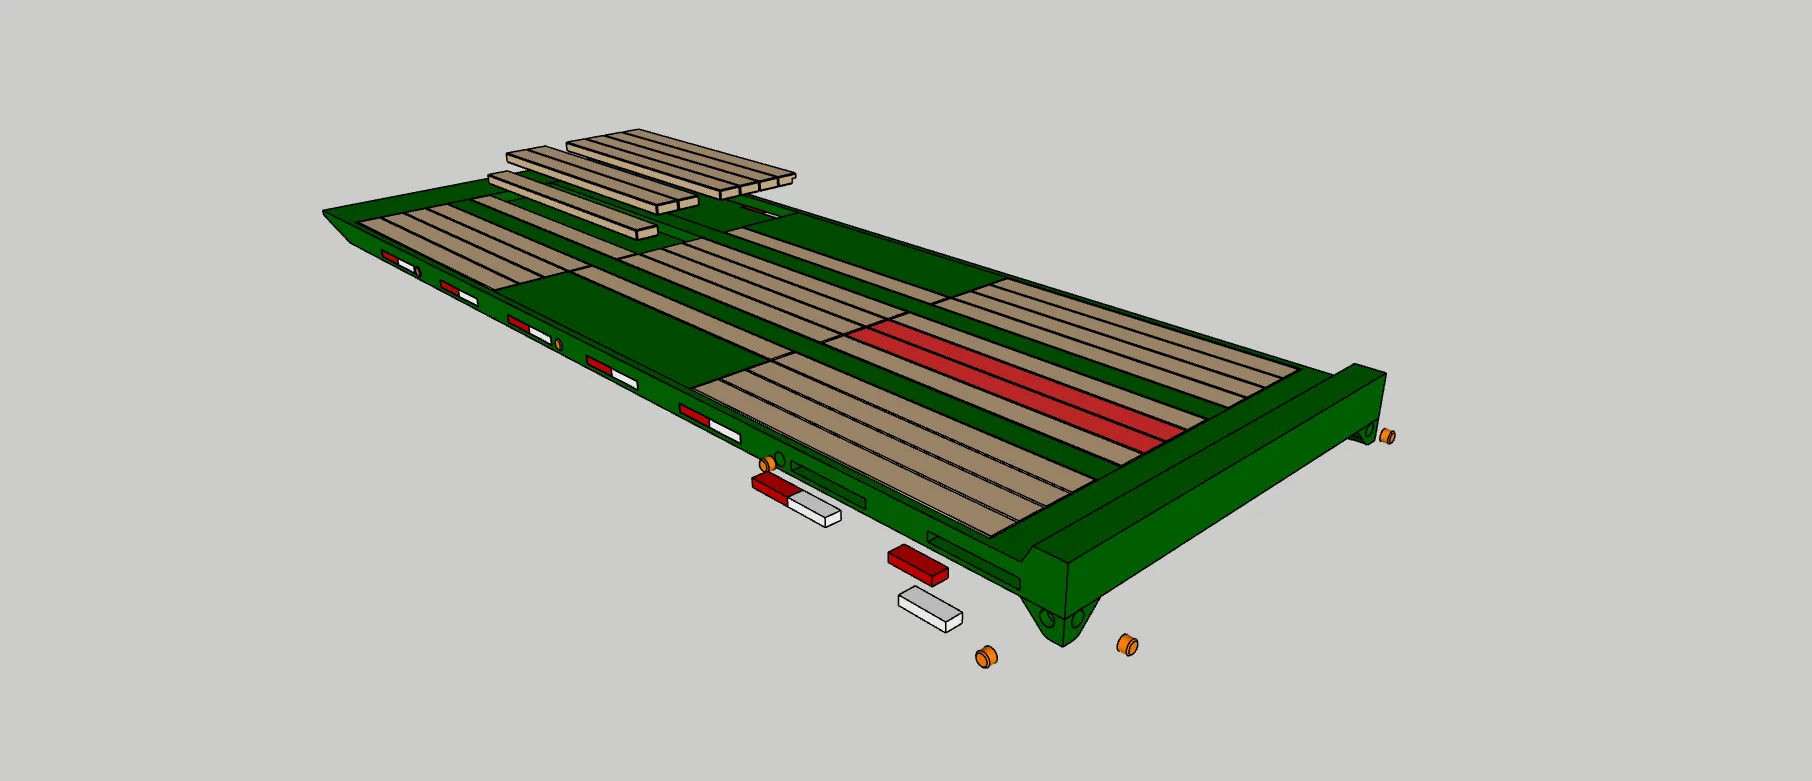
add all planks, 10 chickenlights, 14 red slim reflectors and 14 white slim reflectors as shown, i do not recommend using glue on the front middle planks (marked red) since keeping them removable allows better access to the mechanism when needed
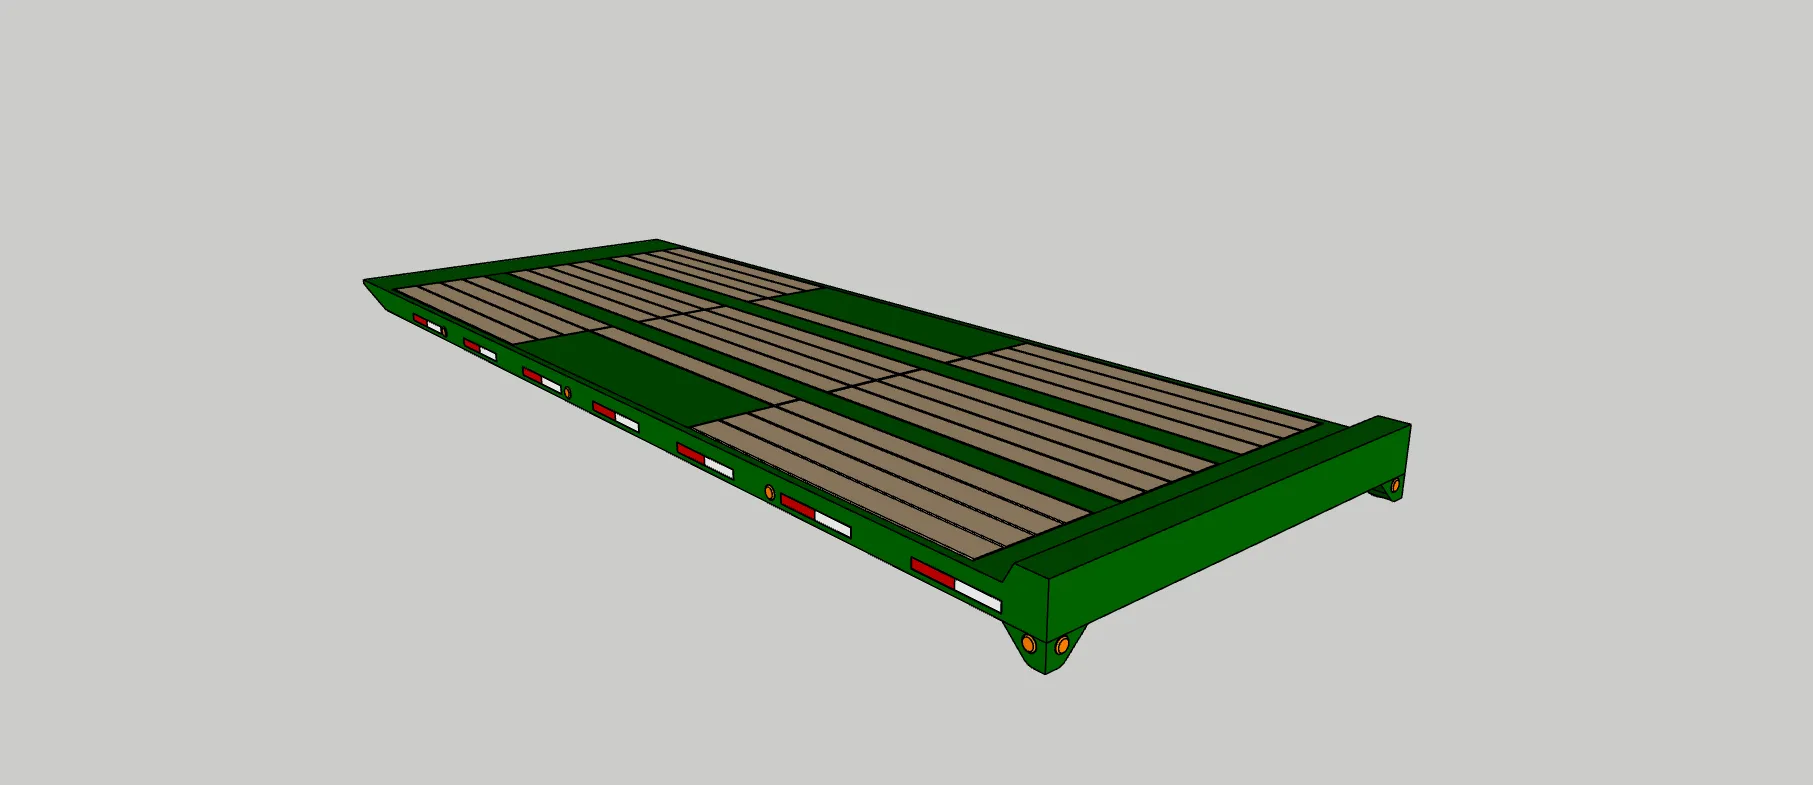
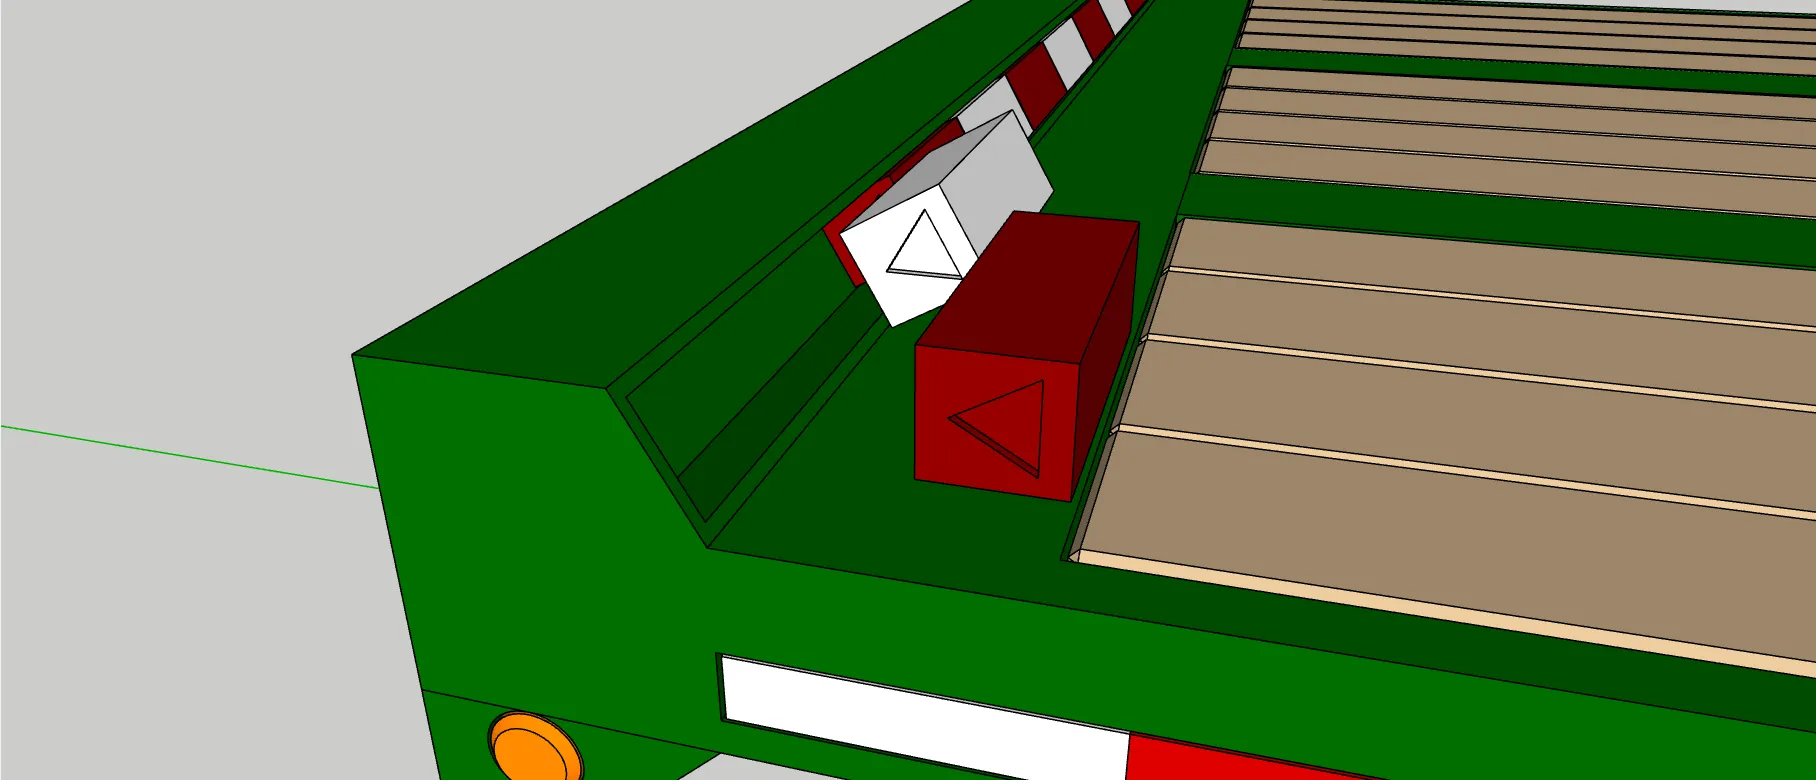
add 5 red blocky reflectors and 5 white blocky reflectors, use the symbols on the side to orient them correctly
add the 8 brakelights into the bumper
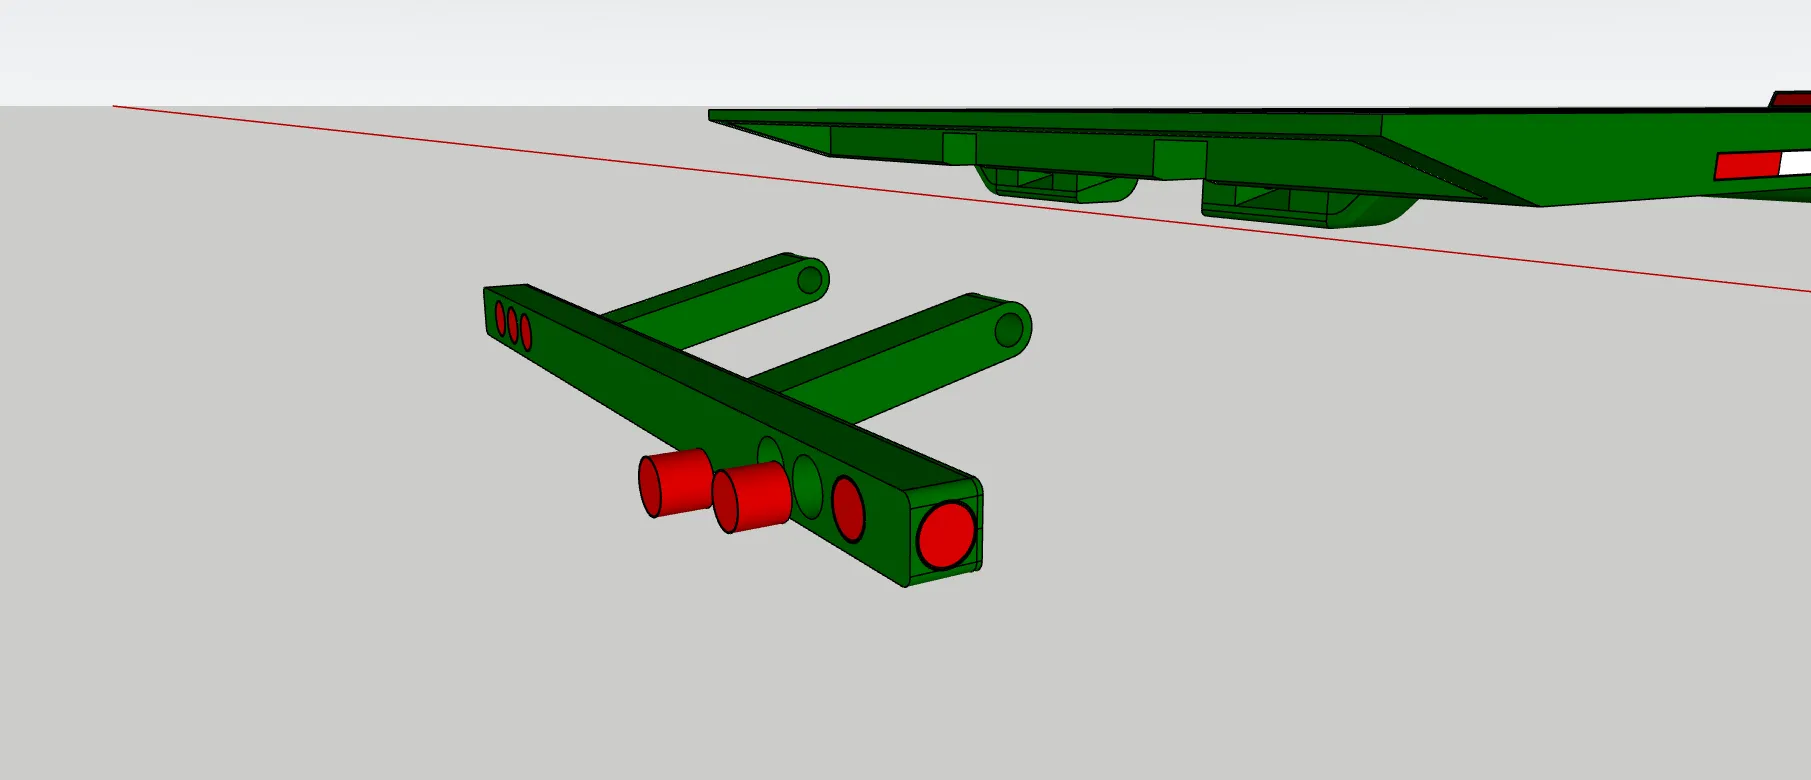
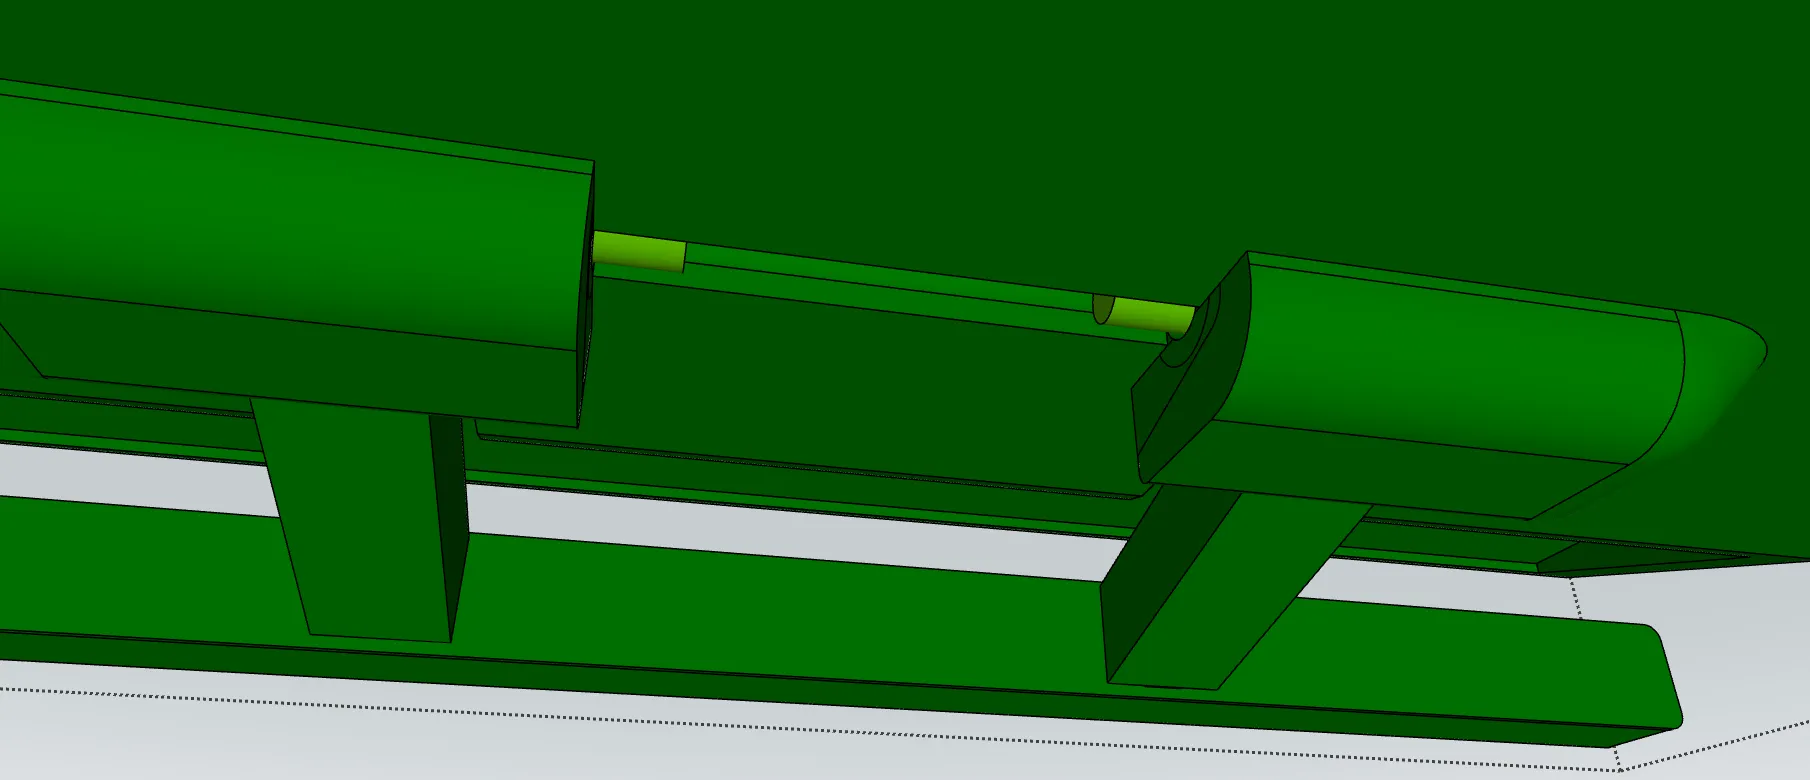
insert the bumper under the deck and use 2 pins to secure it, make sure the bumper can move up and down freely
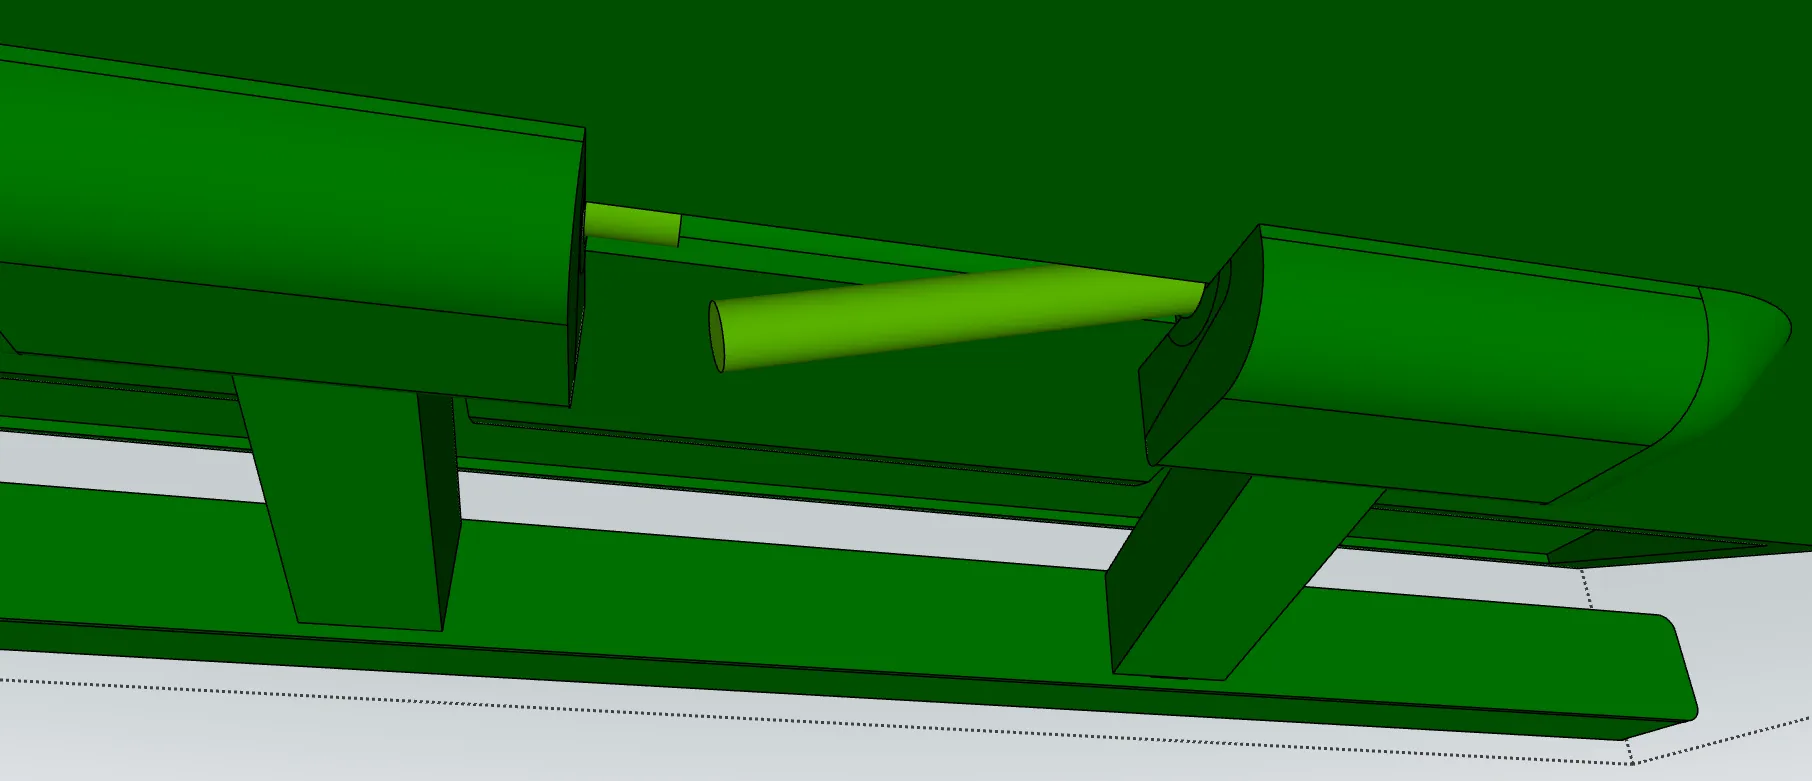
you can carefully glue the pins if needed
assemble the lift arm mechanism as shown
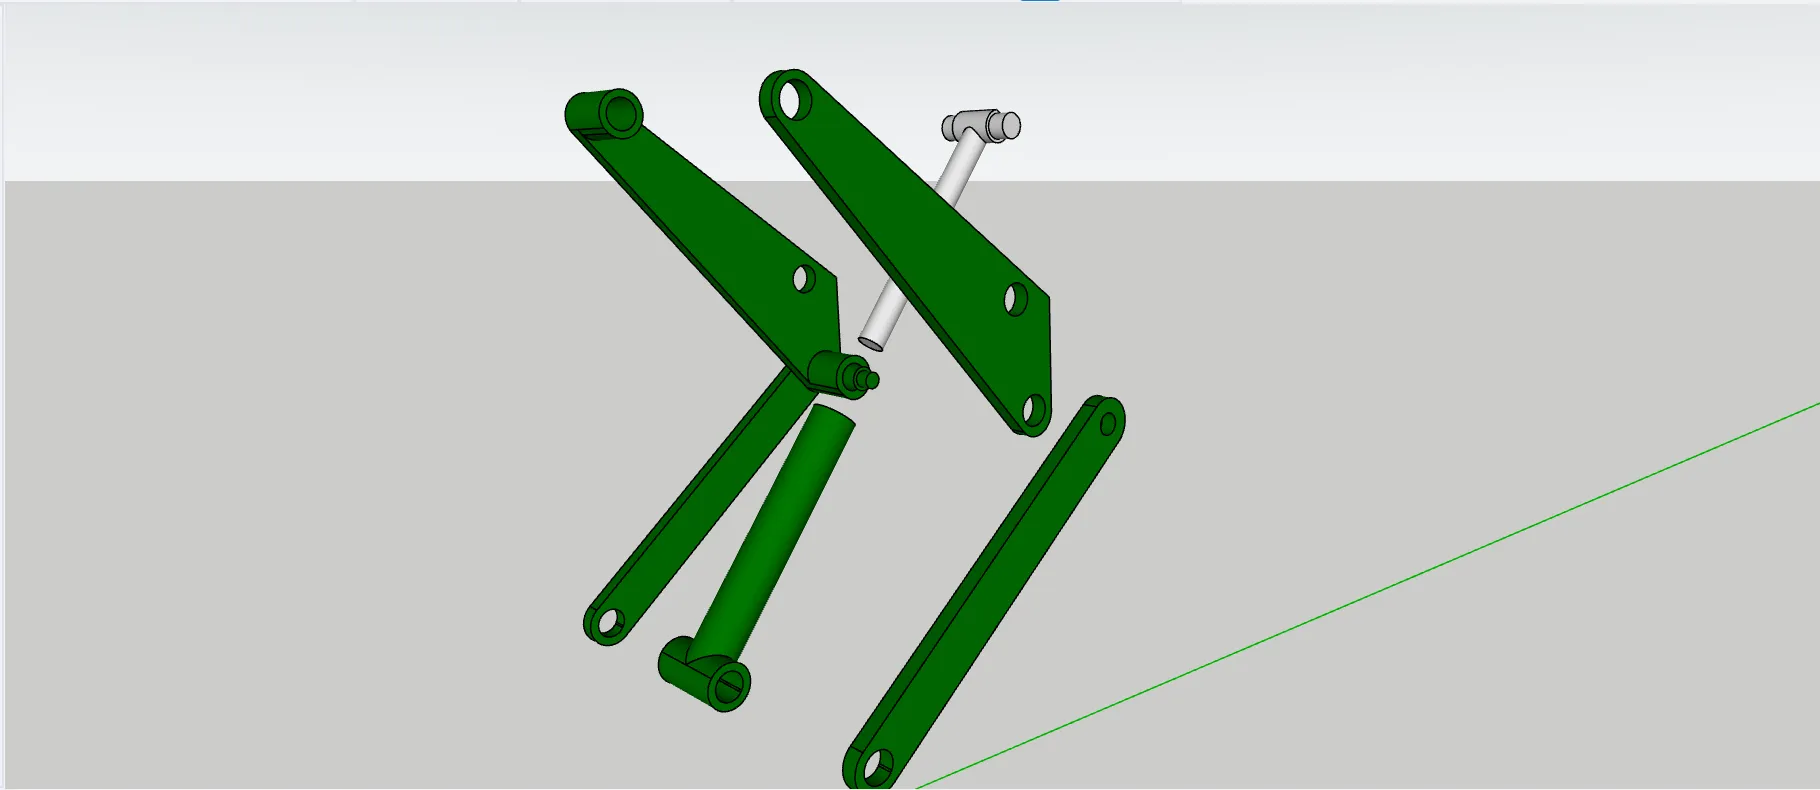
make sure the friction piece (silver) provides moderate friction without getting completely stuck in the cilinder before proceeding
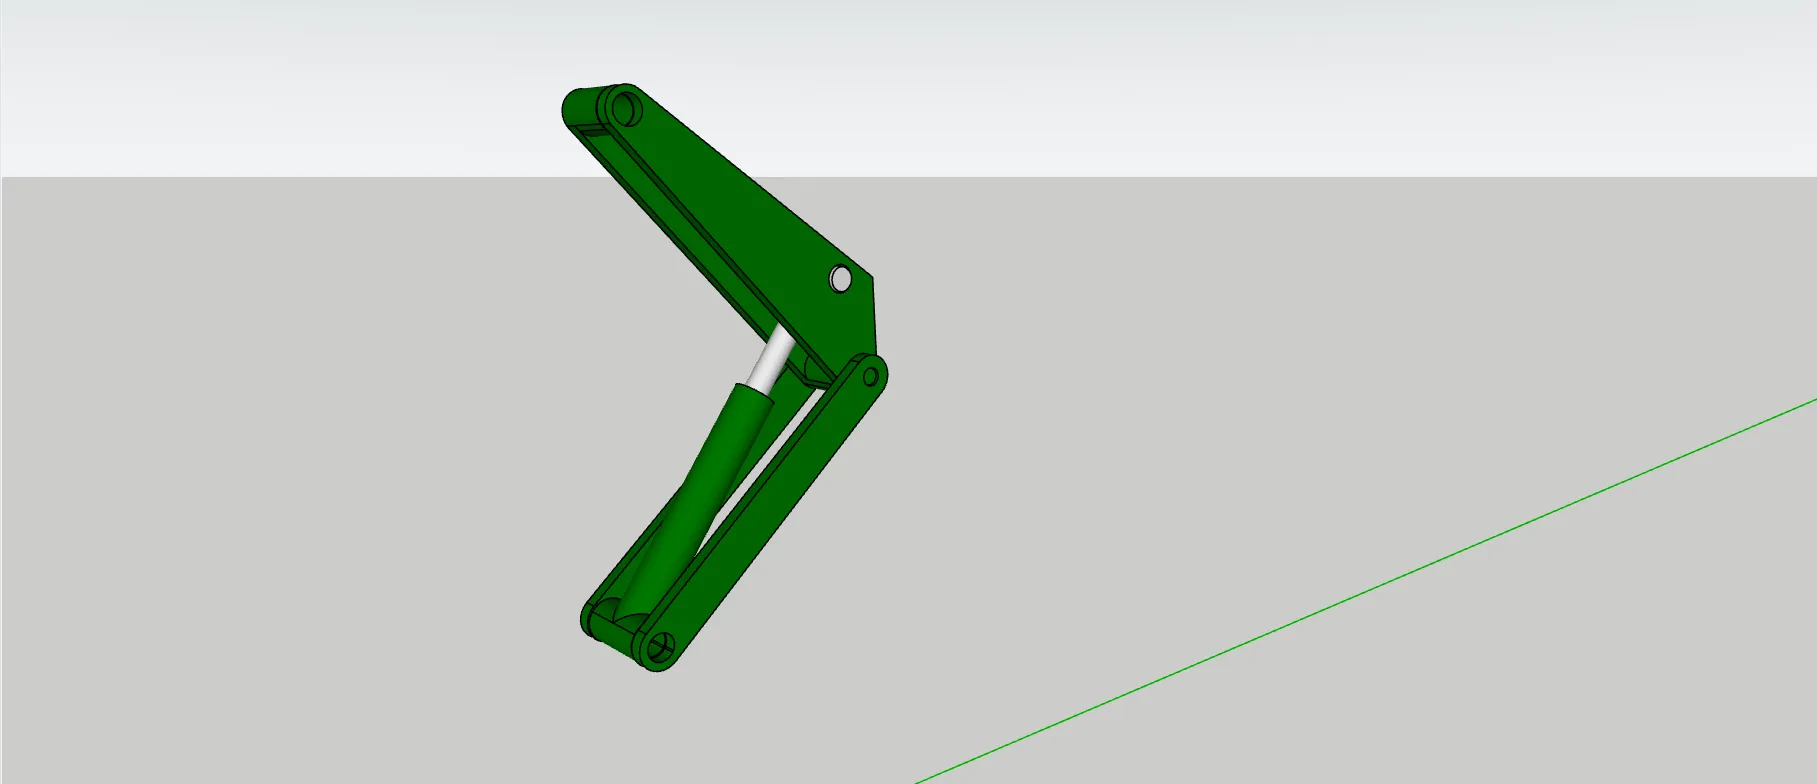
align the mechanism with the deck and secure them together with a pin, make sure everything can still move with relative ease
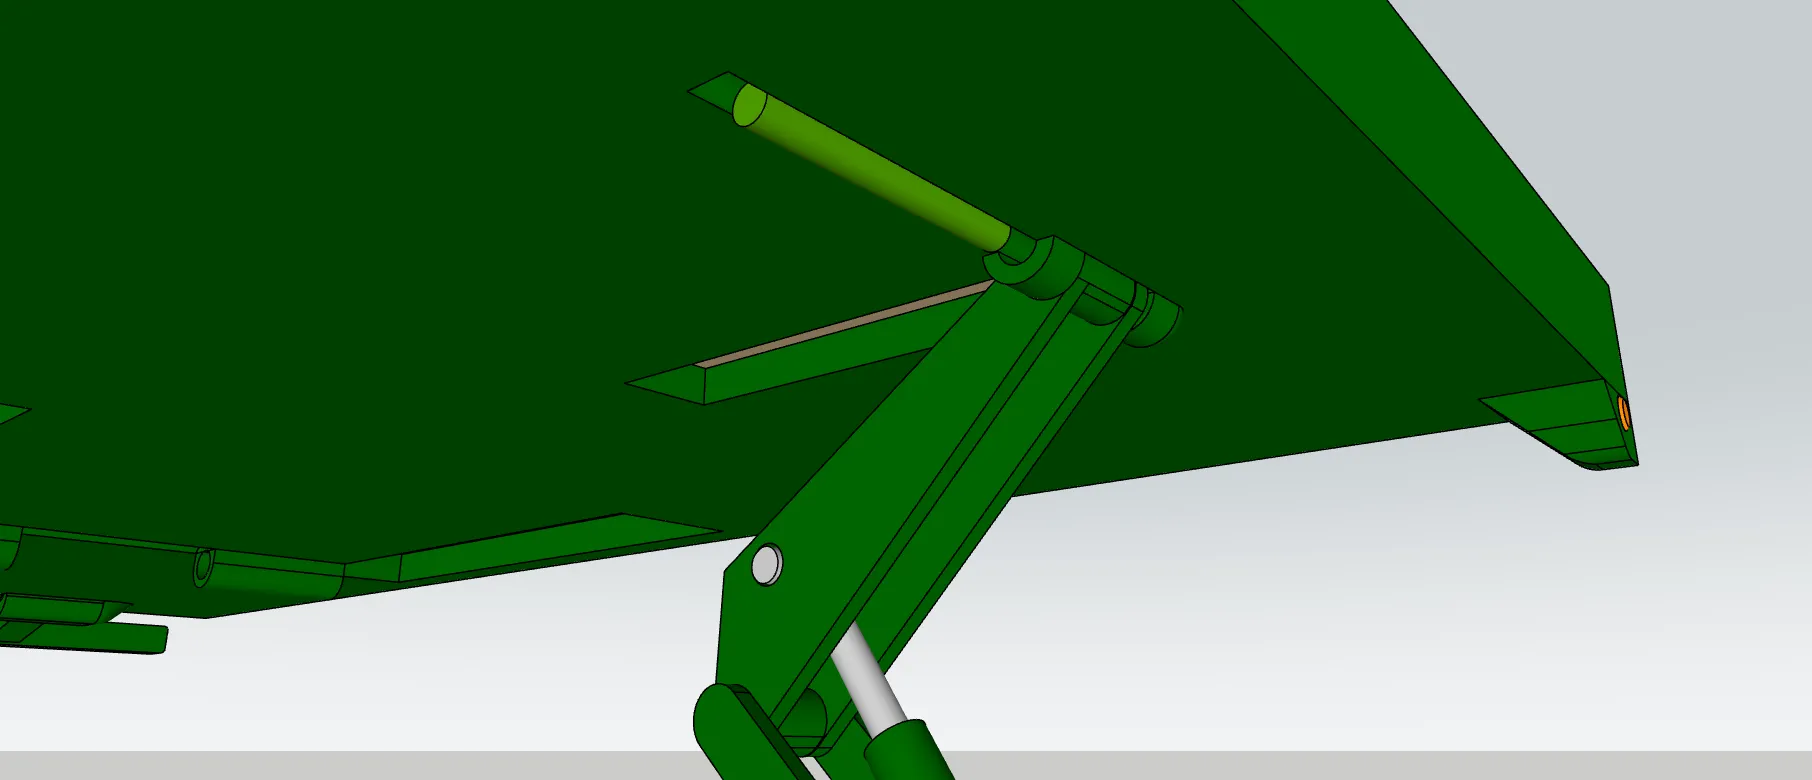
you can glue the pin, however i recommend securing it with something like clear tape so it can be removed if needed, this way you can replace the friction piece if it gets worn over time
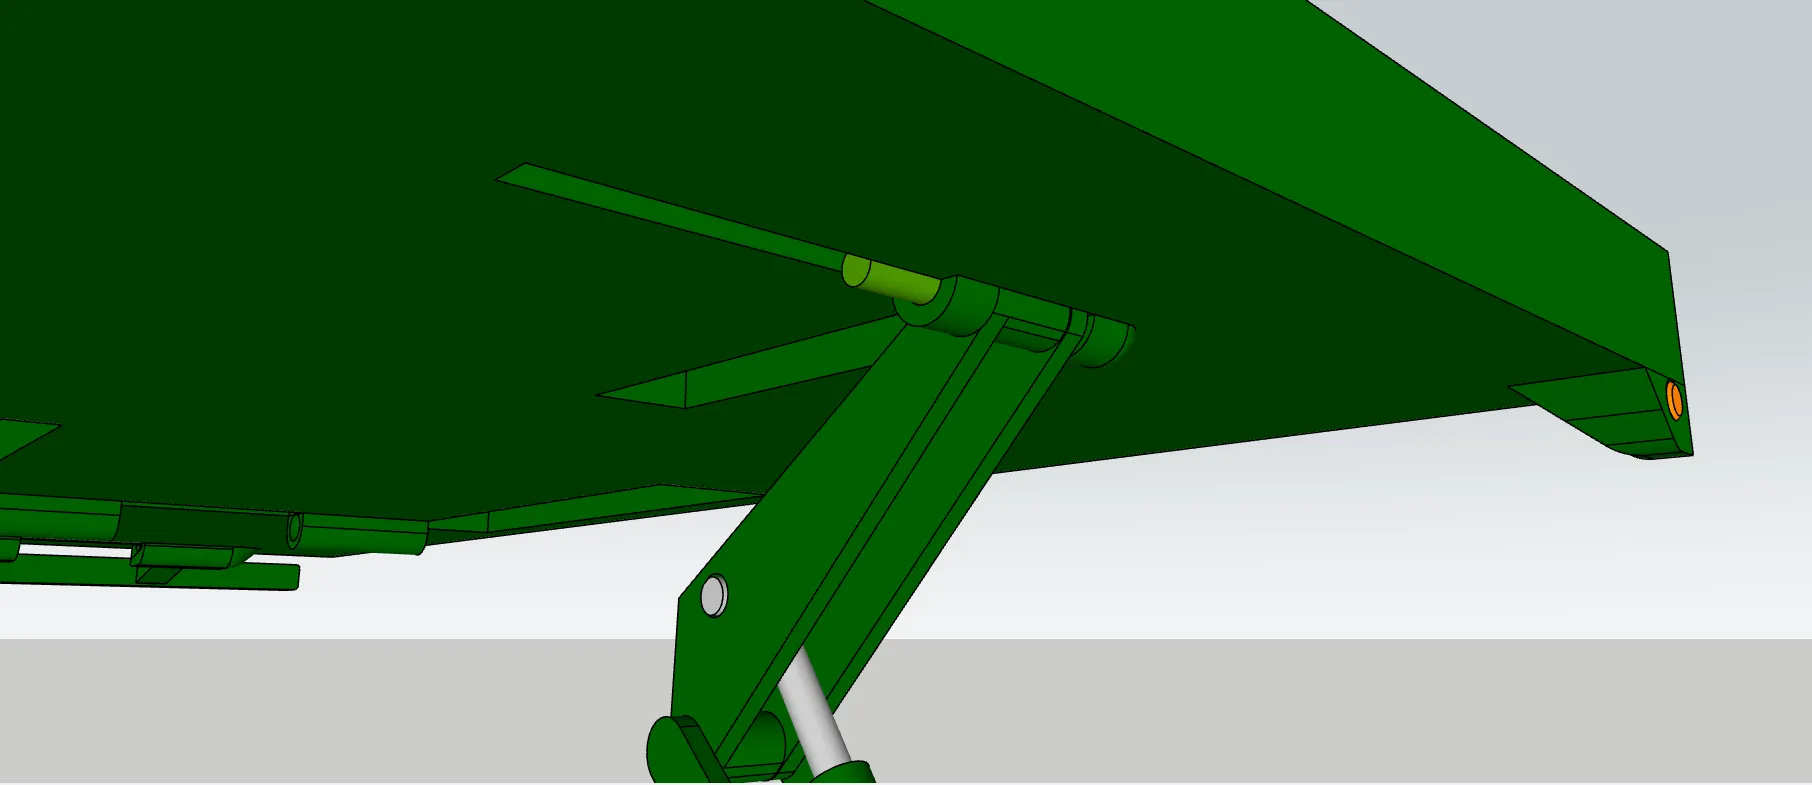
align the mechanism with the frame and secure it with a pin
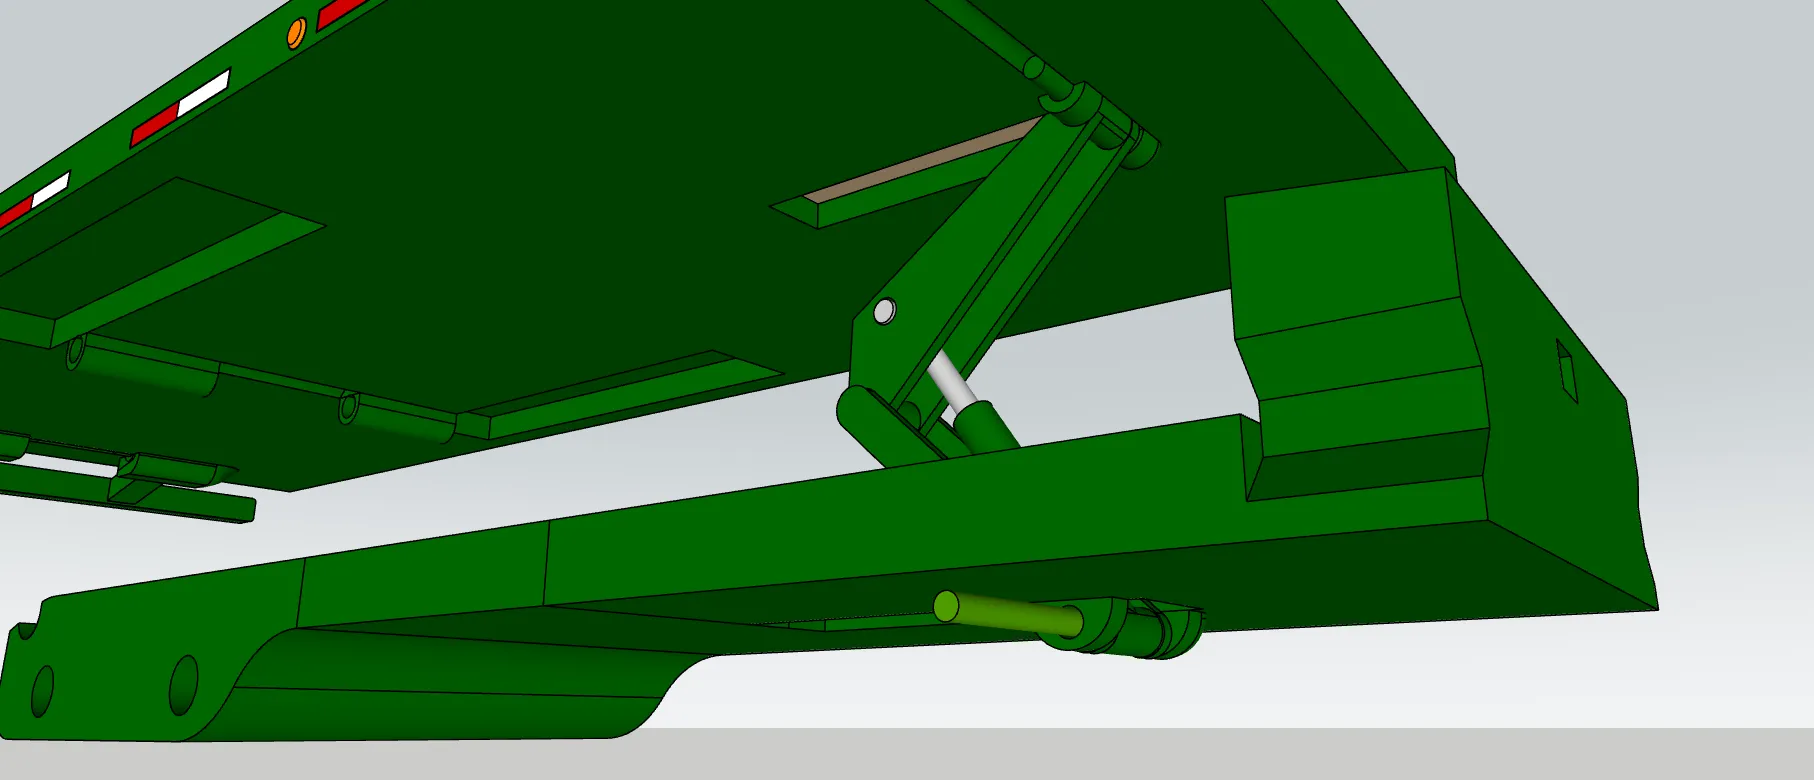
you can glue the pin, but i again recommend using clear tape instead just in case
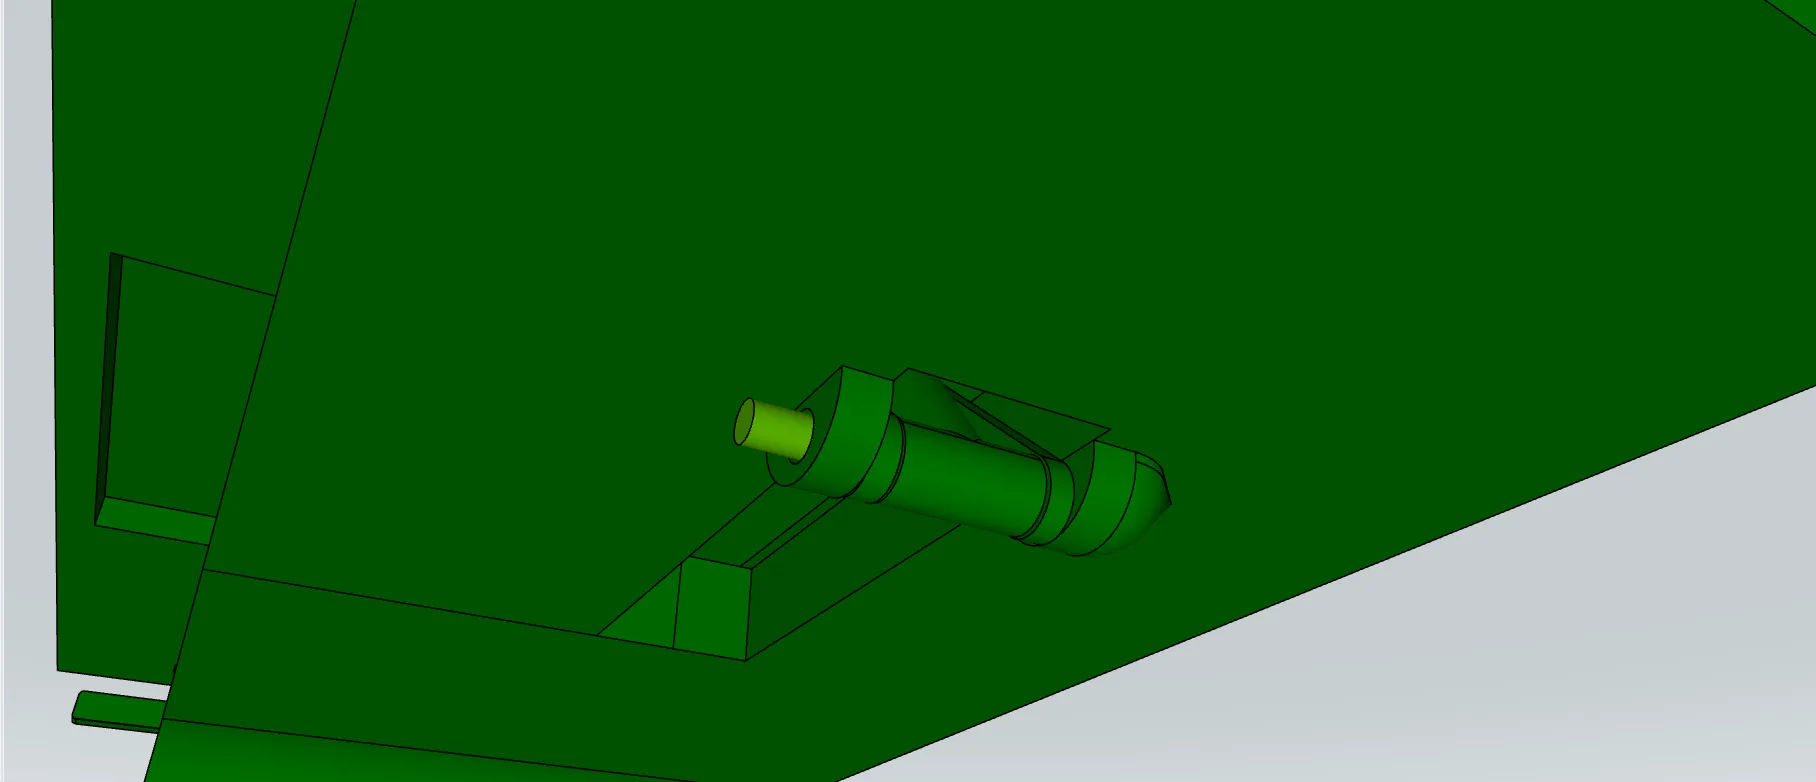
align the deck with the frame and secure it with the hingepin, the deck should be able to tilt now, check if it works nicely before proceeding
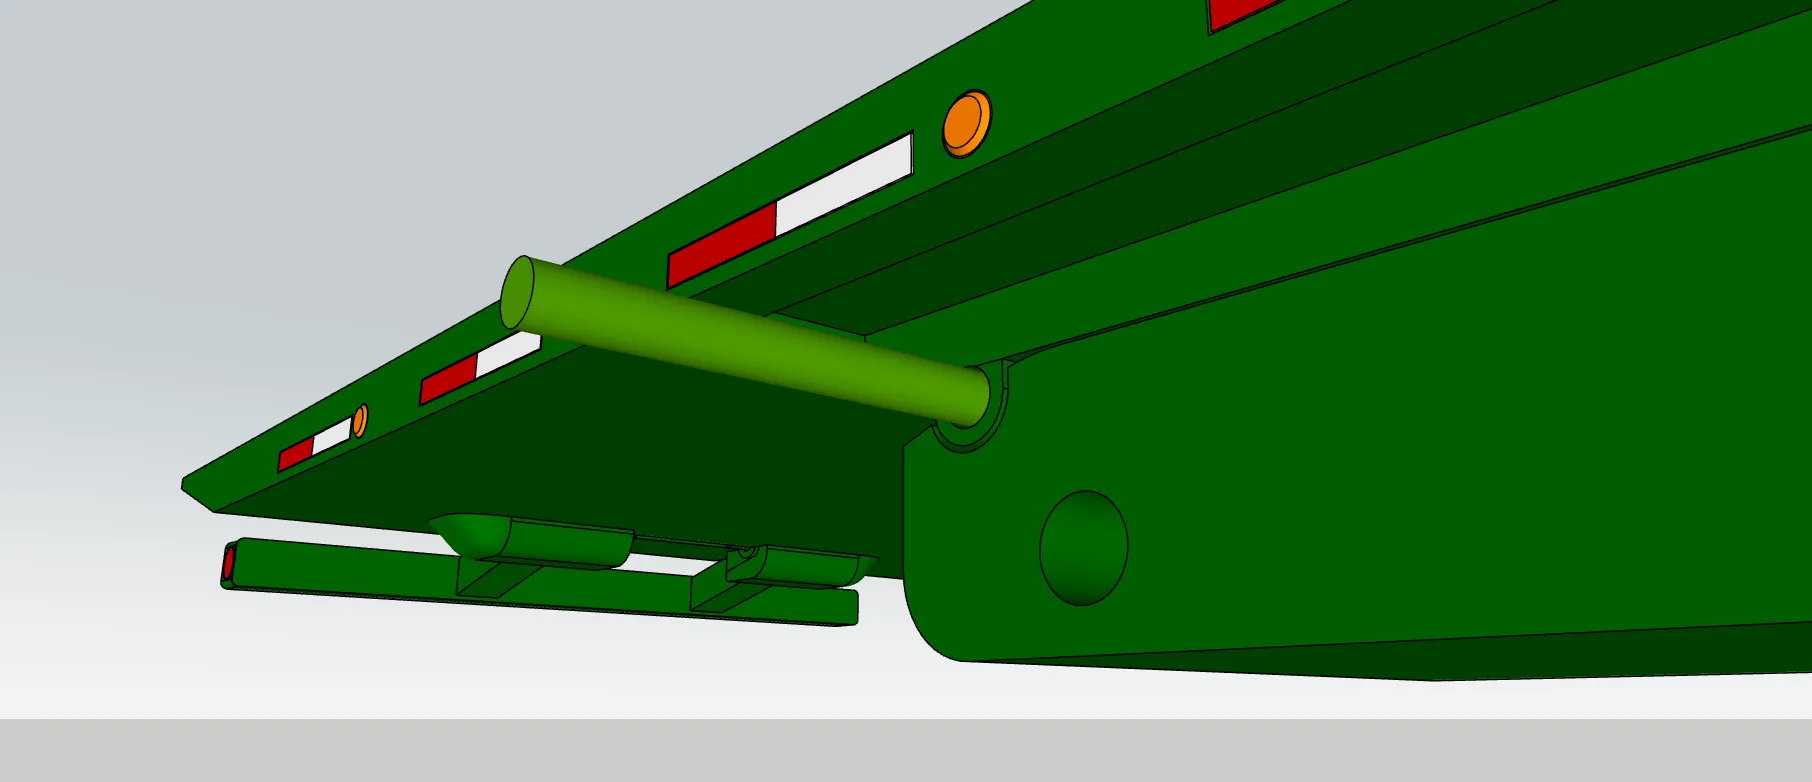
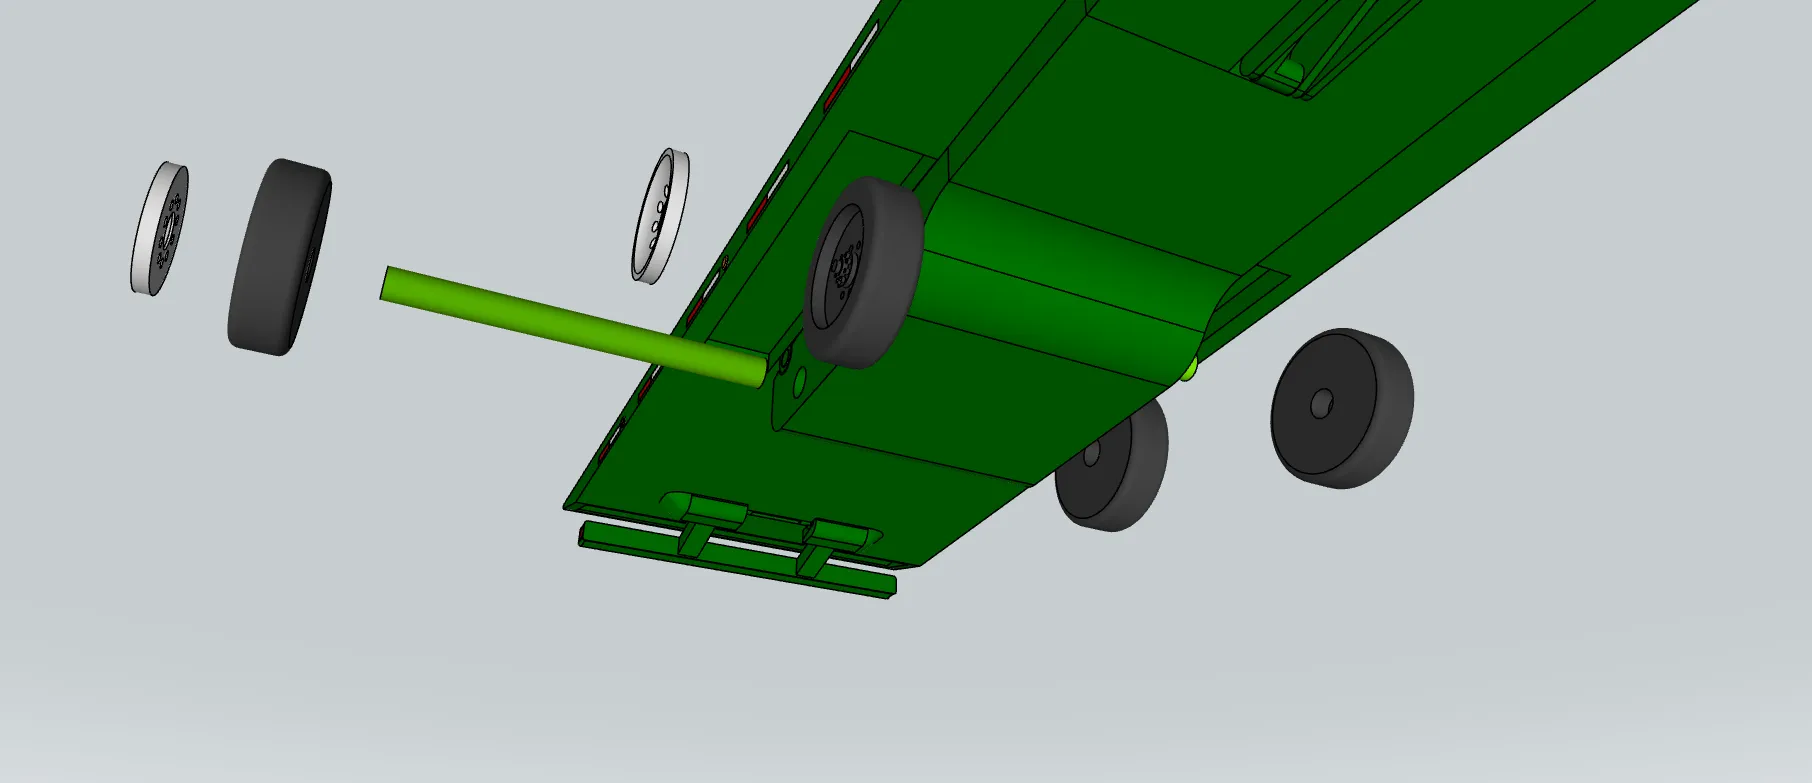
put the “rims” in the wheels, insert the axles into the frame and put the wheels on the axles, you will have to raise the deck to fit the wheels under
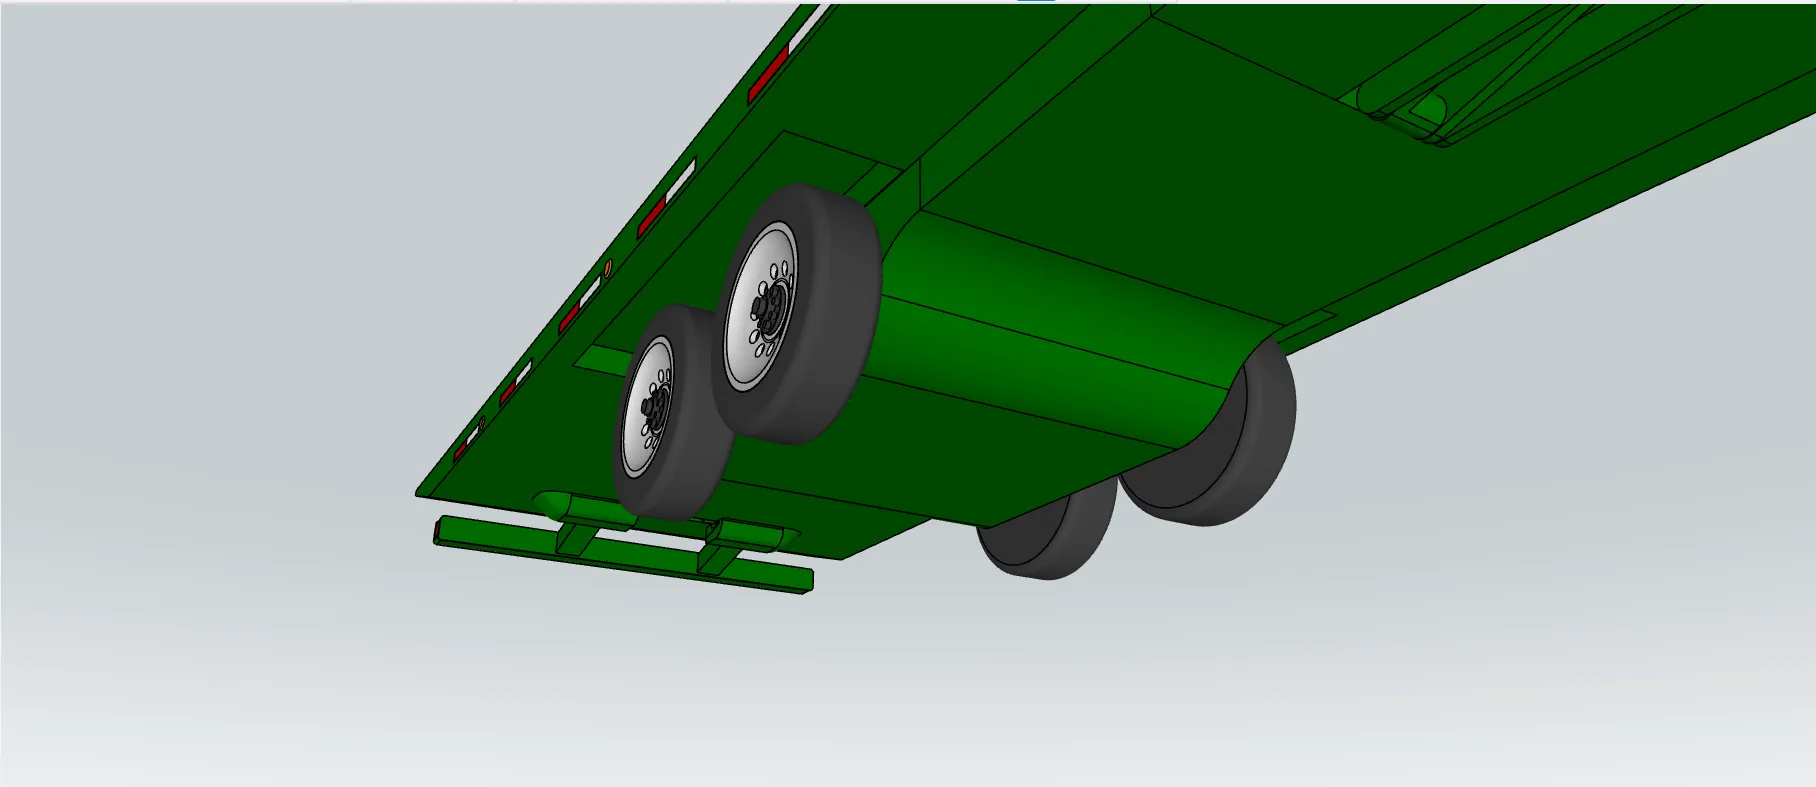
add the silver latch to the front of the frame
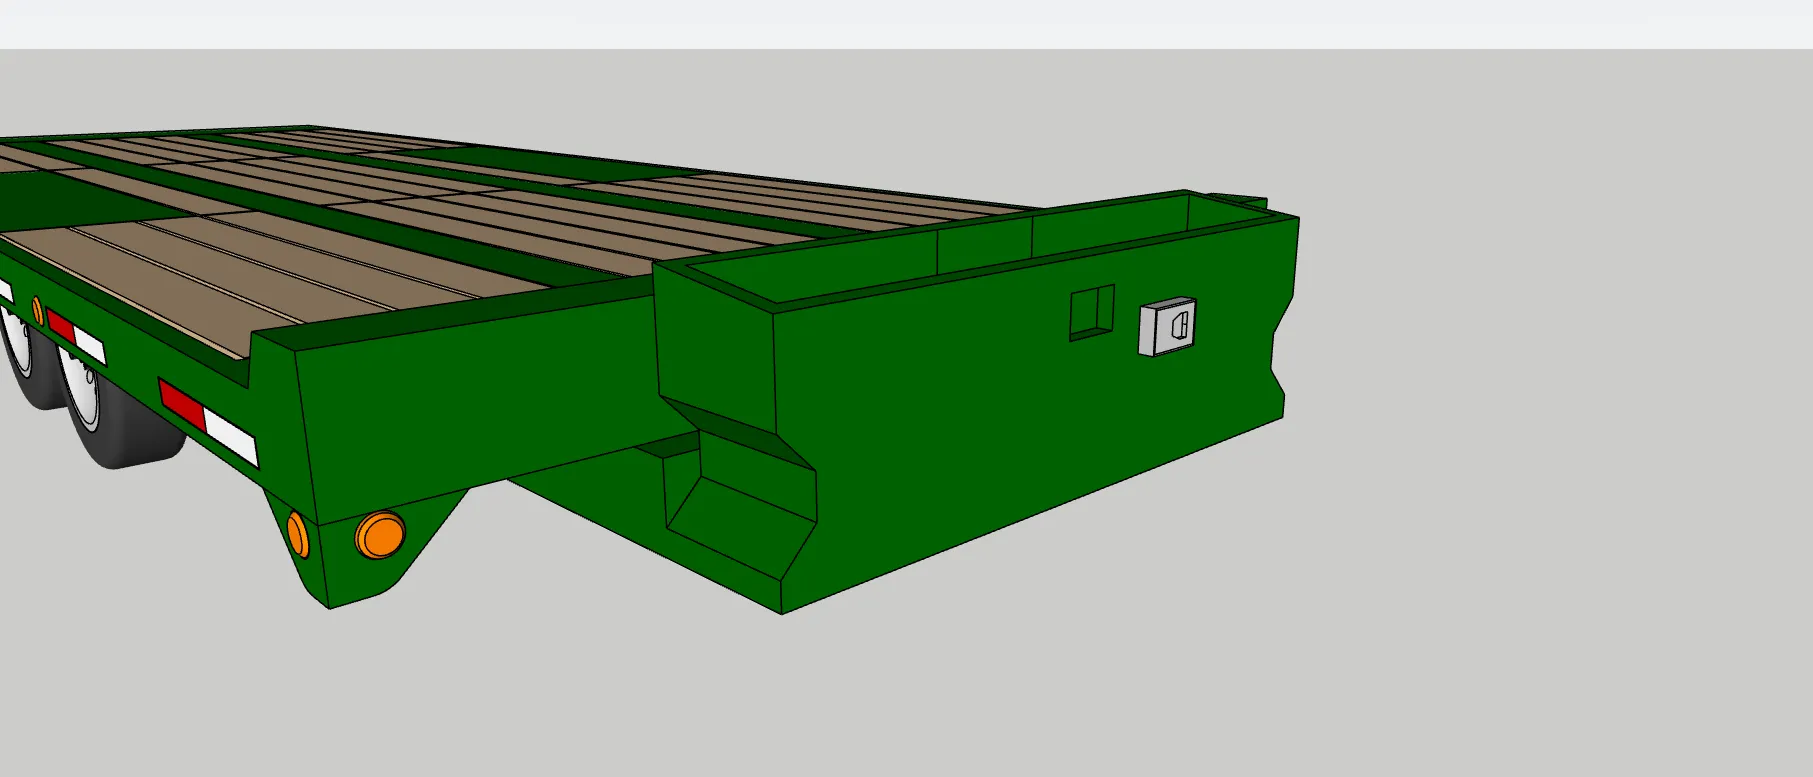
add the gear housing on both sides of the gooseneck and insert the landing gear pieces into their housing, make sure they are properly aligned and on the correct side, they should snap into their extended and retracted positions easily
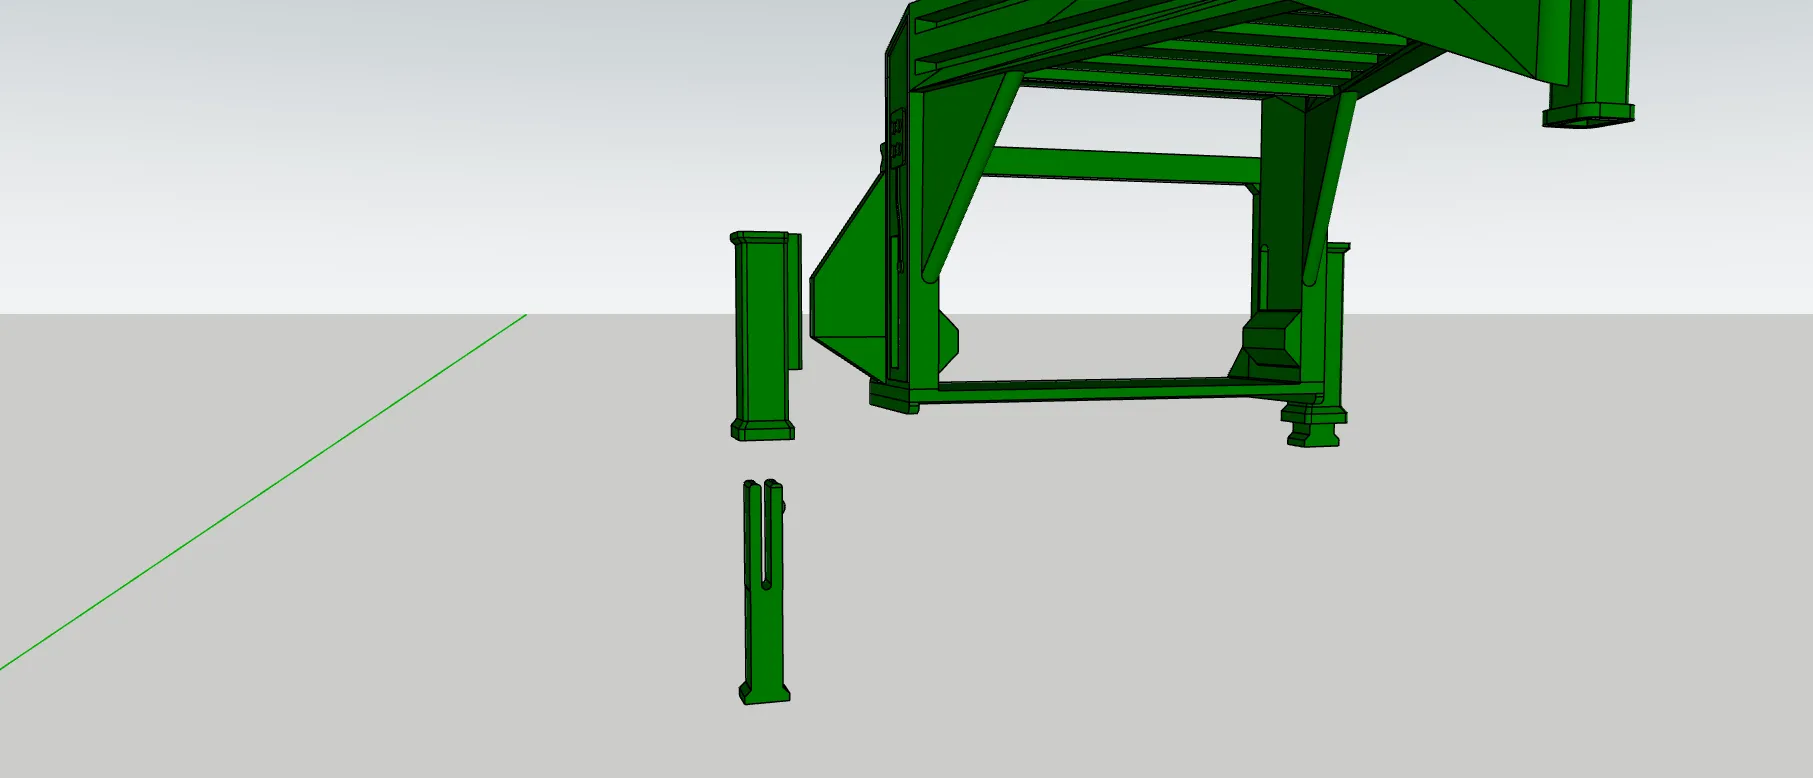
insert the remaining slim reflectors and chicken lights into the gooseneck
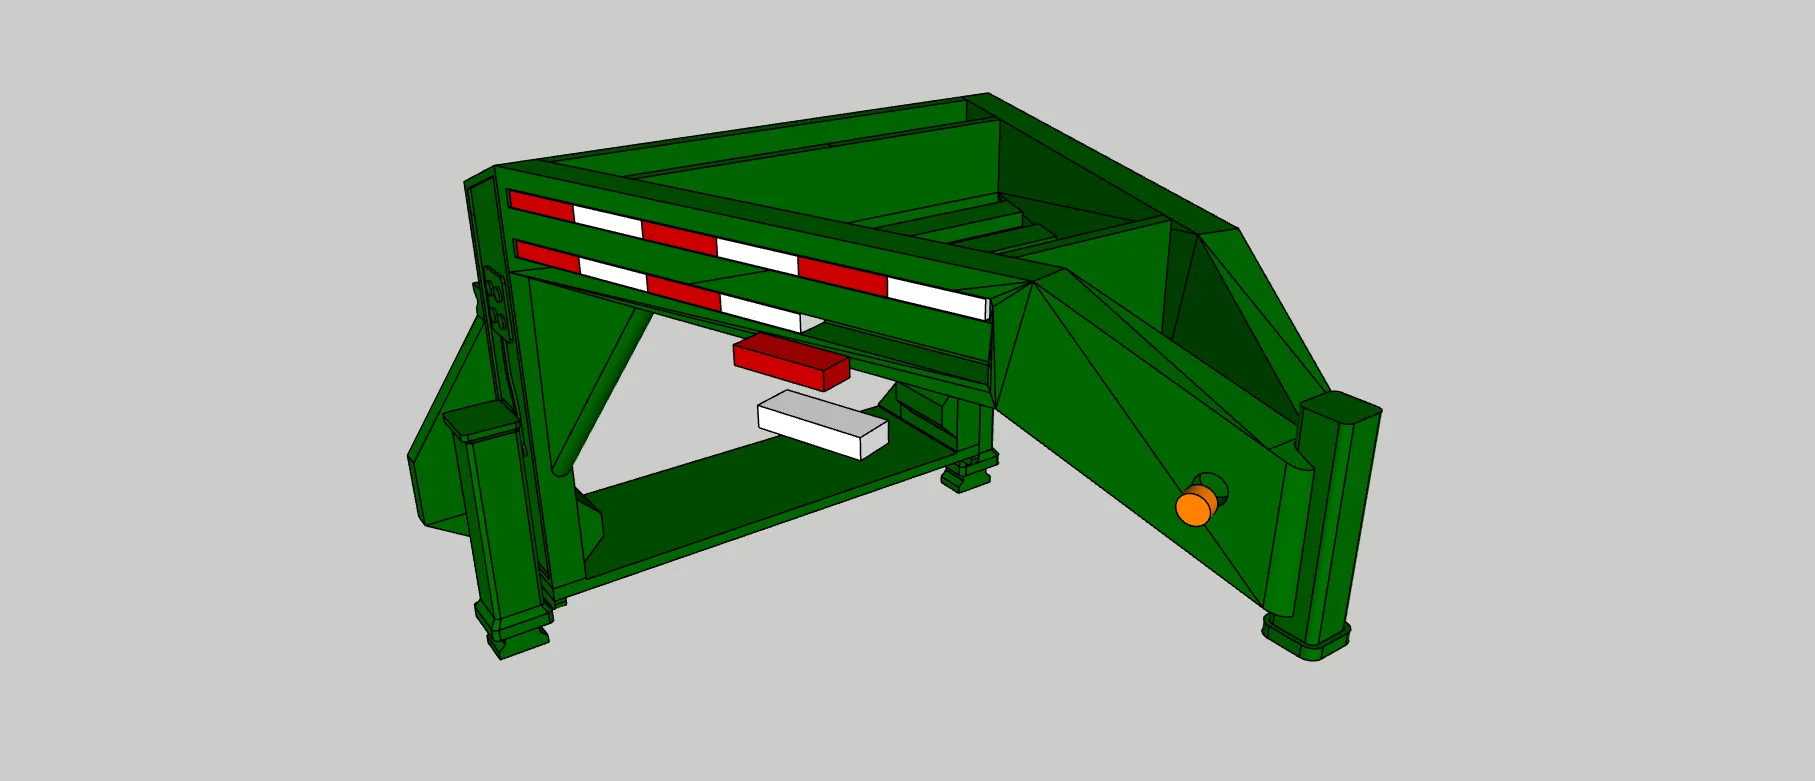
add the hitch piece and lid into the gooseneck, you have to tilt the lid to the side to fit it in the grooves
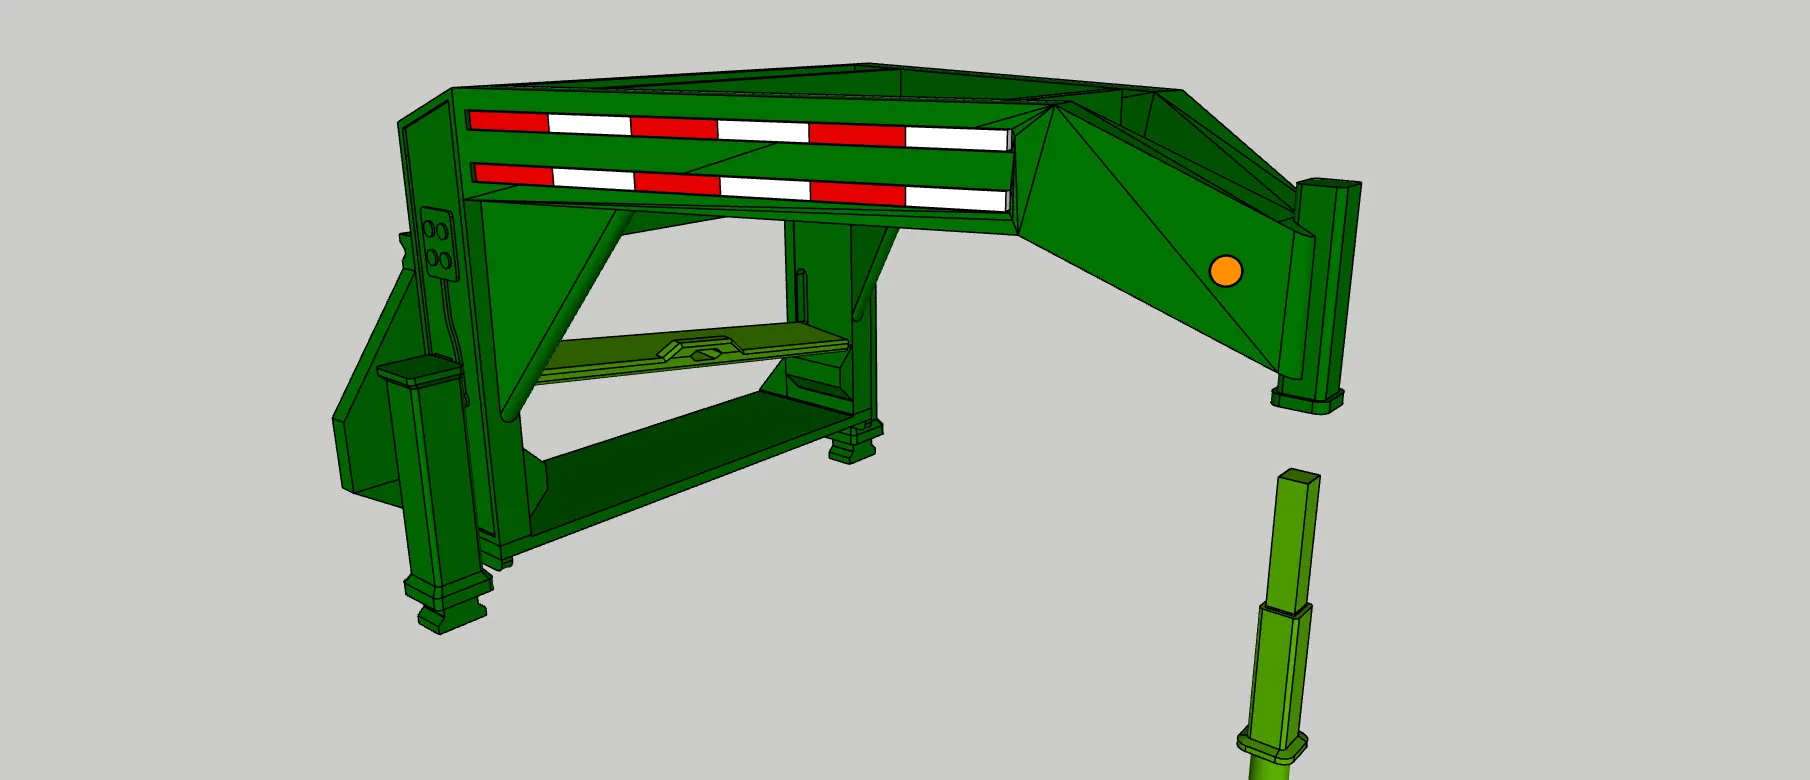
push the lid all the way up
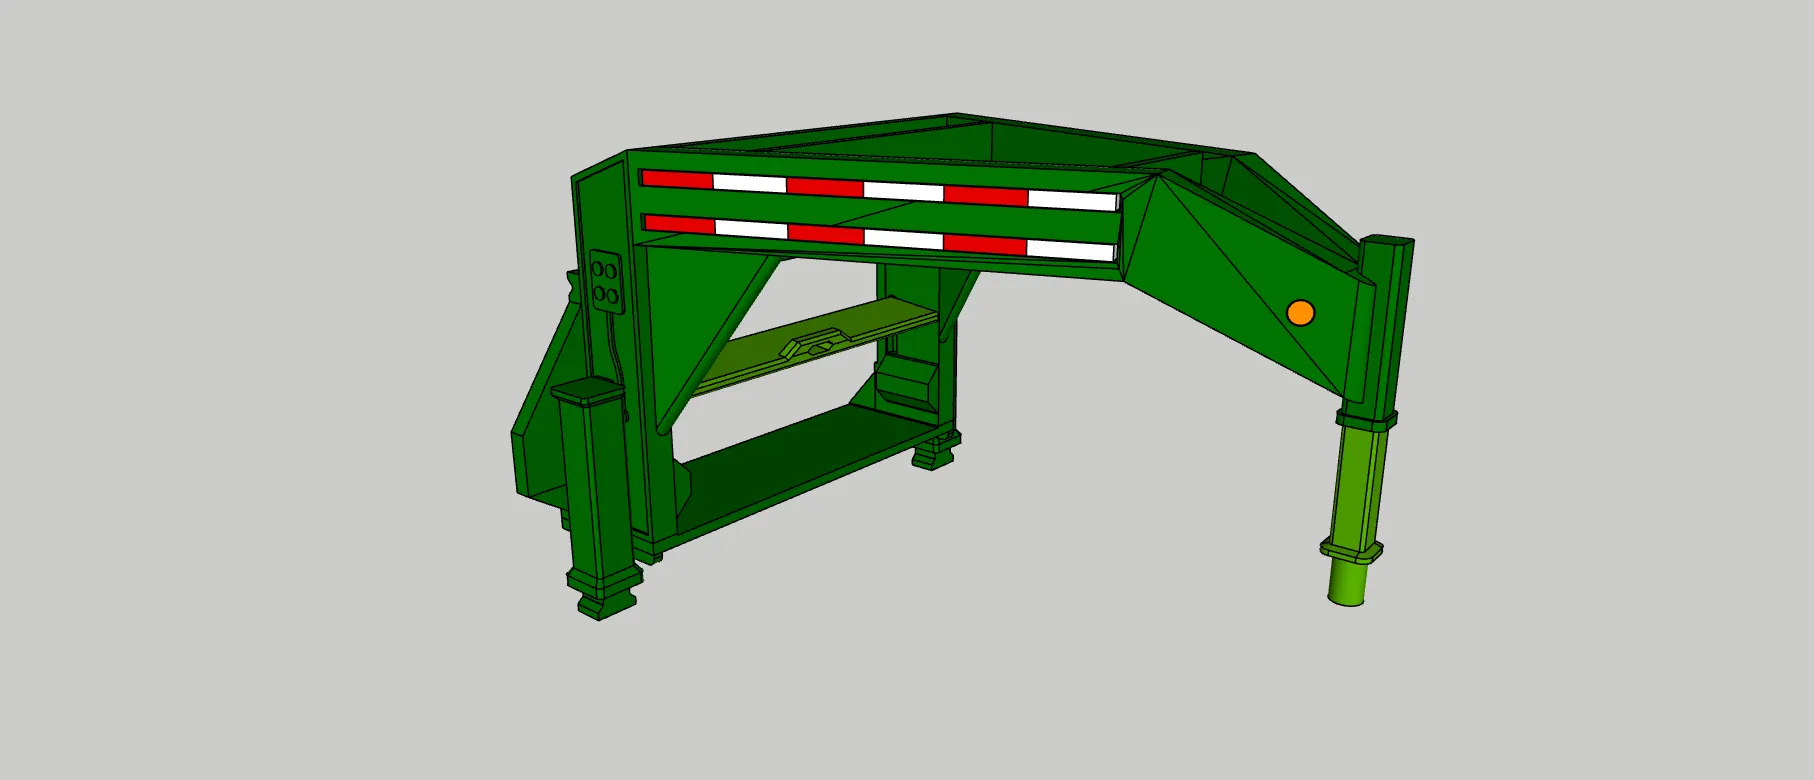
align the gooseneck with the frame and push it on untill it won't go any further, keep the lid up in the grooves while doing this
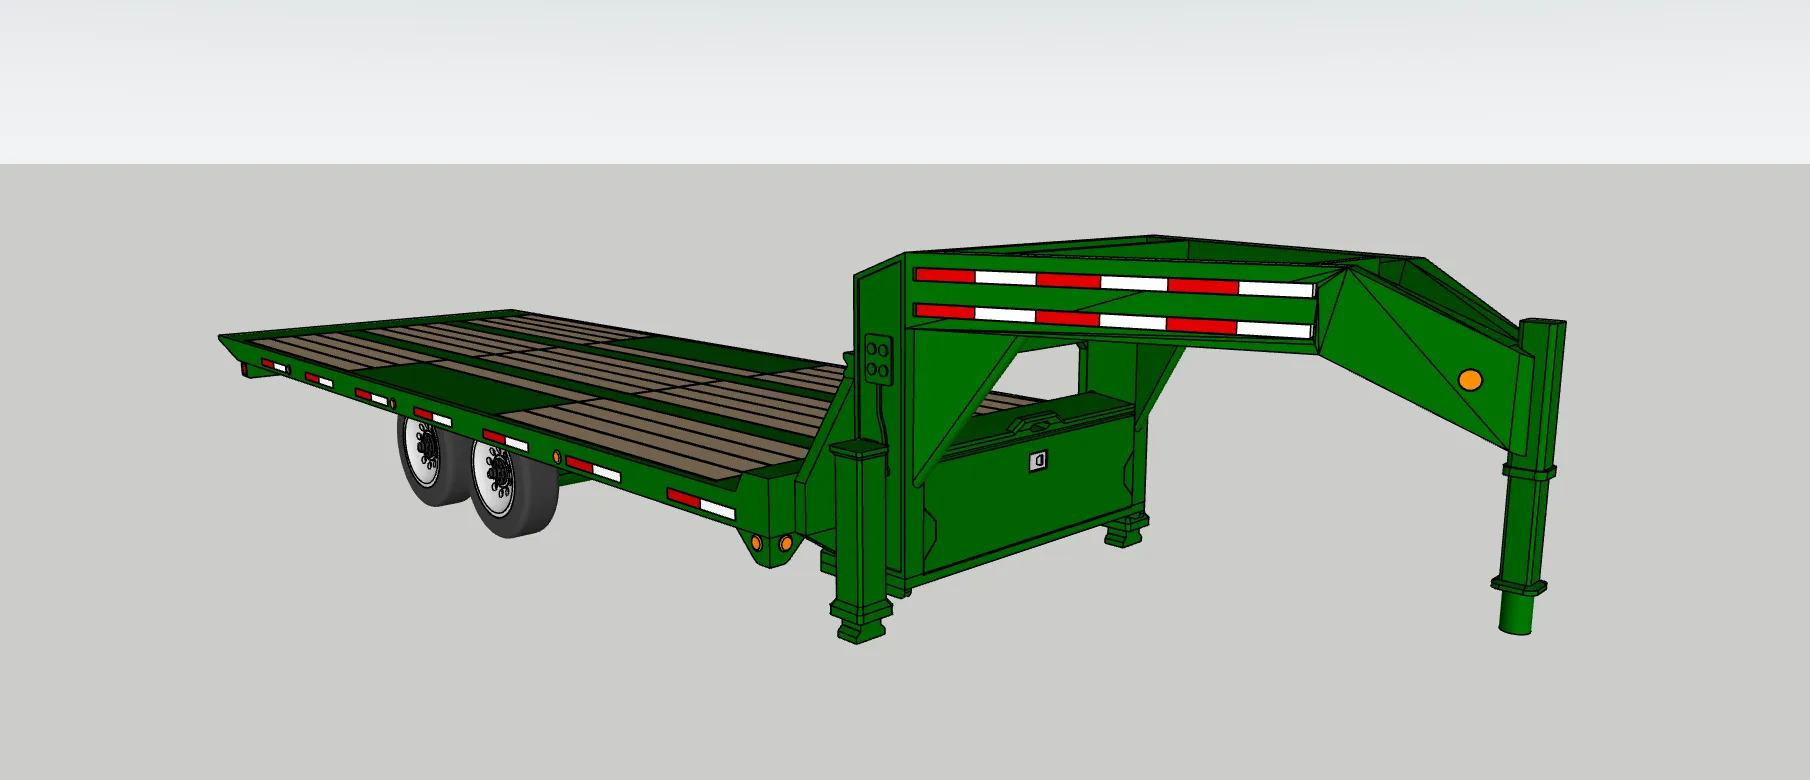
if all steps were followed correctly, the trailer is now finished, check if all the features work correctly
If you have the time for it, please take a moment to rate the print profile (if you used it) and please feel free to leave any feedback you might have, it helps a bunch!
License

You shall not share, sub-license, sell, rent, host, transfer, or distribute in any way the digital or 3D printed versions of this object, nor any other derivative work of this object in its digital or physical format (including - but not limited to - remixes of this object, and hosting on other digital platforms). The objects may not be used without permission in any way whatsoever in which you charge money, or collect fees.


Comment & Rating (26)