Y-12D Assembly Kit


Print Profile(1)

Description
<Board Game Miniature Collection>--<Warship Collection>--<Aircraft Collection>--<Vehicle-Tank Collection>--<Aerospace Collection>
Membership
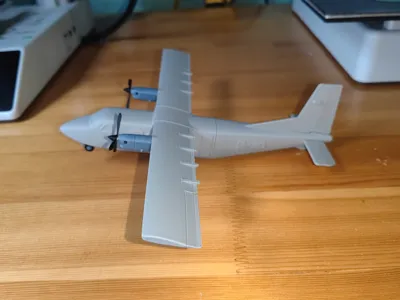
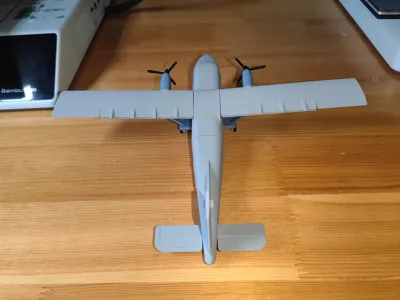
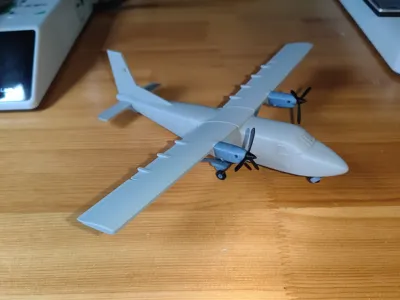
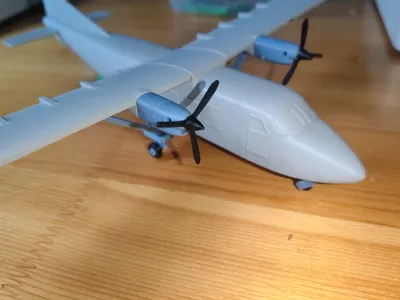
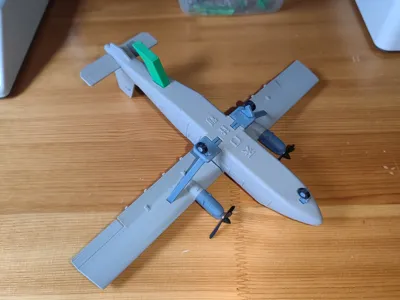
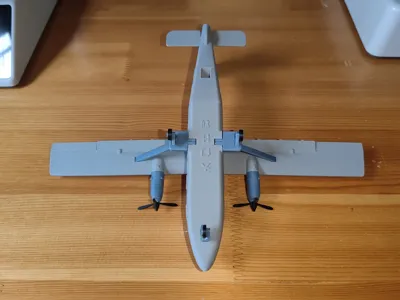
Yun-12D Assembly Kit
(Engine, landing gear, wings, tail, and fuselage require simple assembly.)
The model uses 52 grams of material, and the A1 mini print time is 5 hours and 46 minutes.
Test printer, A1 mini--low-temperature stabilized build plate, Bambu PLA, 0.12mm layer height, 2 walls, acceleration all 1000 or less.
Due to material shrinkage and printing accuracy, sanding and gluing may be necessary; apply firm pressure.
Before printing, remember to thoroughly clean the PEI build plate, ensuring adequate adhesion, and ensure the material is dry.
Skirt is enabled by default; those confident in their printer and material can disable it—I did.
Many thanks to all those who have followed, liked, downloaded, and boosted this model.
Assemble according to the images
1, Assemble the fuselage----Due to material shrinkage and printing accuracy, sanding and gluing may be necessary; apply firm pressure.

2, Assemble the tail


3, Assemble the wings


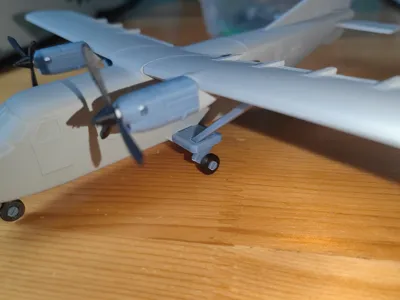
4, Assemble the landing gear


5, Attach the support rod

Here, use one hand to insert the support rod into the lower landing gear and secure it, then gently push the upper part towards the wing clasp with the other hand. It should easily slide into place and lock.


6, Install the engine. Here, you need to cut two 1cm lengths of filament to install the propeller.


License
You shall not share, sub-license, sell, rent, host, transfer, or distribute in any way the digital or 3D printed versions of this object, nor any other derivative work of this object in its digital or physical format (including - but not limited to - remixes of this object, and hosting on other digital platforms). The objects may not be used without permission in any way whatsoever in which you charge money, or collect fees.
Comment & Rating (12)