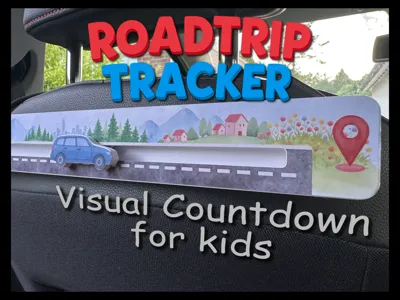
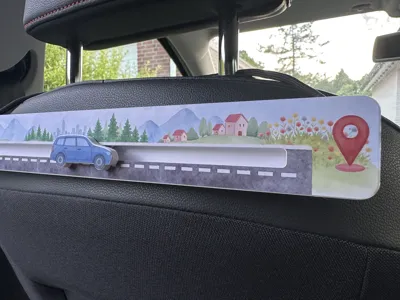
Roadtrip Tracker – A Visual Countdown for Kids


Print Profile(1)

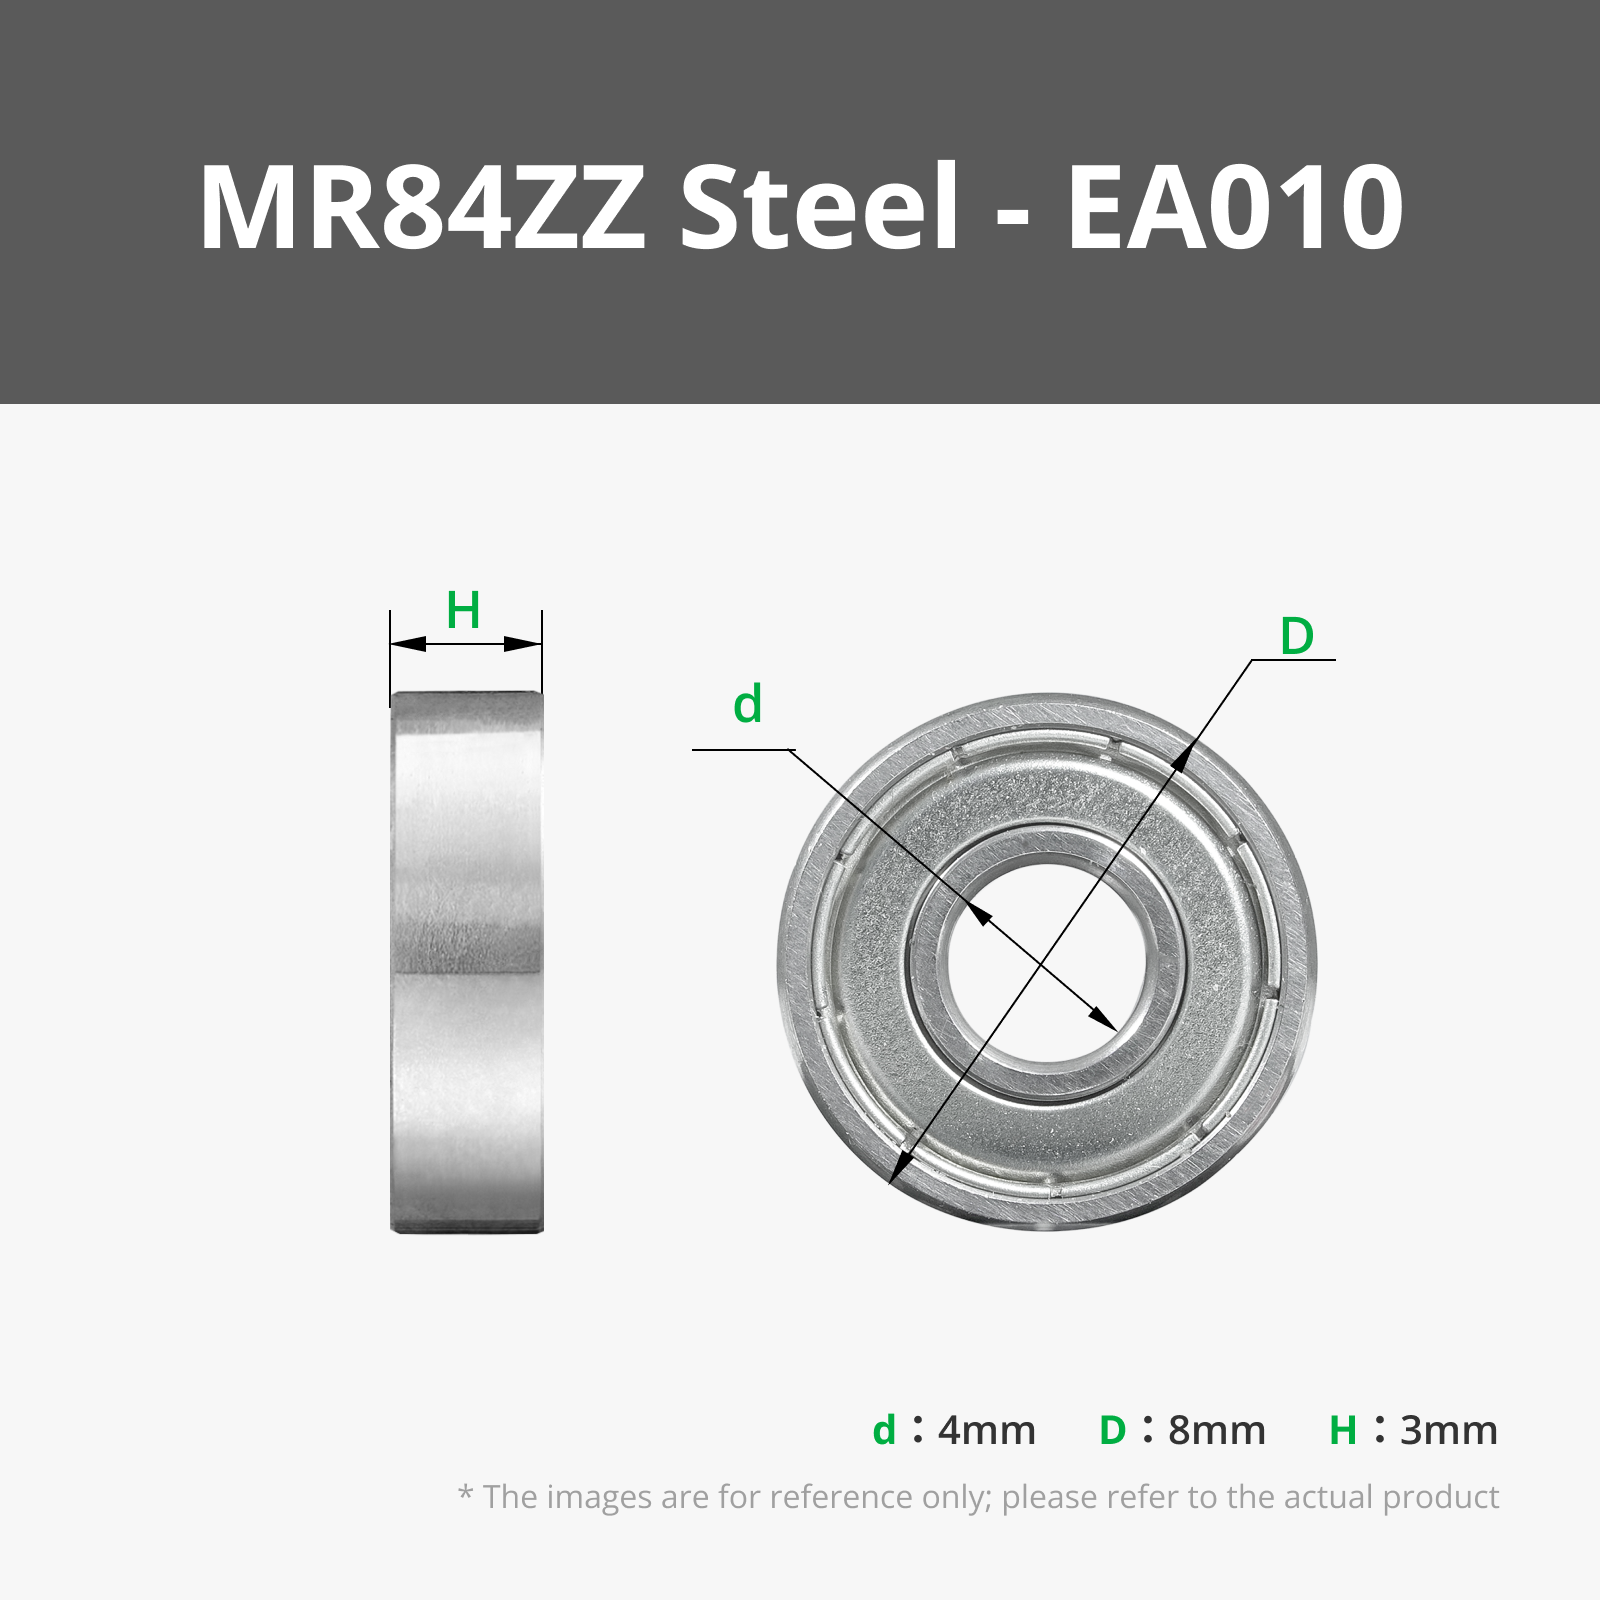
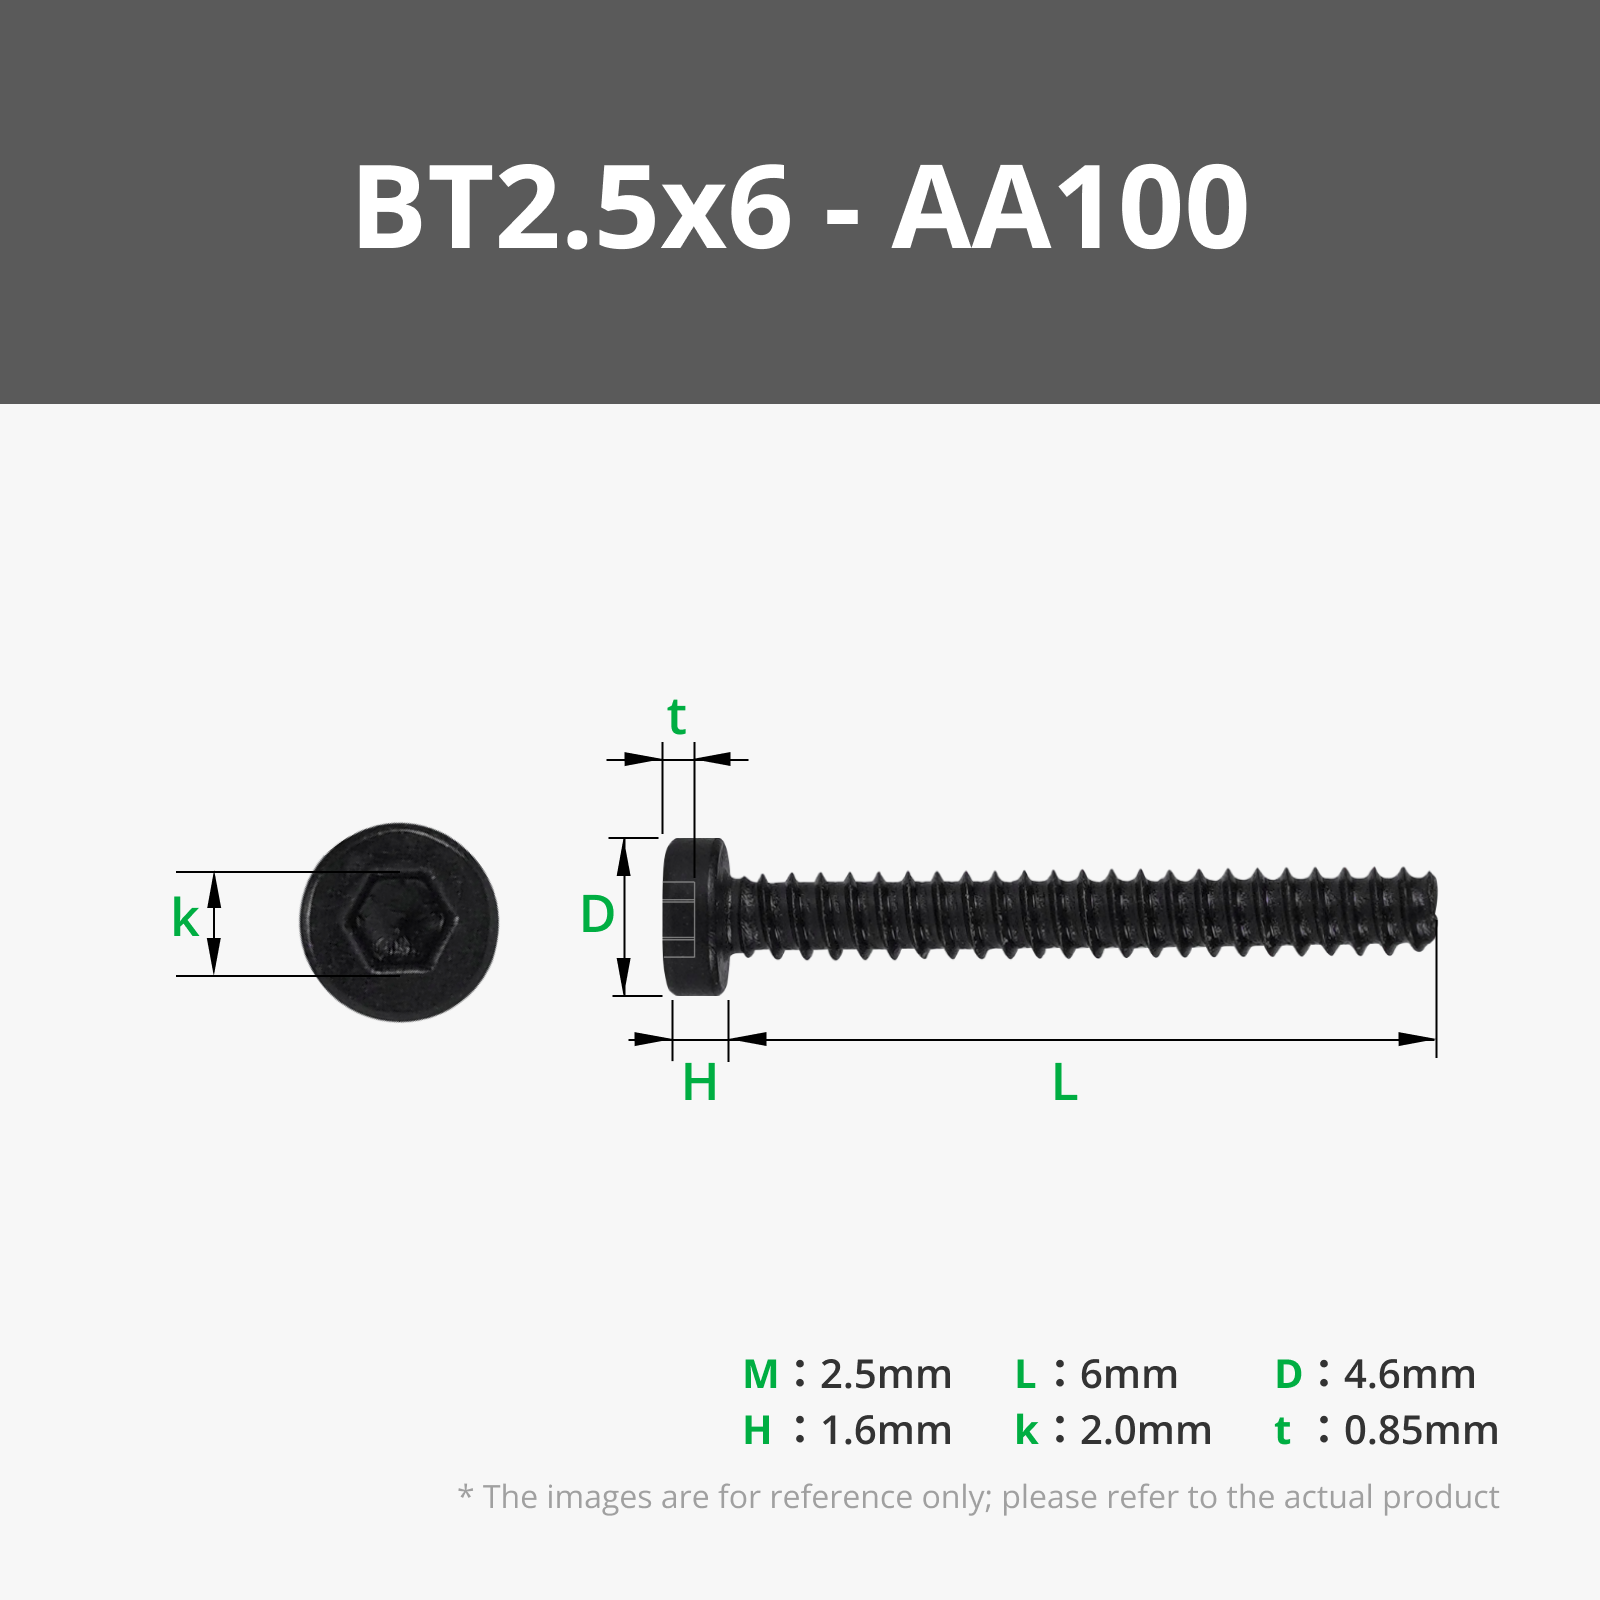
Bill of Materials


Description

Long summer road trips with children can be a challenge — but they don't have to be. This 3D-printable Roadtrip Tracker turns the question "Are we there yet?" into a fun and calming visual countdown that gives kids a sense of orientation and control. It helps turn hours of travel into a relaxed and engaging experience — perfect for a chilled-out family summer.
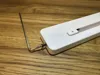
The idea is simple: at regular intervals, a parent or the child moves the small car one step further along the track — for example, every 8 minutes on a 2-hour trip. This makes the passing time visible and tangible, even for young kids.
Features
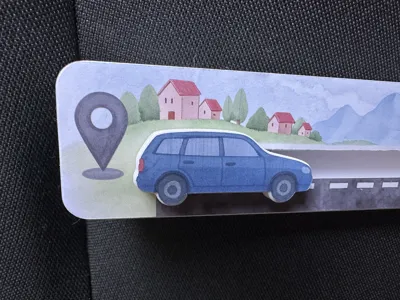
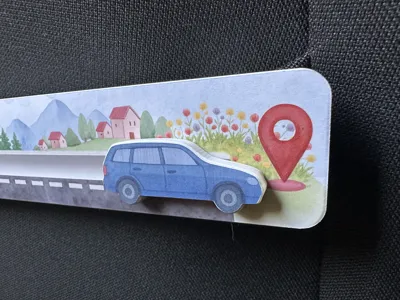
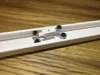
- 16 locking positions, resulting in 15 travel segments
(e.g. 120 minutes ÷ 15 steps = 8 minutes per move)
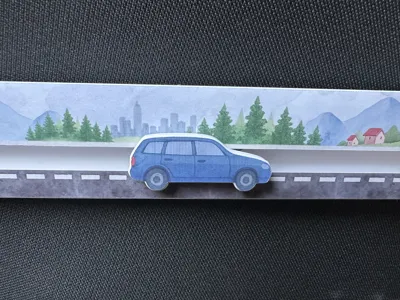
→ Tip: Set a timer on your phone to know when it’s time to move the car! - Scenic forest and city background adds a playful sense of progress
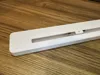
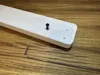
- Two mounting options:
- Strap or cable tie around the front seat’s headrest
- Clips into the seatback pocket, if it’s placed high enough
Assembly Info
The build requires a few standard components:
- Screws and 4 ball bearings
These are listed in the Bill of Materials and can be ordered directly from the Bambu Lab Maker’s Supply.
Artwork & Finishing
The background graphic is too large for the “Print then Cut” feature of Bambu Studio, so it must be printed using a regular printer first — and the cut lines must be placed manually on the printed image.
⚠️ Please note:
The visible black outline on the background graphic is intentionally larger than the actual cut area. It serves only as a visual guide for positioning the cutting path accurately.
For the easiest application, it’s recommended to print the graphics on sticker paper. This makes attaching the artwork to the plastic part quick and clean — no glue needed.
Provided files for this method:
- Roadtrip Tracker Background Cut Module A4.jpg
- Roadtrip Tracker Background Cut Module LETTER.jpg
- Road Trip Cut.lac
Alternatively, if you prefer manual cutting without a cutting module, use these:
- Roadtrip Tracker Background manual cutting A4 .jpg
- Roadtrip Tracker Background manual cutting LETTER.jpg
For the car graphic, it’s small enough to use the “Print then Cut” feature directly with the H2D:
- Road Trip Cut.lac → ready for direct print & cut with Bambu Studio
- Car manual cutting A4.jpg → for manual cutting, if you don’t use a cutter module
- Car manual cutting LETTER.jpg → for manual cutting, if you don’t use a cutter module
You'll find the zip file with all the graphics under “download STL”.
Material Recommendation
To ensure durability in hot car interiors, PETG is recommended for all parts. It’s more heat-resistant than PLA and reduces the risk of deformation on sunny summer days, especially when kept inside the car.
Documentation (8)


License
You shall not share, sub-license, sell, rent, host, transfer, or distribute in any way the digital or 3D printed versions of this object, nor any other derivative work of this object in its digital or physical format (including - but not limited to - remixes of this object, and hosting on other digital platforms). The objects may not be used without permission in any way whatsoever in which you charge money, or collect fees.
Comment & Rating (1)