
Raspberry Pi 5 Case Mount for Amazon 15.6" Monitor
Print Profile(3)


Bill of Materials





- My collet design for better fit x 1: https://makerworld.com/en/models/1527599-1-25-32mm-rod-collet#profileId-1601558
- Monitor Stand with VESA mount + hardware x 1: https://a.co/d/09wi4xoR
- RP5 Heat Sink Kit x 1: https://a.co/d/0fjW9gr0
- 15.6" Monitor x 1: https://a.co/d/07Q8OF2N
Description
Boost Me (for free)
Hey! I hope that you LOVED my model. I spent a lot of my own time putting this together, and truly hope it made your life easier. If you really enjoy what I've put out, please consider giving the model a boost and a review with 5 stars, a story, and a picture! It's free, doesn't take much time, and helps me out a lot! I want to keep making these models as they come to me, and I need your help to do so. Thanks a lot!!
All printers should work with all profiles so long as the parts fit on your bed size; sometimes Makerworld doesn't play nice. Try downloading them regardless and edit as needed.
The Makerworld time estimate will vary based on which printer you use.
---------------------------------------------------------------
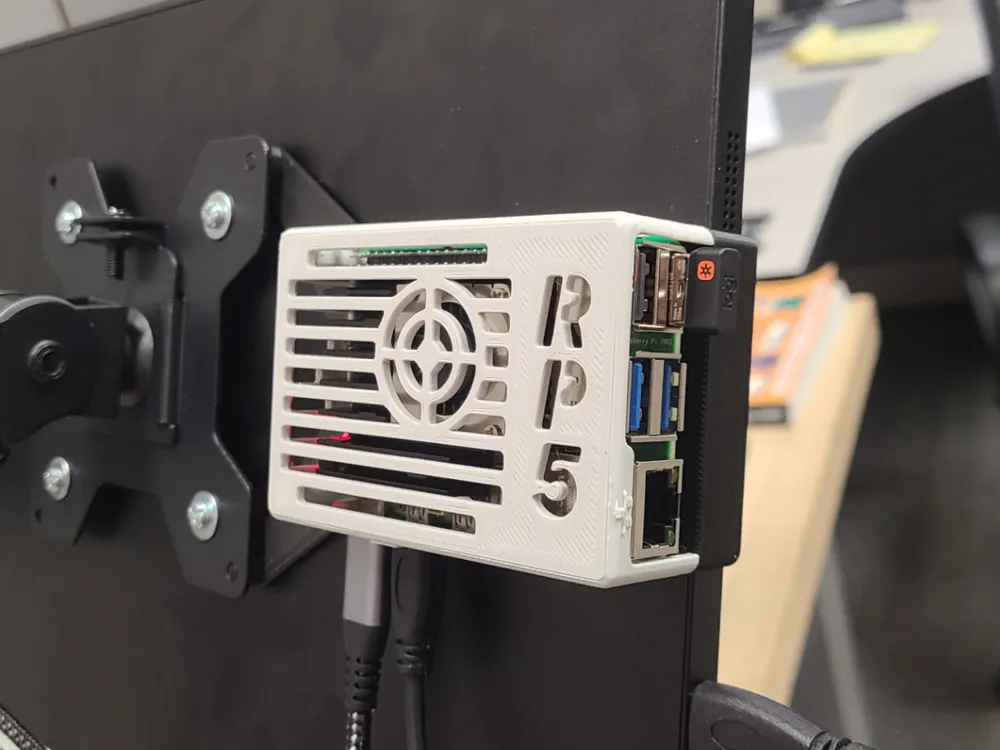
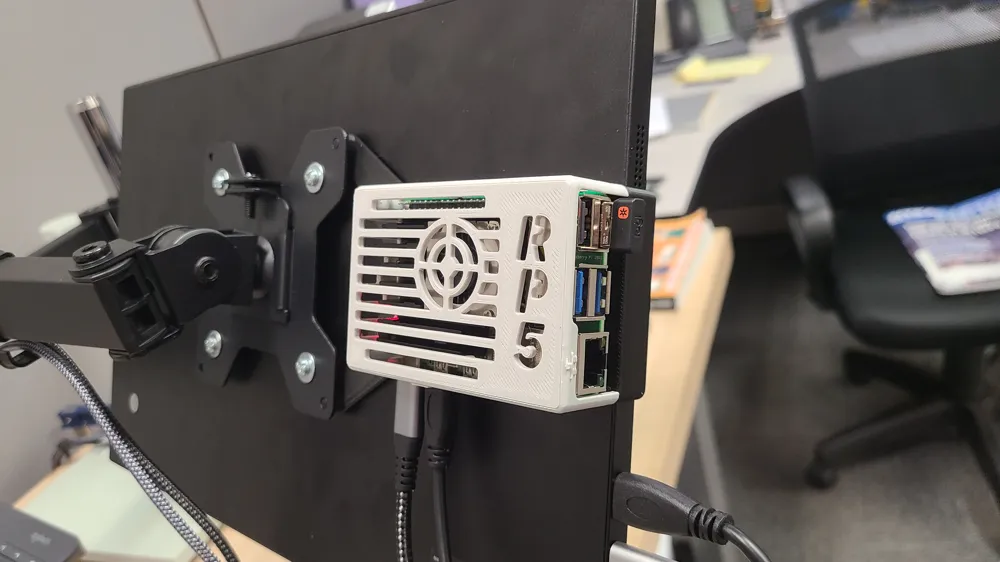
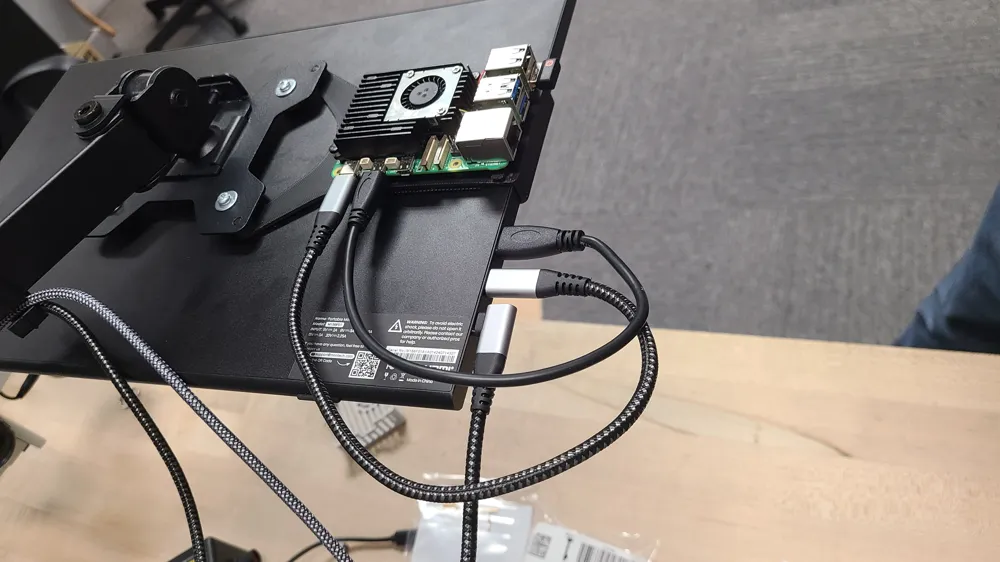
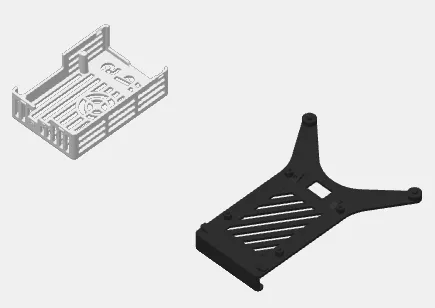
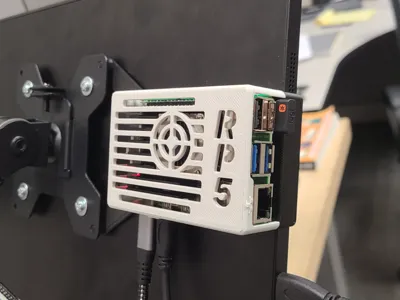
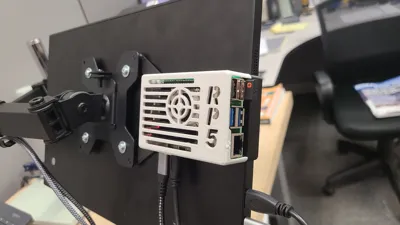
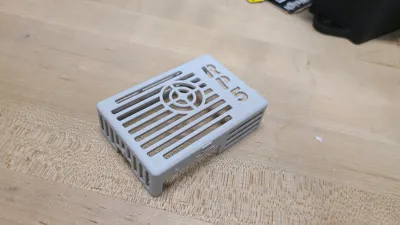
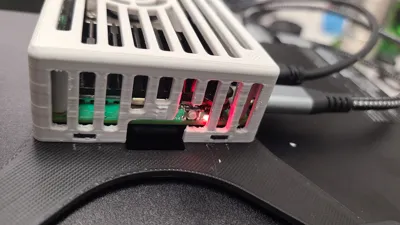
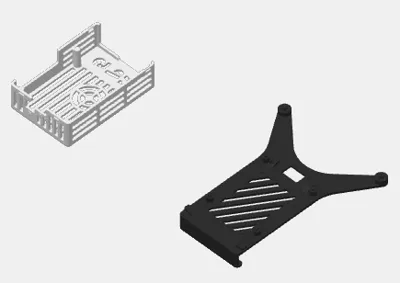
This is a mount for Raspberry Pi 5 to secure to the MNN 15.6" monitor found on Amazon. I believe that there are other monitors from different brands that share the same geometry, but I haven't tested them. These are from AYY, KYY, Packard Bell, BIGASUO, GTMedia, and Lumipix, so test at your own risk!
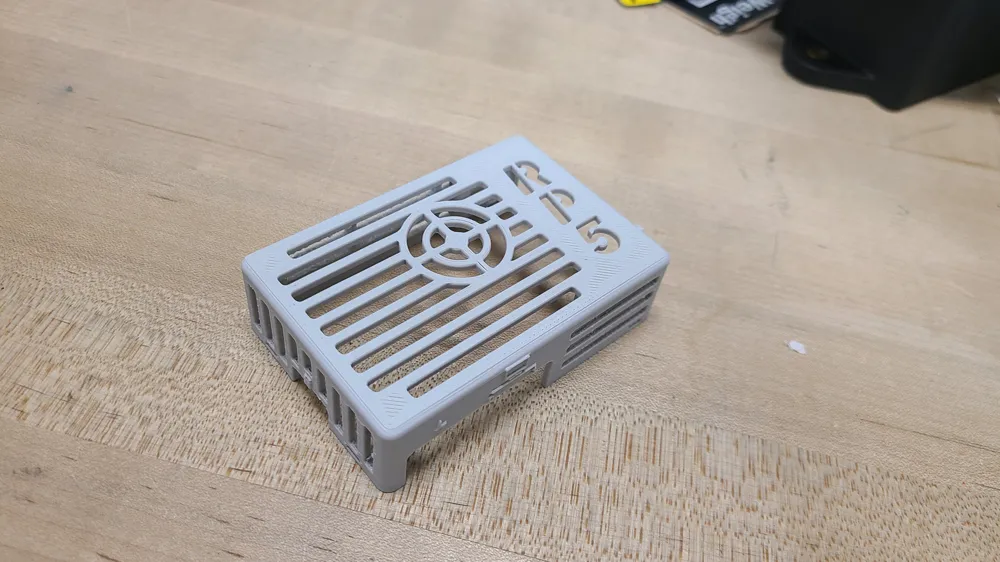
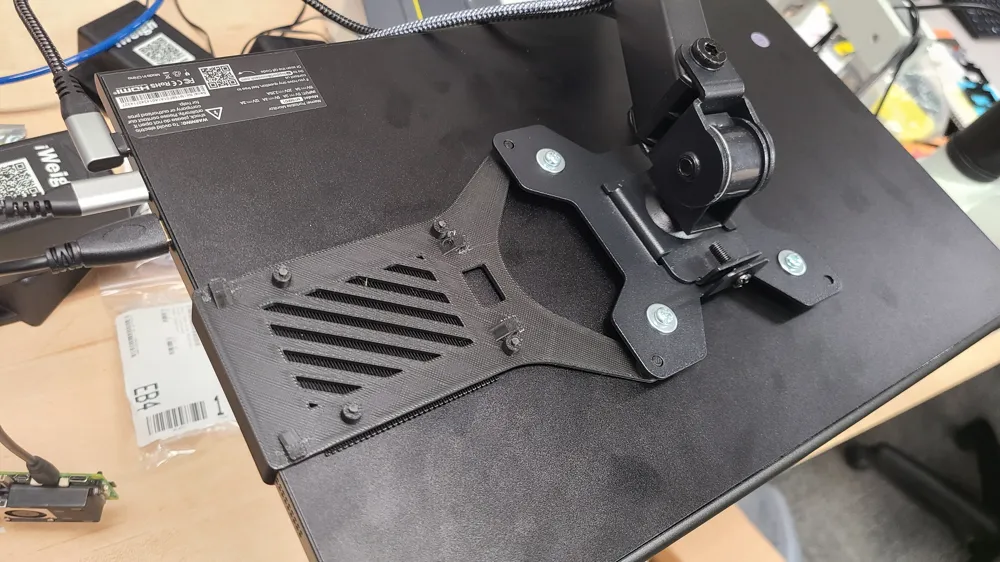
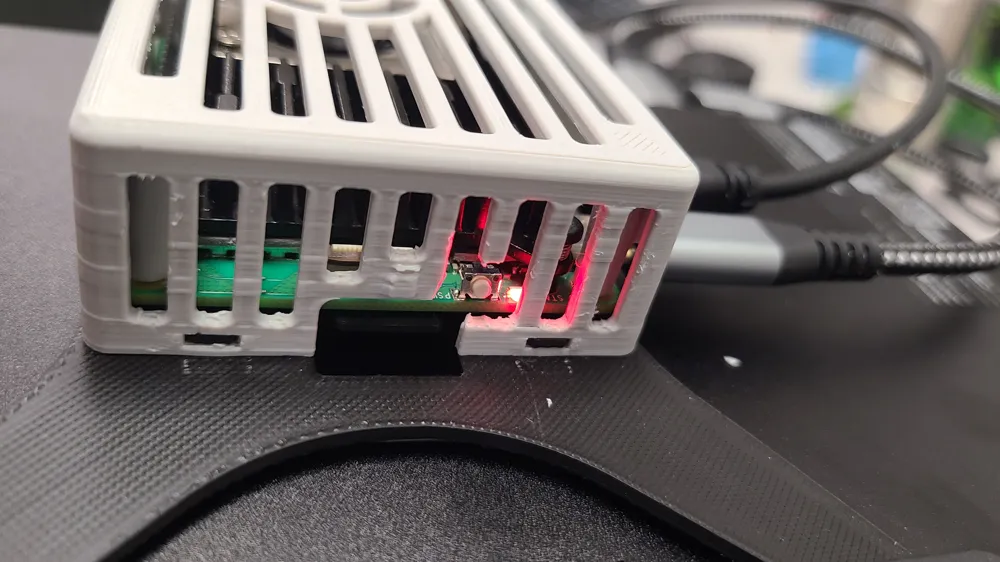
You may notice that the real pictures are a tiny bit different from the model; this is because I forgot to include a hole for the RP5 power button originally, but it is now in the model. When you print it, the correct geometry will be there.
Case should fit most heat sink + fan assemblies, but I used this one. I included a model of the Raspberry Pi 5 for fun!
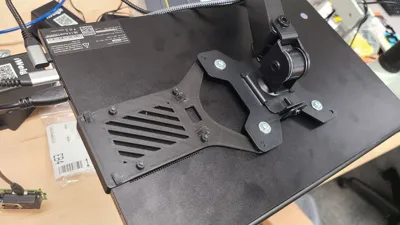
No screws or additional parts needed, as long as you get a VESA mount to mount the monitor to a desk, wall, etc. Otherwise, you'll need to print a VESA bracket that includes 75x75 and 100x100mm holes (here's a good one, you just need the bracket part) and secure it to the monitor as shown in the picture with 4x M4 screws and washers. It also works best if you have 5.7mm spacers between the bracket and the monitor under the mount. My VESA mount came with these, so that's why it's designed that way.
To assemble the mount:
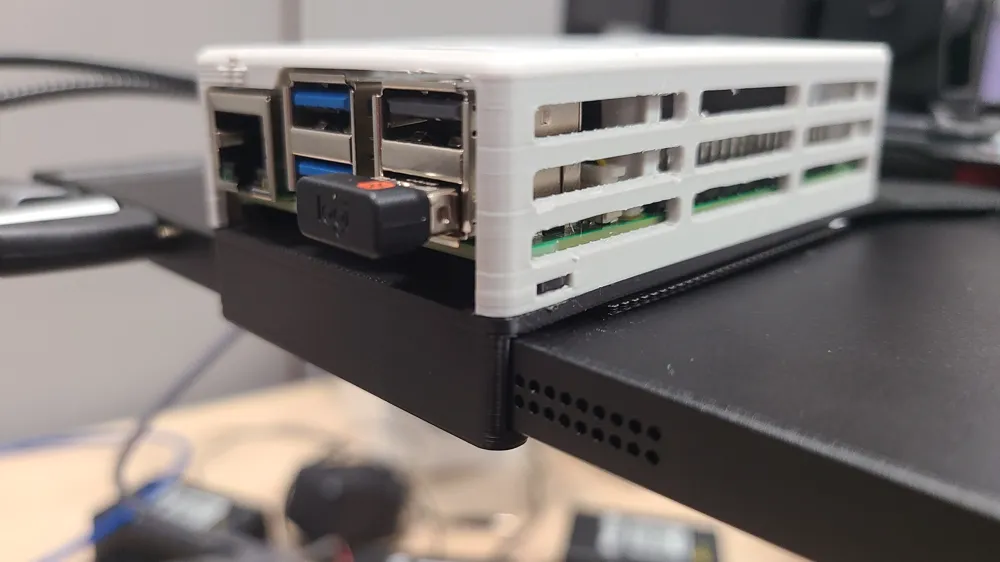
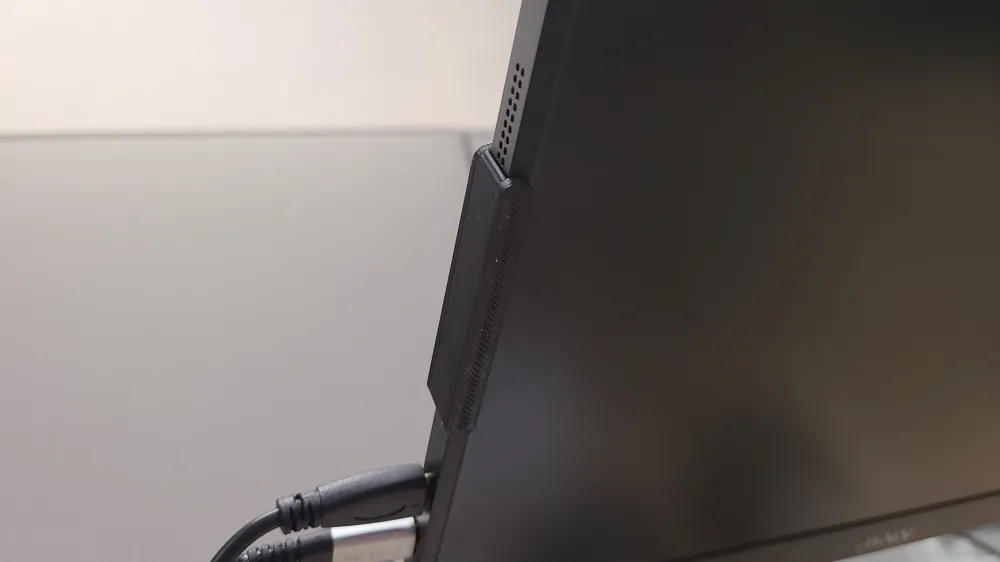
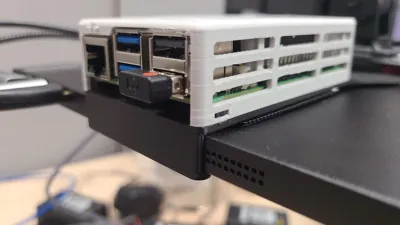
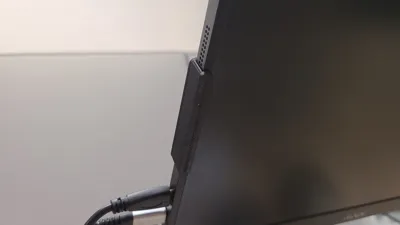
- Secure the bottom piece to the left side of the screen as pictured, with the hook around the side of the screen.
- Assemble the VESA bracket over it, with the outward printed pegs going thru the 100x100mm holes.
- Lay the monitor as flat as you can.
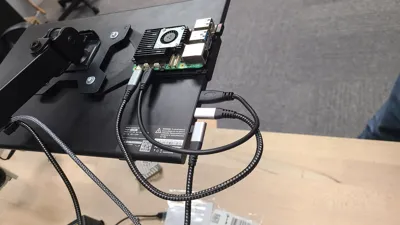
- Place the RP5 on top of the bottom mount, with the USB ports outward as pictured.
- Hook on the top piece of the case by hooking in the tabs near the SD card first, then squeezing the other hooks on by the USB ports.
To disassemble the mount:
- Do that backwards, starting with pulling the sides of the top case piece away from the bottom piece USB-side hooks, then sliding it off the SD-side hooks, etc., etc.
---------------------------------------------------------------
I hand-made this design 100% on my own, from scratch, using Solidworks. Any similarities to products offered by others are a coincidence and are not affiliated with anyone other than me. My work may be considered transformative, which is protected under fair use. All of my models are for personal use only and may not be sold or distributed by anyone other than myself or the sites I post them on.
License

You shall not share, sub-license, sell, rent, host, transfer, or distribute in any way the digital or 3D printed versions of this object, nor any other derivative work of this object in its digital or physical format (including - but not limited to - remixes of this object, and hosting on other digital platforms). The objects may not be used without permission in any way whatsoever in which you charge money, or collect fees.


Comment & Rating (6)