Everything was printed with PLA, printer - Flashforge Adventurer 5m (no modifications, only a leveled table)
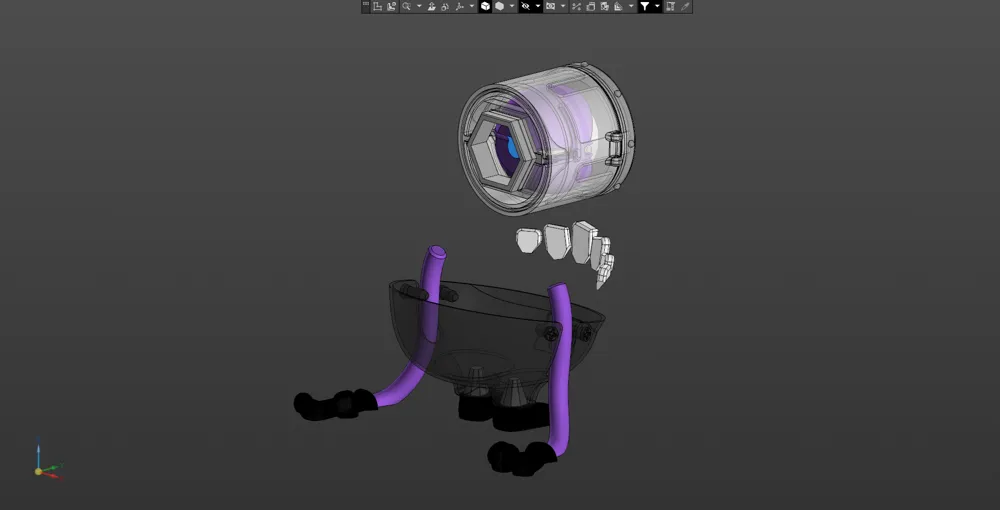
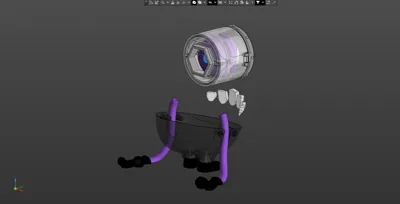
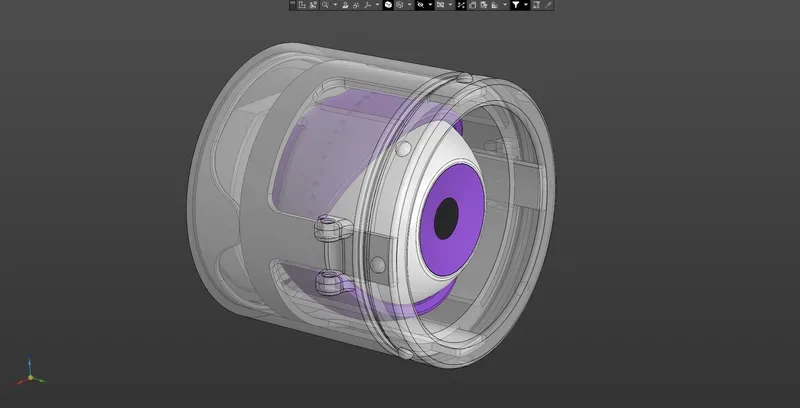
I recommend starting printing with glasses because this is a separate subassembly and it is quite tight in terms of gaps, you must ensure maximum quality for the glasses and smooth operation of the mechanism. I have arranged the 3mf files into folders for convenience.
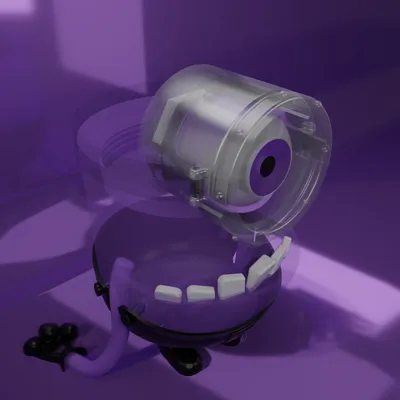
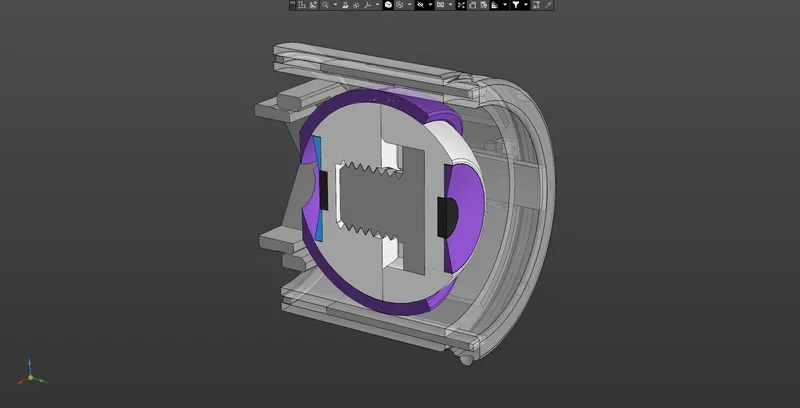
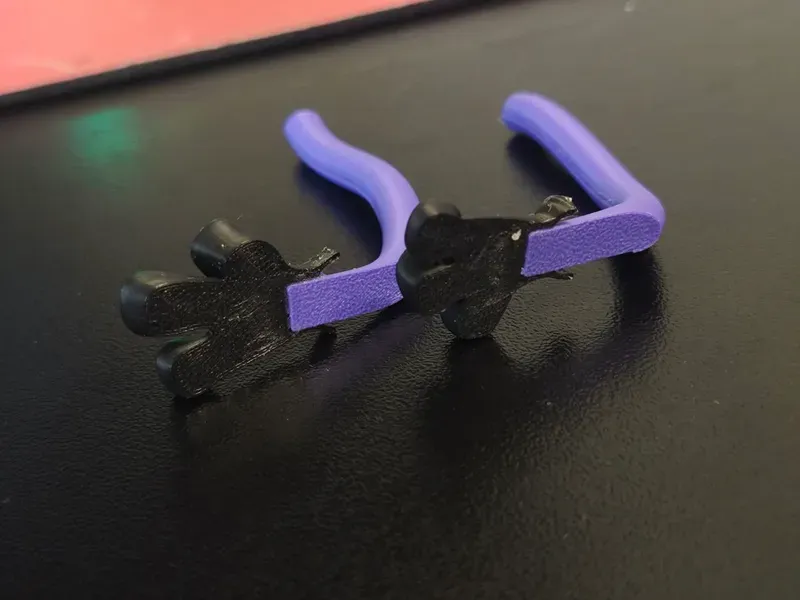
The model of glasses has not changed in size from Stuart, the only thing that has changed is the hexagon that connects the glasses and the base.
Video on assembling glasses (colors are different but the idea is clear)
Then proceed to print the Base. Inside the folder you will see 2 files Base and Head-hair
In the first file 3 models print in order and assemble with each other, I recommend reducing the print speed of the outer perimeters for good quality. Pay attention to the thread at the top of the base, with its help the head with hair is attached to the base, which are located in the 2nd 3mf file
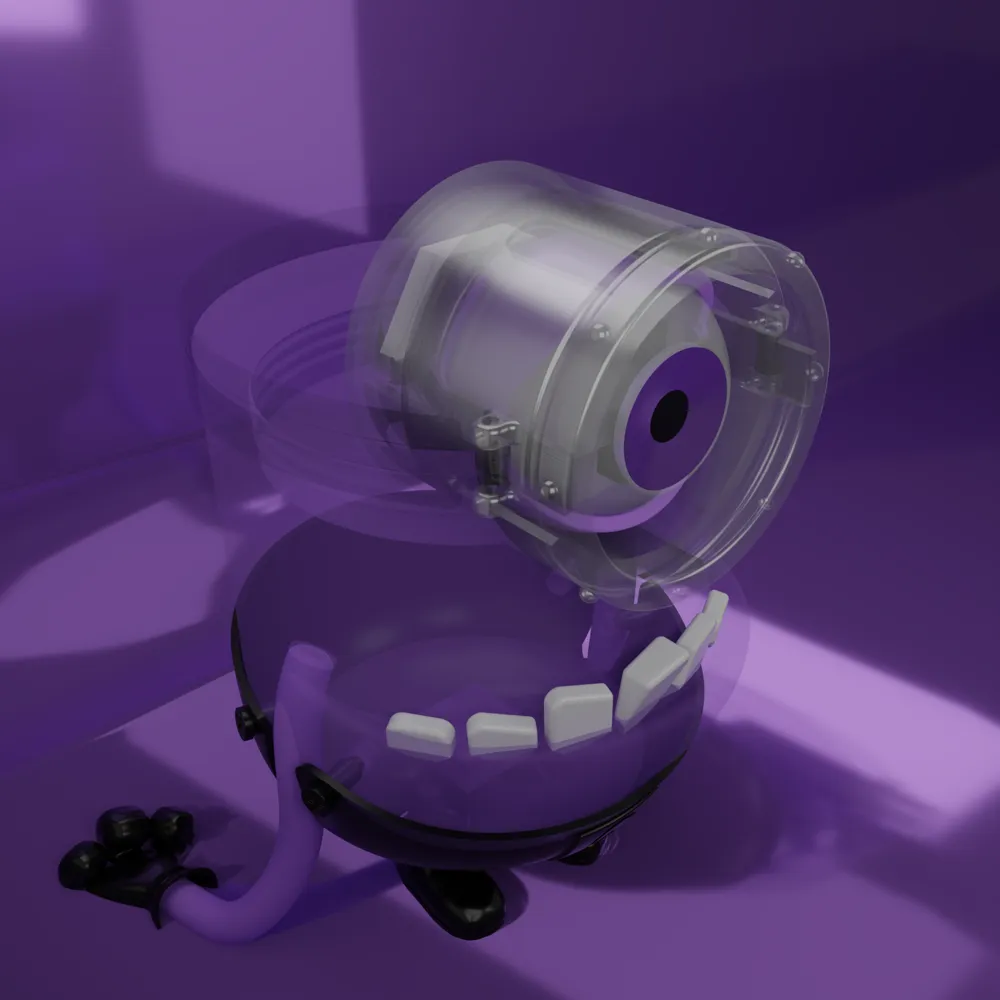
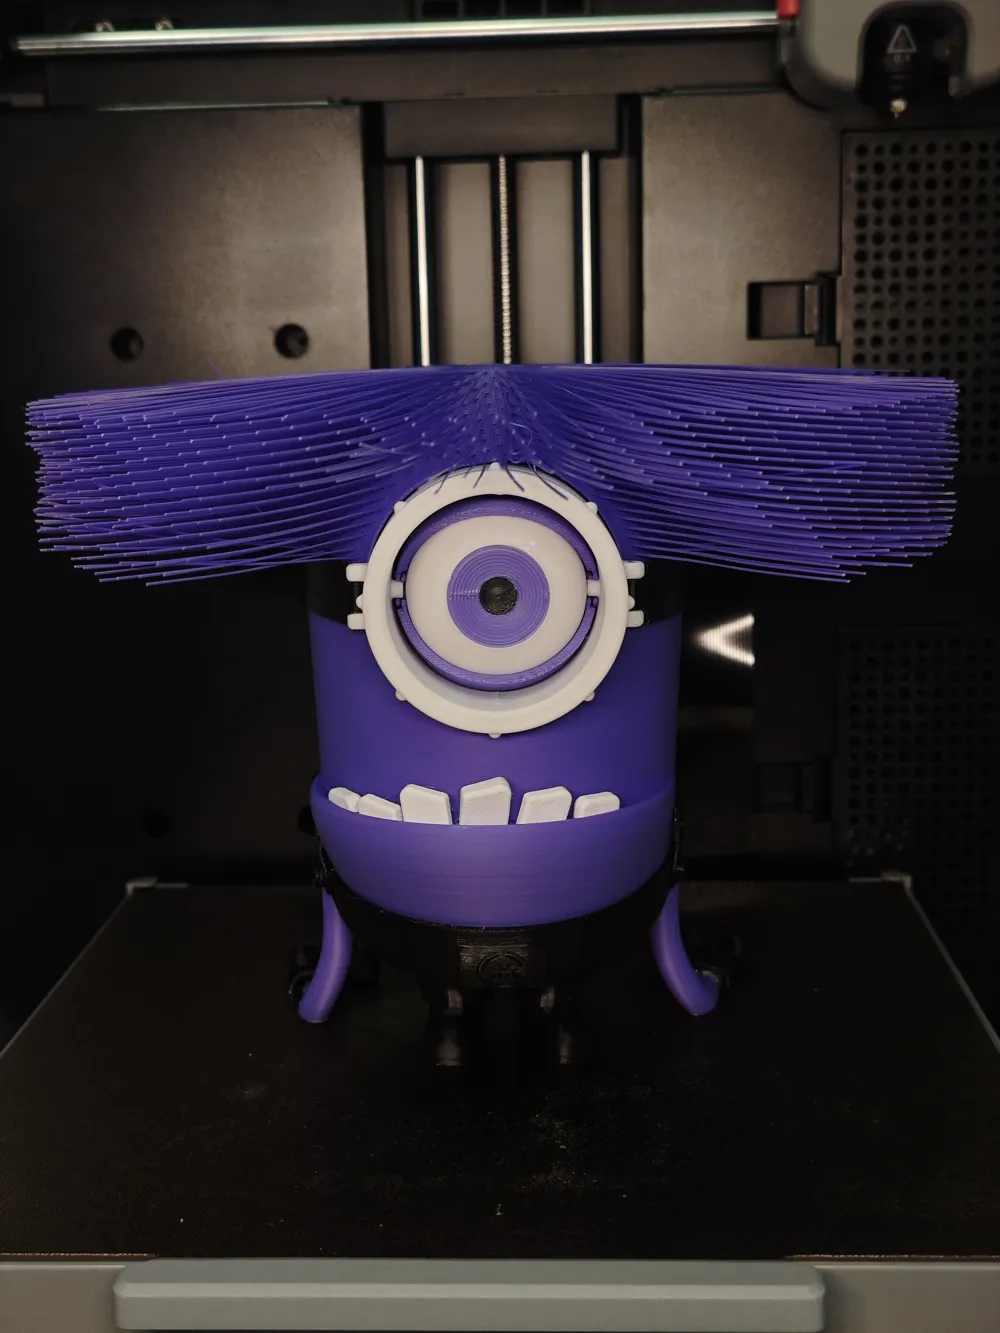

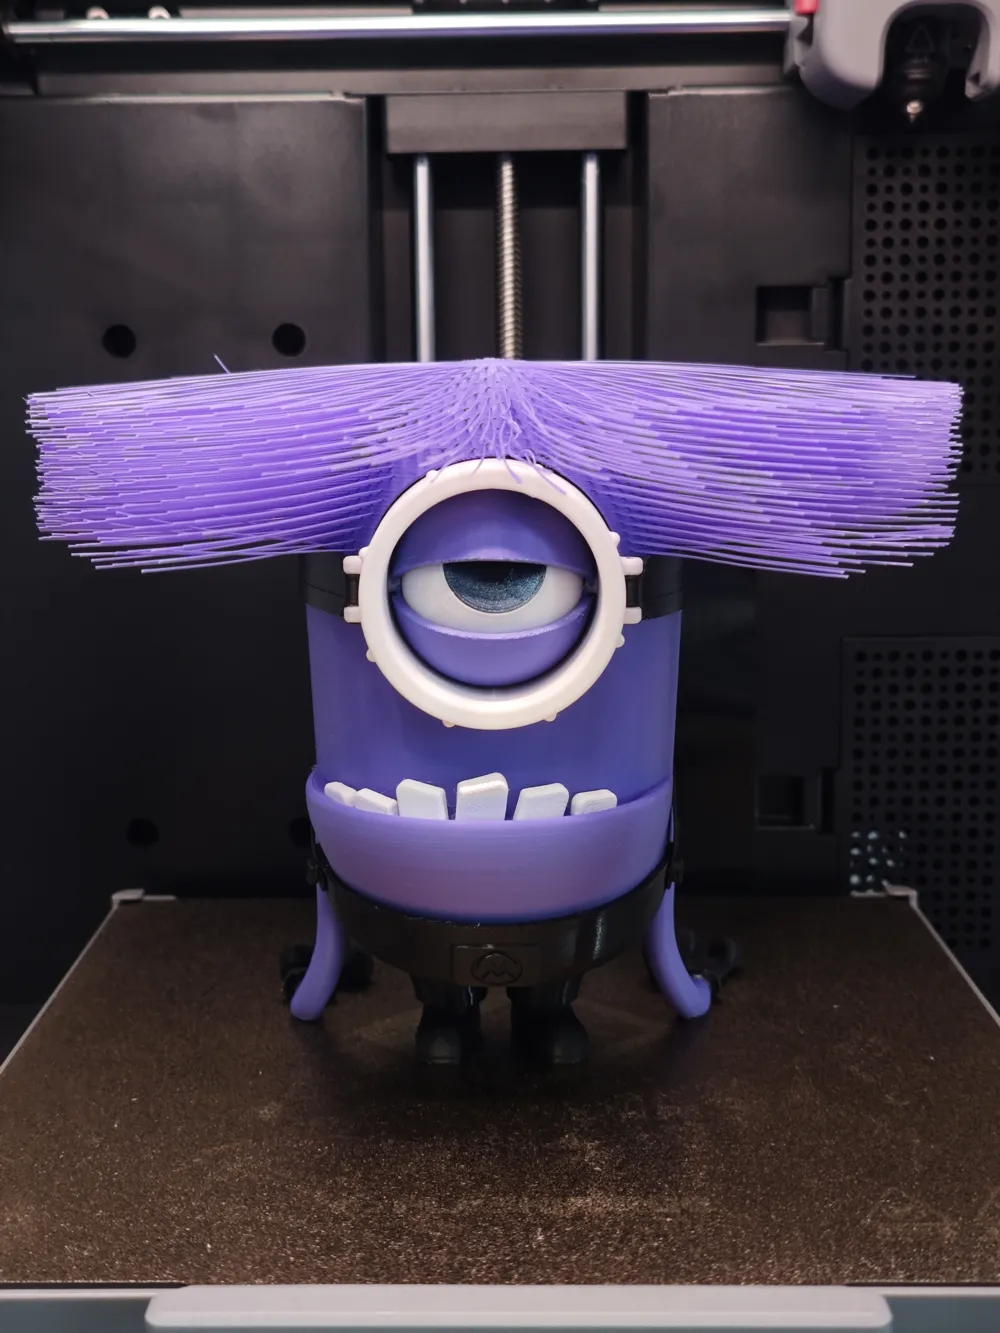
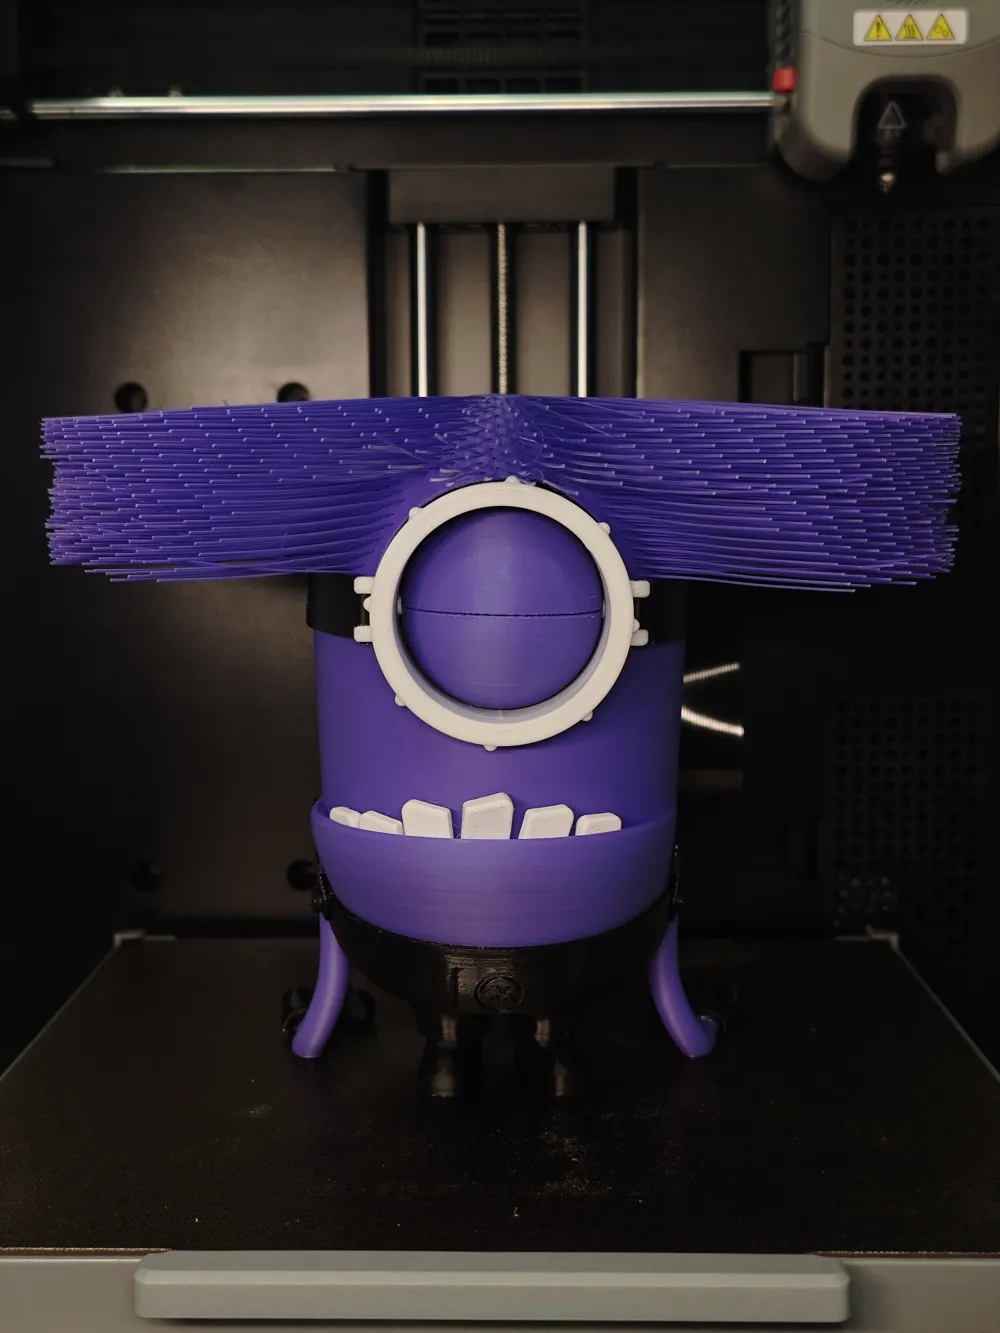
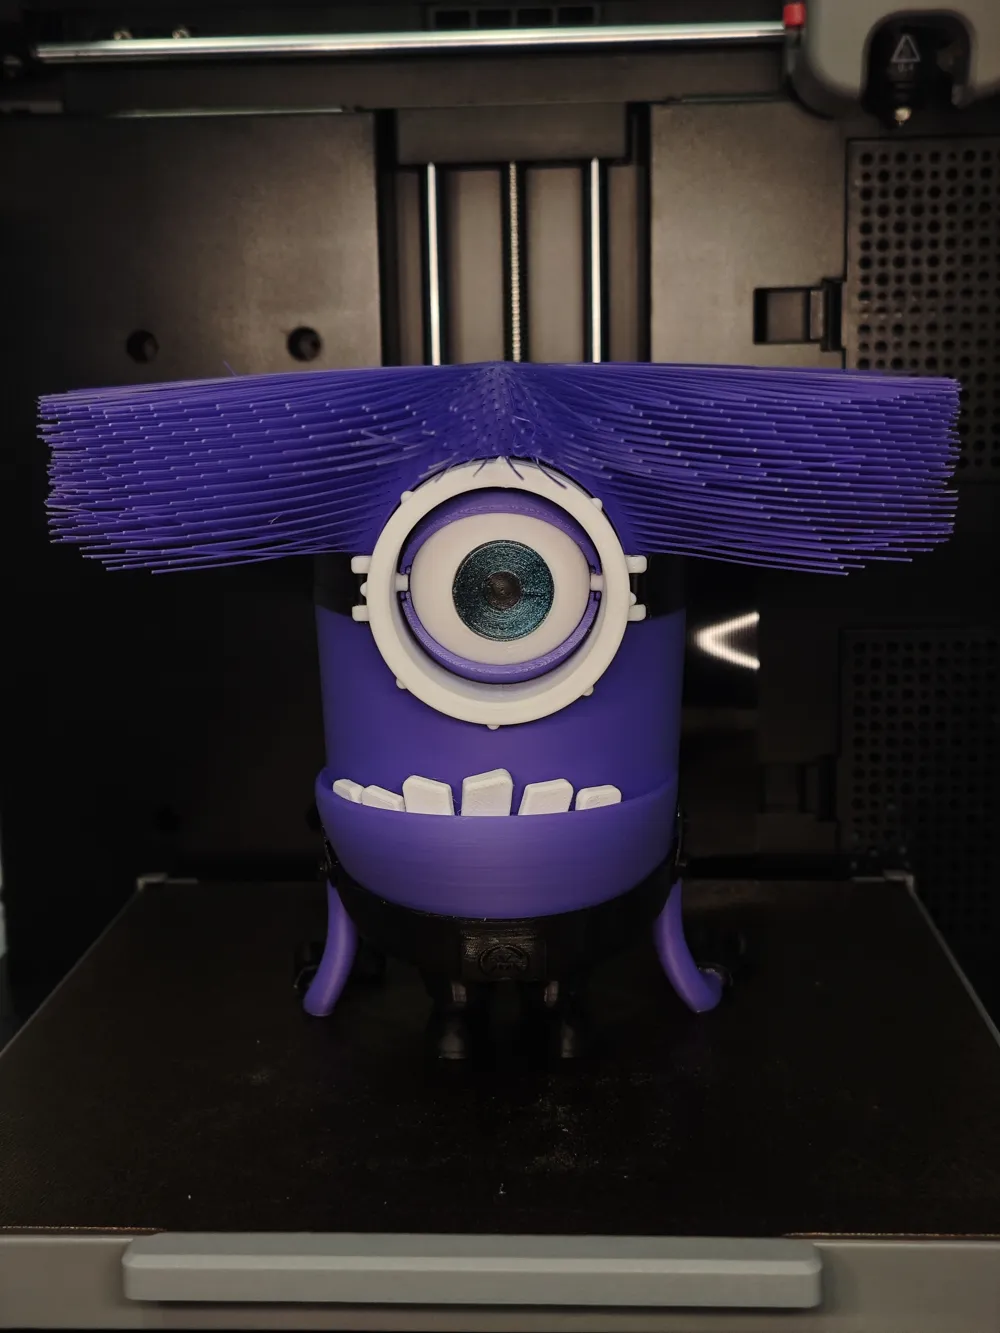
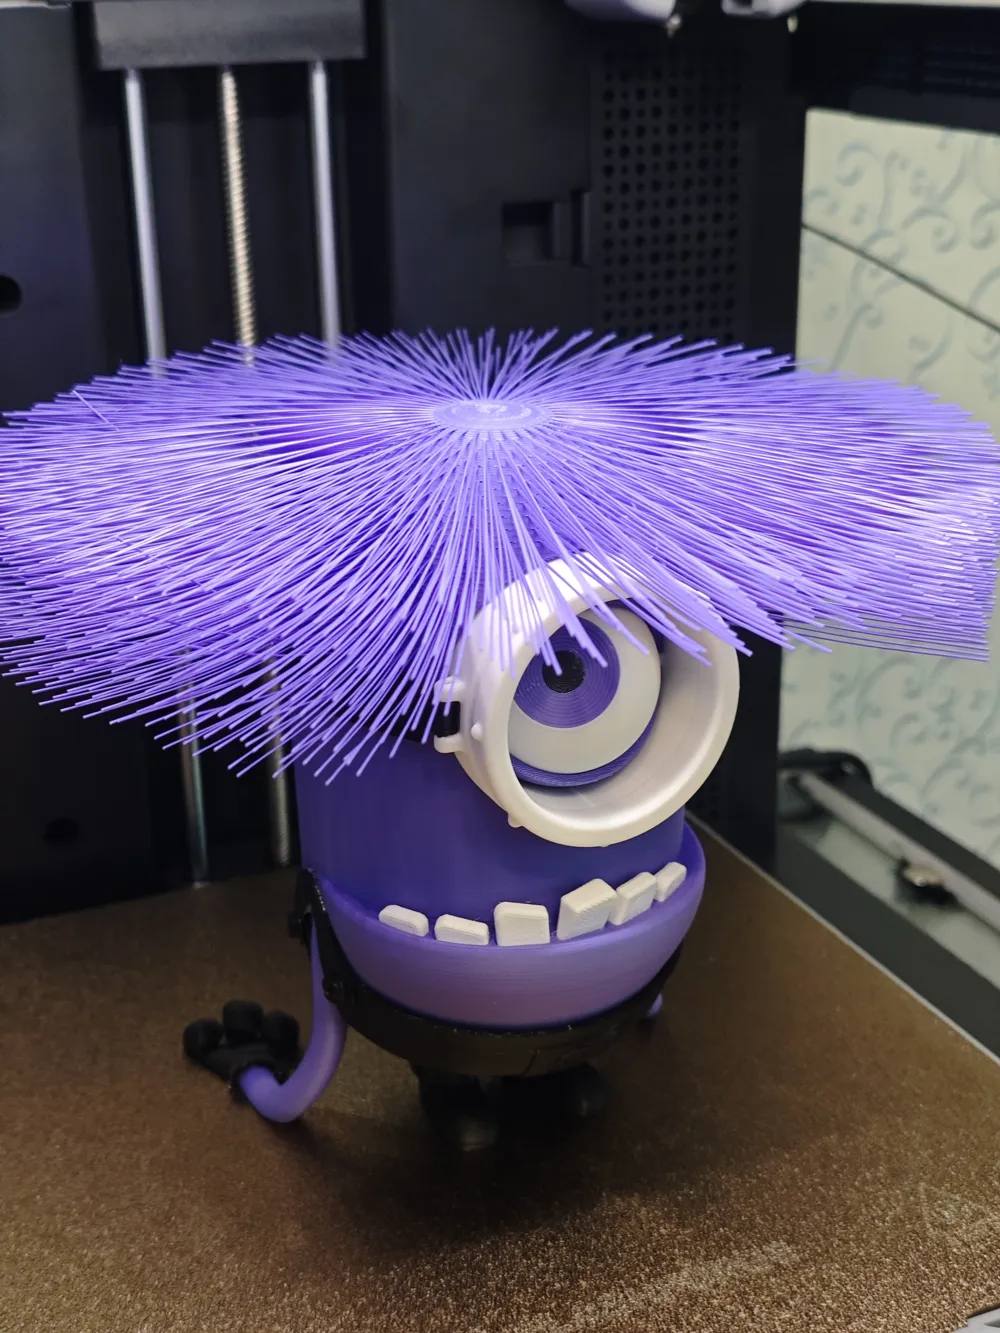
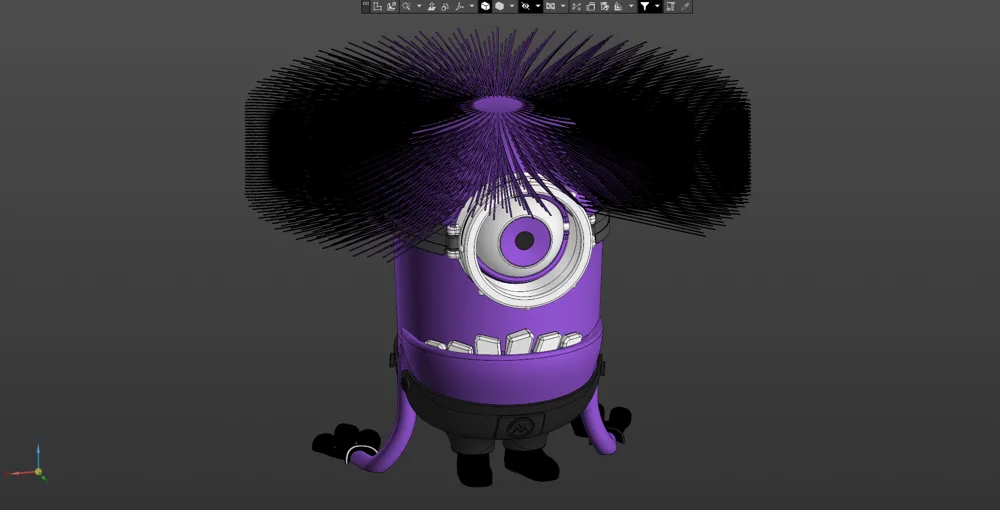
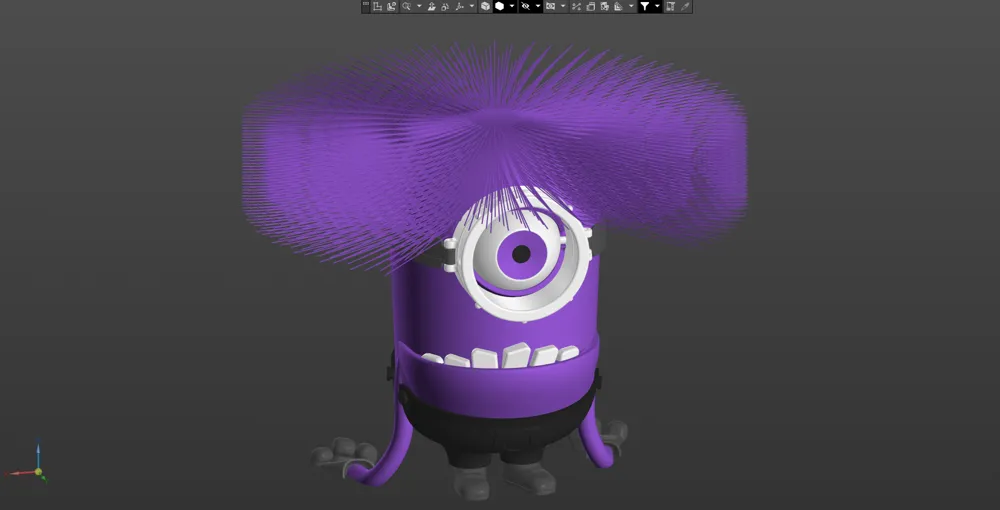
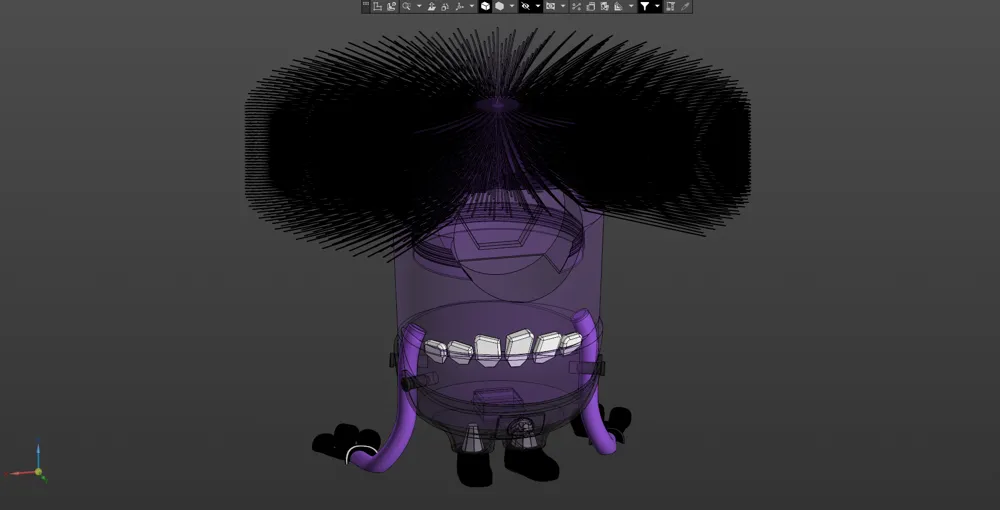
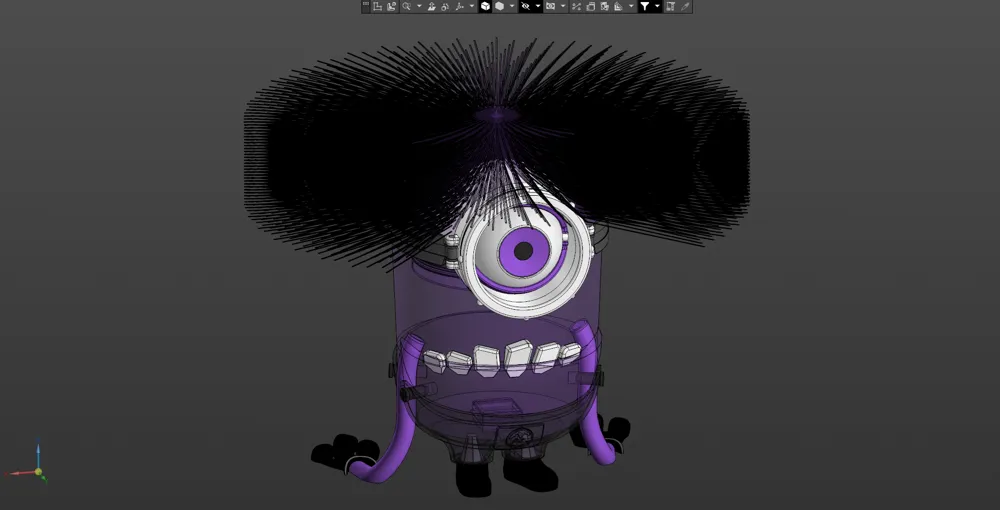
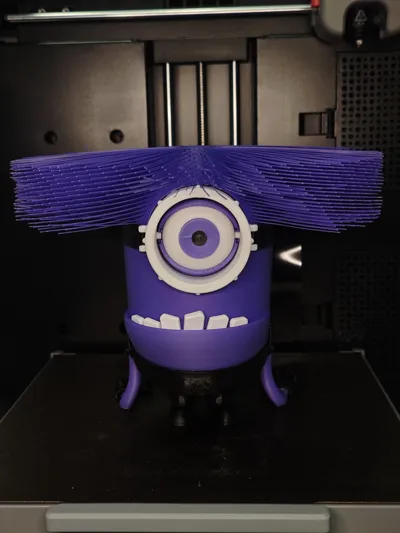
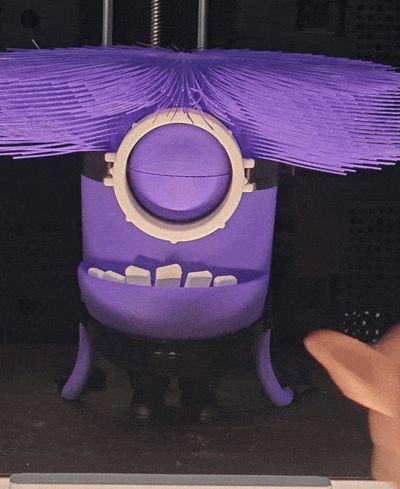
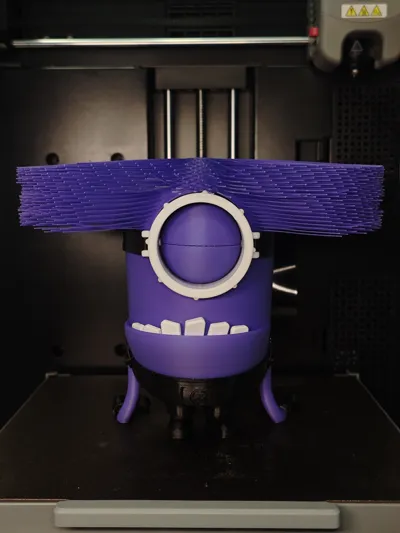
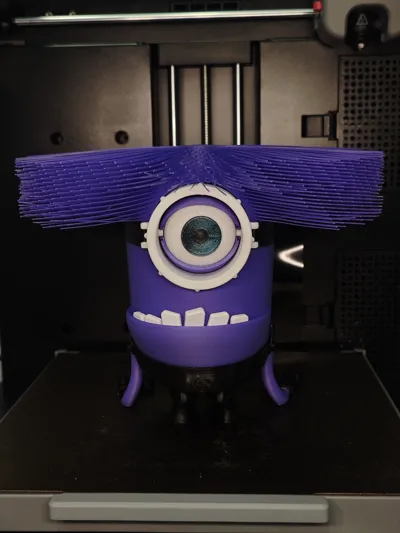
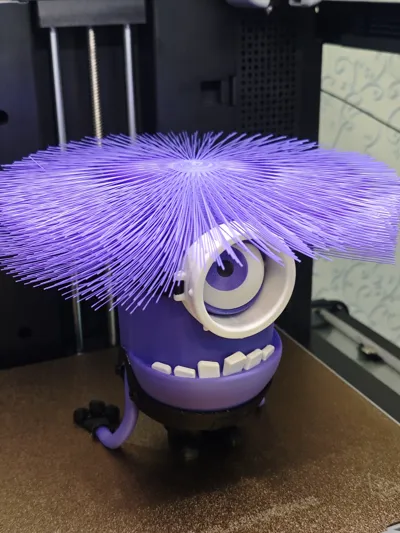
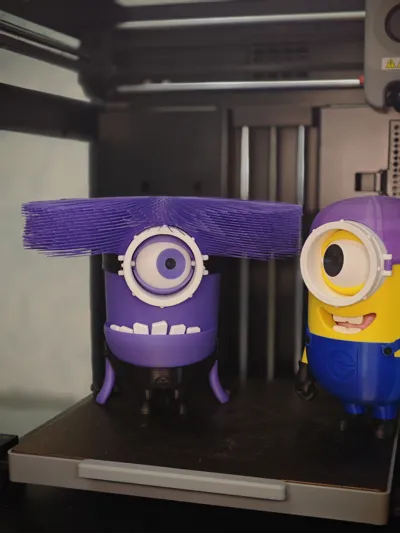
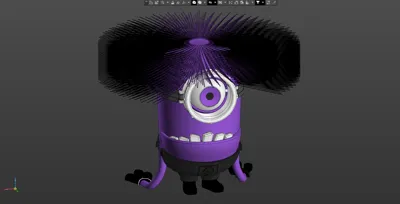
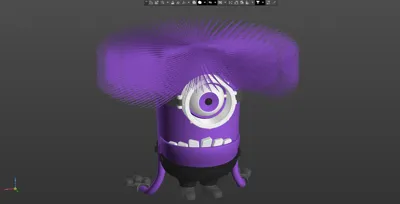
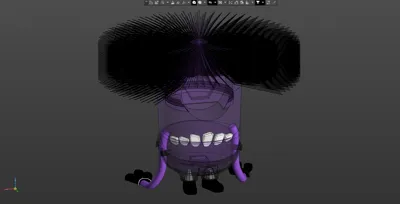
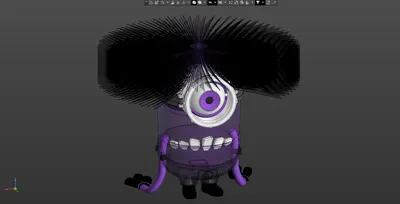
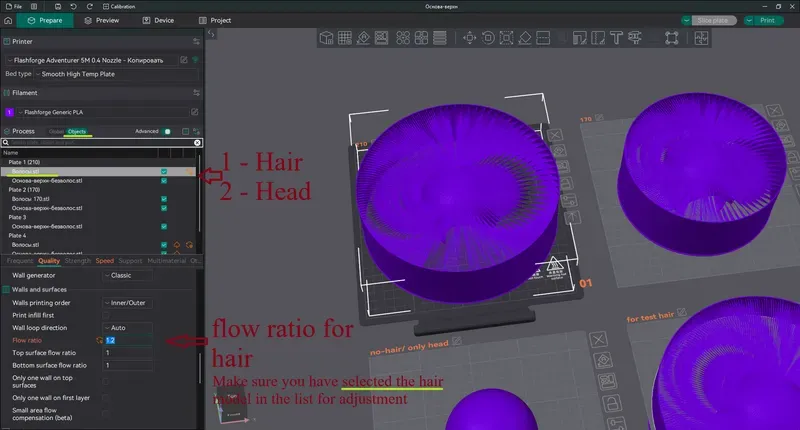

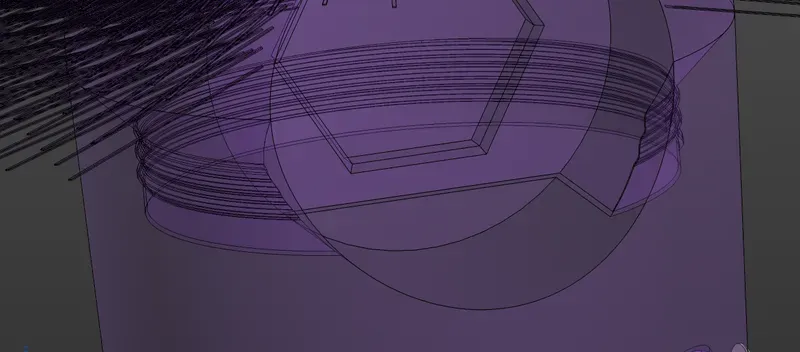
There are 4 models in the Head-Hair file One with hair diameter 210 mm, the second 170 mm, the third without hair, the fourth one is a test model that you need to print and will need before printing I printed a head size of 210 mm, the printing took about 10 hours, long because of the printing speed of the overhanging parts. This part consists of 2 models, the hair seems to go inside the head for greater stability and then is closed by printing the head. You can adjust the hair flow ratio by changing it in the settings Attention!!! Make sure that the hair model layer is printed first and then the head. To do this, you must have the ^As object list^ function enabled and in the list of models, first the hair and then the head (see screenshot and gif)
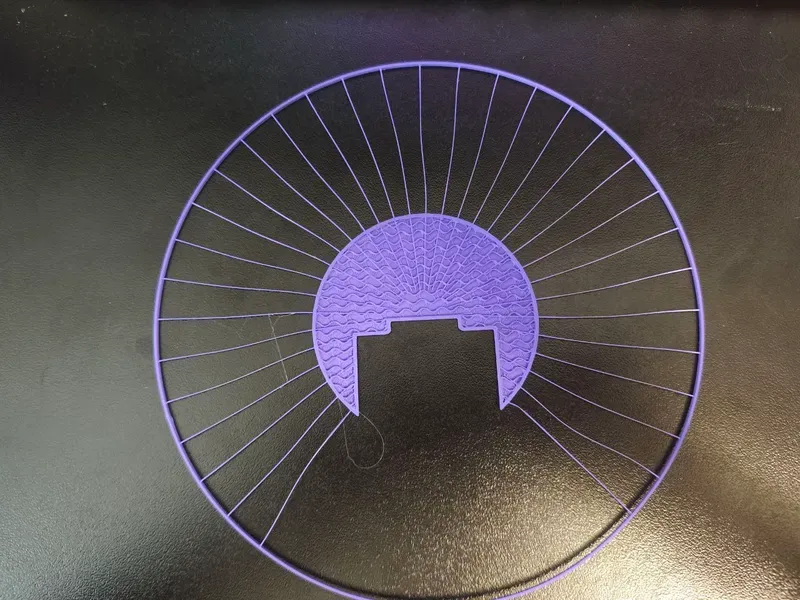
This is a test model - print 1-2 lines with hair and cancel the print, make sure the hair width is good enough and you can print the main model
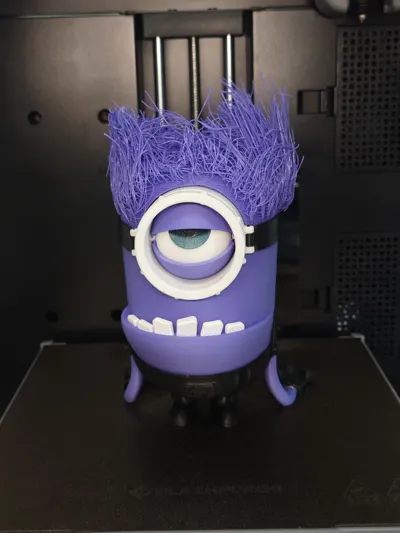
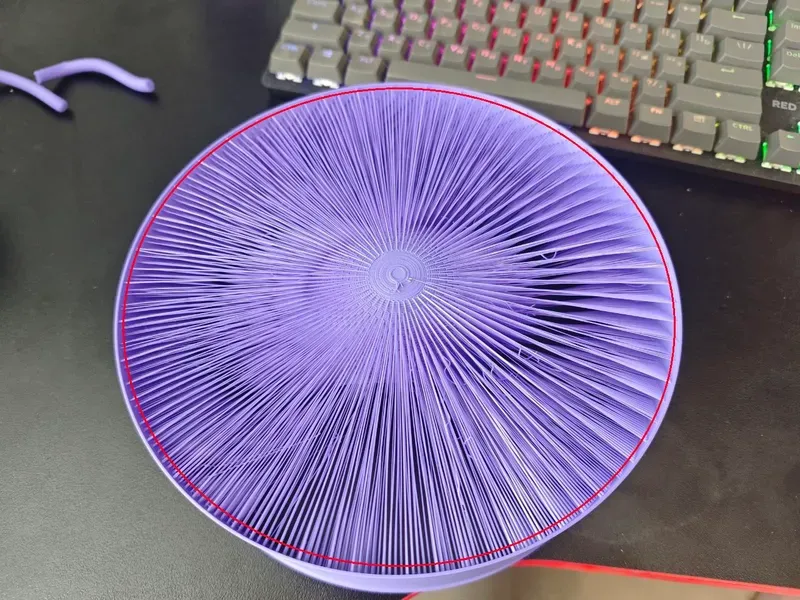
After printing, remove the outer circle by cutting the hair along the outline, do this carefully so as not to damage the model.
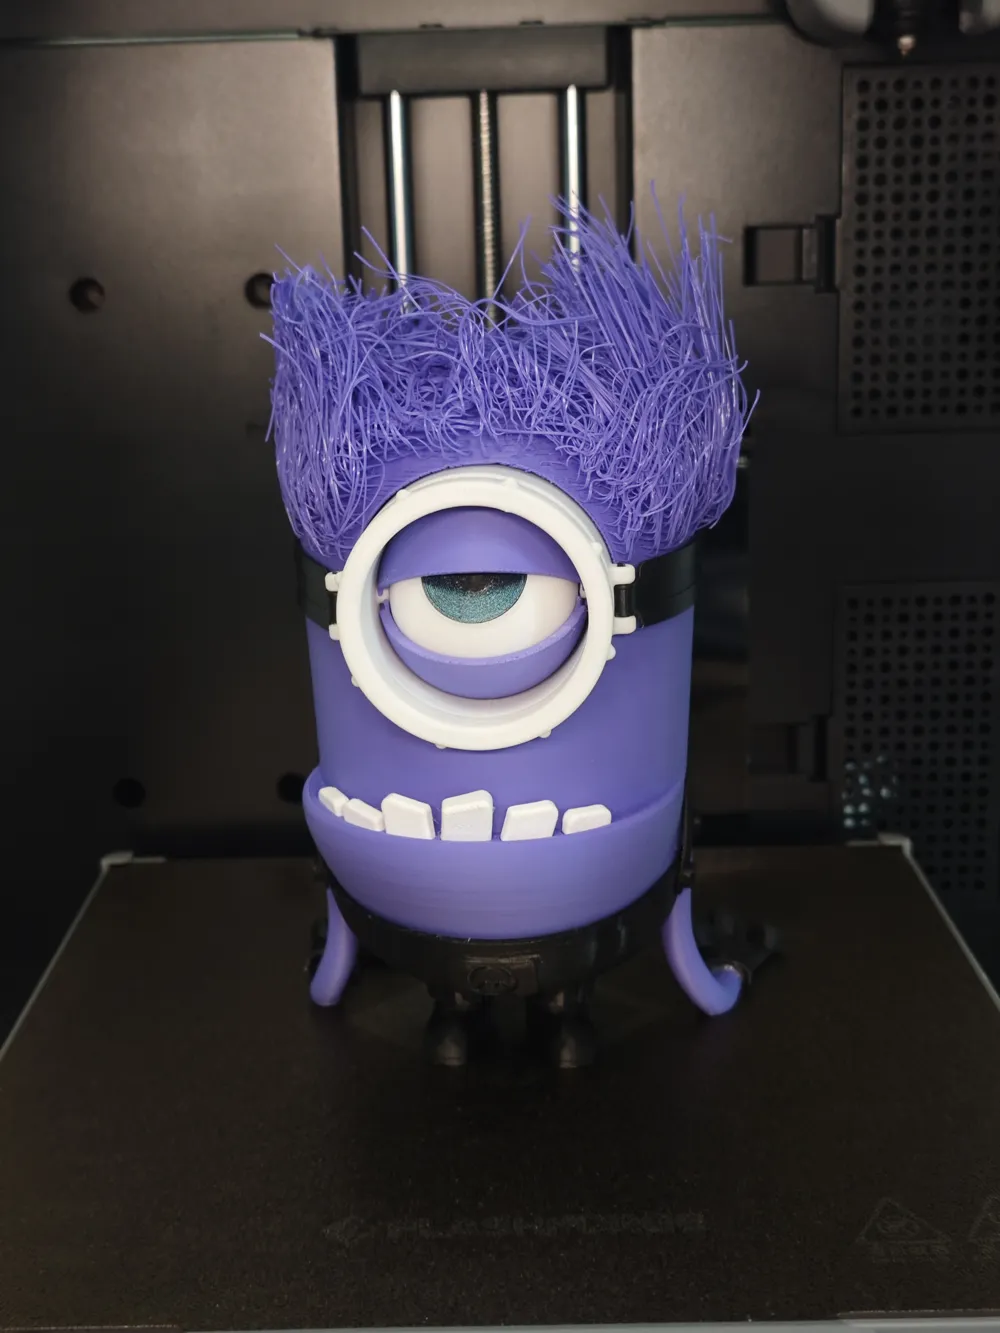
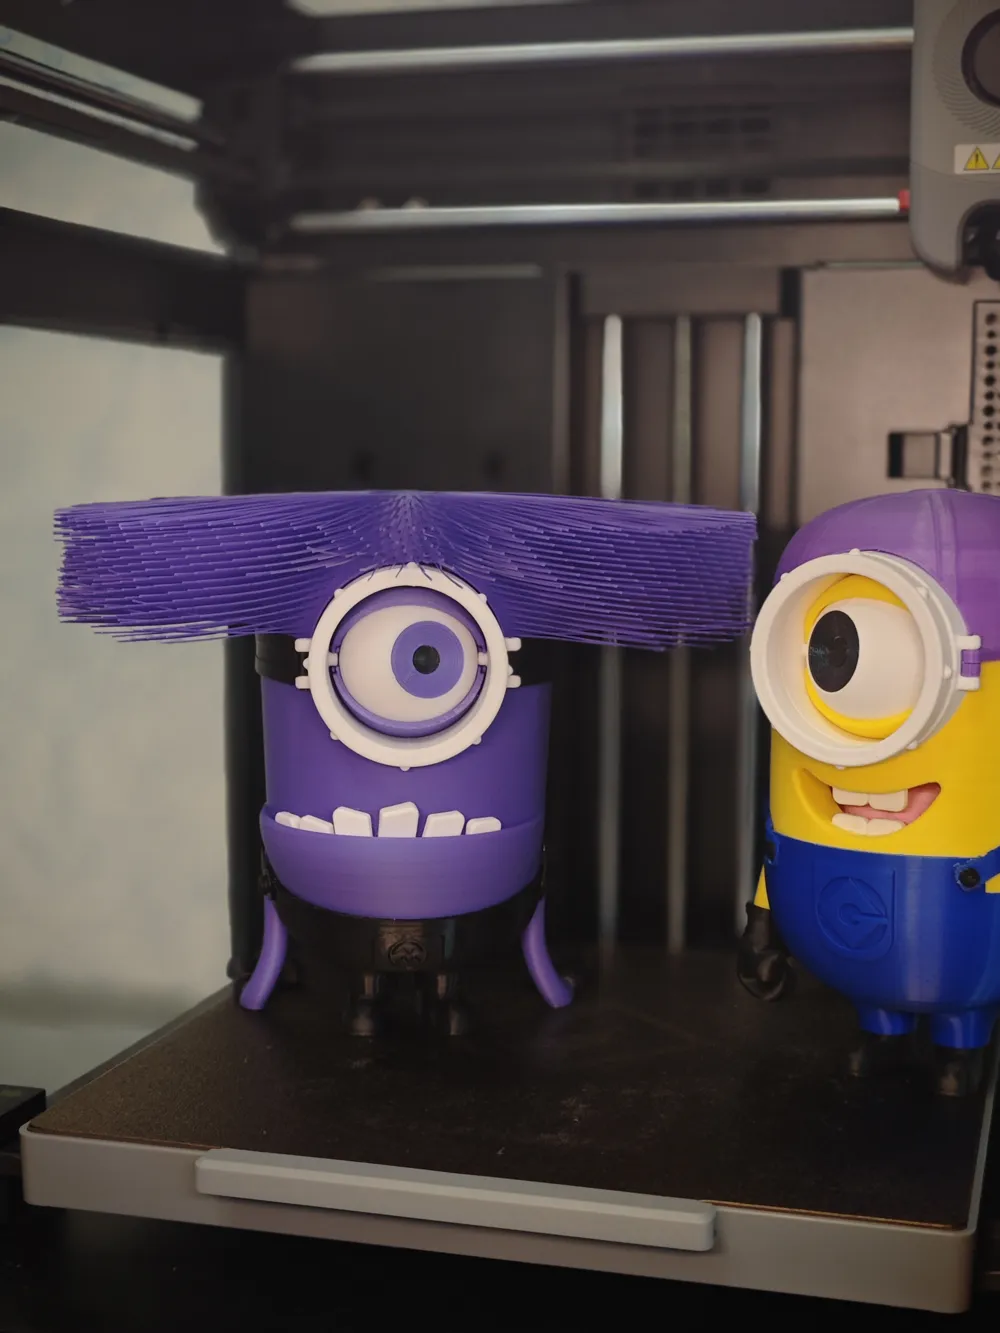
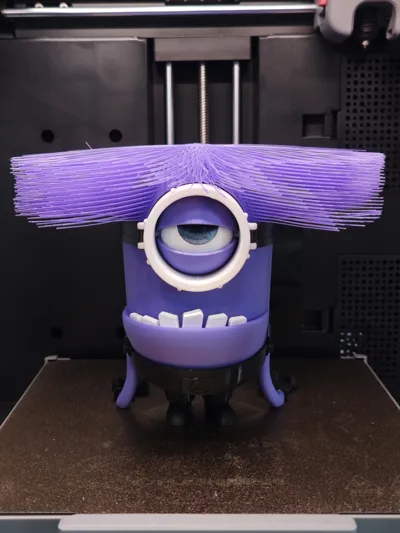
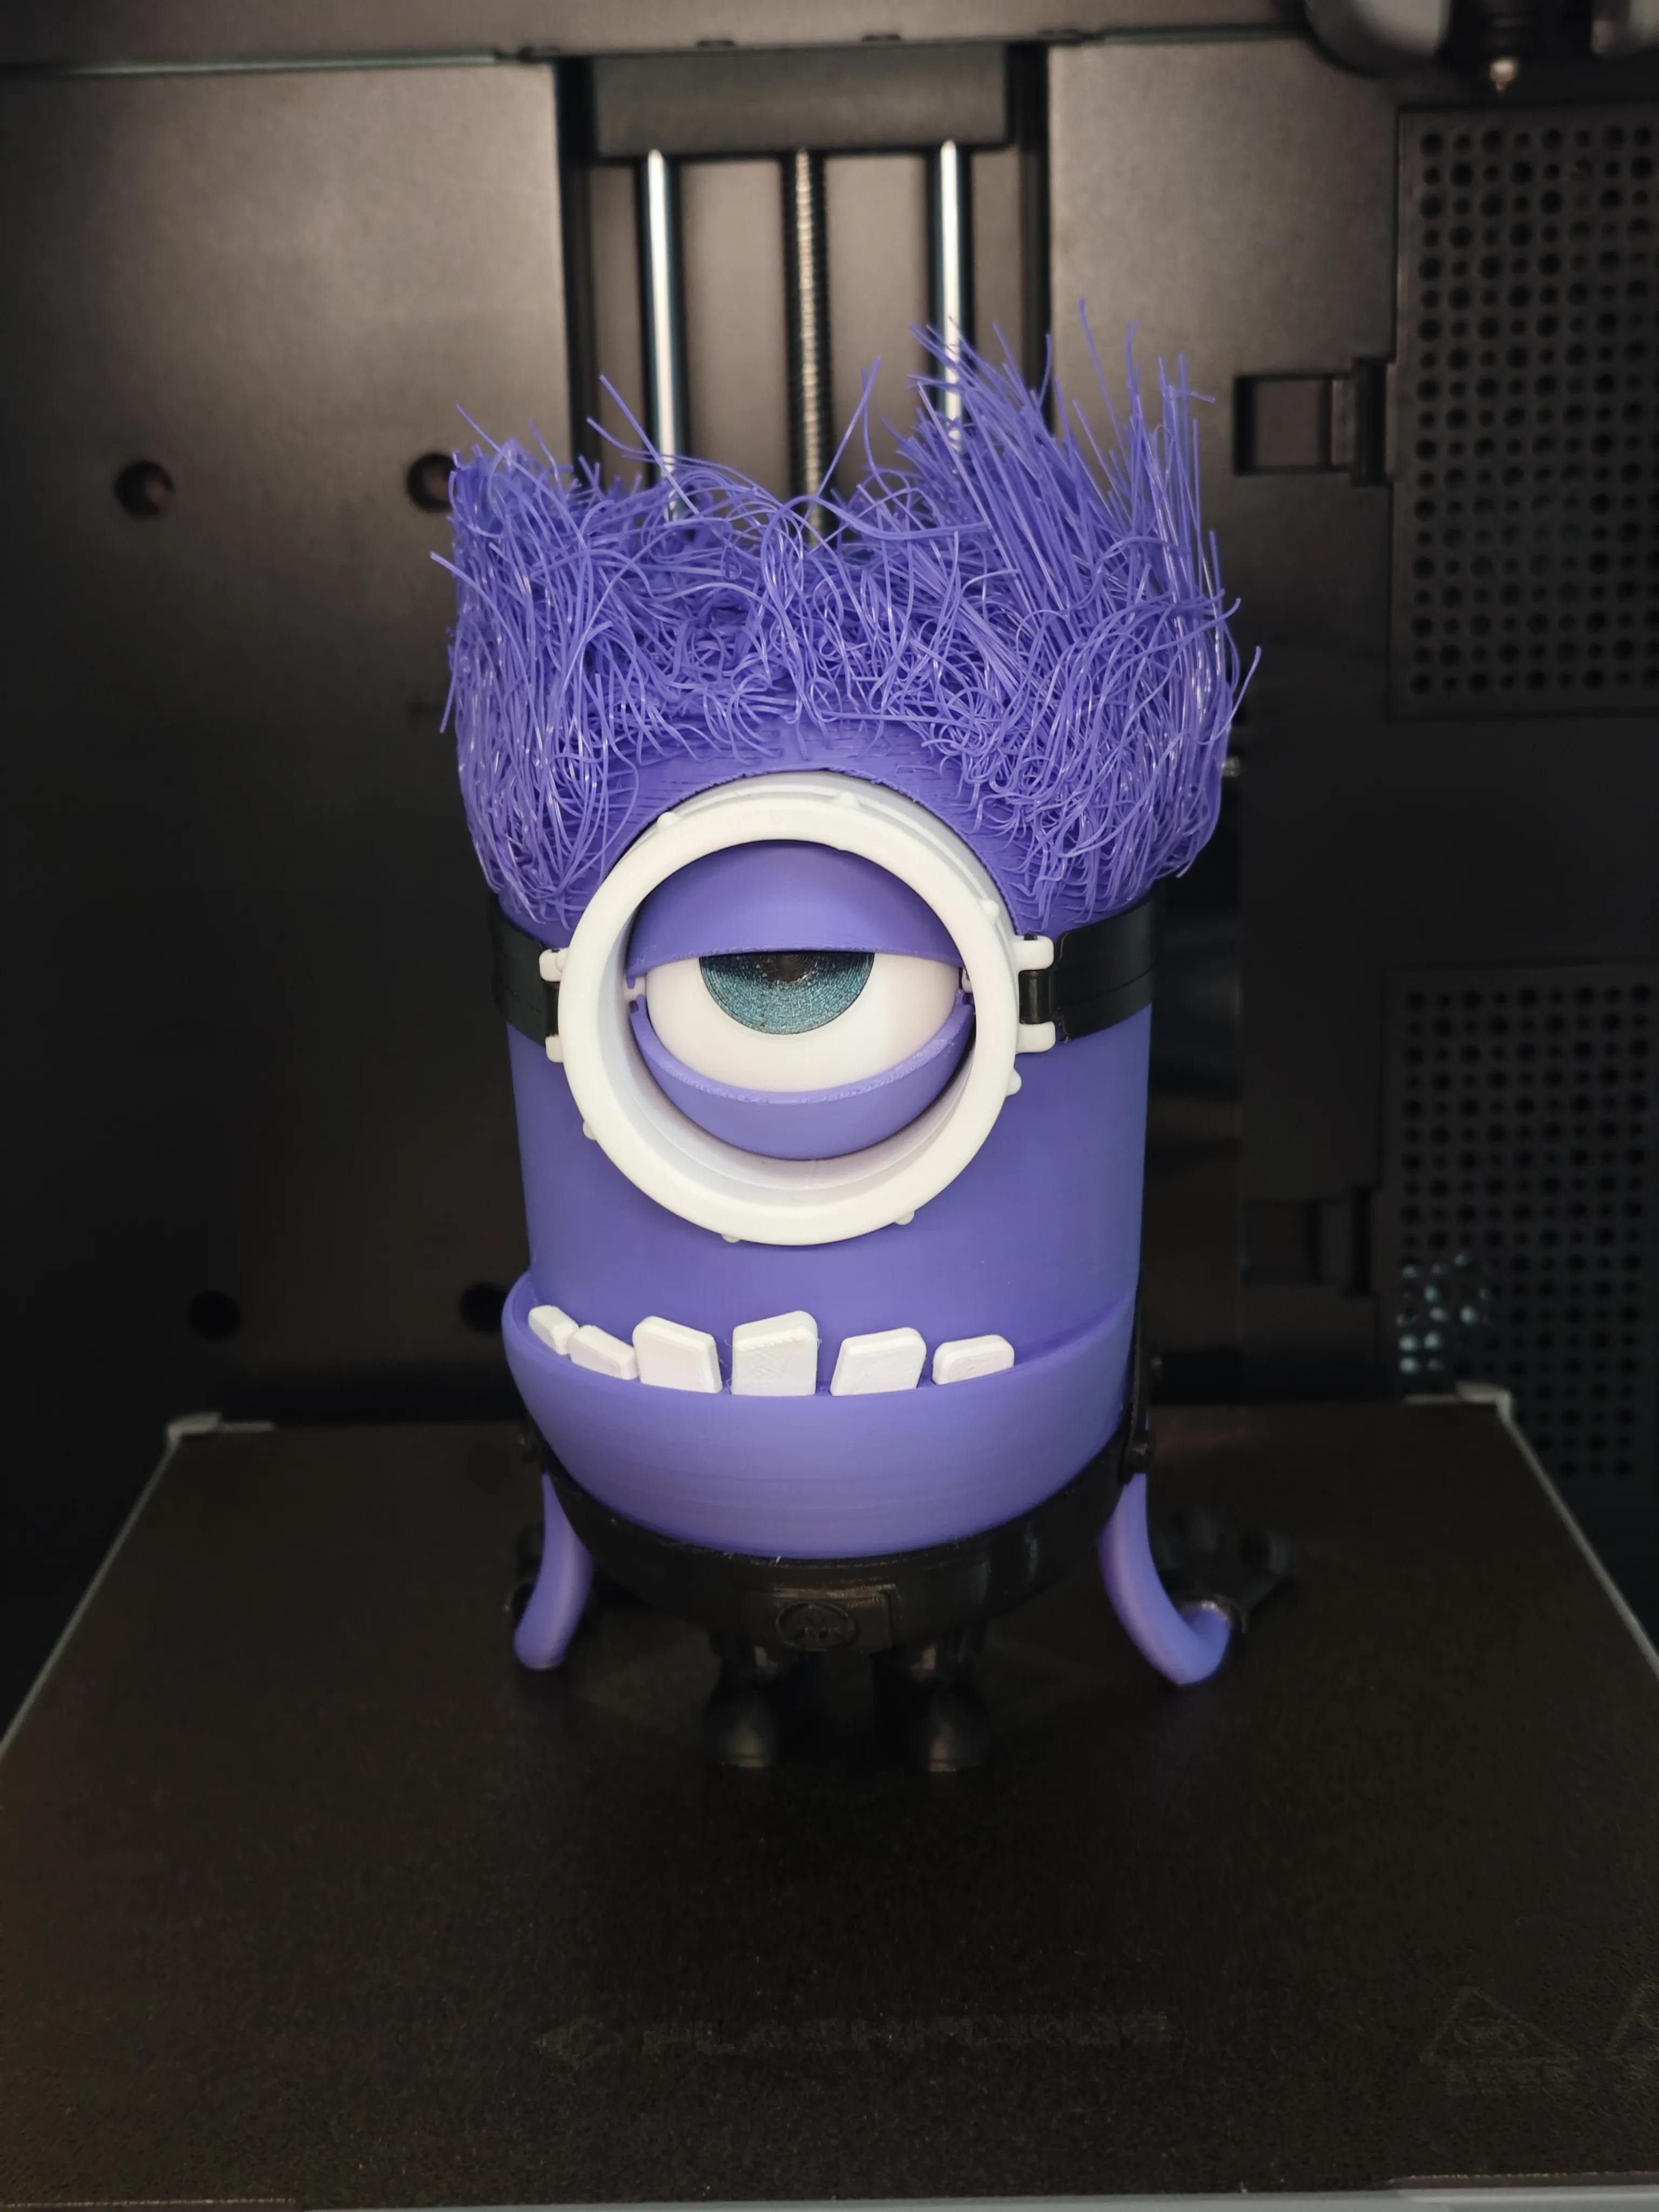
You can bend them upwards with a hair dryer to get a result like this
Connect the head and base with a threaded connection.
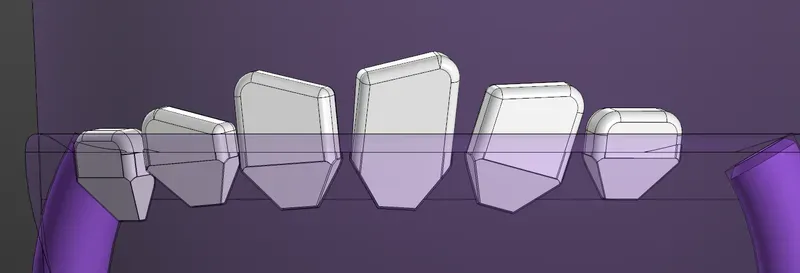
Print the teeth, if they don't fit, change the scale of the teeth in the slicer to 98-99%, you can also glue them.
Print the hands and glue them along the bottom plane
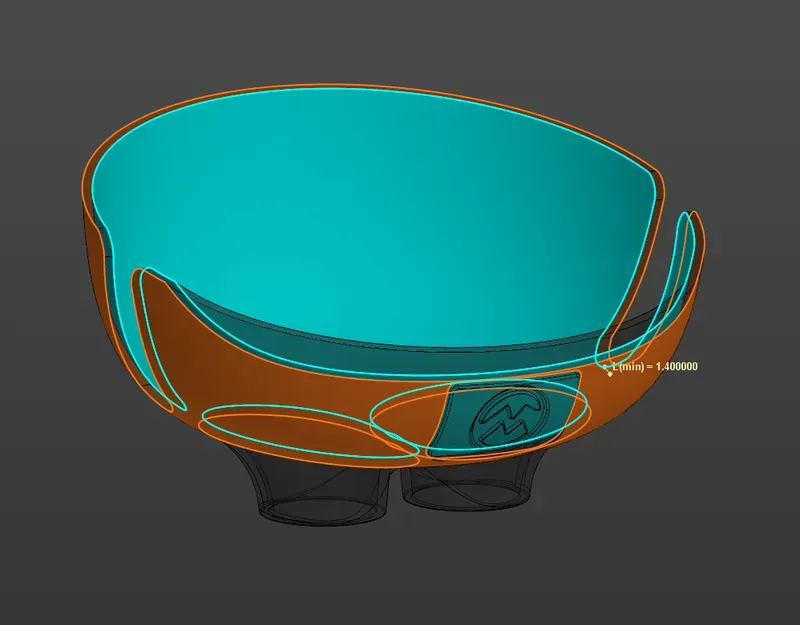
The pants have a wall thickness of 1.4mm. Use a brim (mouse ear) and glue for good adhesion to your printer table.
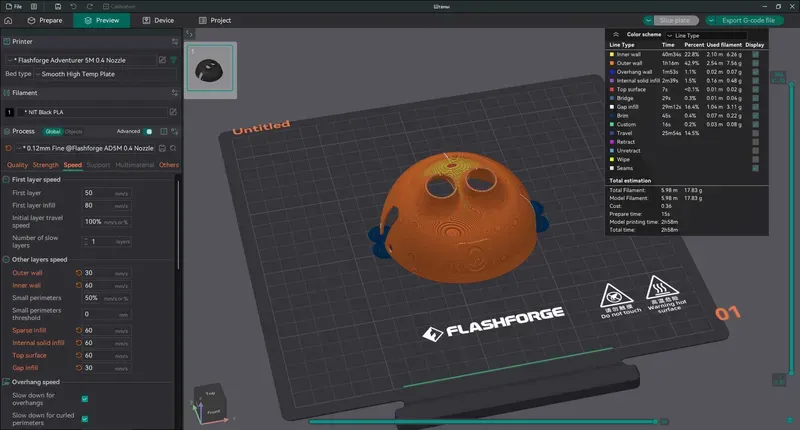
I recommend printing with a layer of 0.12 mm for better quality, the model is printed like a dome, gradually rising upwards, there are overhangs, so reduce the speed to 30-60 mm,

Use the setting Walls printing order - inner-outer-inner, so that the perimeters are printed first and then the overhangs stick to them
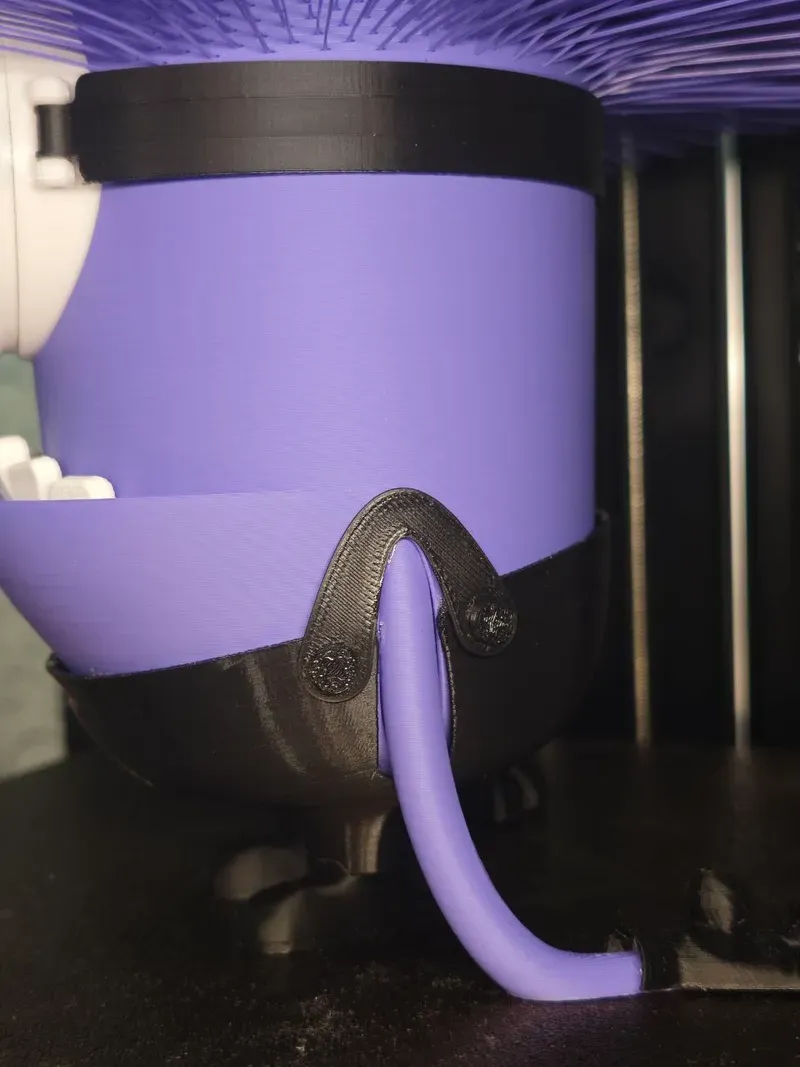
Use a little glue to glue the arms, legs and ribbon to the base.
reduce the scale buttons by 98-99% if they don't fit.



![Base and Hair (All Variants) [Check description!]](https://makerworld.bblmw.com/makerworld/model/US56f48801eb5c1f/370789085/instance/2025-08-04_b451612658aa6.jpg?x-oss-process=image%2Fresize%2Cw_100%2Fformat%2Cwebp)




Comment & Rating (33)