
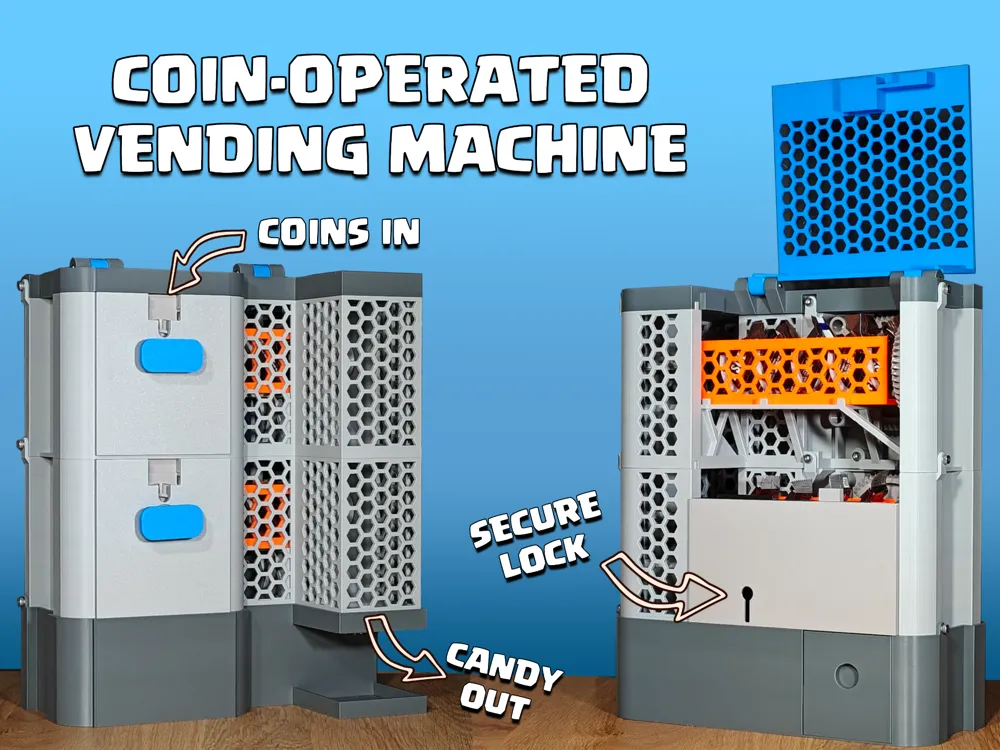

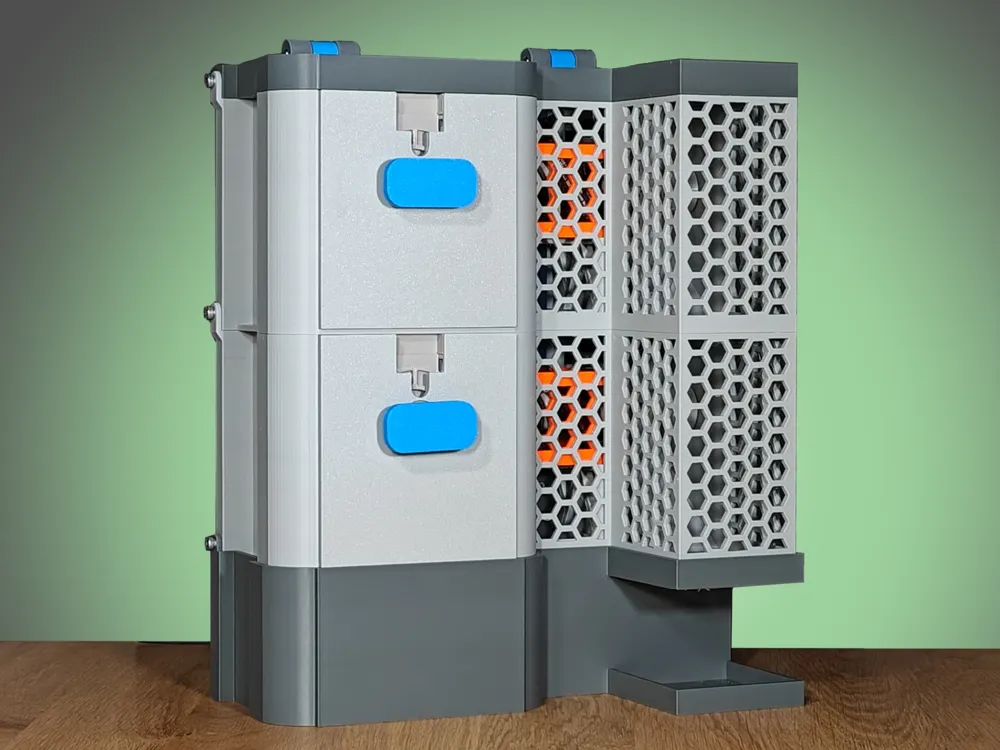
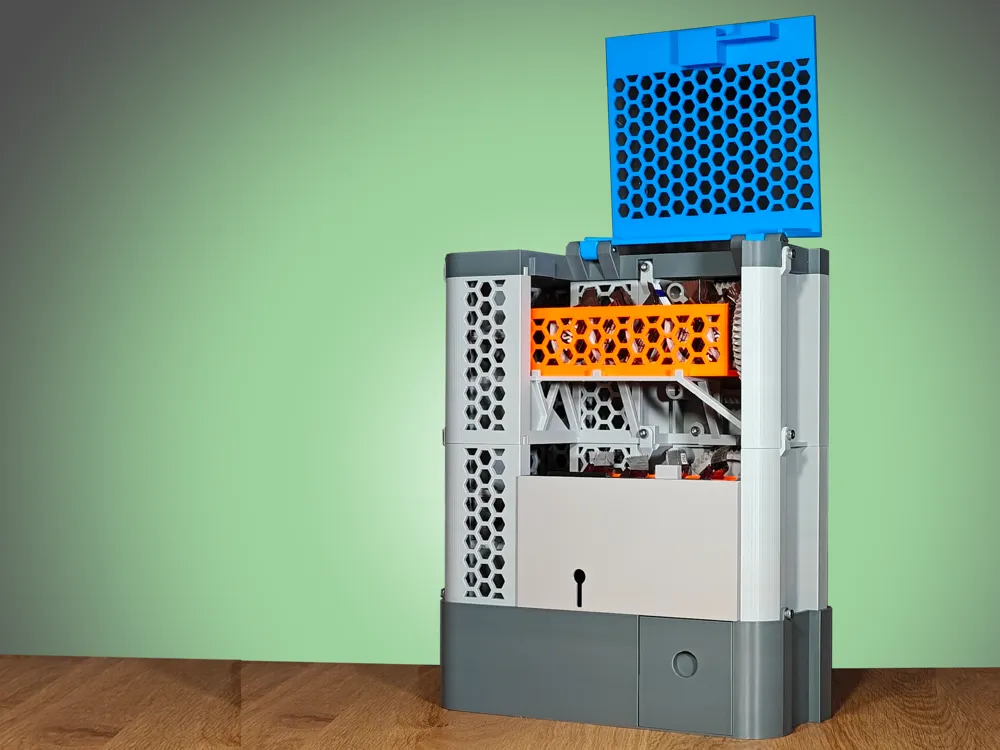
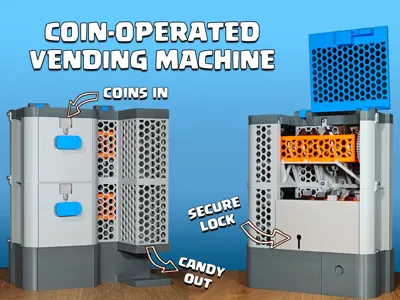
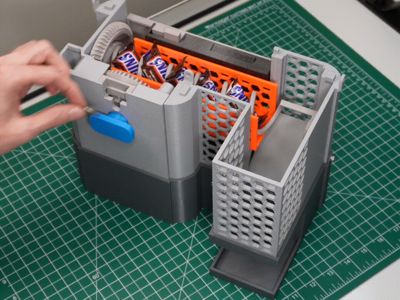
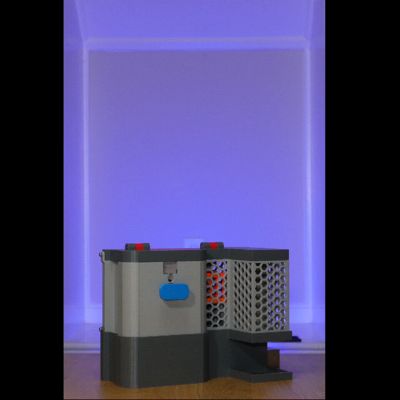
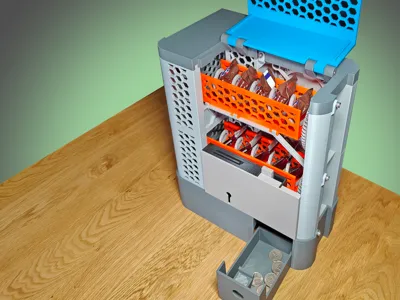
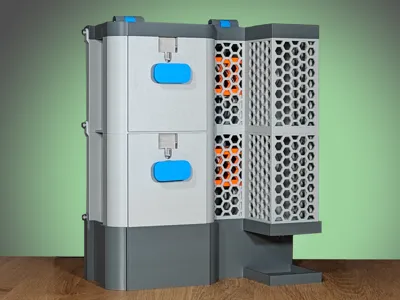
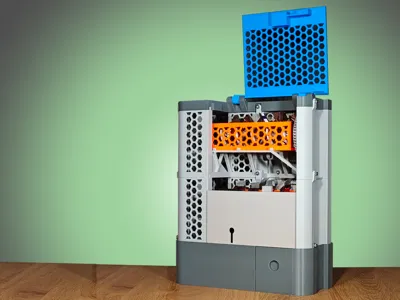
Coin Operated Vending Machine
Print Profile(12)


Description
Update July 10, 2025
I have updated the model with the following revisions and additions:
- Added alternate coin mechanisms for 1 Euro and 2 Euro coins
- Revised “CoinMech-Faceplate” to be compatible with Euro Coins (Note: Euro Coins and Quarters use the same faceplate)
- Added printable ‘dummy’ coins for 1 Euro and 2 Euro coins
- Revised Lock Bolt to add notch which better secures the door
- Revised 2-unit door to better engage with lock bolt
- Added alternate doors compatible with 1, 2, 3, 4, 5+ stacked vending units
- Revised ‘Coil’ to add a small sacrificial disc on one end to prevent support material forming on the interior of the coil. Please refer to the video assembly guide for more information.
- Revised ‘CoinMech-InternalFrame’ to add cutouts and adjust tolerances for better fit
- Revised ‘CoinMech-BevelGear’ to add cutouts for spoked appearance
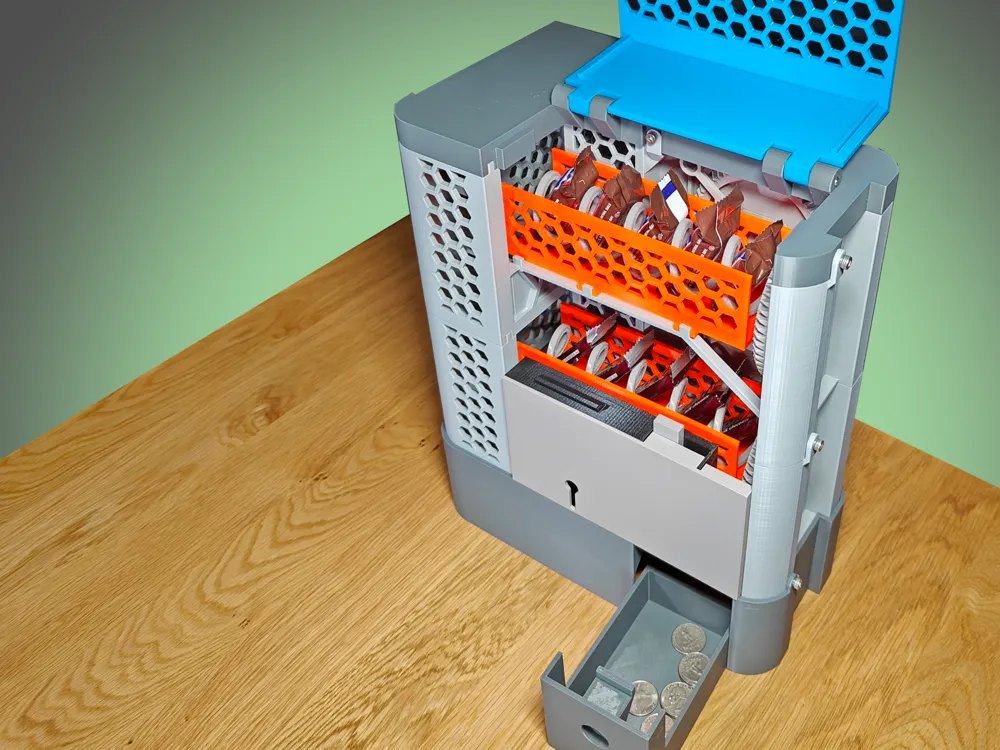
- Revised ‘CoinTray’ to raise one side and prevent coins bouncing out of tray
Description of Print Profiles
Print profiles are organized to allow modularity. Follow the steps below to determine which combination of profiles to use, depending on the number of vending units and desired coins
- Profiles are available for US Quarters, 1 Euro and 2 Euro coins. Each profile contains a single coin mechanism, so multiple copies must be printed based on the number of vending units.
- Profiles are available for 1, 2 or 3 units. These contain everything required, except the coin mechanism.
- To make more than 3 units, print everything in the 3Unit profile, PLUS everything in the ‘ExtraUnits’ profile. Print one copy of the ‘ExtraUnits’ profile for each level above 3.
- Below are some examples:
- To make a 5 unit machine that uses US Quarters, print the following profiles:
- 5 Copies of ‘CoinMech-US-Quarter’
- 1 Copy of ‘3Units’
- 2 Copies of ‘ExtraUnits’
- To make a 2 unit machine that uses 2 Euro coins, print the following profiles:
- 2 Copies of ‘CoinMech-2-Euro’
- 1 Copy of ‘2Units’
- To make a 5 unit machine that uses US Quarters, print the following profiles:
Tips for Assembly
- This is an intricate mechanism with many moving and interlocking parts, making dimensional accuracy essential. This should ONLY be printed if you are confident that your printer is well calibrated and capable of printing dimensionally accurate parts.
- Follow the assembly steps as shown in the video. Assembling parts out of order may cause issues.
- Refer to included pdf titled “Assembly Guide” for threaded insert and screw locations/layouts
Tips for Printing from STL Files (Ignore this if using the Print Profiles)
- If you have a mid-sized printer (like the Prusa MK4, Core One or BambuLab A1, etc.) print the files in the folder “00-MultiplePieces-Standard”. The following parts must be glued together
- Frame and Dropper
- Cap 1 and Cap 2
- Base 1 and Base 2
- If you have a larger printer (like the Prusa XL, Bambulab H2D, etc.) print the files in the folder “00-SinglePiecesXL”
- Files which include “MULTI” in the name must be printed multiple times, depending on the number or vending units desired.
- For example - If you are making 3 vending units, print 3 copies of each file with ‘MULTI’ in the name
- Print ONLY ONE ‘CoinMech-Cog…’ depending on what currency you want to use
- For example - If you want to use US Quarters, print ‘CoinMech-Cog-Quarter-Multi’. Do NOT print ‘CoinMech-Cog-1Euro-MULTI’ or ‘CoinMech-Cog-2Euro-MULTI’.
- Print ONLY ONE ‘CoinMech-Arm…’ depending on what currency you want to use. ‘CoinMech-Arm-Euro-MULTI’ is used for both 1 Euro and 2 Euro
- The parts required to make the door for machine with 3 units are:
- One of each of following: Door-Tri-BottomPanel , Door-Tri-MiddlePanel , Door-Tri-TopPanel
- Two each of “Door-Tri-Hinge-Bottom-MULTI’ and ‘Door-Tri-Hinge-Top-MULTI’
- The parts required to make the door for a machine with 4 units are:
- One of each of following: Door-Tri-BottomPanel , Door-Tri-TopPanel
- Two copies of Door-Tri-MiddlePanel
- Four copies of “Door-Tri-Hinge-Bottom-MULTI’ and ‘Door-Tri-Hinge-Top-MULTI’
- The parts required to make the door for a machine with 5+ units are:
- All the same parts as machine with 4 units PLUS additional middle panels for every unit over 4:
- One copy of ‘Door-Tri-MiddlePanel’
- Two copies of “Door-Tri-Hinge-Bottom-MULTI’ and ‘Door-Tri-Hinge-Top-MULTI’
- All the same parts as machine with 4 units PLUS additional middle panels for every unit over 4:
In addition to printed parts, the following hardware is required:
- Threaded Inserts* - M4xL6xD6
- Quantities
- Single vending unit: 20
- 2 Vending Units: 31
- 3 Vending Units: 42
- More than 3 Vending Units: 42 PLUS 11 per additional vending unit
- For example: 5 Units require 64
- https://www.amazon.com/dp/B0D3VS3F76?ref=ppx_yo2ov_dt_b_fed_asin_title&th=1
- Quantities
- M4xH8 Screws
- Quantities
- Single Vending Unit: 17
- 2 Vending Units: 25
- 3 Vending Units: 33
- More than 3 Vending units: 33 PLUS 8 per additional vending unit
- For example: 5 units require 49
- https://www.amazon.com/dp/B01M272GW6?ref=ppx_yo2ov_dt_b_fed_asin_title
- Quantities
- M4xH10 Screws
- Quantities
- Single Vending Unit: 3
- 2 Vending Units: 6
- 3 Vending Units: 9
- More than 3 Vending units: 9 PLUS 3 per additional vending unit
- For example: 5 units require 15
- https://www.amazon.com/dp/B0DG2QNKNL?ref=ppx_yo2ov_dt_b_fed_asin_title
- Quantities
- Metal Dowels 5mm x 40mm
- Quantities
- Single Vending unit: 3 total (1 for coin mech, 2 for cap/door hinge)
- 2 Vending Units: 4 total (2 for coin mechs, 2 for cap/door hinge)
- 3 Vending Units: 7 total (3 for coin mechs, 2 for cap/door hinge, 2 for door/door hinge)
- More than 3 Vending Units: 7, PLUS 3 per additional vending unit
- For example: 6 units require 16
- https://www.amazon.com/Adyoney-Stainless-Support-Shelves-Silver/dp/B0CR6FQ7Q2/ref=sr_1_3?crid=3IC9J5IFVD6Q2&dib=eyJ2IjoiMSJ9.GdWonO7yCTpcV0BE27h-UljSPGMdYBYt7tmZ3bOR3OH1VWk21WE0SslZPR98MbQU2FlgfBapSH4g9dZAsSb6wX6Qdubtq_tLQZJKU4Kj1gnGGJ0Druzmq7afyp6-IMm4nyN81UjMi2Nii3C-eObnLuQTBemO3hNjiLCXeJkiew5W53TTwFBRSoV0GUAByOuvY6vkPR3Au4LlNaDWcSryCbN0DrvPTrH8Rhj1LFa7P6KUpscFXtfP30zNkAu4Sw9WTVjXgqRCGxxhyr8bh41u6GnPhUYnFccv76Xw6Km98gg.MqbjBRc7PXQW8G8bOXDslGkRqMhUrukj_wZerDQN46o&dib_tag=se&keywords=5mm%2Bx%2B40mm&qid=1749991650&s=industrial&sprefix=5mm%2Bx%2B40mm%2Cindustrial%2C77&sr=1-3&th=1
- Quantities
- Ball Bearings - 2 per vending unit
*Please note a soldering iron or similar is required to install the threaded inserts.
Documentation (1)
License

You shall not share, sub-license, sell, rent, host, transfer, or distribute in any way the digital or 3D printed versions of this object, nor any other derivative work of this object in its digital or physical format (including - but not limited to - remixes of this object, and hosting on other digital platforms). The objects may not be used without permission in any way whatsoever in which you charge money, or collect fees.


Comment & Rating (550)