
Ultimate Lens Cap - Many Sizes
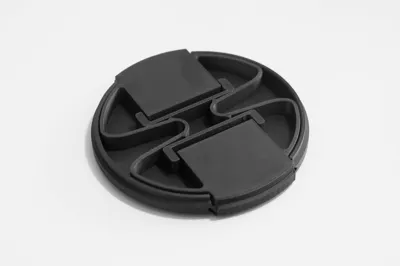
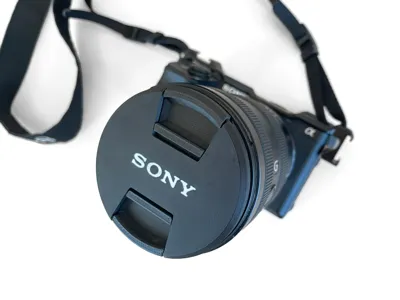
Print Profile(5)



Description
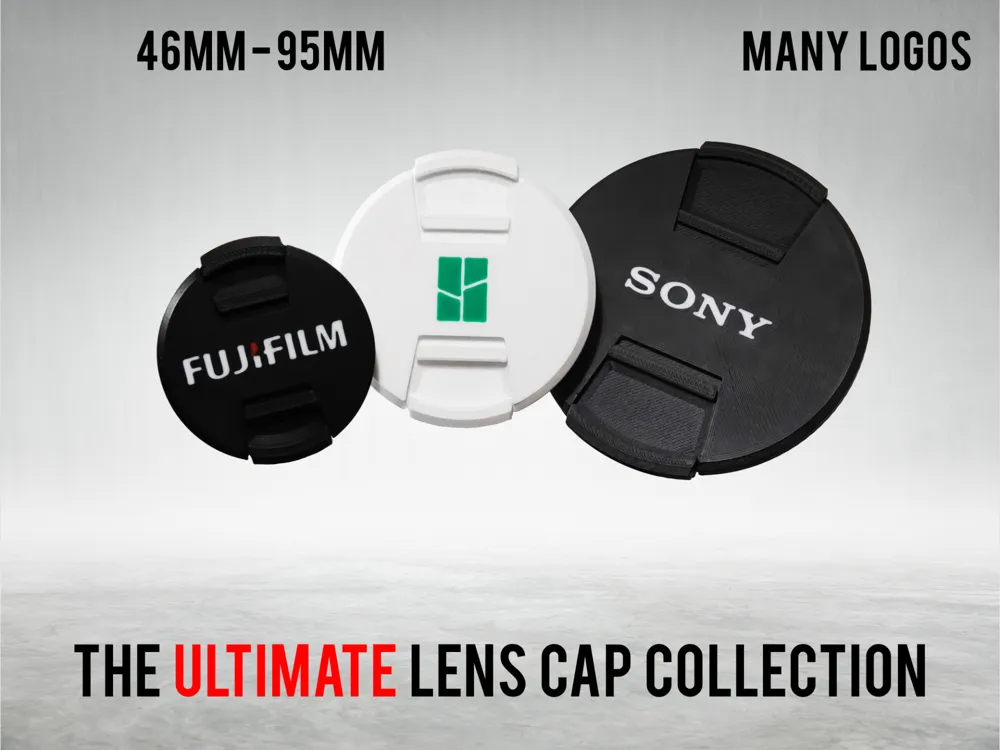
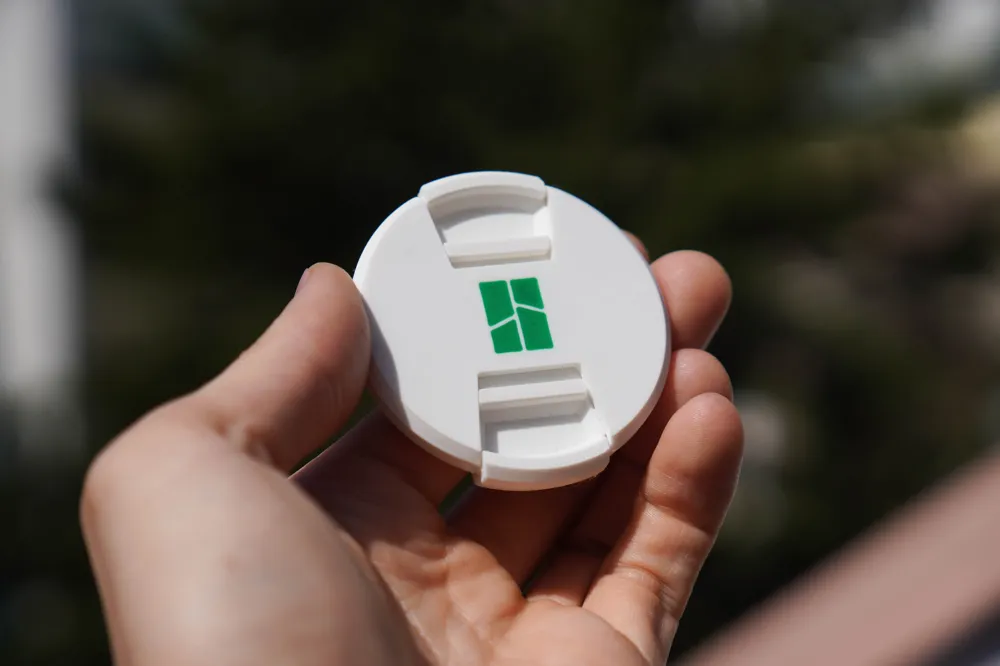
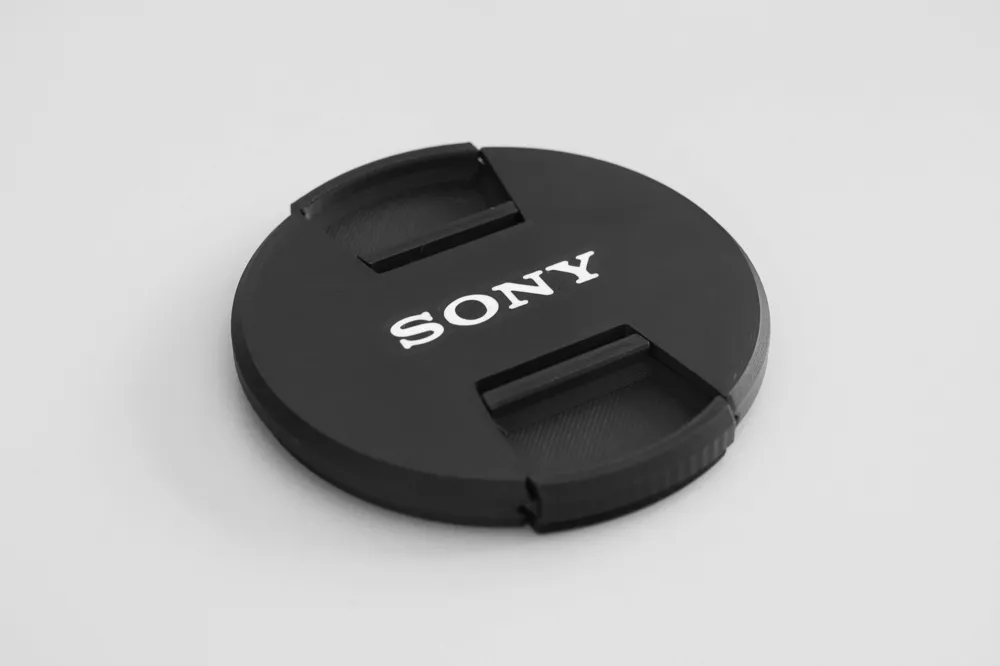
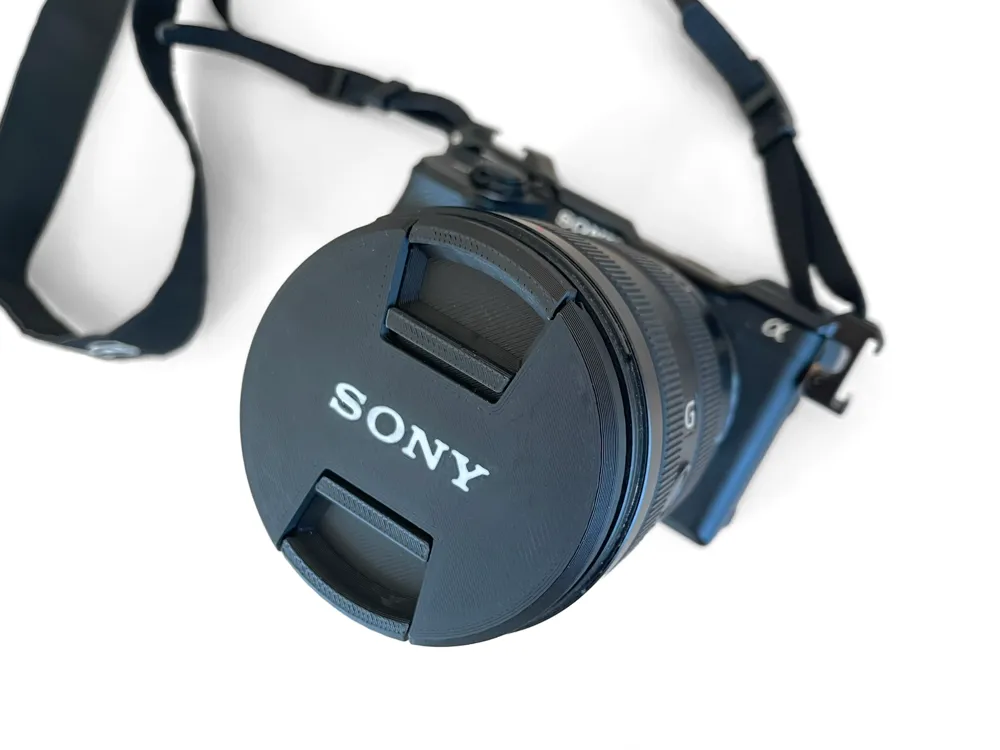
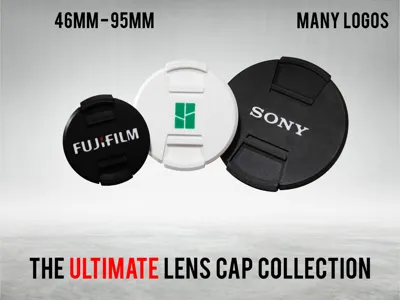
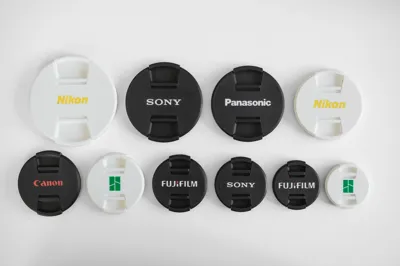
The Ultimate Lens Cap Collection!
Now also as a parametric version with the new MakerWorld feature:
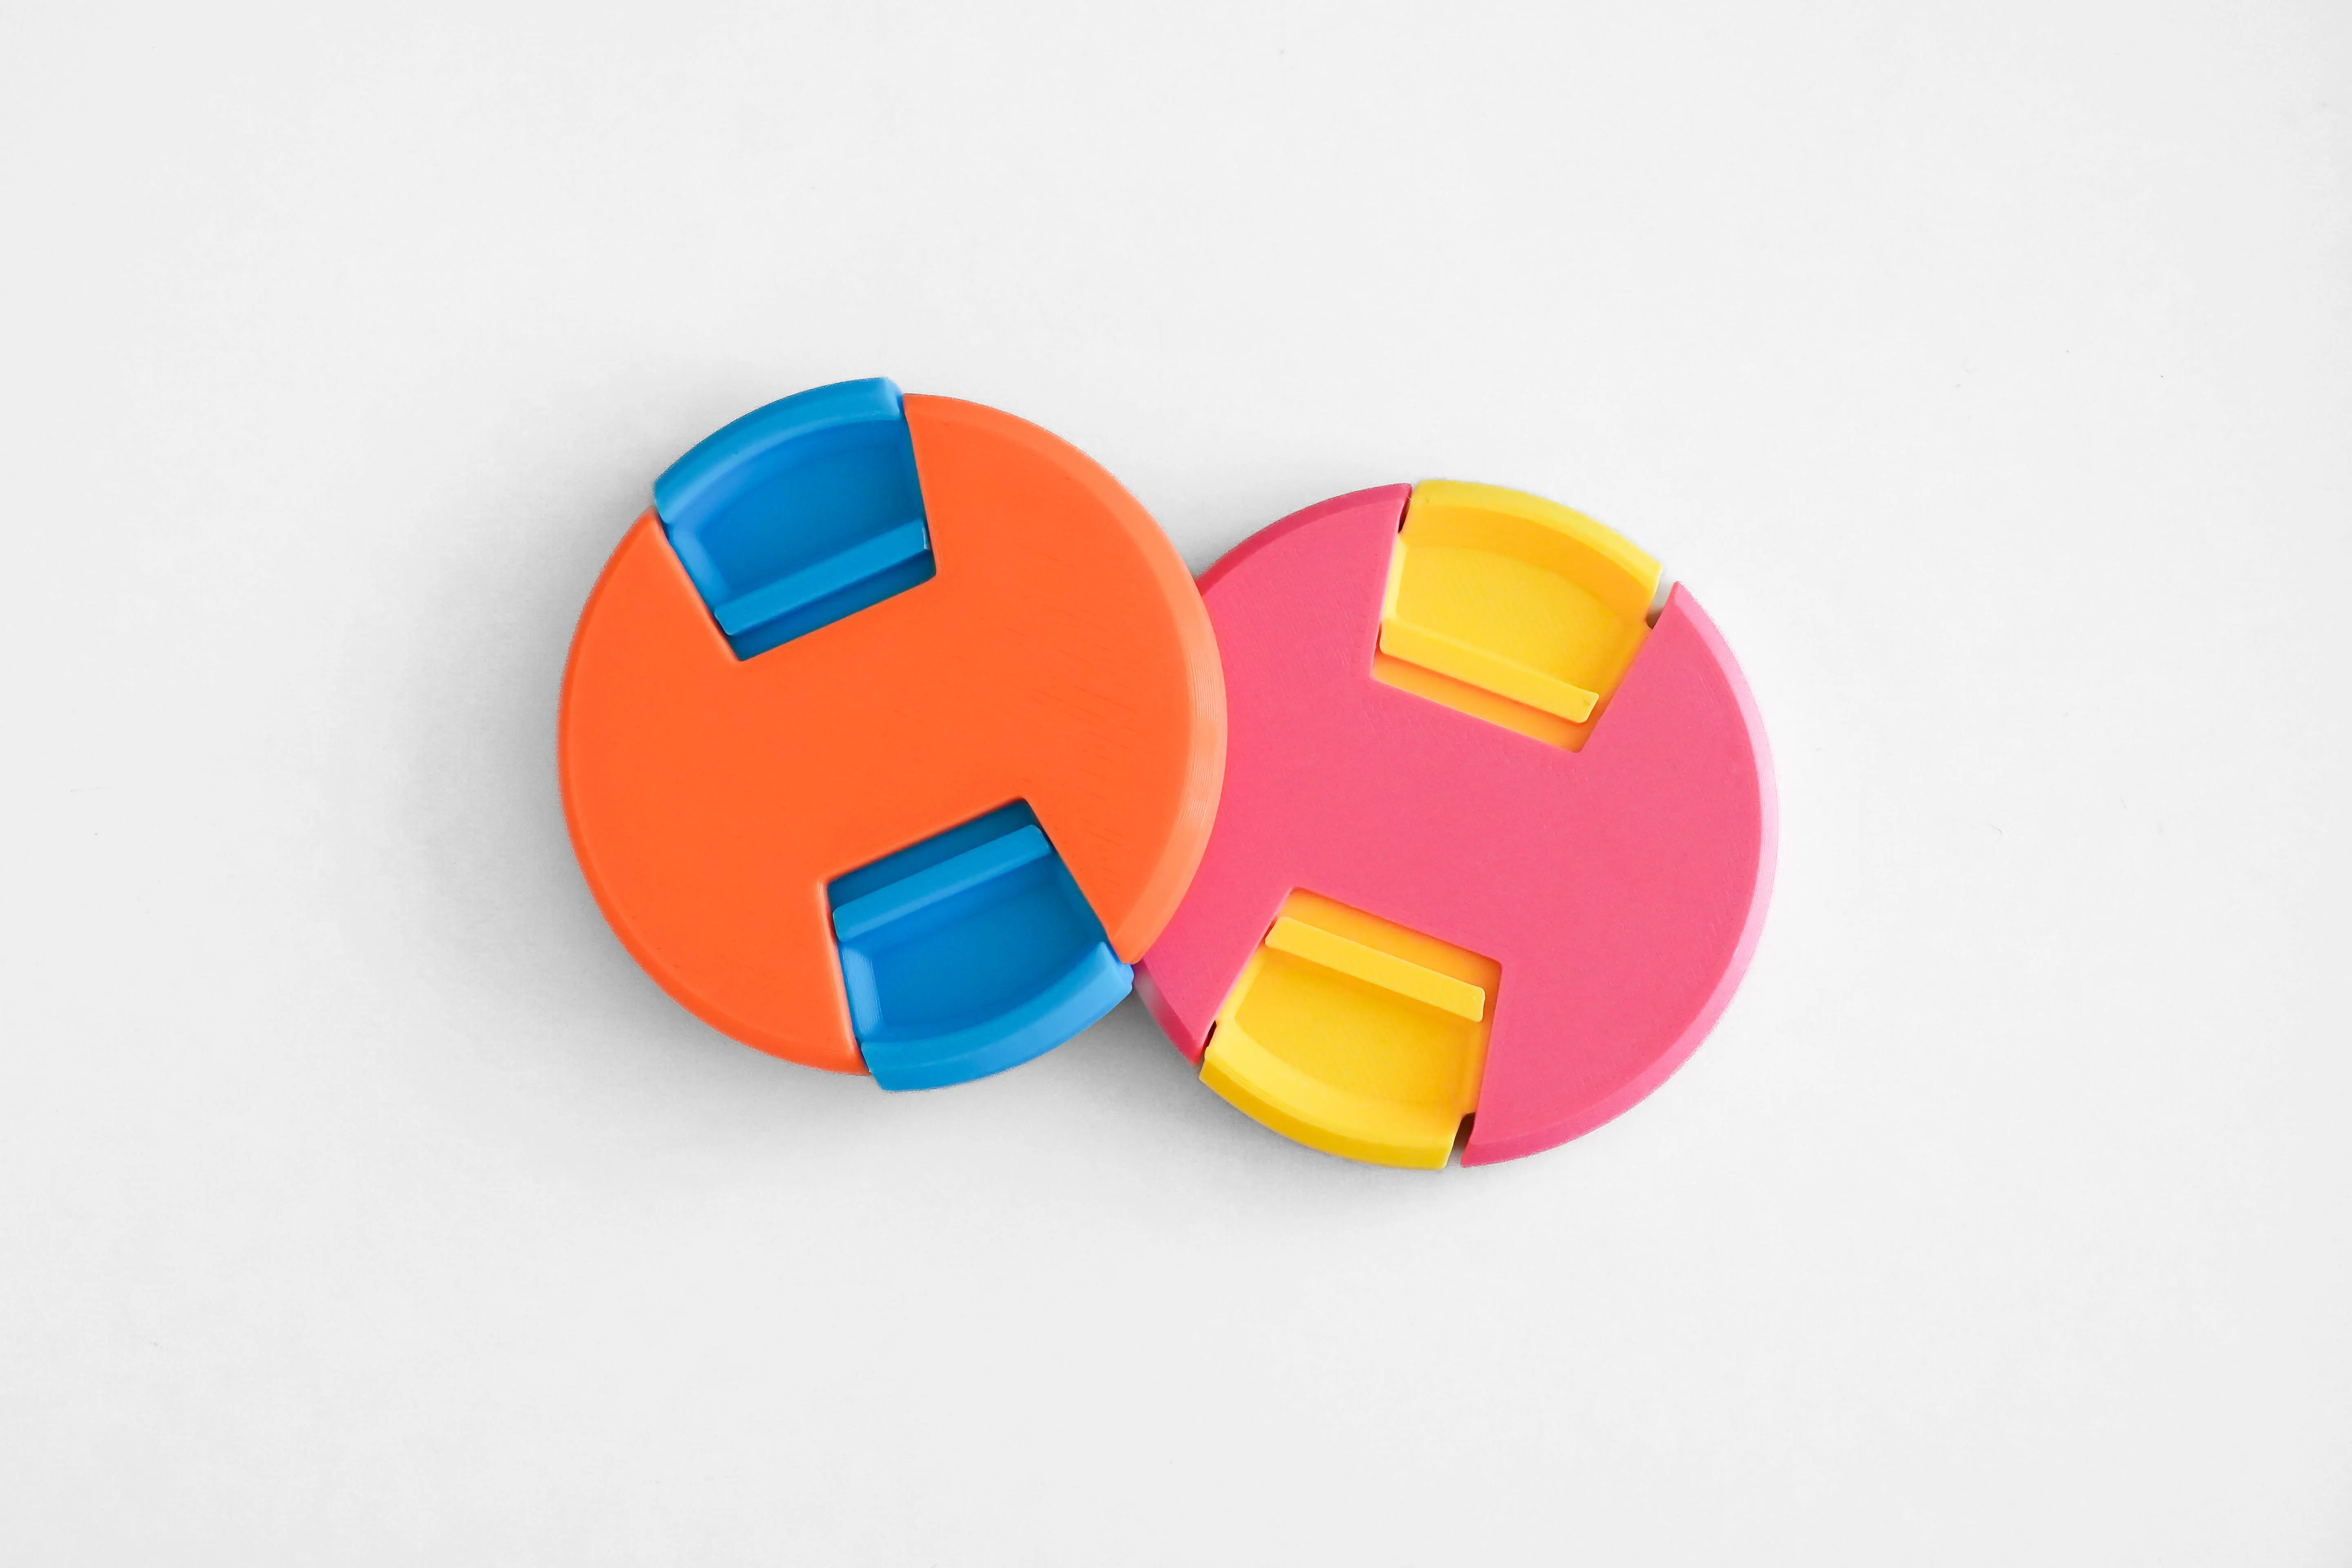
One (blank) lens cap prints in roughly 35 minutes! Read instructions below.
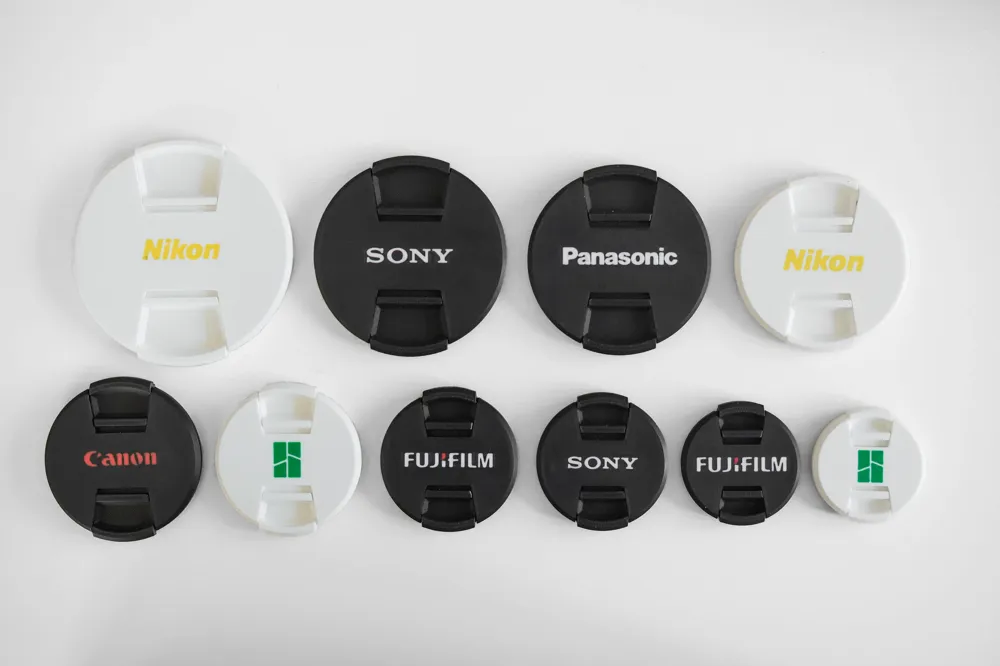
Fits most common camera lenses. Just look for your filter diameter and choose the right size.
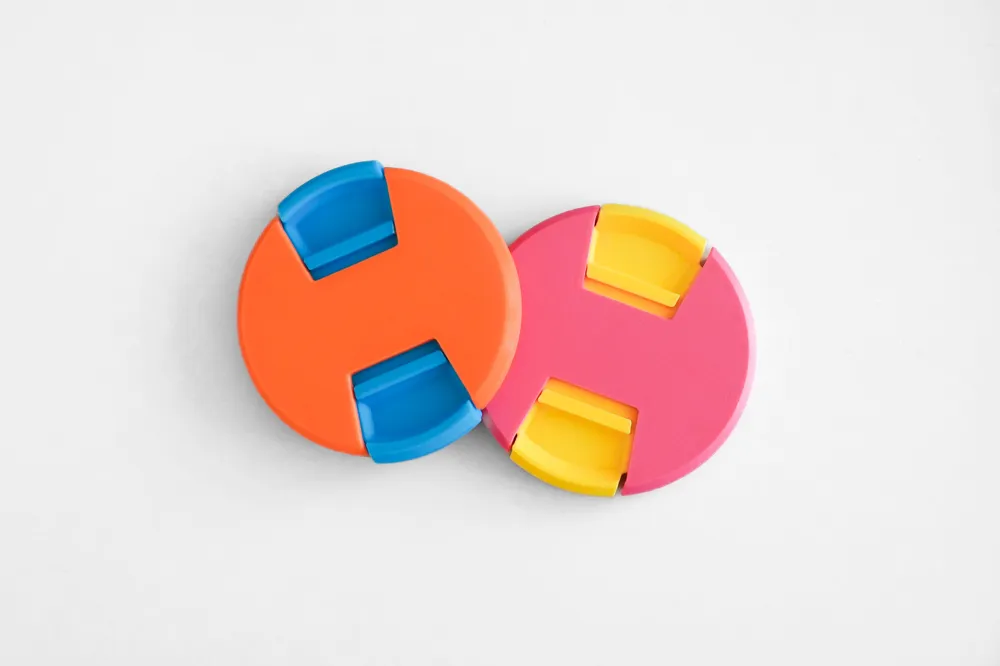
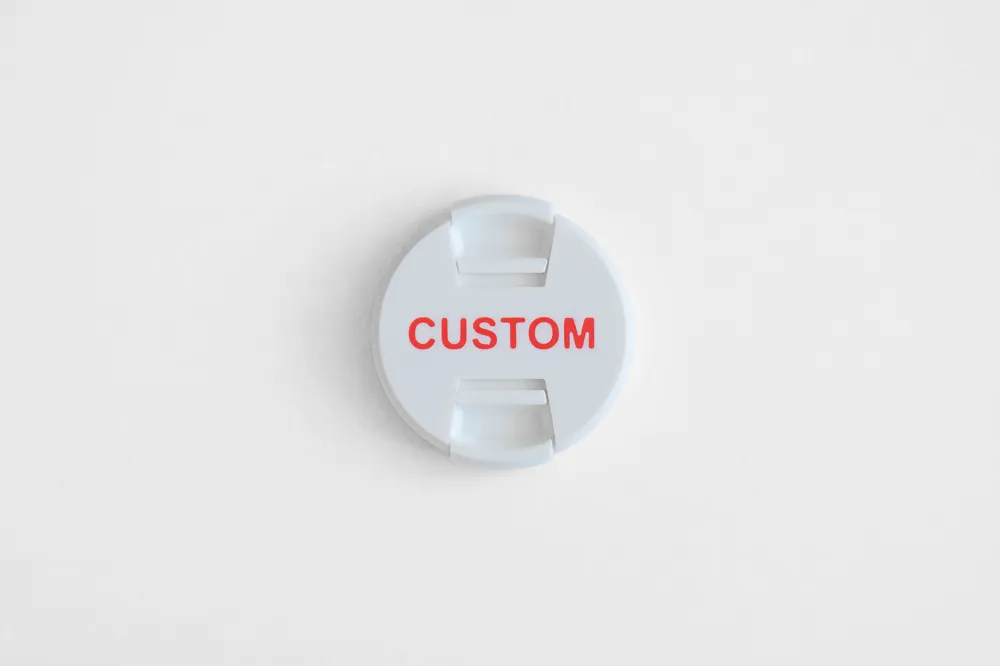
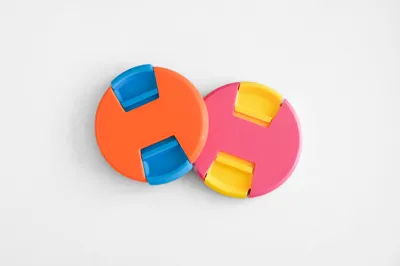
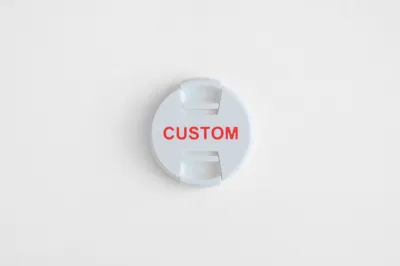
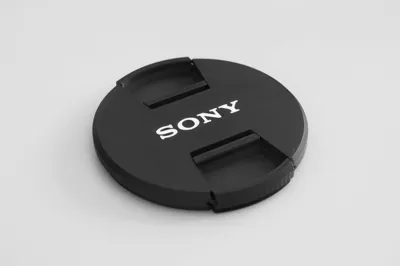
With logos of many common camera brands or add your own custom text. Combine different colors for unique styles.
Suitable for the following filter sizes:
46mm, 49mm, 52mm, 55mm, 58mm, 62mm, 67mm, 72mm, 77mm, 82mm, 82mm, 86mm, 95mm
(I was only able to test a few of these with my lenses, so please let me know if one needs adjusting.)
Materials:
I recommend printing in PET-G for durability and less risk of material fatigue, but PLA also seems to work fine.
Coloring Logos and Custom Text (AMS):
Simply use the coloring tool (Fill) to add color to the logos. The logos are minimally embossed so you can easily select them, but the embossing won't show on the print, only the colors.
For custom text:
Use the text tool on the blank cap. Set the Thickness to 0.05 and the Embedded depth to 0.6. Choose the desired color for the text.
Printing:
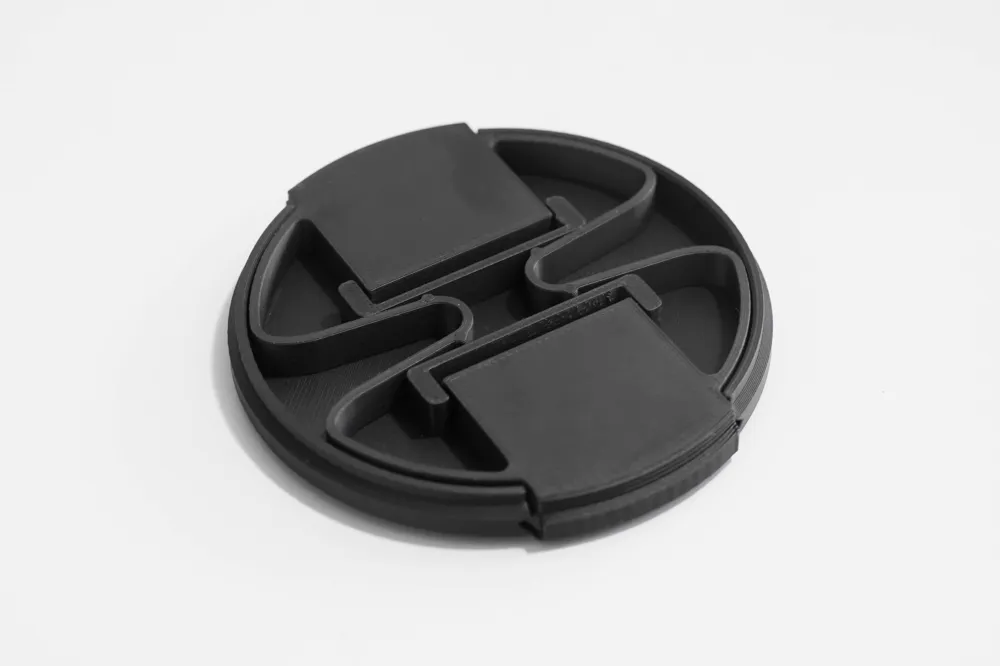
Delete the variations of the lenses you don't need and print away. There is a slider insert + a lens cap for each size.
If you are printing from the STL file make sure to split the object first and adjust the orientation.
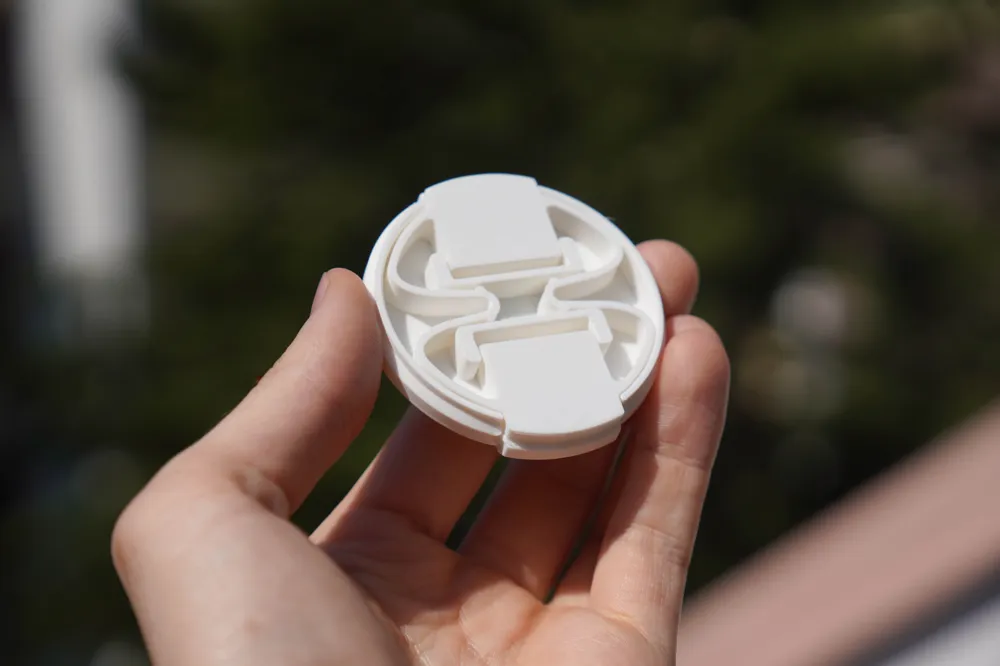
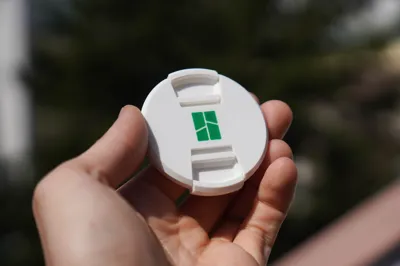
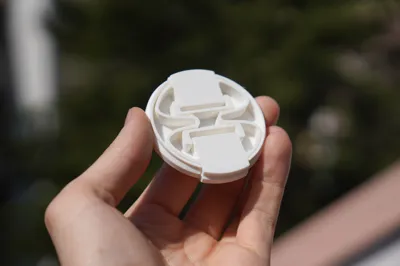
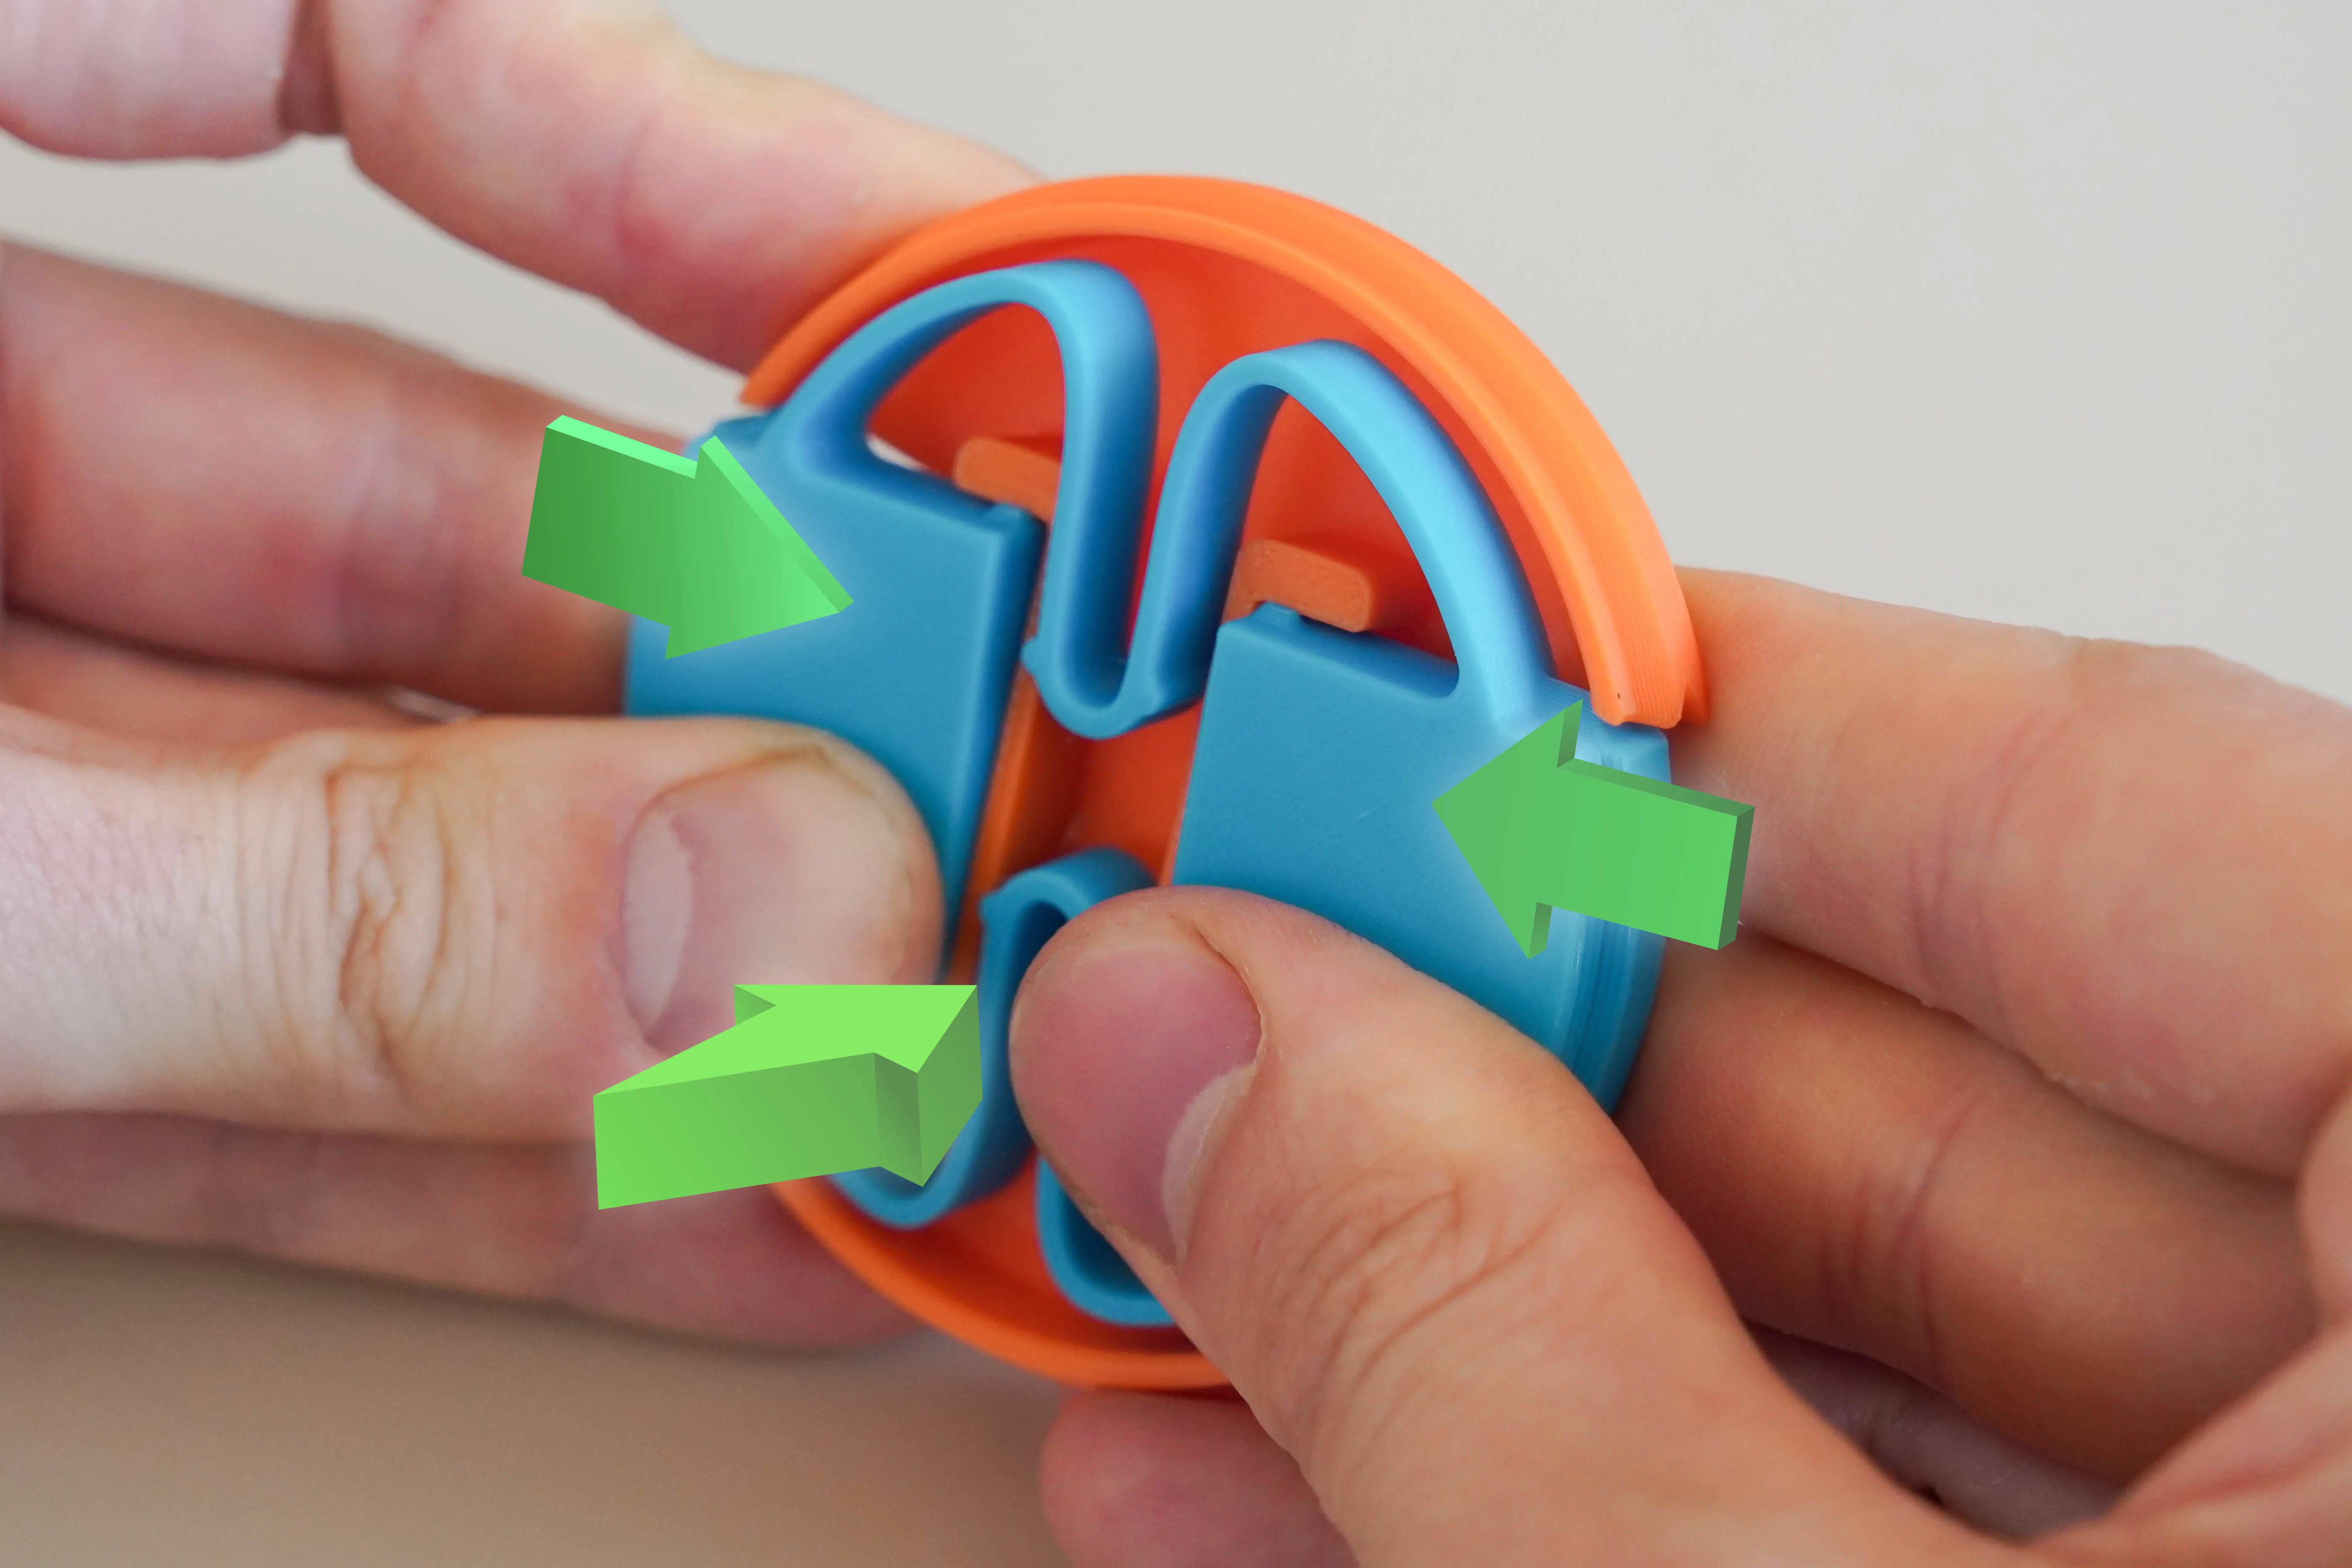
Assembly (see pictures):
Step 1:
Push the slider together while pressing one side into the cap.
Step 2:
Push the other side into the cap. With a bit of force it should click securely into the cap.
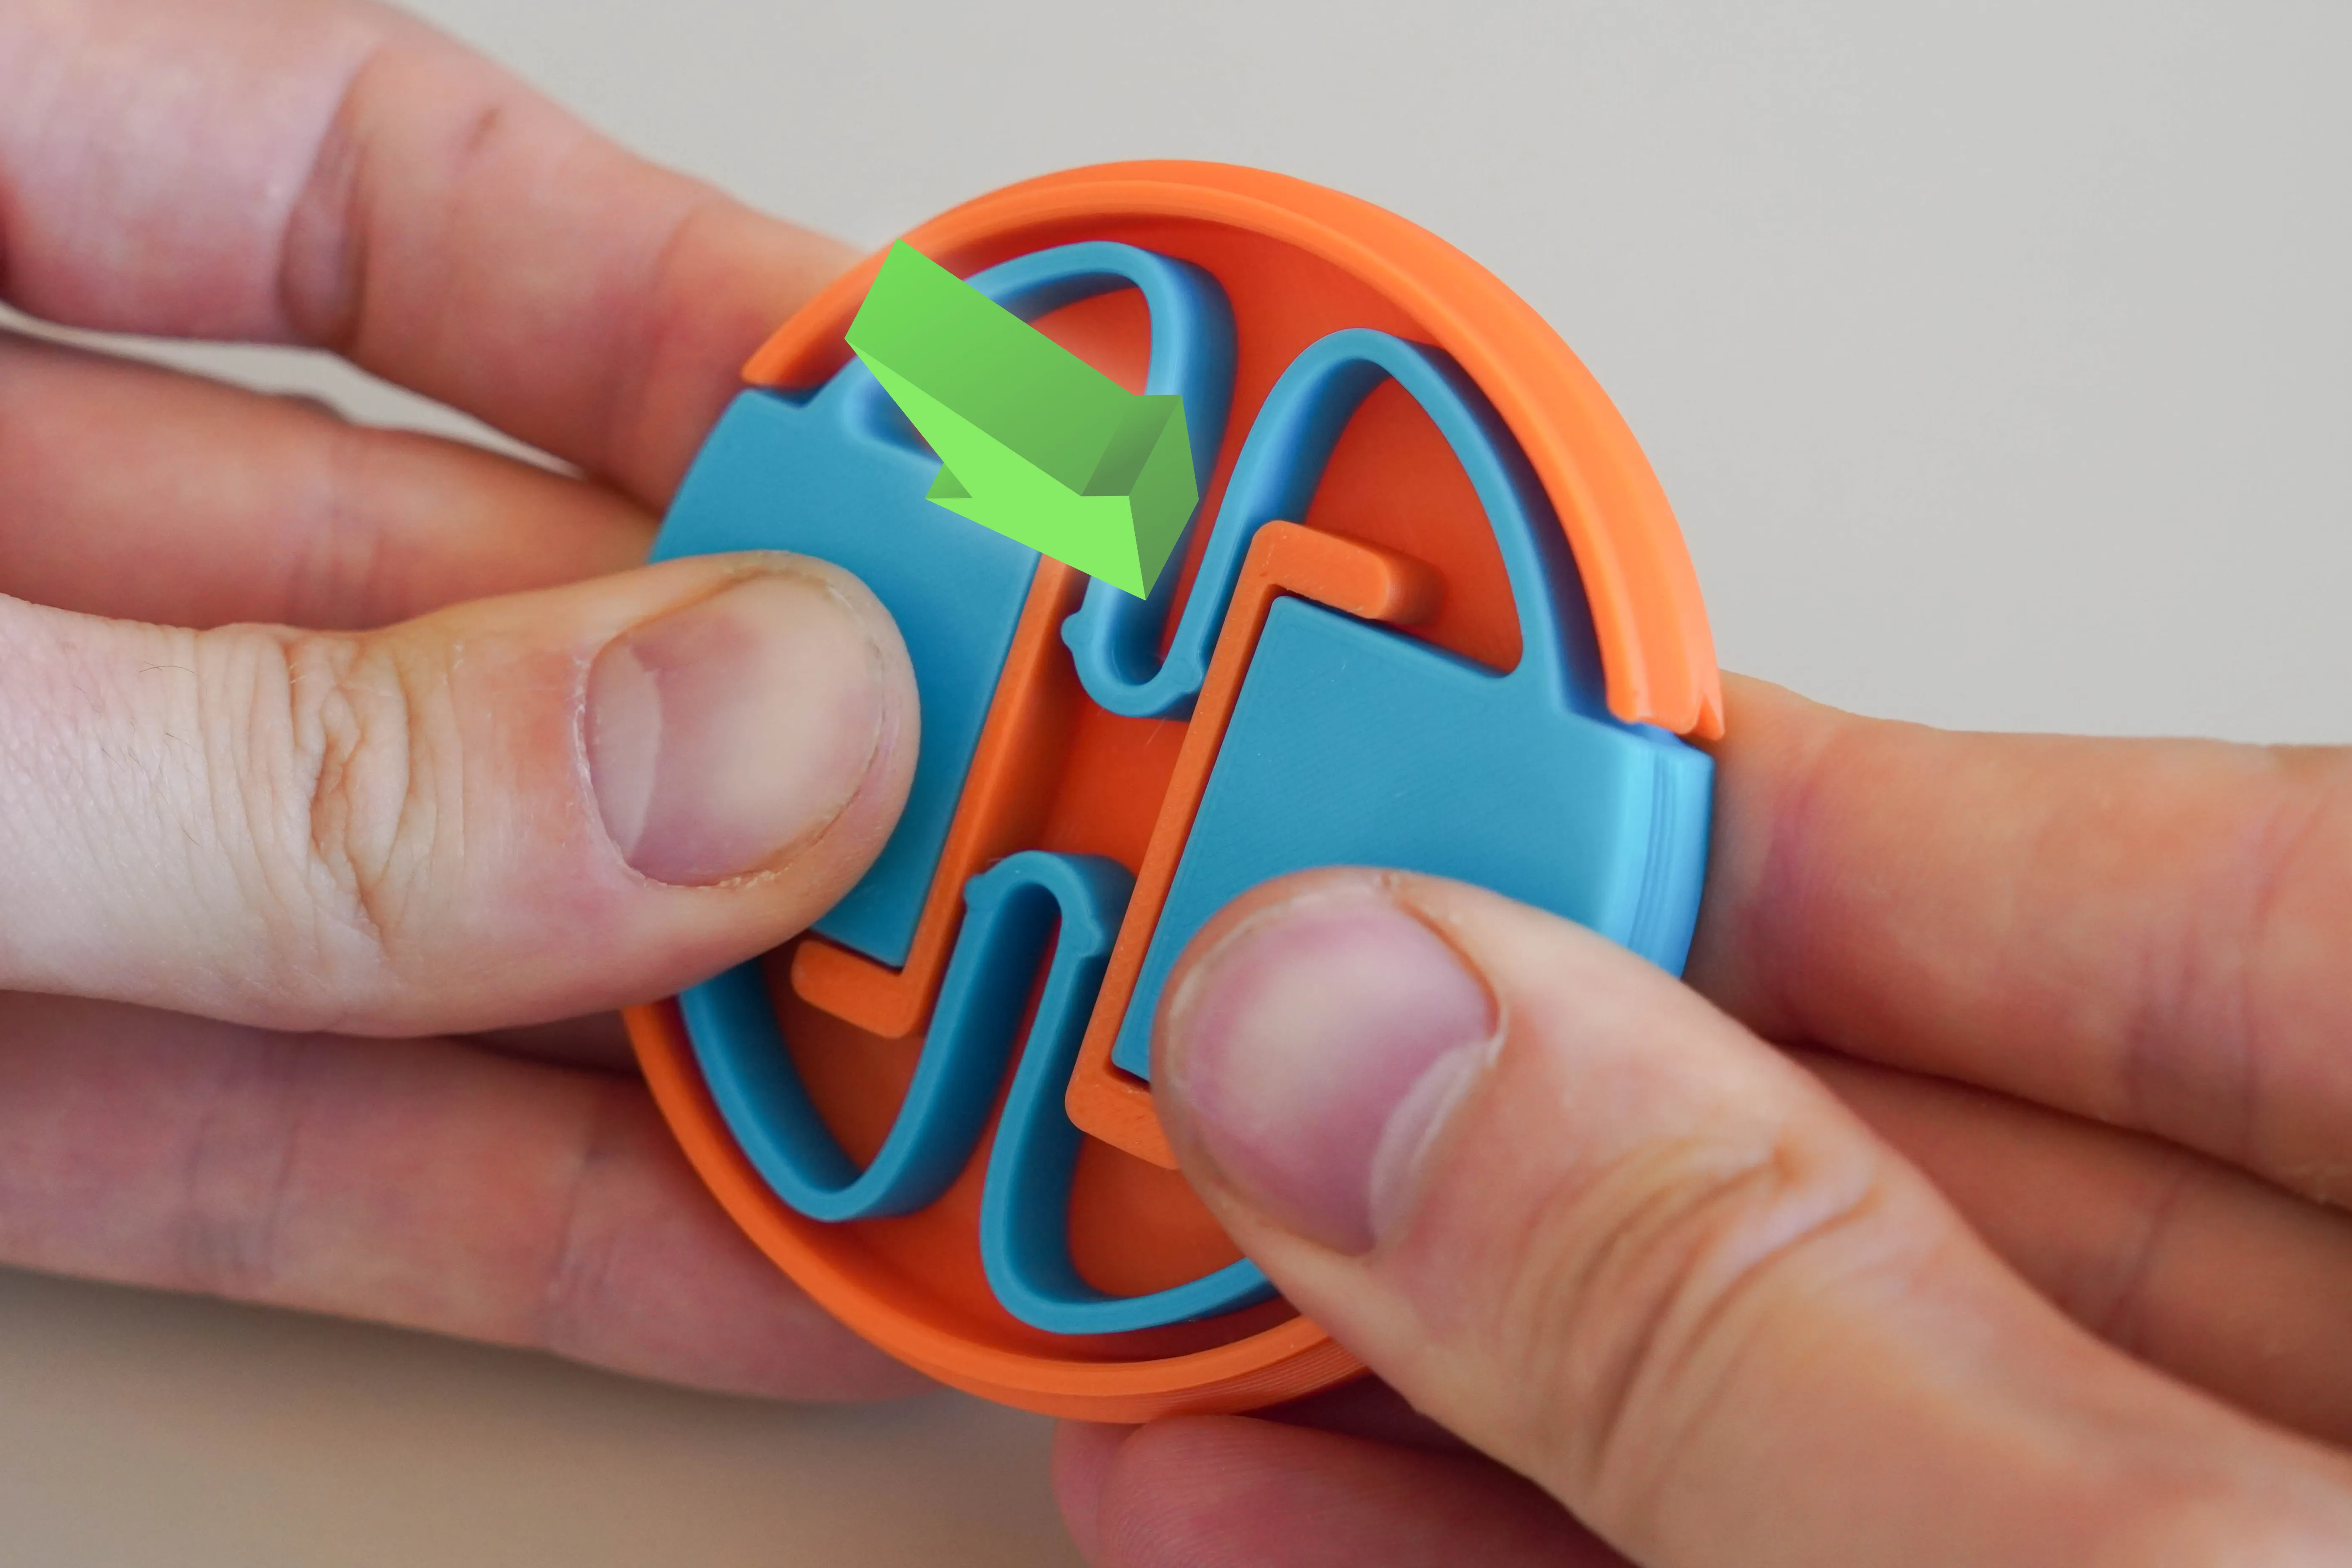
Enjoy!
Boost Me (for free)
If this was useful to you, consider leaving me boost!
Cover Image Background Credits:
https://www.freepik.com/free-photo/cement-wall-floor-copy-space_3224641.htm#fromView=search&page=2&position=4&uuid=d6432808-fa0f-44c8-8220-d2c7f968a12f&query=white+studio
Image by rawpixel.com on Freepik
License

You shall not share, sub-license, sell, rent, host, transfer, or distribute in any way the digital or 3D printed versions of this object, nor any other derivative work of this object in its digital or physical format (including - but not limited to - remixes of this object, and hosting on other digital platforms). The objects may not be used without permission in any way whatsoever in which you charge money, or collect fees.


Comment & Rating (822)