
TIE ADVANCED X1, Darth Vader's Tie Fighter
Print Profile(4)









Description
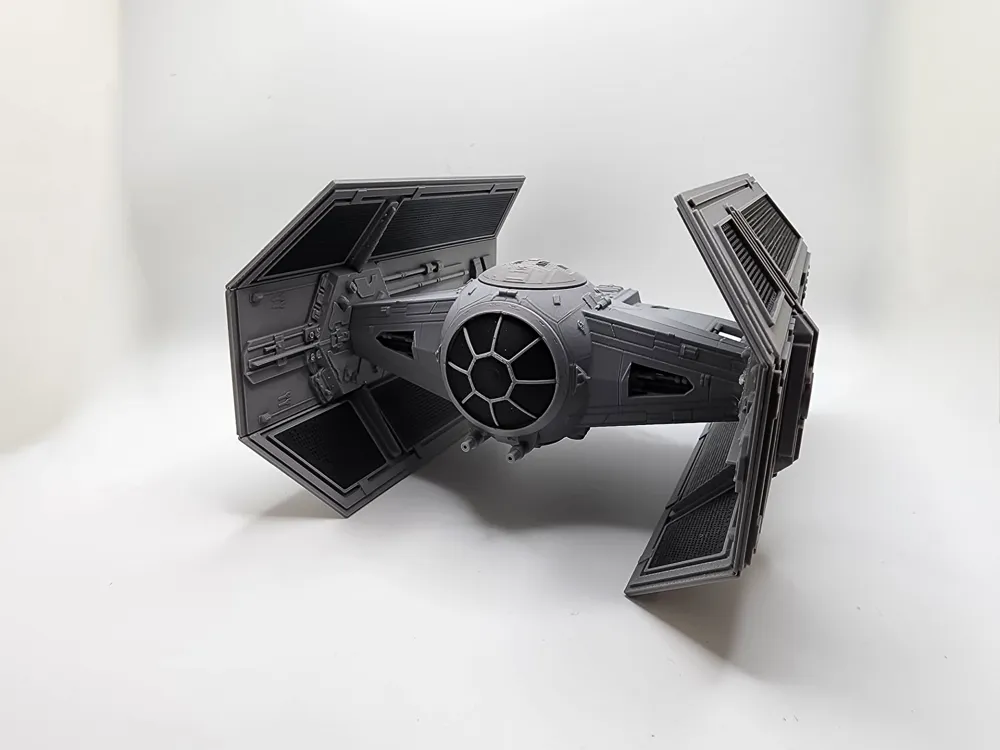
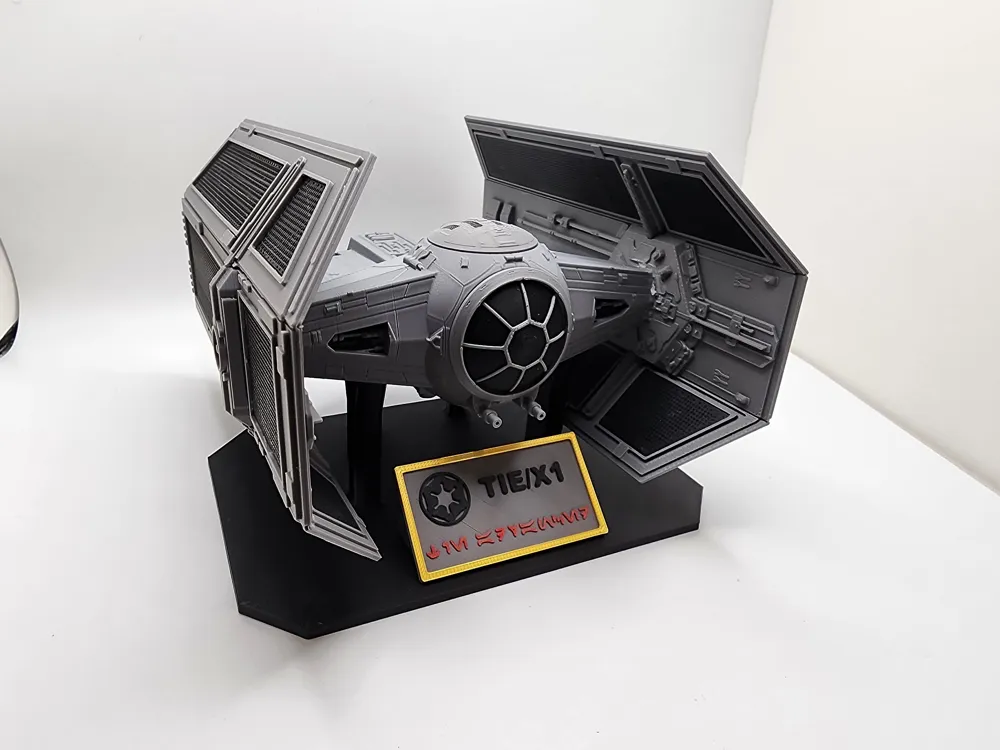
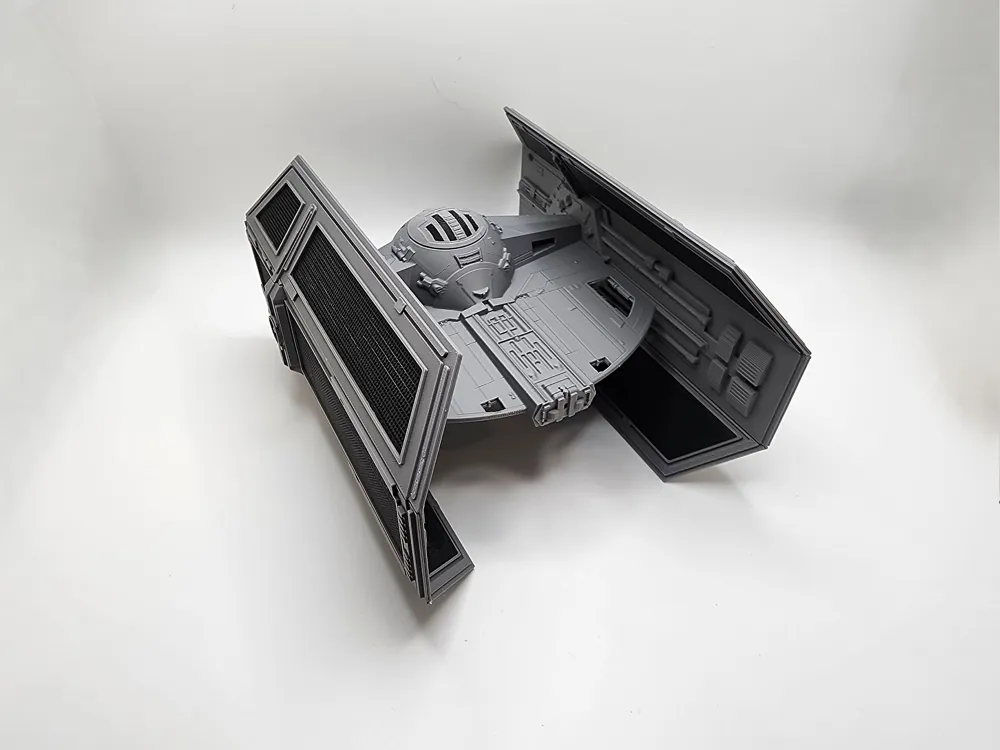
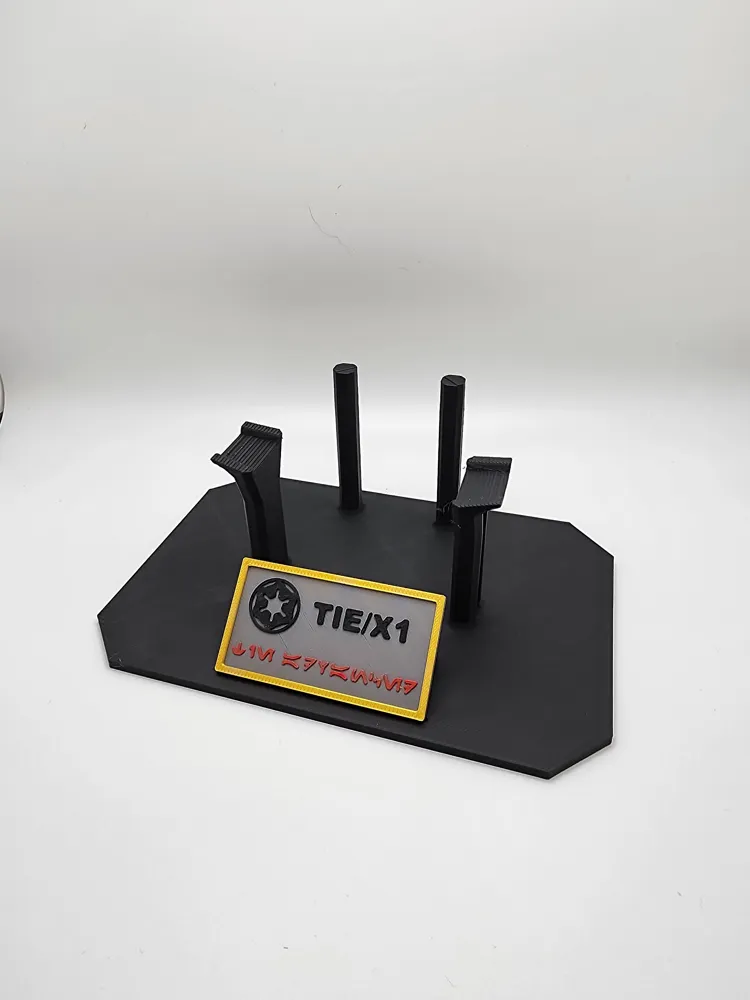
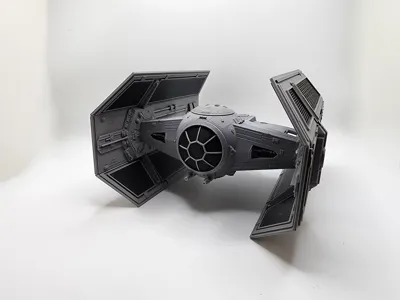
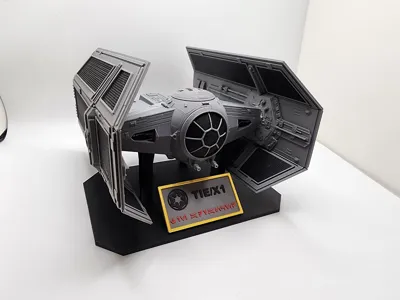
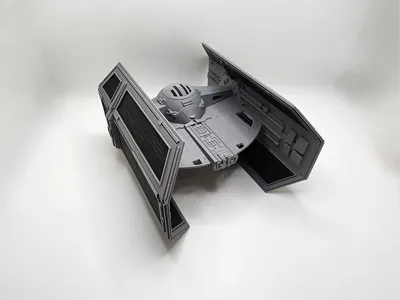
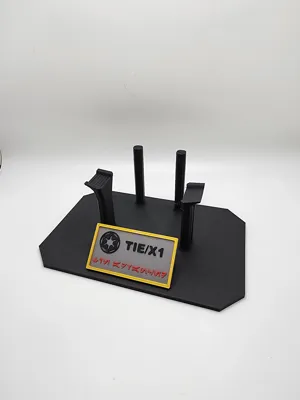
Bring the Dark Side to your workbench with this 3D printable model of Darth Vader’s TIE Advanced x1, as seen in Star Wars: A New Hope. This model is designed for detailed display and satisfying assembly, making it perfect for fans, collectors, and makers alike.

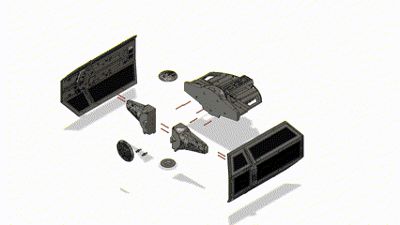
- Assembly Required: This is a glue-together model with multiple parts for better quality and ease of printing.
- Assembly Aids Included: Comes with helper tools to make assembly easier and more precise.
- Uses Filament as Pins: You’ll need short pieces of 1.75mm filament (cut to 16mm) for joining key components.
- Wing Assembly Tool doubles as a gauge for cutting 1.75mm filament pins to the correct 16mm length.
Designed with AMS/MMU compatibility in mind, but also fully printable in single-color setups.
Whether you're building your own Imperial fleet or just love detailed model kits, this print brings Vader’s legendary starfighter to life on your shelf.
Boost Me (for free)
"Secure peace. Bring order. Join the Empire."
Citizens, the galaxy needs stability—and you can be the force that ensures it. Serve with pride. Enforce the Emperor’s will. Together, we build a stronger tomorrow. Enlist today.
Assembly Notes:
- Glue is required for final assembly.
- Use 1.75mm filament cut to 16mm for joining parts (tool included to measure pins).
- Print the included wing alignment tool for easier and cleaner construction.
- Recommended layer height: 0.16–0.2 mm



- Use the provided tool to shape the inner wing panels (CENTER_IN):
- Apply a small amount of glue to the seams.
- Bend the top and bottom sections into place and place the panel in the tool while the glue sets.

- While the inner panel dries, prepare the solar panel inserts (WING_TOP and WING_BOTTOM):
- Insert the solar panels into the top and bottom outer wing skins.
- Optionally, glue the panels in place to prevent them from falling out.
- Attach the outer center section (CENTER_OUT):
- Insert the small panel (RAD_CENTER_FRONT) in the front and the longer panel (RAD_CENTER_REAR) in the back.
- Note: The longer panel only has one correct orientation. Flip it if it doesn’t align.
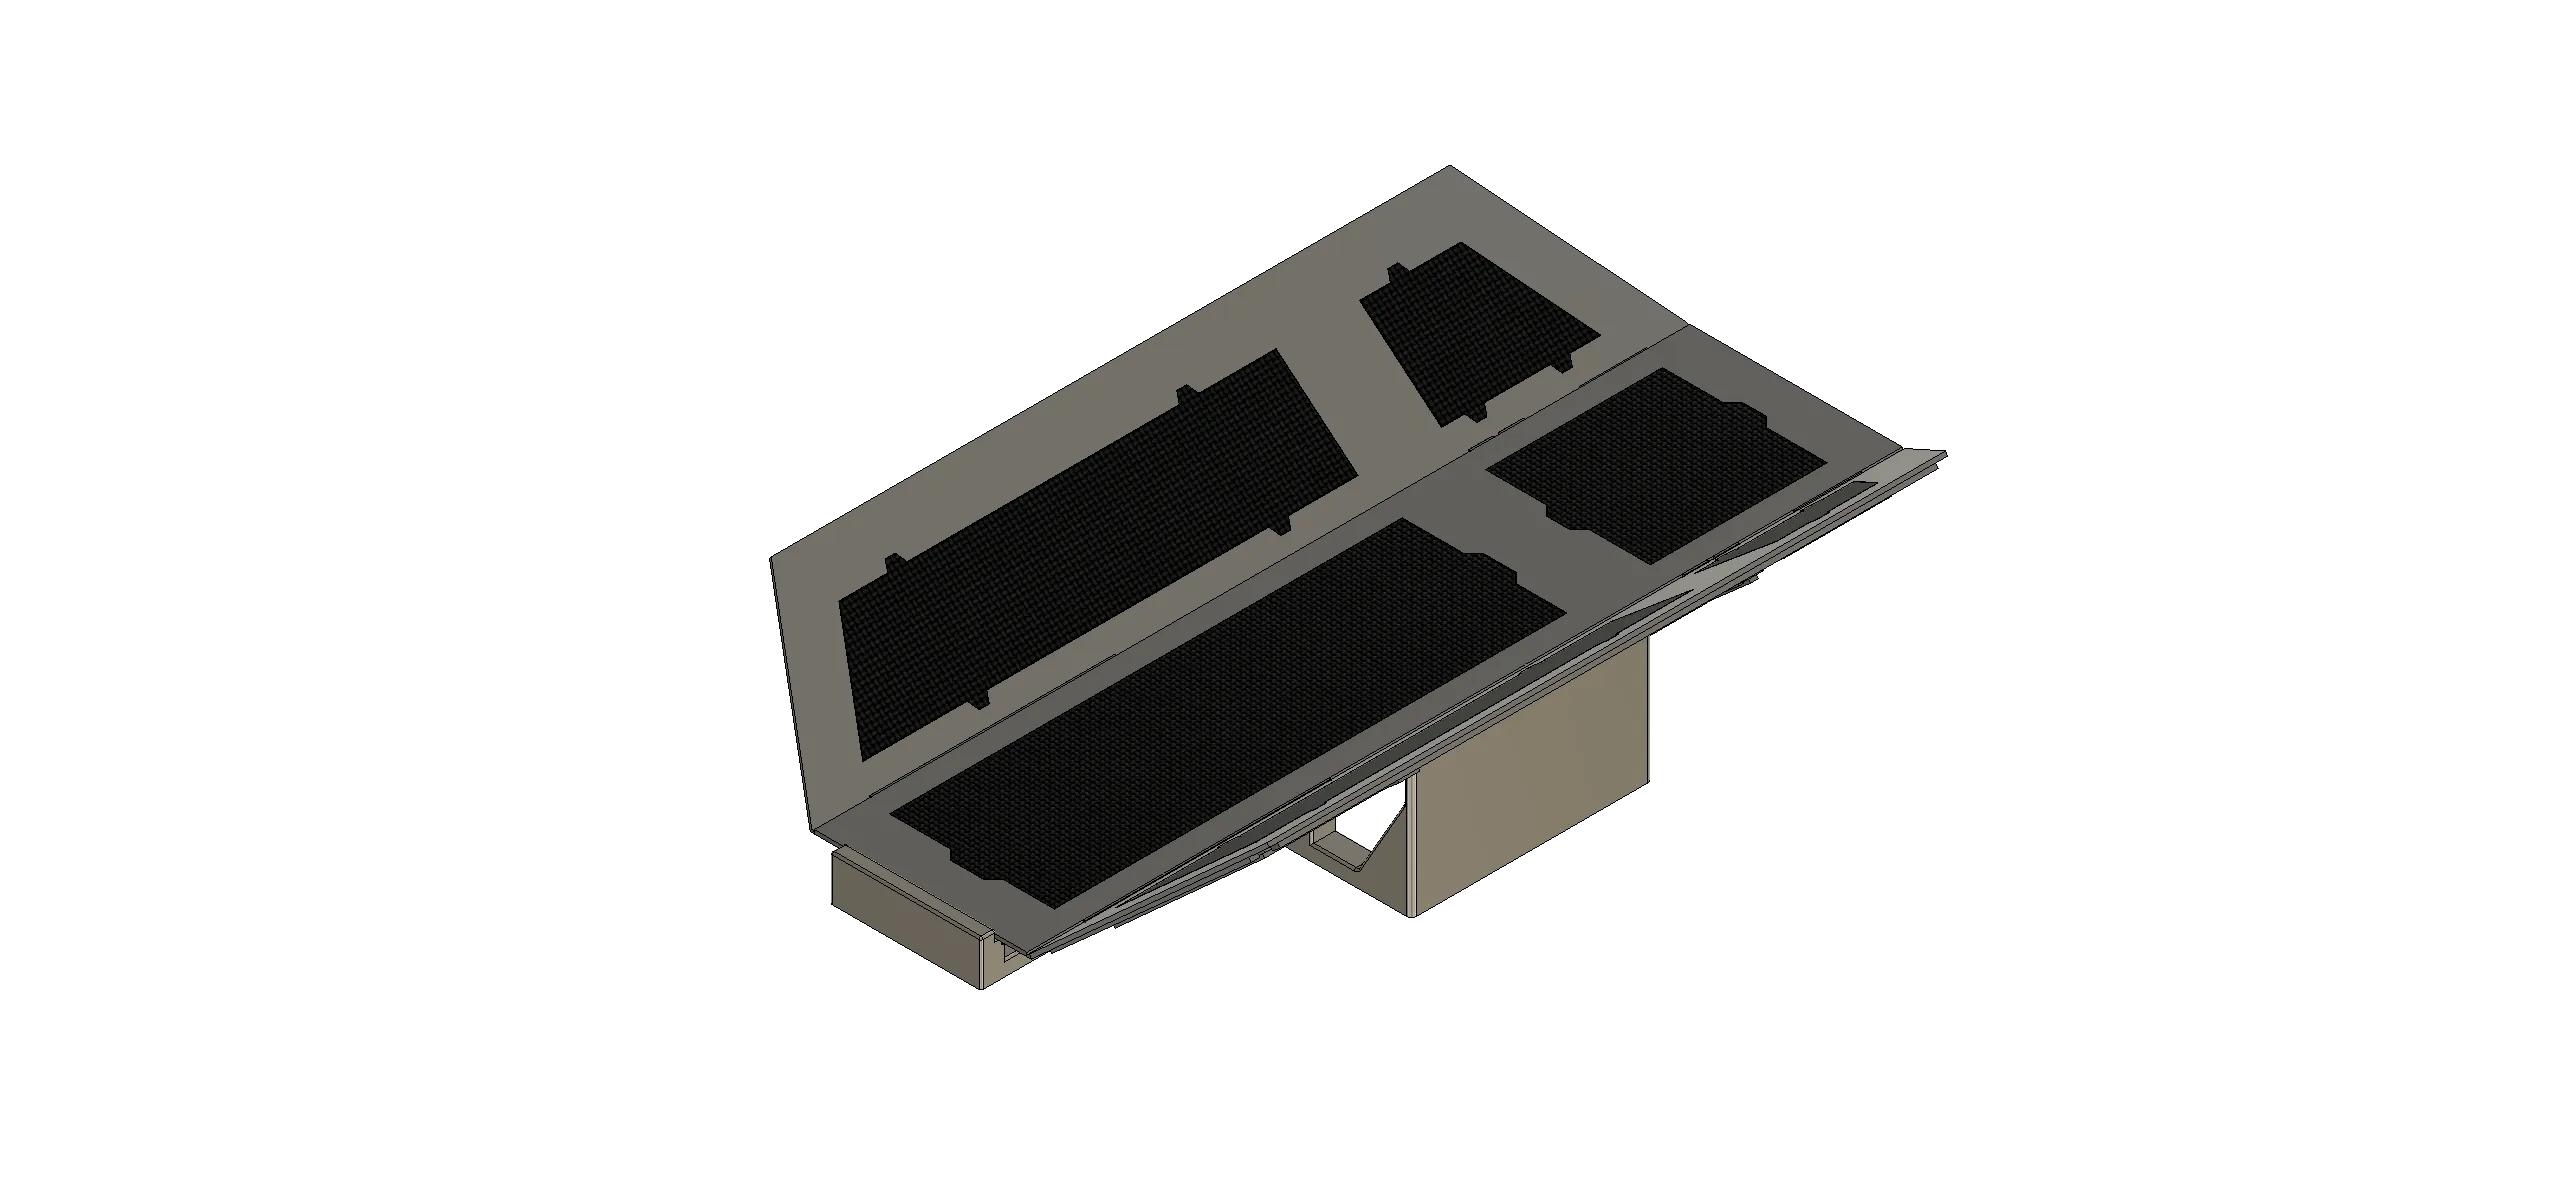
- Use the wing assembly tool to glue the outer skins (WING_TOP and WING_BOTTOM) to the inner panel (CENTER_IN):
-
- Apply glue evenly to the edges of the inner panel.
- Align the solar panels with their corresponding holes.
- Clamp the pieces together while the glue dries.
- Repeat these steps for the other wing assembly.
Complete your fleet:
License

You shall not share, sub-license, sell, rent, host, transfer, or distribute in any way the digital or 3D printed versions of this object, nor any other derivative work of this object in its digital or physical format (including - but not limited to - remixes of this object, and hosting on other digital platforms). The objects may not be used without permission in any way whatsoever in which you charge money, or collect fees.


Comment & Rating (455)