
Winchester 73
Print Profile(1)

Description
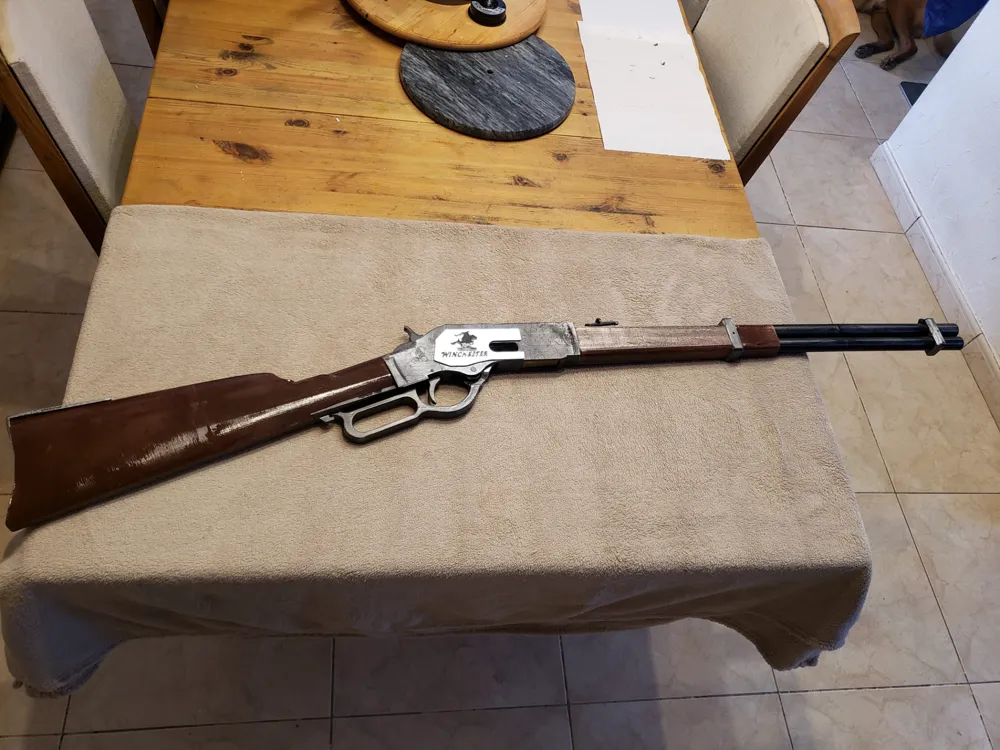
The Winchester 73, the weapon of Western conquest! 700,000 units produced at the time
Here you will find a functional replica of the Winchester 73; the trigger, hammer, and firing pin move and closely resemble the real Winchester 73
Please share your comments and creations based on my model, feel free to point out any aspects you find unsatisfactory, I will endeavor to assist you
Version 1 of the Winchester 73 (Note: I have added modified parts as direct STL files for download; I will make a final revision once I have received all your feedback)
Improvement project: Fabricate simulated bullets that eject with the mechanism
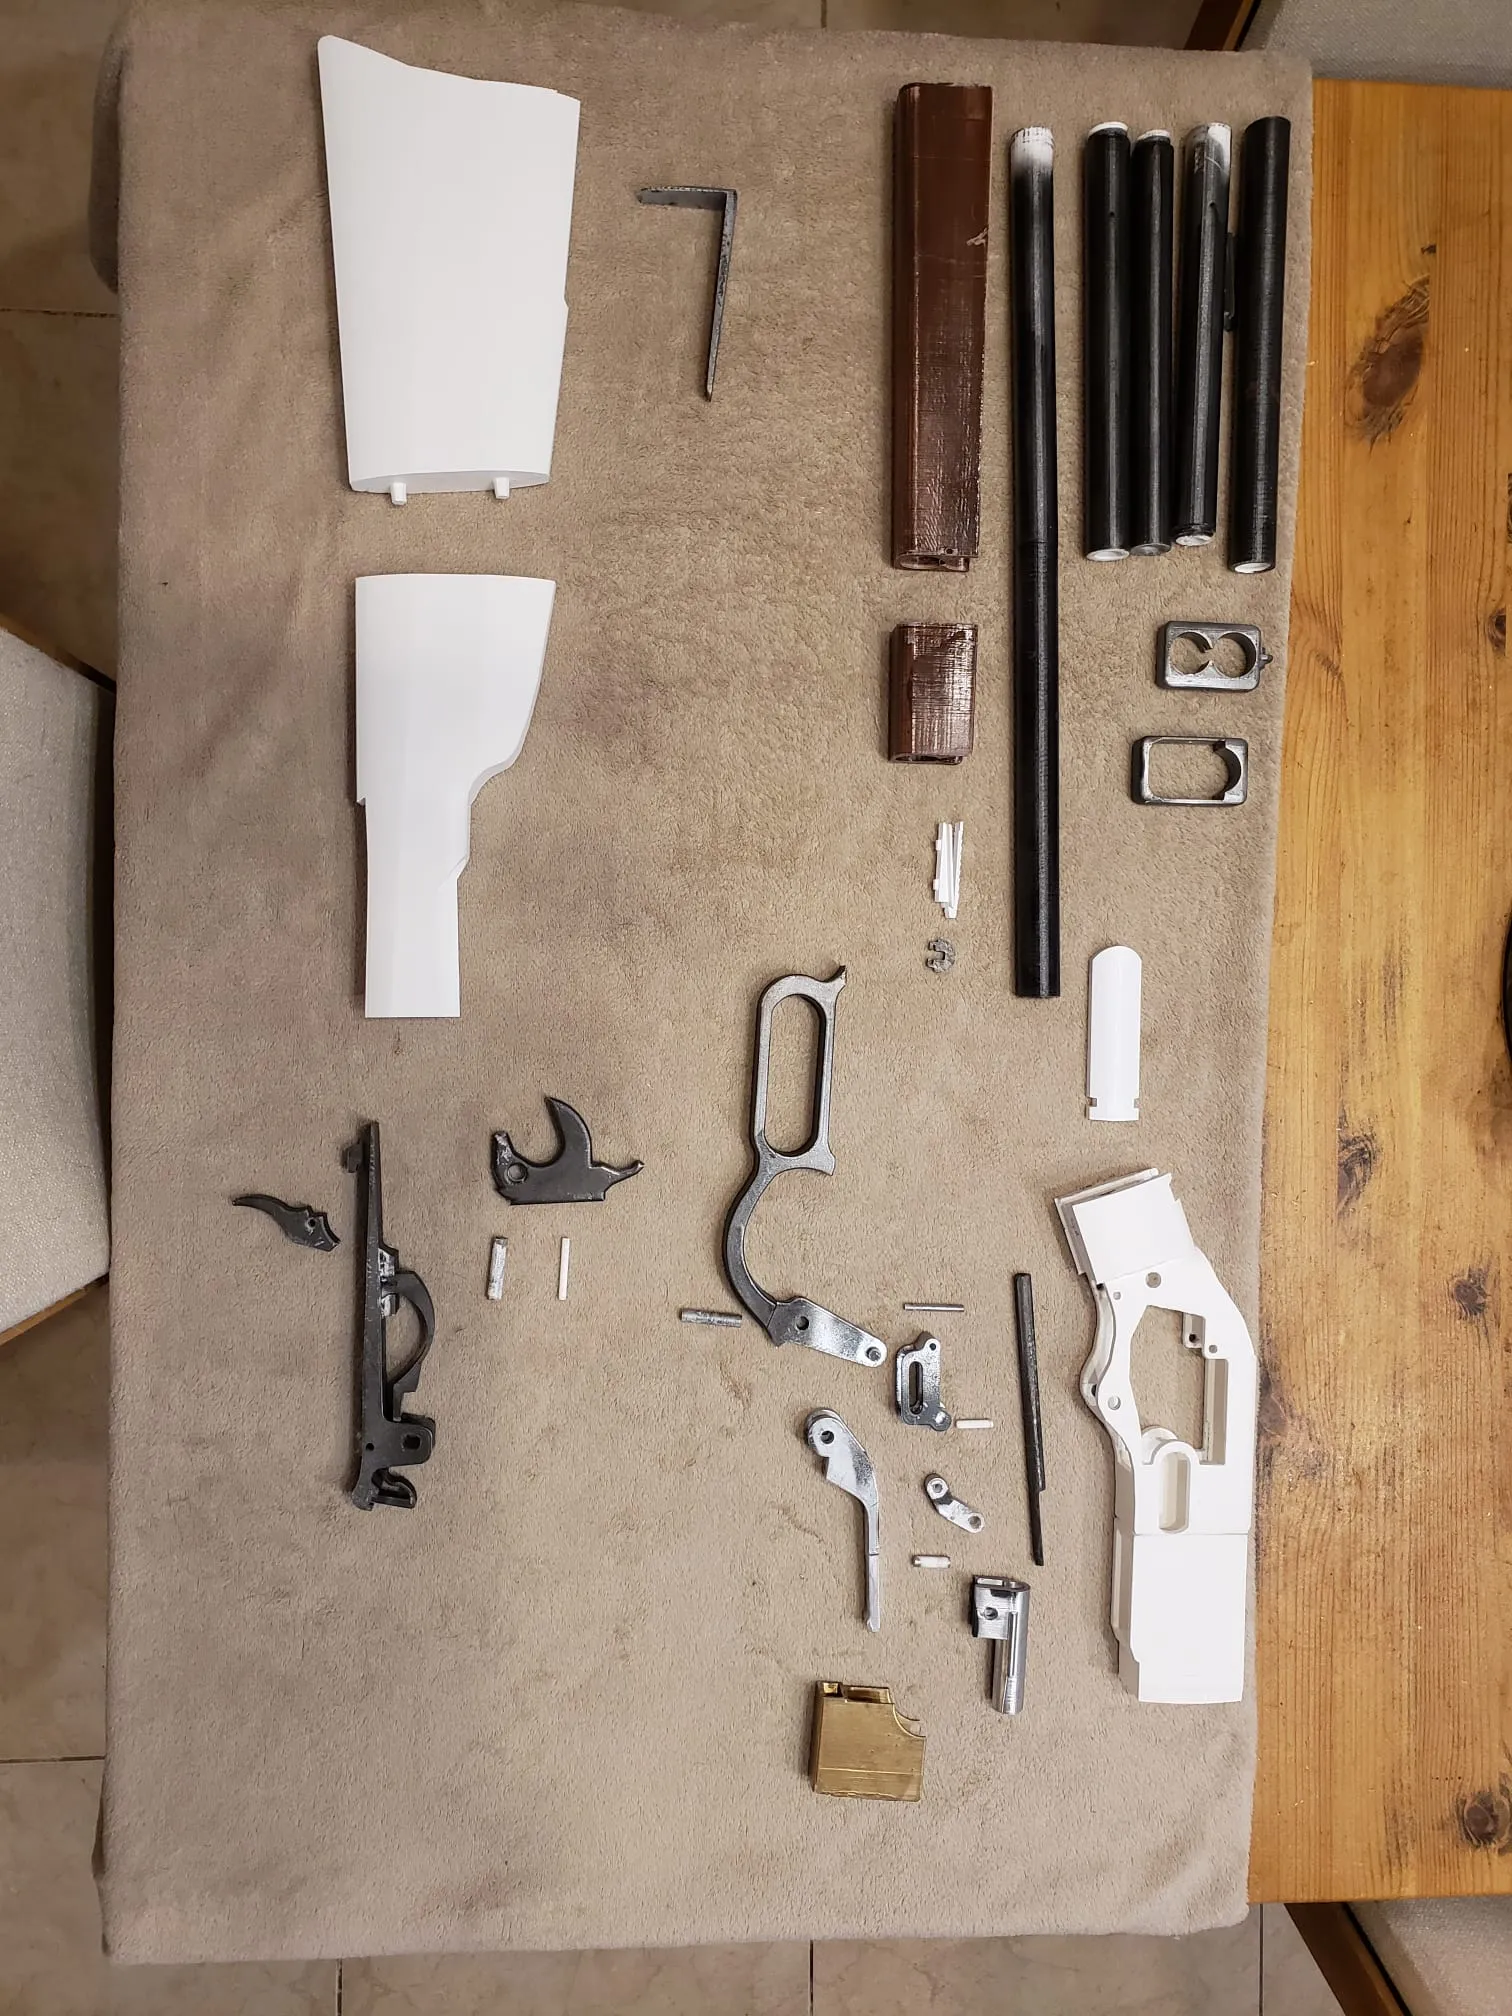
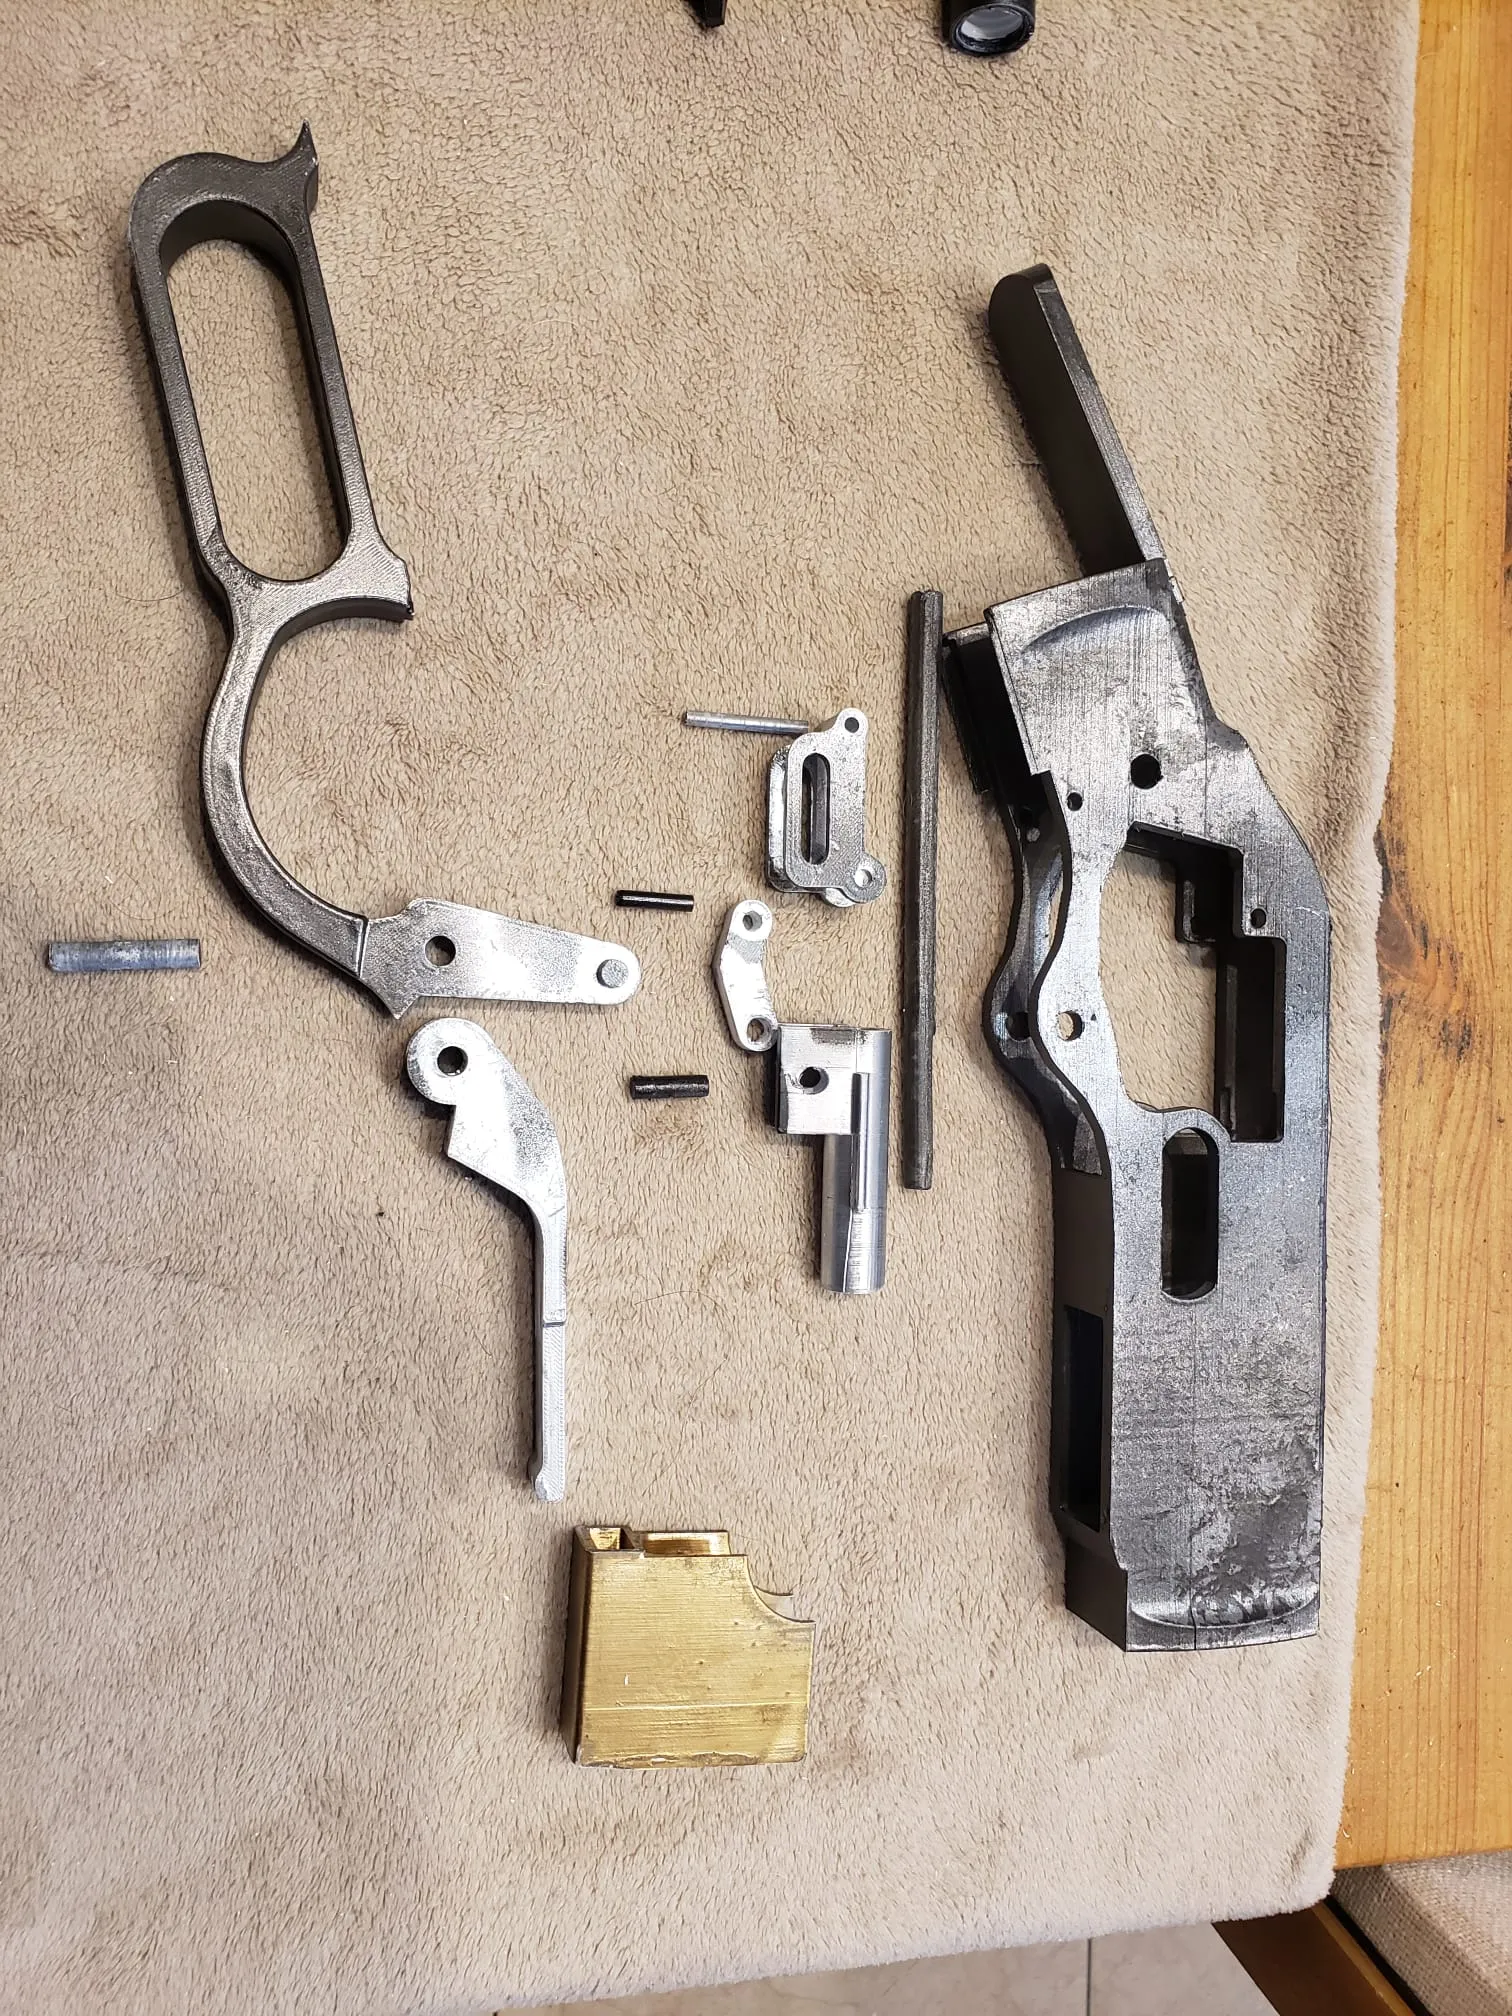
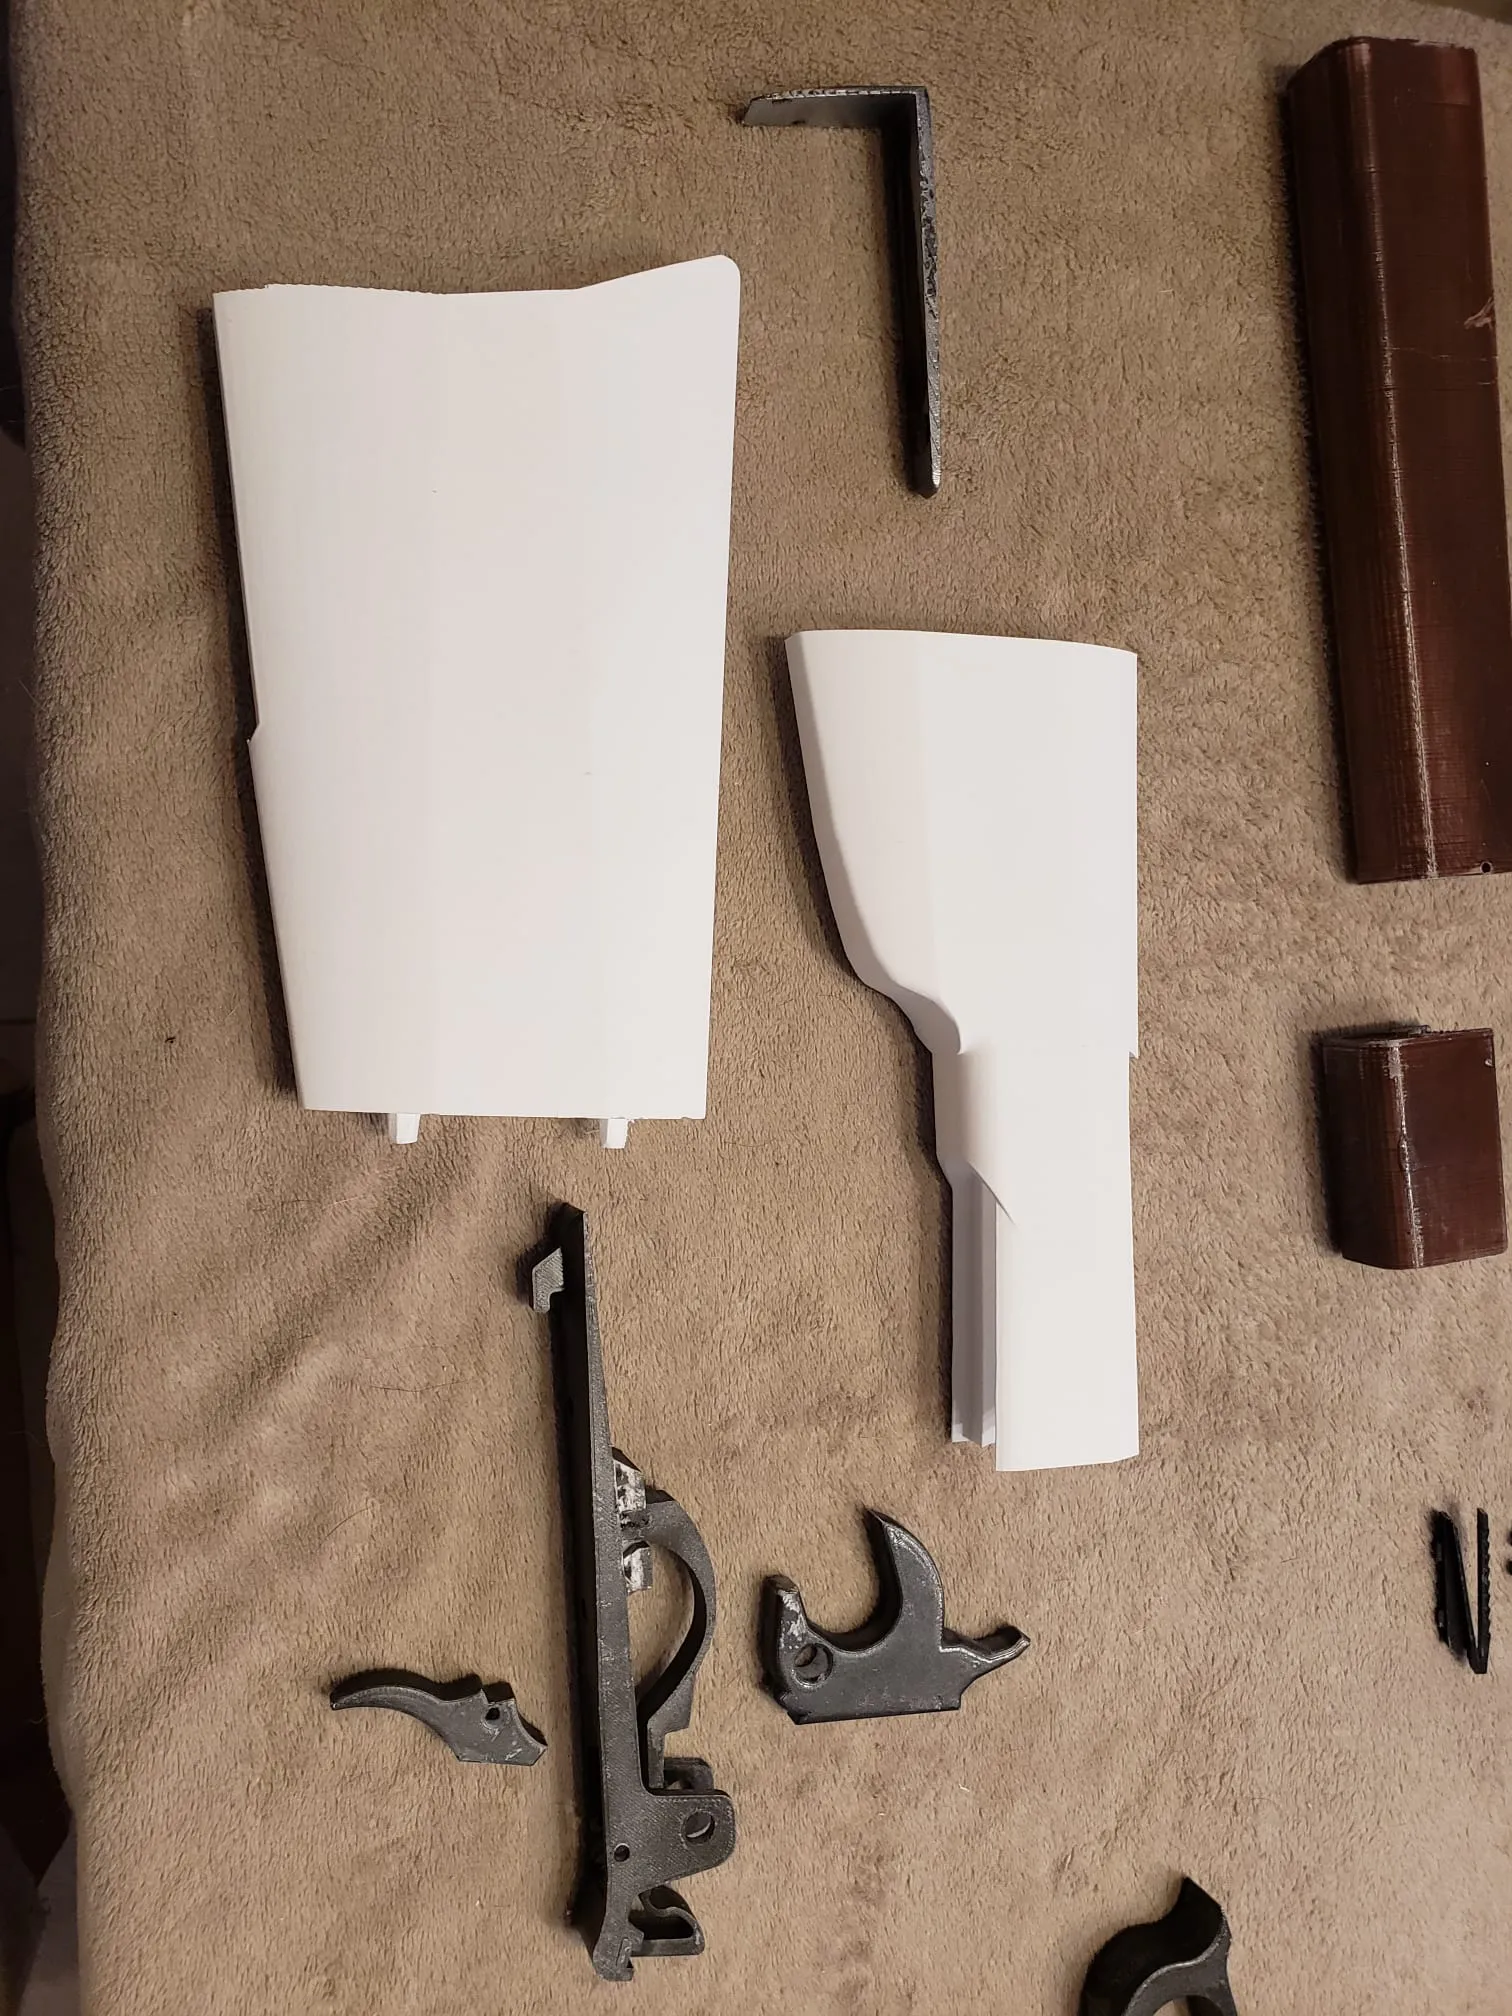
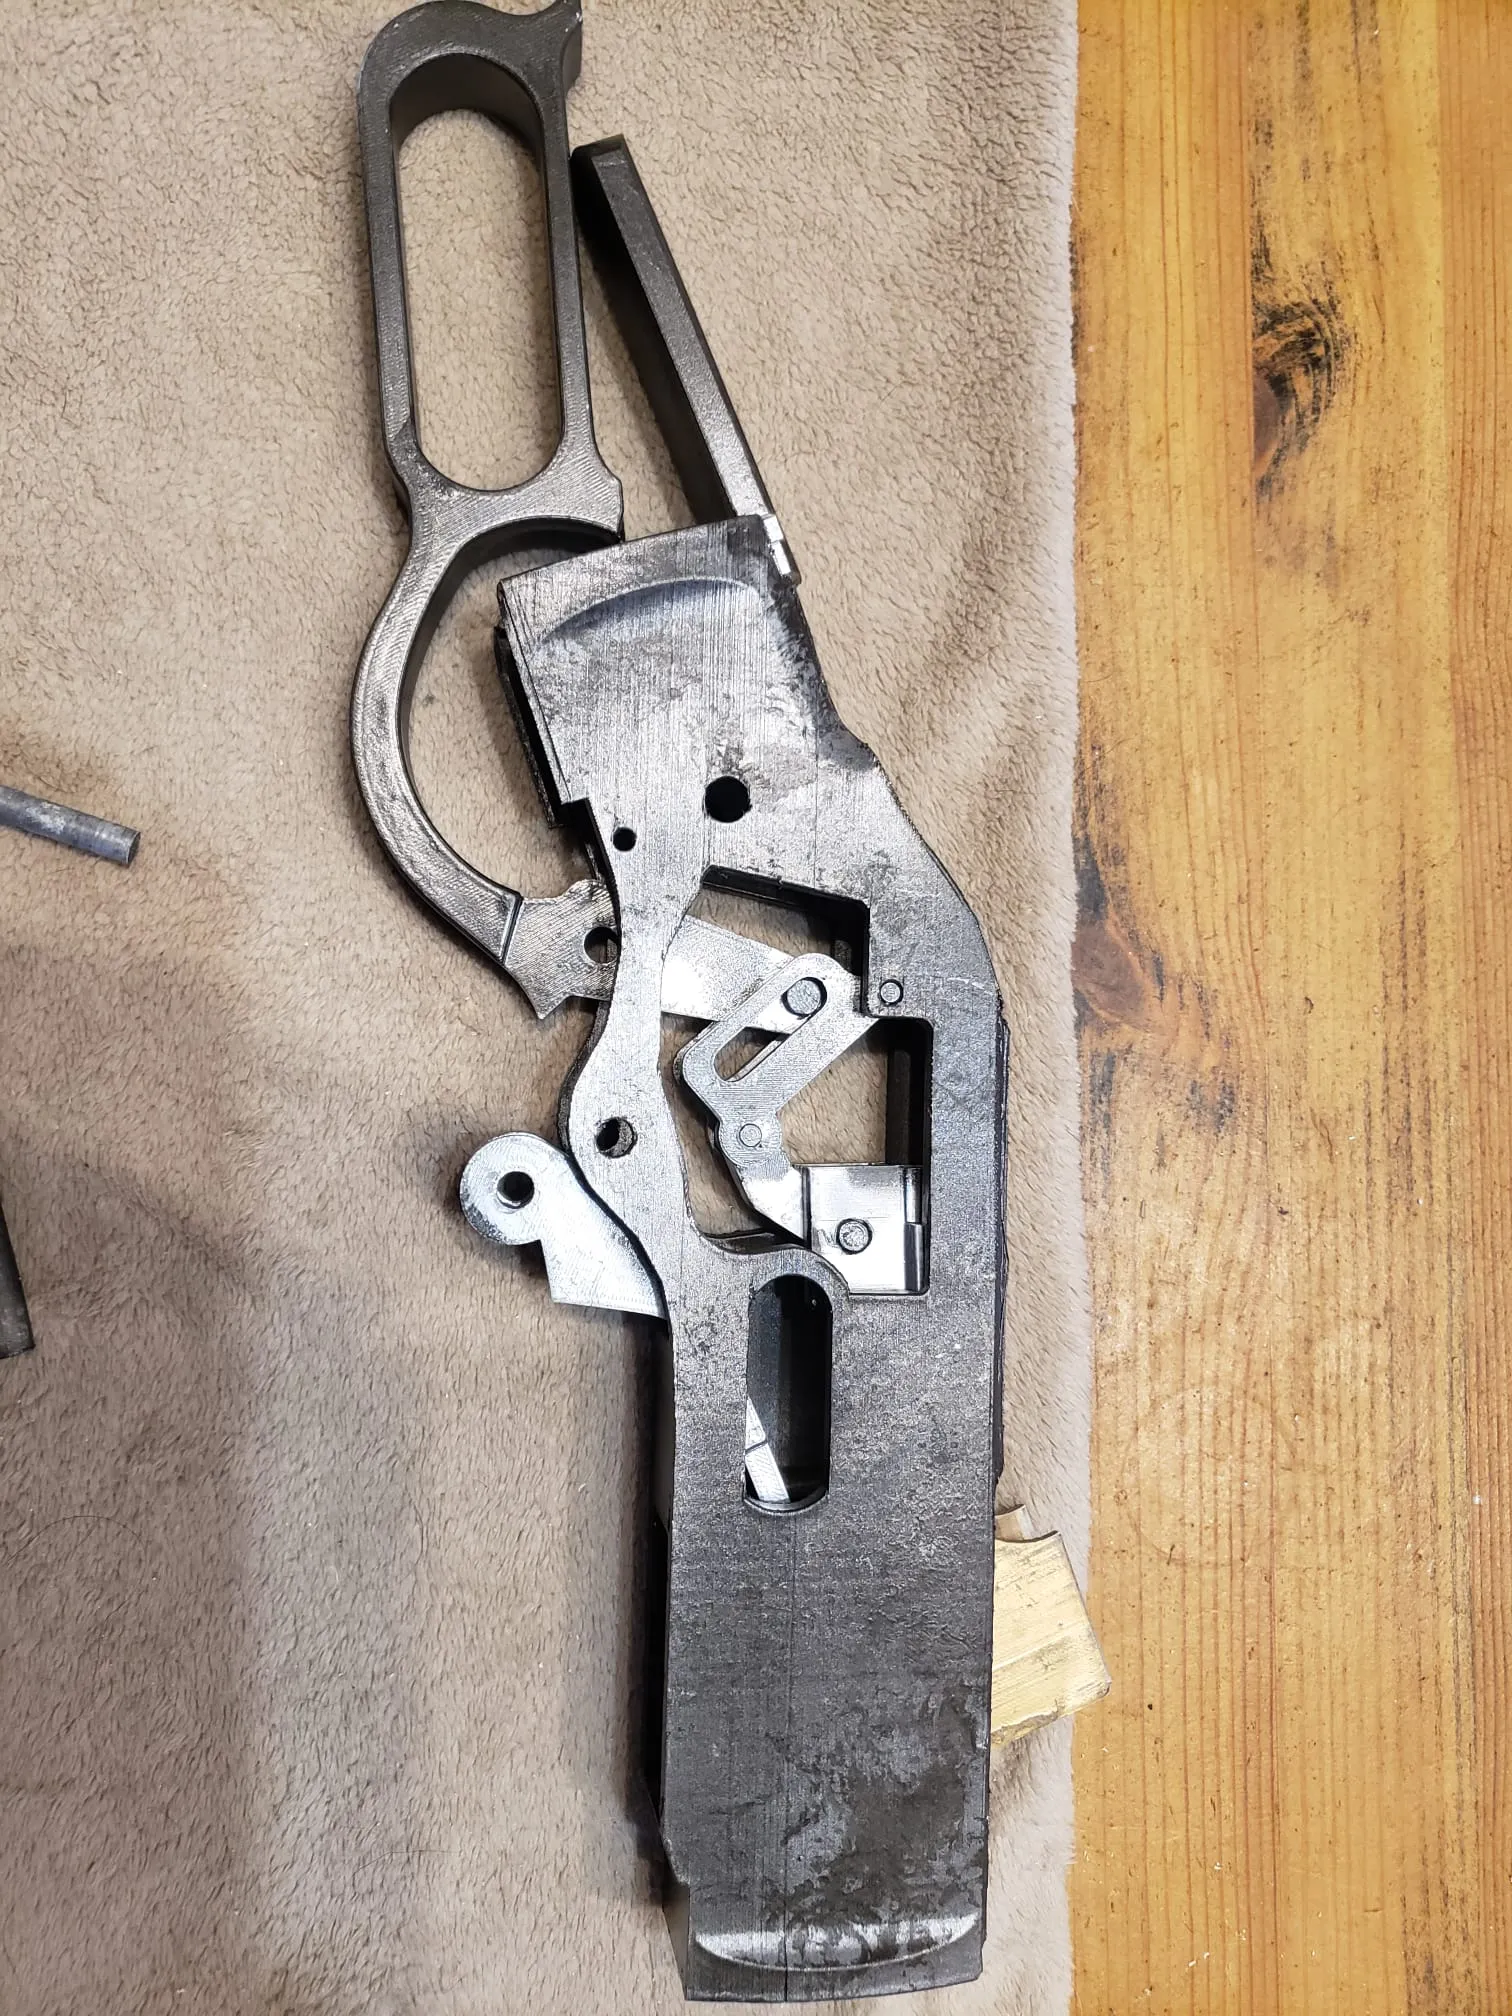
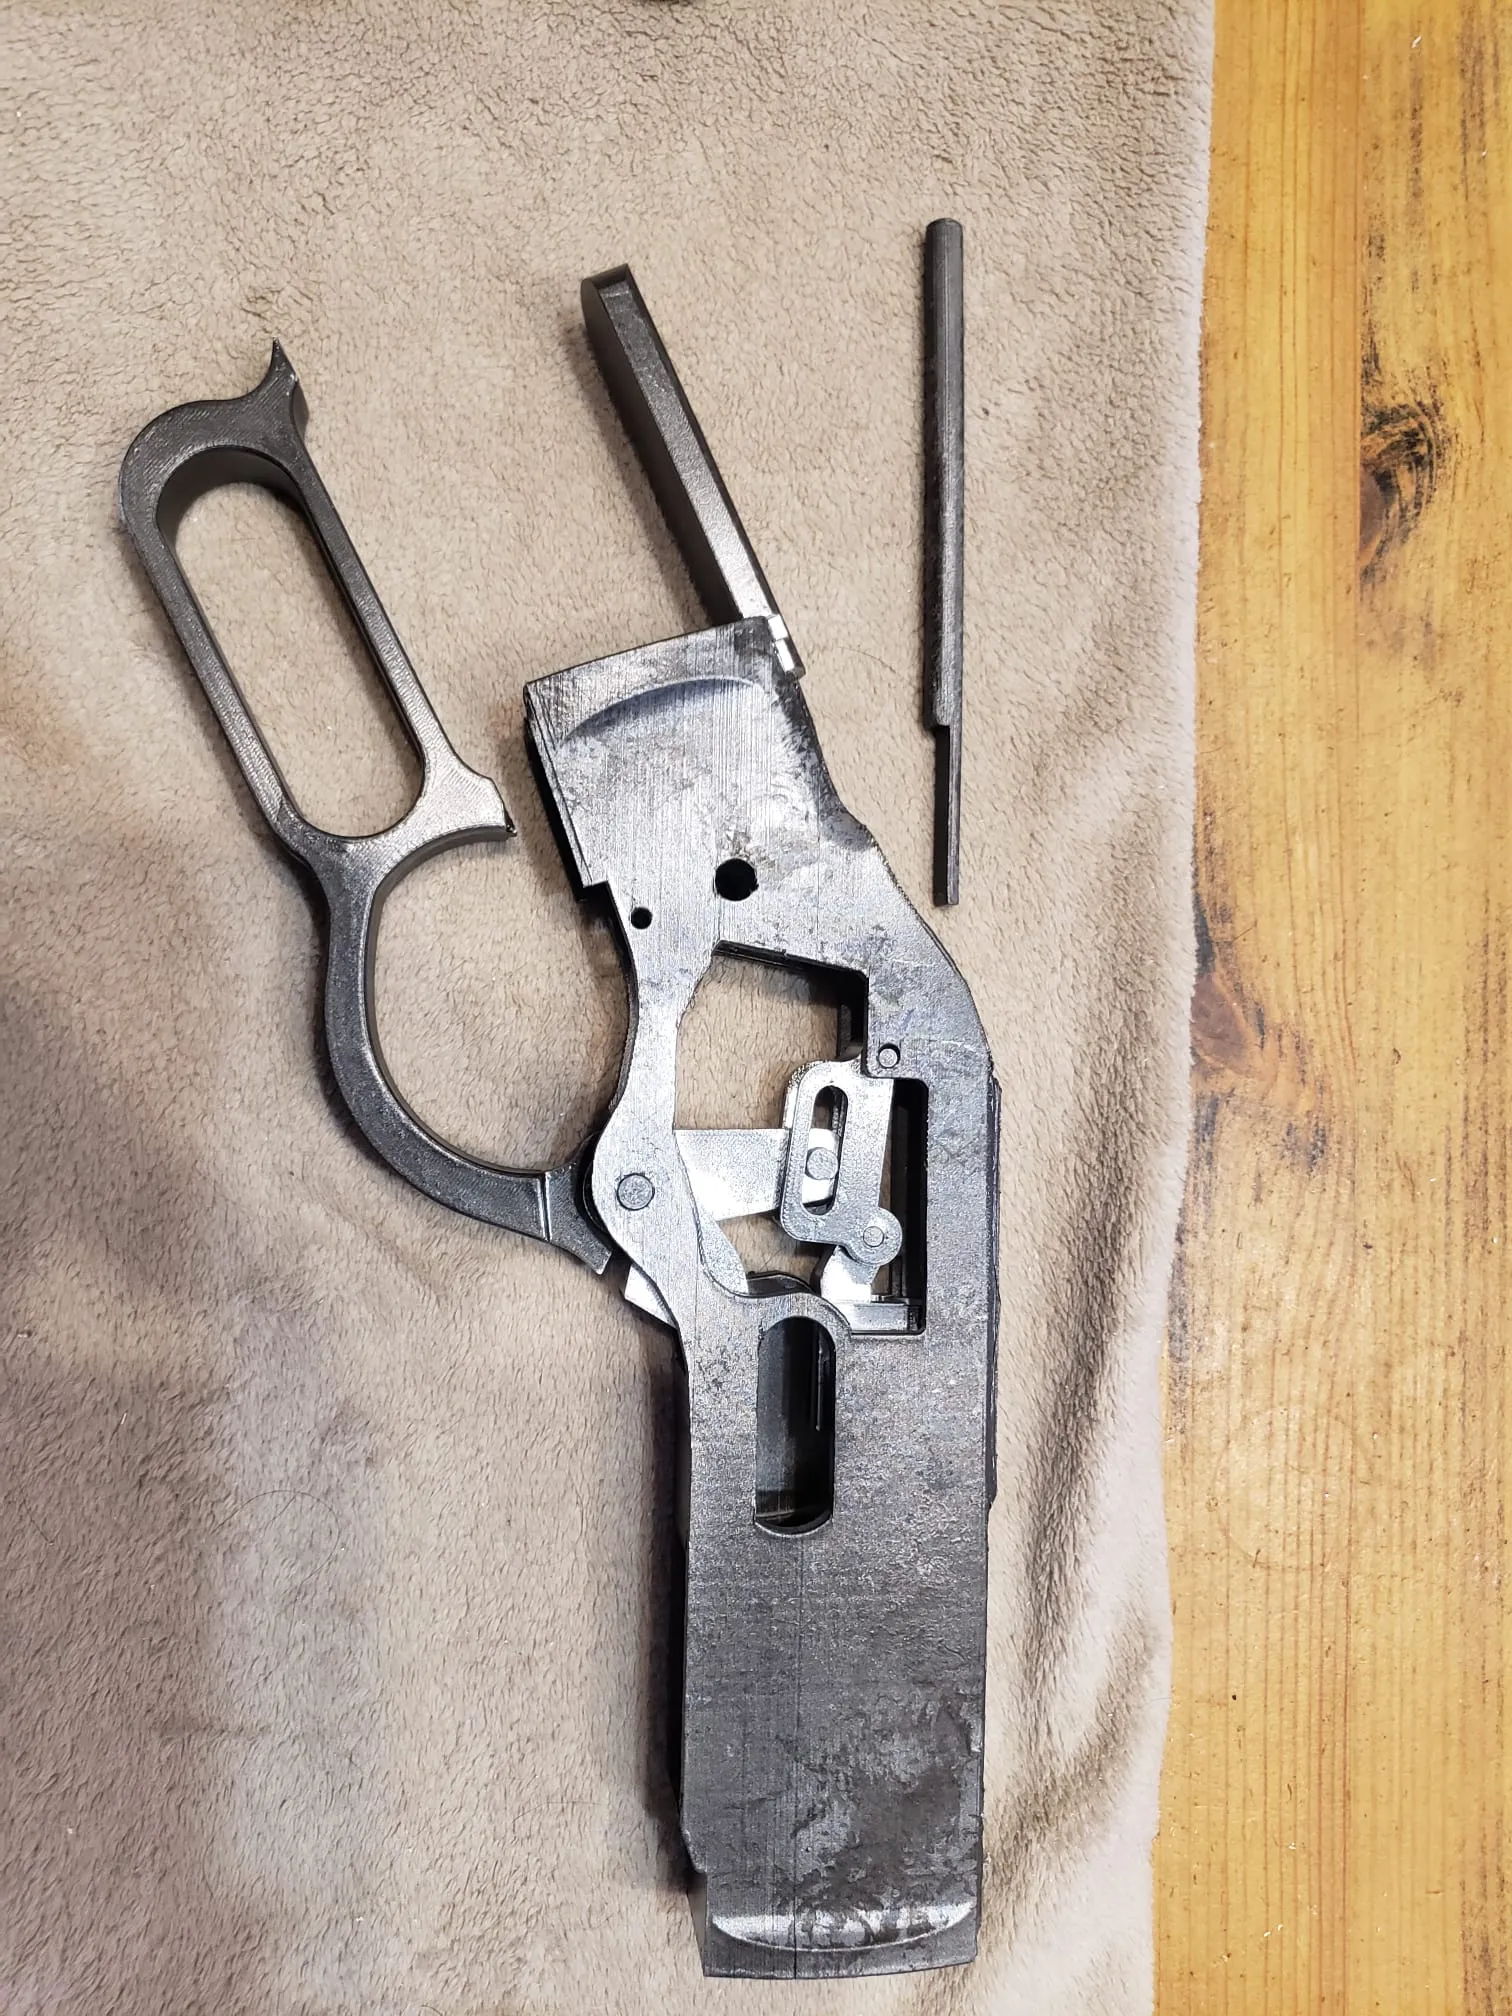
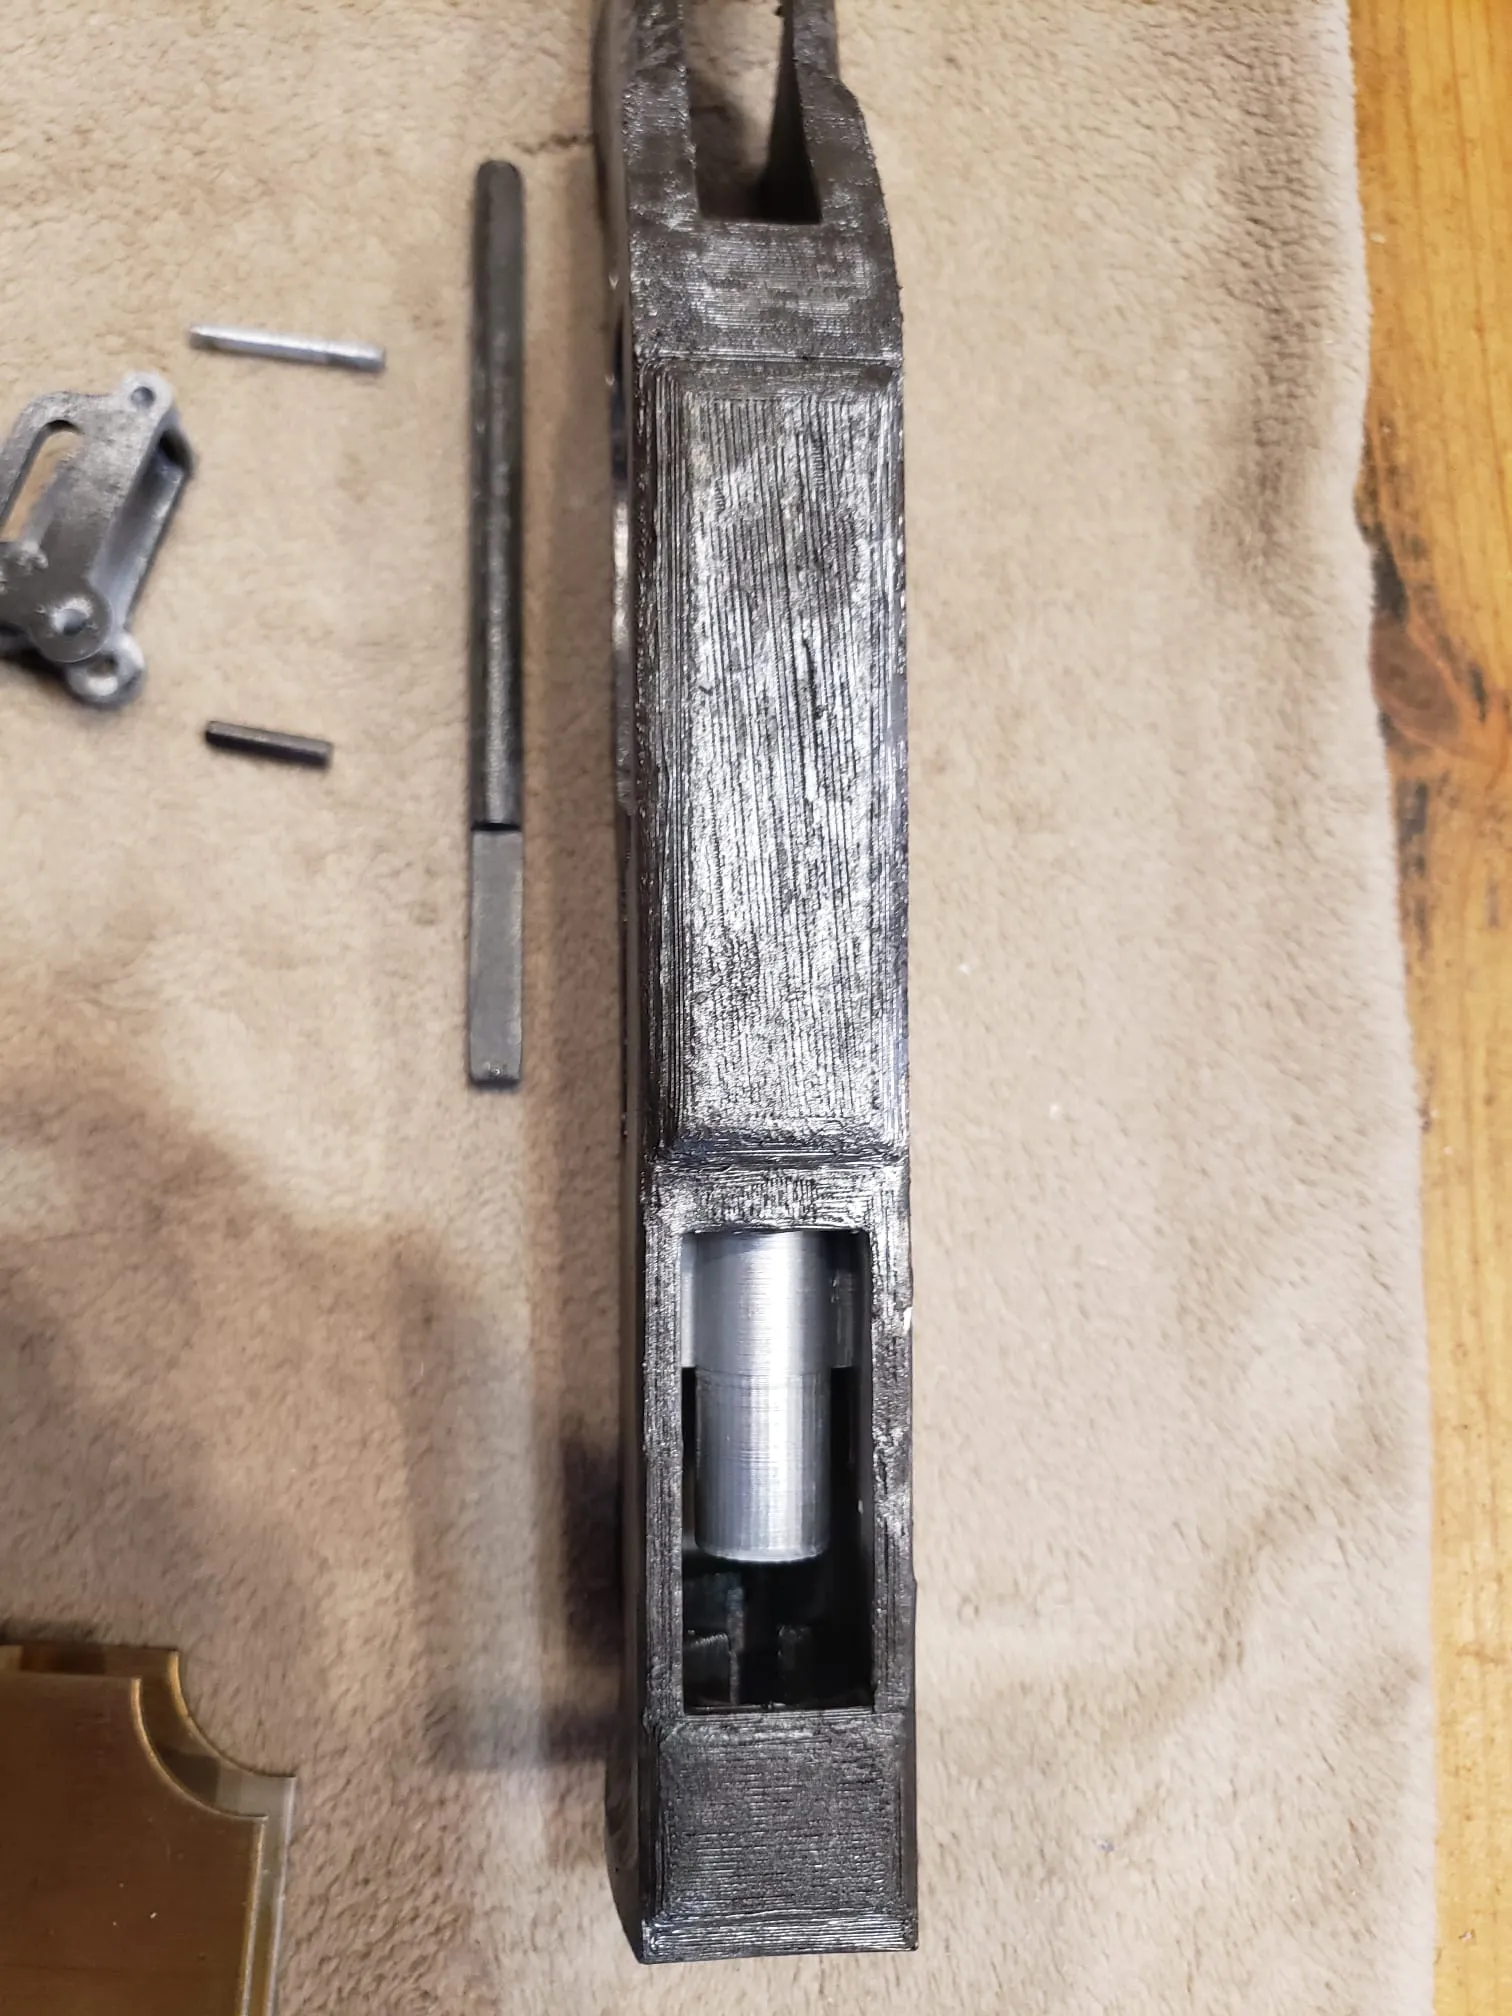
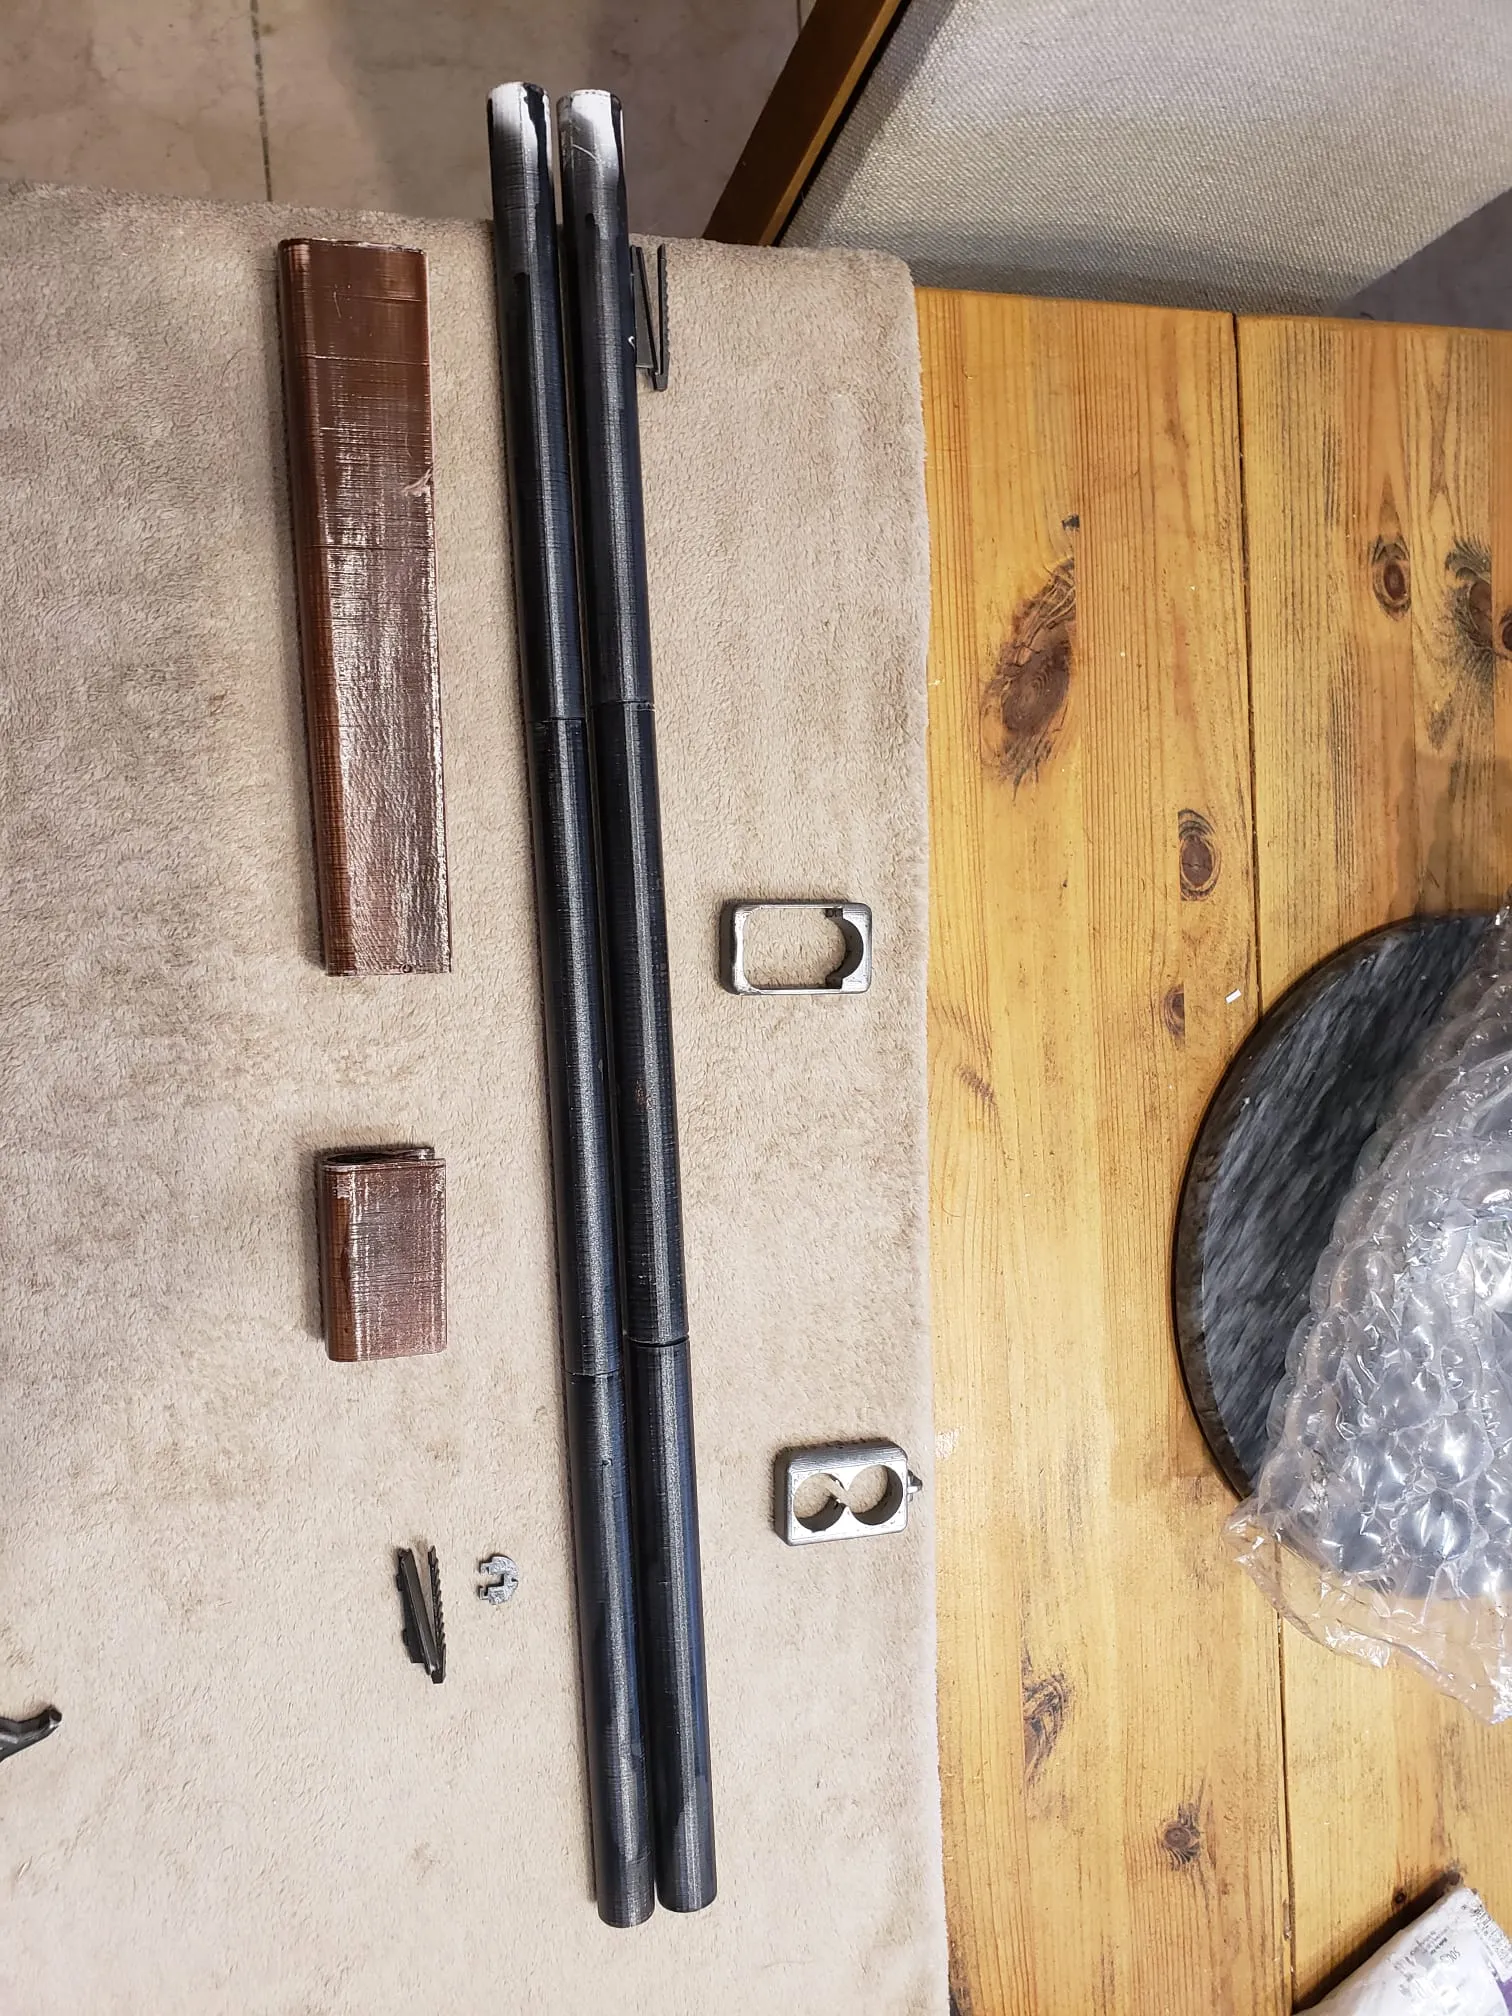
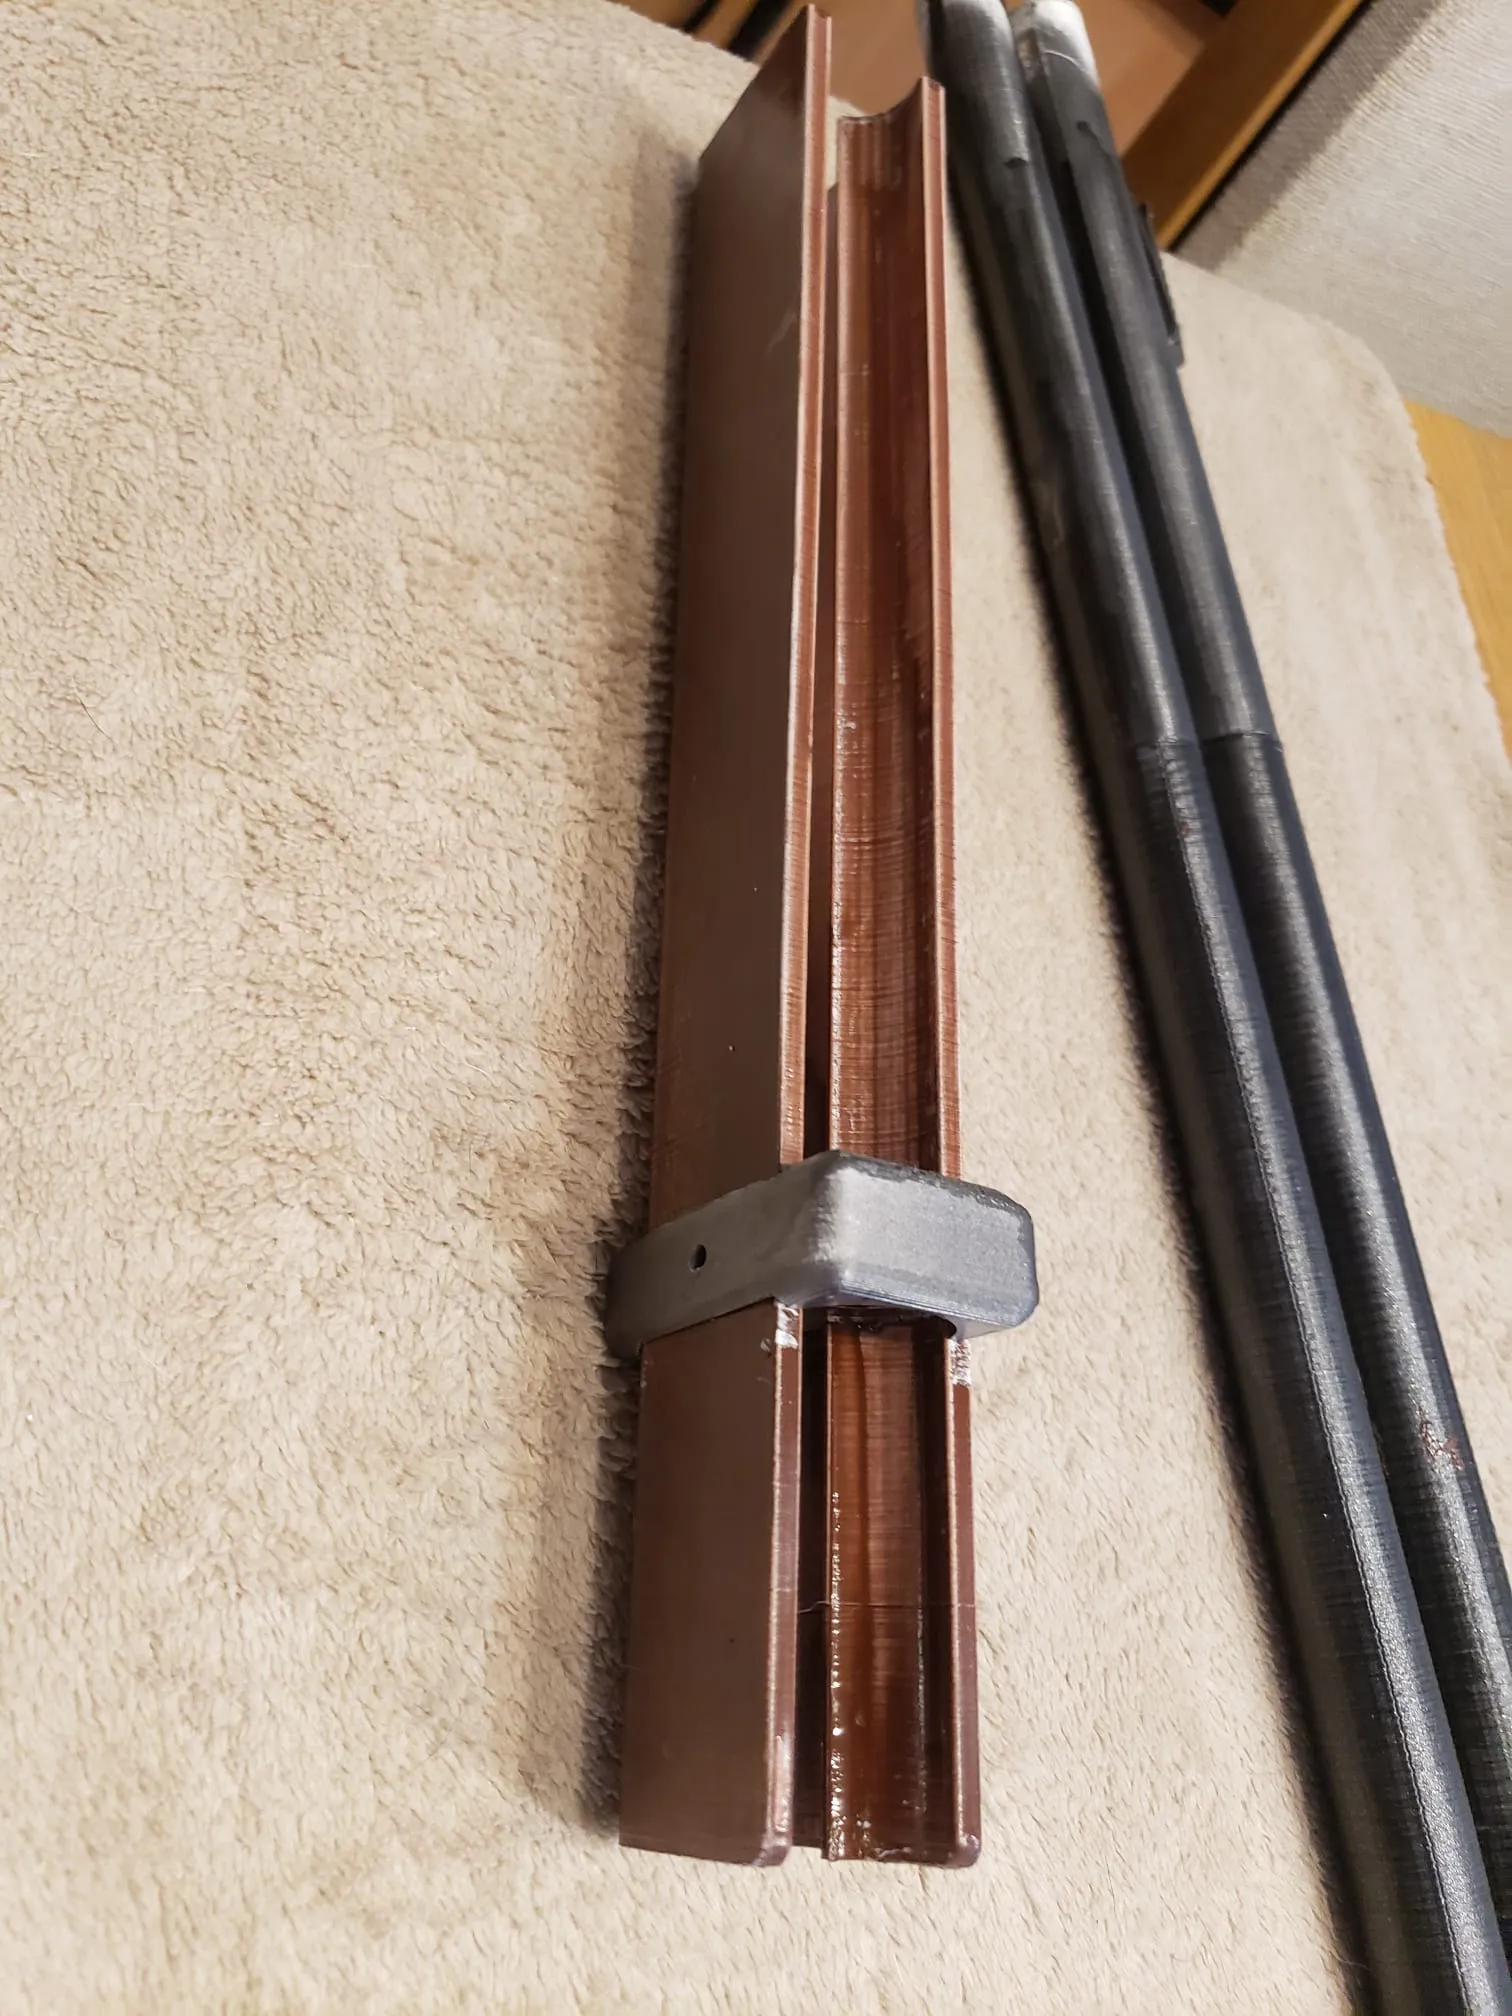
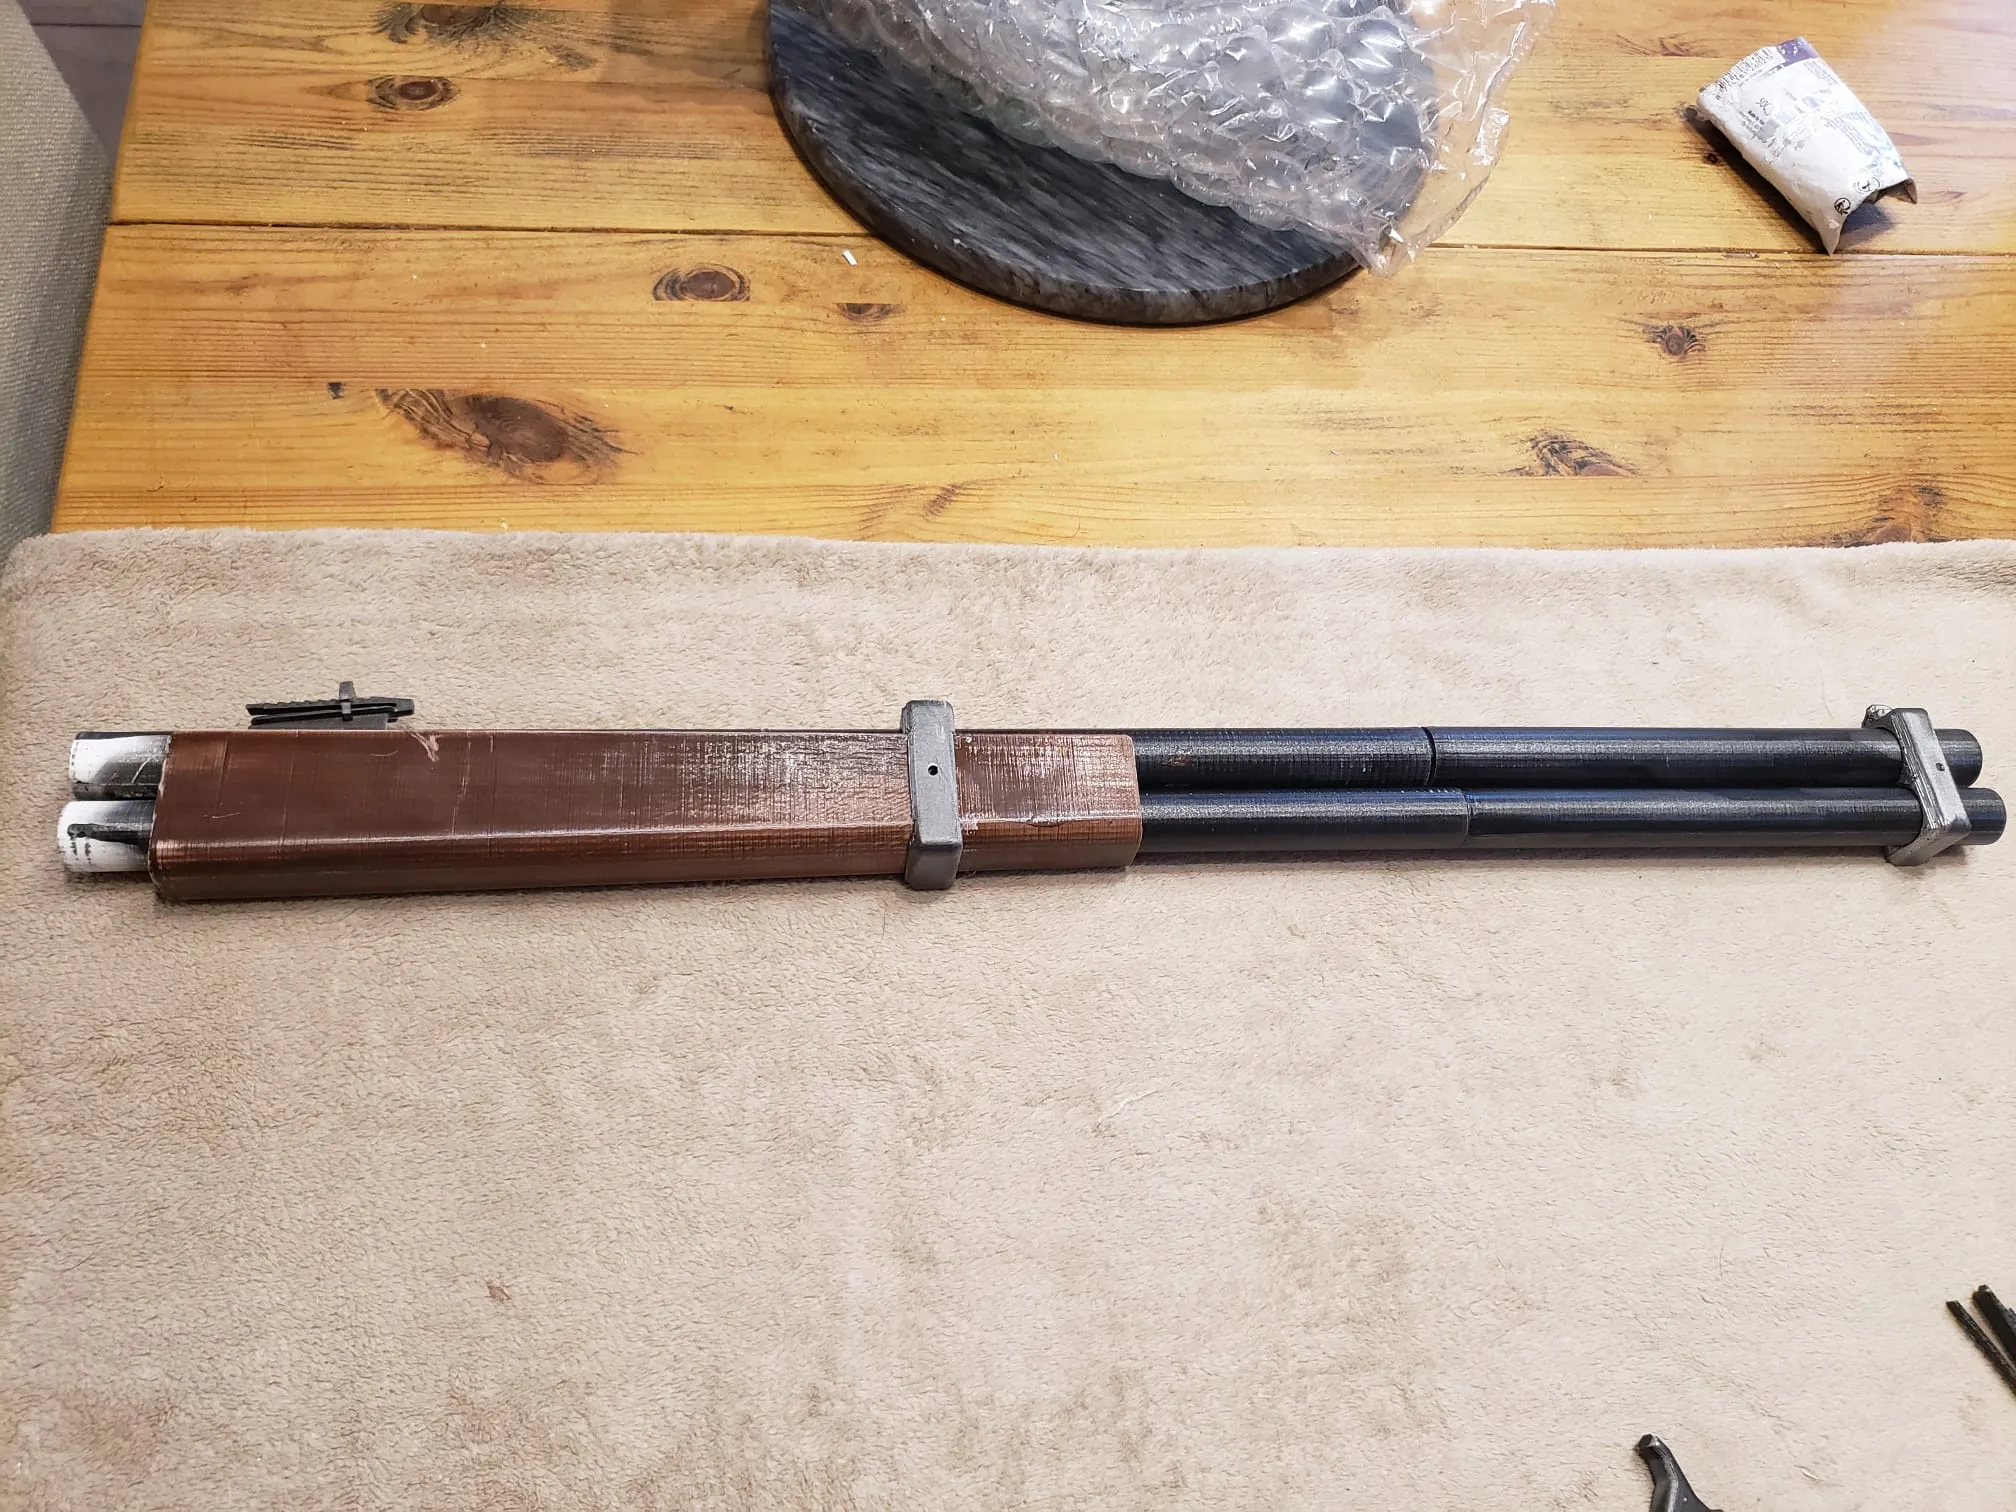
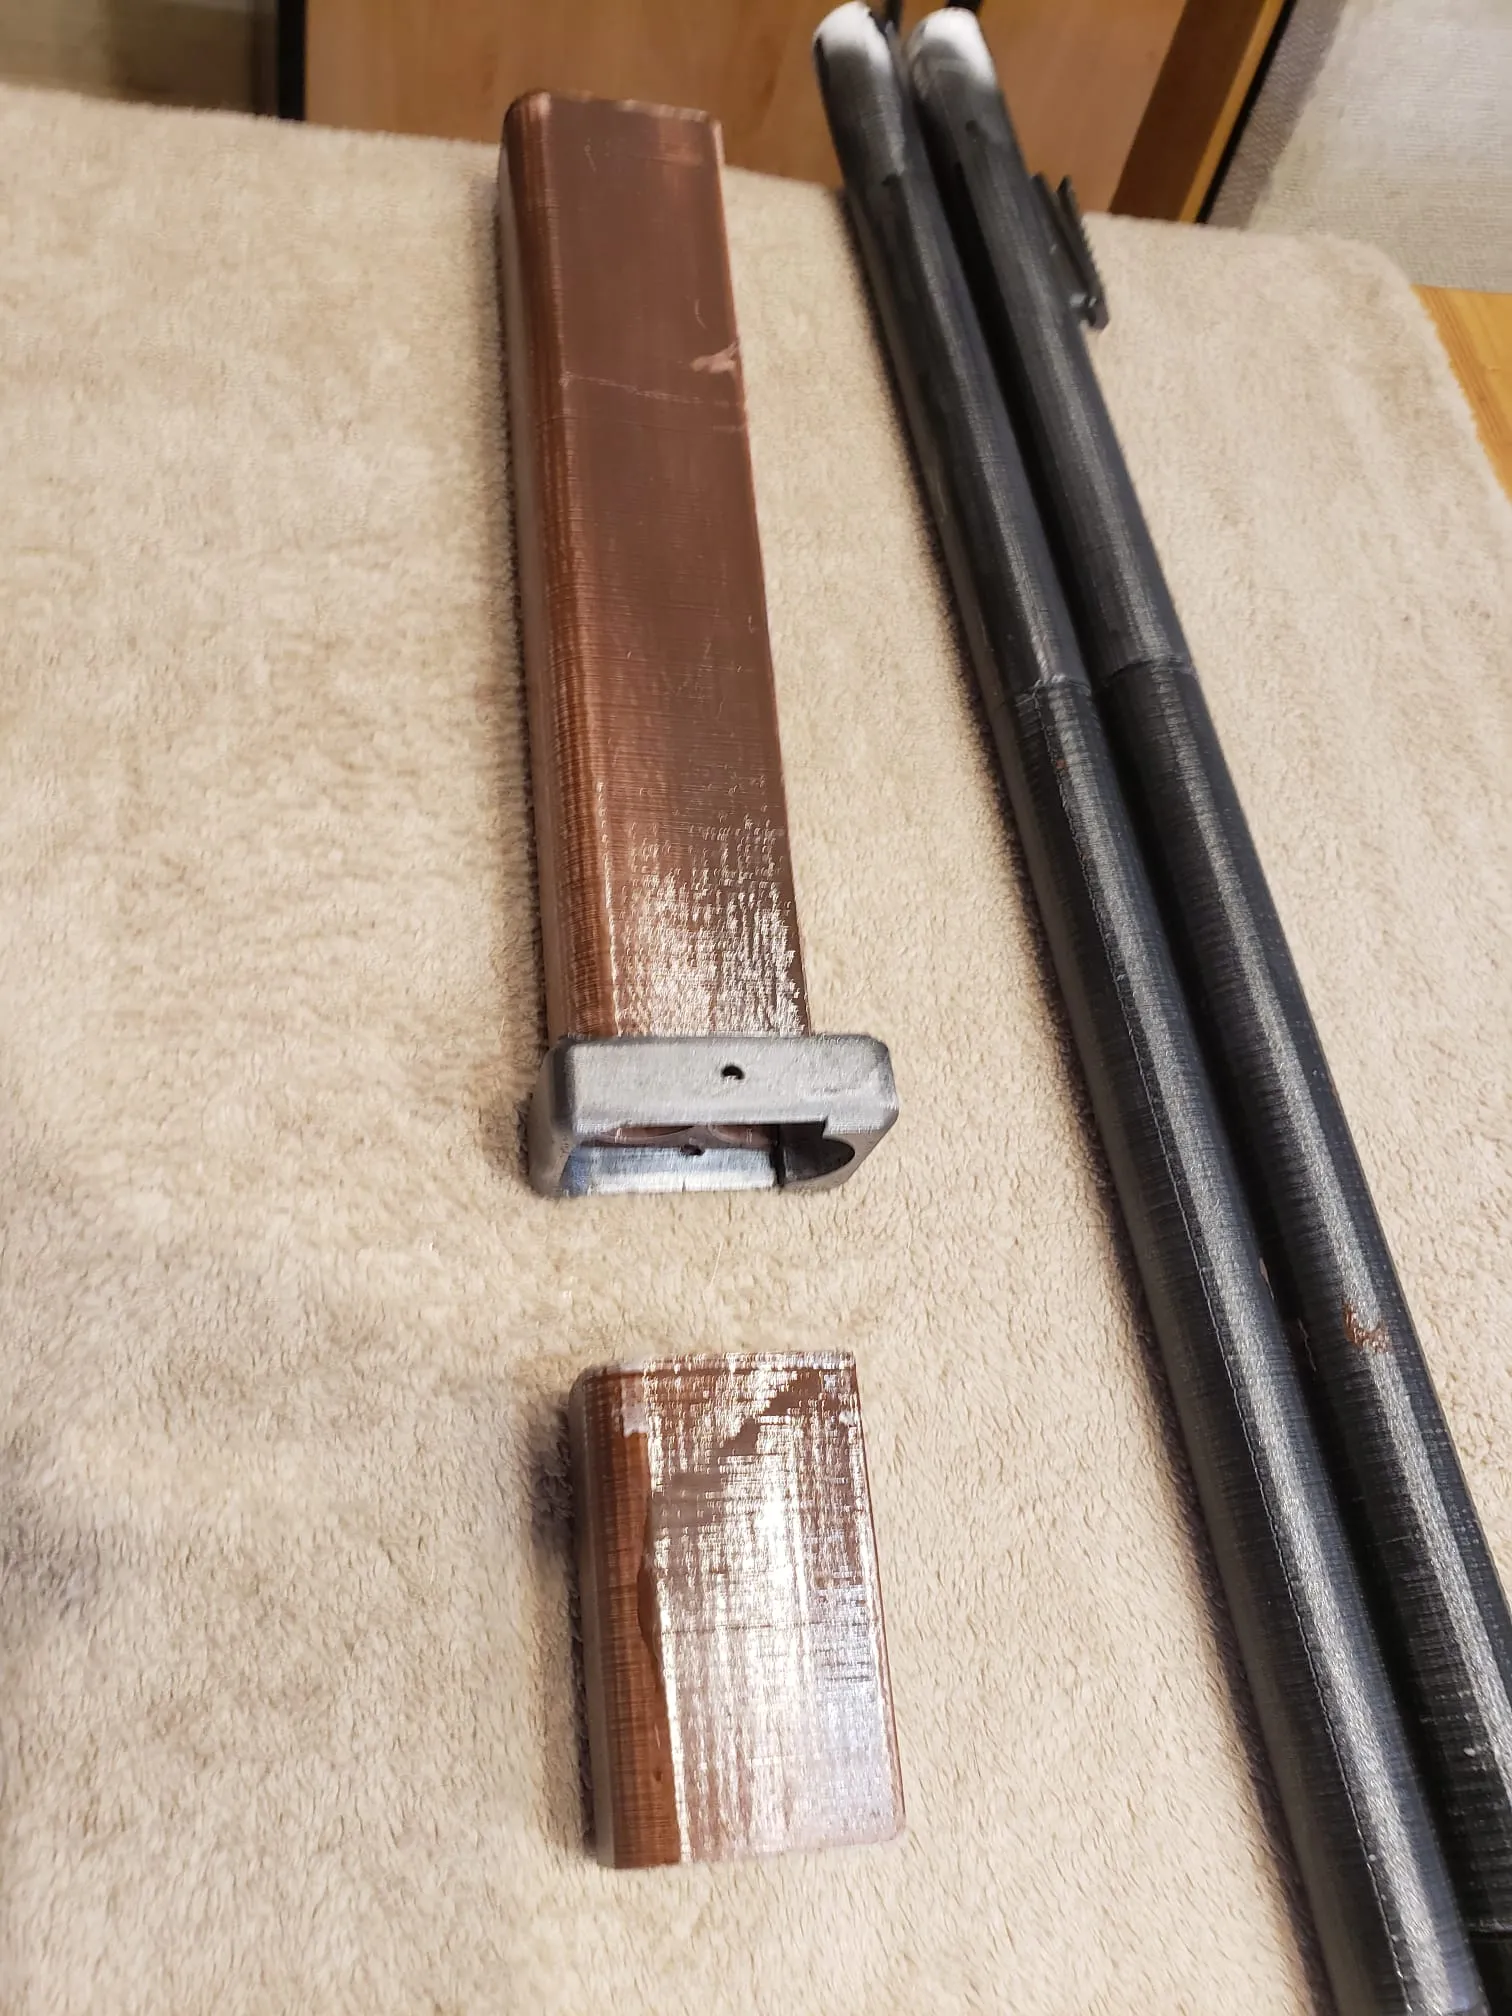
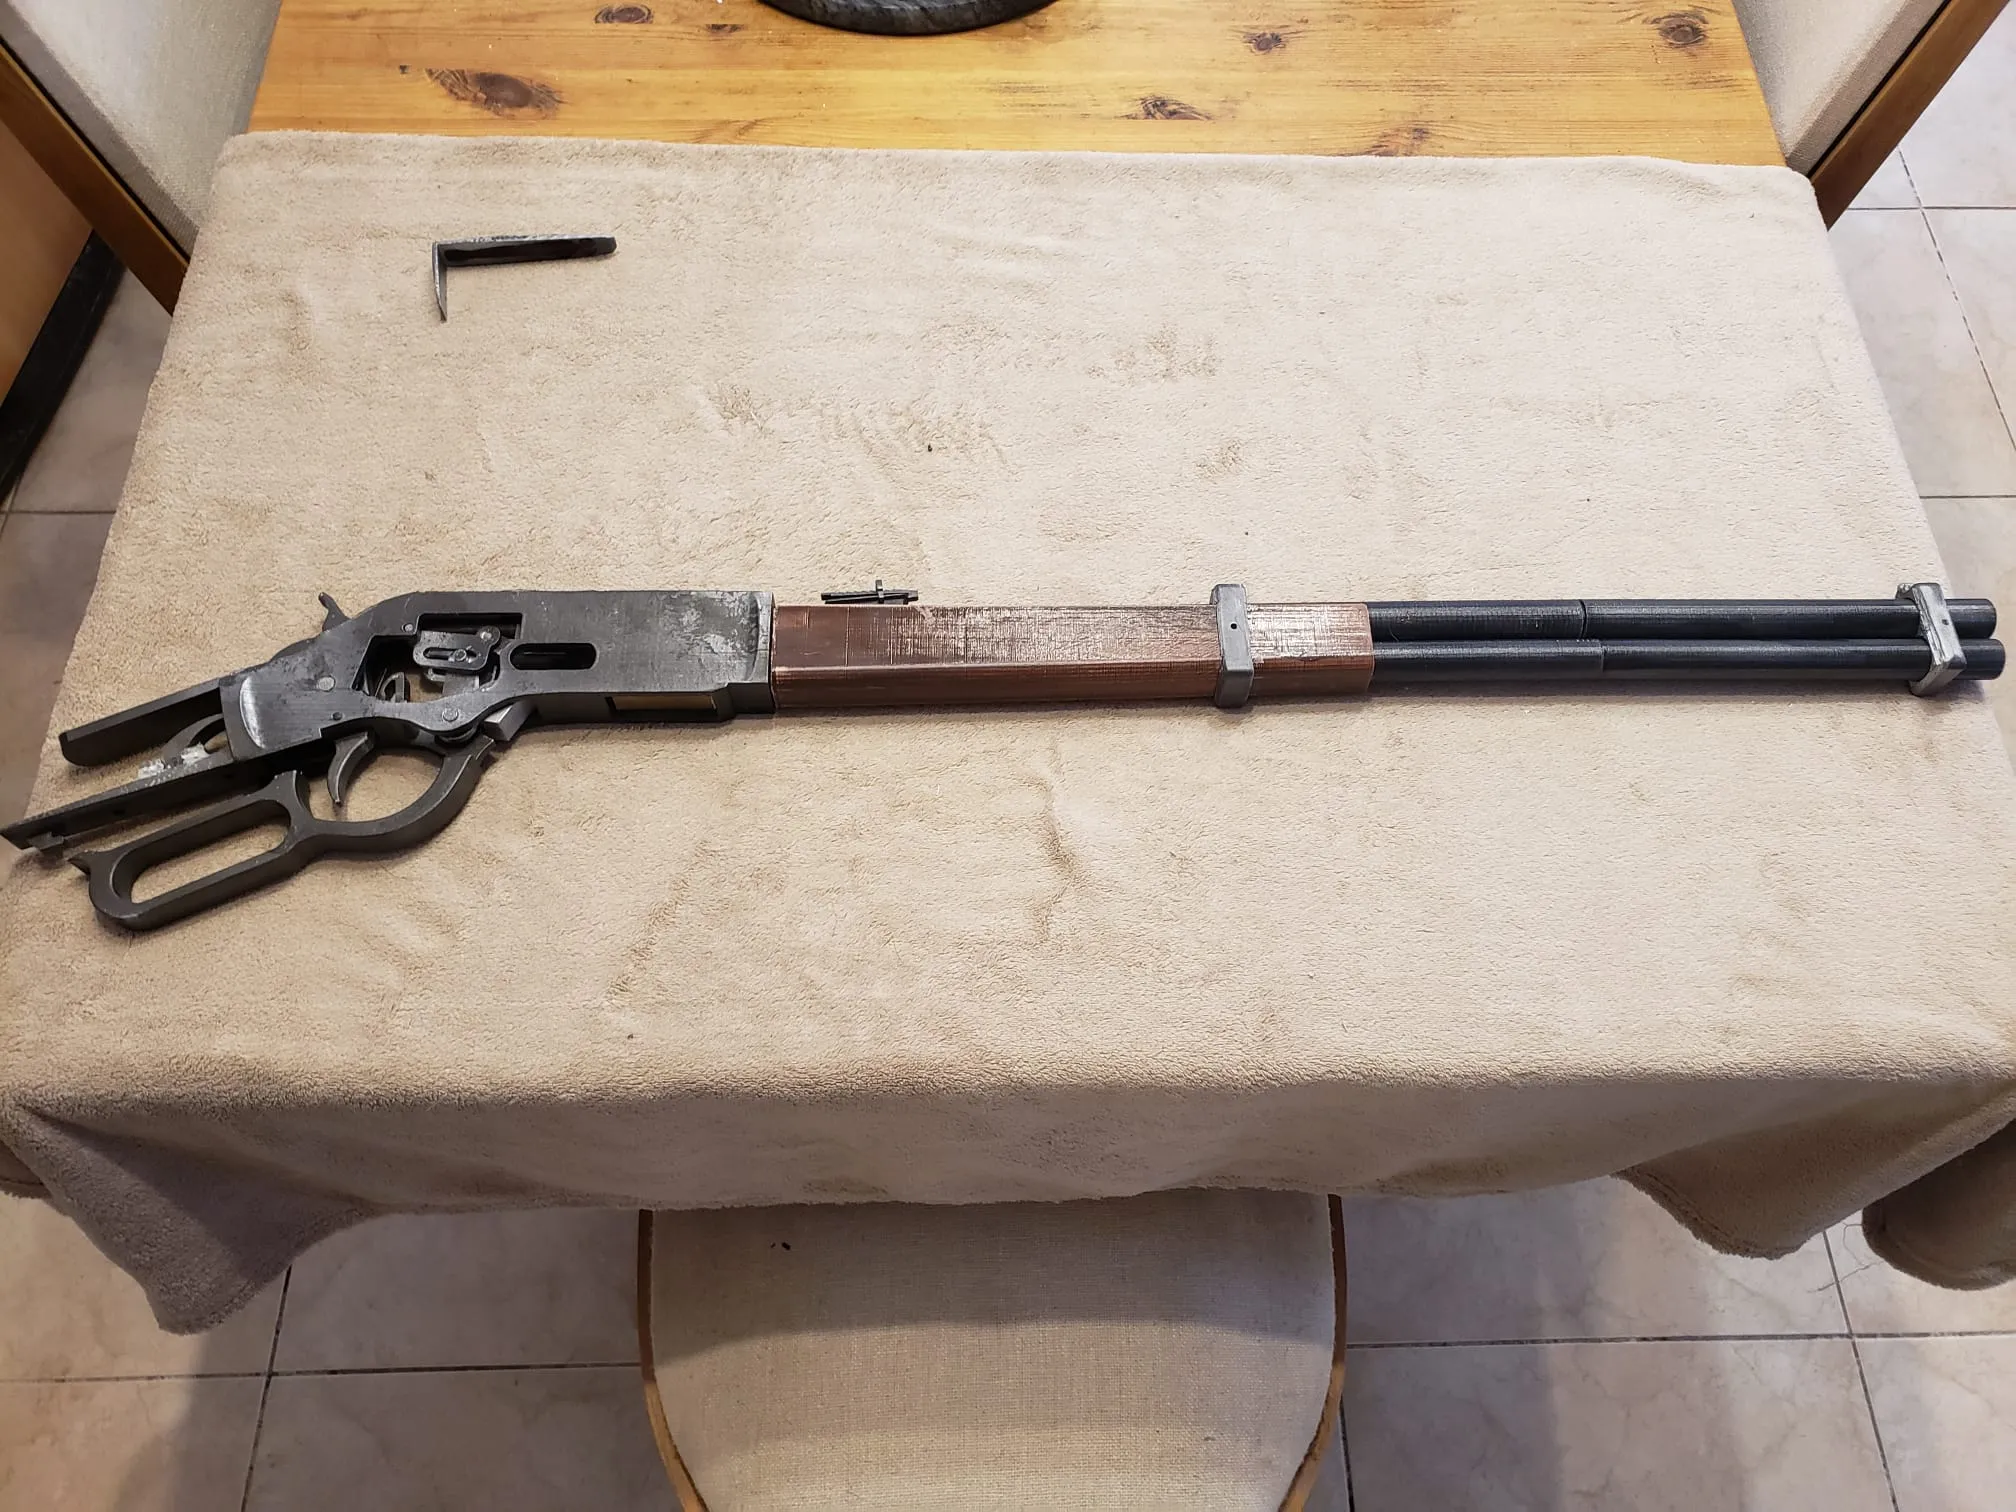
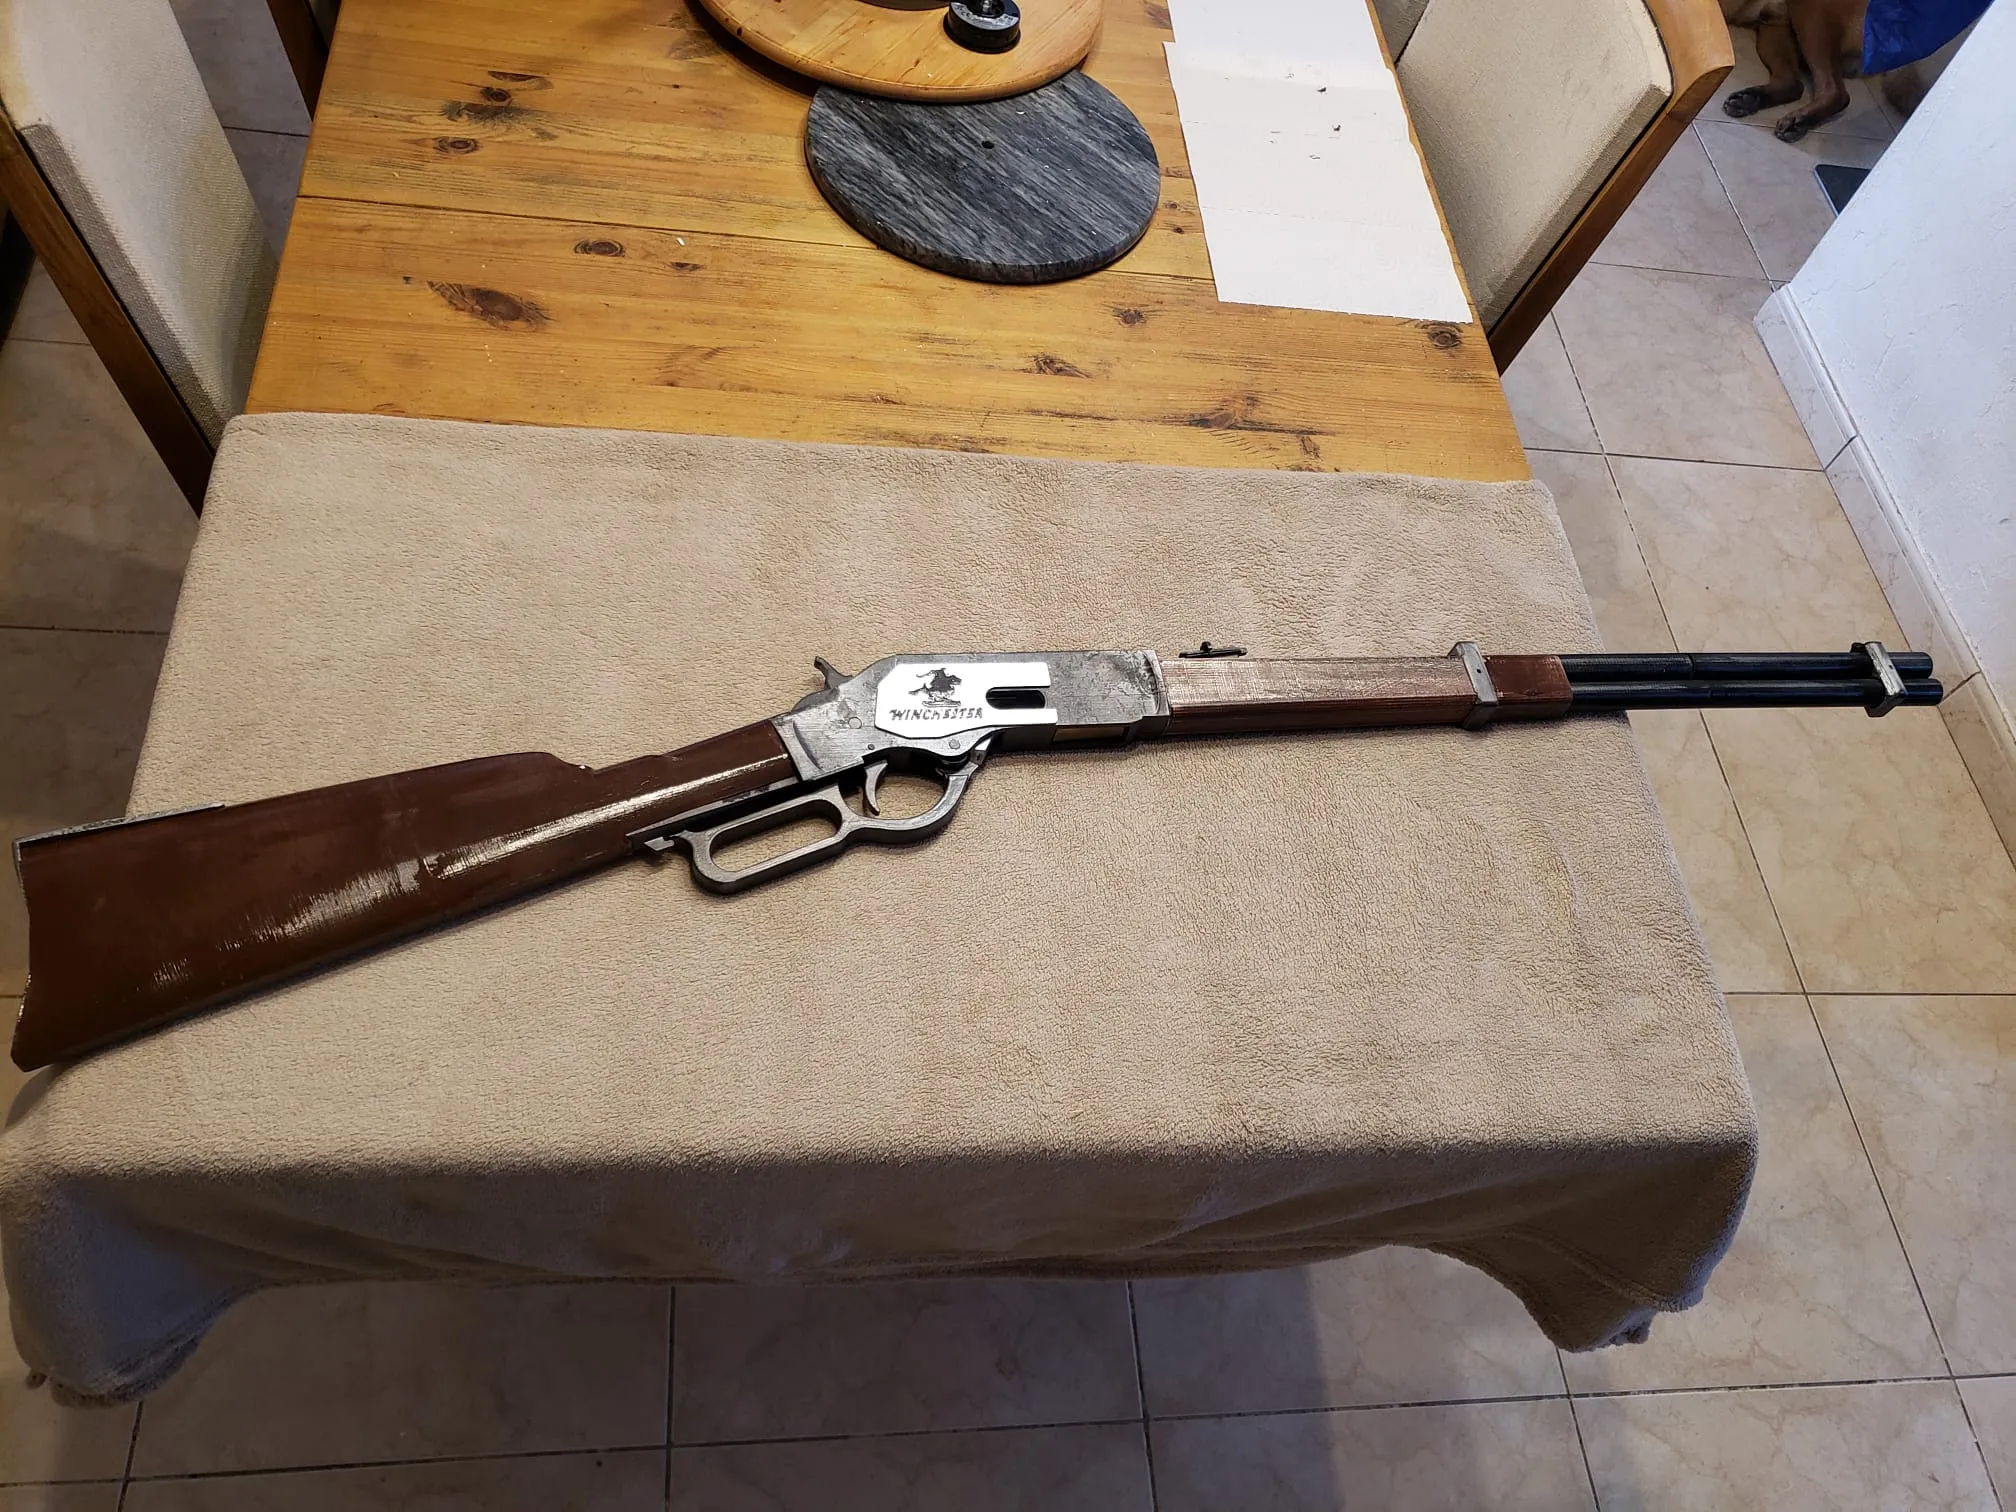
Only one component should ideally be printed in ABS: the piece connecting the body to the stock at the top; in the STL file, I have modified it so that it fits against the stock with an underside profile, but it must be exceptionally rigid as it bears the entire weight of the stock on the body (I set a 100% infill density for this component to ensure robustness); in my version, I glued it with super glue and stapled it using a car body stapler (20 euros on Amazon)
This is one aspect of the model I need to improve… please let me know of any further shortcomings…
The pivots and holes should be adjusted using a Dremel, milling machine, or files—whatever you have available; each printer is different!
If you have white plastic grease, apply it to the axles, hammer, trigger, and spring to ensure smoother mechanism operation!
Printing parameters:
Layer height: 0.1 if time permits! Otherwise, 0.2 works (but this reduces the rigidity of the lever…)
Wall thickness: 3
Density: 0.20 gyroid, except for the top component connecting the body to the stock which should be printed at 100% infill or in ABS
Speed: initial layer at 40 mm/s and initial layer infill at 40 mm/s
Support: normal, manual
Style: adjusted
Ancé: Z upper distance: 0.2
Base pattern spacing: 5 mm
Skirt loop: 0
Brim: brimless
Happy printing and I hope you enjoy it! I eagerly await your feedback!
PS: I have just modified the spring in V2 in the STL file; print it at 0.1 or even in ABS for increased rigidity; V1 does not break in PLA, but it ceases to act as a spring after a few days…
PS 2: Version 2 features a modified ejection port, flanges with a lip now allowing for easy clip-on retention (I used double-sided tape previously while awaiting a simple, removable solution), and modified upper stock retention
License



Comment & Rating (73)