
Endless Frame - Modular, Extendable & Elegant
Print Profile(2)


Description
Boost Me (for free)
Do you enjoy my designs? Support me in creating more cool stuff by boosting me - for free! 🚀
Hey! ✨
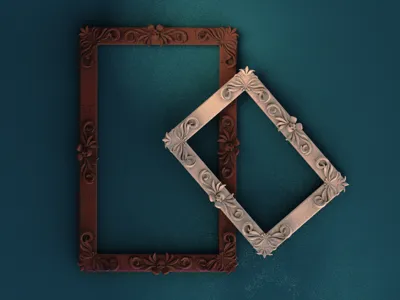
Recently, I finished a big puzzle (about 50x70 cm) and I really wanted to frame it for the wall. But, I knew I might move out of my place soon, so I couldn't bring myself to buy a gigantic picture frame and then have a pain in the a** while moving.
So I thought “You know what? I could use a frame that I can later deconstruct and take with me easily”. And a few days later here we are. :D
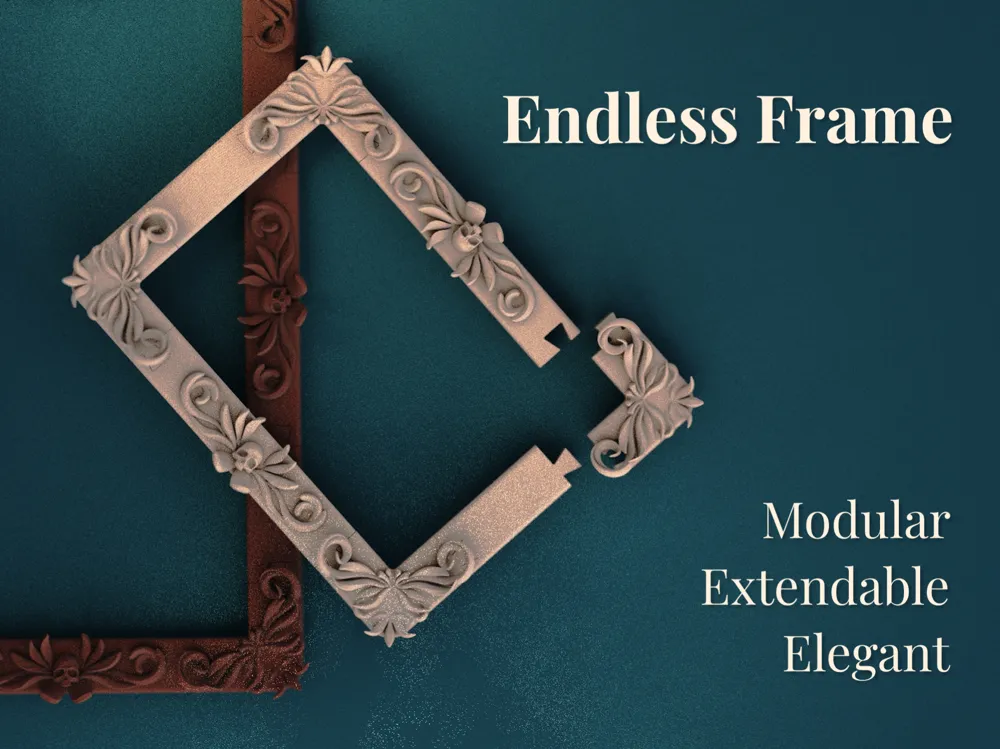
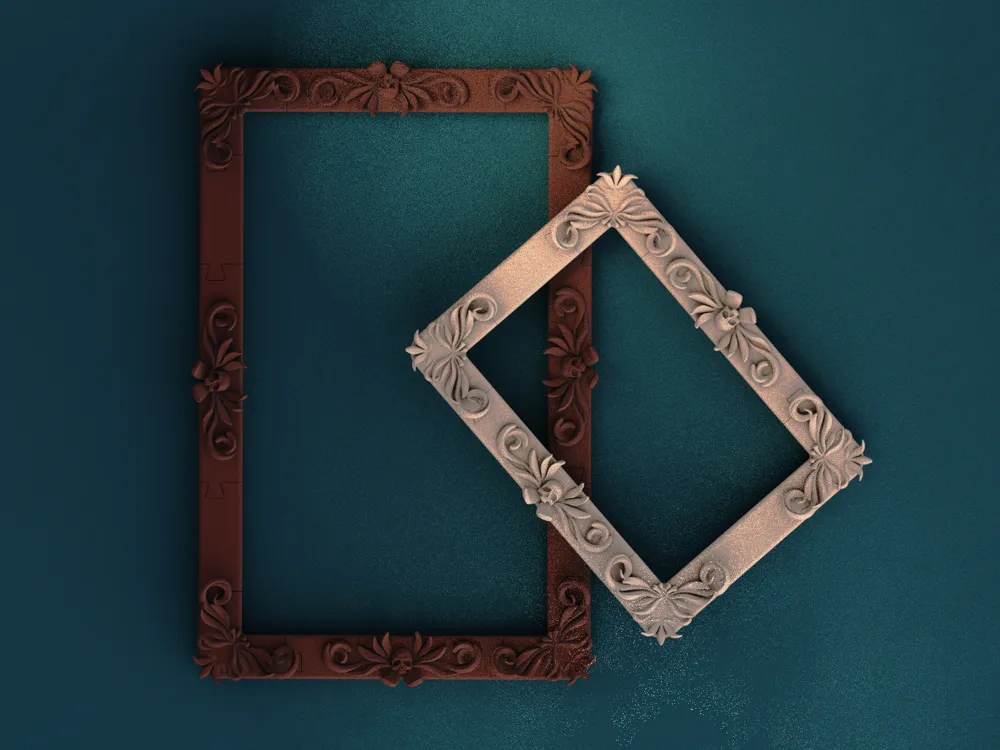
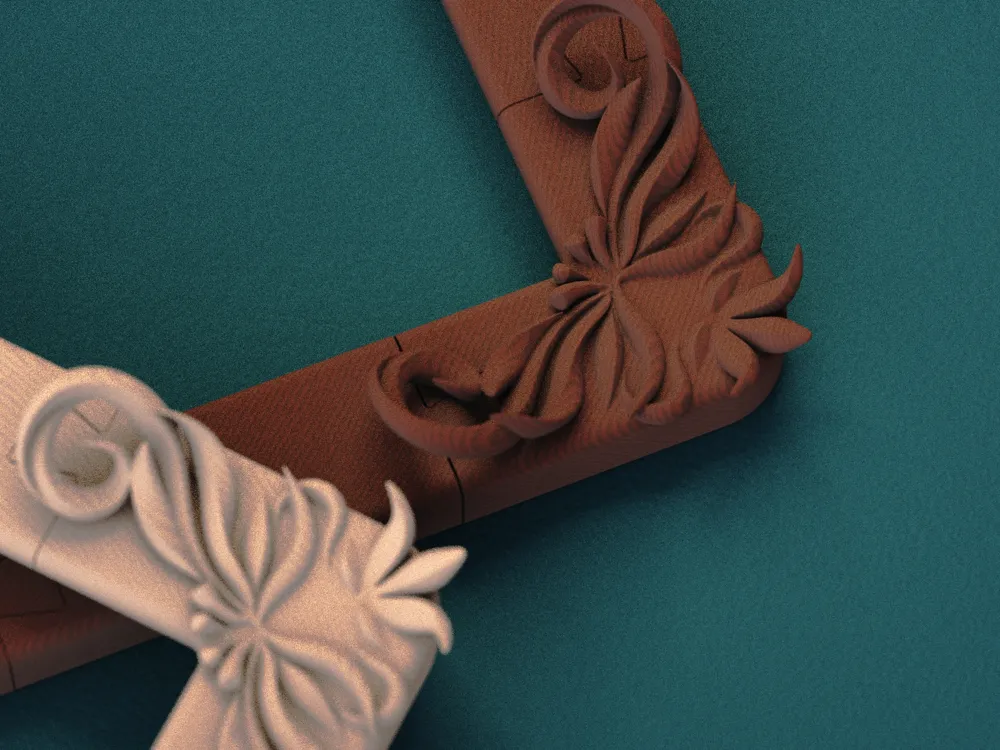
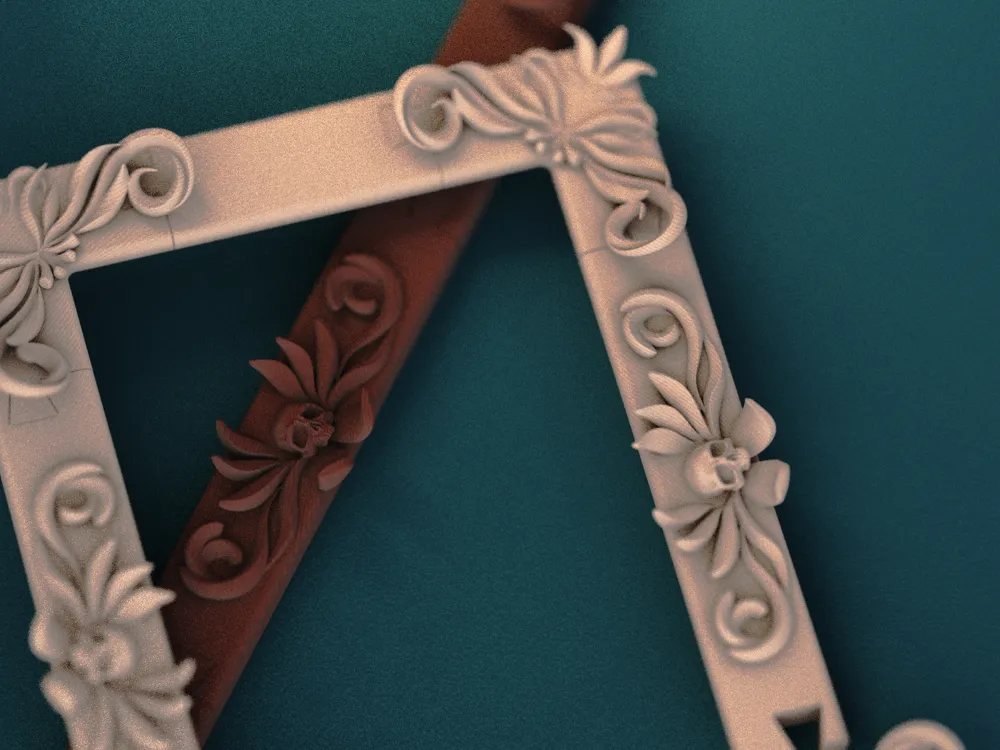
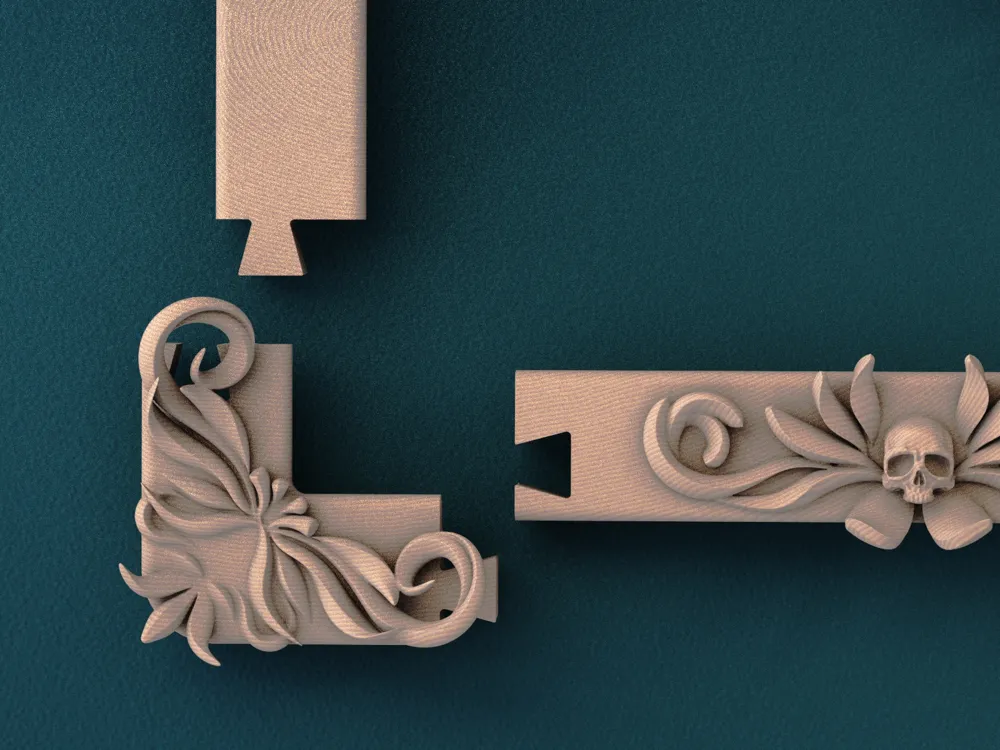
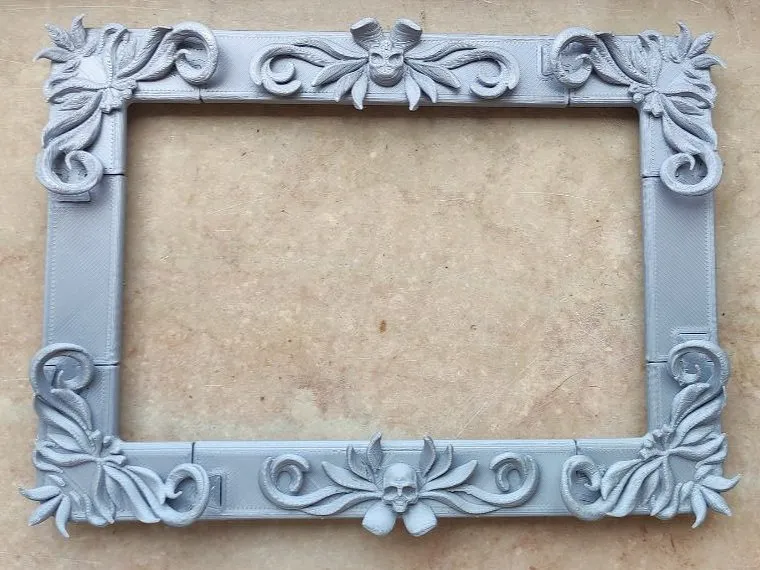
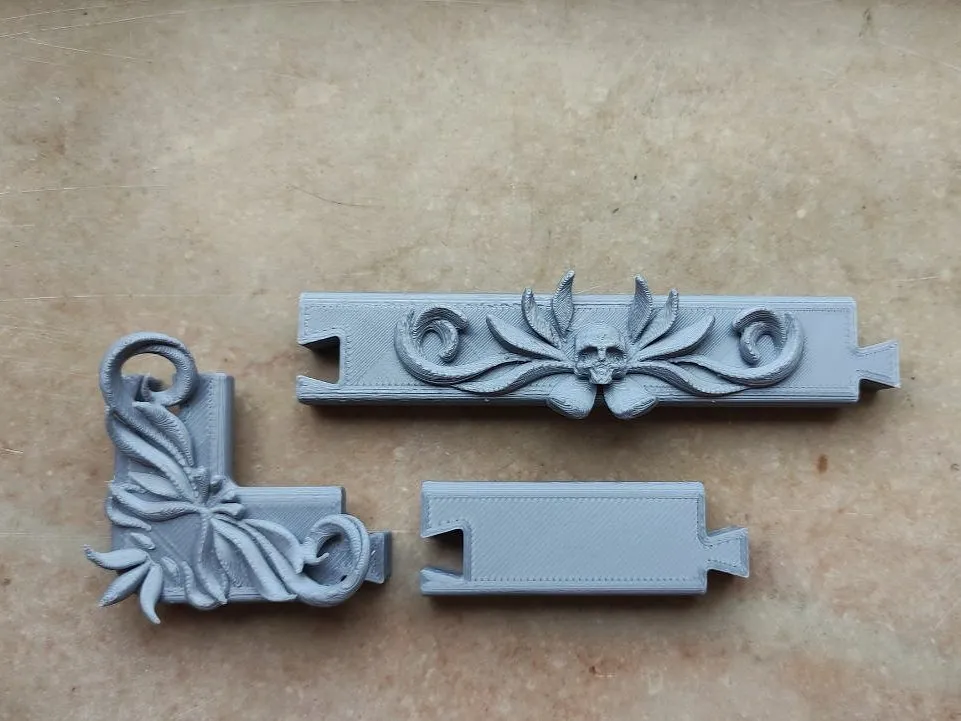
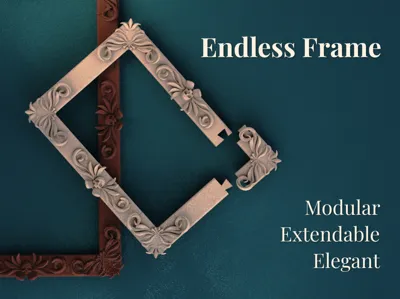
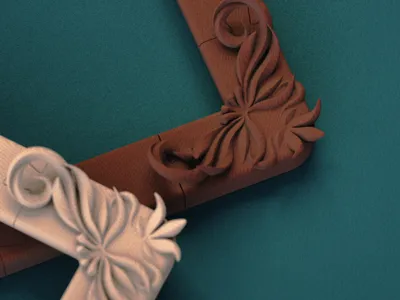
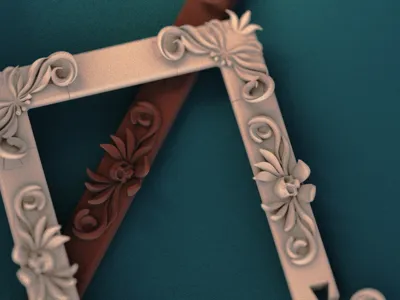
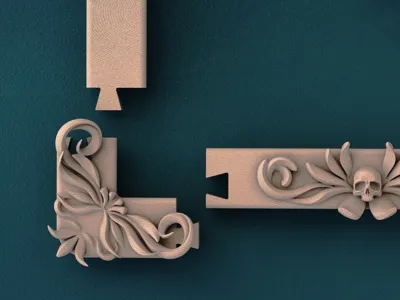
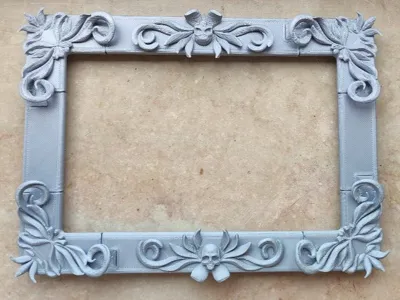
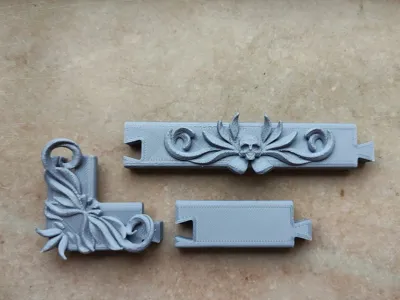
This frame has three main pieces that can be attached and form infinite possibilities for dimensions. I also tried incorporating a “seam covering design” on the corner pieces to hide the connection seams. Also, I'd love a stylish frame with a Baroque, dark academic vibe, but you can print more of the smaller “empty” pieces to have a less crowded frame.
To print & assemble perfectly:
- The length of the shorter pieces is 5 cm and the longer one 10 cm. Calculate the number of pieces you need and duplicate the pieces to result in your custom frame.
- The uploaded profile is for the smallest variation, a 15x20 cm picture frame.
- I suggest using an adaptive or variable layer height in your slicer to achieve the best time-to-quality ratio for this design. In the uploaded profile, I used layers of 0.2 mm height for about the first half of the ornamented pieces and then changed them to about 0.12 mm layers.
- Turn on the supports option.
- If you want a thicker frame, you can scale up the pieces altogether to about 150%. However, due to the change in tolerances, you have to use glue to secure them at the connection points.
- Let the pieces cool down completely before assembly and assemble gently to not damage the ornamental pieces.
Hope you like it, and happy printing! :)🥂
✨If you enjoyed this project and want more modular, vintage-looking home accessories, check out my other similar works, Endless Cabinet & Growing Jewelry Wall! ✨
If you really loved my work, you can always get me a coffee :)
(Commercial licences and high-quality renders also available on Ko-fi)

License

You shall not share, sub-license, sell, rent, host, transfer, or distribute in any way the digital or 3D printed versions of this object, nor any other derivative work of this object in its digital or physical format (including - but not limited to - remixes of this object, and hosting on other digital platforms). The objects may not be used without permission in any way whatsoever in which you charge money, or collect fees.


Comment & Rating (124)