
GRAVIT Universal Phone Cage


Print Profile(5)


Bill of Materials



Description
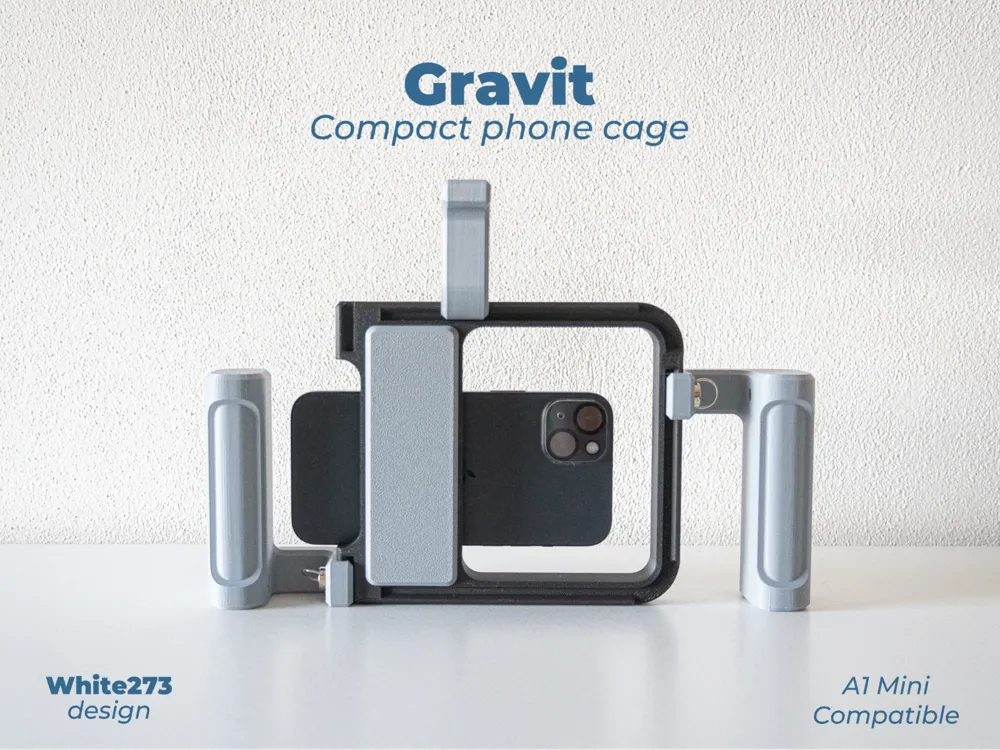
Introducing GRAVIT – Universal Phone Cage
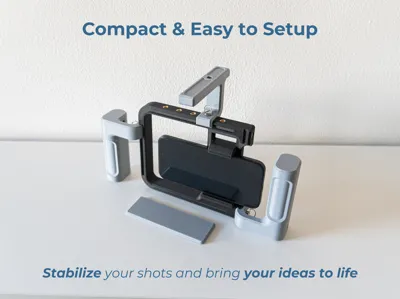
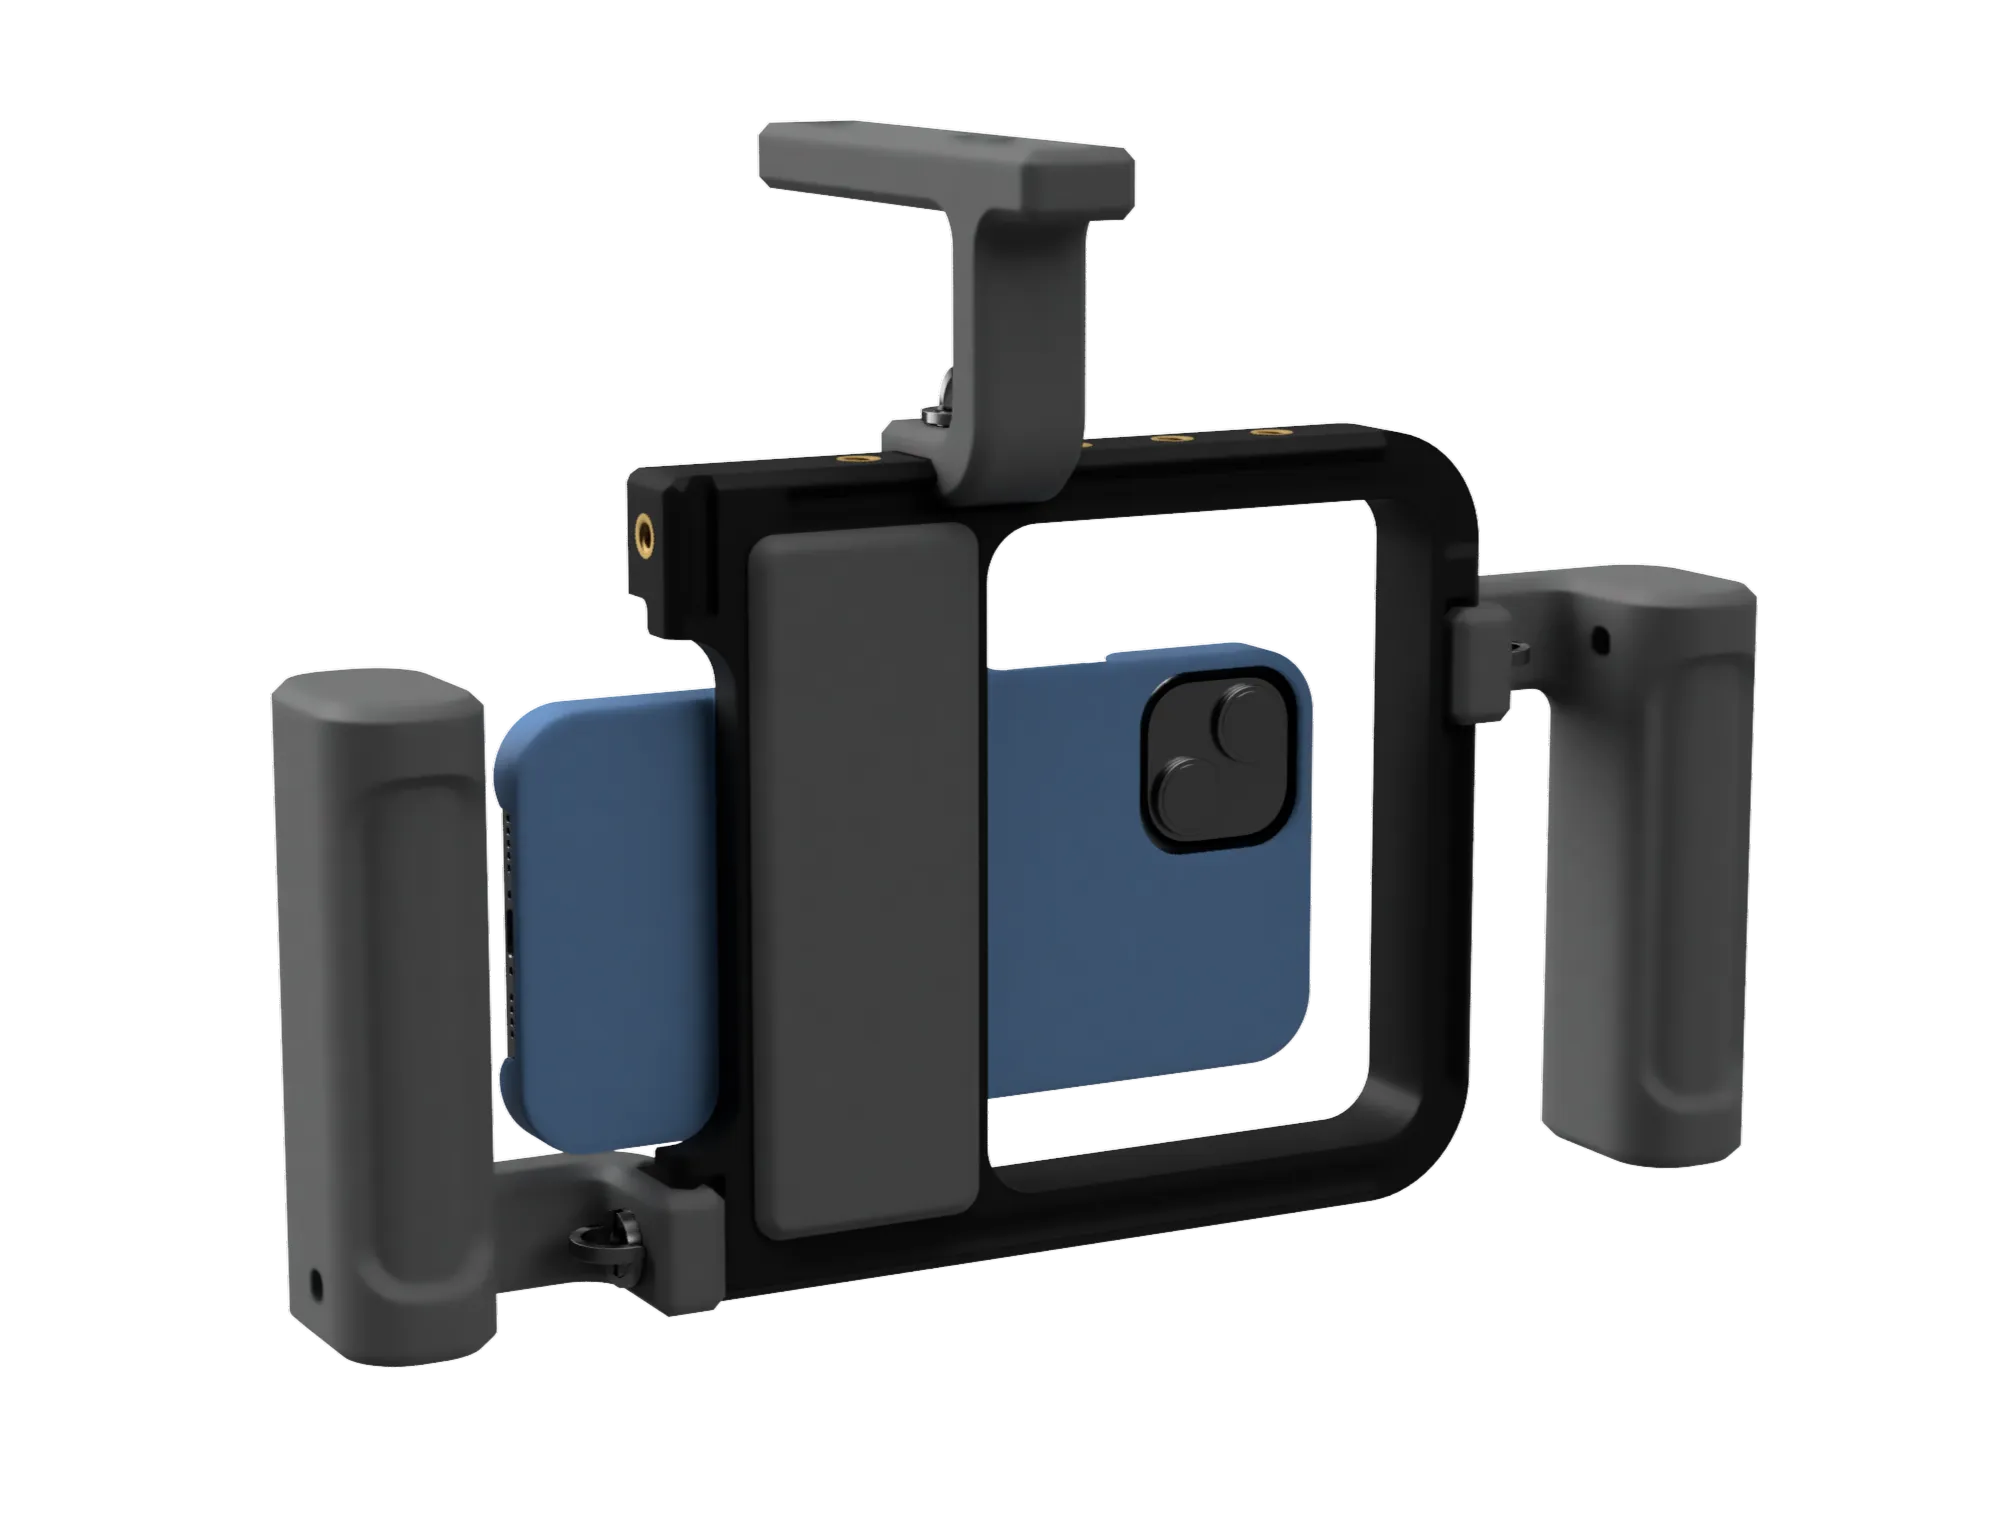
This 3D-printable phone cage is designed with versatility and space efficiency in mind. Its compact 17x17 cm footprint makes it ideal for all types of 3D printers, even smaller models like the A1 MINI. Whether you're a content creator, filmmaker, or hobbyist, Gravit helps you capture smooth and stable footage with your smartphone.
Key Features:
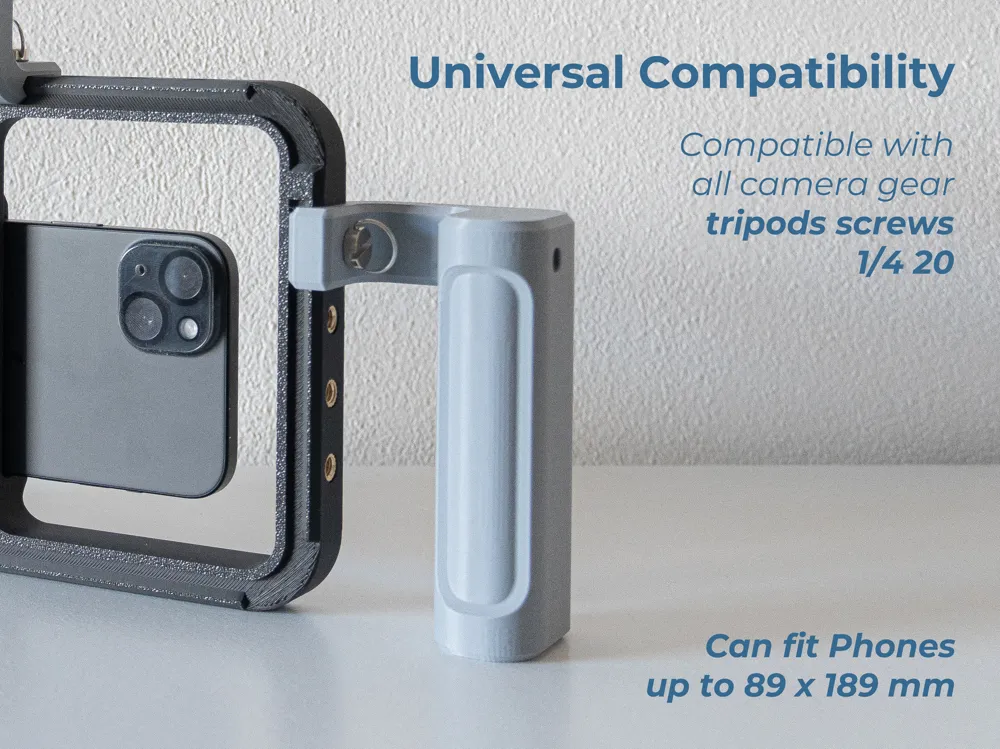
Universal Compatibility
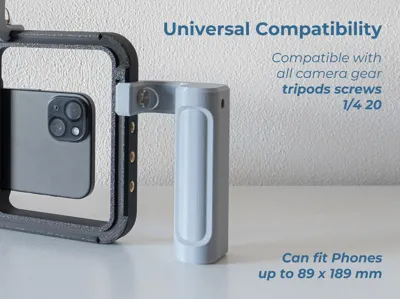
Gravit is built to work with any standard NATO rail accessory, a professional grade mounting system used in camera gear. And every Phone under 89 x 189 mm. ( the phone in the model is a iphone 15 plus )
Compact & Customizable
Designed to fit smaller 3D printers while offering full customization options to suit your filming setup and preferences.- Ergonomic Design & Accessory Mounting
Easily attach ergonomic handles and additional accessories to the frame for enhanced comfort, control, and stability.
Boost Me (for free)
Like my projects, a Boost is well accepted.
While Gravit is fully 3D printable, some external hardware is required to complete and assemble the phone cage for optimal performance. Make sure you have the following components before you begin assembly:
Required Hardware:
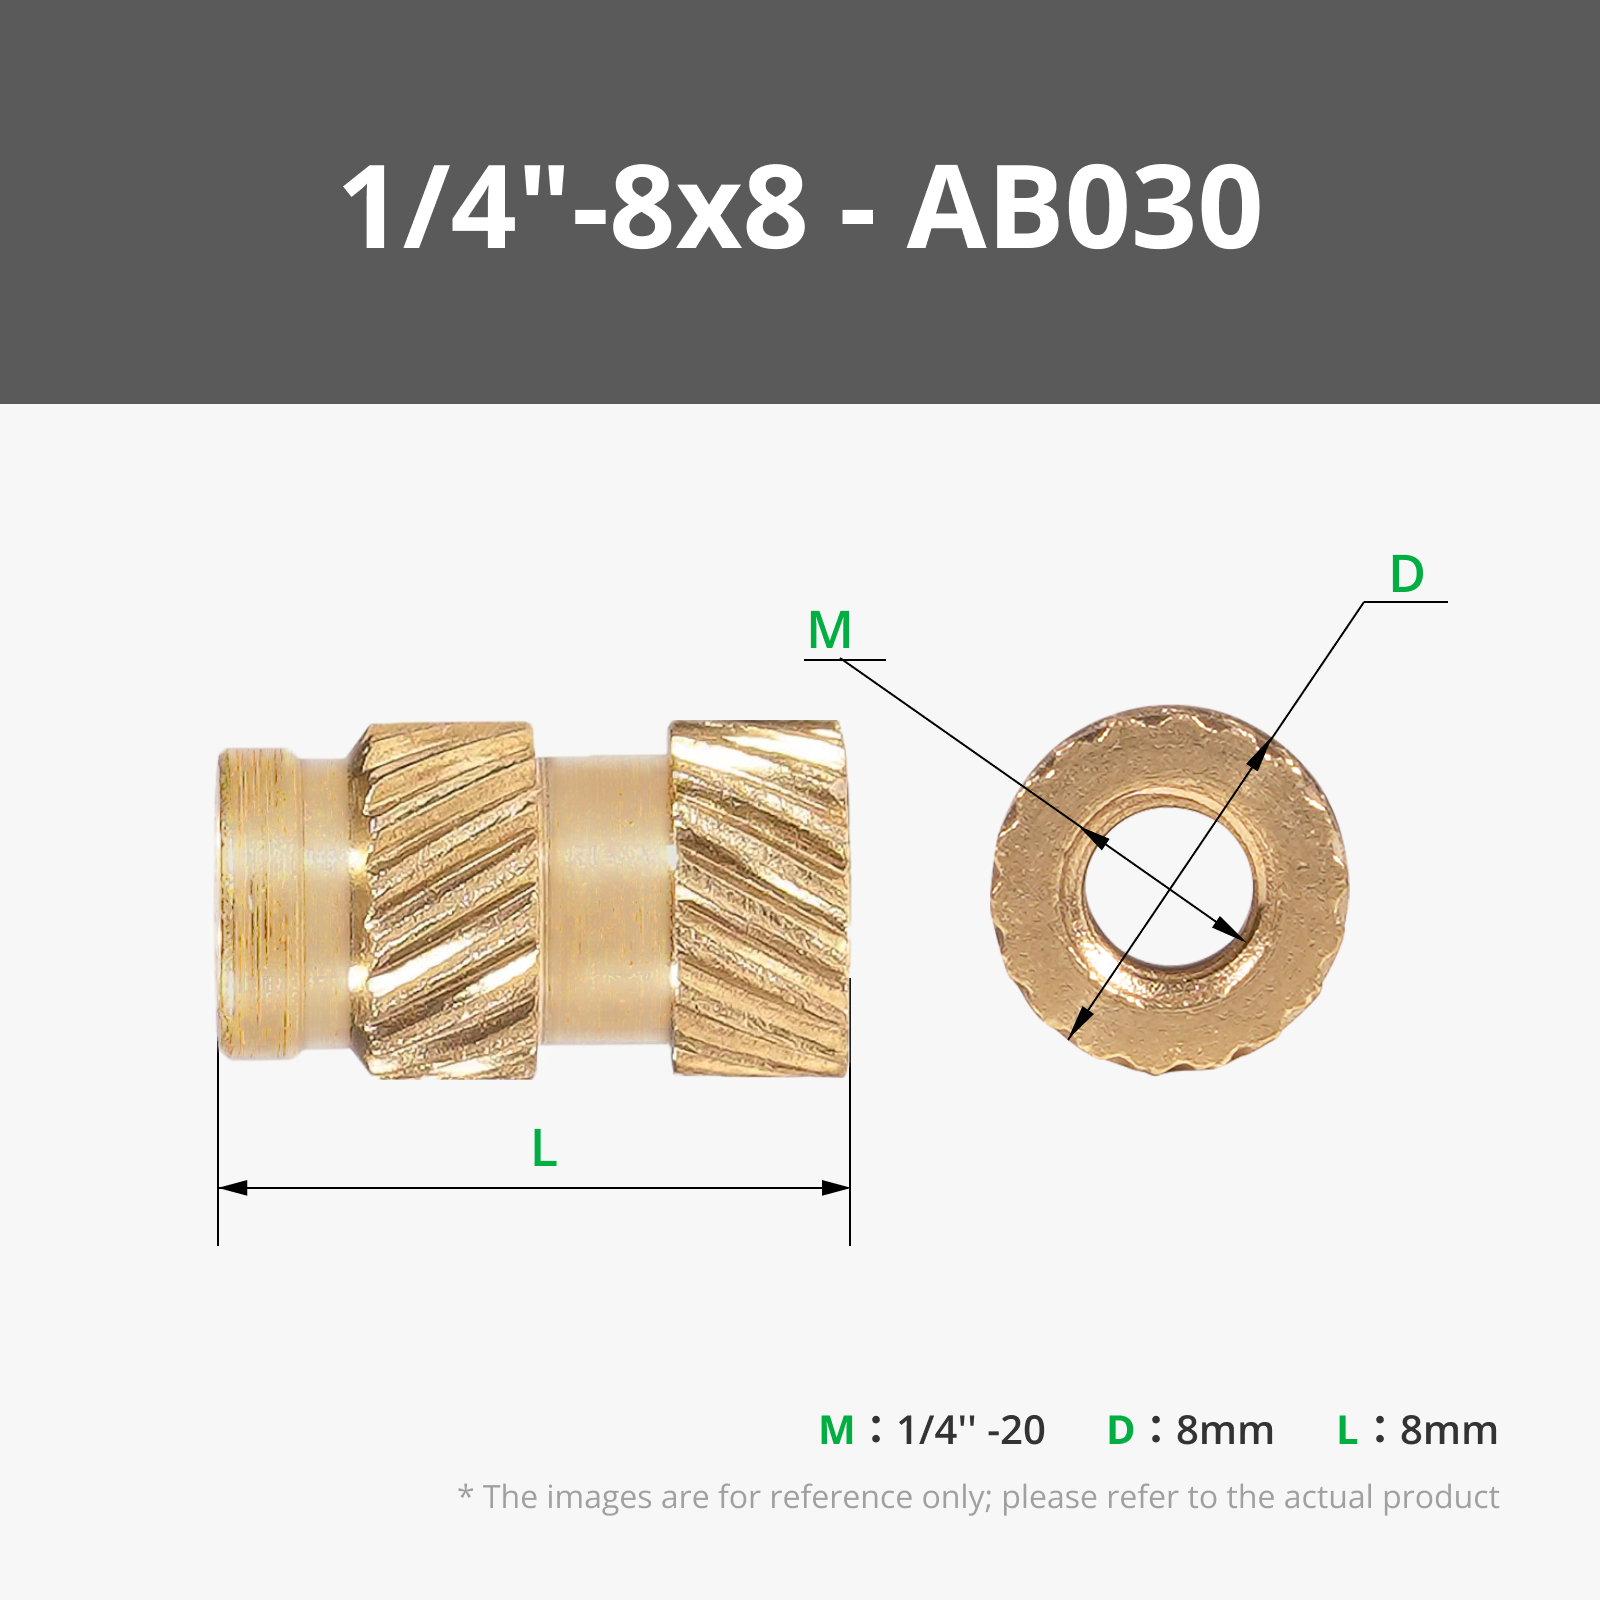
- 🔩 16x 1/4-20 metal threaded inserts (8x8 mm) → PRODUCT LINK
- 🔩 3x 1/4-20 screws → PRODUCT LINK - or - PRODUCT LINK
- 🧲 4x 2x8 mm magnets → PRODUCT LINK
- 🪢 1x Rubber bands → PRODUCT LINK
- 🔥 Soldering iron (For optimal results, I recommend using a proper soldering iron insert tip)
All external hardware is available through the Bambu Store, as well as from a variety of external retailers. Many of these parts can also be found at your local hardware store. The materials list below includes every required item along with the quantities needed from the Bambu Store.
Assembly Instructions:
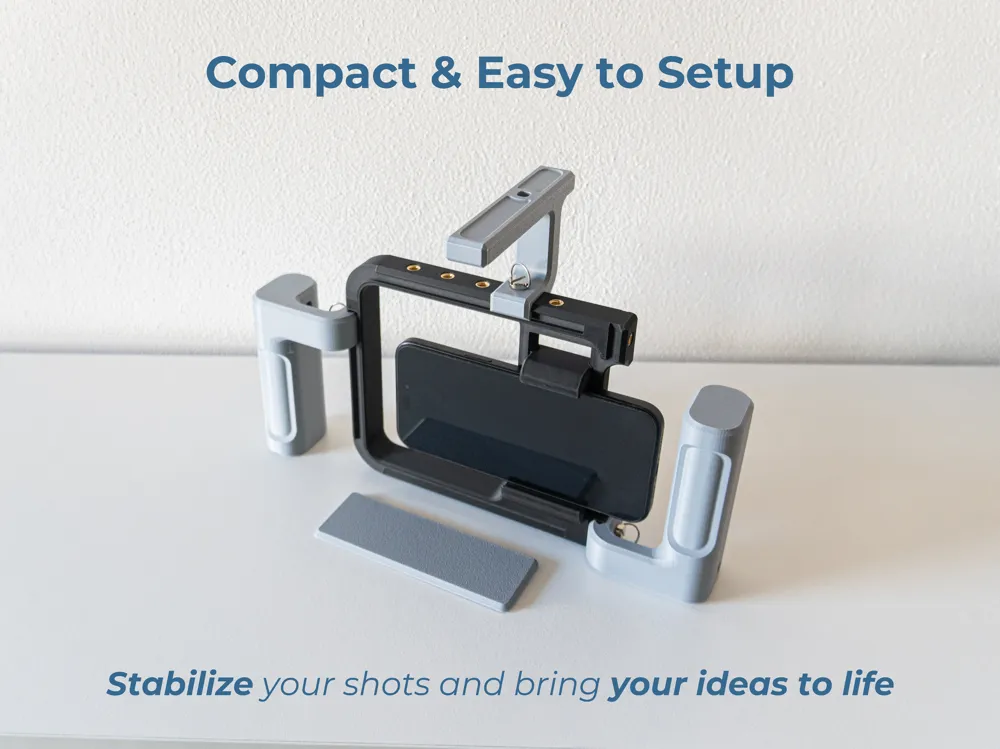
- Install Metal Inserts:
Begin by heating your soldering iron. Insert the 1/4"-20 metal inserts into the designated holes on the GRAVIT body. Carefully align each insert and press it in with the soldering iron until it is flush with the surface. - Install Magnets:
After the inserts are in place, install the four magnets into their respective slots. Two magnets go into the back of the main body, and the other two into the backplate. Be sure to orient the magnets correctly so they attract each other and secure the backplate properly. - Attach the Rubber Band:
Place a strong rubber band into the clamp slots located on the back of the body. This band helps secure your phone to the cage and prevents it from falling out during use. - Mount the Handles
Finally, slide the side handles into place. If you've printed a top handle, attach that as well.
Please consult the included assembly instructions for a clear outline of the steps required to complete the assembly. The document also includes some external hardware dimensions.
Enjoy your new 3D-printed rig, and don’t forget to leave a comment or share your build!
Disclaimer:
This product is provided as-is, and by using or assembling it, you agree that the creator is not responsible for any damage, failure, or injury resulting from its use. Please ensure proper assembly and handle all tools and components with care. Use at your own risk.
This design takes inspiration from the MOCA project. I’ve created a more compact version with a similar style, optimized for seamless printing on all Bambulab printers, including the A1 Mini.
Documentation (1)
License

You shall not share, sub-license, sell, rent, host, transfer, or distribute in any way the digital or 3D printed versions of this object, nor any other derivative work of this object in its digital or physical format (including - but not limited to - remixes of this object, and hosting on other digital platforms). The objects may not be used without permission in any way whatsoever in which you charge money, or collect fees.


Comment & Rating (148)