
Dr. Doom Mask (Life Size) - Marvel
Print Profile(3)



Bill of Materials





Description
----2025.7.24 New profile for A1, added more supports. However, A1 users are still advised to check if the printer is completely fixed in place, as it tends to shake a bit more, which could cause the support to break if it moves even slightly more. Below are two versions that have been tested by the official team. Both the new and old versions can print successfully on A1 without glue.
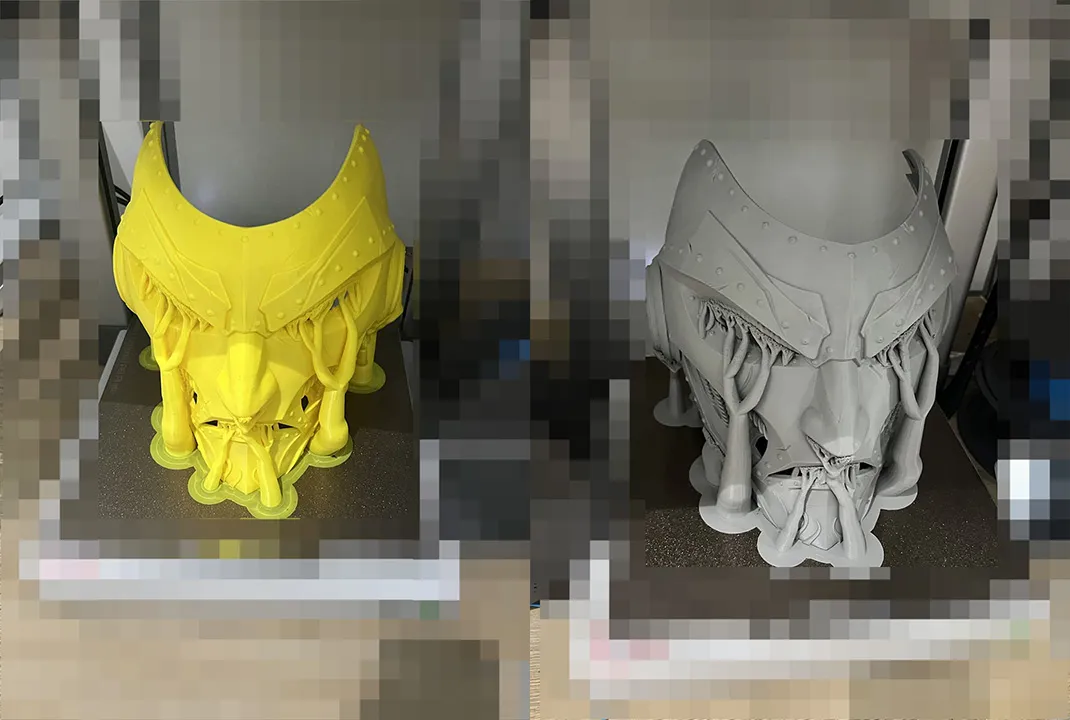
----2025.6.26 Optimize model orientation, supports, and brim settings to reduce failure risks on A1.
----2025.6.16 Fixed a variable layer height bug that caused the slice to get stuck.
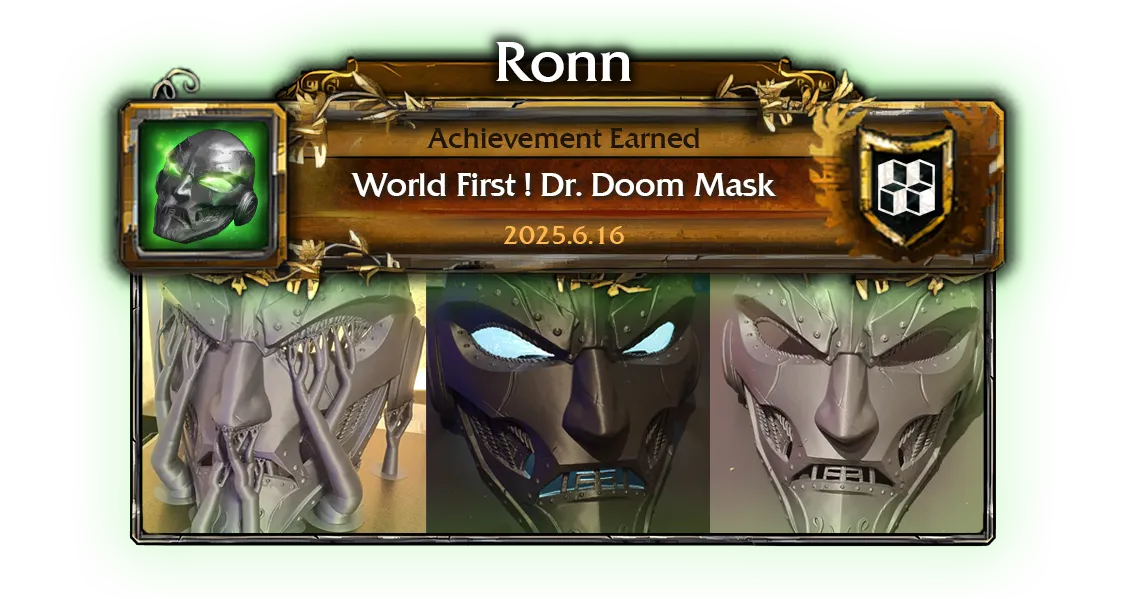
----2025.6.16 Congratulations to Ronn for being the world‘s first!
----
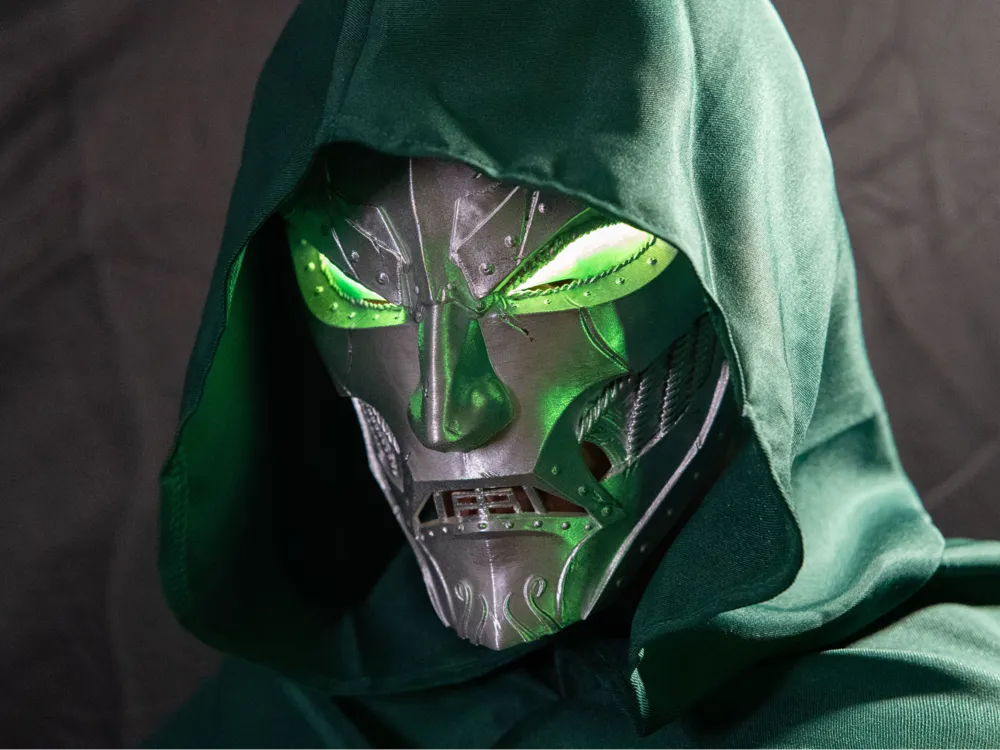
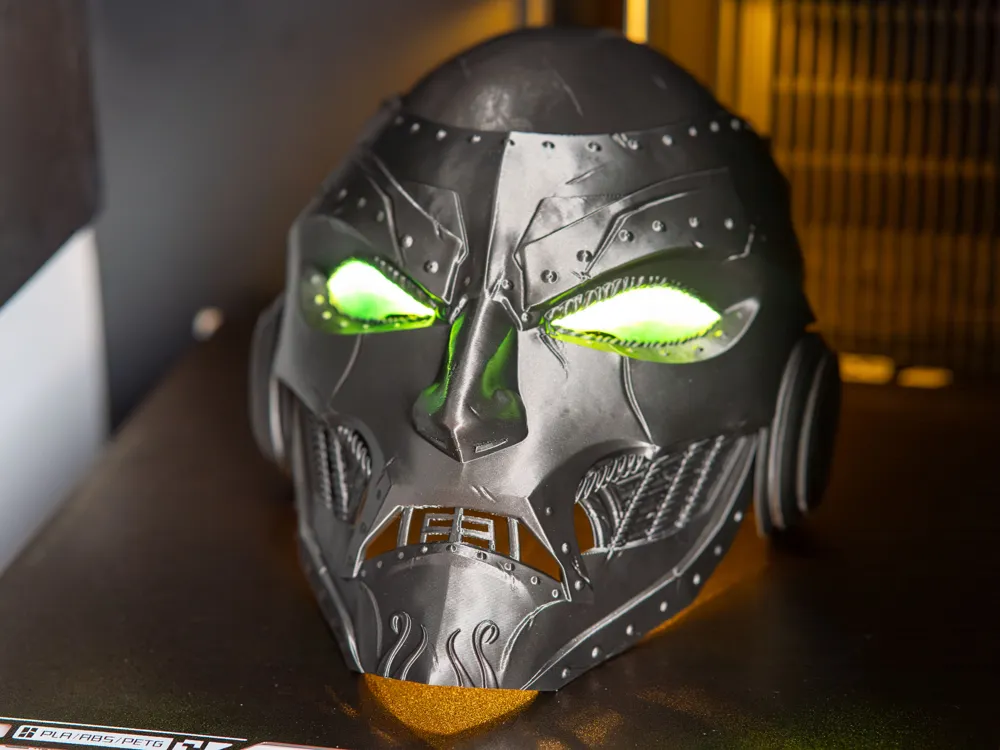
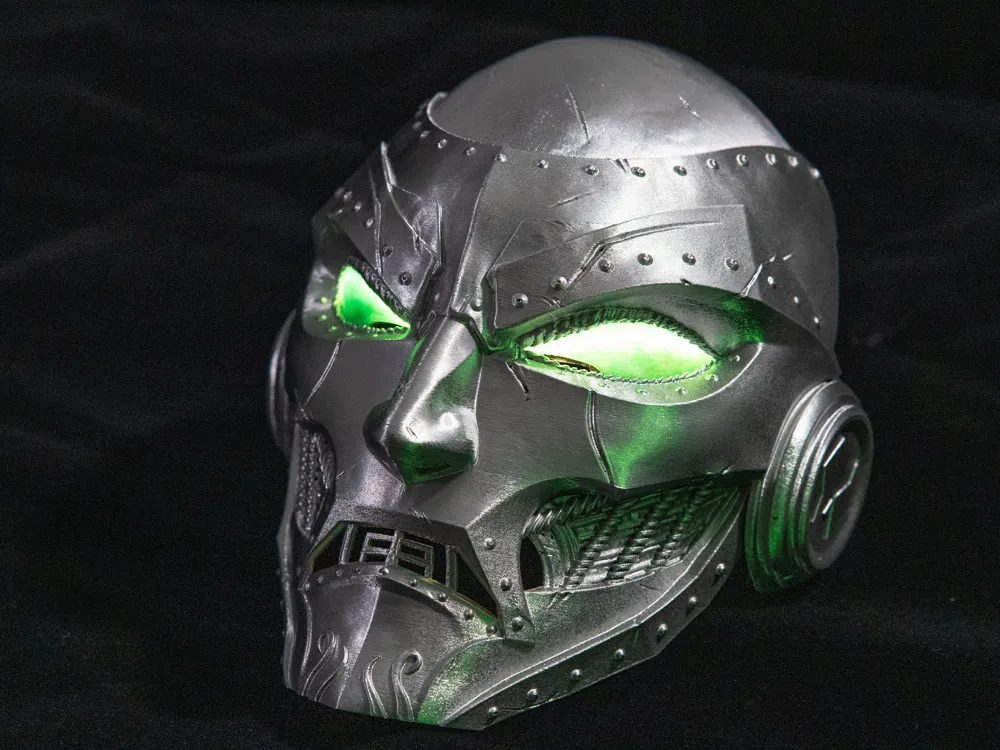
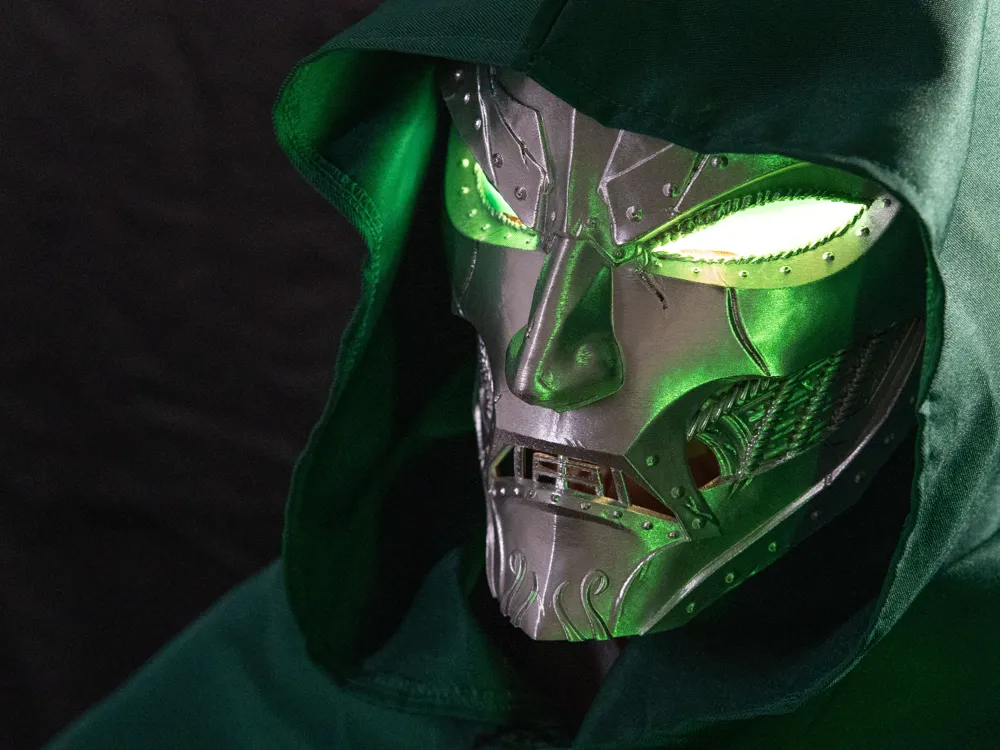
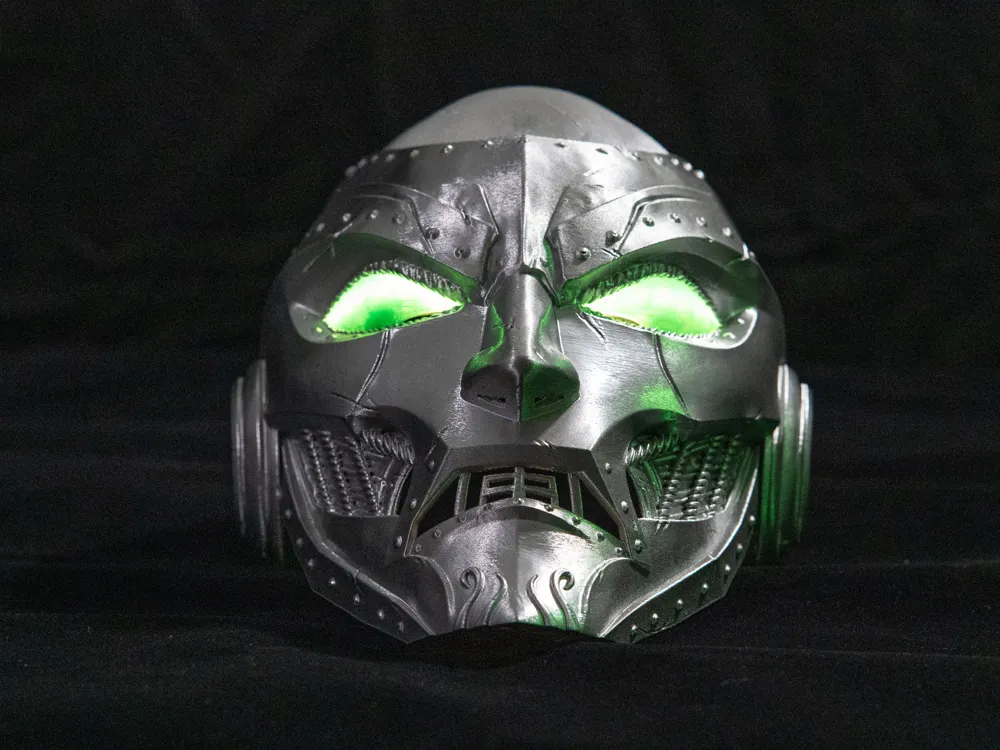
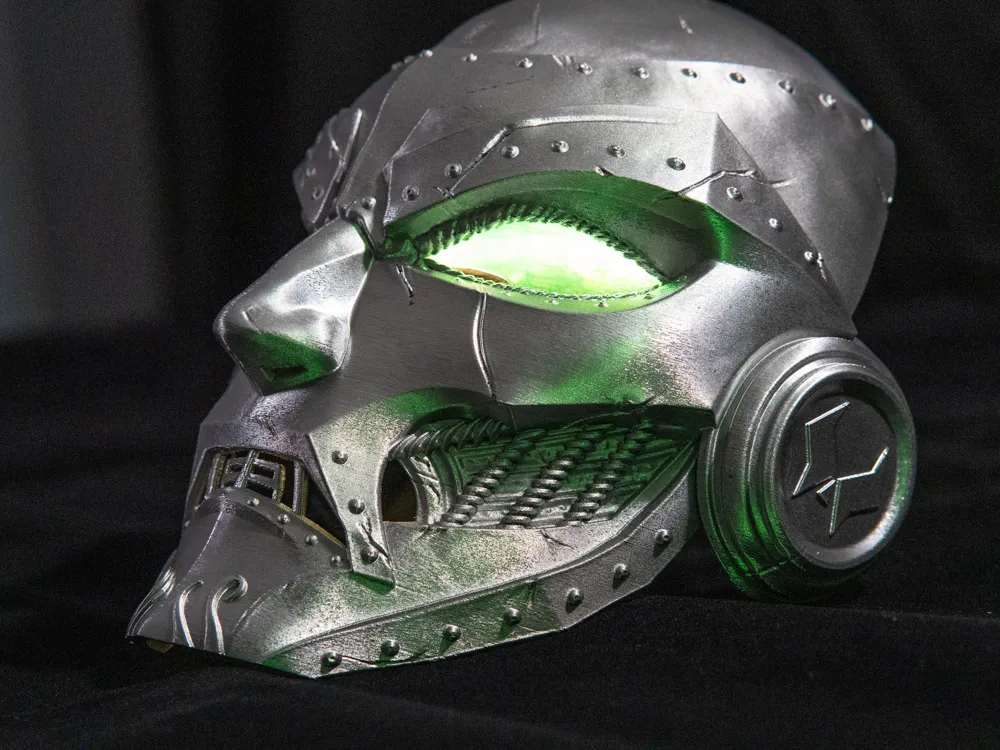
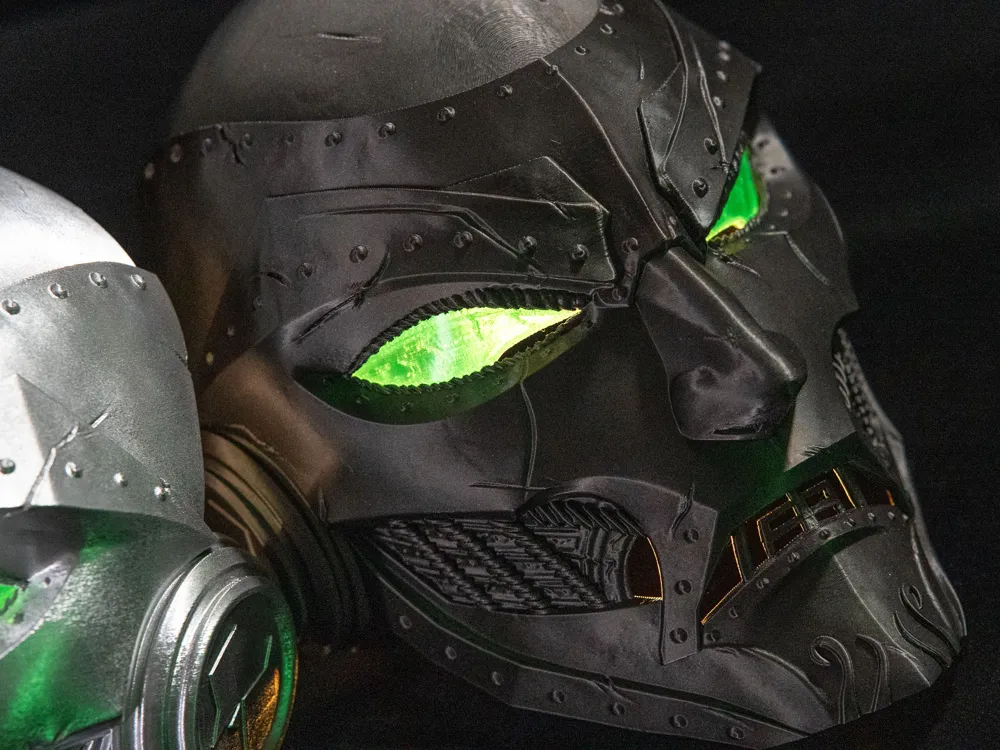
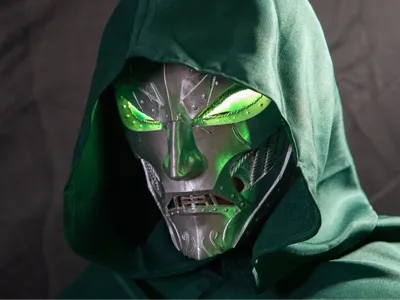
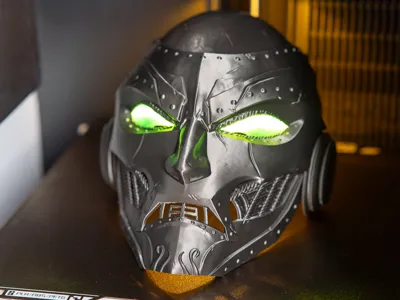
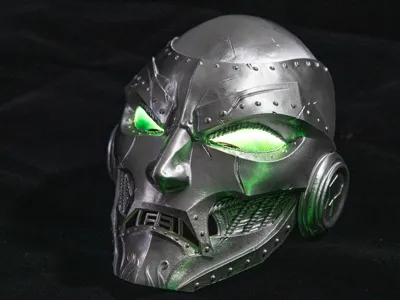
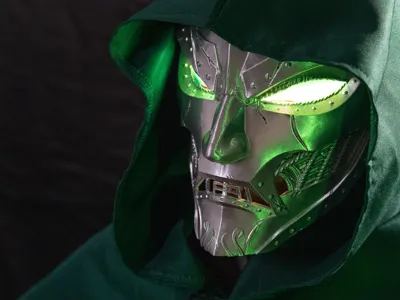
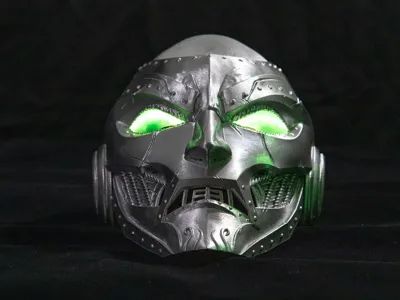
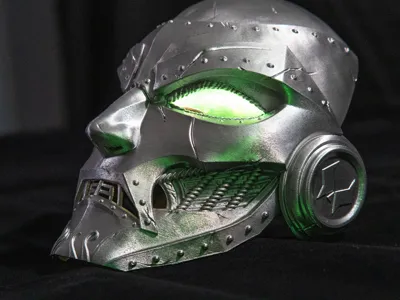
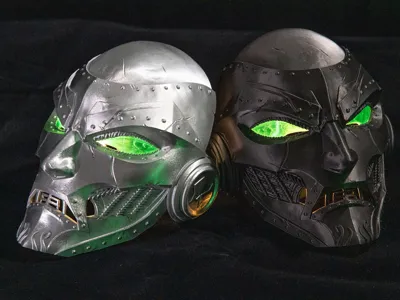
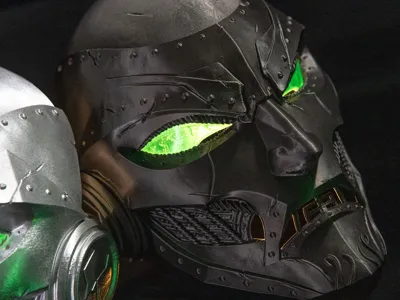
This is an original design mask based on Dr. Doom's features.
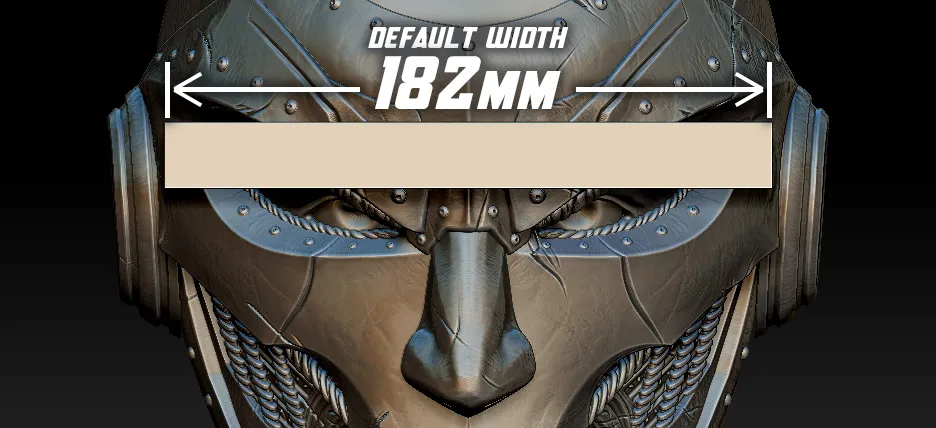
The preset width of the mask is the same as the Lich King's Helmet, 182mm according to the total width reference on both sides of the ears, and you can scale it to your own size, with 10% room to scale up for P1, or further if it's H2D.
A1mini is not supported.
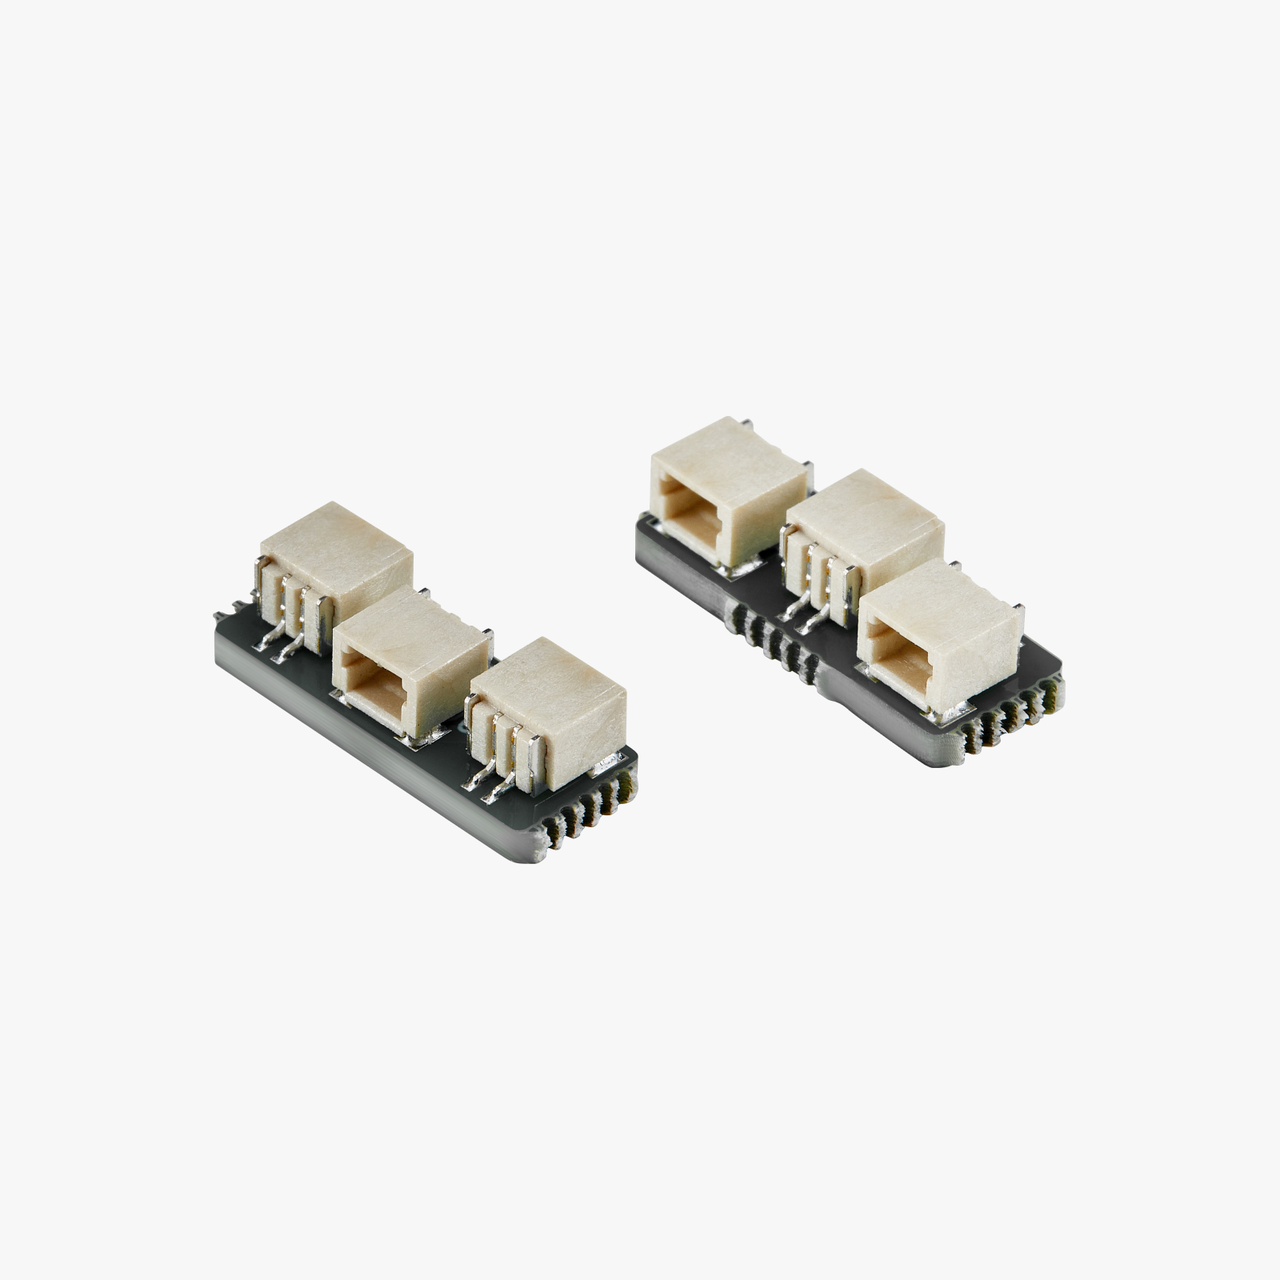
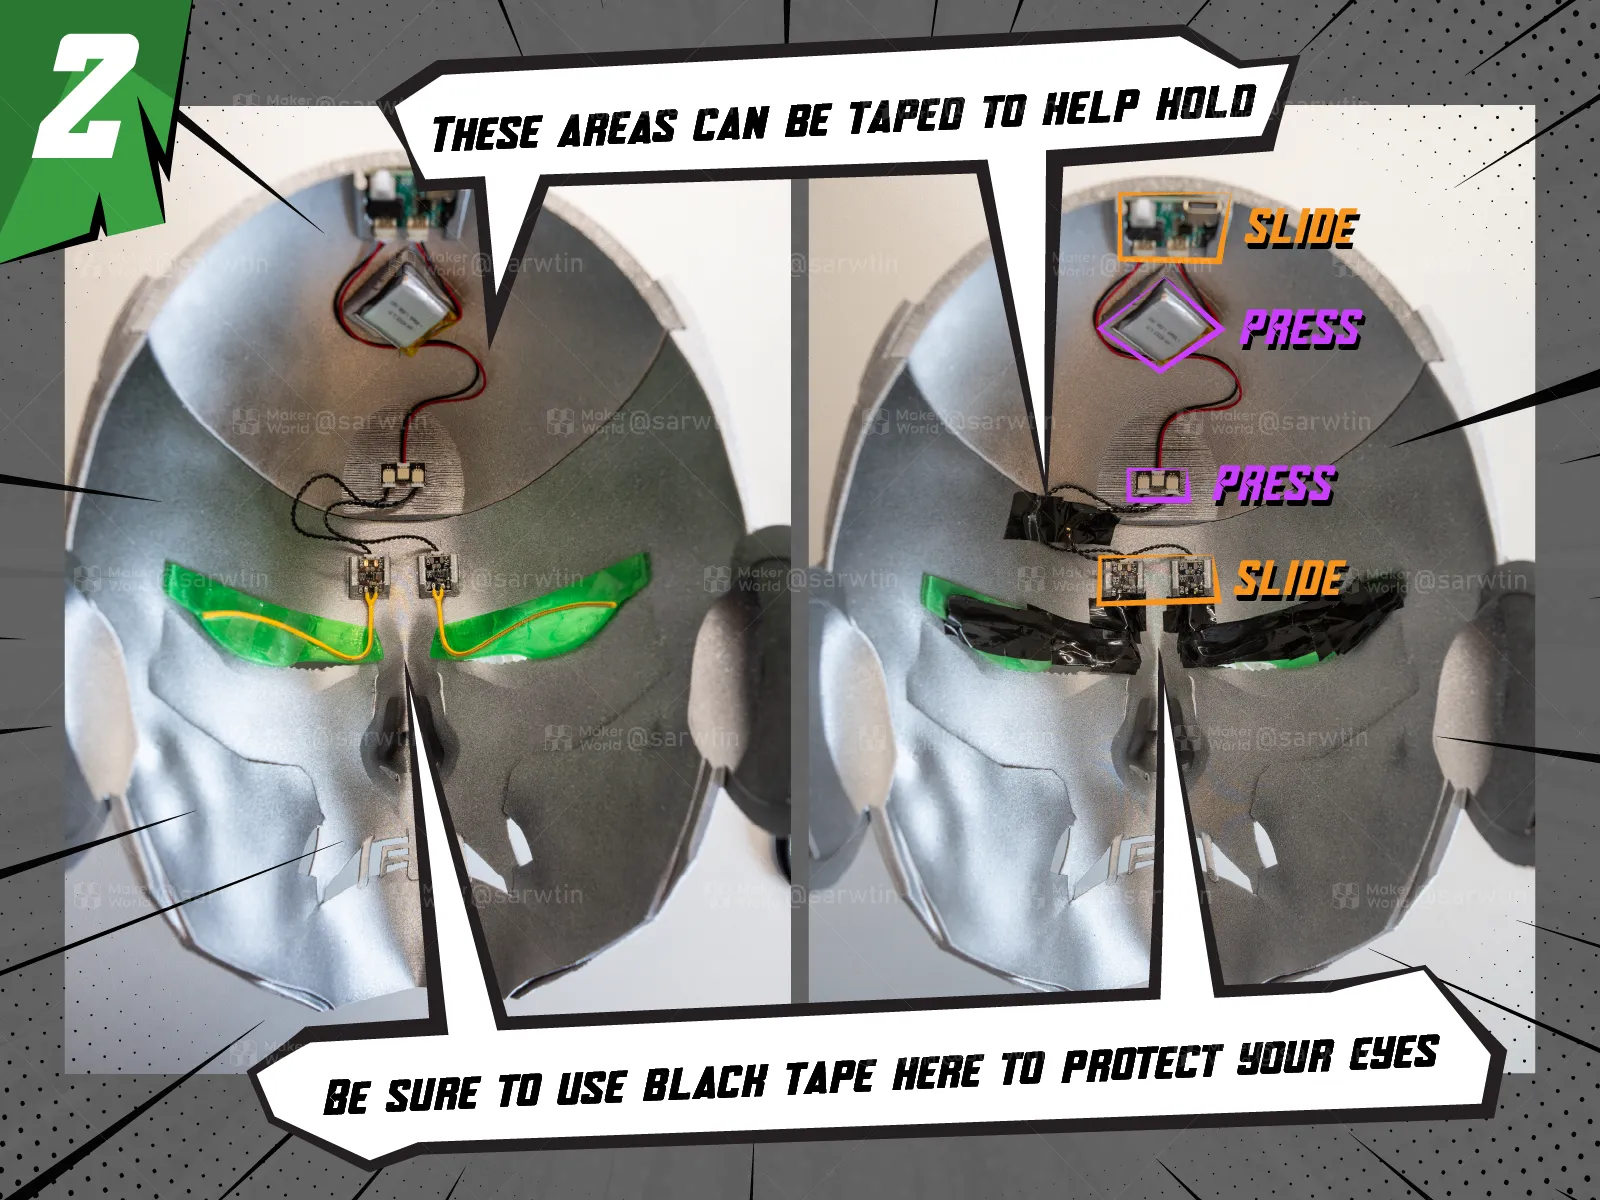
If you need to light up the eyes, you'll need to use these kits:
LED Strip KA007 x2
Battery ZC003
1 to 2 Adapter ZH090
ZH1.5 to SH1.0 Conversion Wire XC007
About Print Profile:
- Everything is pre-supported and can be printed directly.
PETG and PLA can be used without any difference. Please remove the mouth support carefully and avoid excessive force.
A long stick with a length of 182mm and a ratio of 100% is preset in the profile, you can scale it according to your width between the ears and synchronize it to the other parts, but you will definitely need glue to fix the kit after scaling.
About Assembly:
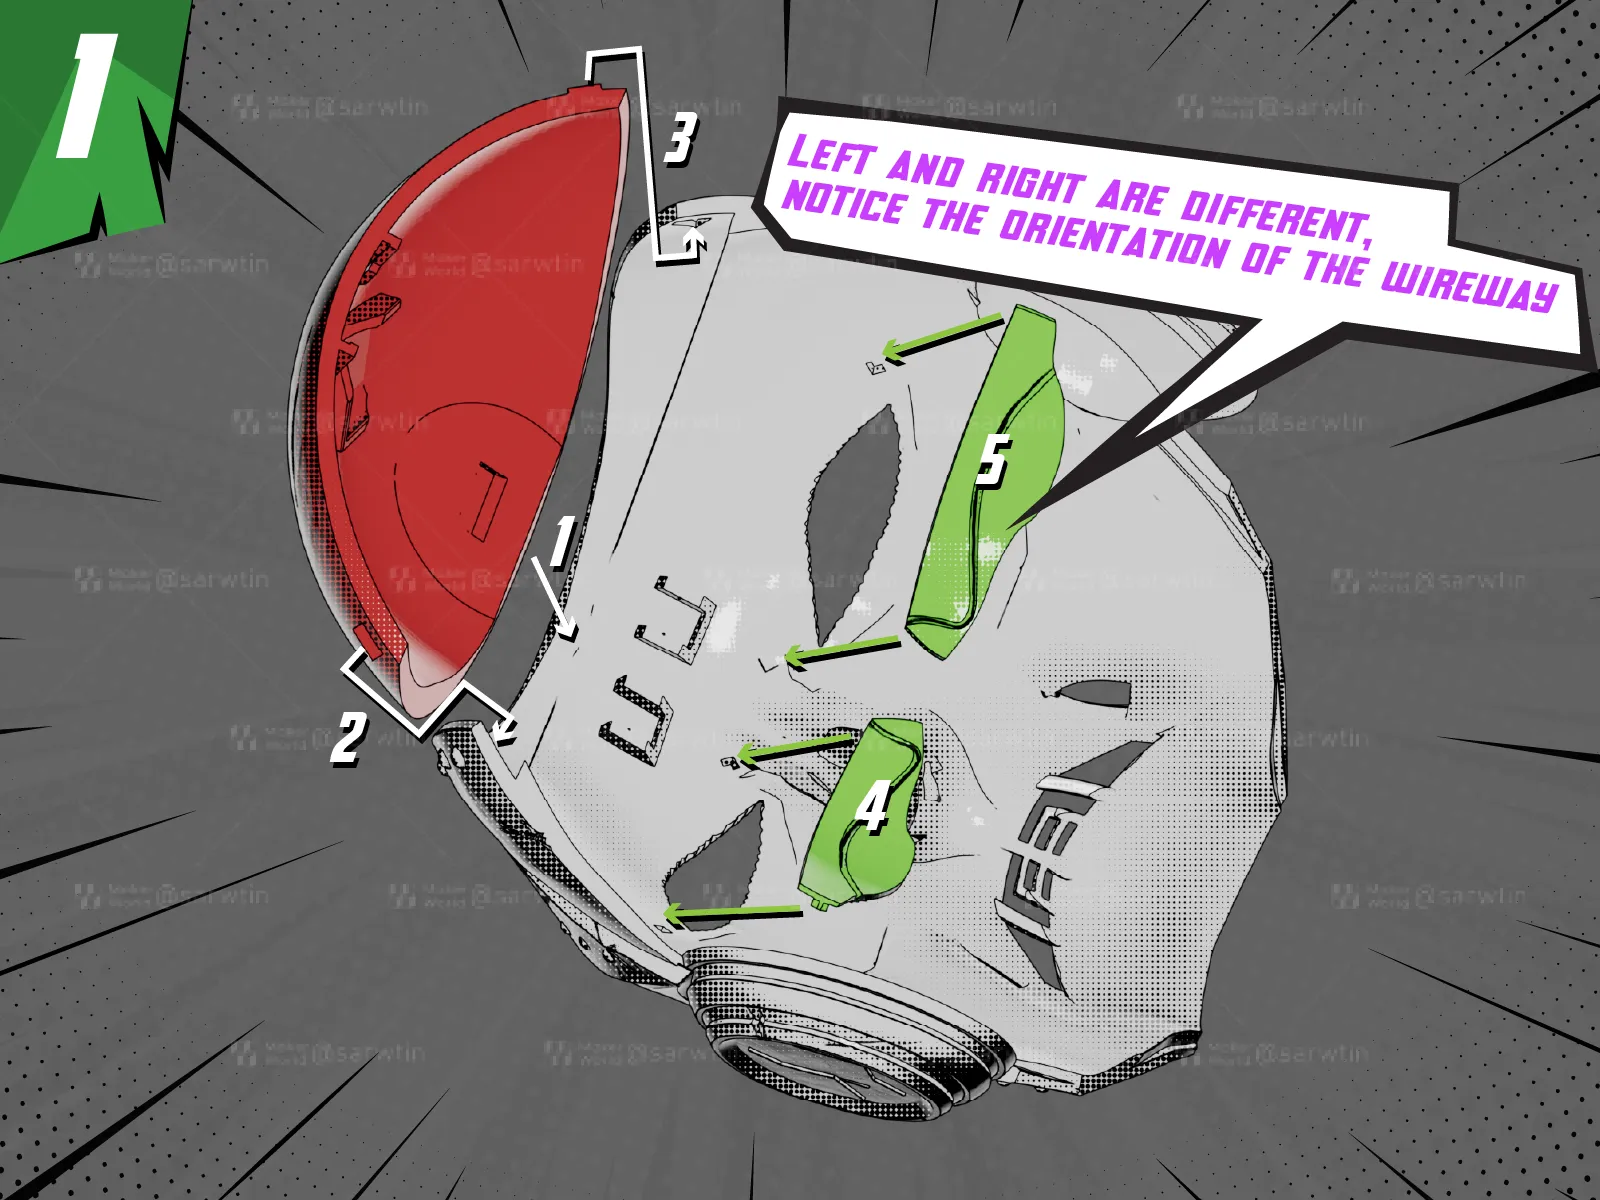
Connect all the kits first, then assemble them as shown below, paying attention to the orientation of all kits. All slots are optimized according to the kits, no glue is needed, but since the LED strip is too thin and needs to be shaded, it must be attached with black tape:
About Color:
Color references are preset in the profile.
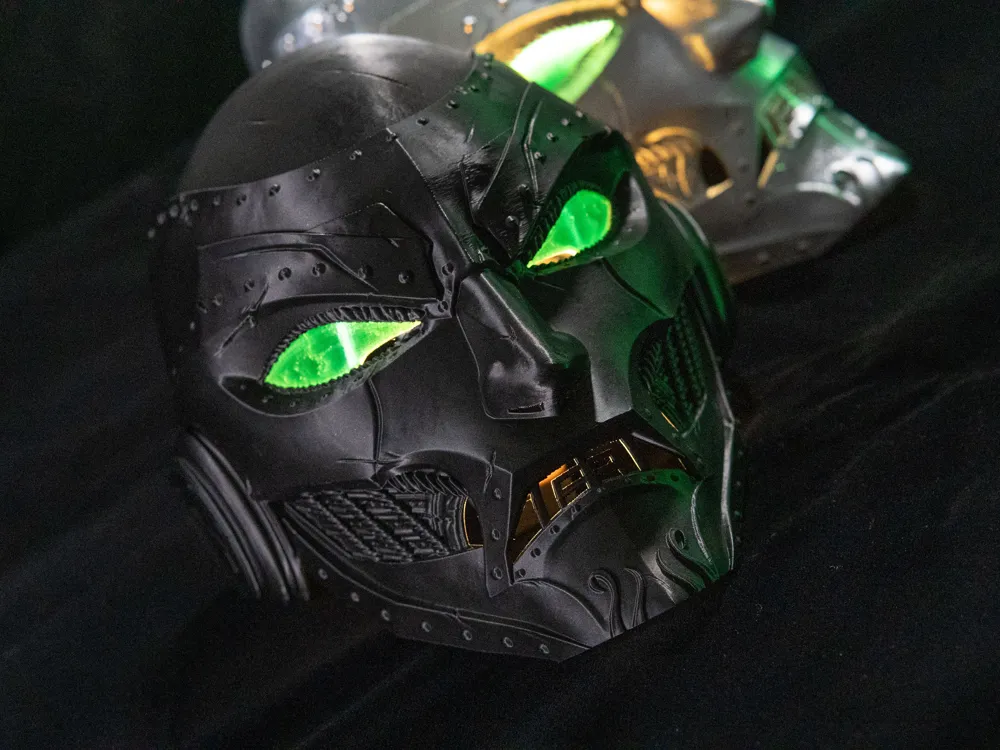
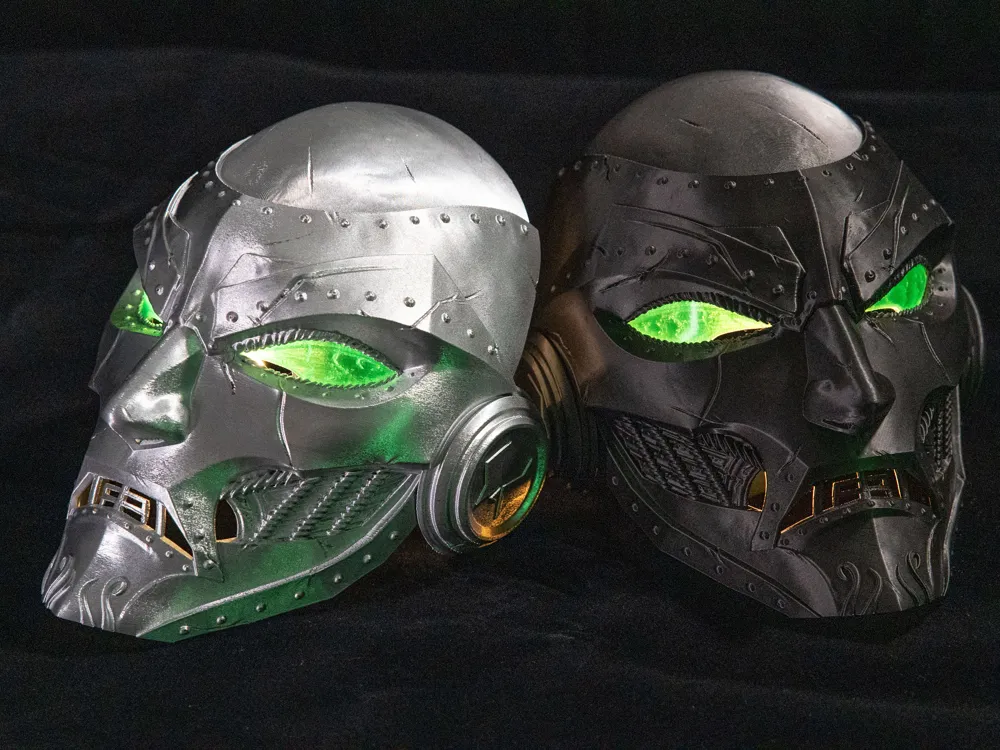
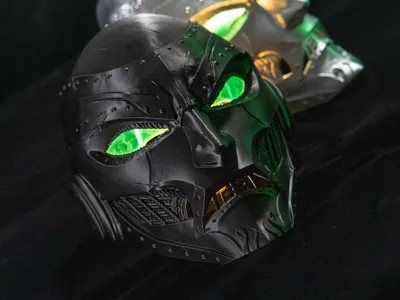
If you don't install the LED, the mask can be printed directly in silver, if you install a light, it is recommended to print it with dark gray or black filaments and then spray it in silver since the light filaments will be translucent.
Transparent green is fine for the eyes according to the original settings, but I've tried transparent red and transparent orange and they both work well.
Membership
Once you obtain a commercial license, you can sell printed copies of my work.
License

You shall not share, sub-license, sell, rent, host, transfer, or distribute in any way the digital or 3D printed versions of this object, nor any other derivative work of this object in its digital or physical format (including - but not limited to - remixes of this object, and hosting on other digital platforms). The objects may not be used without permission in any way whatsoever in which you charge money, or collect fees.


Comment & Rating (407)