


Print Profile(2)


Description
After printing the handle kit and shutter button kit, you need to purchase 1/4 screws, "aMagisn Insta360 Ace Pro horizontal and vertical shooting metal cage" and "aMagisn Insta360 metal magnetic quick release"
Assembly Steps
1. Secure the magnetic quick release to the horizontal and vertical shooting metal cage with 1/4 screws, then it can be attached to the quick release points on the side of the cage.
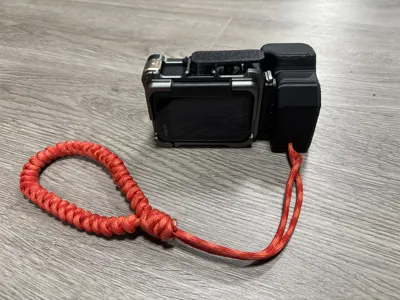
2. If you need to install a lanyard, there is a place to secure the lanyard on the handle kit. The recommended diameter of the lanyard is 3~4mm, and use an M3*14 screw to fix the lanyard to the handle kit.
3. Slide the shutter button into the hot shoe expansion port. Before sliding it in, place the shutter trigger cylinder into the shutter hole. Then gently press down, and attach the shutter button kit to the cage surface. Then, slide the shutter kit into the hot shoe expansion port.
Note:
The lanyard in the picture is self-woven. If needed, please purchase a 3~4mm diameter paracord and search for videos on "paracord weaving" to weave your own lanyard.
Comment & Rating (1)