
Ultimate Router Jig - Mortise/Tenon + Shelf Pin

Print Profile(4)


Bill of Materials
- 8×120mm stainless steel rods x 2:
- 8×105mm stainless steel rods x 2:
- 9×30mm compression springs (0.6mm wire, 304 stainless steel) x 2:
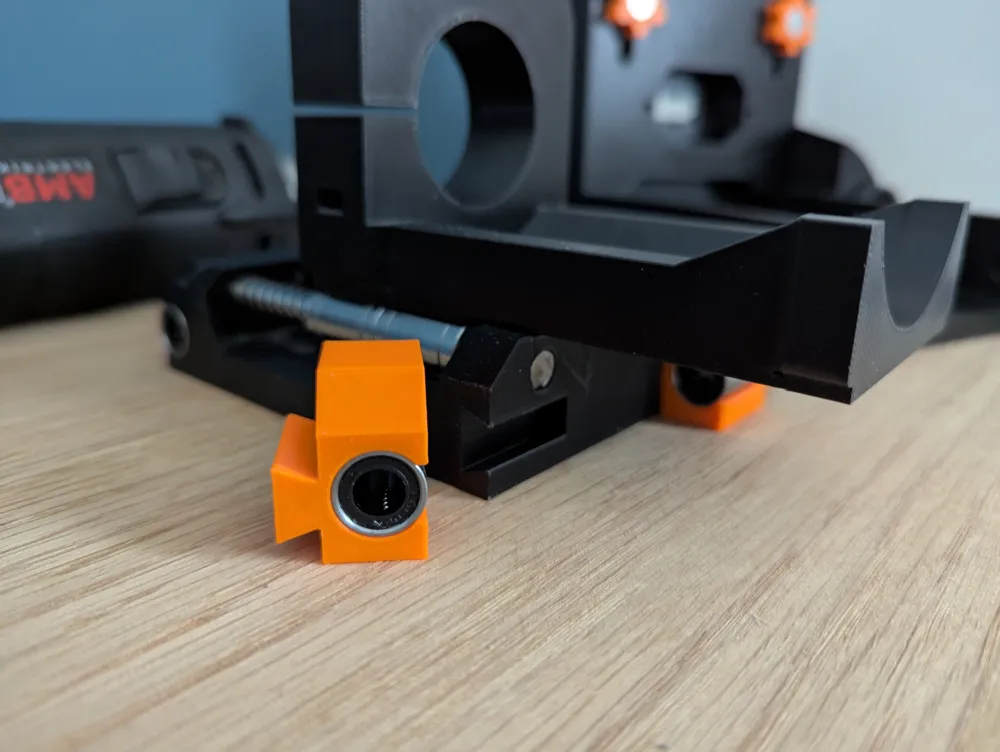
- LM8UU linear bearings (8×15×24mm, 3D printer grade) x 8:
- M8×40mm hexagon machine screws x 2:
- M8 nuts (DIN 934/ISO 4032, A2 stainless steel) x 2:
- M4×35mm pan head screws (hex socket, 304 stainless steel) x 1:
- M4 nuts (DIN 934/ISO 4032, A2 stainless steel) x 1:
- 64×19×3mm plexiglass sheet x 1:
Description
Boost Me (for free)
If you like this model, please consider a boost
Overview
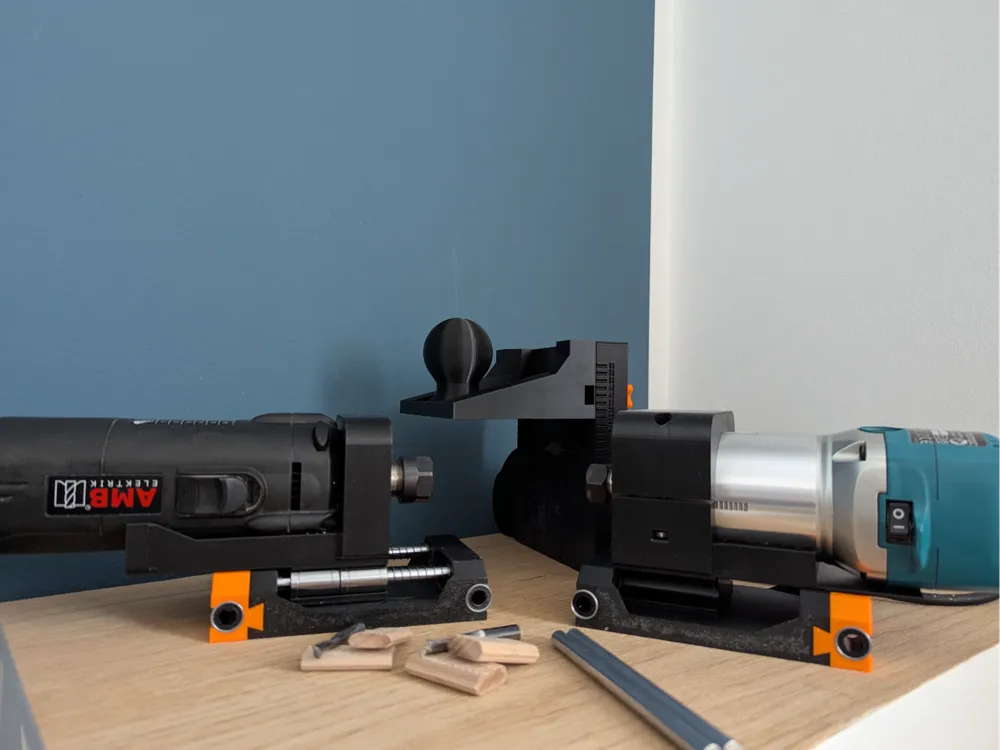
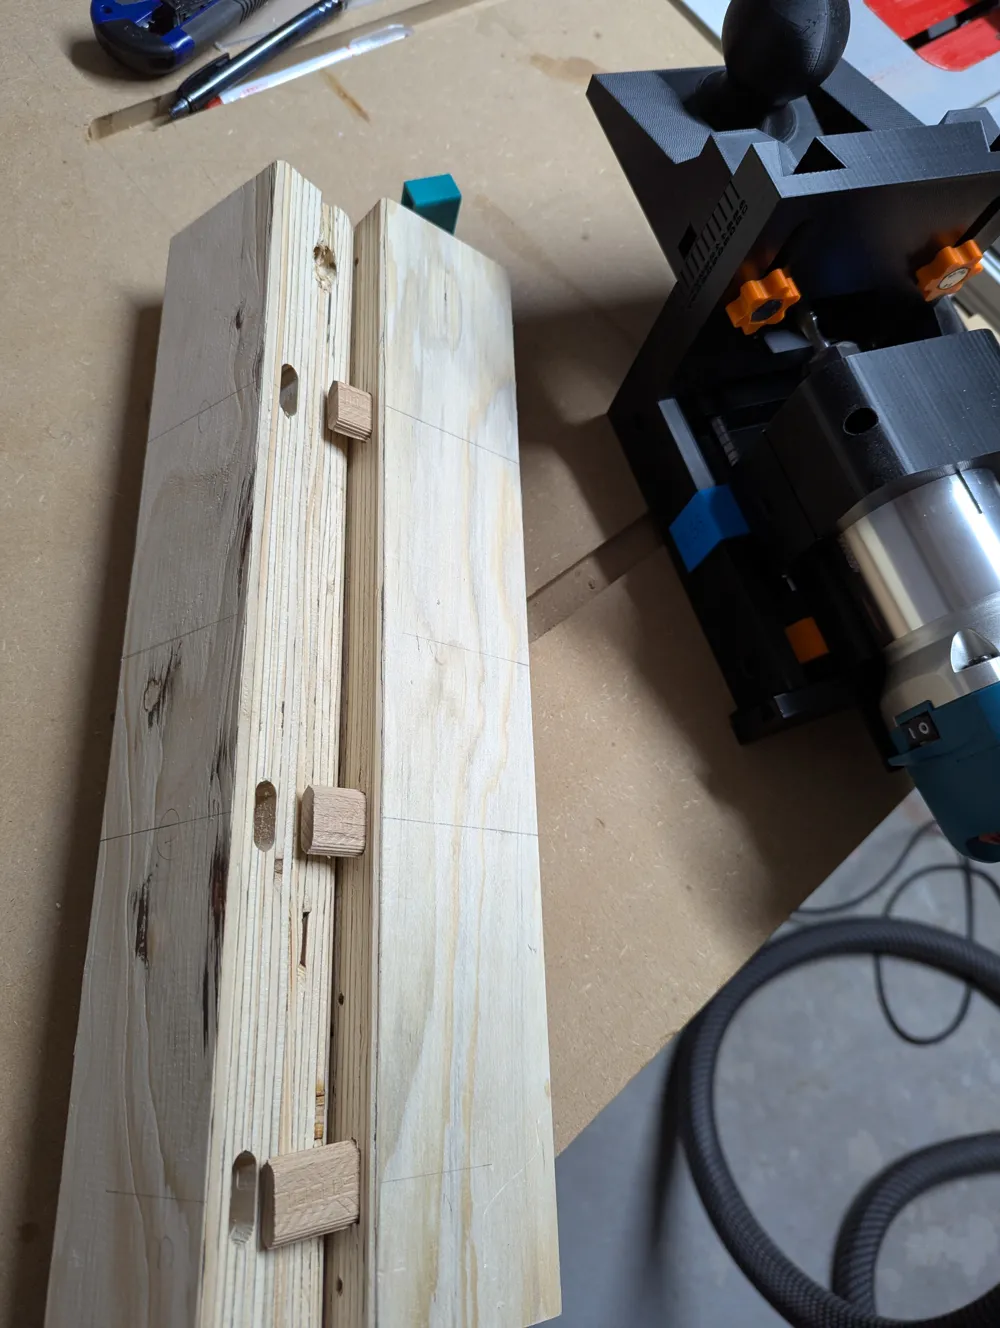
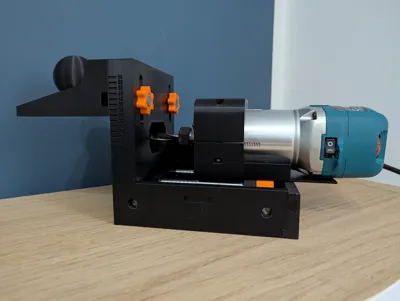
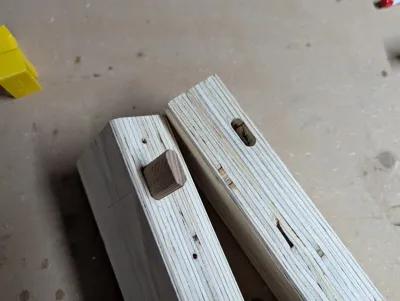
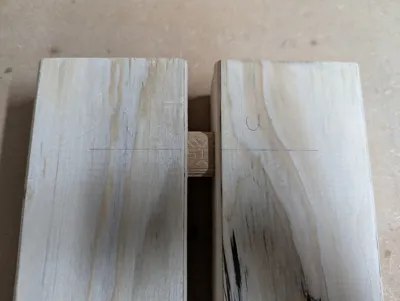
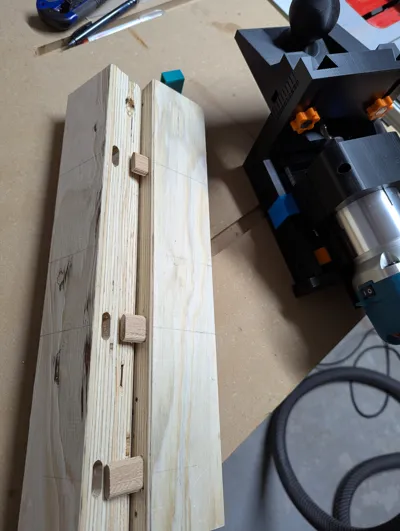
This precision jig is designed for creating professional-quality mortise and tenon joints using a handheld router. The system provides adjustable accuracy and repeatability for woodworking projects, making it ideal for furniture making, cabinetry, and fine carpentry work.
The design is fully my own and might improve over time as I or others gain more experience with it. So far, I can say that I love it and that it workes very well for me. Use the adjustable stoppers for fine-tuning if you feel the need.
Check it out:
Primary Features
- Mortise and Tenon Joints: Engineered for 8mm or 6mm router bits with 2-flute spiral design
- Shelf Pin Holes: Compatible with 5mm router bits for precise shelf pin drilling
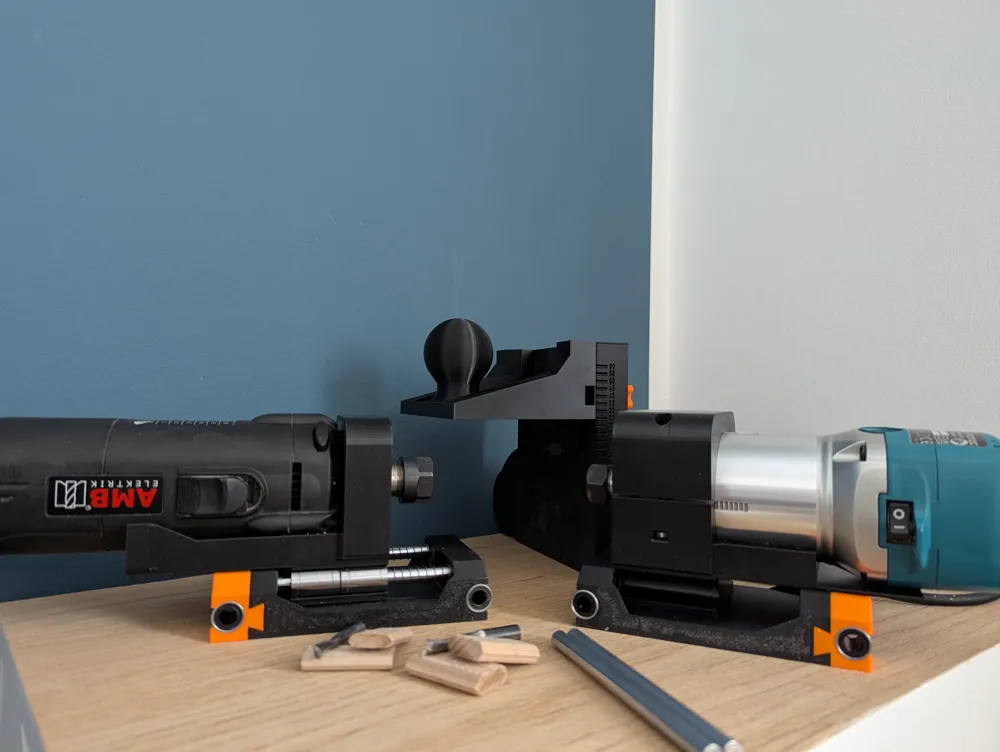
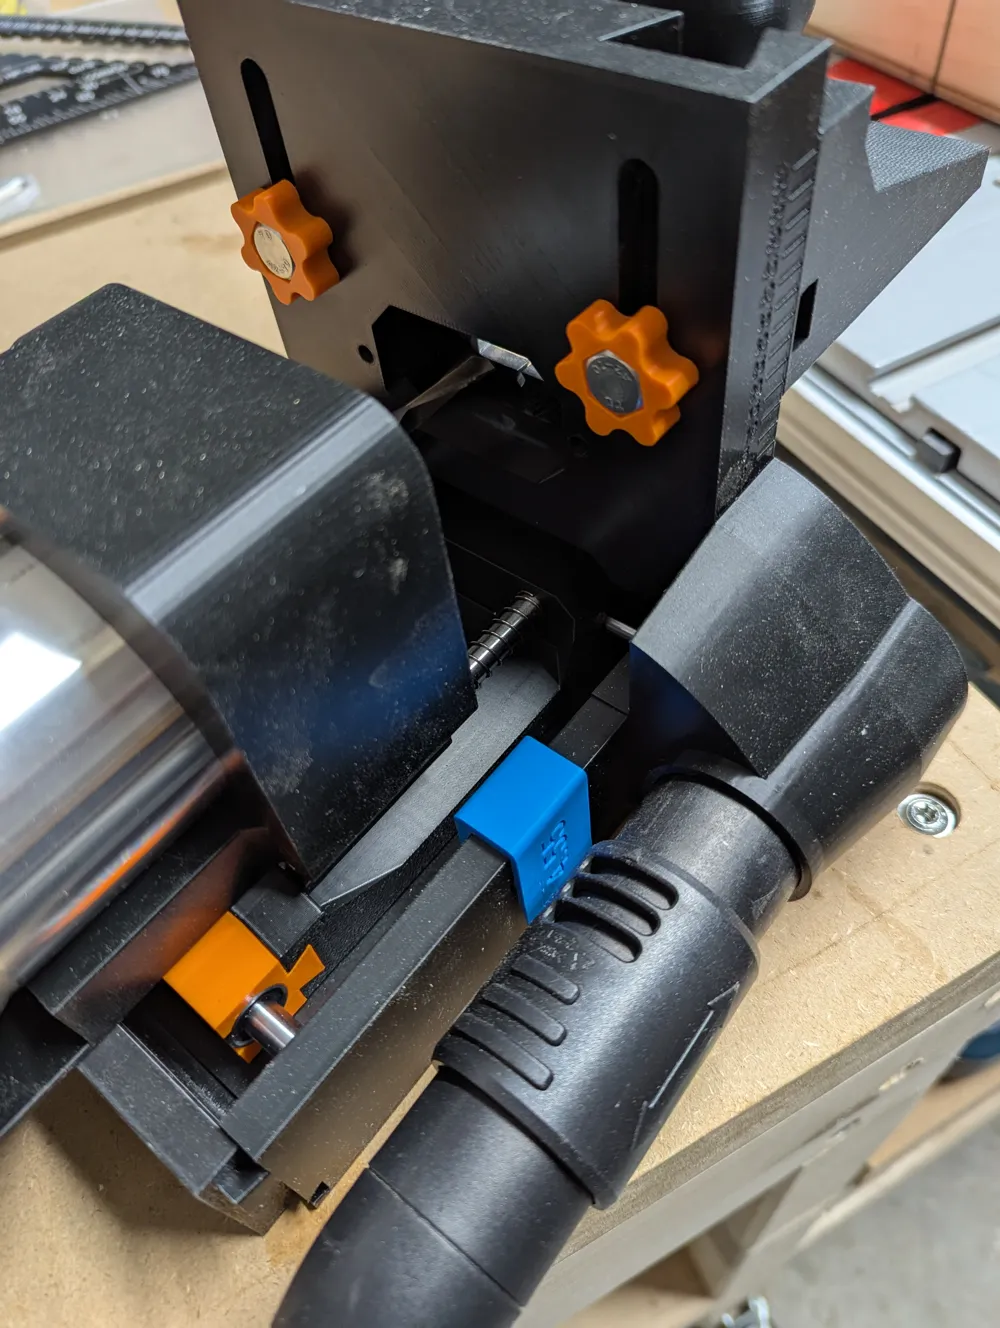
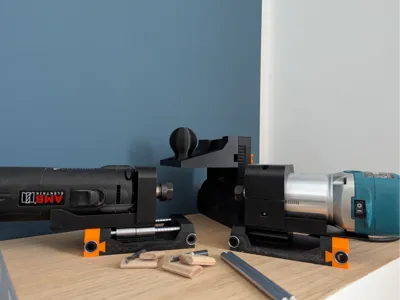
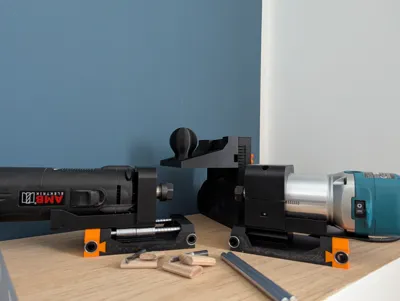
- Dual Router Compatibility: Designed for AMB (formerly Kress) 1050 FME-P with additional Makita RT0702C adapter included
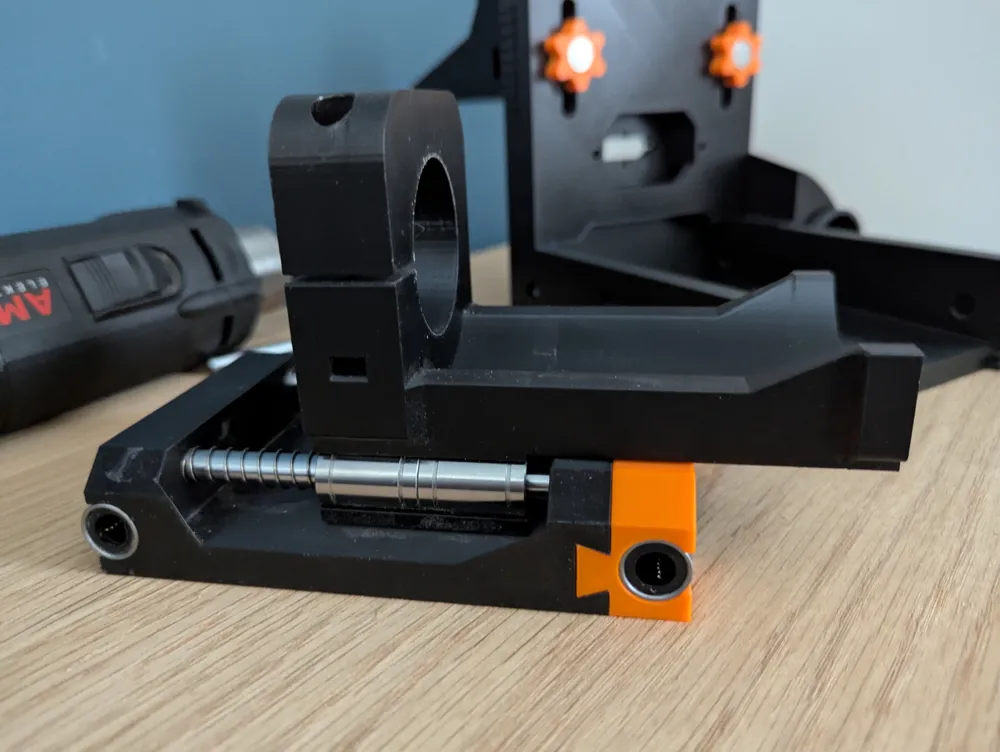
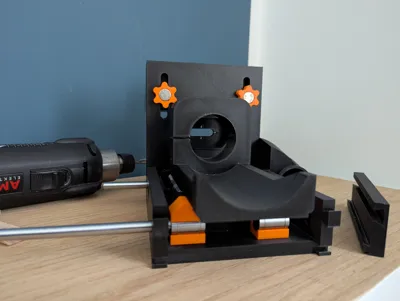
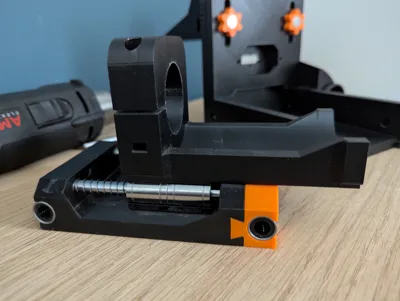
- Precision Linear Guide System: Uses industrial-grade linear bearings for smooth, accurate operation
- Adjustable Tolerance System: Includes calibration blocks and variable stoppers for perfect fit adjustment
Boost Me (for free)
This is my first design that I am publishing online - I hope this is as much help to you as it is to me. I would be very happy for any boost you can spare!
Key Components & Specifications
Router Compatibility
- Primary Design: AMB (formerly Kress) 1050 FME-P
- Alternative Version: Makita RT0702C router holder included
- Recommended Router Bits: 2-flute spiral bits (8mm, 6mm, 5mm)
Precision Features
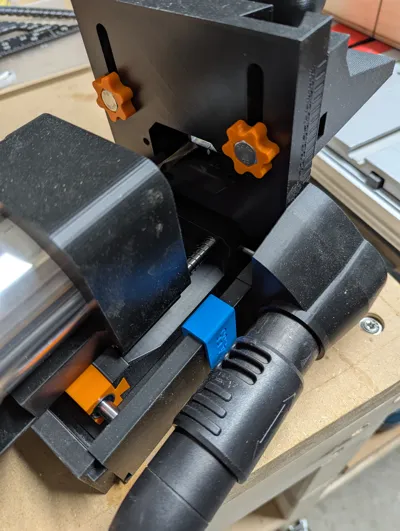
- Distance Blocks: Included for centerline calibration and tolerance adjustment
- Variable Stoppers: Multiple sizes for fine mortise adjustment
- 4.5mm stopper for snug fit joints
- 11mm stopper for precision hole punching
- Custom stoppers can be printed for specific tolerances
- Spring-Loaded System: Ensures consistent pressure and smooth operation
Applications
- Furniture Making: Precise mortise and tenon joints for tables, chairs, and cabinets
- Shelf Systems: Accurate shelf pin holes for adjustable shelving
- Fine Carpentry: Joinery for custom woodwork
- Production Work: Repeatable precision for multiple identical joints
Compatibility
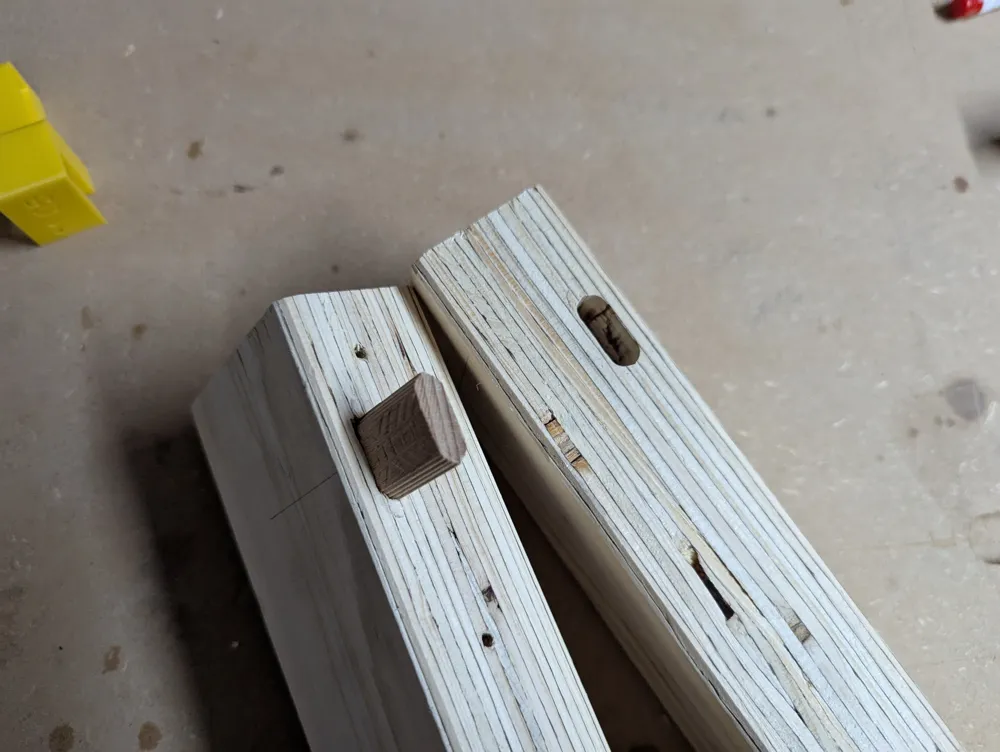
- Tenon Options: Create custom tenons or use commercial Festool Domino tenons (BU6 or BU8)
- Material Compatibility: Works with hardwoods, softwoods, and engineered lumber
- Thickness Range: Adjustable for various material thicknesses
Assembly Notes
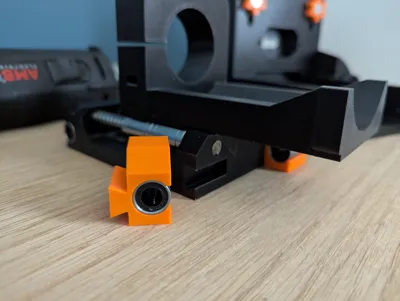
- LM8UU bearings should be secured with a small amount of super glue to prevent sliding
- Multiple stopper configurations allow for precise tolerance control
- Different stoppers can be used on each side for asymmetric adjustments
- All printed components designed for standard FDM 3D printing
Hardware Requirements
Router & Bits
- 1x Router (Makita RT0702C OR AMB 1050 FME-P)
- 1x 8mm 2-flute spiral router bit
- 1x 6mm 2-flute spiral router bit
- 1x 5mm 2-flute spiral router bit (for shelf pins)
Linear Guide System
- 2x 8×120mm stainless steel rods
- 2x 8×105mm stainless steel rods
- 2x 9×30mm compression springs (0.6mm wire, 304 stainless steel)
- 8x LM8UU linear bearings (8×15×24mm, 3D printer grade)
Fasteners & Hardware
- 2x M8×40mm hexagon machine screws
- 2x M8 nuts (DIN 934/ISO 4032, A2 stainless steel)
- 1x M4×35mm pan head screws (hex socket, 304 stainless steel)
- 1x M4 nuts (DIN 934/ISO 4032, A2 stainless steel)
- 1x 64×19×3mm plexiglass sheet
FAQ
Q: "Do you always use the same stopper width on both sides? I’m not sure if it’s really centered, that’s why I’m asking."
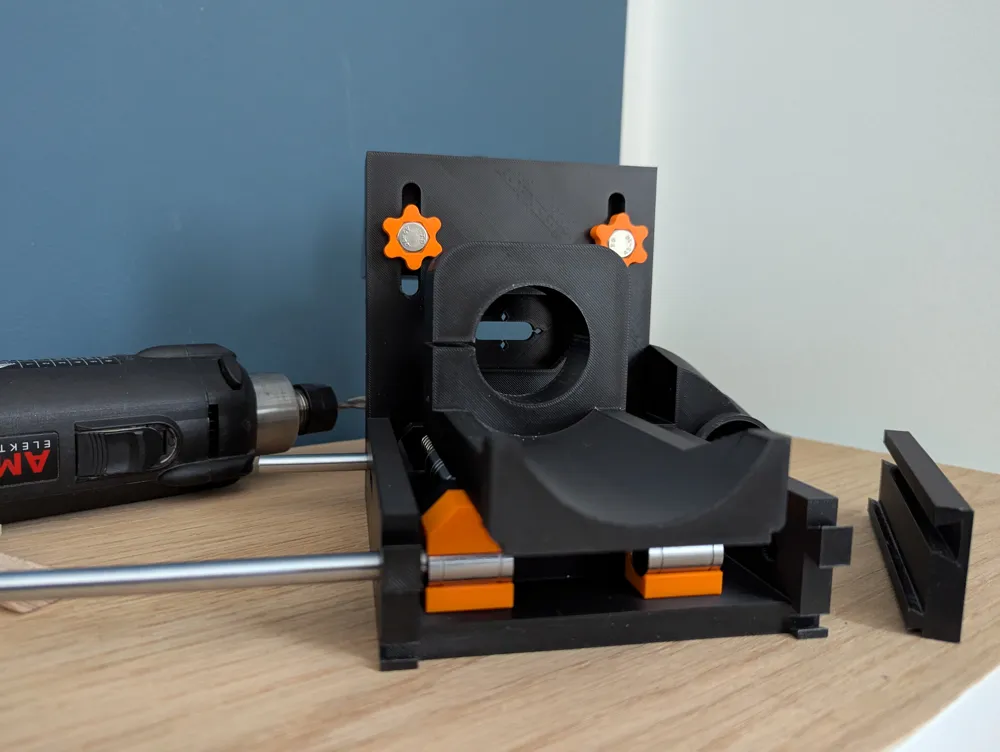
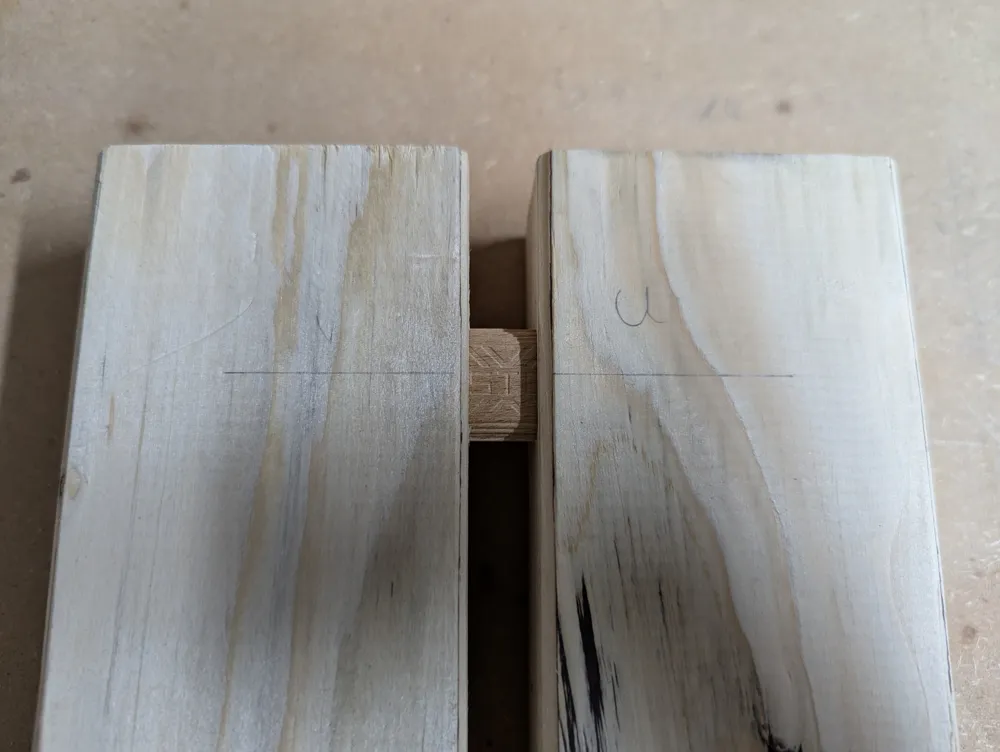
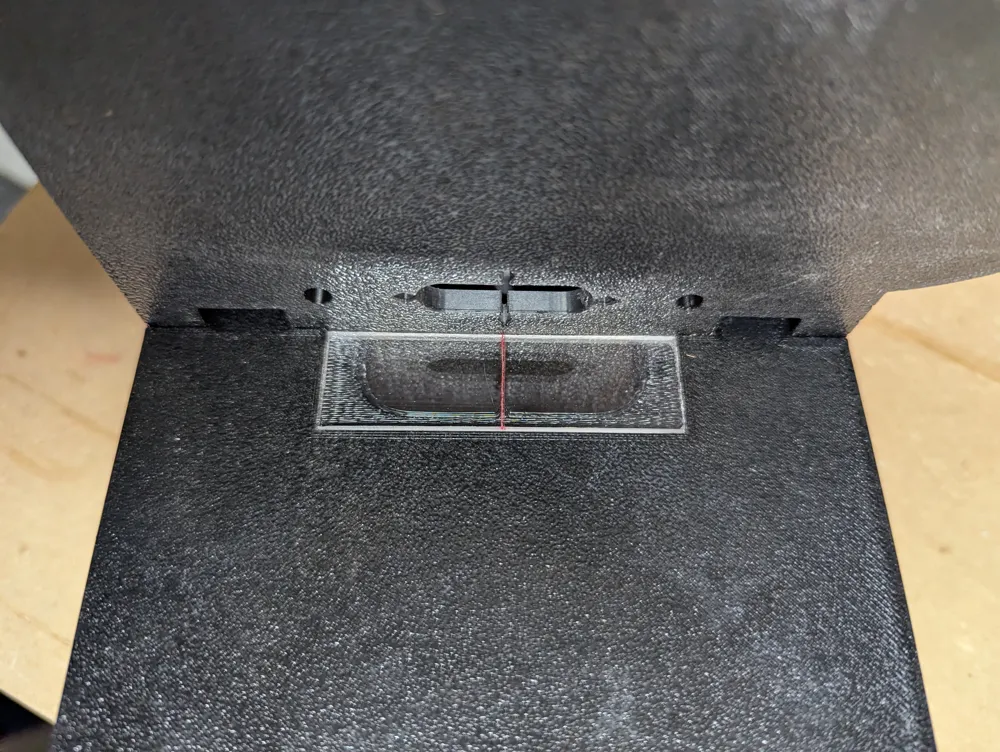
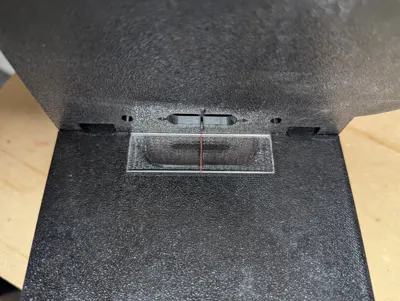
A: "I had the same concern when I first built mine—I measured it several times and double-checked the design. It is centered, but visually it can seem off depending on the angle you're viewing it from, especially since the center mark sits about 10 mm above the actual line.
To make things easier and more accurate, I updated the design to allow an acrylic insert where you can transfer the centerline. That way, I now get a perfectly snug fit and use identical stoppers on both sides.
One thing to watch out for: the linear bearings have a bit of play, if you apply sideways or vertical pressure. The router should glide in smoothly with light, even passes. My routine is usually a left-side full-drill, then a right-side full-drill, and finally some gentle middle cuts to finish."
Q: “Is there also a version for a Dewalt Router?”
A: I do not have a Dewalt myself, but Potato_Papi created one and can be found here: https://makerworld.com/en/models/2299800-ultimate-router-jig-dewalt-mount-and-rear-plate#profileId-2509889

Please consider to buy me a coffee if you like my design
If you are interested in a commercial license, check out my membership options
Membership
License

You shall not share, sub-license, sell, rent, host, transfer, or distribute in any way the digital or 3D printed versions of this object, nor any other derivative work of this object in its digital or physical format (including - but not limited to - remixes of this object, and hosting on other digital platforms). The objects may not be used without permission in any way whatsoever in which you charge money, or collect fees.


Comment & Rating (177)