
Fortnite Scar Model 21" Glue Assembly 1:1 Replica

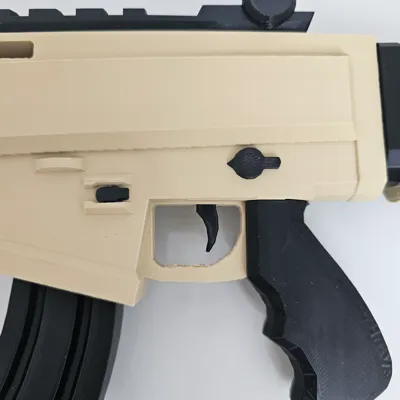
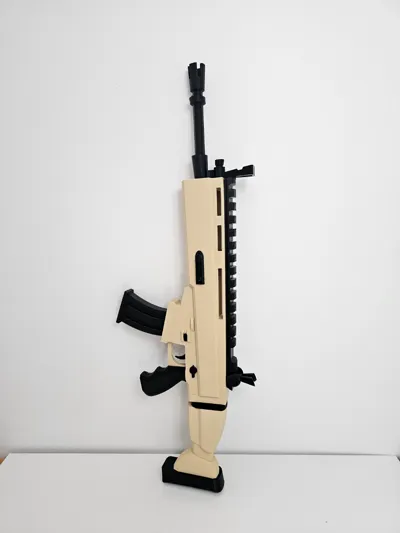
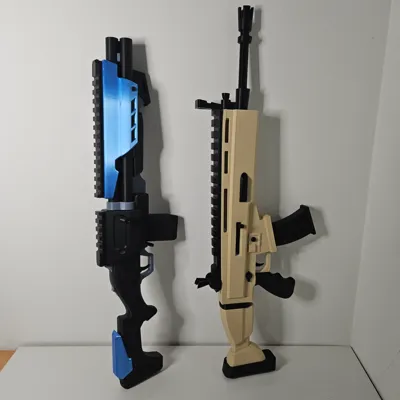
Print Profile(4)


Description
Membership
Models are for personal use only unless you join my $5 No-Limit Subscription. Sell physical prints of my models for as long you're subscribed!
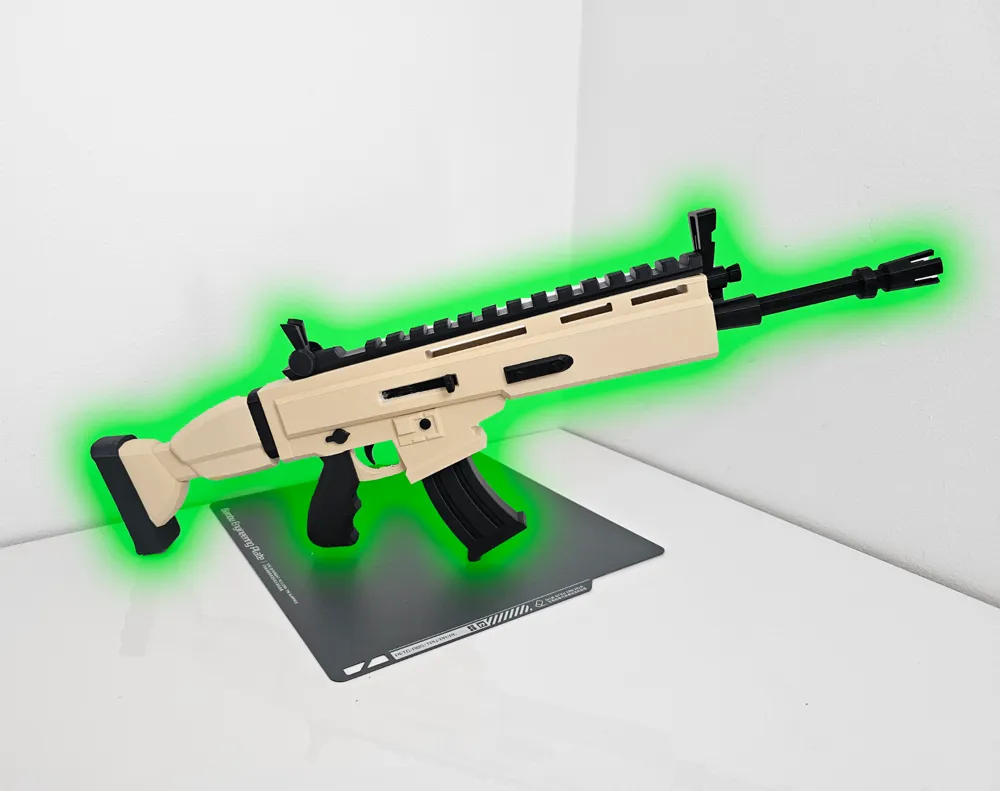
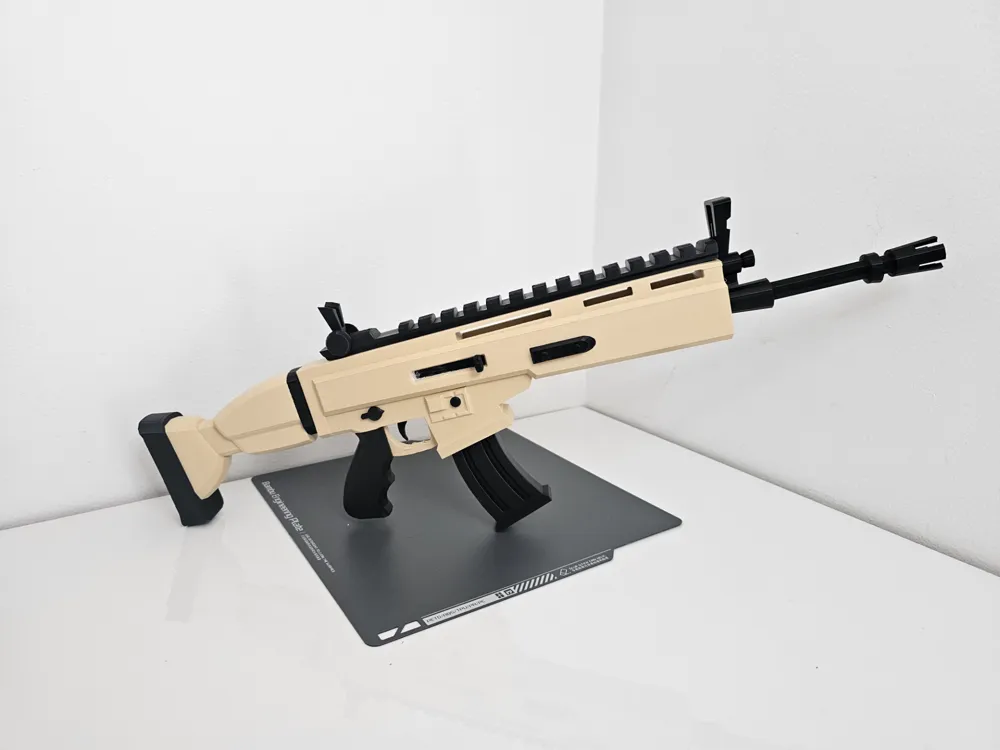
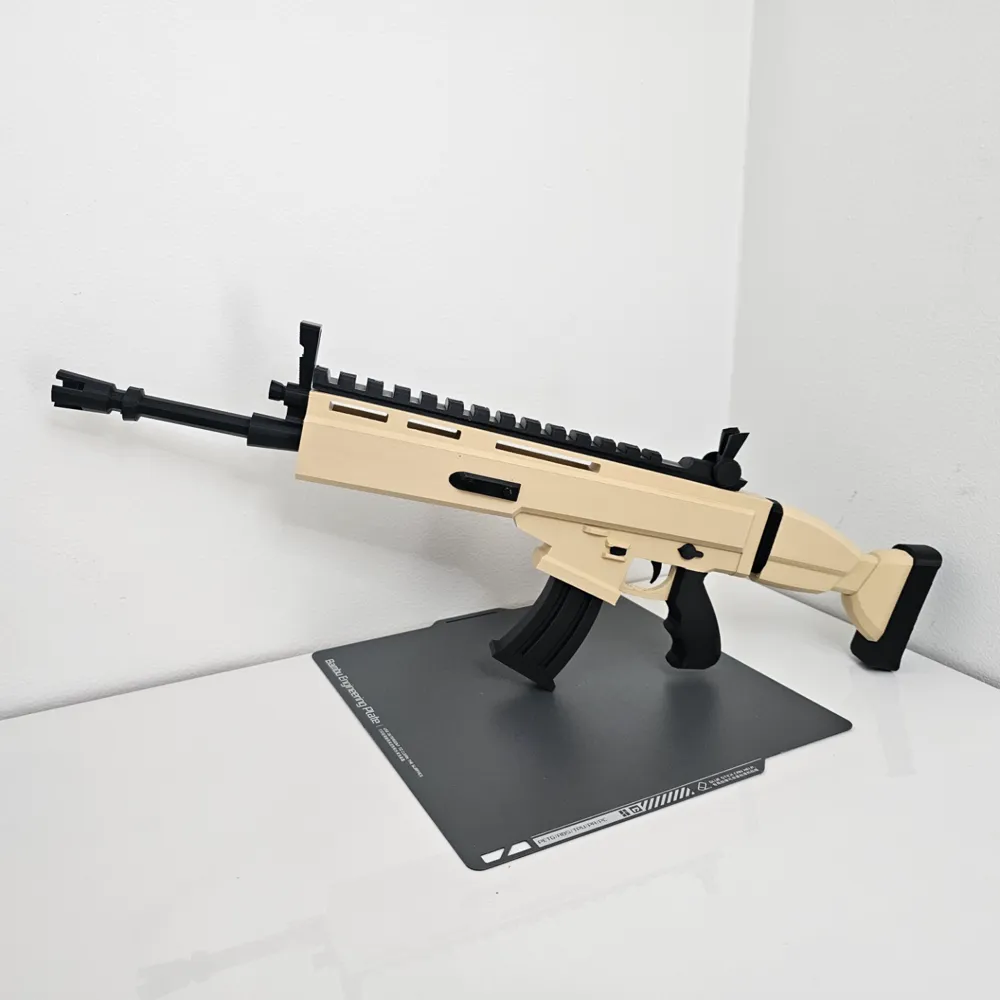
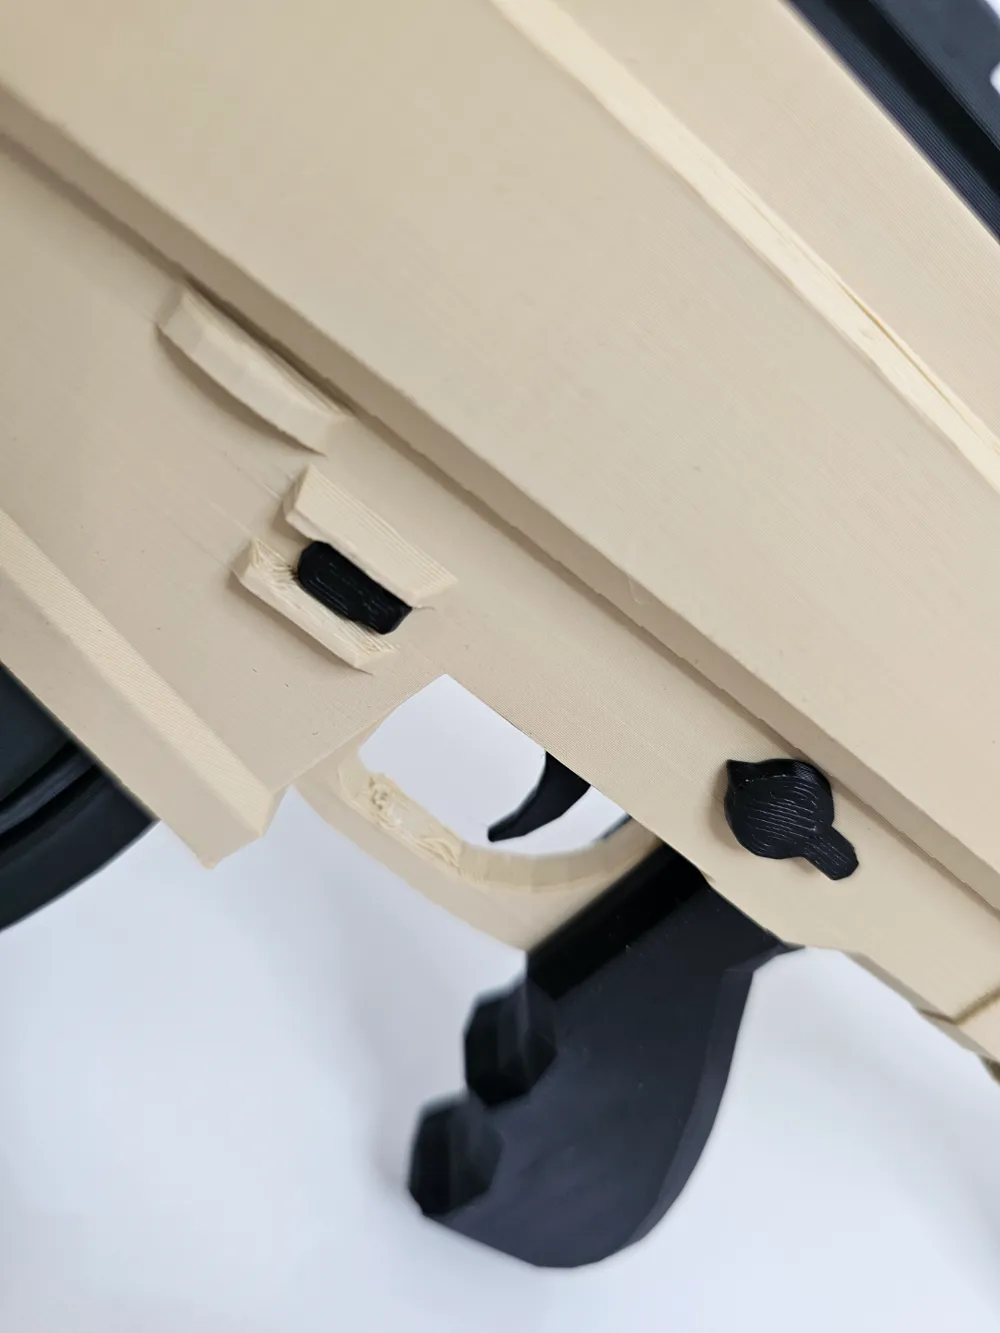
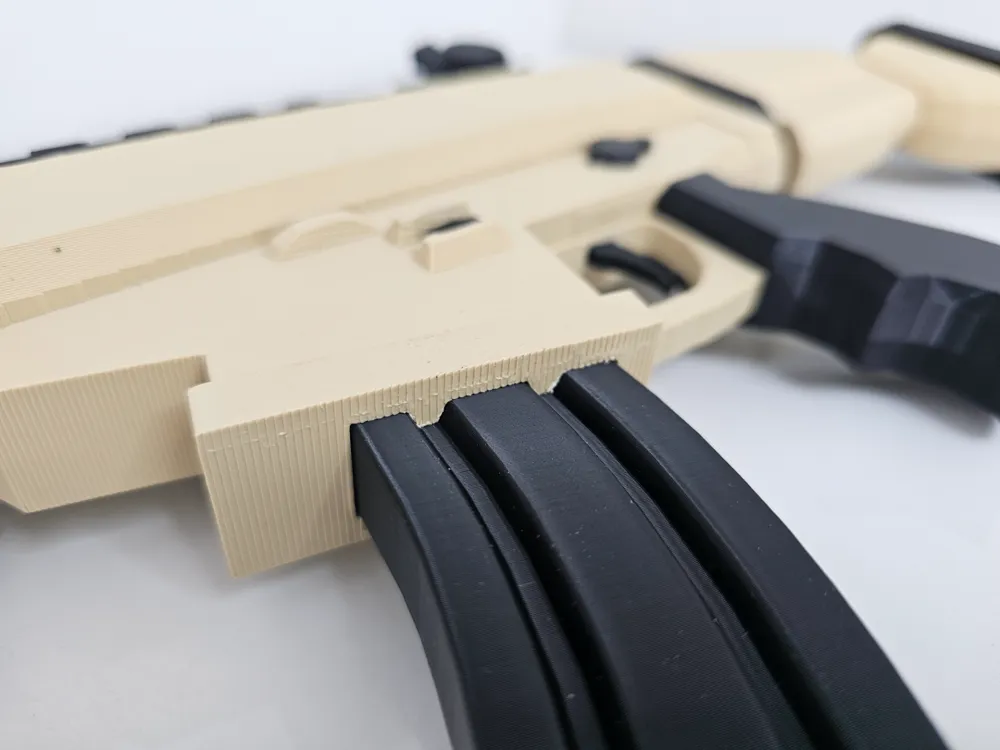
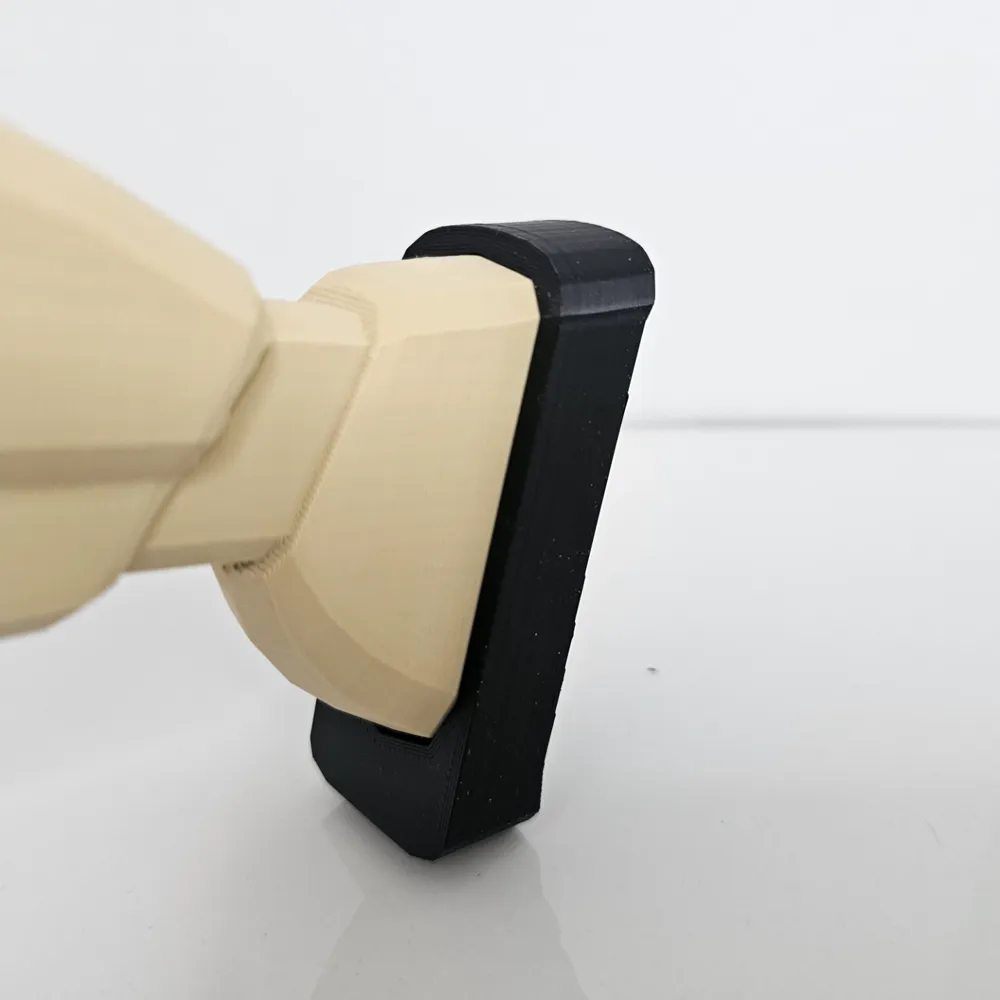
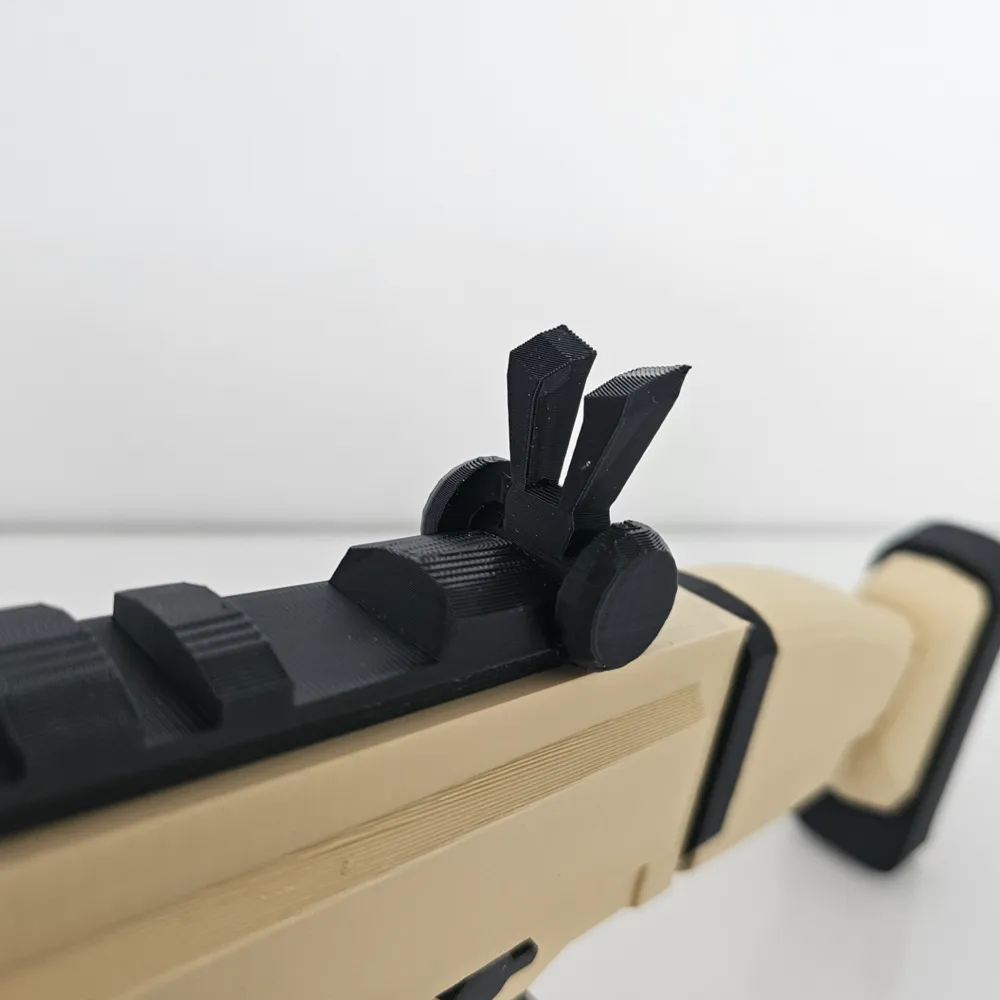
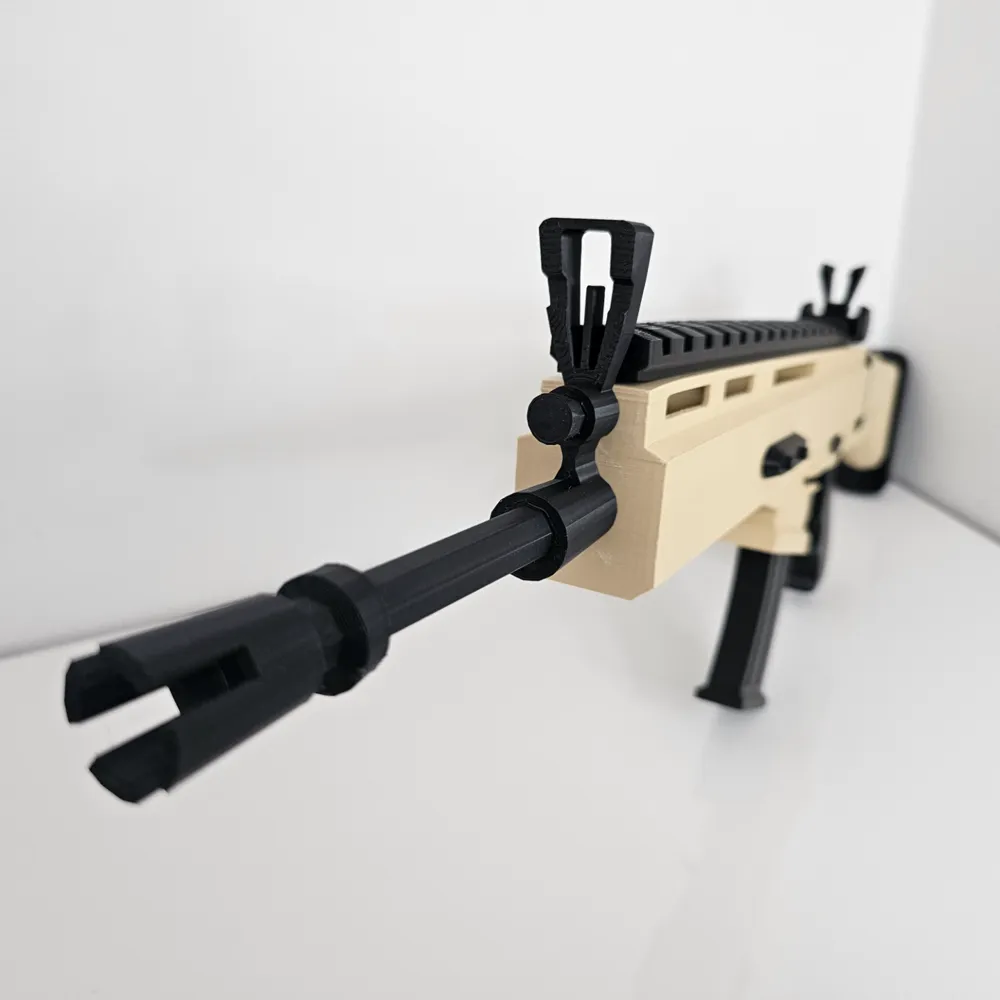
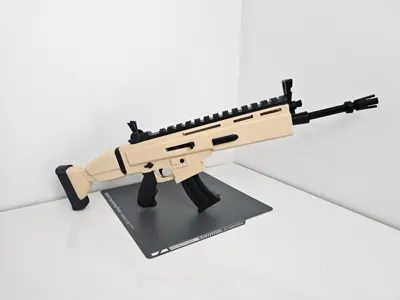
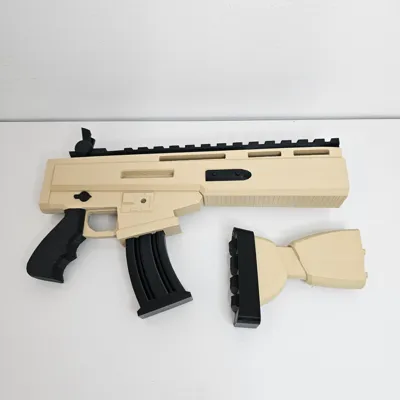
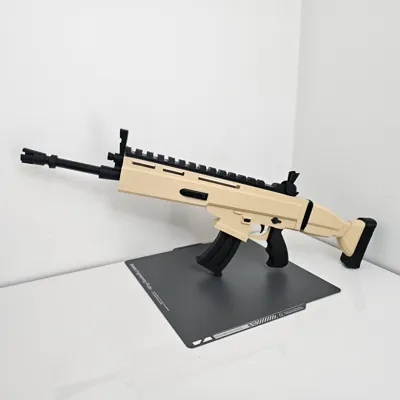
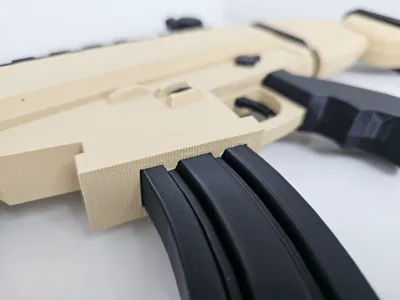
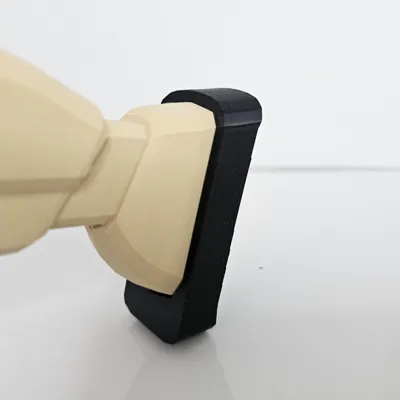
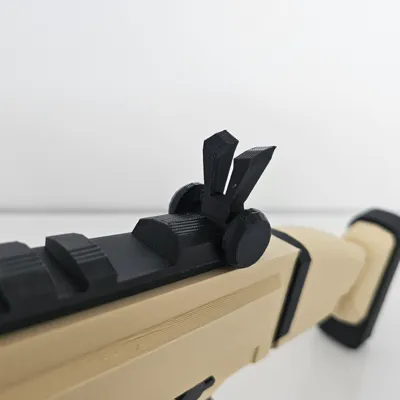
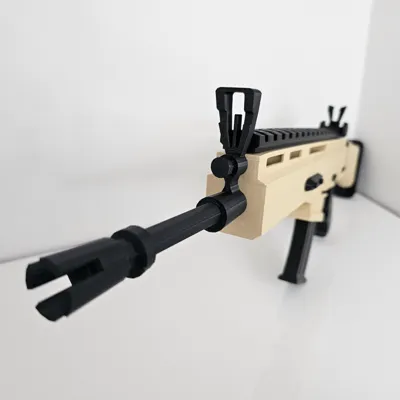
Over 40 hours of modeling, testing, printing, retesting, reprinting, I introduce the Fortnite Scar Model Gun!
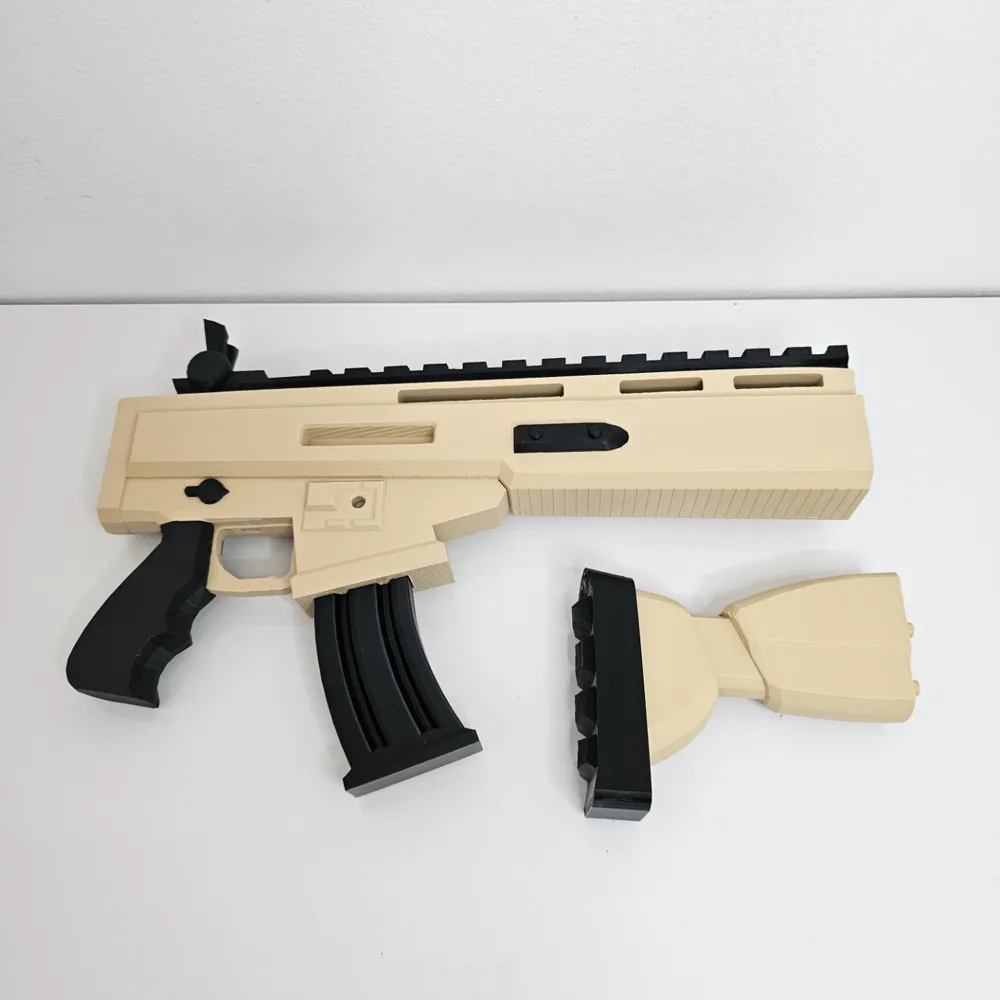
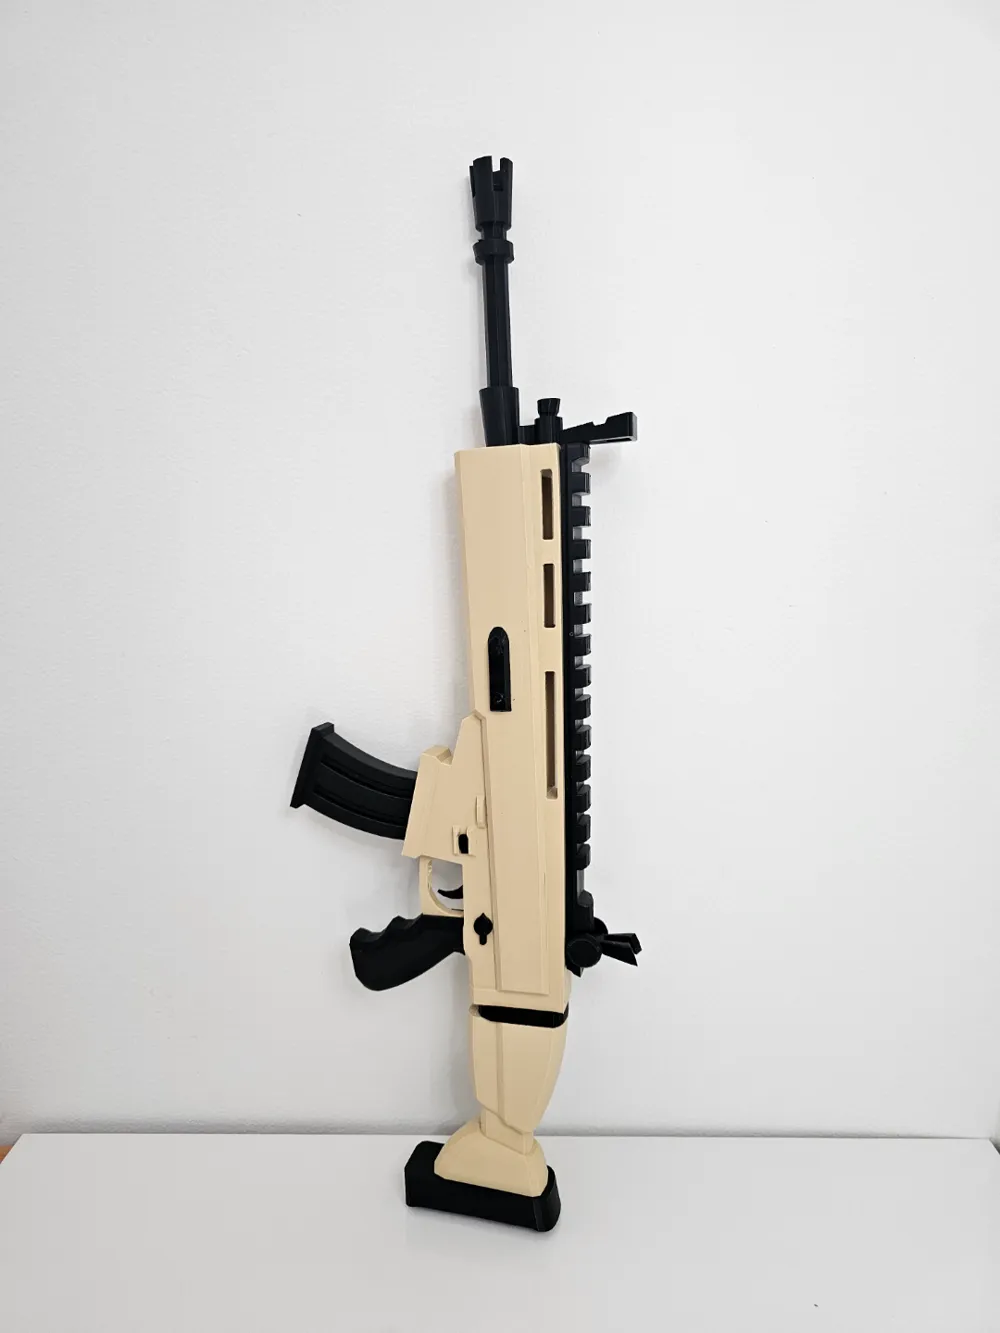
I made this as big as it could be while keeping the upper in one piece. Fully assembled, the gun is 22 inches long! It is not quite "life-size" but pretty close.
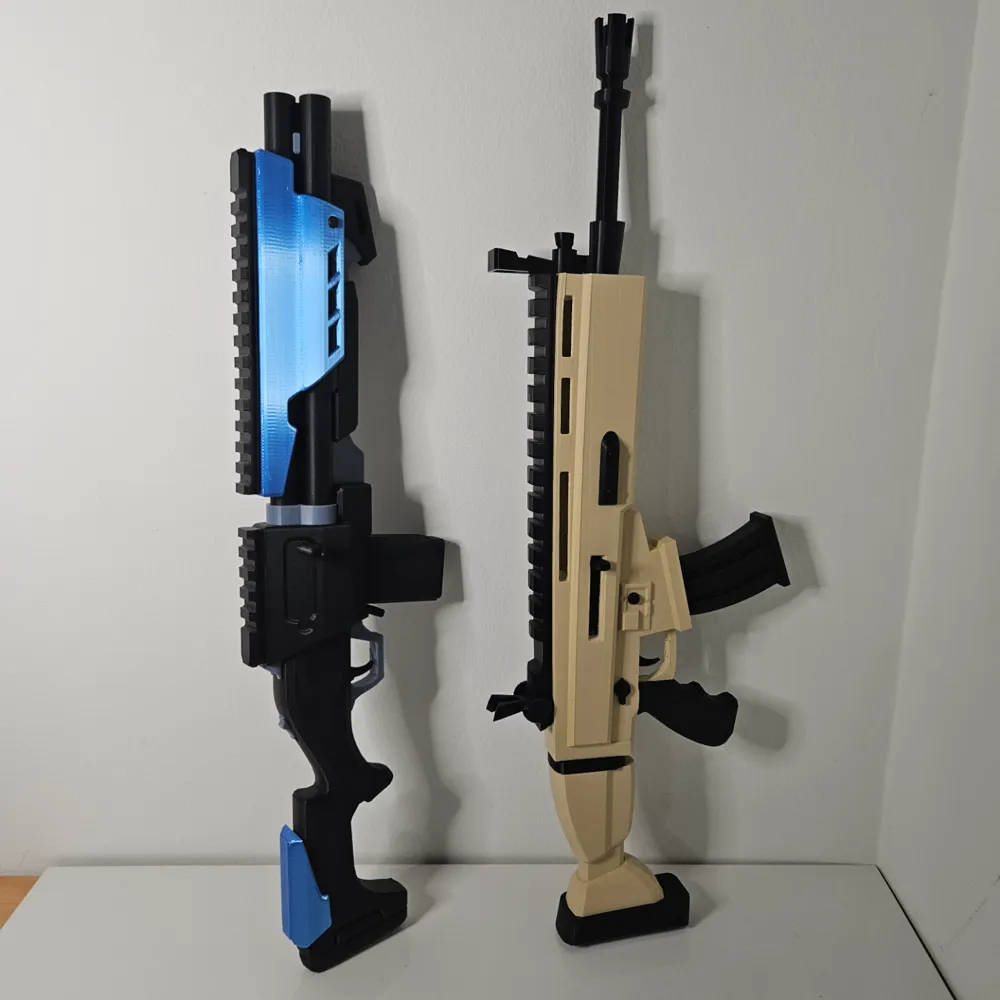
Check out all of my Fortnite Guns!
- 2026: Fortnite Twin Mag SMG Electric Water Gun
- 2026: Fortnite Wrecker Revolver
- 2025: Fortnite P90 Compact SMG
- 2025: Fortnite Mammoth Pistol
- 2025: Fortnite Holo Twister Rifle
- 2025: Fortnite Scoped Burst SMG
- 2025: Fortnite Havoc Shotgun
- 2024: Fortnite Gatekeeper Shotgun
- 2024: Fortnite Scar
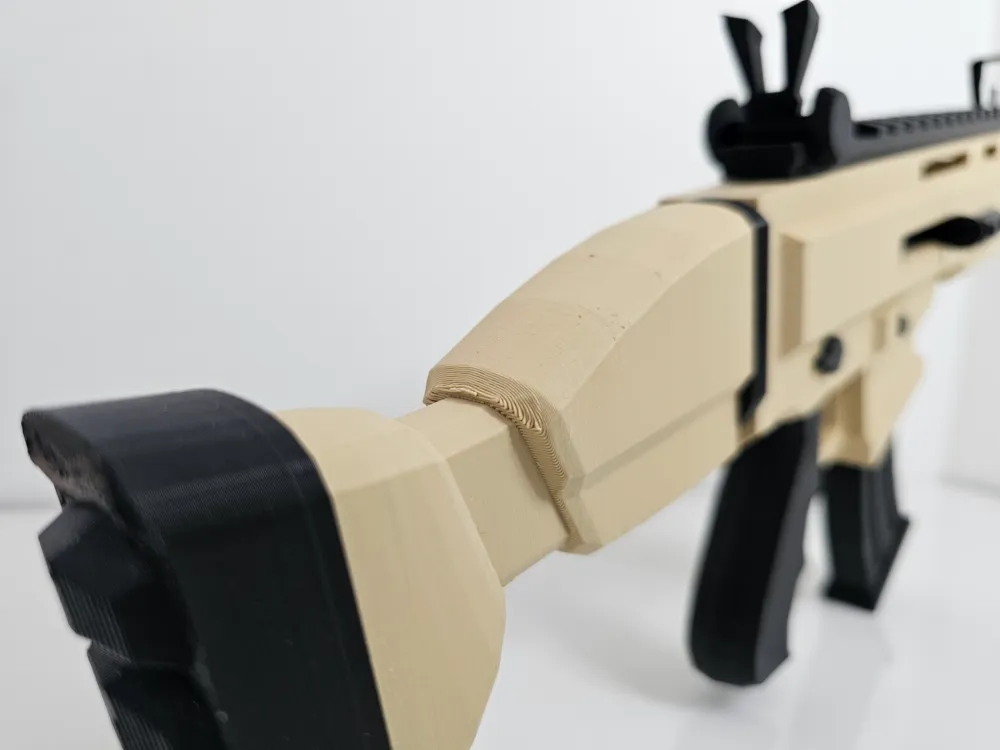
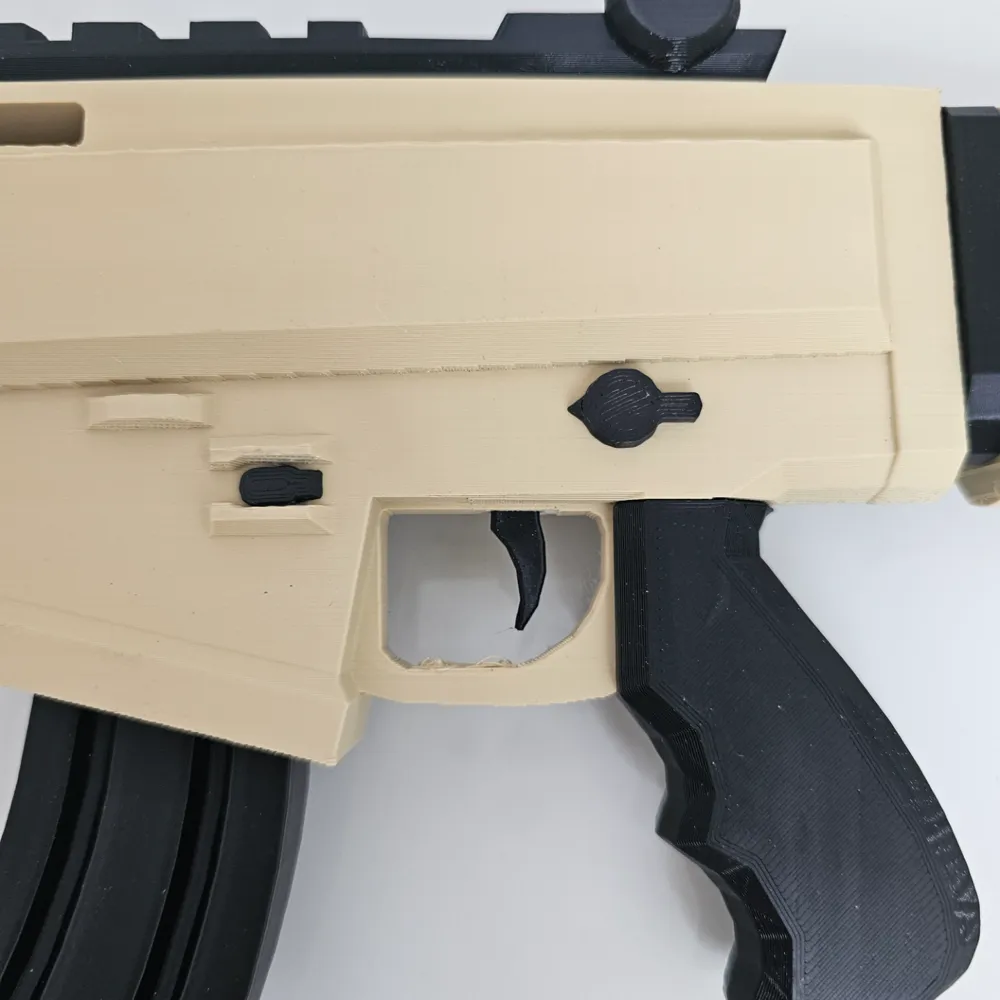
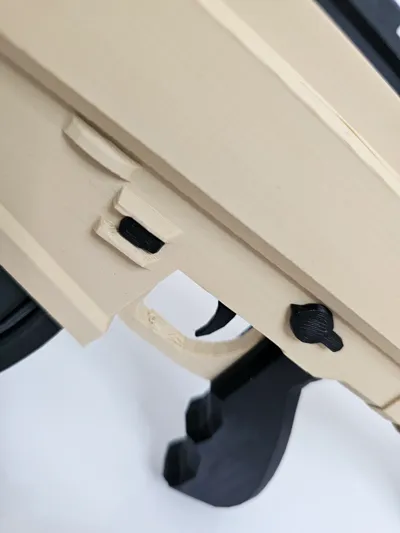
Experience Required. Reserve one hour for assembly. Gel type super glue highly recommended. I gently clamped certain parts for 60 seconds after gluing. Please review the model and pictures extensively before you decide to print!
Optional 2025 Update: Completely optional. New profiles added after 300 successful prints and tons of reviews so the normal ones definitely work! Just changed the front connection to use a pin for the barrel. Only print on newest version of Bambu (don't skip upgrade for this one). The pin should make the front connection stronger and easier to assemble. I did not test it but have learned a lot more about modeling since making this Scar, and use the same pin/tolerances on many other models including my Havoc Shotgun, so I am confident it will work. I also switched the infill to Gyroid as that seems to be the community favorite. The 2025 profiles also use less filament.
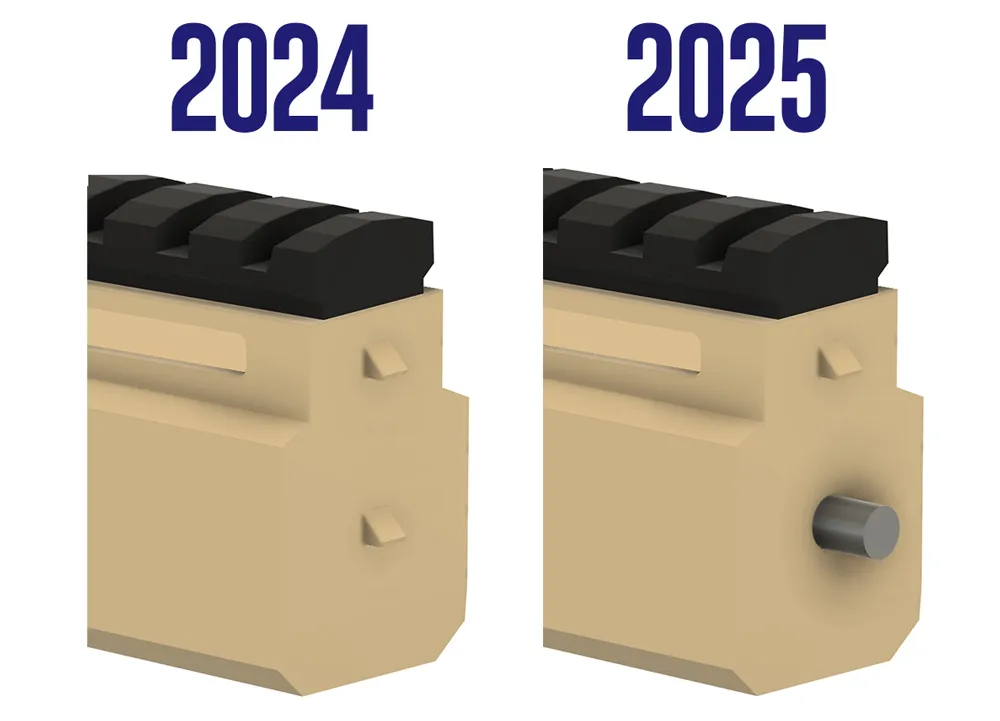
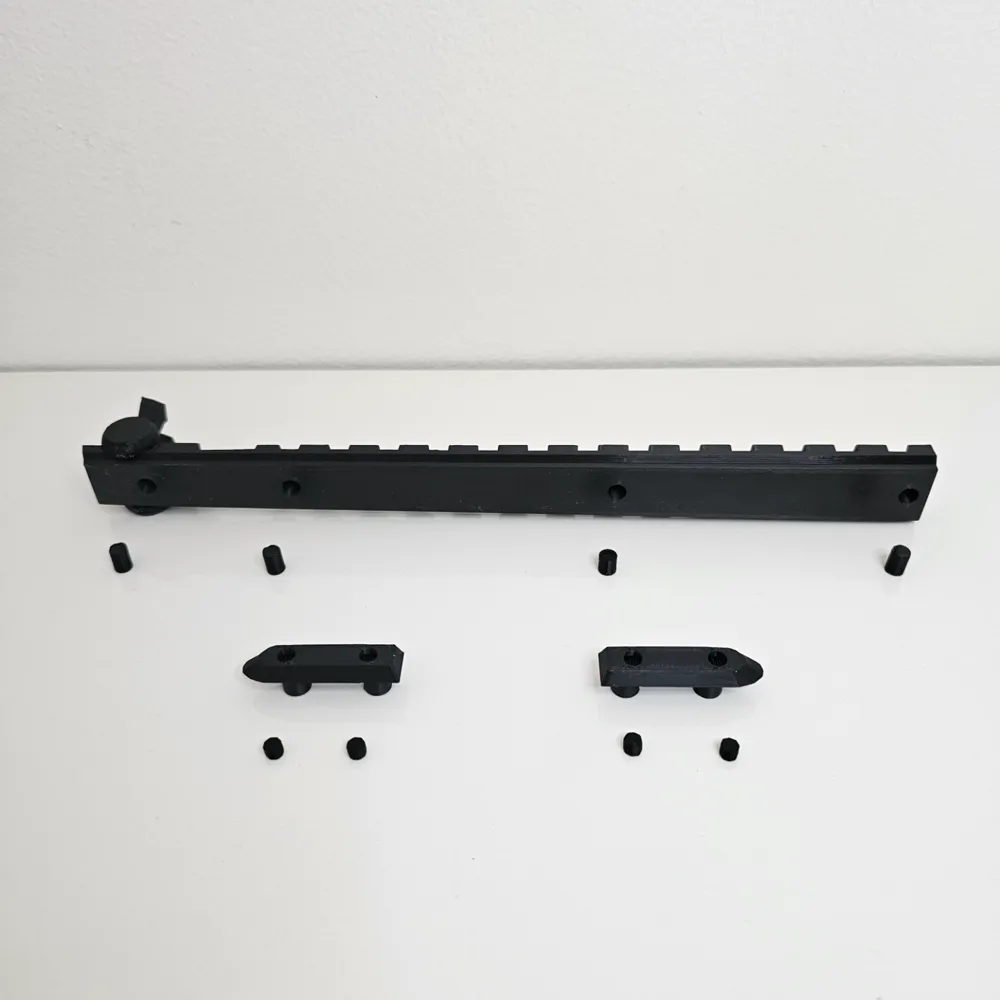
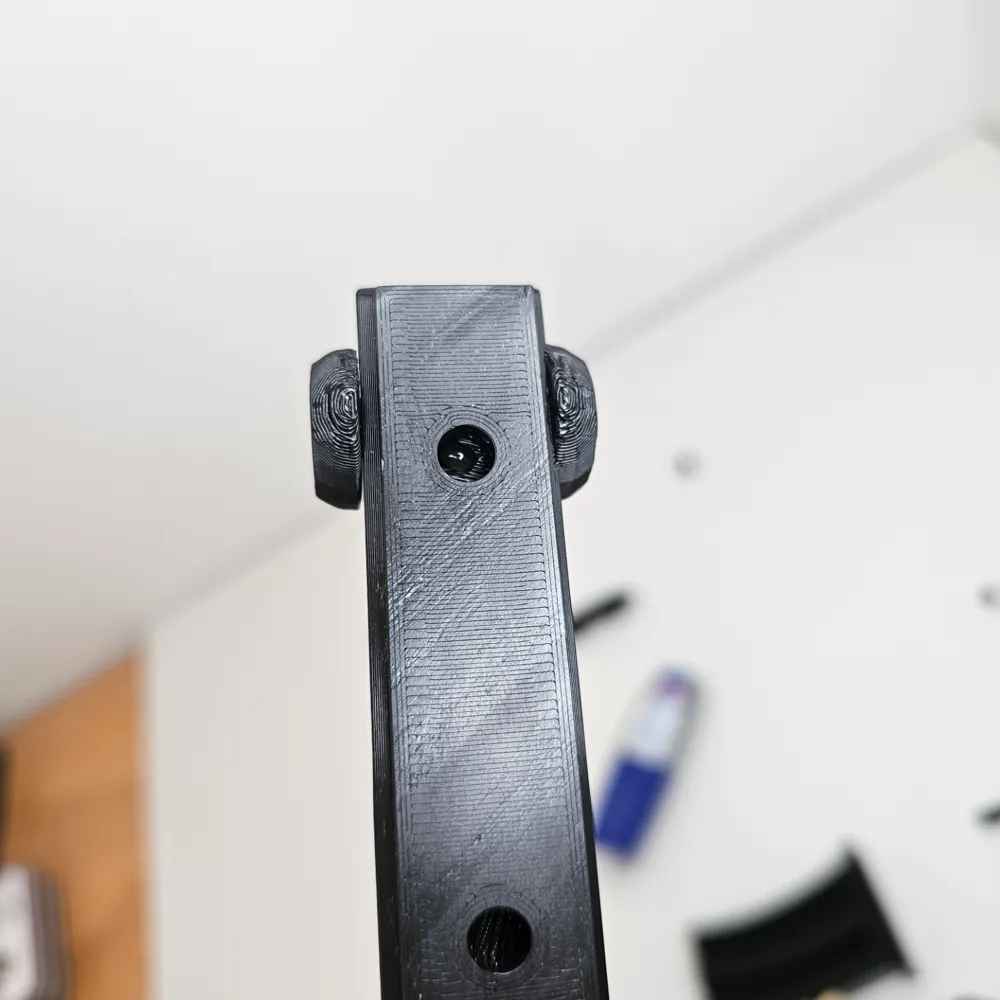
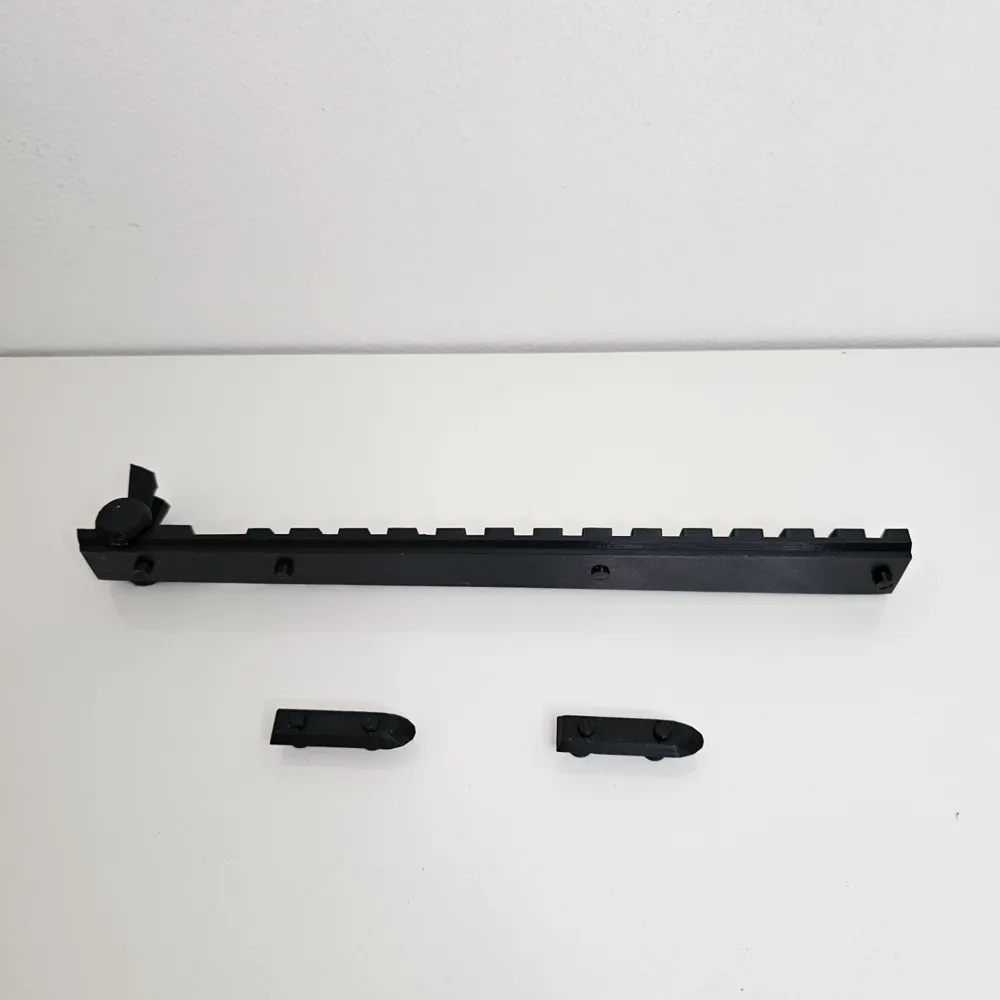
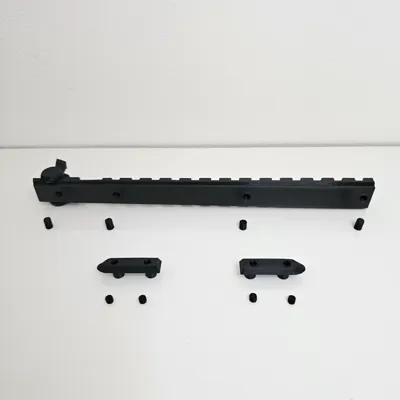
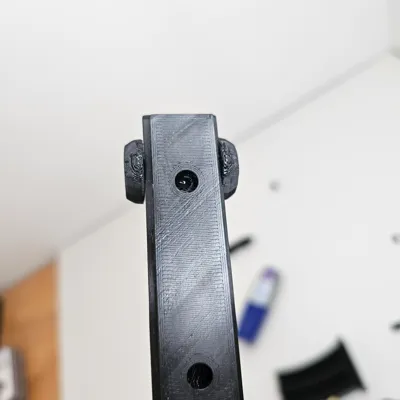
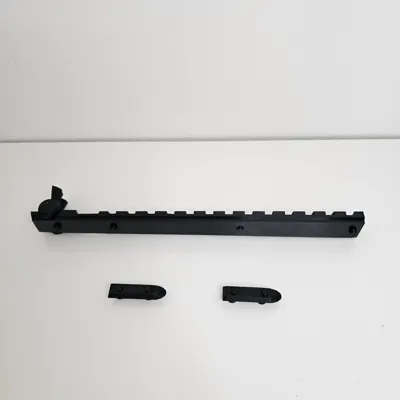
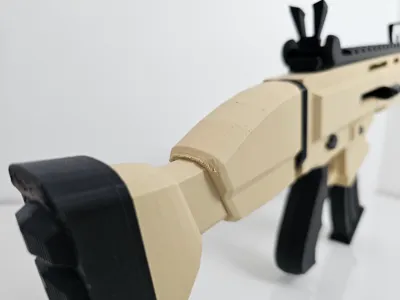
Have some patience post-print and you will be much happier than if you rush. Super glue can be messy if you don't take your time. Gently test-fit every piece before gluing if you have doubts. The weak point is the black part connecting the two tan parts. The top rail uses 4 alignment “pins”. Take notice one is shorter than the other 3. This shorter pin goes in the second hole from the front.
I wanted my print HEAVY so it is 35% cubic infill. If i had to reprint and had more patience, I may even consider 40% or 50%! Lower this to 20% or switch to “support cubic” to save time and weight. First two hours of each plate has a lot of Z movement. Make sure your adhesion is dialed in. If I had to reprint, I may try 105% scaling next time, but I'm not even sure the main tan body would fit on the plate at 105%.
What video game item do you want to see chopped up next?!
Boost Me (for free)
If you have any left, I would greatly appreciate you boosting my model. They go a long way!
License

You shall not share, sub-license, sell, rent, host, transfer, or distribute in any way the digital or 3D printed versions of this object, nor any other derivative work of this object in its digital or physical format (including - but not limited to - remixes of this object, and hosting on other digital platforms). The objects may not be used without permission in any way whatsoever in which you charge money, or collect fees.


Comment & Rating (163)